Colony Flow Level 249 Walkthrough Solution & Guides | How to solve Colony Flow 249

Guide By Liam Stone
Updated on July 14, 2026
Skip ahead to the video above if you want to see Level 249 solved without reading the full article.
Video doesn't match your screen?
Game updates frequently scramble layouts! Try our AI Screenshot Solver first to find your exact board instantly, or report broken guides to our team.
Welcome back to another puzzle guide. Colony Flow Level 249 brings a massive pixel art scene that demands careful tray management and patience. I played through this one a few times to find the safest route without jamming the waiting slots. You will need to carefully peel back the layers of this colorful picture. The sheer number of background tiles makes this board look intimidating at first glance. If you follow the correct order of operations, you will clear the board smoothly.
Colony Flow Level 249 Overview
What You Are Working With
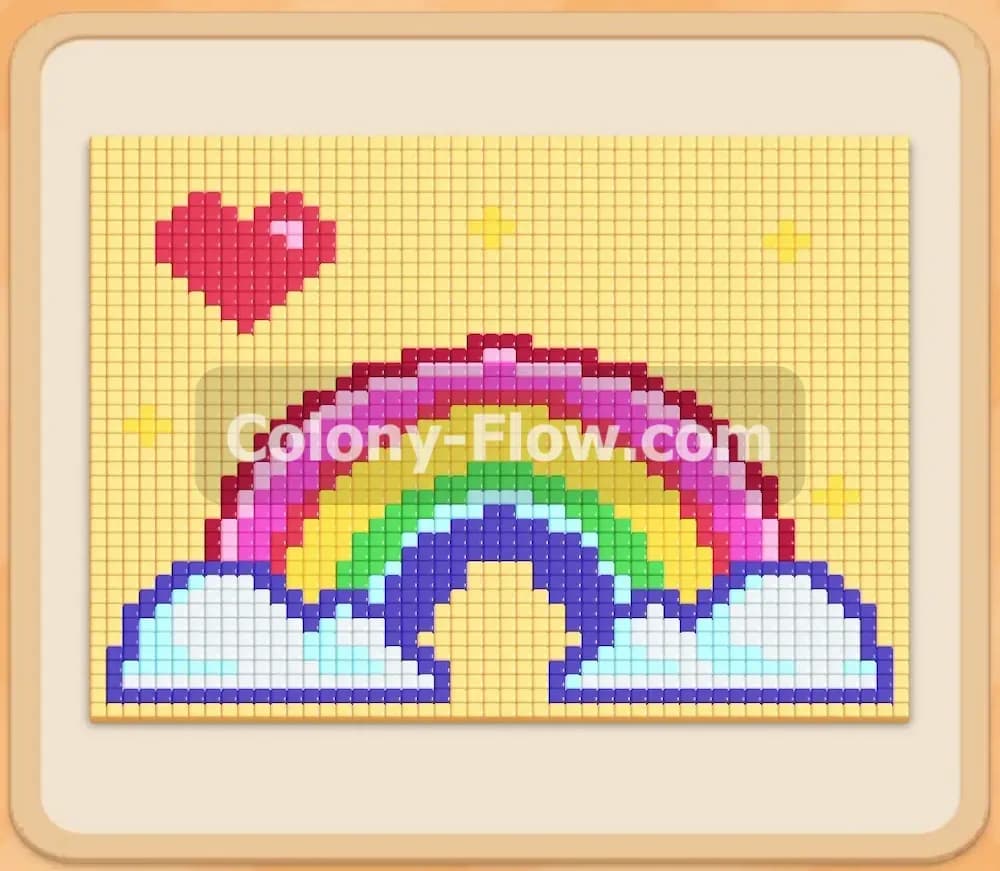
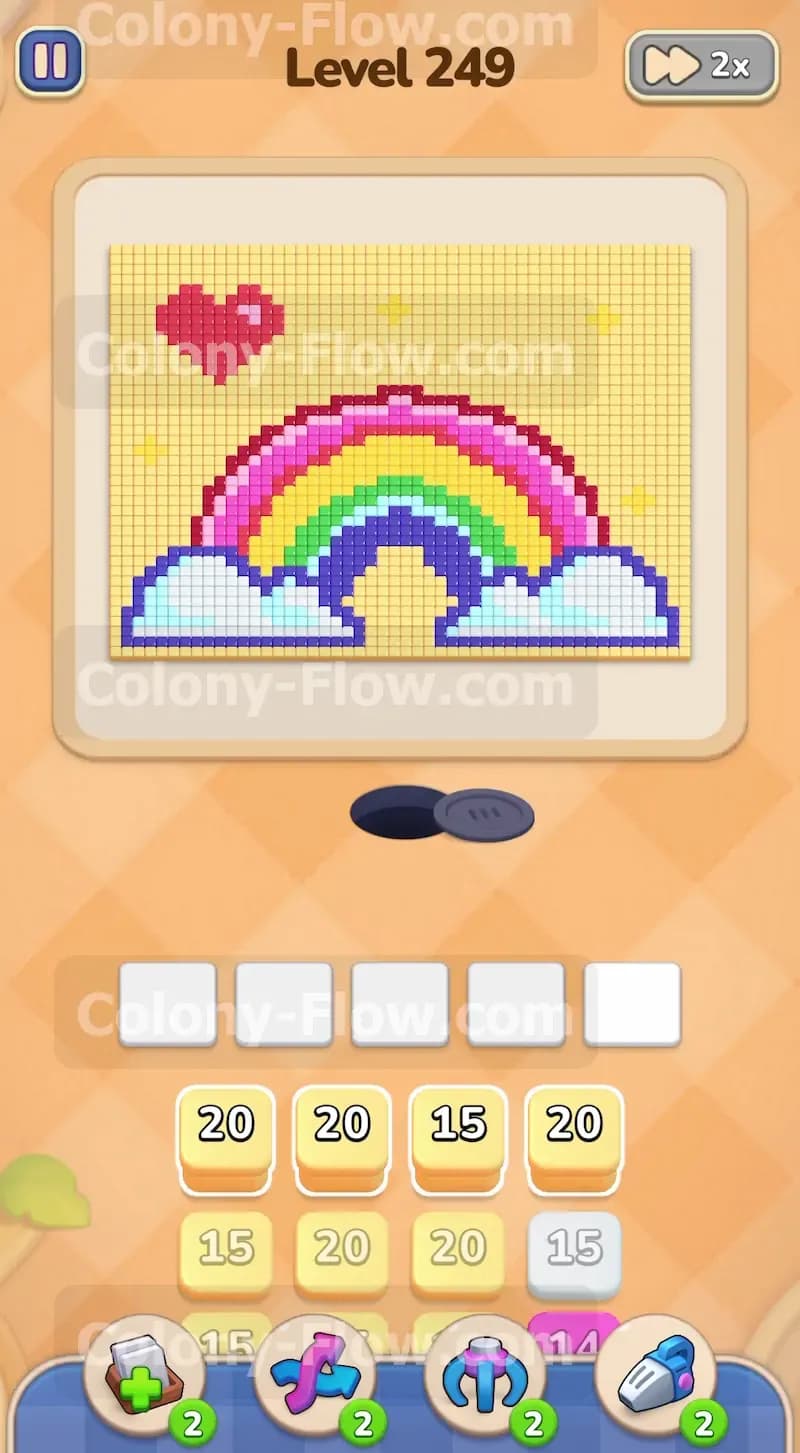
The pixel art picture for this board features a bright rainbow over white and light blue clouds. A red heart sits to the left of the rainbow. The entire background is filled with a massive wall of light yellow tiles. You do not have to worry about any tricky special tiles on this board. There are no hidden boxes or locks to deal with. The challenge comes entirely from the sheer volume of tiles and managing your tray blocks. Your tray is heavily loaded with light yellow blocks carrying high values like twenty and fifteen. Underneath those light yellow blocks, you will find a mix of colors needed to clear the rainbow and the clouds. The initial path for your ants is completely blocked by the bottom edge of the clouds and the yellow background.
What It Takes to Clear Level 249 Board
Clearing this board requires you to balance your attacks between the massive yellow background and the smaller colored elements. The five waiting slots dictate your entire strategy. If you pull up too many blocks that have no clear path to their matching tiles, your slots will jam and you will lose the level instantly. You must constantly make sure every block you tap can send its ants straight to an open food tile. The light yellow background acts as a cage around the top and sides of the rainbow. You have to open the bottom edges first to create pathways up the sides of the screen. Once the sides are open, you can send massive swarms of yellow ants to eat the sky while carefully picking apart the rainbow bands layer by layer.
Colony Flow Level 249 Step by Step Solution
Step 1: Target the bottom clouds and the inner rainbow arch to open the board.
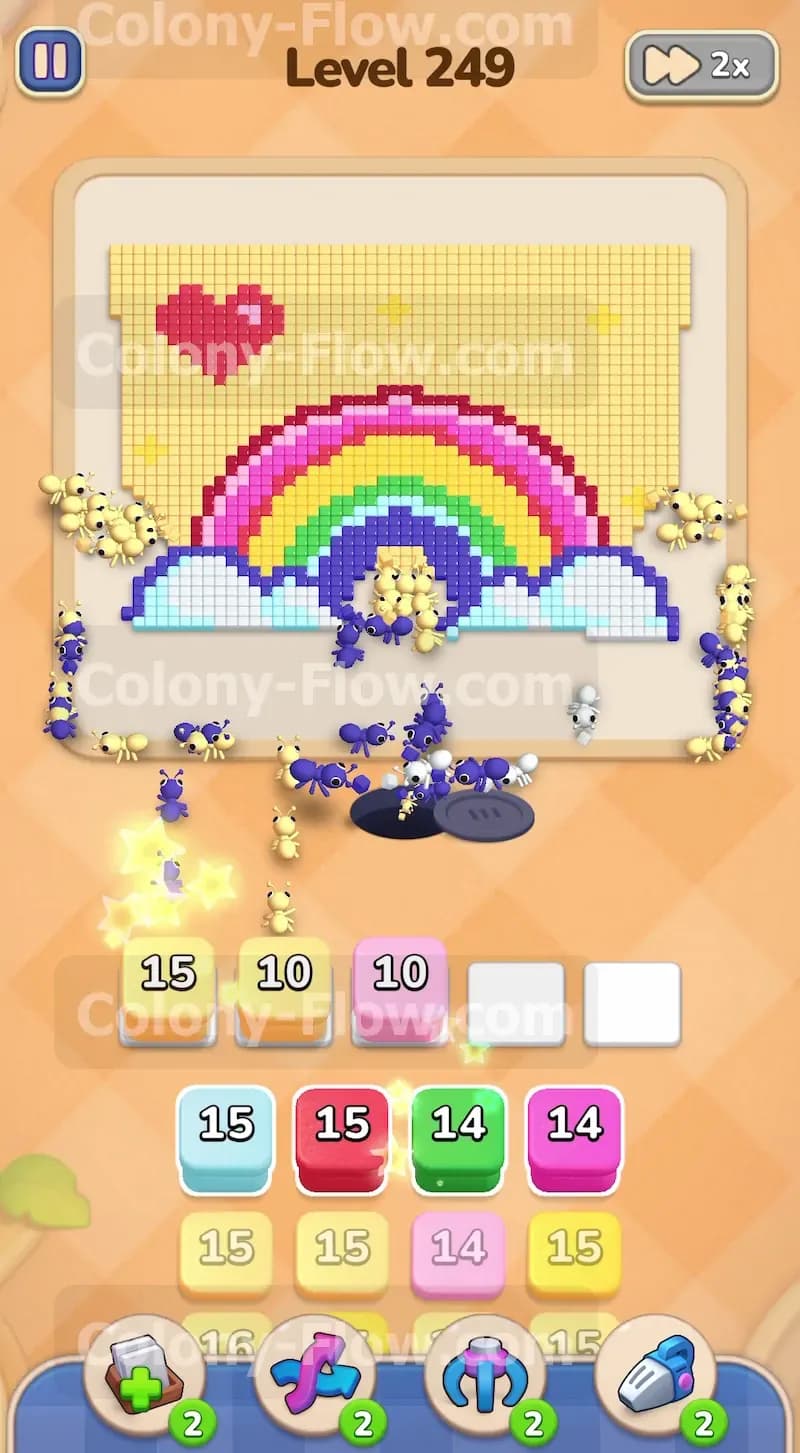
Start by tapping the white and dark blue blocks in your tray to attack the lower edge of the pixel art. The clouds sit directly above the nest hole and provide the most accessible tiles right from the start. You pull up a few white blocks into your five waiting slots to begin the assault. The white ants stream out and chew away the bottom layers of the fluffy clouds on both the left and right sides. A dark blue block helps target the inner arch of the rainbow directly above the nest. Keeping your moves focused on this bottom edge ensures your initial blocks empty quickly. Watch the numbers on the white blocks count down as the ants consume the cloud tiles. If you pull green or red blocks right now, they will get stuck in your slots because those higher tiles are completely blocked by the clouds and the outer background.
Step 2: Unleash the heavy light yellow blocks on the massive background.
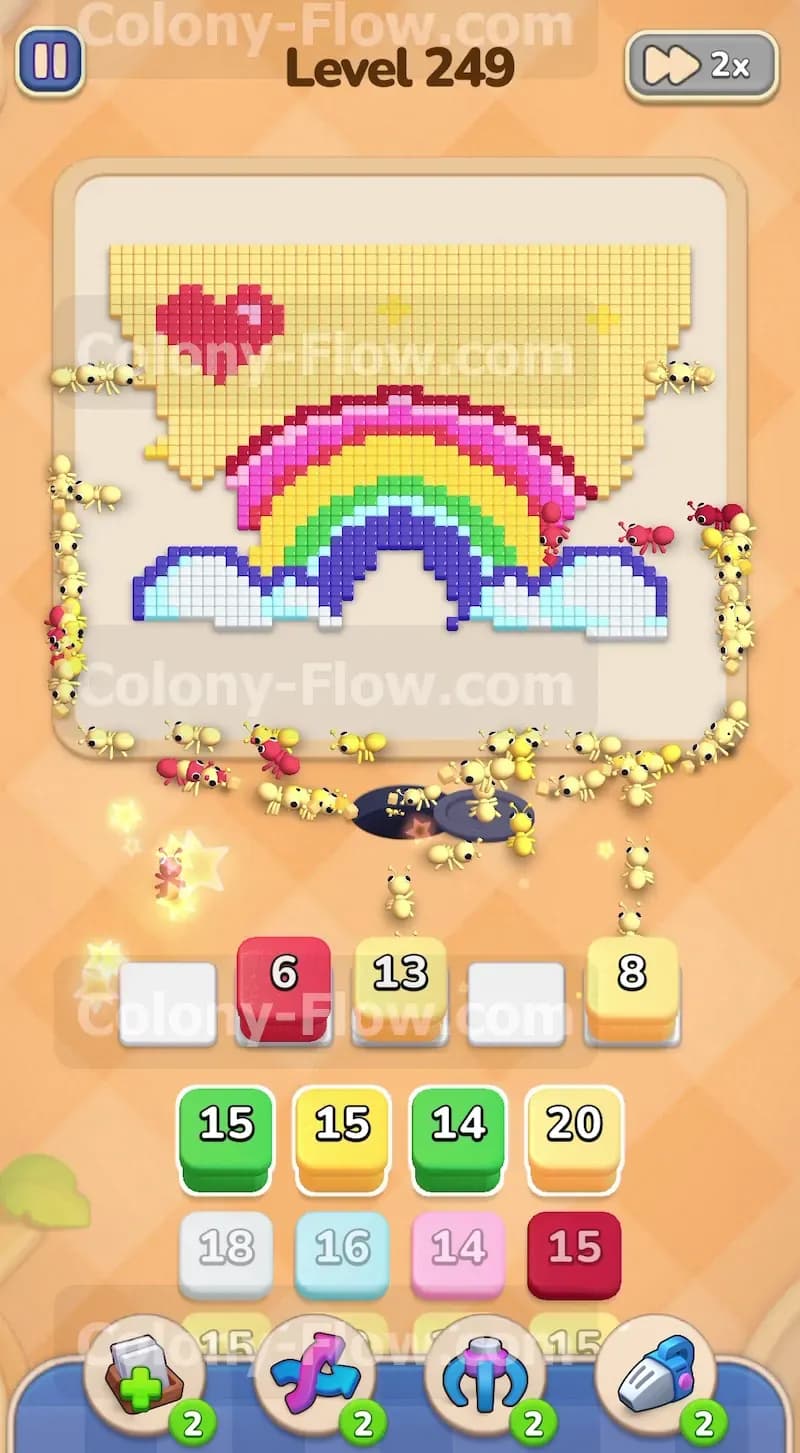
With the bottom edges slightly open, the side paths leading up into the light yellow sky become completely clear. This is your cue to bring up the heavy light yellow blocks from your tray. You have several large blocks carrying values of twenty and fifteen waiting for you. Tap a couple of these light yellow blocks into the waiting area to activate them. A massive swarm of yellow ants will rush up the left and right sides of the picture and begin eating the vast background. The sky makes up a huge portion of this board and takes a long time to clear. You must keep chipping away at it whenever a path is open so the ants can reach those tiles. Do not pull all your yellow blocks at once. You must leave room in your slots for other colors to keep the board progressing evenly.
Step 3: Bring in red and green blocks to dismantle the heart and outer rainbow.
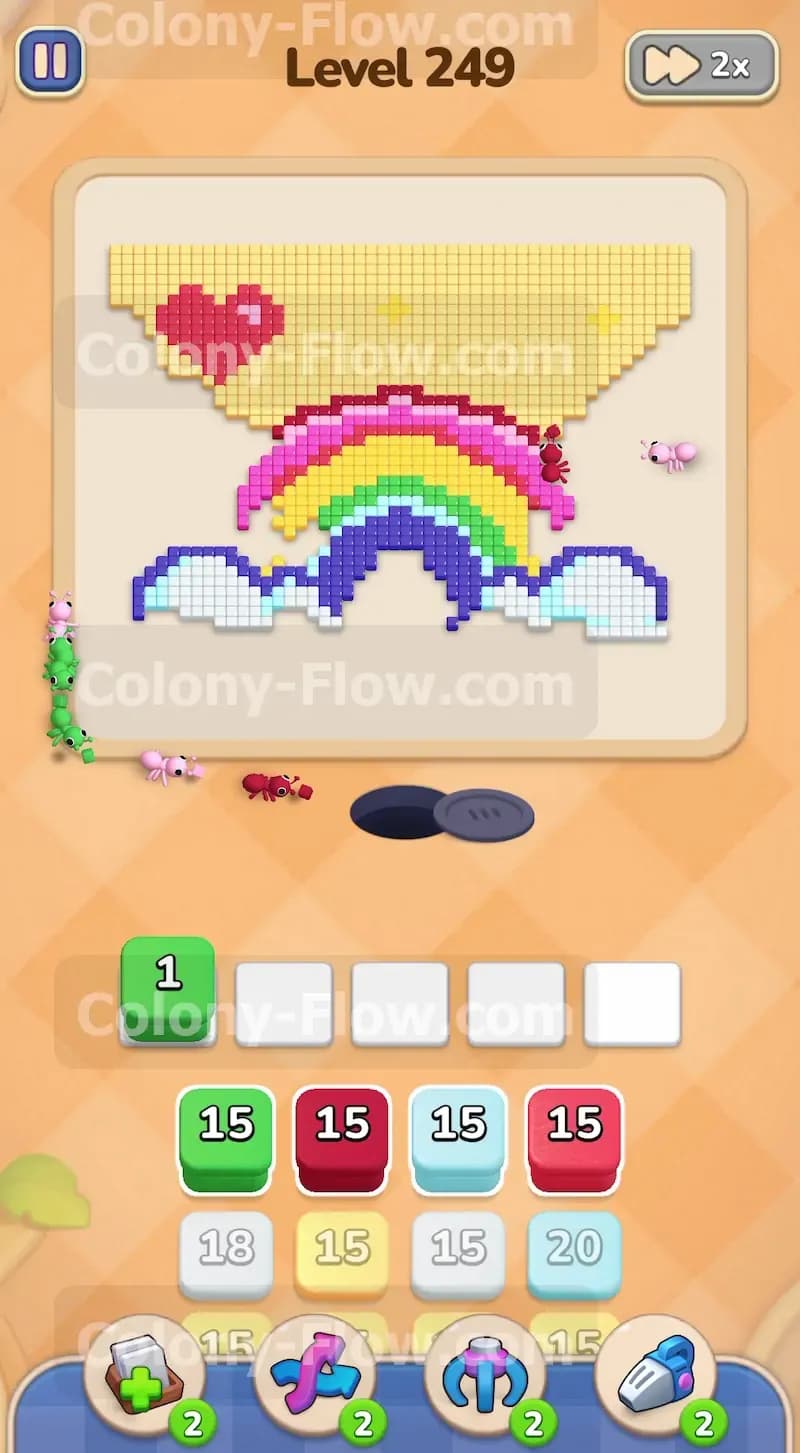
As the yellow background melts away from the sides, the red heart becomes exposed to your ants. You also gain a clear path to the green band in the rainbow. Tap a red block into your waiting area to send red ants swarming toward the floating heart on the left side. Tap a green block to start clearing the thick outer layer of the rainbow arch. The green block will count down steadily as the ants consume the tiles. You always want to match your block values to the available exposed tiles. Ensure the red heart is fully open before committing your largest red blocks from the tray. Keeping one or two slots empty gives you breathing room in case an unexpected path gets blocked by a slow moving swarm.
Step 4: Peel back the bright pink and inner dark blue bands.
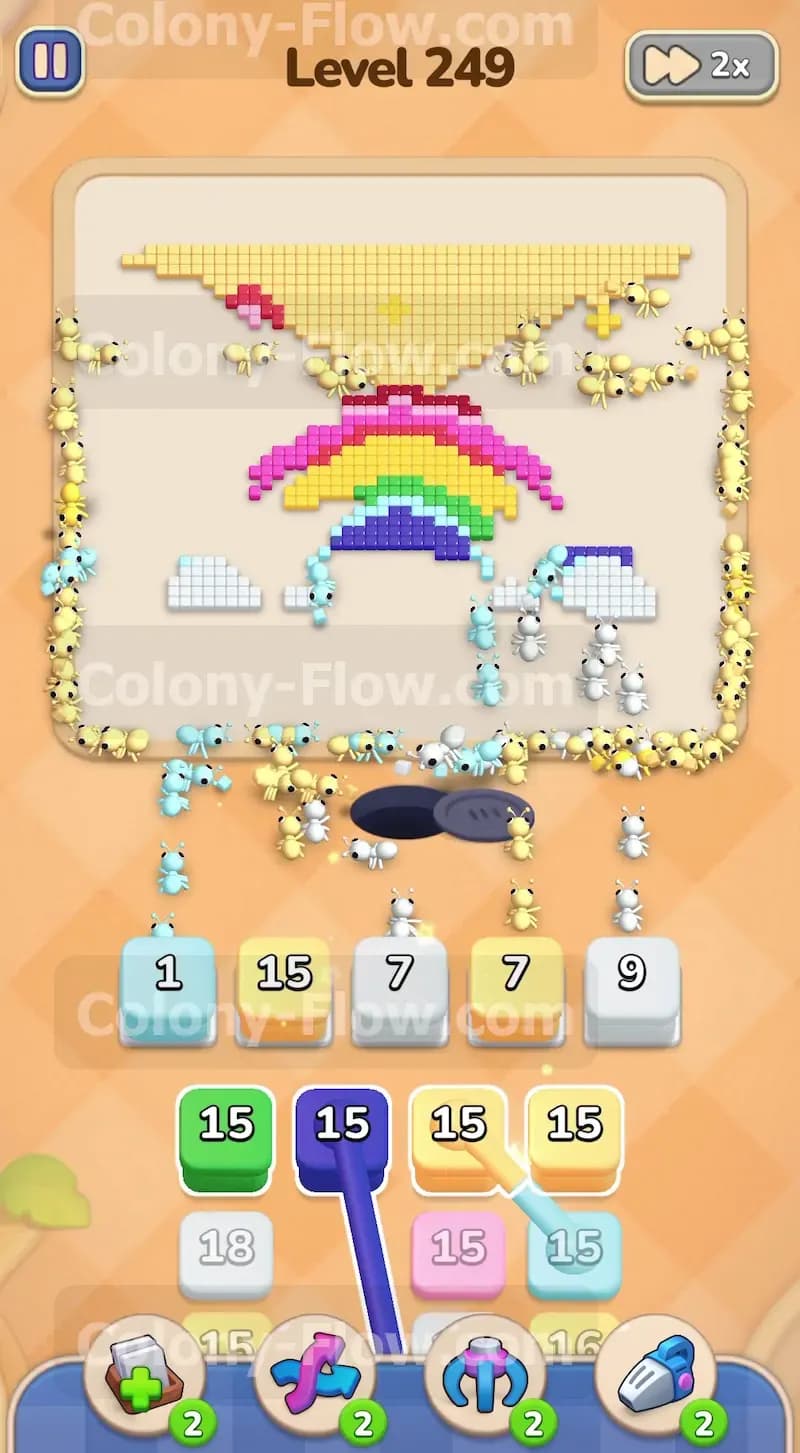
The rainbow needs to be dismantled layer by layer to keep the paths flowing. The outer layers fade away and expose the bright pink band alongside more of the inner dark blue arch. Pull up a pink block and let the ants clear that middle stripe of the rainbow. Watch the numbers drop to zero as the pink block finishes its job and frees up a slot. Bring up another dark blue block to keep eating away the deep core of the rainbow. You are constantly balancing the left side of the tray and the right side to find the exact colors you need at the perfect moment. Never fill all five slots unless you are absolutely sure every single block has an open path to its matching food tiles on the board.
Step 5: Clear the remaining cloud pieces scattered across the bottom.
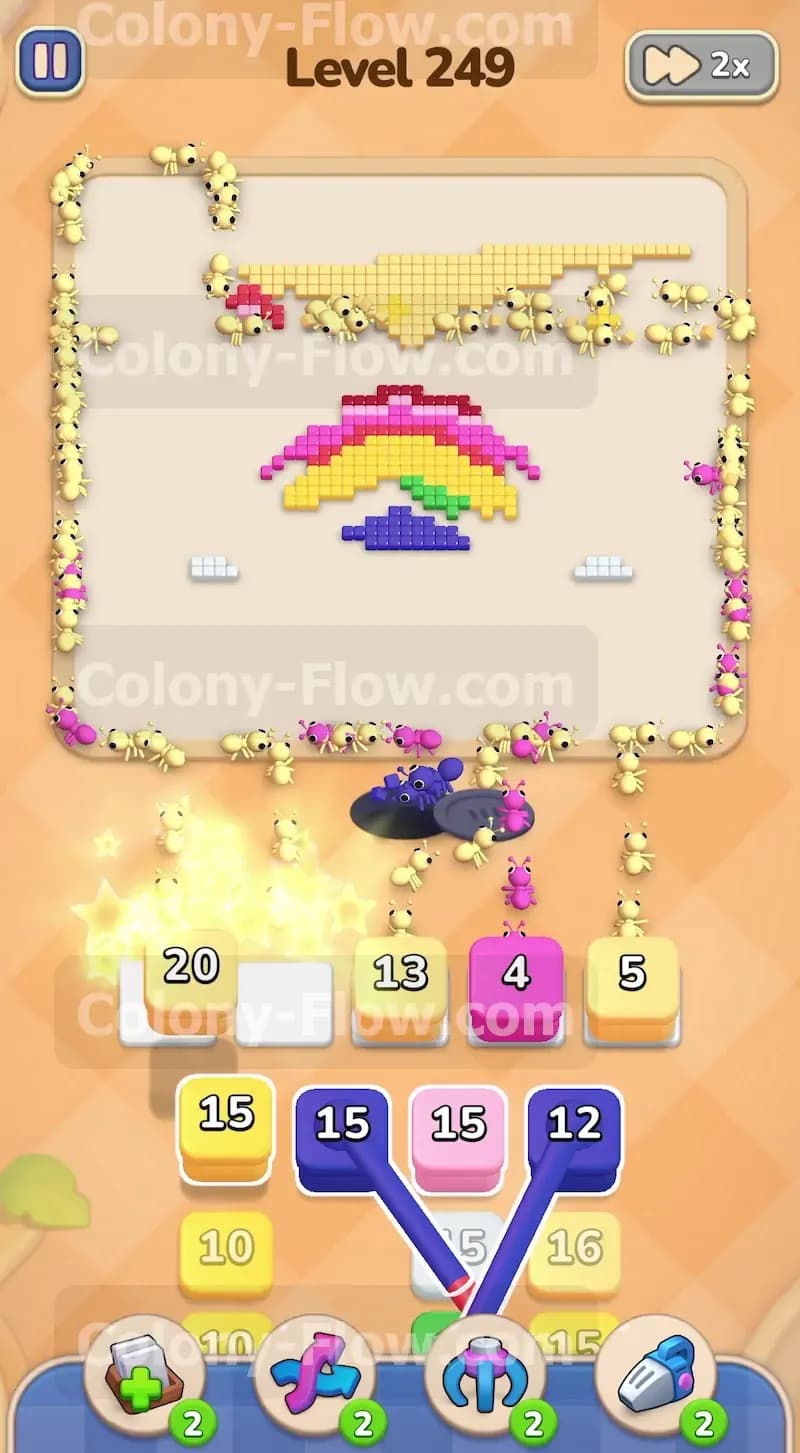
The white and light blue clouds often get left behind while you are busy managing the sky and the top rainbow layers. Look at the lower section of your board to find several small clusters of white and light blue tiles remaining. Pull up a white block carrying a value of seven or nine to clear these stubborn pieces out. Add a light blue block to finish the upper edges of the clouds. Clearing these bottom tiles creates much more physical space for the ants to move freely around the board. It also gets those specific colors out of your tray so you can access the final red and pink blocks trapped underneath them. You want your tray as clean as possible for the final stretch.
Step 6: Mop up the upper yellow sky and the final top rainbow layers.
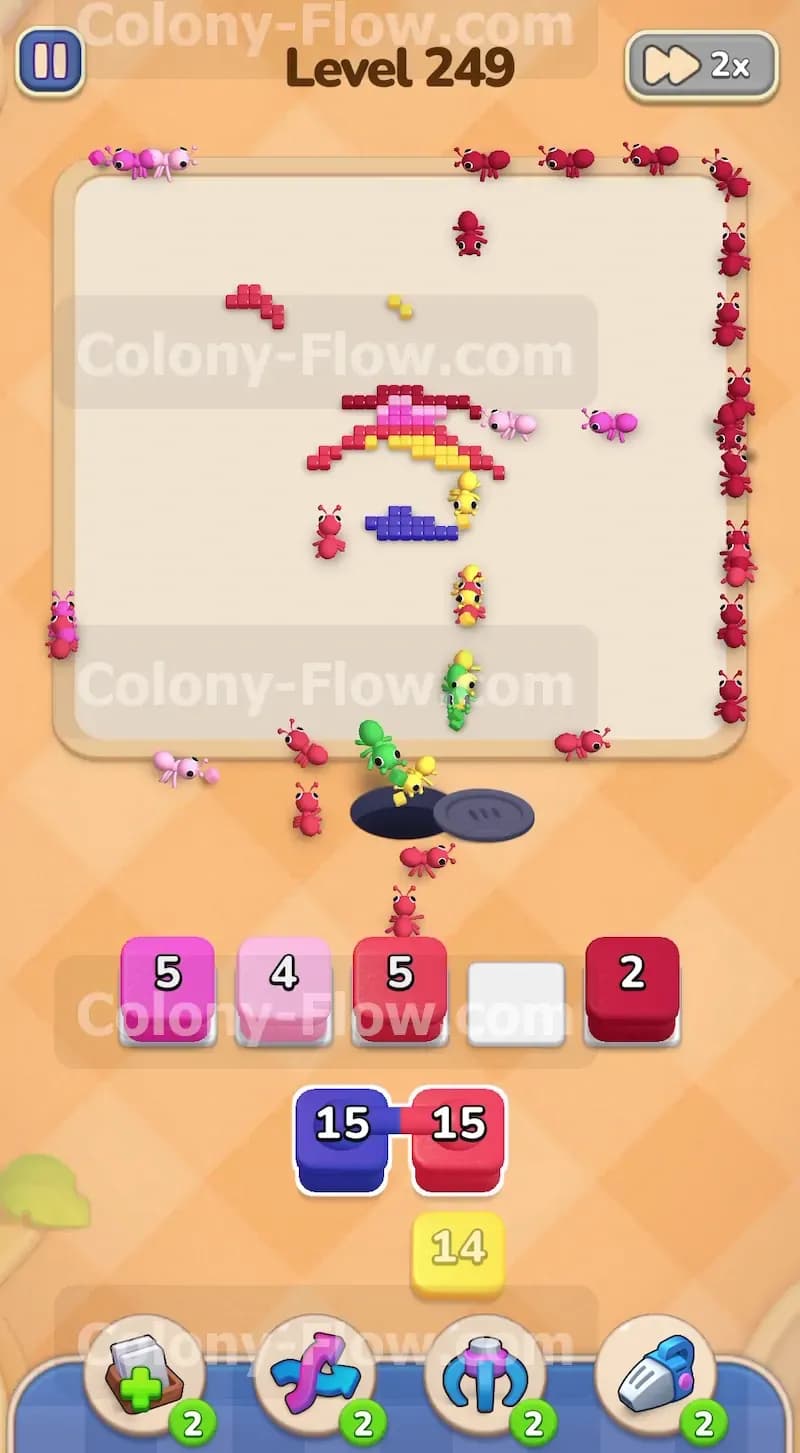
The board looks very bare at this stage. You only have a few scattered tiles left to manage. There is a thin strip of yellow sky holding on at the very top of the screen. Pieces of the red and pink rainbow bands remain floating nearby. Tap your final light yellow blocks to send ants straight up the middle to eat the last sky tiles. Bring up your remaining red and pink blocks from the deepest rows of the tray. The tray numbers are getting very small now. You might have a red two or a pink four waiting for action. Send those ants out to mop up the last few pixels. Once the final red tile disappears from the board, the ants run off the screen and you secure the win.
Final Thought
This board really tests your patience and your ability to juggle multiple colors at once. Managing the massive yellow background while picking apart the smaller rainbow details is incredibly satisfying once you find the rhythm. If any of the specific moves or block selections feel hard to visualize in text, you should definitely watch the video above this article. Seeing the ants clear the paths in real time makes the whole strategy much easier to understand.