Colony Flow Level 348 Walkthrough Solution & Guides | How to solve Colony Flow 348

Guide By Liam Stone
Updated on July 18, 2026
If you want to skip straight to the solution, watch the video above covering Level 348.
Video doesn't match your screen?
Game updates frequently scramble layouts! Try our AI Screenshot Solver first to find your exact board instantly, or report broken guides to our team.
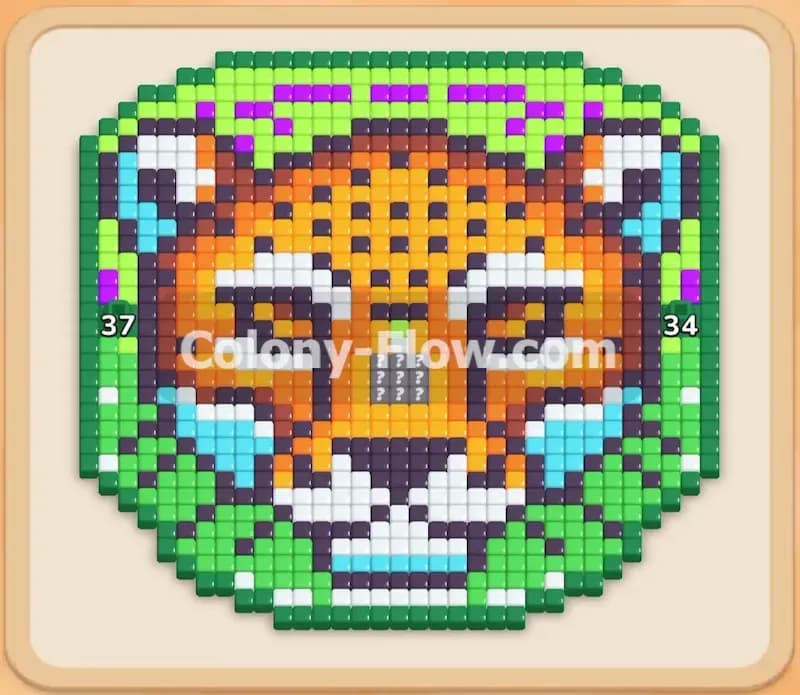
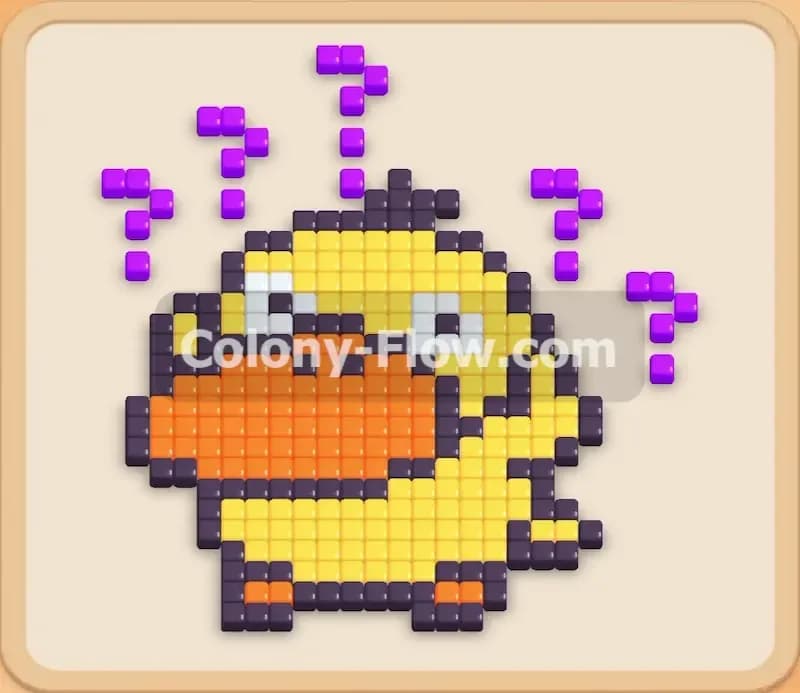
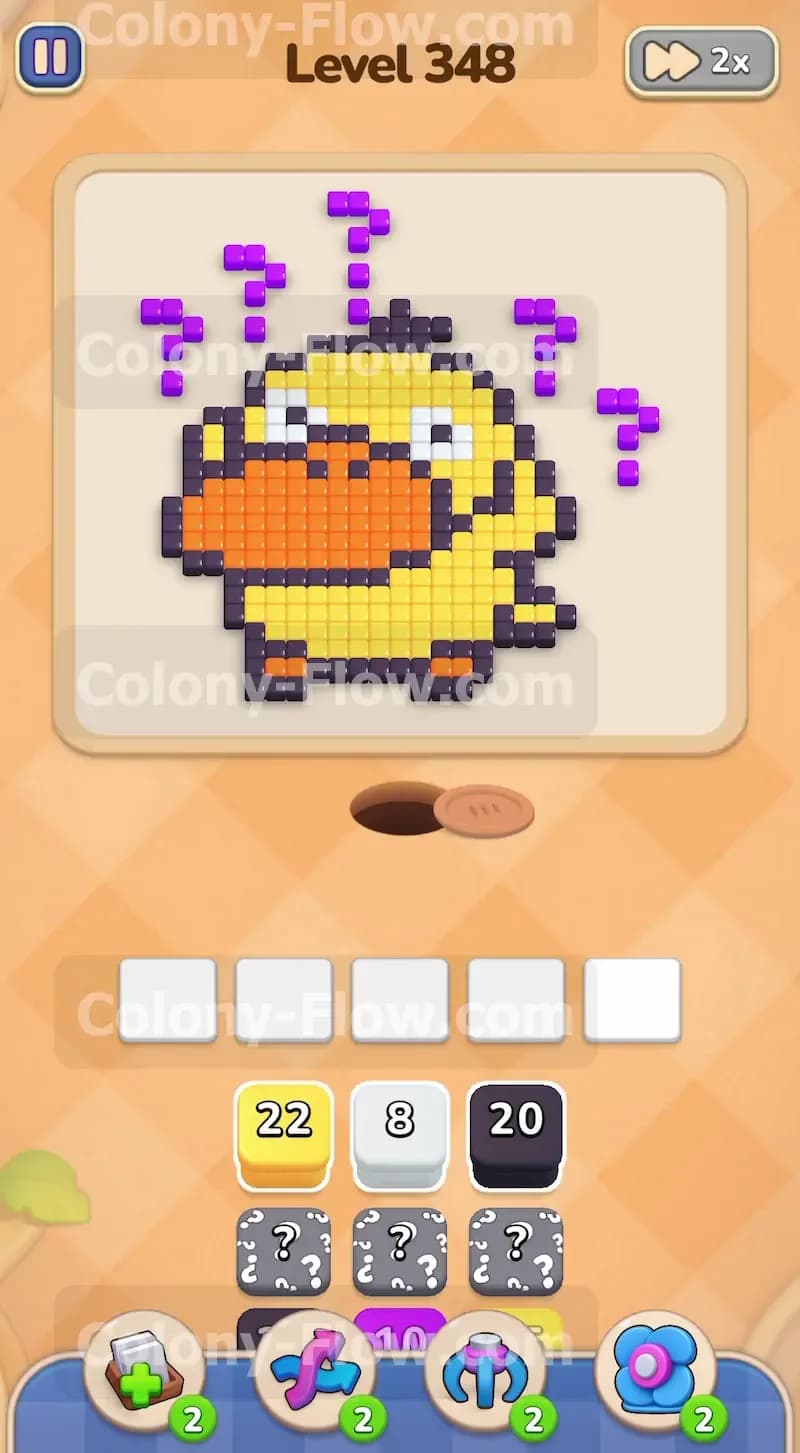
Colony Flow Level 348 presents a fun pixel art picture of a confused platypus with purple question marks above its head. You will need to carefully manage your waiting slots as you dig into the large orange beak and the yellow body. Hidden boxes in the tray make it tricky to plan your moves too far ahead. I played this level and will show you exactly how to clear it without jamming your board.
Colony Flow Level 348 Overview
What You Are Working With
The puzzle board features a large platypus character right in the center. The main colors making up the picture are a massive orange beak and a bright yellow body. A thick black outline surrounds the entire shape and protects the inner colors from being reached too early. You will also see small white sections for the eyes and the feet located near the bottom. Finally, several purple question marks float in the empty space above the head of the platypus. These floating shapes are detached from the main picture.
Down in your tray at the bottom of the screen, you start with yellow, white, and black blocks sitting in the front row. You will also notice grey hidden boxes scattered in the rows behind them. These hidden boxes keep their color a secret until they have a valid path to move. This means you must clear the starting blocks just to see what you actually have to work with underneath. Each block displays a number that tells you exactly how many ants it will send out to the board. You have five waiting slots available to hold your pulled blocks. Your main goal is pulling the right colors to match the exposed tiles on the board without filling those five slots with unusable blocks.
What It Takes to Clear Level 348 Board
Clearing this level requires you to feed the ants the exact colors they need to take apart the platypus starting from the outside. The ants stream out of the nest hole at the bottom of the board and travel along open paths to the closest open tiles that match the colors in your waiting slots. You win the puzzle when every single pixel art tile is entirely gone and the ants finish their routes back into the ground.
To avoid a loss, you must ensure your five waiting slots never fill up with blocks that the ants cannot reach. If you pull a color that is trapped behind other tiles, the ants cannot eat it. The block will sit uselessly in the slot and take up open space. If all five slots fill up this way, the ants stop moving completely and you lose the level instantly. You must always maintain at least one open path between the nest hole and an exposed tile that matches a block currently sitting in your waiting slots. You have to constantly look at the board and verify that a matching colored tile is touching the open background space before you decide to tap a block from your tray.
Colony Flow Level 348 Step by Step Solution
Step 1: Open the board by playing yellow and black blocks
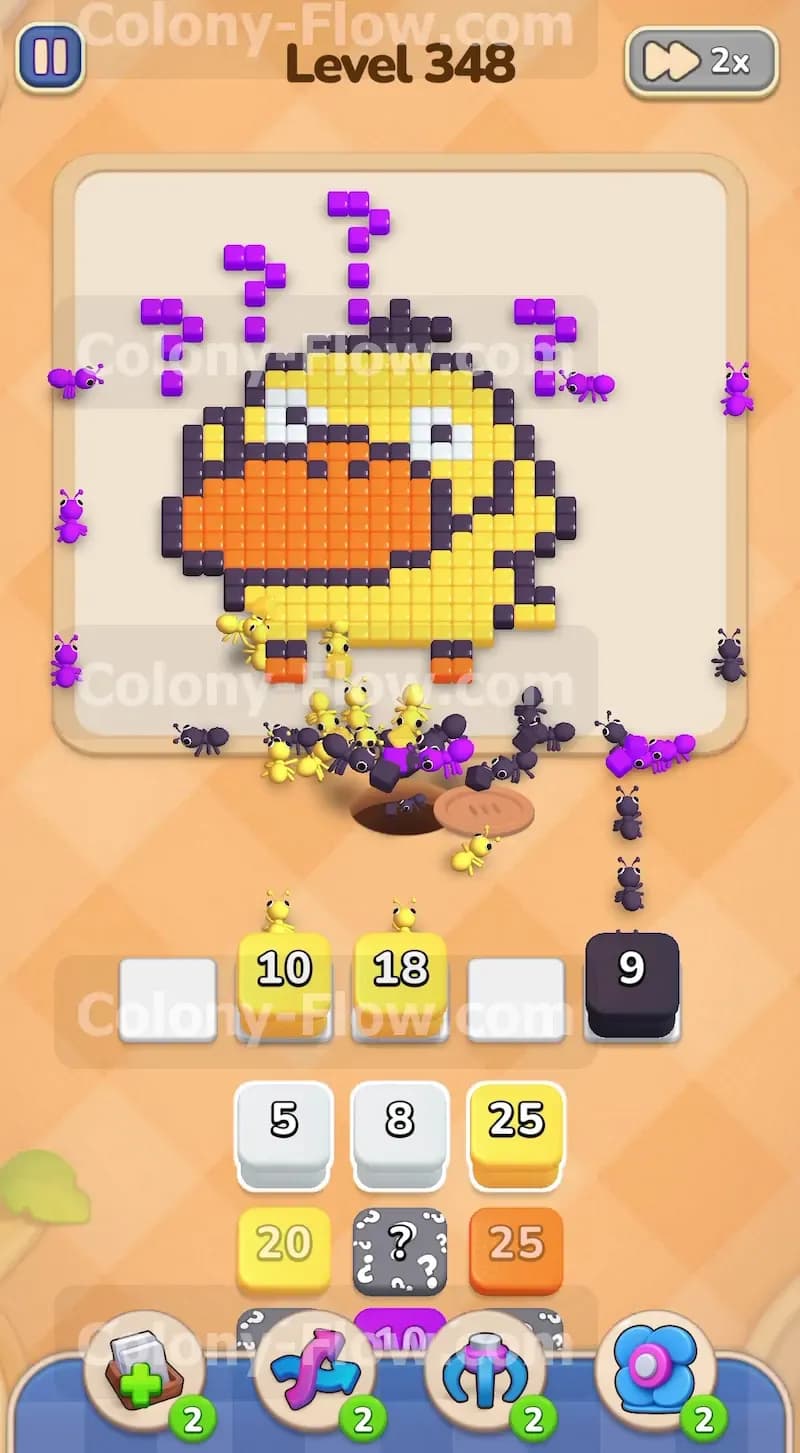
The board begins with the yellow body and the black outline fully exposed to the nest hole. Your starting tray gives you a large yellow block holding 22 ants and a large black block holding 20 ants right at the front row. Pull both of these blocks up into your waiting slots immediately to get the flow started. The ants will stream out of the nest hole and begin eating the bottom edge of the platypus. The black ants will eat away the protective outline while the yellow ants eat into the lower body tiles. The high numbers on these initial blocks will rapidly decrease as the swarm goes to work. This specific action opens up much more surface area for the ants to reach other inner colors later. Doing this early move also pulls the grey hidden boxes forward in the tray so you can finally see what colors they hide. You want to get those hidden boxes revealed as quickly as possible so you can plan your next moves.
Step 2: Introduce a purple block to clear the floating shapes
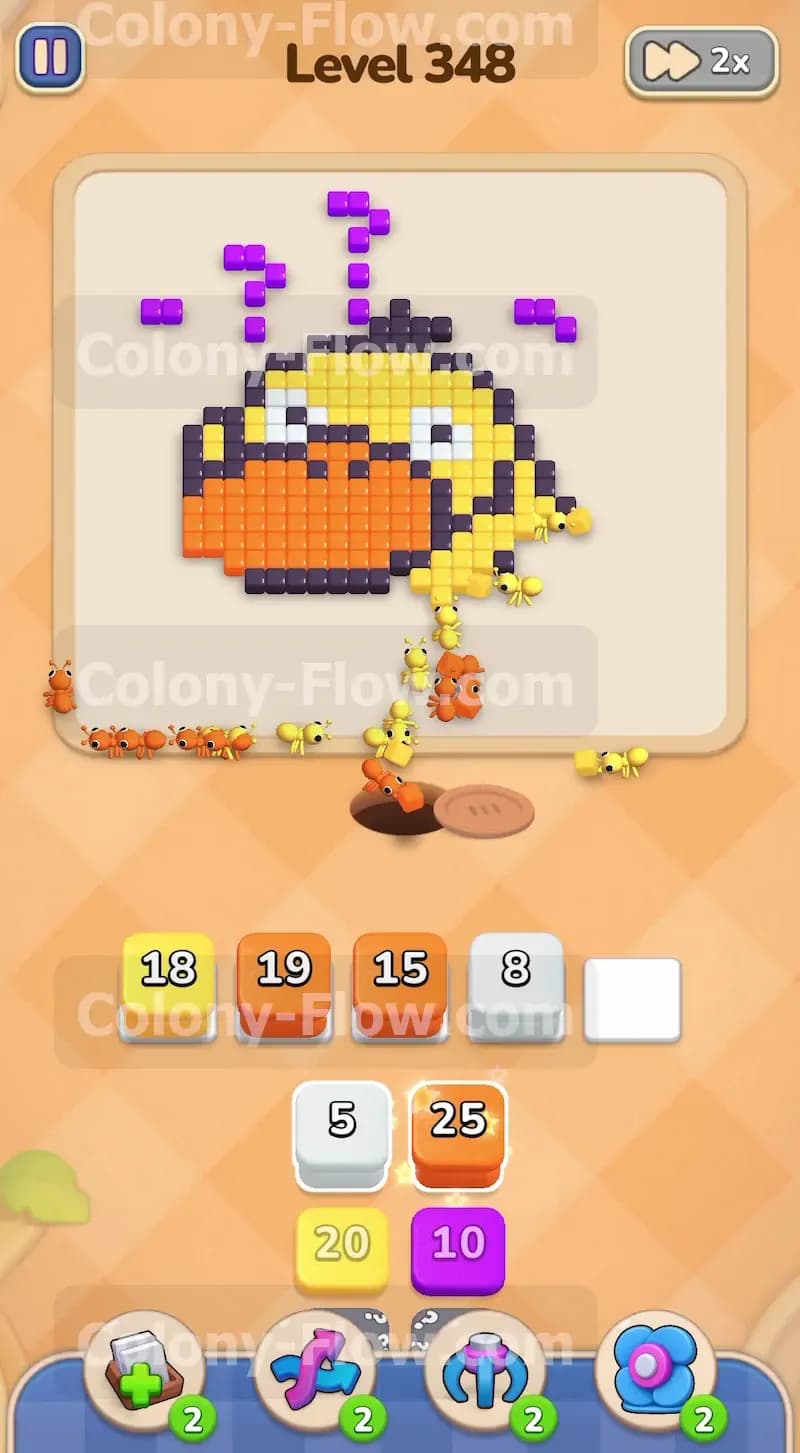
As your first yellow and black blocks count down and shrink, you will see a purple block holding 10 ants become available in the tray. Pull this purple block into a waiting slot as soon as you can. The purple question marks floating above the platypus are completely separated from the main body. This means they are completely exposed to the open background and the ants can reach them right from the start of the puzzle. Sending purple ants up there is a great method to keep your slots open while the other ants work on the main body below. The purple block will steadily count down from 10 to 0 and free up its slot for your next necessary move. Always keep an eye on these detached shapes throughout the puzzle because they provide a perfectly safe path to keep your flow moving.
Step 3: Manage the newly revealed orange blocks
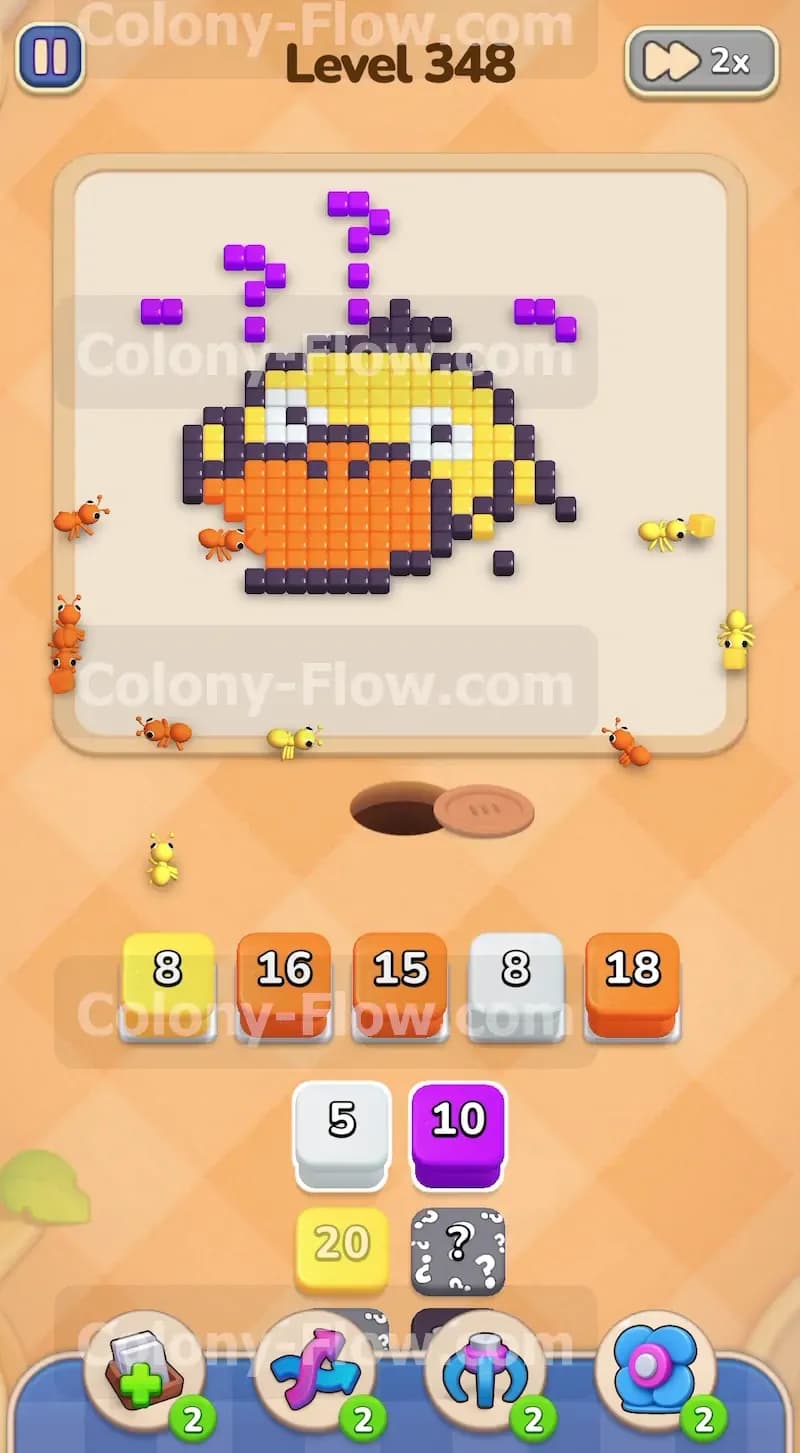
Once you clear the initial blocks from the tray, the grey hidden boxes will reach the front and reveal themselves as massive orange blocks holding 25 ants. The orange beak of the platypus is huge and requires a large amount of ants to completely clear. You will definitely need to pull these orange blocks into your waiting slots to make progress. However, you must be extremely careful not to pull too many of them at once. The beak is partially protected by the black outline and the yellow body tiles surrounding it. If you fill three or four slots with orange blocks too early in the game, you risk a permanent jam. Pull just one or two orange blocks and watch the ants route themselves to the beak. Let them eat the exposed orange tiles and watch the block number drop before you pull another one to replace it.
Step 4: Balance the orange beak with the white eyes
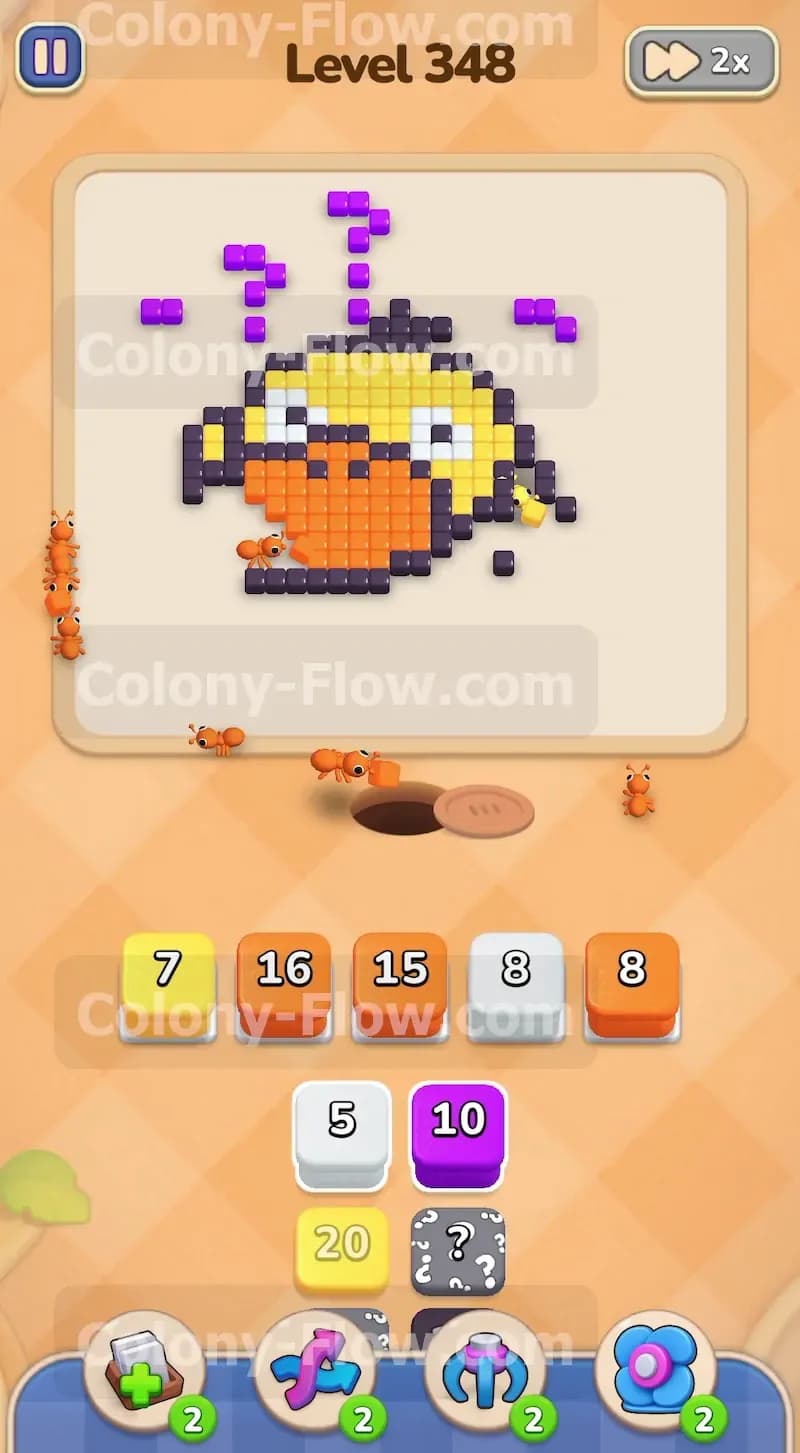
While the orange ants are busy dealing with the giant beak, you need to keep the rest of the board moving efficiently. You will uncover white blocks holding 8 or 5 ants hiding in the tray. The platypus has white tiles for its eyes and its feet. The feet are located at the very bottom and are quite easy to reach once the black outline is broken by your first moves. Pull a white block into your waiting slots so the ants can grab those foot tiles. The numbers on your white blocks will count down quickly because the feet are so close to the nest. This action keeps a steady flow of white ants moving right alongside the orange ants. Keeping multiple different colors active at the same time prevents any single color from taking over your limited slots. It also ensures the ants always have a valid target to eat.
Step 5: Clear the remaining yellow body sections
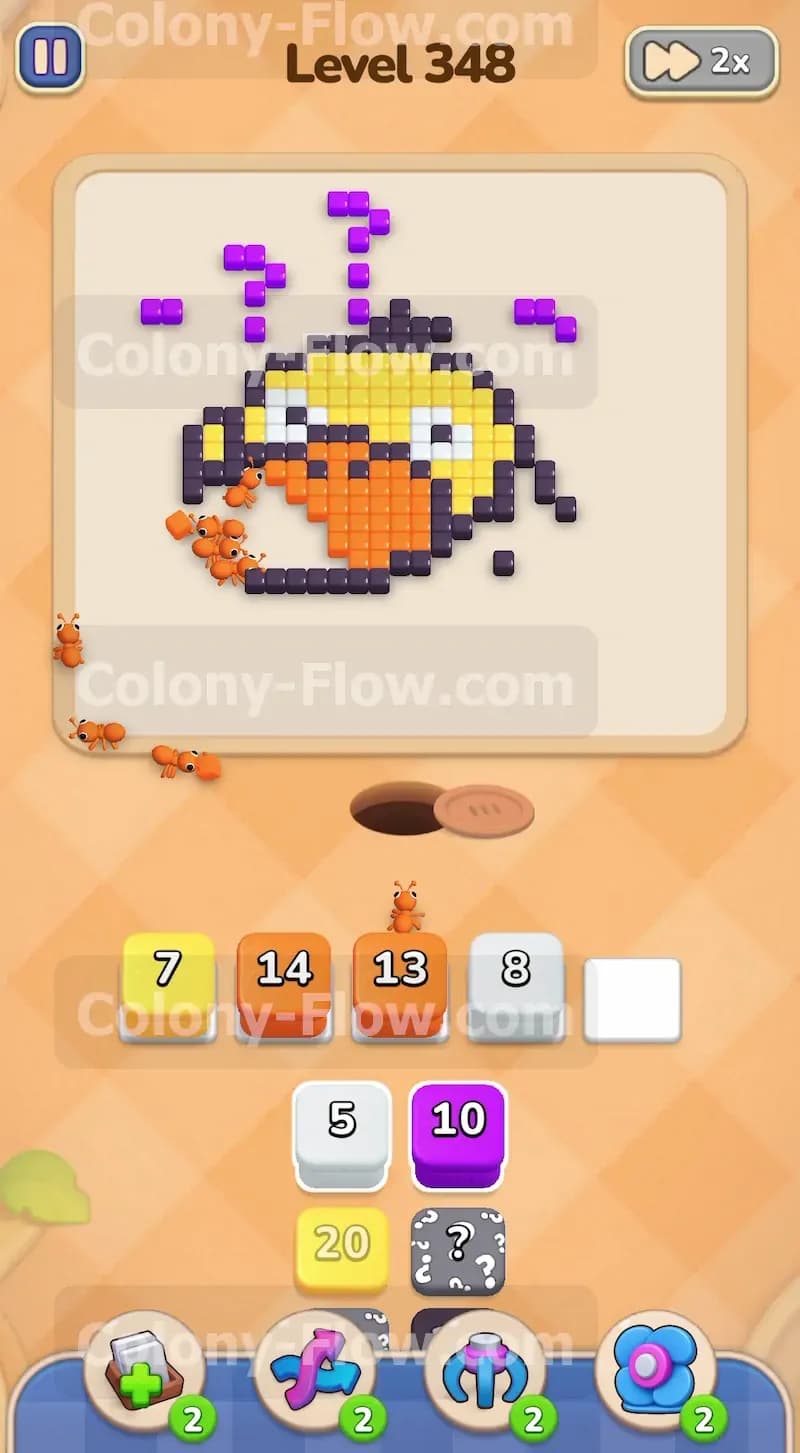
The large orange beak sits right in the middle of the yellow body. As the beak shrinks down, more of the yellow body becomes exposed from the inside out. You will naturally find more yellow blocks holding 20 ants appearing in your tray as you clear the front rows. Pull these yellow blocks up to handle the top half of the head and the back of the body. The ants will now have plenty of wide open paths to reach these upper yellow sections. Keep alternating between yellow and orange blocks as they become available in the tray. The best method here is watching the numbers on the blocks count down to single digits before you decide to pull a new one of the exact same color.
Step 6: Finish the black outline and purple shapes
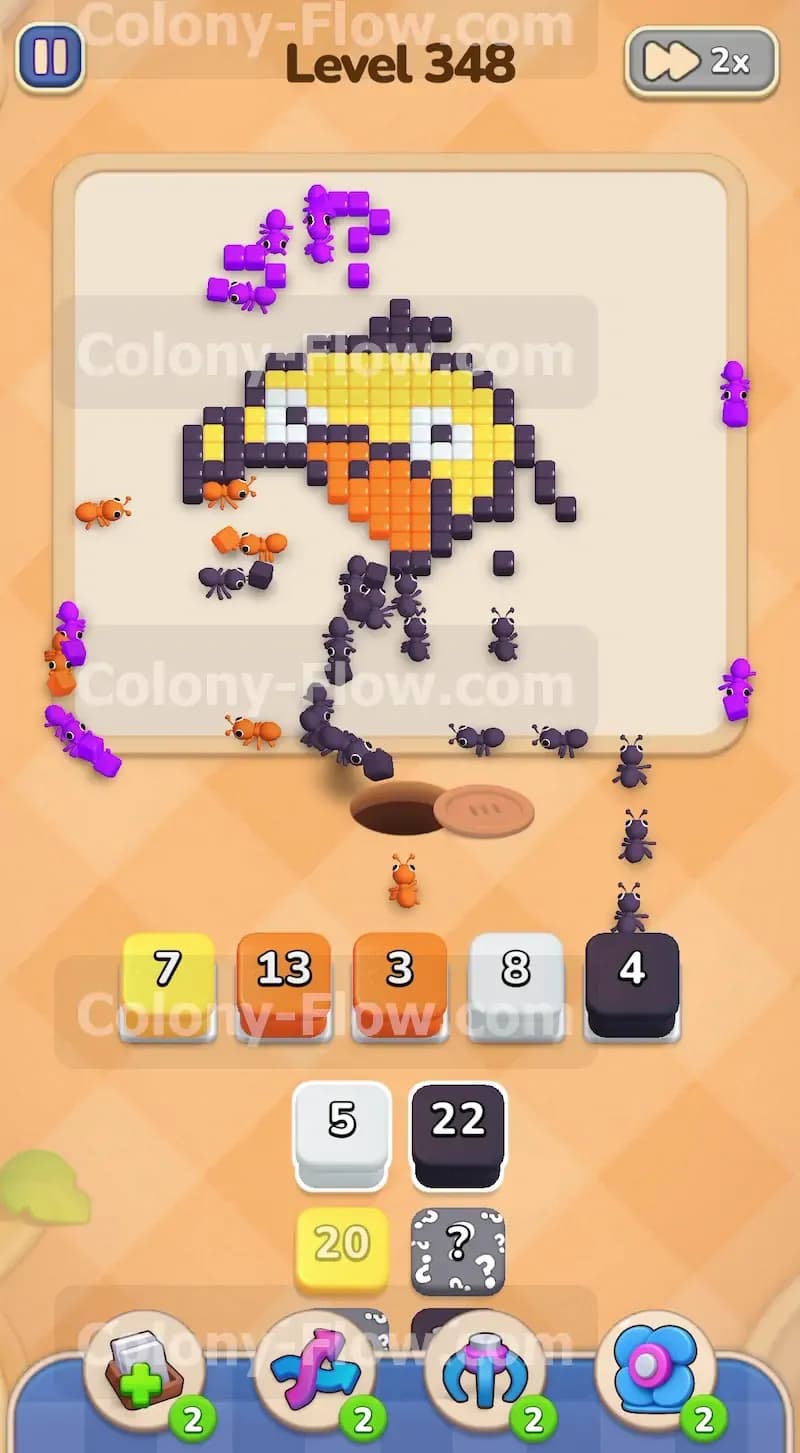
Towards the end of the puzzle, the main bulk of the platypus will be completely gone. You will be left with scattered fragments of the black outline and perhaps a few lingering purple tiles from the question marks. Your tray will supply the final black blocks holding 4 or 12 ants needed to clean up these small remnants. Pull them up very carefully. The paths are wide open now, so the ants will quickly rush across the empty board to reach the final tiles. The small numbers on these blocks will quickly drop to 0. Make absolutely sure you do not have any stray orange or yellow blocks taking up space if there are no orange or yellow tiles left on the board. The ants will swarm the final black edge tiles and the remaining purple marks to finish them off.
Step 7: Play the final white blocks for the eyes
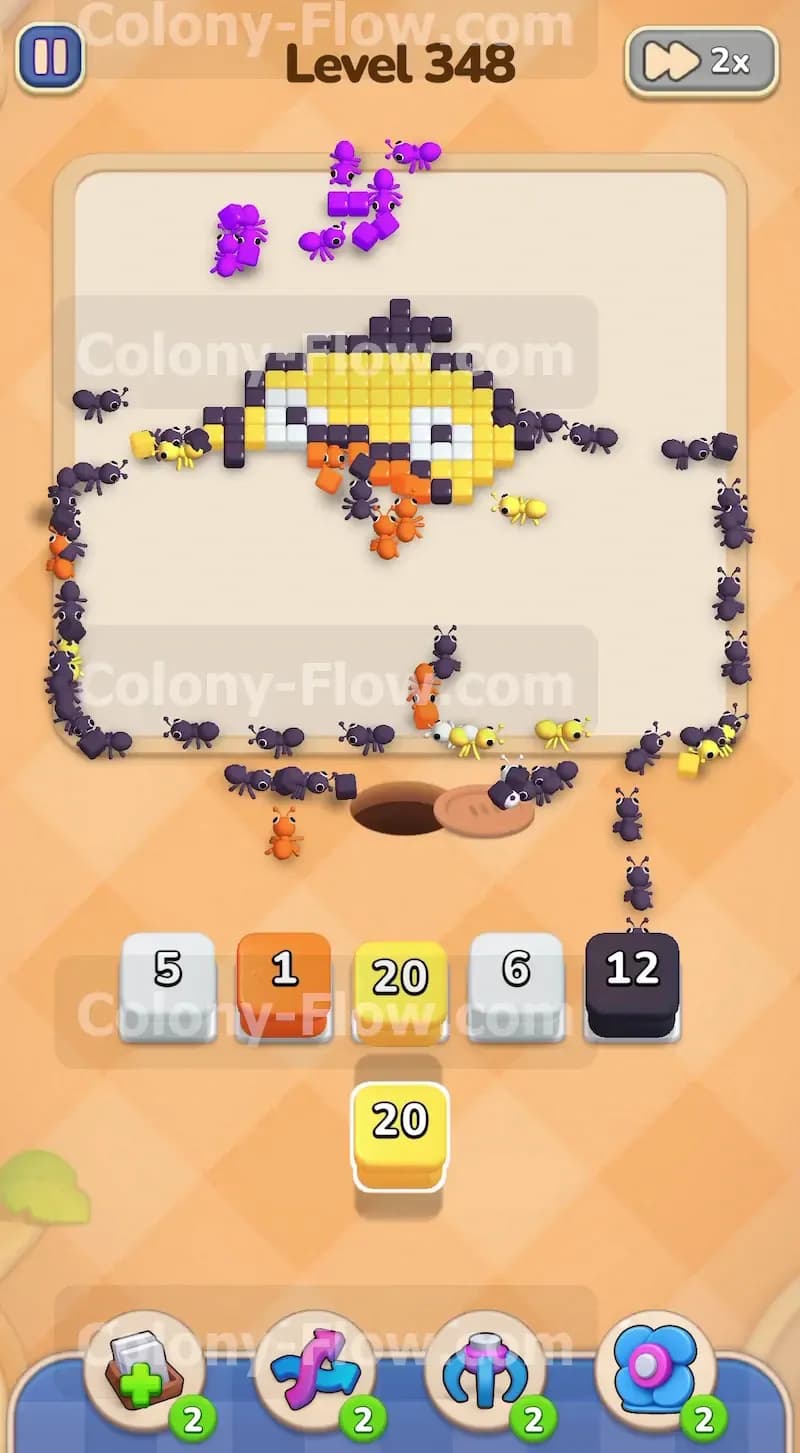
The very last tiles to clear are often the white eyes and a few scattered body tiles that got left behind. In the final moments of the puzzle, your tray will have a small white block holding 5 ants and maybe a small yellow block. Pull these final blocks into your last open slots to trigger the end of the game. The ants will make a straight line for the eyes and clear them out instantly. The block numbers will immediately drop to 0 as the last ants spawn. Because you kept your board perfectly balanced and never pulled blocks you could not use, your waiting slots remain clear and functional. The ants will consume the very last pixel on the screen and you will successfully win the level.
Final Thought
Playing this level requires a lot of patience and a good eye for figuring out which tiles are actually exposed. The hidden boxes make it extremely tempting to pull everything just to see what is underneath, but doing that is a quick way to jam your slots and lose the game. Take your time and let the ants finish their routes before you commit to new colors. Always verify that a path exists before tapping a block. I hope this walkthrough helps you conquer the board and master the flow. Feel free to watch the video located above this article if you need a visual guide for any tricky spots you encounter.