Colony Flow Level 133 Walkthrough Solution & Guides | How to solve Colony Flow 133

Guide By Liam Stone
Updated on July 11, 2026
Watch first, read later. The video above shows the complete Level 133 walkthrough.
Video doesn't match your screen?
Game updates frequently scramble layouts! Try our AI Screenshot Solver first to find your exact board instantly, or report broken guides to our team.
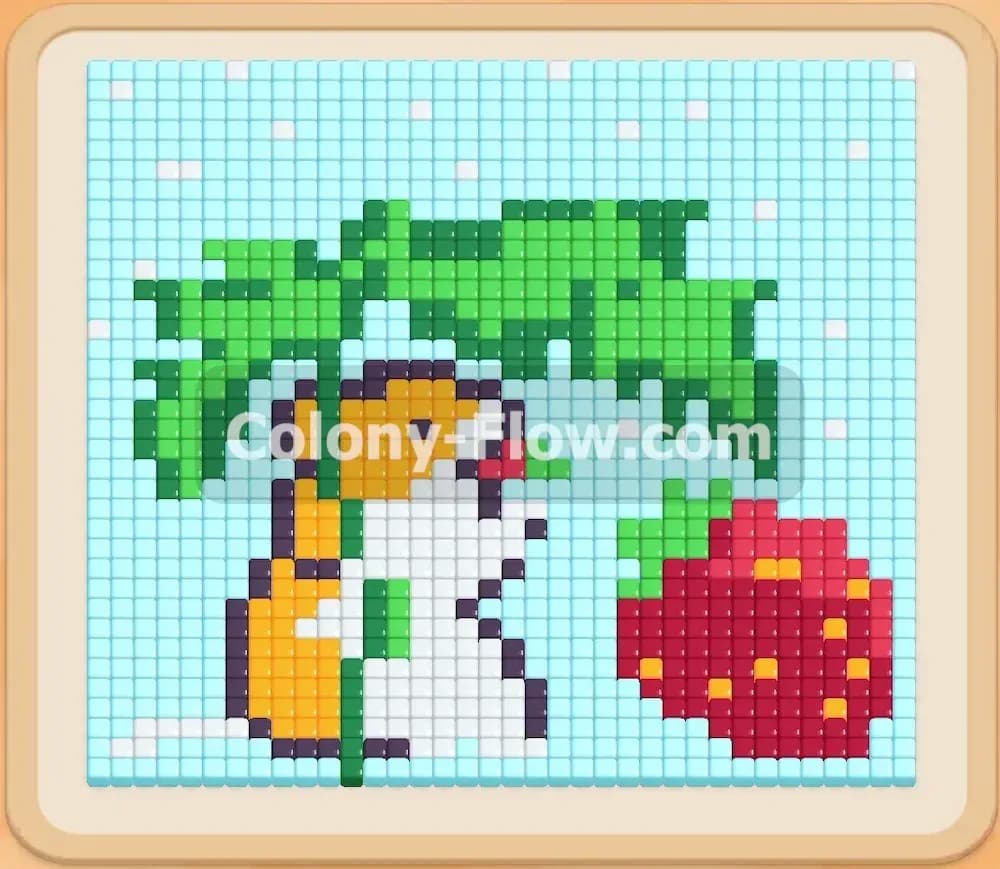
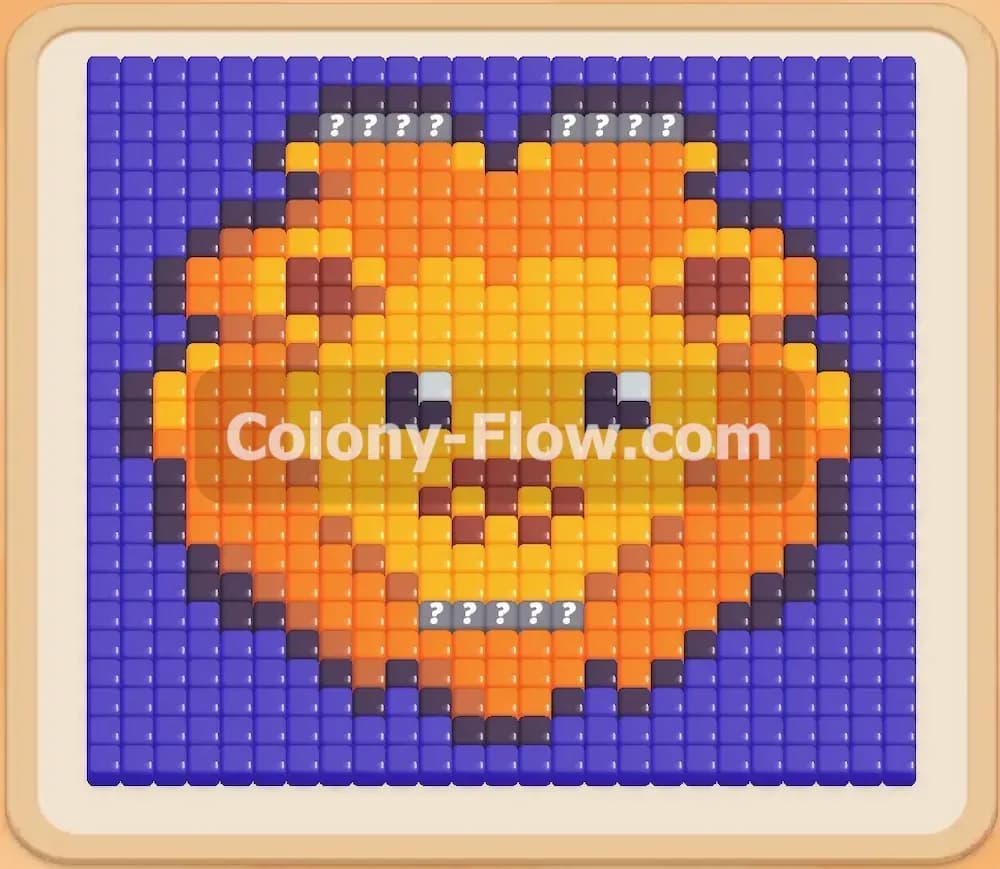
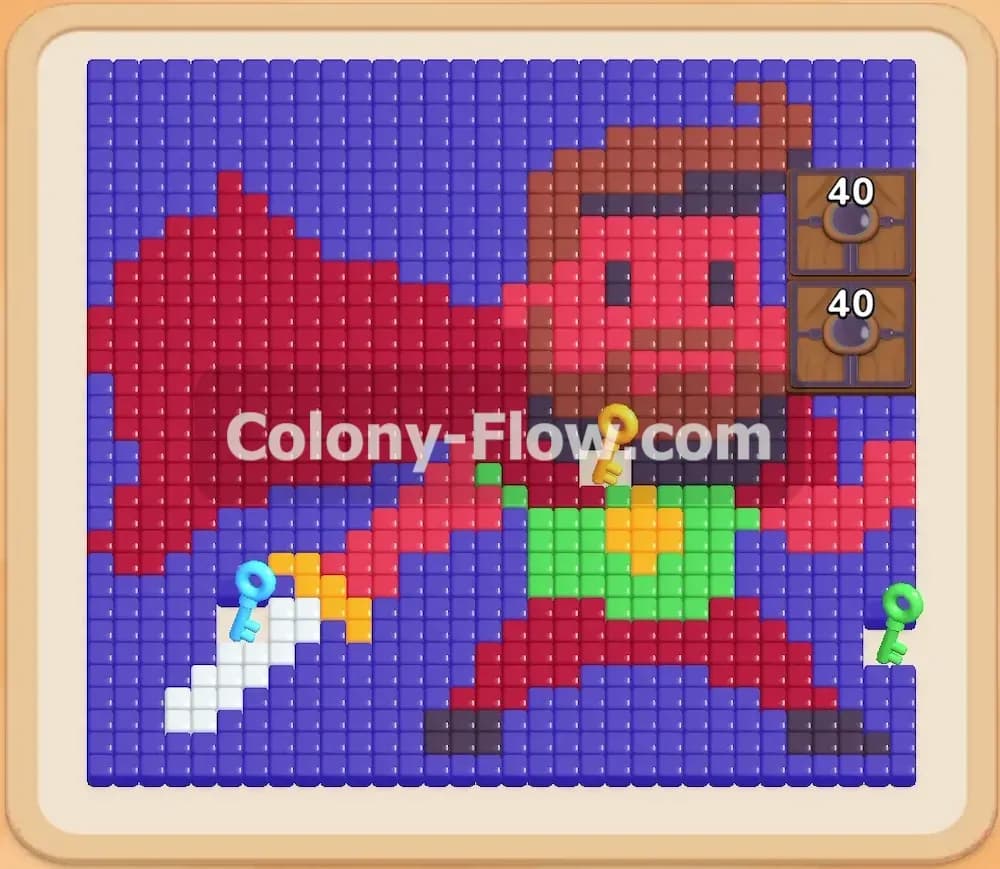
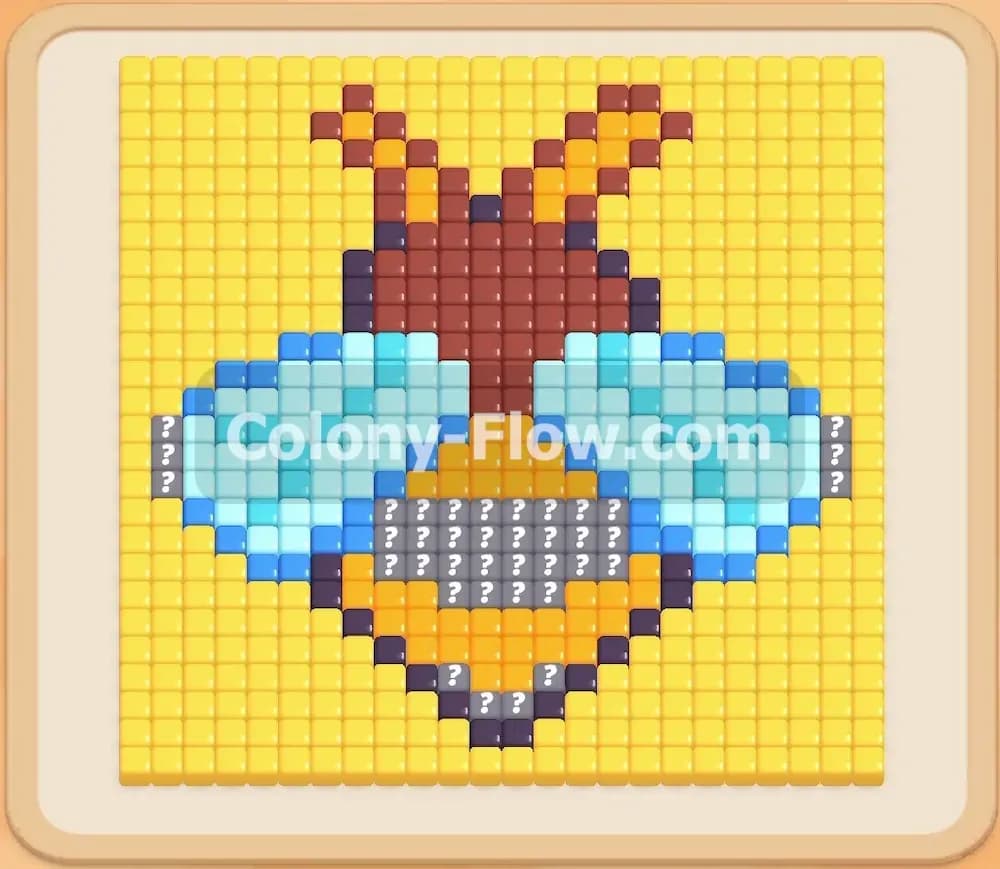
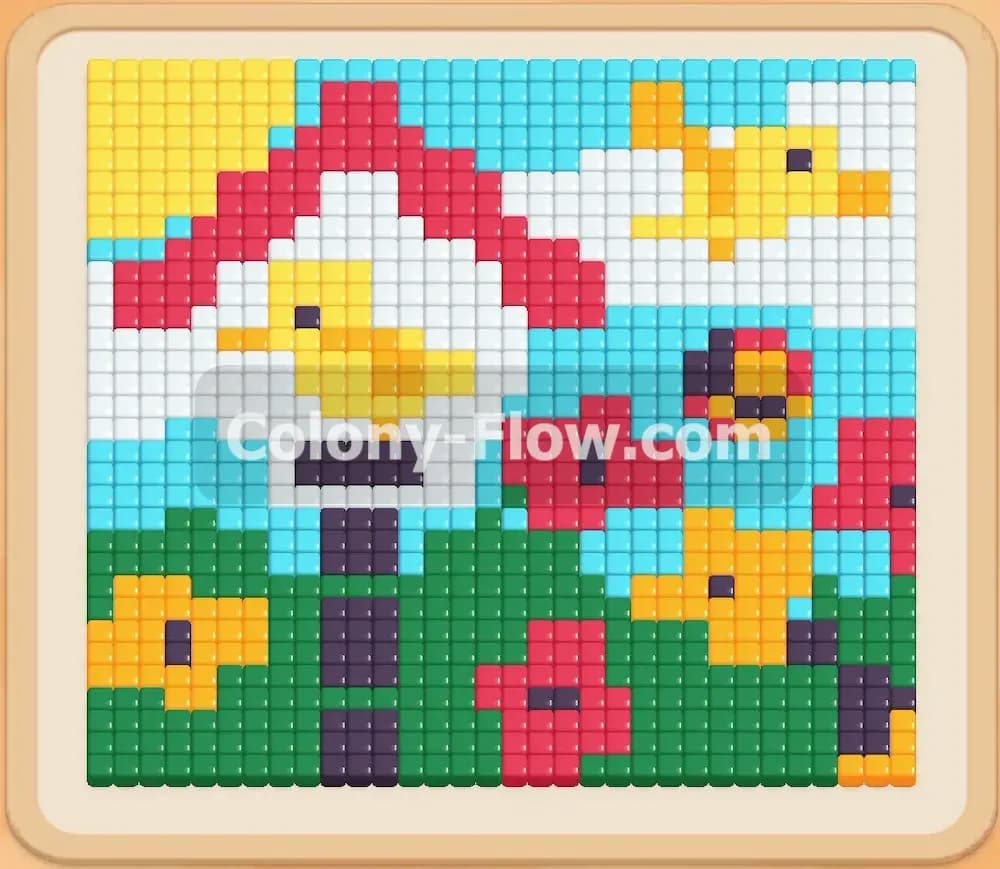
Colony Flow Level 133 presents a beautiful pixel art picture of a birdhouse surrounded by flowers and birds. You start with a massive board of different colored tiles that need to be dismantled piece by piece. Your job is to feed the right colored blocks to your ant colony so they can carry away the food and clear the screen. I will show you exactly how to approach this puzzle so you never run out of space in your waiting slots.
Colony Flow Level 133 Overview
What You Are Working With
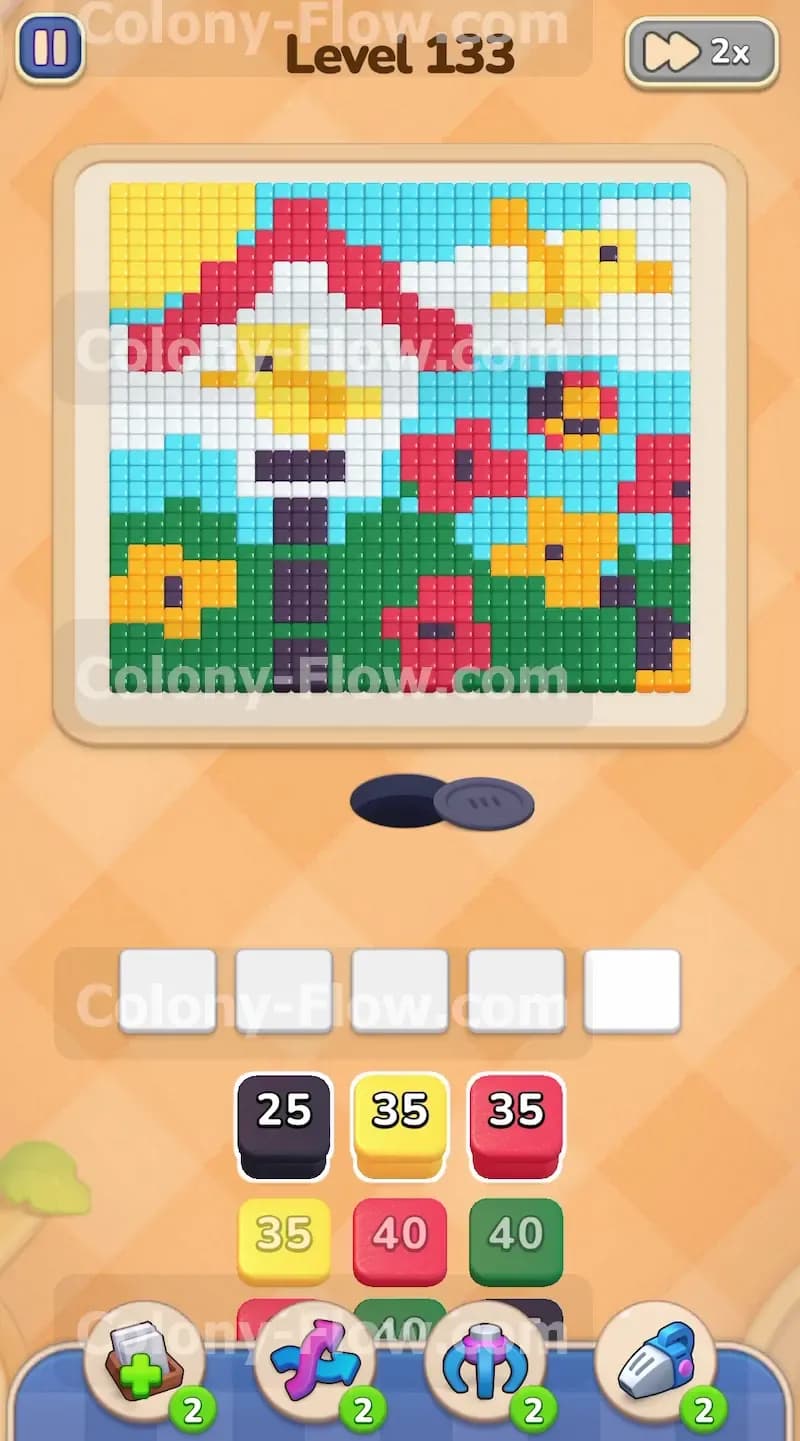
The picture features a bright red roofed birdhouse sitting on a dark gray pole. Yellow birds fly around it and yellow centered flowers bloom in the green grass below. A light blue sky and white background elements surround the main image. You pull numbered blocks from your tray into five available slots to send your ants out. The blocks range in size from small single digit numbers to large forty count blocks.
What It Takes to Clear Level 133 Board
Winning means matching every single colored pixel on the board to the correct numbered block in your tray. You have to clear the entire image without filling your five waiting slots with blocks that have nowhere to go. If you pull a color before its matching tiles are exposed to an open path that block gets stuck. You clear the board by steadily working from the outside edges inward to expose the hidden inner colors. Once the last ant carries away the final piece of the sky or grass you beat the level.
Colony Flow Level 133 Step by Step Solution
Step 1: Open the bottom pathways by clearing outer edge green and dark gray tiles
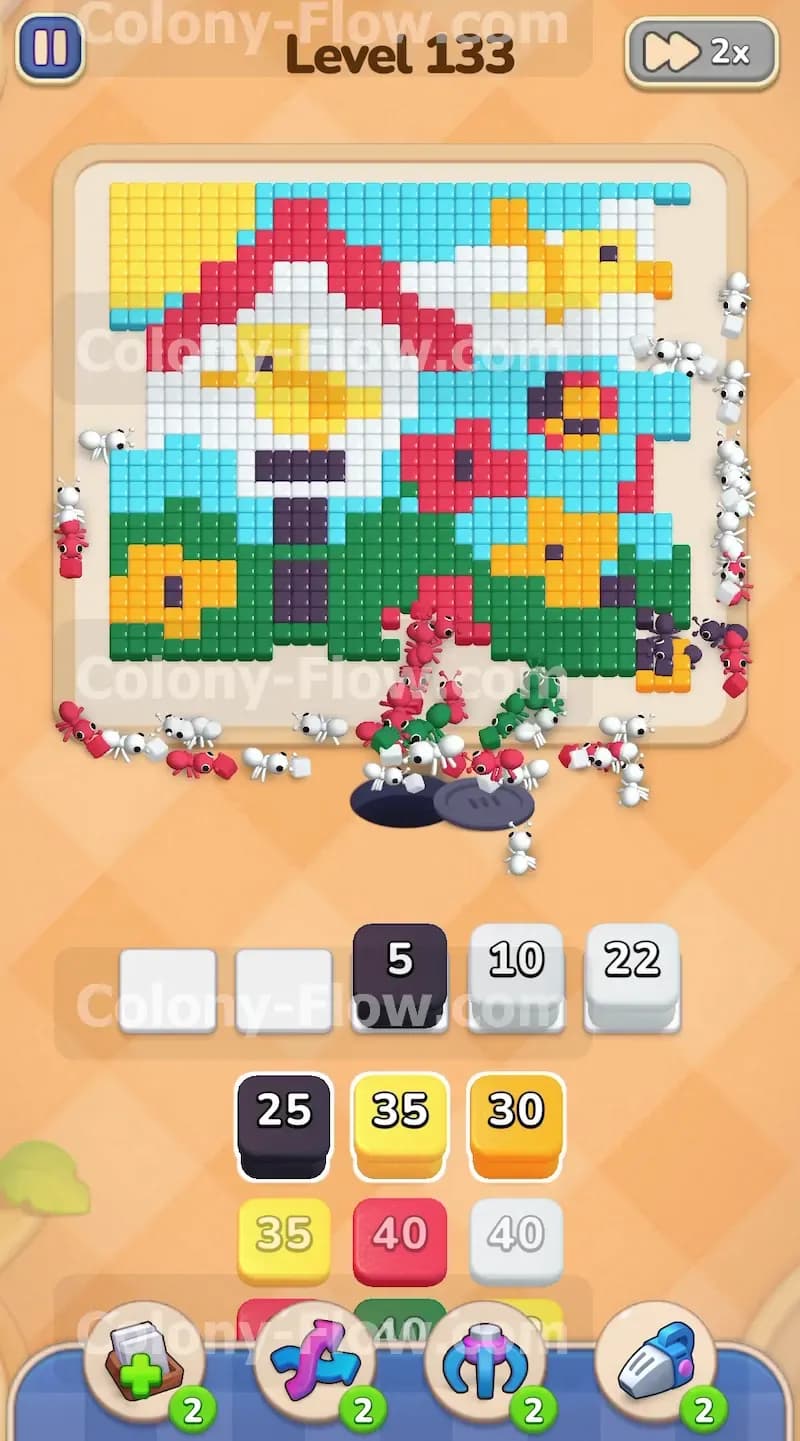
When you first start you see that the bottom edge of the board consists mostly of green grass and a few dark gray pole pieces. You need to give your ants immediate targets that are completely easy to reach. Pull a medium dark gray block and a large green block from the tray into your waiting slots. The ants stream out of the nest hole and immediately start eating away at the exposed bottom layers. This creates a wide opening along the lower section of the screen. Having a wide opening means your ants travel much shorter distances and finish their carrying tasks faster. This keeps your waiting slots cycling quickly so you avoid a jam right from the very beginning. You open the door for all future moves by clearing this foundation first. You always want to carve out a generous starting area so the colony has room to maneuver.
Step 2: Send white blocks to clear the background areas
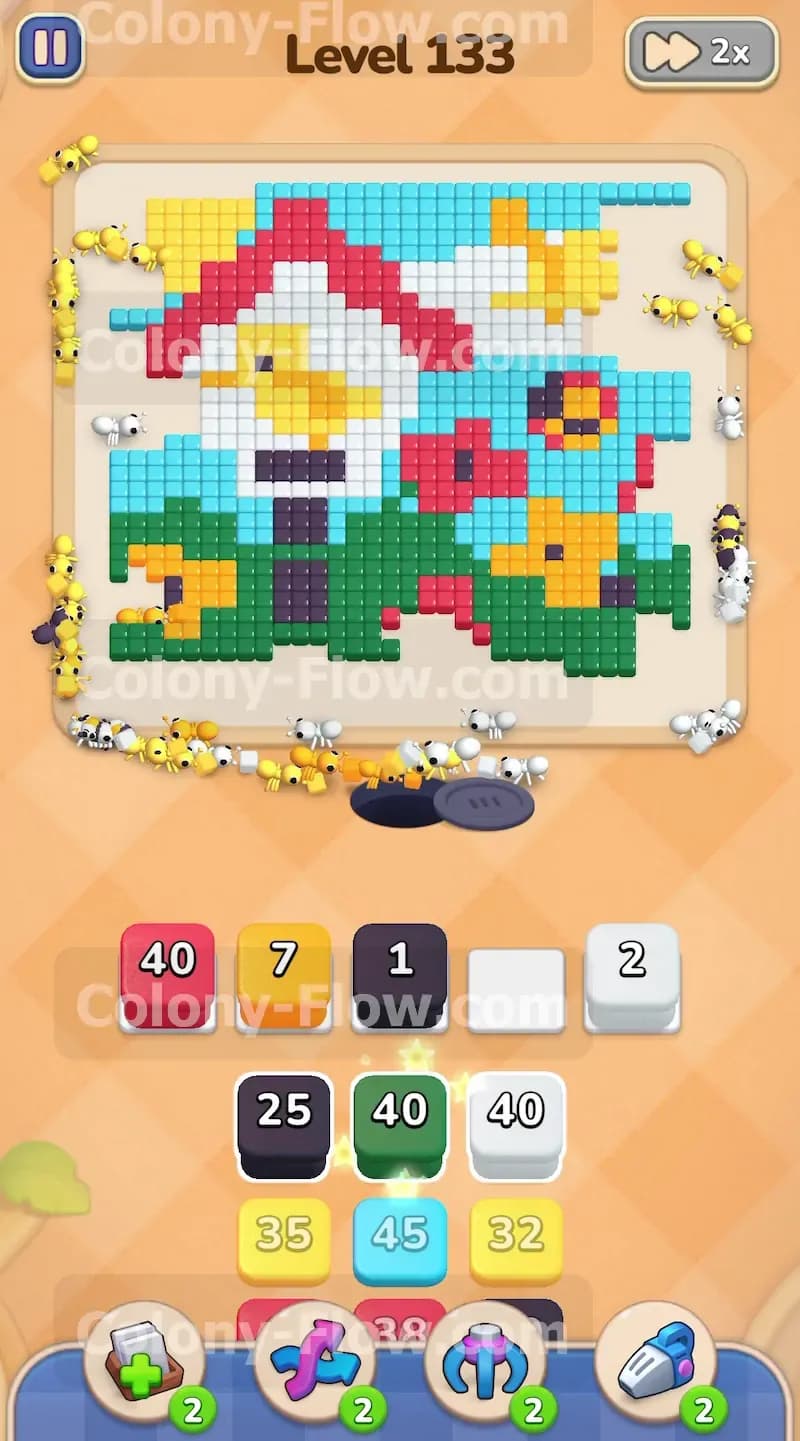
With the bottom path fully open you expose the white background tiles that wrap around the sides of the picture. Find a large white block displaying a high number in your tray and slide it into an empty waiting slot. White ants pour out of the nest and march up the sides of the board. They start chewing through the white space surrounding the birdhouse and the bright flowers. The white tiles cover a massive amount of ground so your ants will be highly busy for quite a while. You want to let this specific block count down significantly before filling too many other slots with new colors. Clearing the white space is a brilliant early move because it suddenly exposes the left and right edges of the inner picture. You effectively give your ants flank access to the harder inner parts of the puzzle without having to dig directly through the middle.
Step 3: Target the red flower petals and the birdhouse roof
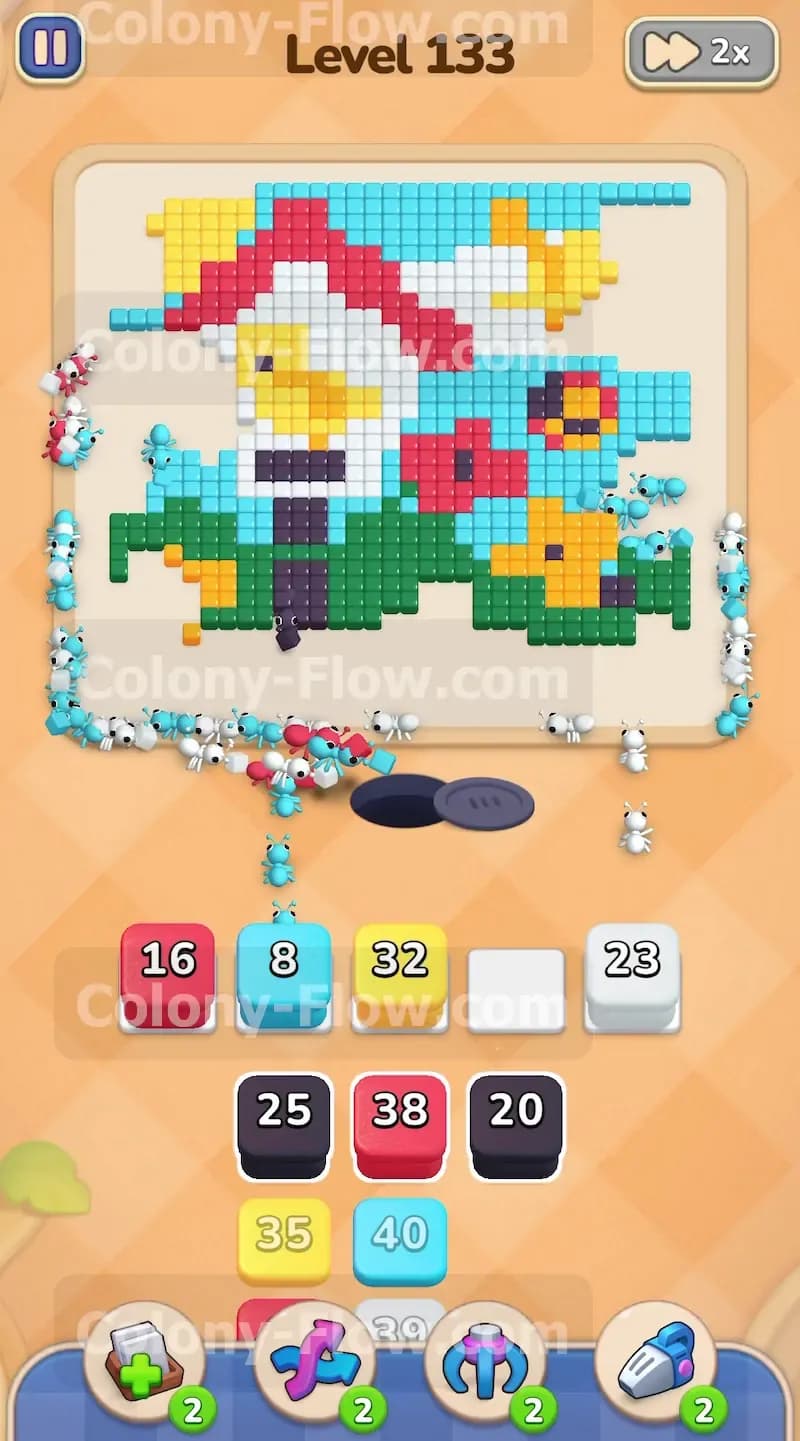
Now that the sides are completely bare the red tiles become fully accessible. The picture has giant red sections including the heavy flower petals near the bottom and the large birdhouse roof squarely in the middle. Pull a red block holding forty ants from your tray. Red ants flood the screen and climb up the newly cleared side paths to reach the roof. Other ants split off naturally to tackle the red flowers scattered in the green grass. Because you waited to pull the red block until now the ants have multiple open angles to attack the red tiles. They strip the roof and the flowers away simultaneously. Your waiting slot stays highly active and perfectly safe because there is never a shortage of open red paths for the colony to follow.
Step 4: Bring in yellow blocks to handle the birds and flower centers
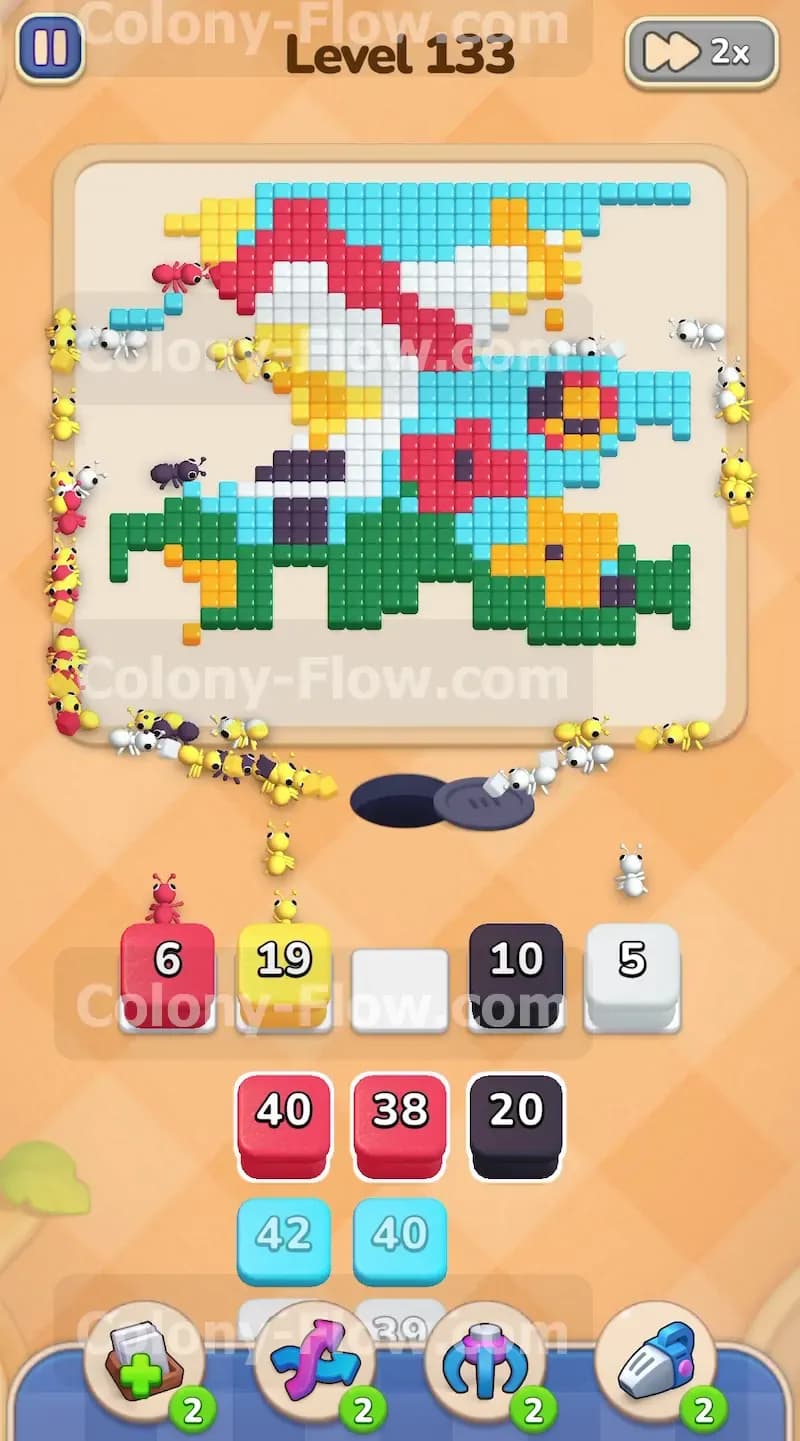
The red sections disappearing leaves the yellow elements entirely exposed on the board. You can clearly see the yellow bird sitting inside the birdhouse along with another bird flying nearby in the sky. The centers of the flowers also heavily use yellow tiles. Move a yellow block into your active slots to get the colony moving again. The yellow ants run up the middle to grab the birdhouse resident and also branch out to the remaining flowers. Because the red petals are entirely gone the flower centers stand alone making them incredibly easy for the ants to surround and reach. The yellow numbers drop extremely fast as the ants tear into these smaller isolated sections. You keep your slot rotation healthy and completely smooth by picking off these fully isolated clusters.
Step 5: Introduce light blue blocks to start clearing the sky
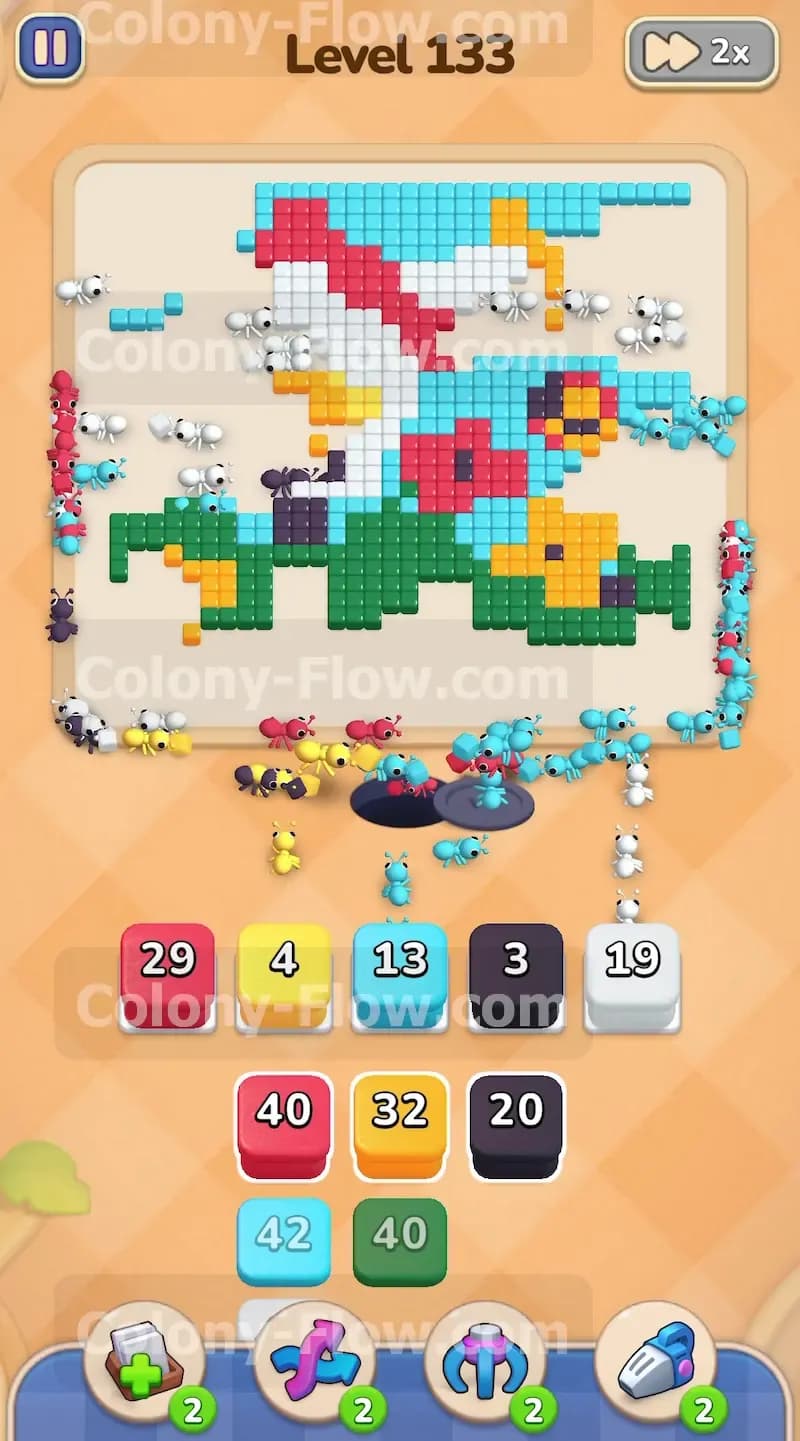
The light blue sky sits heavily at the very top of the board. You absolutely could not reach it safely at the start of the level. Thanks to the cleared white background and the missing red roof your ants now possess a direct highway straight to the very top. Select a large light blue block and watch the ants climb all the way up the screen. They begin eating away the sky layer by layer starting from the bottom edge of the clouds. The sky is massively wide so this process takes a considerable amount of time. You want to make sure you keep at least one or two slots open while the light blue block slowly ticks down. Extreme patience here ensures you never dead end your board while waiting for the long travel times to finish.
Step 6: Use dark gray blocks for the pole and fine details
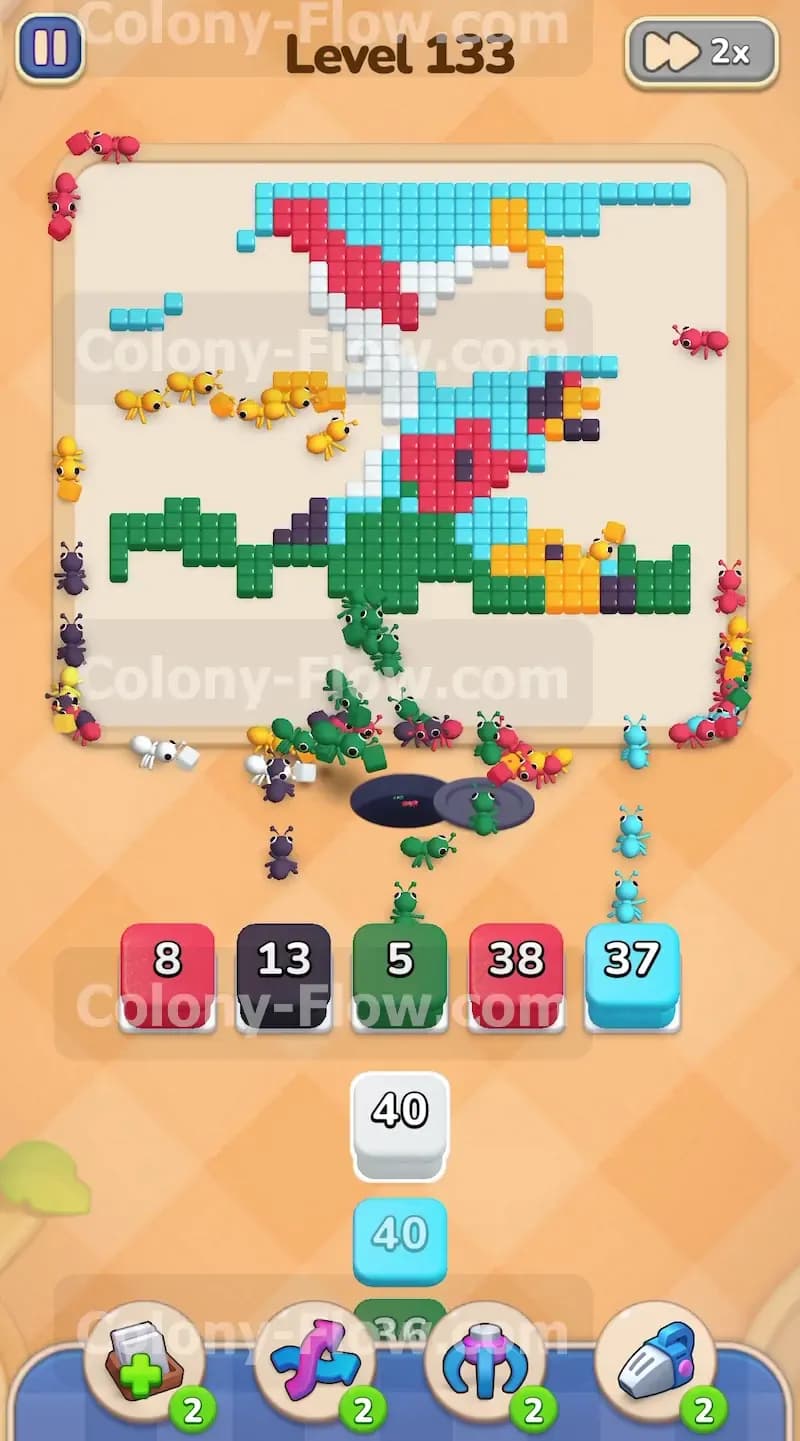
While the blue ants tirelessly work on the sky you should definitely notice the dark gray pole supporting the birdhouse. There are also small dark gray details scattered around the flower petals on the ground. Pull a dark gray block with a smaller number into an empty waiting slot. The ants quickly grab these isolated dark gray tiles because they are close to the nest. Removing the pole disconnects the upper sections from the bottom grass entirely. This visual separation changes the shape of the remaining board and gives the ants brand new routing options. The dark gray block finishes fast and frees up its slot almost immediately. You always want quick wins exactly like this to keep your slots rotating properly and your board flowing smoothly.
Step 7: Alternate green and red blocks to thin out the middle
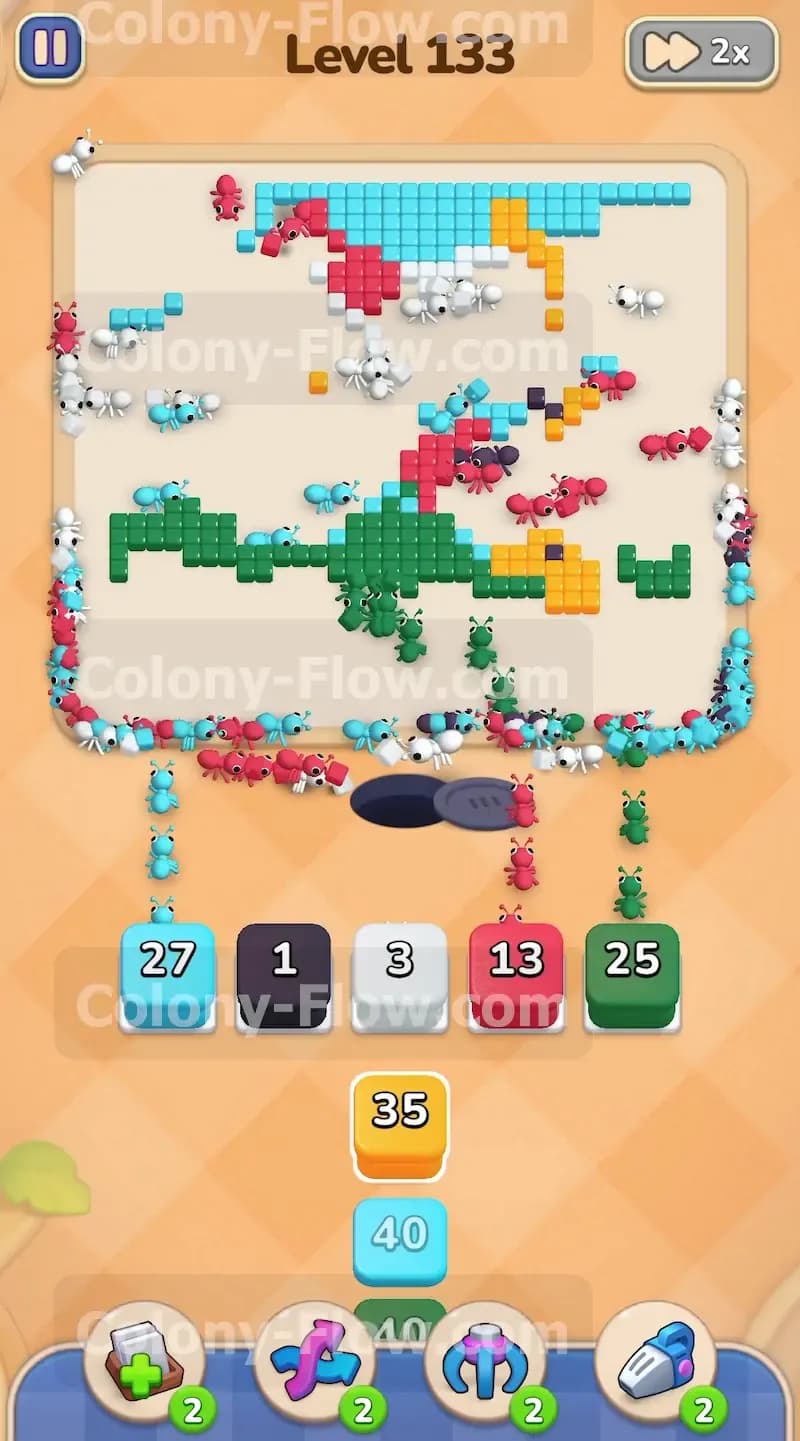
You still have remaining chunks of green grass and a few lingering red flower pieces in the lower half of the screen. The board is looking much emptier now but you still need to be incredibly careful not to crowd your slots. Pull another green block and another red block to send out two different ant groups. The ants clear out the remaining grass patches and finish off the last stubborn red petals. Balancing two colors at once keeps the ants flowing in completely different directions. They do not bump into each other as much when they have distinct separate targets to devour. You maintain a perfectly steady rhythm and keep your slots from filling up with stagnant unmoving blocks.
Step 8: Push remaining white and yellow blocks to isolate the sky
A few stray white background pieces and maybe one small yellow bird section remain near the top right corner. Bring up a small white block and a small yellow block from your tray to clean house. The ants sweep up these final details effortlessly and quickly. Now the only major element left on the entire board is the light blue sky hovering at the top. Isolating one single color at the very end of the stage is the absolute safest way to play this game. You guarantee that any block you pull for that remaining color will have a completely direct open path. You effectively eliminate any risk of a jam ruining your perfectly planned run at the very end.
Step 9: Finish the sky with the final light blue blocks
The only tiles remaining are the light blue sky pixels forming a wide horizontal line at the very top of the screen. Look at your tray and pull the final light blue blocks into your active slots. The ants rush up the completely empty board and quickly devour the remaining sky tiles. Because the path is completely clear from the nest hole all the way to the top the ants travel at absolute maximum speed without any obstacles slowing them down. The numbers drop to zero rapidly as the swarm finishes the job. The final tiles vanish into the nest hole and you fully clear the board to win the stage.
Final Thought
Clearing this picture requires you to be patient and work your way from the outside layers into the core. Opening the side paths first makes all the difference when dealing with the heavy sky and roof sections. I highly encourage you to watch the video above this article if any step is hard to follow in text. Seeing the ants move in real time makes the strategy perfectly clear.