Colony Flow Level 572 Walkthrough Solution & Guides | How to solve Colony Flow 572

Guide By Liam Stone
Updated on August 1, 2026
If you're short on time, the video above covers the entire Level 572 solution in a few minutes.
Video doesn't match your screen?
Game updates frequently scramble layouts! Try our AI Screenshot Solver first to find your exact board instantly, or report broken guides to our team.
Colony Flow Level 572 gives you a giant blobfish pixel art picture to clear. You will face a massive hungry door and a thick block of chocolate right from the start. This board requires careful tray management because you need hundreds of ants to break through the obstacles. I will guide you through the exact moves I used to keep the colony moving and clear the board.
Colony Flow Level 572 Overview
What You Are Working With
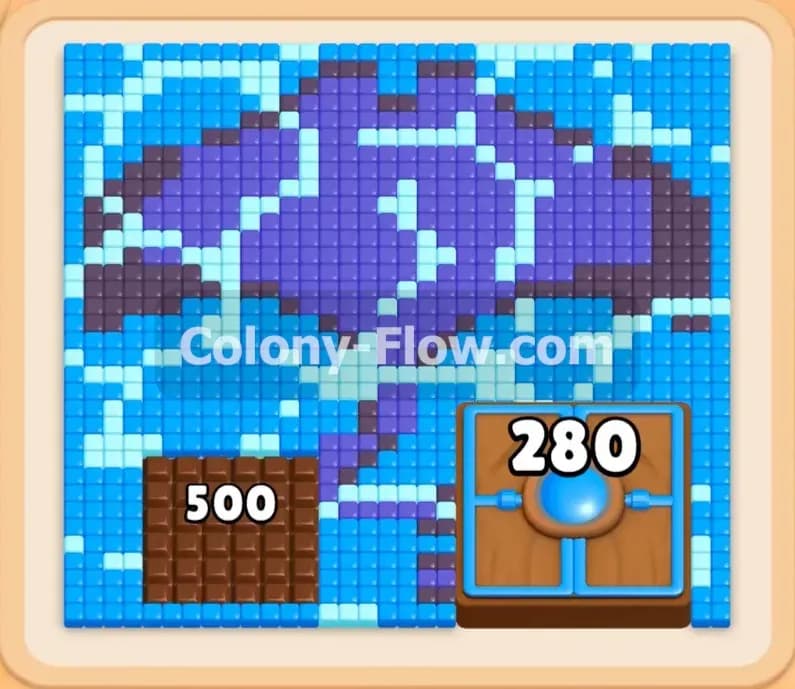
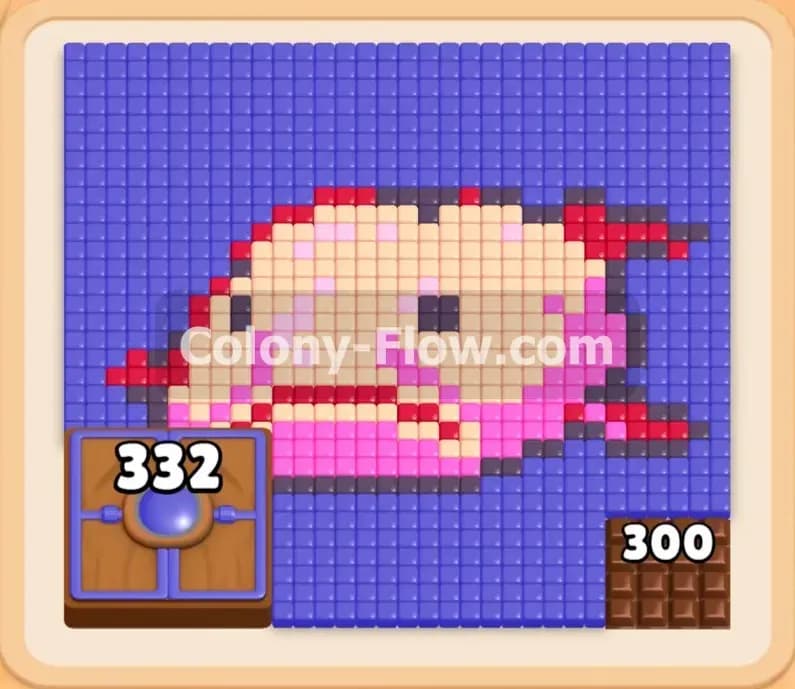
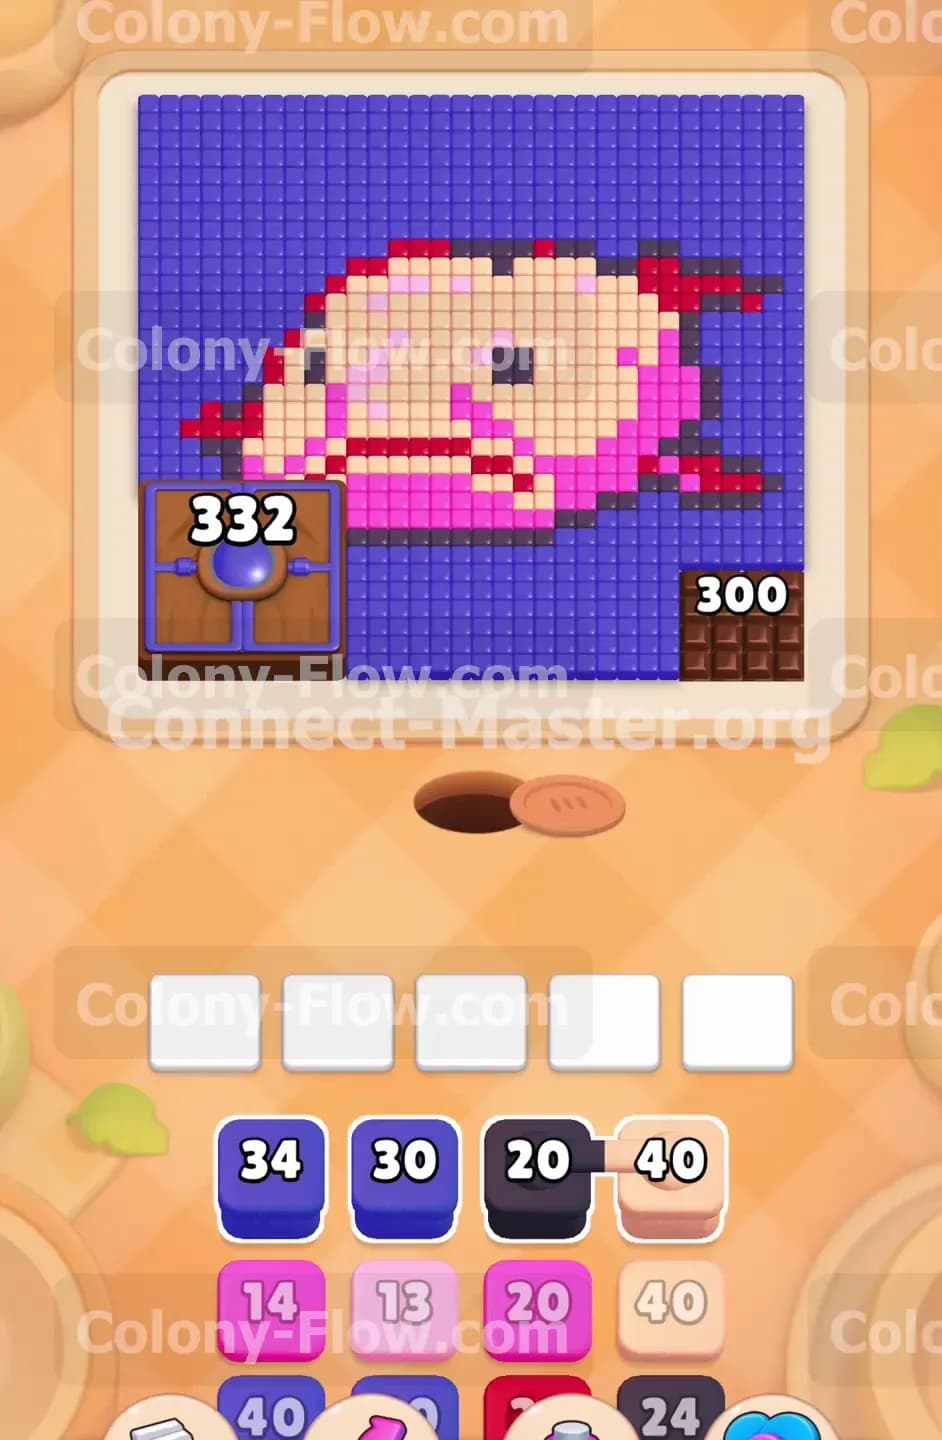
The picture is a large blobfish surrounded by a blue background. The fish itself uses pink and peach for the main body. Red tiles make up the fins. Black tiles create the eyes and the mouth. You will notice a large wooden hungry door on the left side of the blue background. This door demands a whopping three hundred thirty two food points to open. The bottom right corner holds a section of chocolate tiles starting with three hundred points. The chocolate covers the blue background and part of the right fin. You have to destroy it to access the tiles underneath. Your tray at the bottom of the screen holds several single blocks and a few connected boxes. Connected boxes link two different colors together with a thick line. You must pull both at the exact same time. This means you need a valid open path for two separate colors before you touch a connected pair.
What It Takes to Clear Level 572 Board
You win this level by clearing every single tile from the blobfish and its blue background. The main challenge comes from the hungry door and the chocolate. Both obstacles require constant feeding to chip away their high numbers. You have to balance sending blue ants to the hungry door and black ants to the chocolate. The chocolate blocks your progress on the right while the door blocks your progress on the left. At the same time you must feed the regular pink and peach tiles of the blobfish to prevent your five waiting slots from jamming. The core rule of the game is managing those five slots at the bottom of your screen. If you pull too many blocks that have no open path you will fill the slots and lose the level. Success comes from alternating your attacks between the obstacles and the main fish body.
Colony Flow Level 572 Step by Step Solution
Step 1: Target the chocolate obstacle and the lower blue background to create open space.
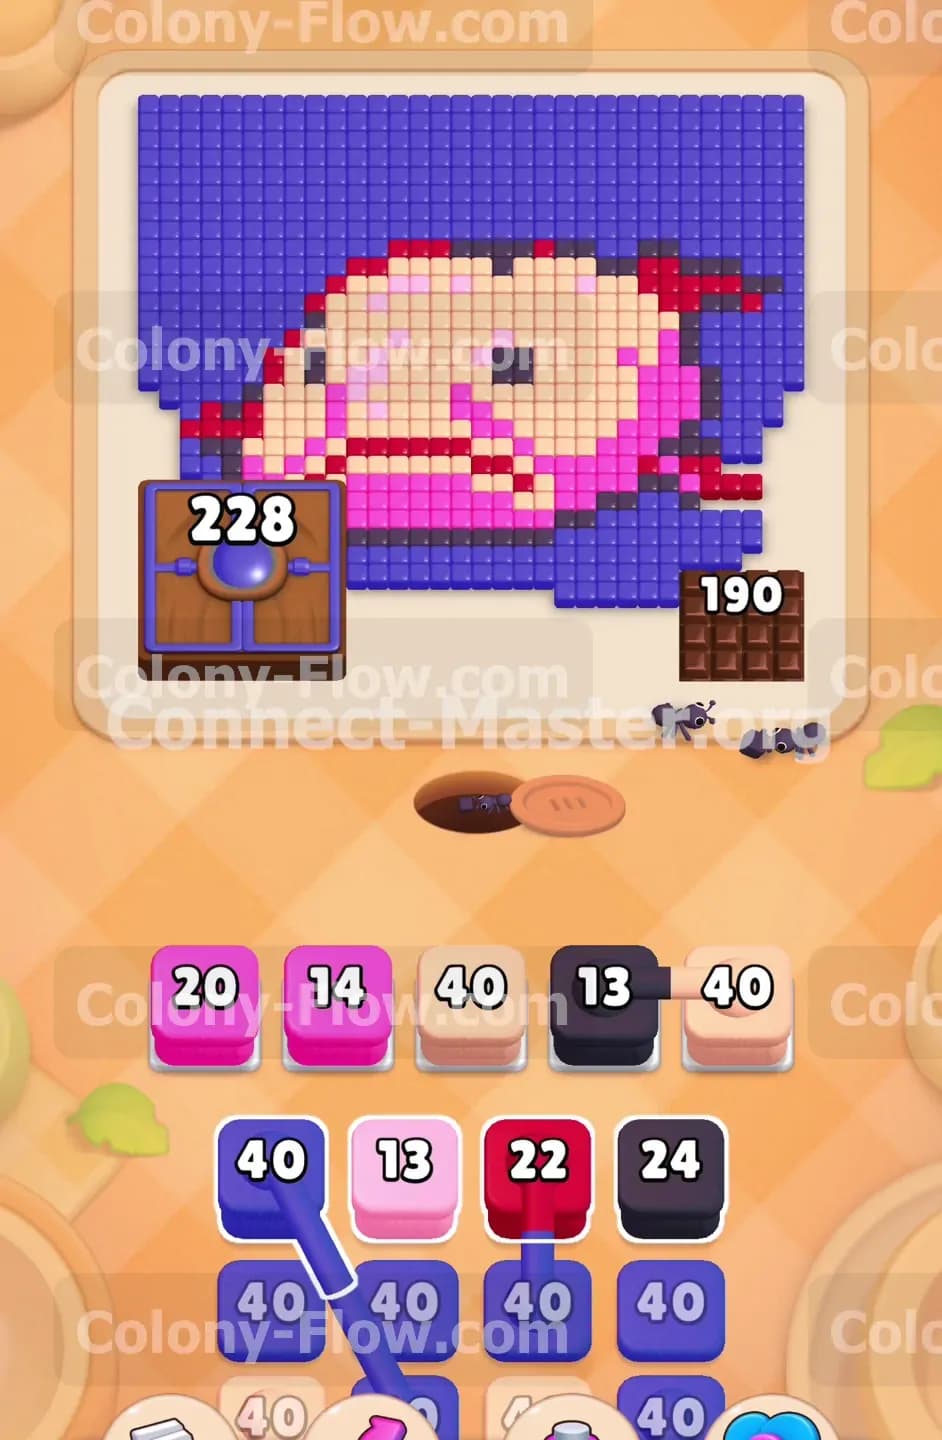
Your first priority is reducing the massive chocolate pile in the bottom right corner of the board. Pull a black block from your tray to send a wave of ants toward that chocolate. You also want to pull a blue block to start clearing the bottom edge of the blue background. Sending blue ants to the blue tiles creates a clear physical path for future moves. The chocolate obstacle will take a very long time to melt away completely because it starts at three hundred points. Just keep a steady flow of black ants working on it whenever a black block appears. Watch your tray carefully as you do this. Make sure you never pull more blocks than your five waiting slots can hold. You want to keep the slots cycling smoothly as the ants chew their way inward.
Step 2: Deploy pink and peach blocks to start eating the lower body of the blobfish.
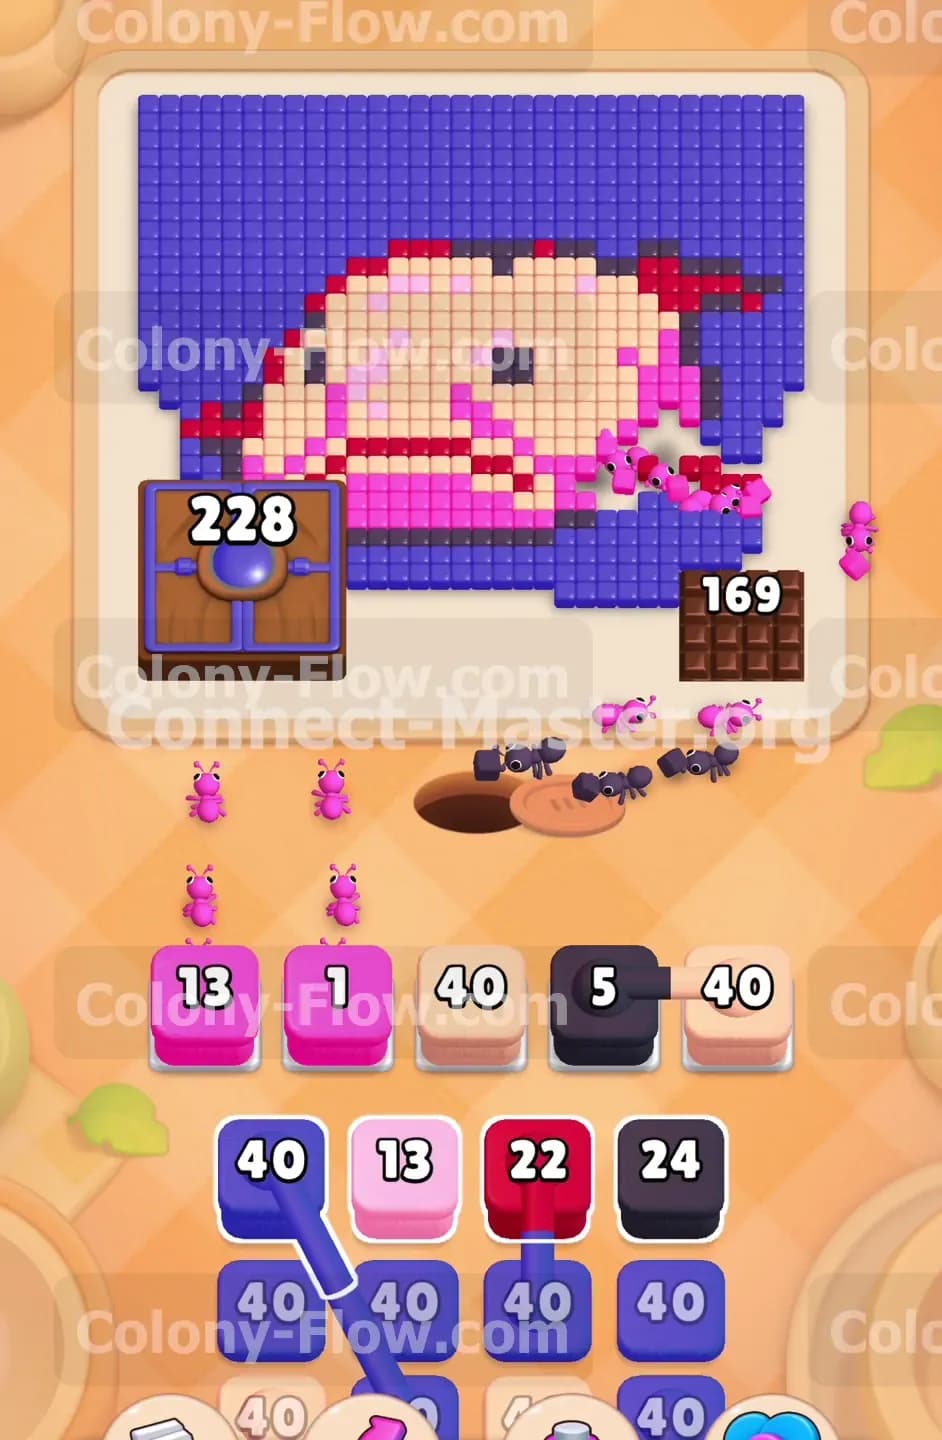
Once the bottom edge of the blue background begins to clear you gain access to the main character body. Pull a pink block and a peach block into your active waiting slots. A large stream of pink ants will rush up to eat the dark pink outline at the bottom of the fish. Peach ants will follow right behind them to eat the lighter peach tiles forming the belly. You will see blocks with numbers like fourteen and forty in your bottom tray. Use a high number block like a forty when you have a wide open section of that specific color ready to eat. Use the smaller numbers to pick off tight corners and single tiles. This keeps your colony moving quickly and prevents traffic jams down at the nest hole.
Step 3: Pull the connected boxes to feed the right fin and the eye simultaneously.
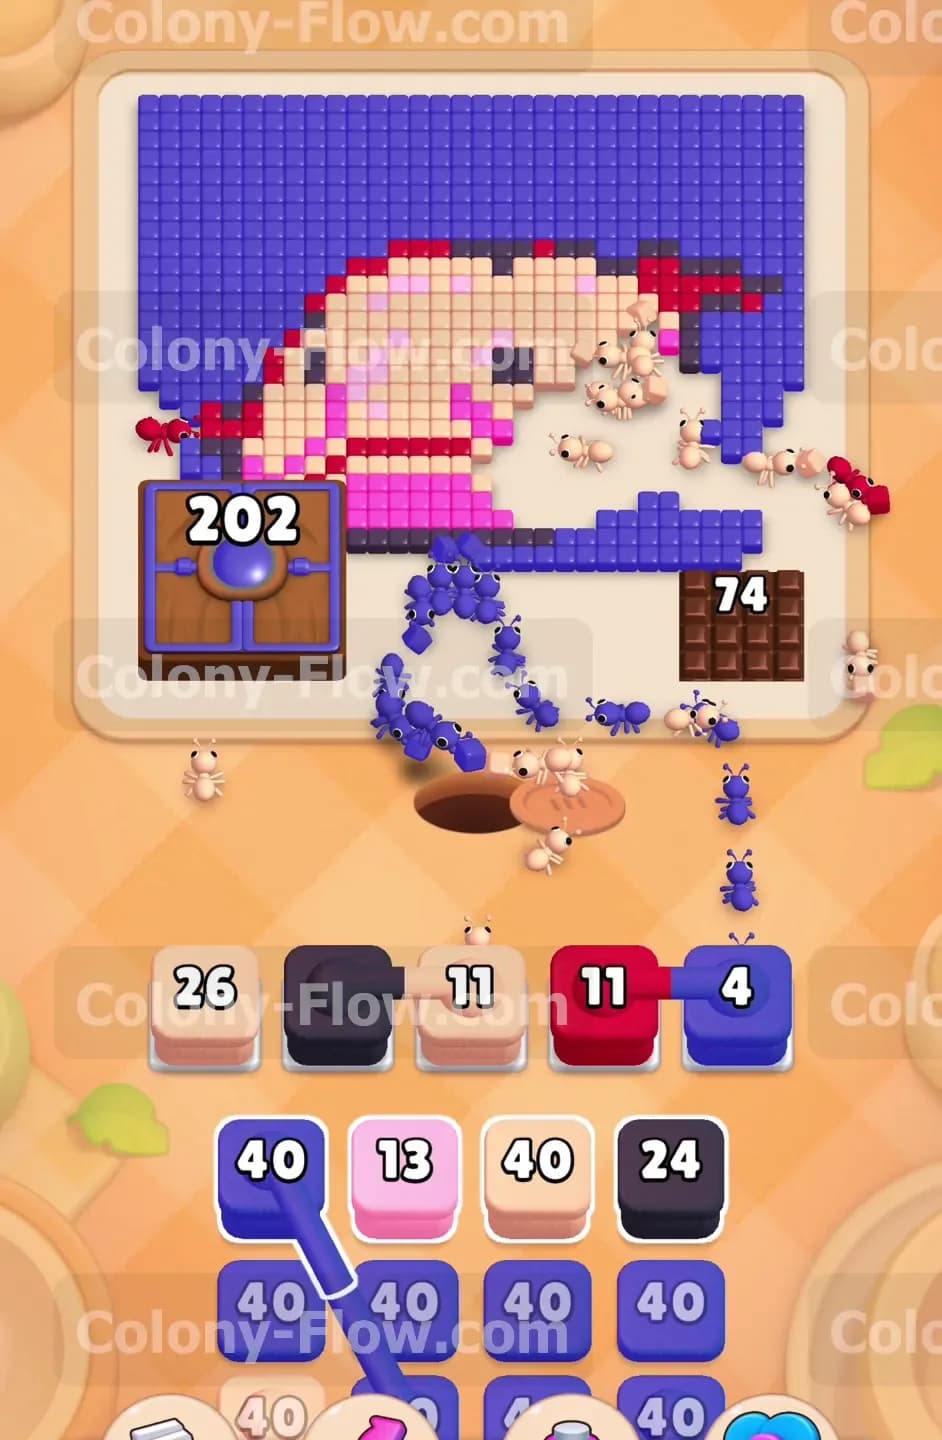
You will soon reveal special connected boxes sitting in your tray. One pair links a blue block and a pink block together with a thick visible line. Another pair links a red block and a black block. Pulling any connected pair immediately takes up two of your five waiting slots at the exact same time. Make absolutely sure you have open board paths for both of those colors before you pull them up. Pull the red and black connected pair to attack the right side of the blobfish. Red ants will scramble up to eat the exposed right fin. Black ants will split their attention between the remaining chocolate and the black eye on the right side. The chocolate numbers will slowly drop down into the double digits. You are getting very close to breaking through that bottom right corner completely.
Step 4: Send a massive wave of blue ants to chip away at the huge hungry door.
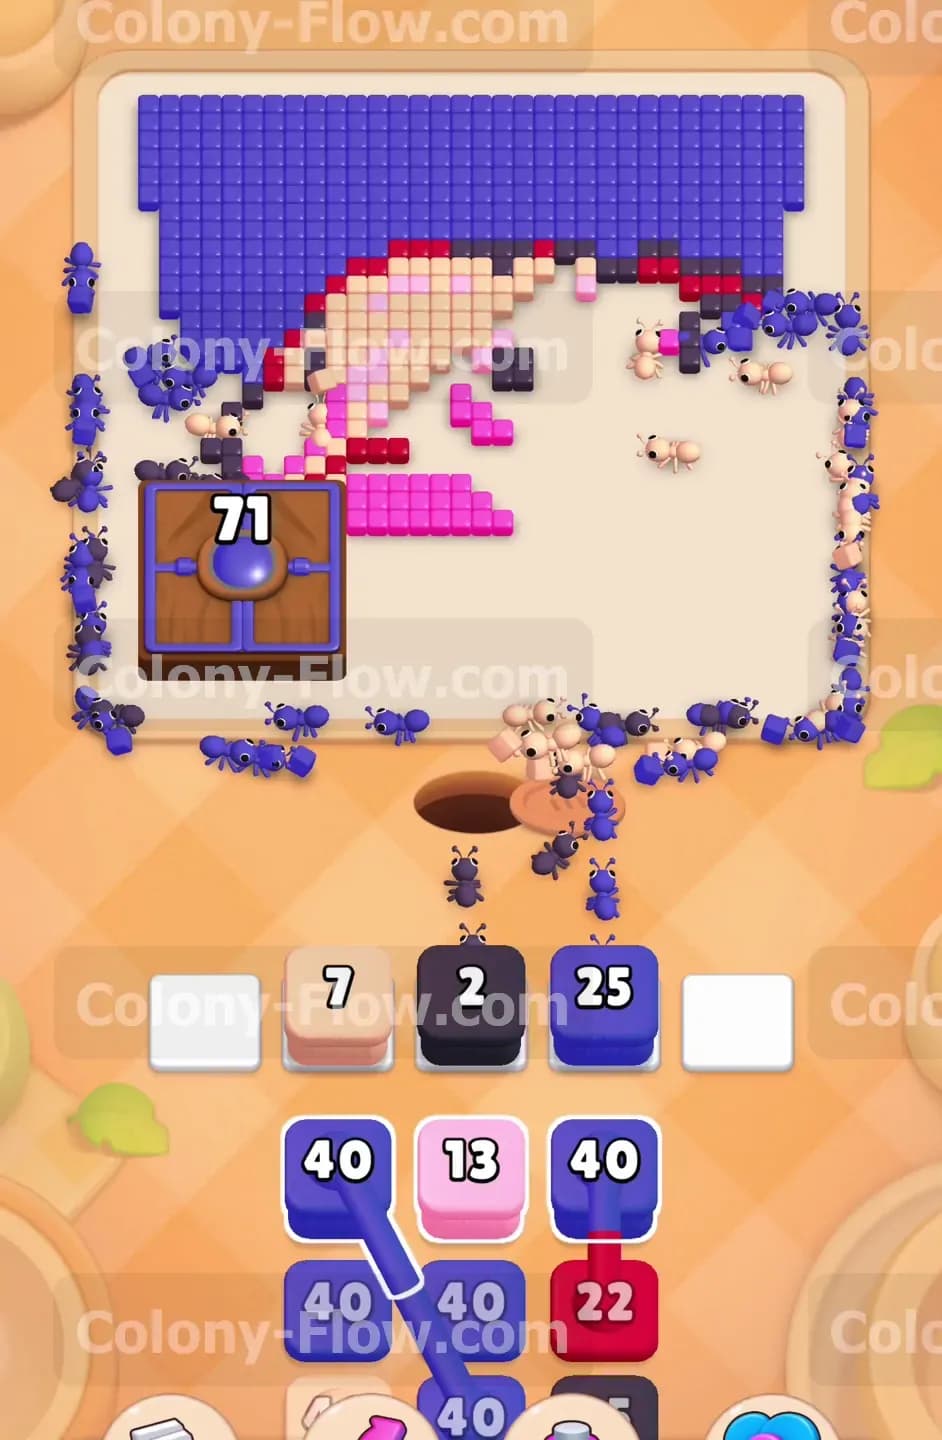
The hungry door on the left side is the biggest hurdle currently left on the board. It started at three hundred thirty two points and you need to break it to finish the left side. Pull a large blue block holding a forty to get things moving. A huge swarm of blue ants will pour out of the hole and march directly toward the wooden hungry door. The number on the door will start dropping rapidly as the ants collide with it. While the blue ants work on the door you should pull a smaller peach block to keep eating the face of the blobfish. The chocolate in the bottom right will finally vanish completely around this point in the level. This exposes the remaining blue background tiles that were hiding underneath it. Your board is now completely open on the right side.
Step 5: Clear the right side of the blue background and finish the main peach body.
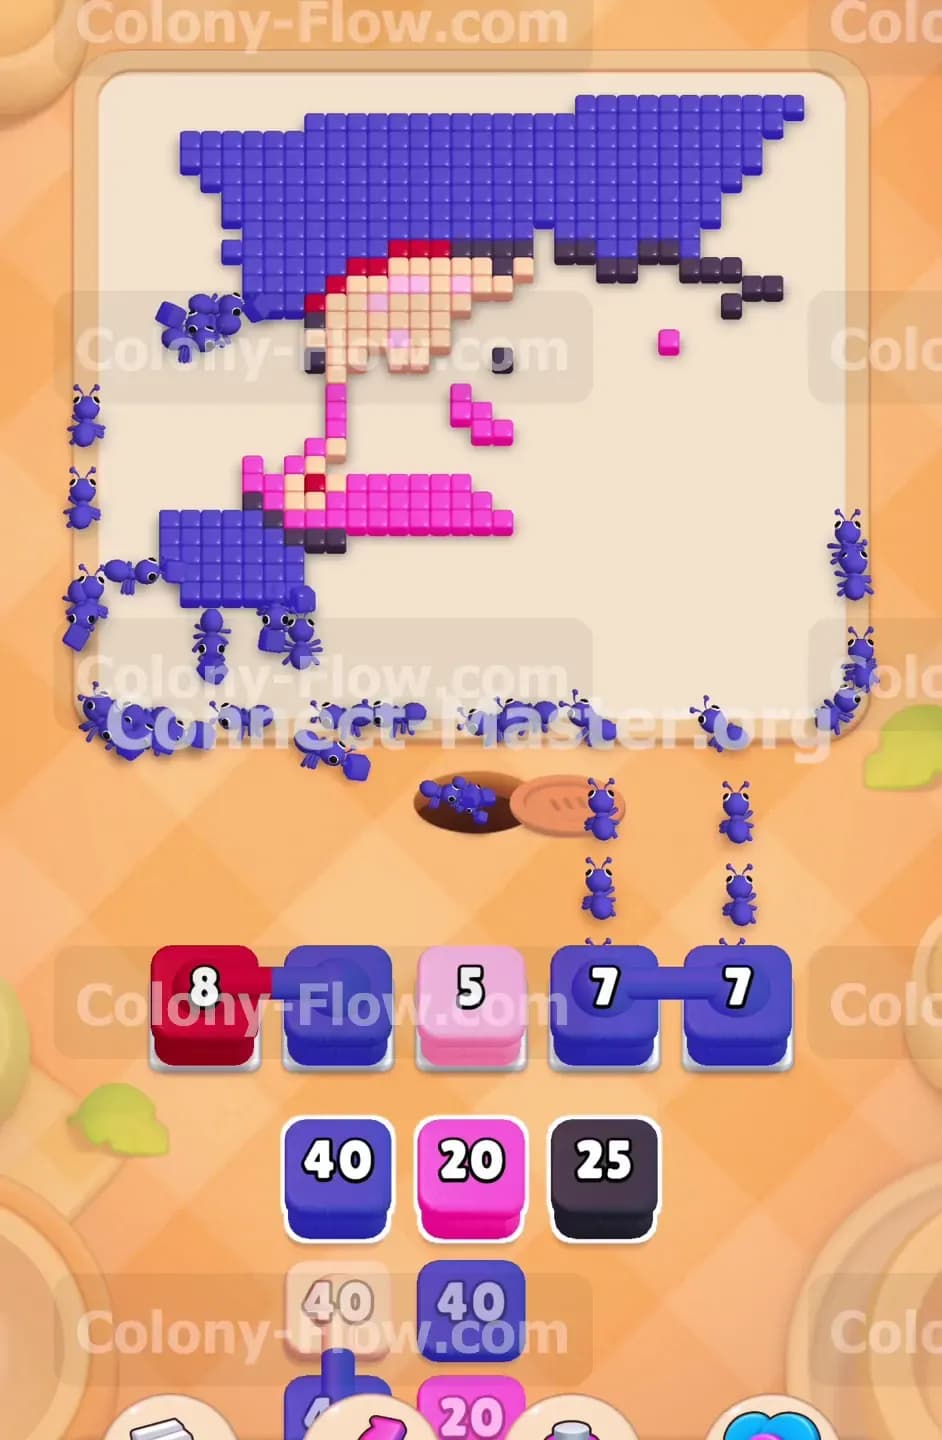
With the chocolate gone you can pull another blue block to clean up the right corner. The right side of the blobfish will also be nearly gone by now. Pull more peach blocks to finish eating the large forehead and the center face of the fish. You will notice your ants having to travel much further up the screen to reach these top rows. This long travel time means your tray numbers will count down much slower than before. Do not panic and pull extra blocks while you wait. Just let the ants make the long journey and eat the tiles at their own pace. If you pull too many blocks while waiting you will fill your five slots and dead end the board. Patience is completely mandatory when the remaining tiles are far away from the nest hole.
Step 6: Break the hungry door completely to unlock the final section of the puzzle.
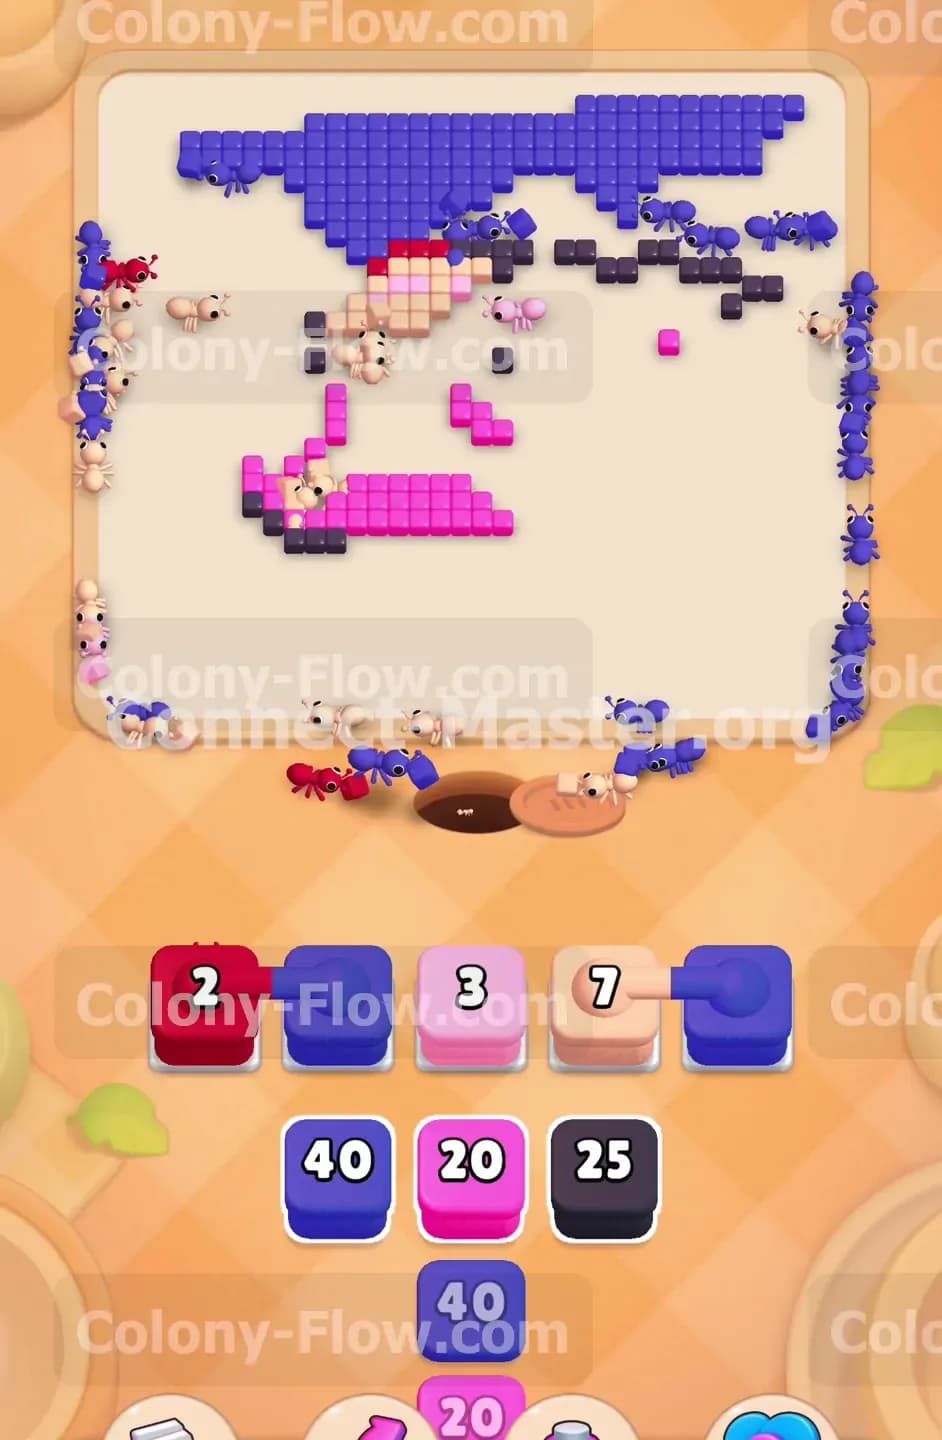
The hungry door number is now down to double digits and ready to break. Pull one more blue block to deliver the final crushing blow to the door. The blue ants will swarm the wooden structure and shatter it into pieces. This clears a massive space on the left side of the screen. You now have total access to the remaining blue background tiles and the left red fin. Pull a red block to send a fresh wave of ants to that fin. Pull a black block to clear the sad black mouth of the blobfish. The board is now mostly empty space with just a few scattered groups of tiles remaining. Your tray will offer smaller numbered blocks to handle these final straggling pieces.
Step 7: Match the final blocks to the scattered remaining colors to win the level.
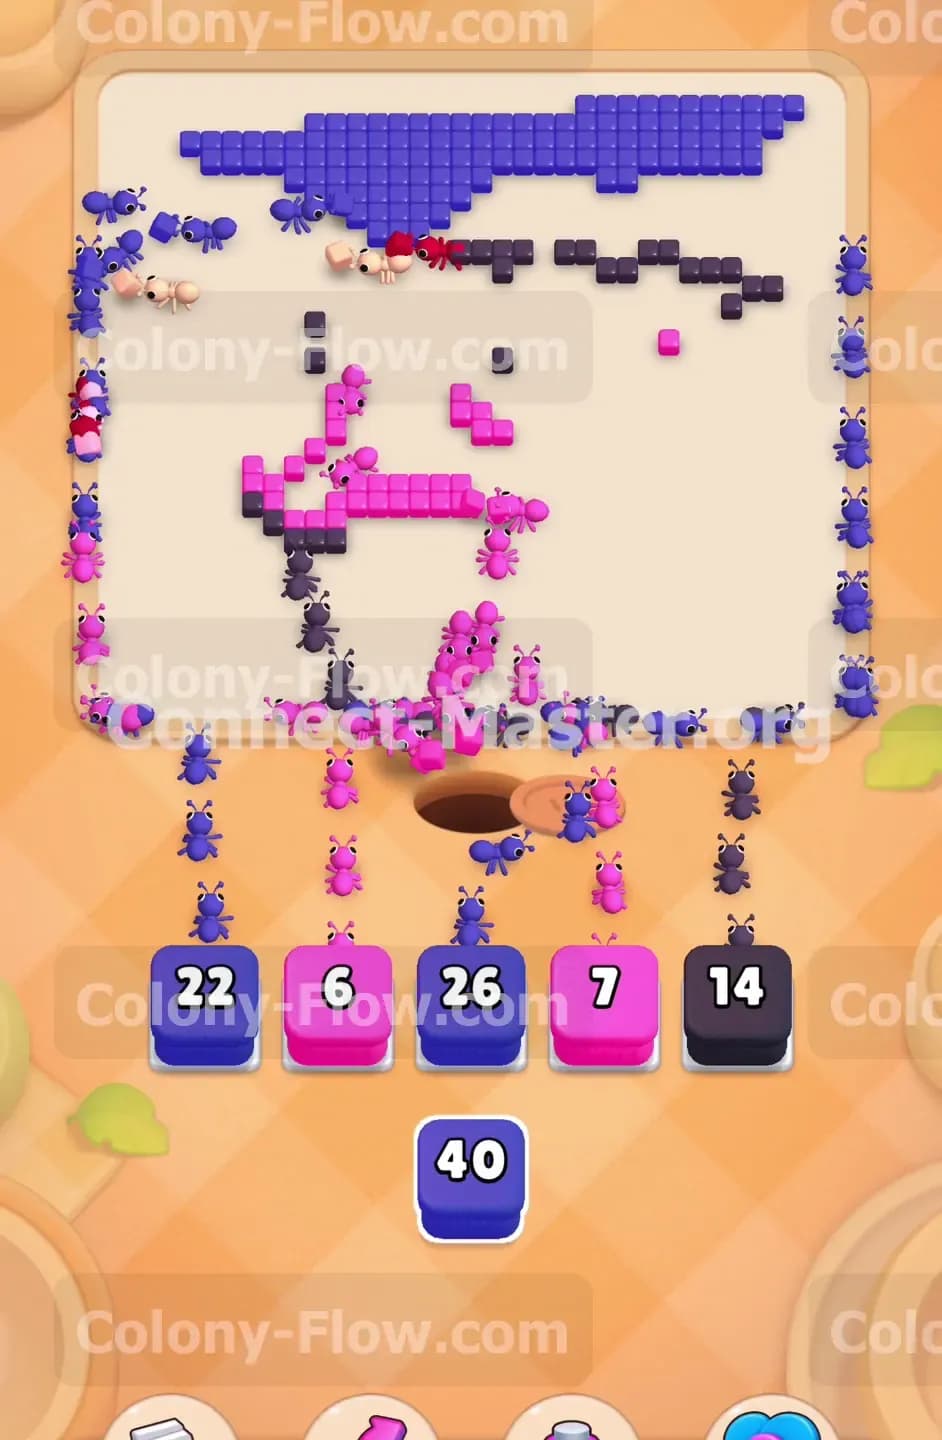
You are now entering the final cleanup phase of the level. Look at the top of the board to see what specific colors remain. You should have a long strip of blue border at the very top and a few pink tiles near the mouth area. Pull a blue block to send a long line of ants to that top edge. Pull a pink block to clean up the last bits of the blobfish face. The ants will take quite a long time to walk all the way to the top left corner of the screen. Just let them march along the empty board. Once the final blue tile disappears the board is completely clear. The game will register your win and you can move on to the next puzzle challenge.
Final Thought
This level tests your ability to juggle two large obstacles at the exact same time. Breaking the chocolate early gives you the breathing room you need to focus on the massive hungry door later. Take your time managing your tray slots so they never fill up and cause a loss. If you find any of these steps hard to picture in text I highly encourage you to watch the video above this article. The video shows the exact timing of every single block pull.