Colony Flow Level 576 Walkthrough Solution & Guides | How to solve Colony Flow 576

Guide By Liam Stone
Updated on August 1, 2026
The Level 576 solution is right there in the video above, so read on only if you want the extra detail.
Video doesn't match your screen?
Game updates frequently scramble layouts! Try our AI Screenshot Solver first to find your exact board instantly, or report broken guides to our team.
Welcome to Colony Flow Level 576. This specific board challenges you with massive obstacles right from the very start. You face a giant chocolate block and a locked door that demand constant attention while you try to manage your tray. I played through this puzzle to find the exact rhythm needed to keep the ants moving without filling up the slots. You need a steady and deliberate strategy to break down the central shape.
Colony Flow Level 576 Overview
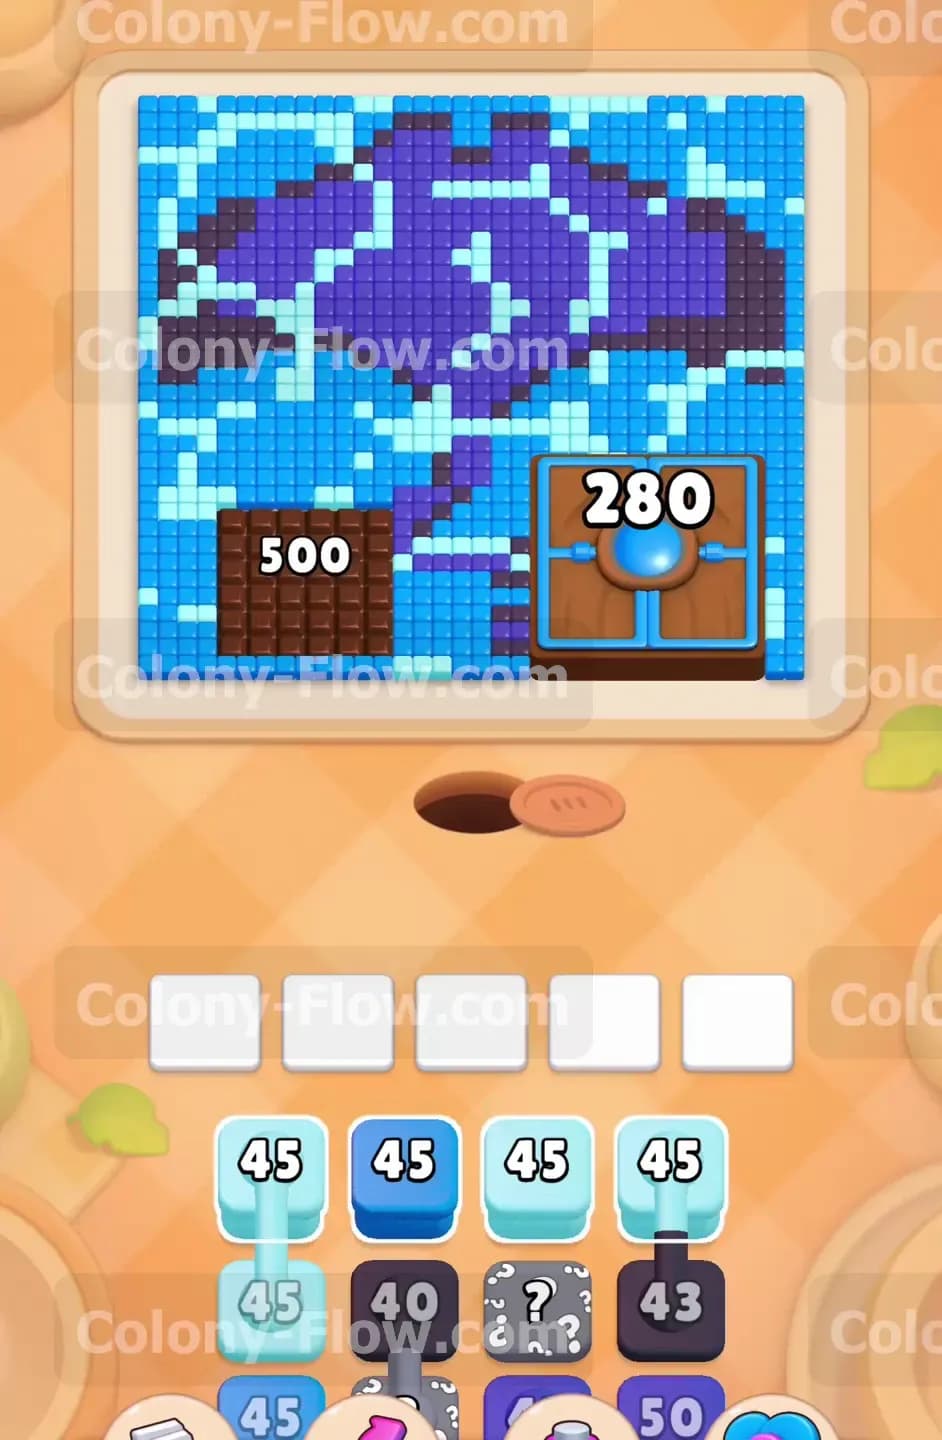
What You Are Working With
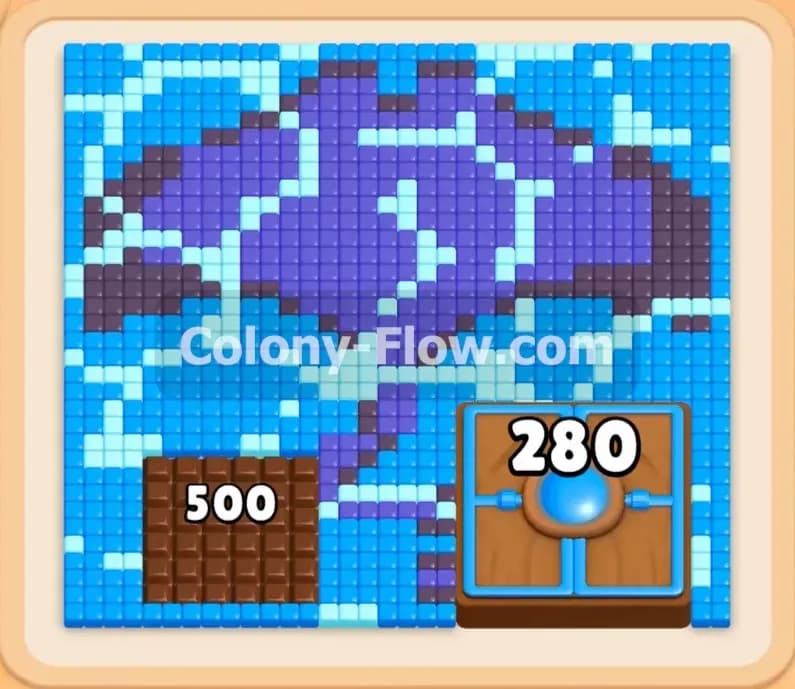
The board starts with a large geometric blue design built from light blue and dark blue tiles. The design fills most of the screen. On the lower left side sits a massive square chocolate block displaying a count of 500. On the lower right side you will see a hungry door displaying a blue orb with a count of 280. The queue at the bottom of your screen provides a long line of blocks. These blocks are strictly light blue and dark blue. You will also encounter hidden boxes that show question marks until they are ready to move. Connected boxes appear in the queue as well, requiring you to pull multiple blocks at the exact same time. The nest hole sits at the bottom center where your ants wait for commands.
What It Takes to Clear Level 576 Board
Clearing this board requires you to dismantle the entire blue tile structure while simultaneously feeding the two massive obstacles. The chocolate block blocks everything beneath it until you drop its 500 count to zero. The hungry door stays shut until you clear 280 adjacent tiles to open it. You win the level when every single tile is eaten and the board is completely empty. The core challenge is managing the five slots in your tray. If you pull too many blocks of one color when the ants lack a clear path to reach those tiles, your tray fills up. A full tray with no active paths ends your game immediately. You must balance your pulls to ensure the ants always have an open route to their targets.
Colony Flow Level 576 Step by Step Solution
Step 1: Open the initial paths to the chocolate and the hungry door
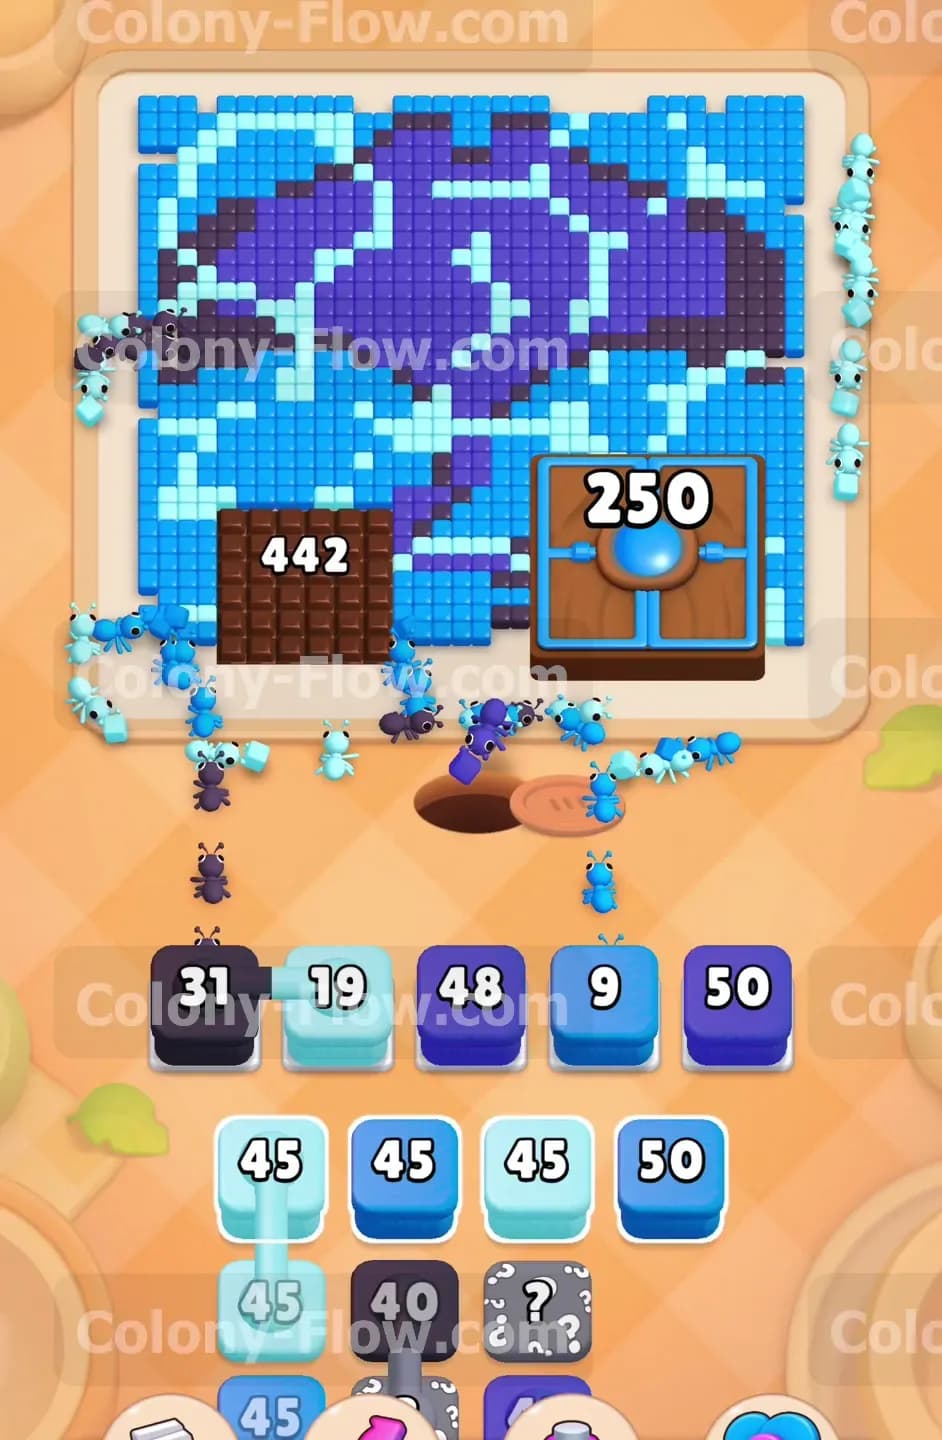
Start your game by pulling the available light blue blocks with the 45 counts into your tray. The ants stream out of the nest hole and branch out to the left and right sides of the board. They immediately start eating the outer light blue border of the geometric shape. This action exposes the edges of both the giant chocolate block and the hungry door. Every time an ant eats a tile next to these obstacles, the numbers on the obstacles drop. The chocolate drops from 500 and the door drops from 280. You want to maintain at least two empty slots in your tray during this opening sequence. Do not pull the dark blue blocks until the ants carve a clear path into the dark blue center of the design.
Step 2: Introduce dark blue blocks to attack the center of the design
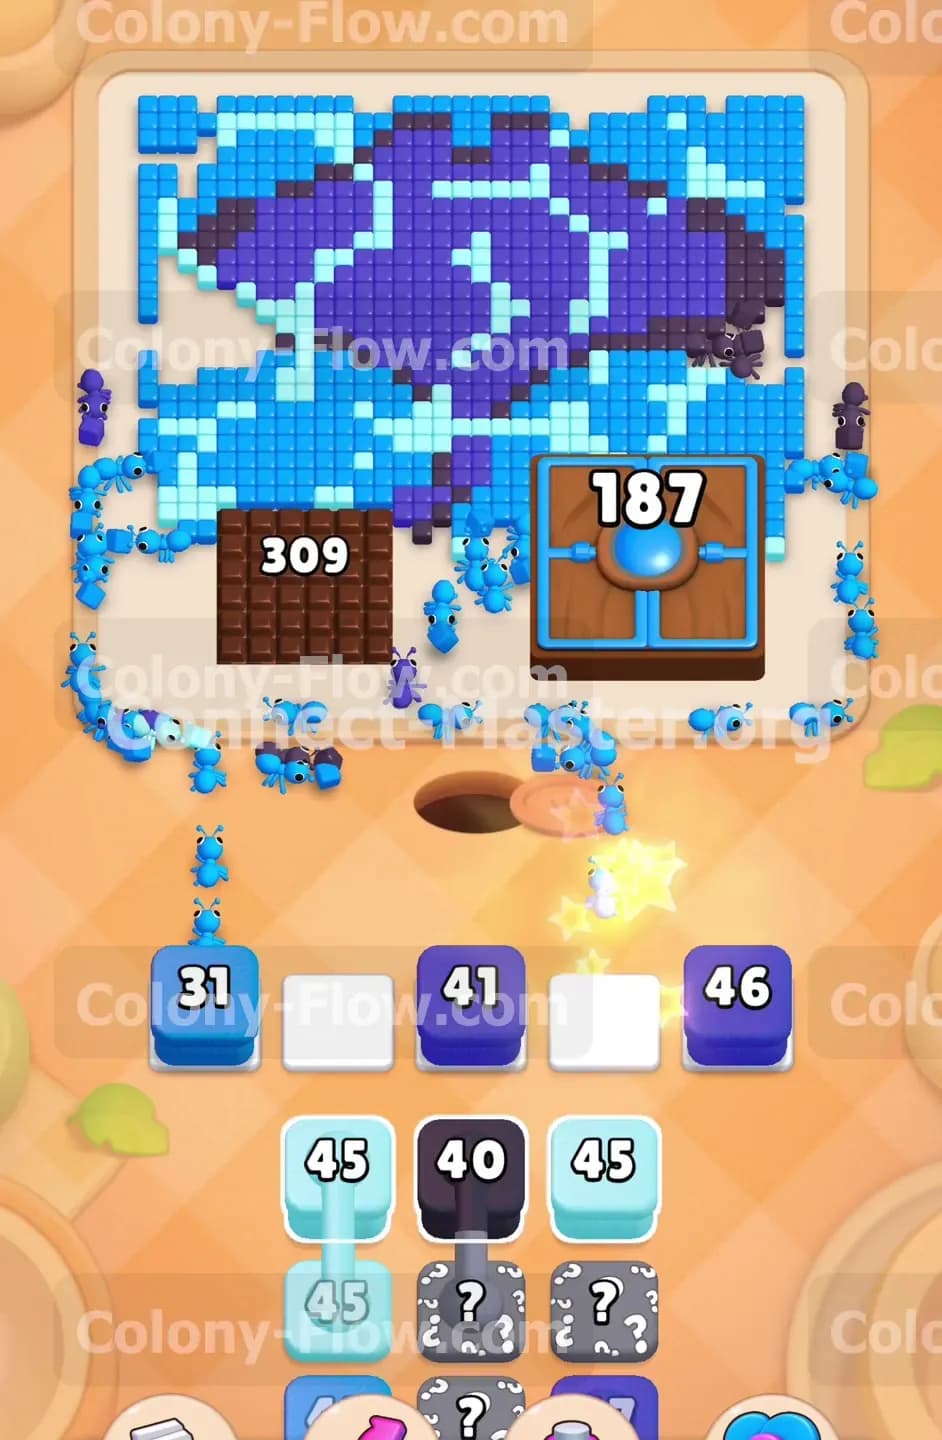
Once the light blue border breaks open, your ants gain direct access to the dark blue tiles in the middle of the board. Tap the dark blue 40 block and the dark blue 43 block from the bottom queue. The ants march straight up the middle and attack the core of the pattern. You will see the chocolate block count drop rapidly toward 442 as the ants chew the surrounding tiles. The hungry door count also falls down to 250. This dual progress is exactly what you need to sustain your momentum. Keep your tray balanced with a mix of dark blue and light blue blocks. This ensures that no matter which color the ants reach next along the path, they have a matching block in the tray ready to process those tiles.
Step 3: Process the connected boxes to speed up the board clearing
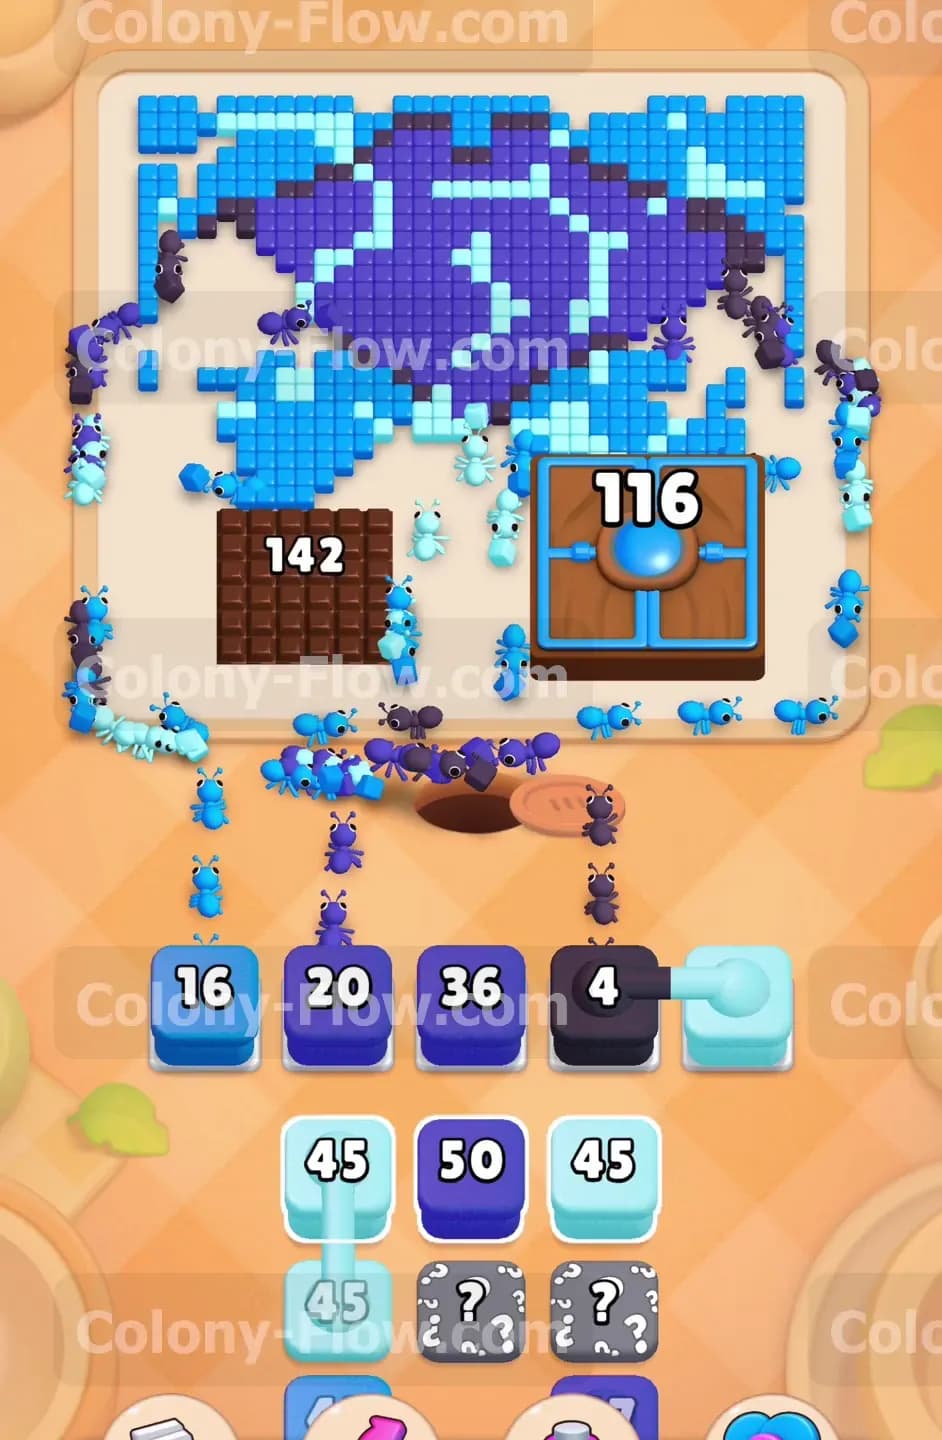
As you pull more blocks from the queue, a pair of connected boxes will surface. One is a light blue 45 block and the other is a dark blue 40 block. You must have two open slots in your tray before you tap them. When you pull them up, the ants swarm both colors across the board at the same time. This massive wave of ants rips through the middle section of the design. The chocolate block takes a heavy hit and drops down into the 300 range. The hungry door count falls below 200. The entire bottom half of the blue design begins to disappear. Your tray will hold several active blocks simultaneously, but the numbers drop fast enough to prevent a total jam.
Step 4: Focus on driving the chocolate count down to double digits
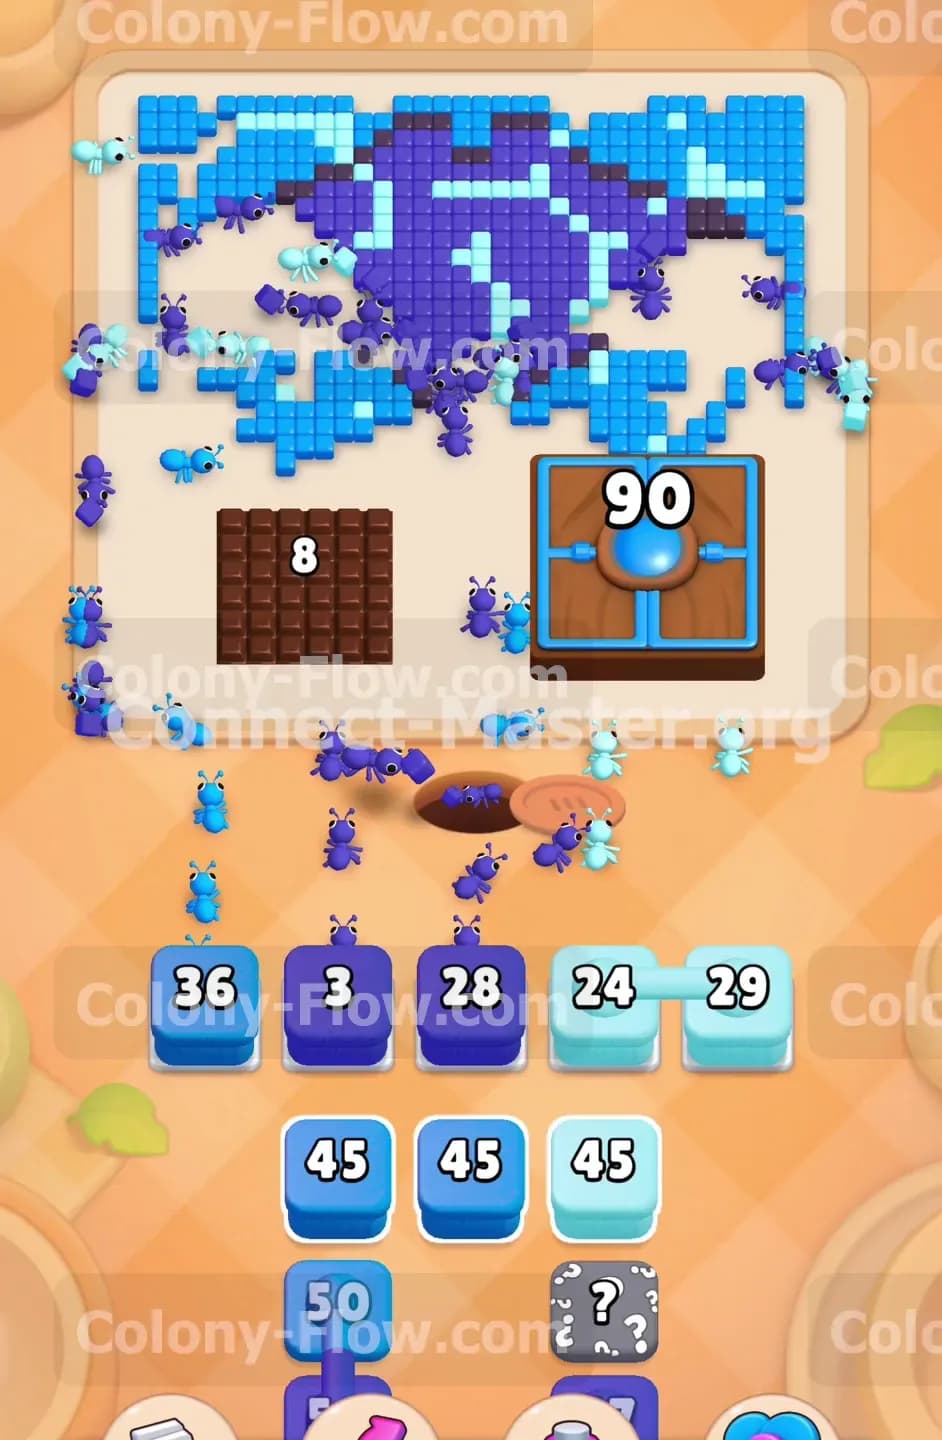
The chocolate block requires constant pressure because of its massive starting number. Bring up another light blue 45 block and a dark blue 50 block from the queue. The ants continue their assault on the left side of the board where the chocolate sits. You will watch the number plummet from 142 down to a tiny 8. At the exact same time, the hungry door on the right drops down to 90. The board is now mostly clear on the bottom, which pushes the ants higher up the screen. Always check the remaining colors on the board before tapping a new block. If you see a cluster of dark blue tiles exposed, prioritize pulling dark blue blocks into the tray to keep the ants moving.
Step 5: Eliminate the chocolate block completely to free the left side
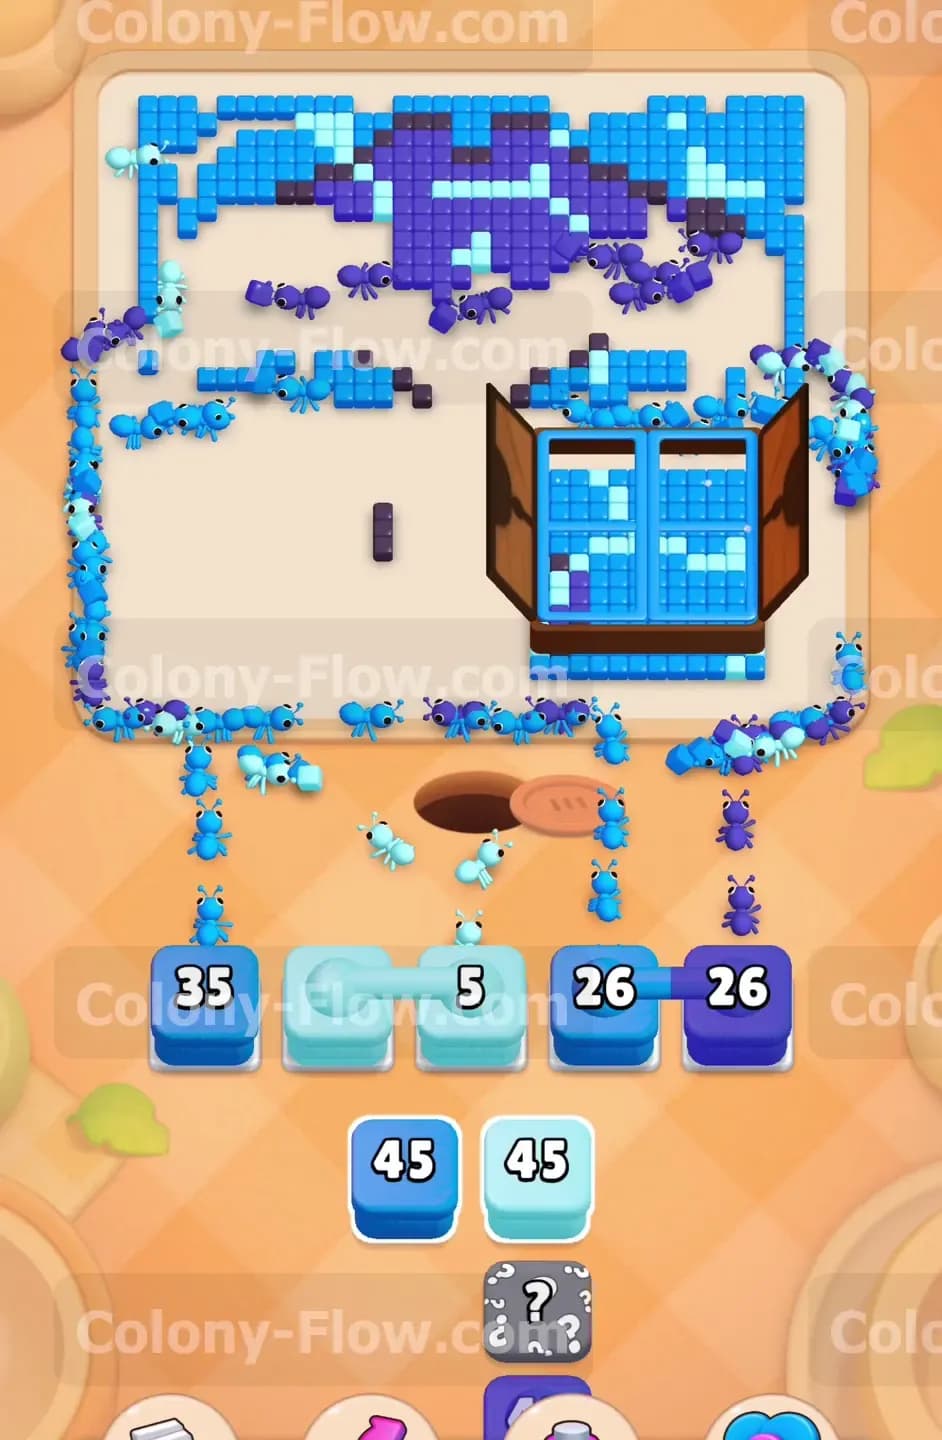
With the chocolate block sitting at a count of 8, pull the next available light blue block. A small group of ants will rush over to the left and finish off the chocolate completely. The massive brown square vanishes entirely and leaves a wide open space on the left side of the board. This event relieves a huge amount of pressure on your tray management. The ants no longer split their focus to the far left edge. Instead they redirect all their energy toward the hungry door and the top half of the design. Keep pulling light blue and dark blue blocks as they appear in your queue. The hidden boxes at the bottom will now reveal themselves as useful dark blue blocks.
Step 6: Crack open the hungry door to expose the hidden tiles
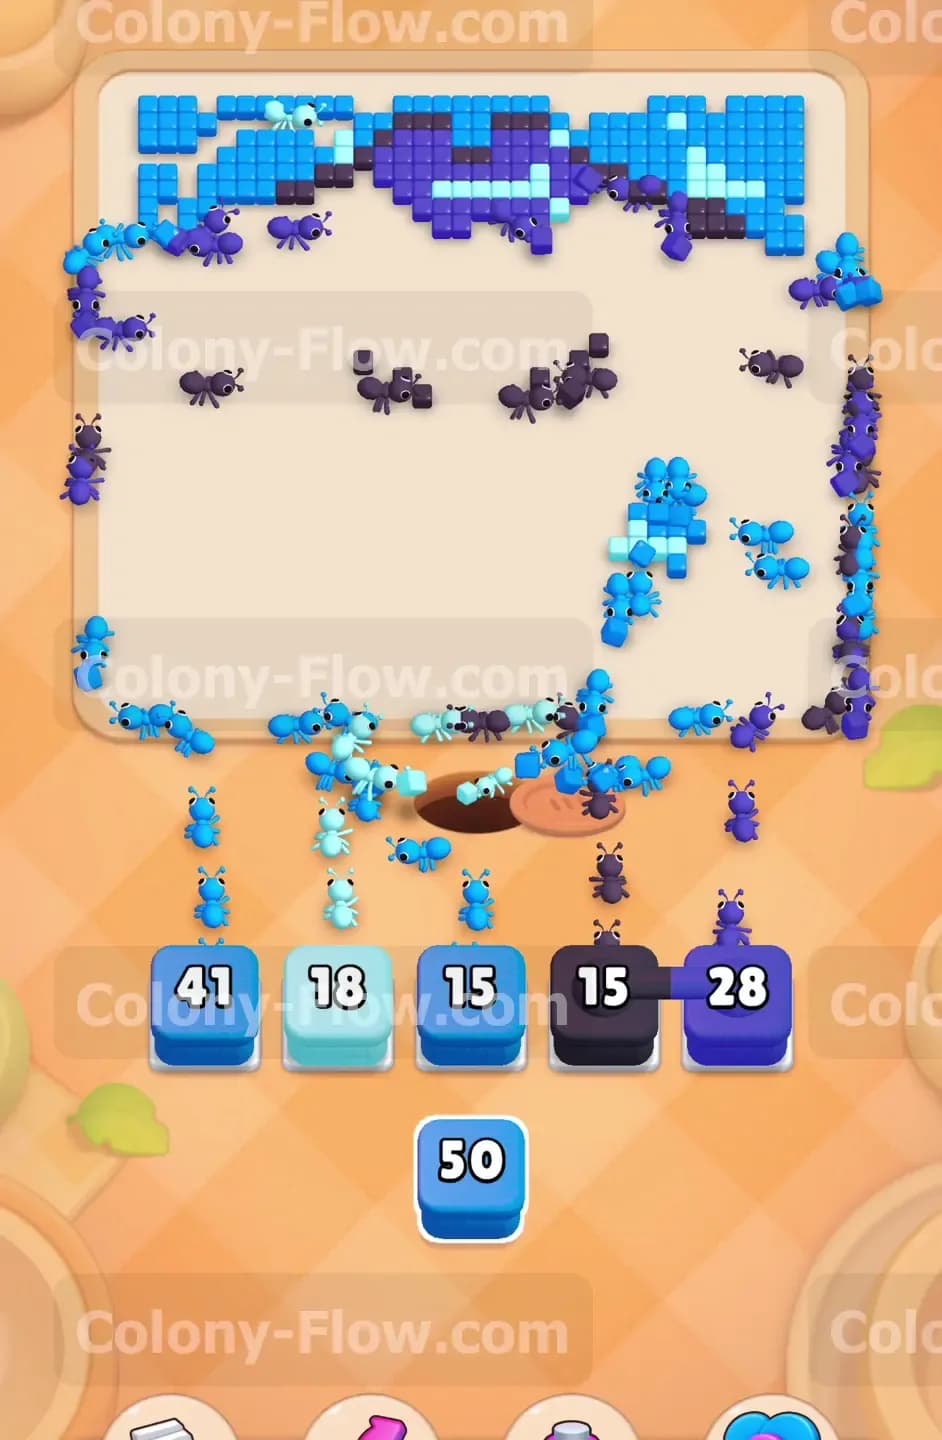
Send your remaining dark blue and light blue blocks up to the tray. The ants chew through the right side of the board and drive the hungry door count from 90 all the way down to zero. The blue orb in the center of the door vanishes and the brown wooden doors swing wide open. Inside the door frame you will find a dense cluster of fresh light blue and dark blue tiles. The ants immediately flood inside the open door to start eating. Your tray slots will empty out rapidly as the ants process these newly revealed tiles. You have plenty of blocks remaining in the queue to handle this new section without any risk of dead ending the board.
Step 7: Clear the tiles inside the door and the top right corner
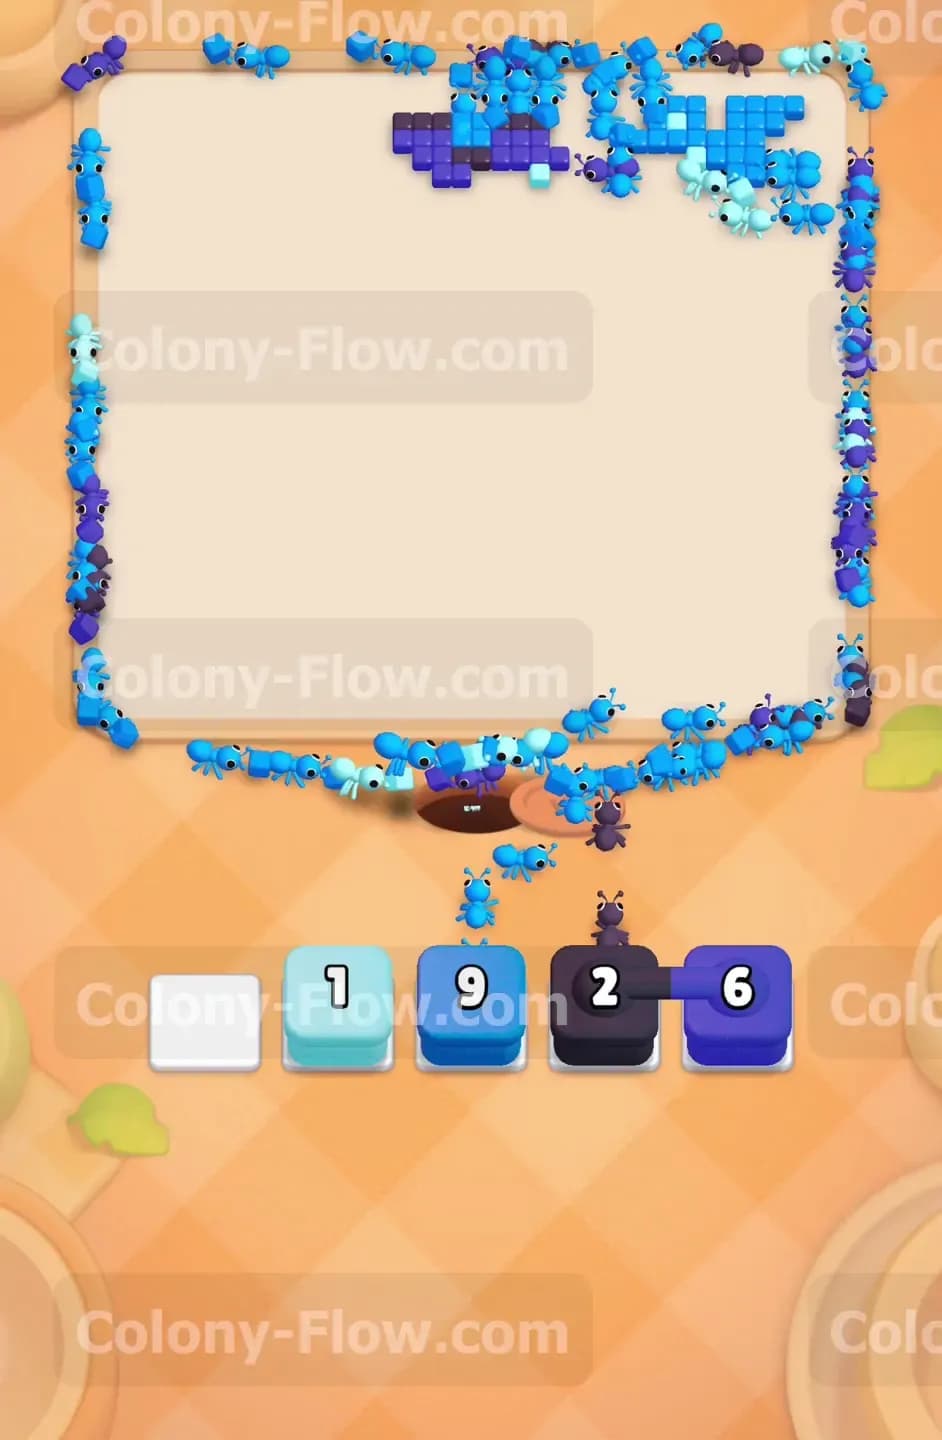
Tap the newly revealed light blue 26 block and the dark blue 26 block. The ants swarm the space inside the door and wipe it clean in a matter of seconds. Now only the very top edge of the board remains. The original geometric pattern is completely broken. The surviving tiles sit clustered loosely across the top right corner of the screen. Pull the light blue 50 block from the queue to keep the momentum going. The tray will hold a few blocks with low numbers like 18 and 15. The ants must travel a long distance from the nest hole to the top of the screen. It takes a few seconds for them to walk up there and reach their targets. Be patient and do not flood the tray with unnecessary blocks while they travel.
Step 8: Sweep the final tiles to finish the level
Only a handful of tiles sit remaining in the top right corner. You have a light blue block with a 9 count and a dark blue block with a 6 count active in your tray. The ants easily gobble up these last few squares. The numbers on the tray blocks hit zero and the blocks disappear from the slots. The board is now totally empty and the ants return to the nest. You successfully managed two massive counting obstacles without ever trapping your ants or jamming your tray slots.
Final Thought
Beating this level comes down to constant pressure on the chocolate block while leaving enough tray space to handle the hungry door. Maintaining a balance of light blue and dark blue blocks ensures your ants never run out of open paths to walk. If any part of this text guide is hard to visualize, watch the video above the article to see exactly how the ants clear the board.