Colony Flow Level 471 Walkthrough Solution & Guides | How to solve Colony Flow 471

Guide By Liam Stone
Updated on July 29, 2026
The video above has the full Level 471 walkthrough, so skip the reading if you just want to watch.
Video doesn't match your screen?
Game updates frequently scramble layouts! Try our AI Screenshot Solver first to find your exact board instantly, or report broken guides to our team.
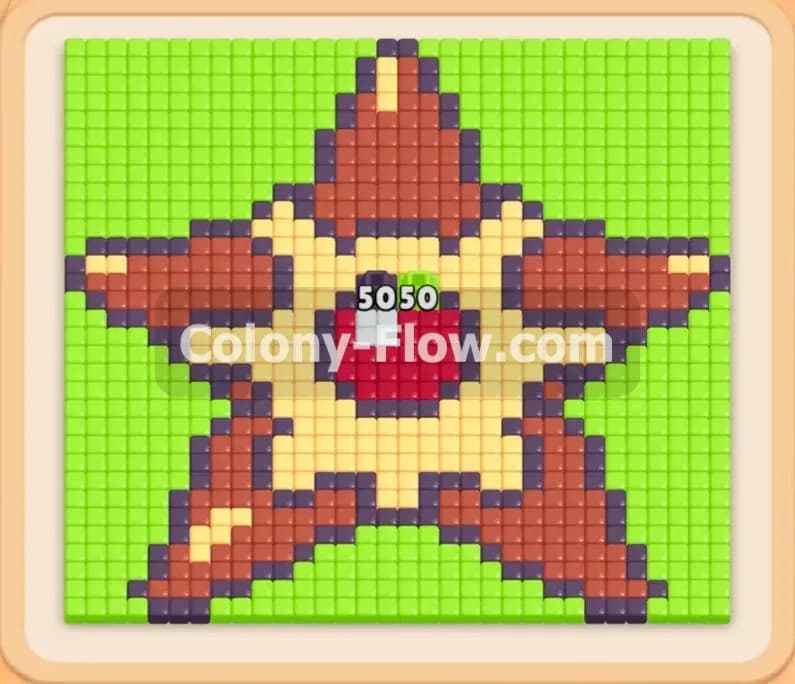
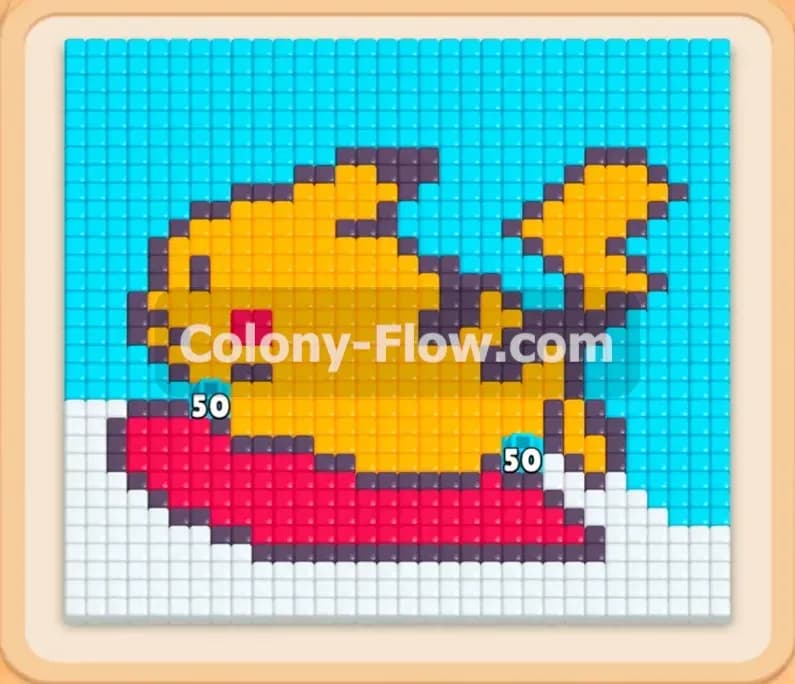
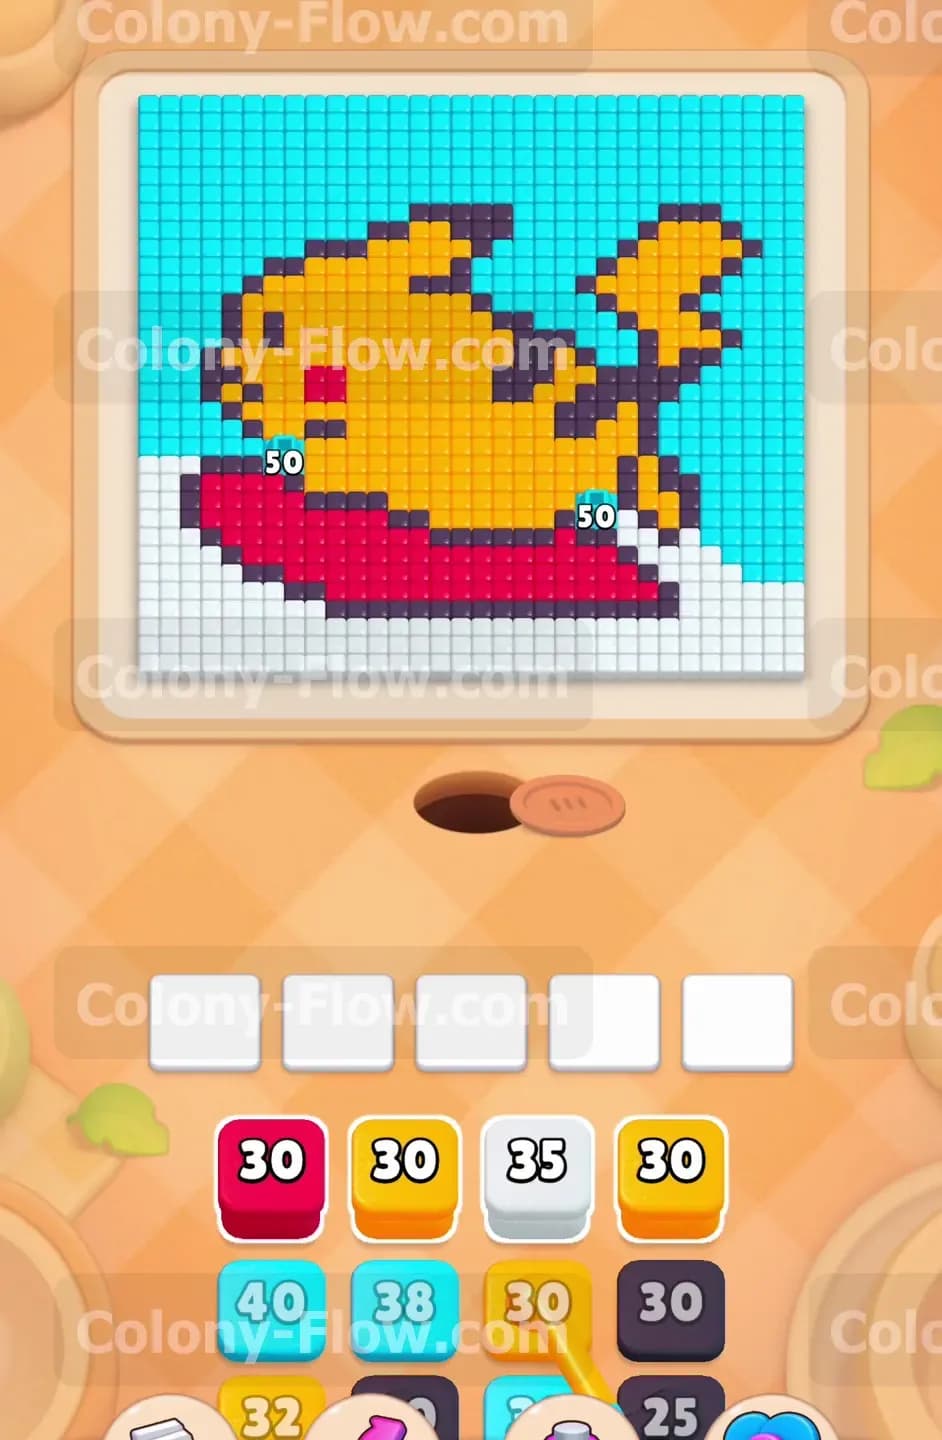
Colony Flow Level 471 presents a massive pixel art creature riding a colorful base surrounded by a bright blue background. You face a completely dense board right from the start with no obvious open space for your ants to move. Careful block management is required to carve a path and avoid filling your five waiting slots. You have to open the edges first and slowly work your way into the center of the picture.
Colony Flow Level 471 Overview
What You Are Working With
The picture features a large yellow creature with black outlines sitting on a red and white base. A solid cyan background fills the rest of the board. The tray gives you a mix of high numbered cyan, yellow, black, red, and white blocks. You will also deal with Connected Boxes in this level. These are special blocks in the tray that are linked together by a visible line. When you pull one of these linked blocks, the entire group moves up into your waiting slots at the exact same time. This means a pair of Connected Boxes will instantly consume two of your five available slots.
What It Takes to Clear Level 471 Board
You win the level when every single colored tile is eaten and the ants return to the nest. You lose if you pull too many blocks, fill all five waiting slots, and create a situation where no ants can reach their matching colors. Because the board starts completely solid, the ants have no way to reach the interior yellow or black tiles. You must start by clearing the outer cyan background to create a walking path. Once a path opens around the edge, you can introduce new colors to peel the picture away layer by layer. Every move you make must focus on keeping at least one active path open so your waiting slots never jam.
Colony Flow Level 471 Step by Step Solution
Step 1: Open the right side background to create your first path
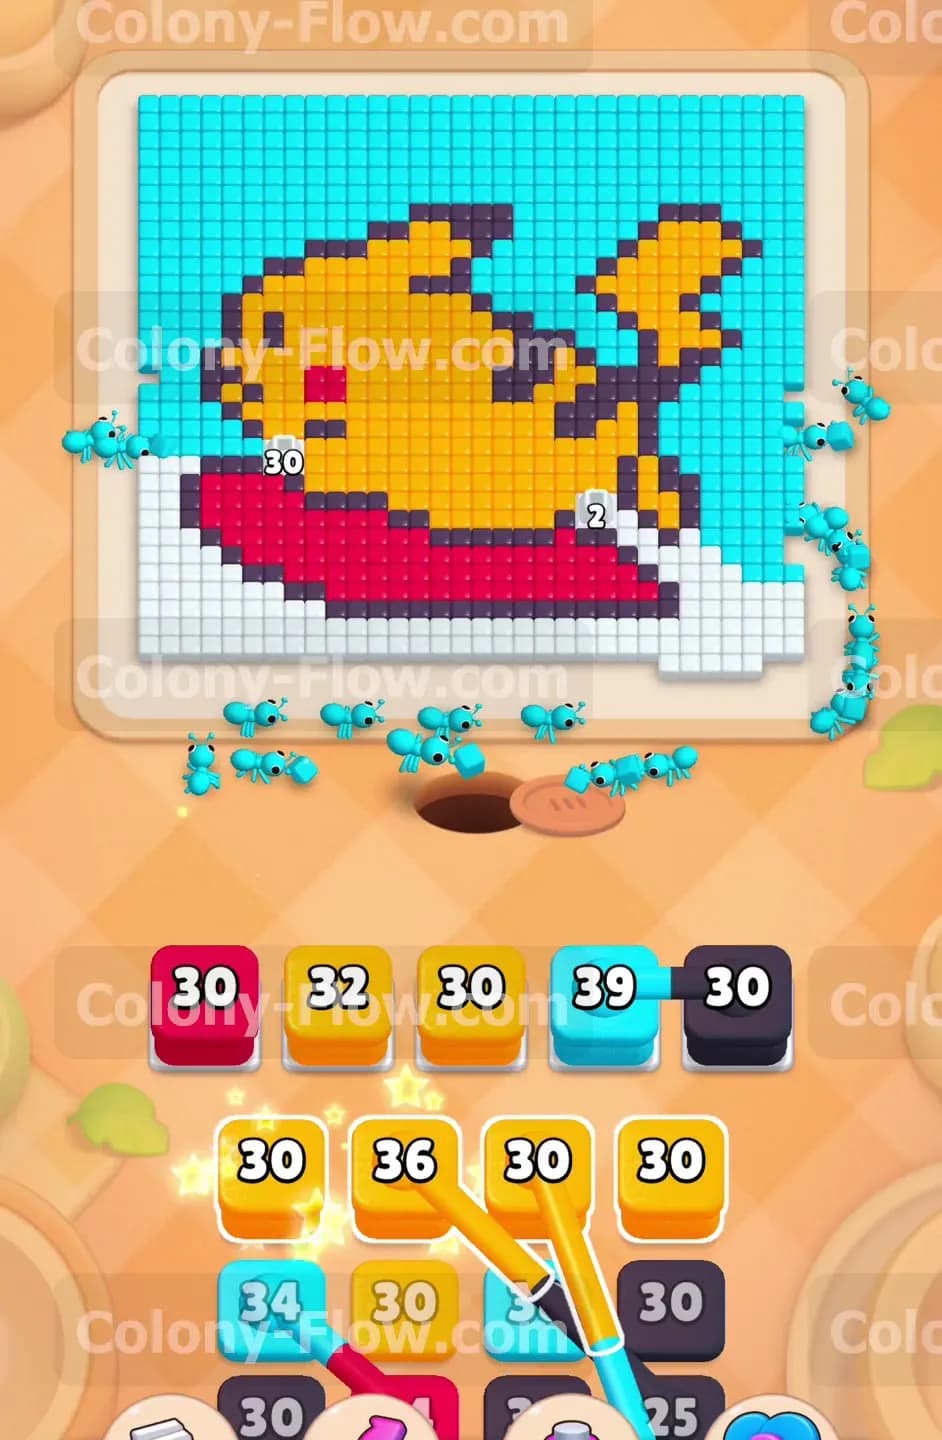
Begin by pulling a high numbered cyan block from your tray to tackle the light blue background. The ants will stream out of the nest hole at the bottom and march straight toward the lower right corner. They will begin eating the cyan tiles along the right edge of the board. This initial action is entirely about creating open space. As the cyan block counts down, the ants will carve a tunnel up the right side. Do not pull any other colors yet because the inner tiles are completely blocked.
Step 2: Deploy a black block to break the outer outline
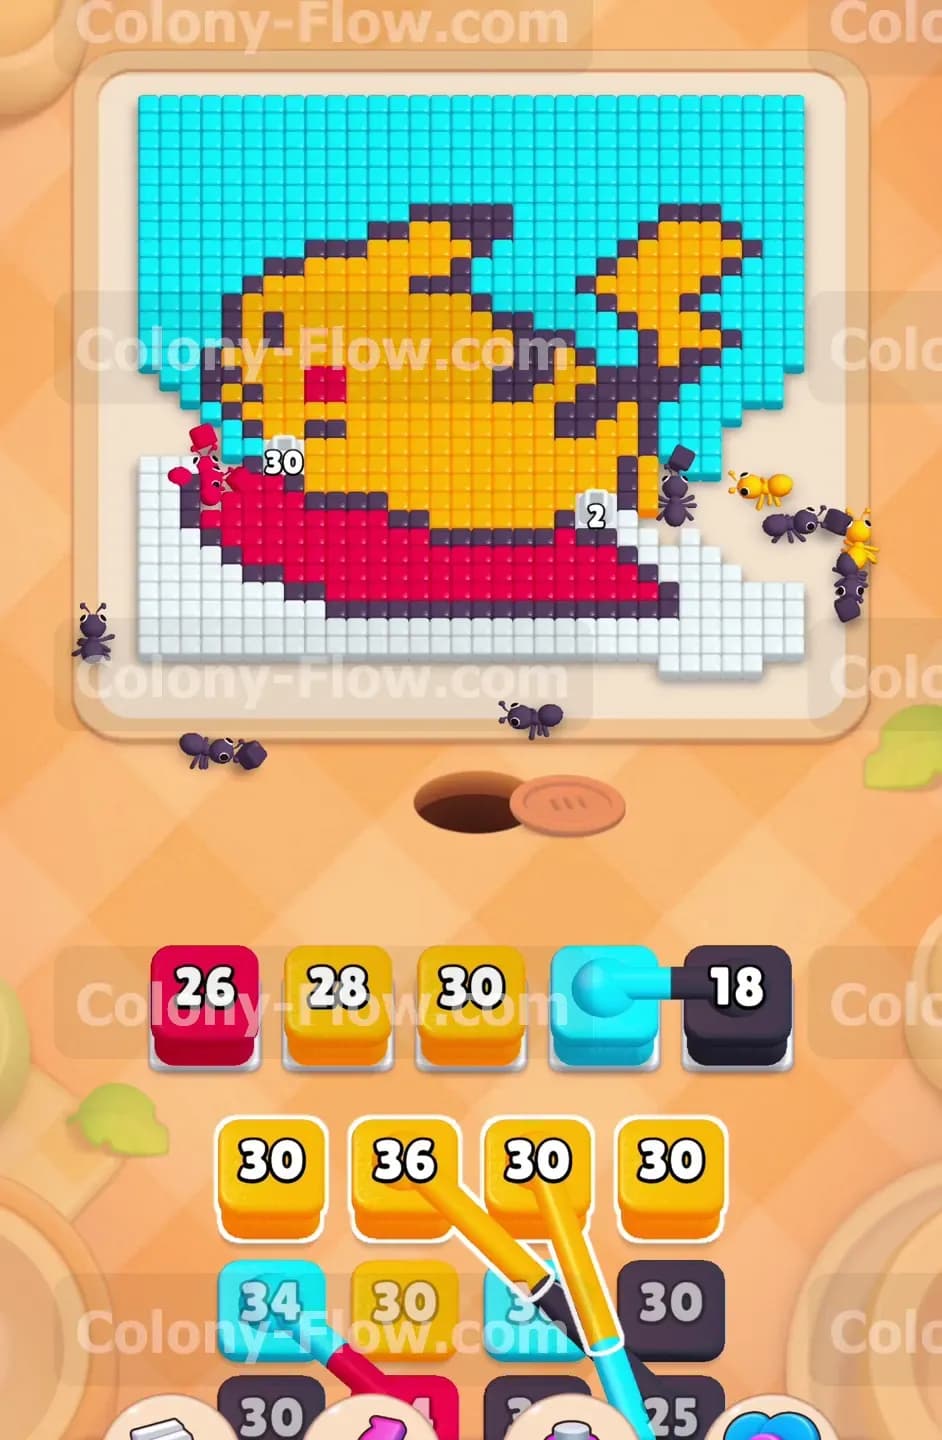
Once the cyan ants clear enough of the right side background, the black outline of the creature tail becomes exposed. Pull a black block into your waiting slots. The black ants will follow the newly created open space up the right side and begin chewing away the black outline tiles. Breaking this outer shell is a major milestone. Removing the black tiles exposes the yellow interior and gives you more options for your next move.
Step 3: Send yellow ants to tackle the creature body
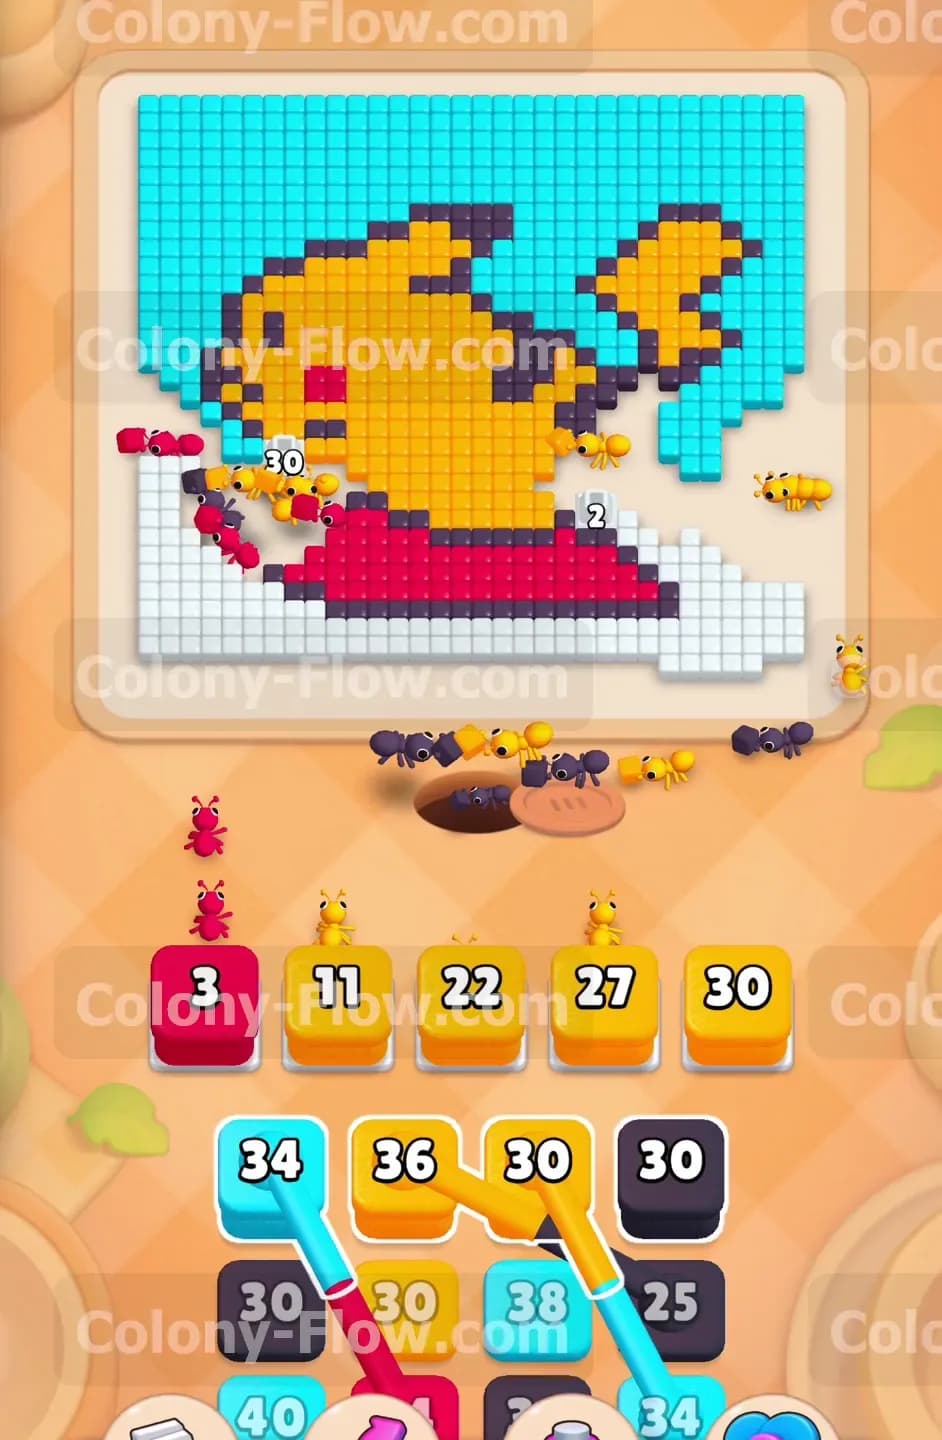
With the black outline breached on the right side, the massive yellow body is finally accessible. Pull a yellow block into your tray. The yellow ants will rush up the board and start devouring the creature from the tail inward. The yellow section is huge and will require many blocks to clear completely. Keep an eye on your waiting slots. You have three active colors running right now. Let the numbers drain down so you maintain open space in your tray.
Step 4: Clear the red base on the lower left side
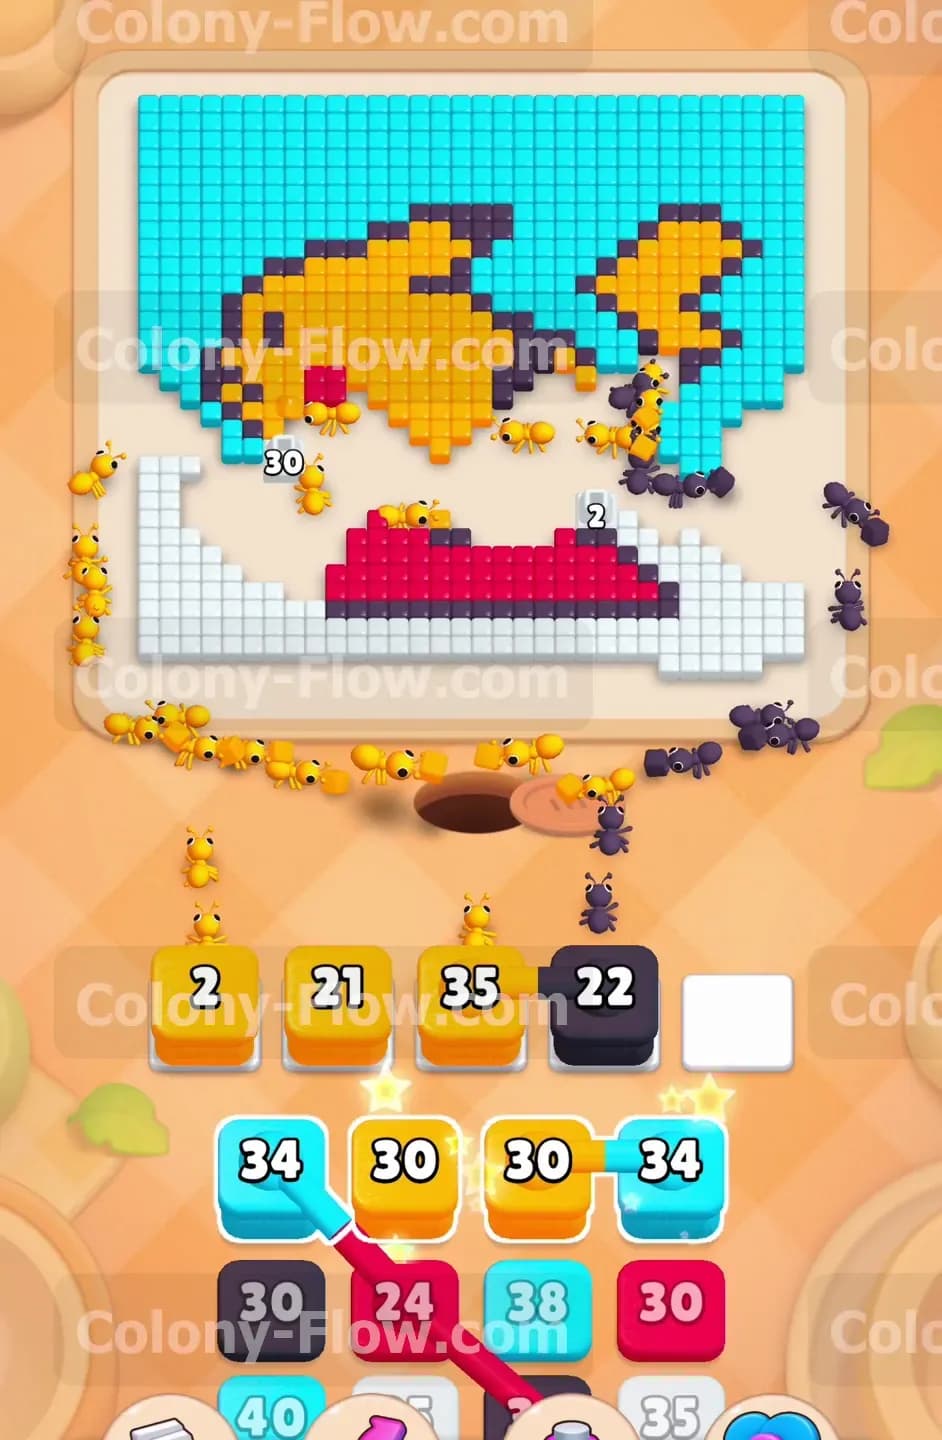
The left side of the board is still completely solid. Pull a red block to send ants to the bottom left section of the picture. The red base sits very close to the nest hole. The ants will immediately start clearing these red tiles. This balances the board by opening a brand new path on the left side while your other ants continue working on the right. Having two separate work areas prevents bottlenecks and keeps the ants moving freely.
Step 5: Manage your first set of Connected Boxes
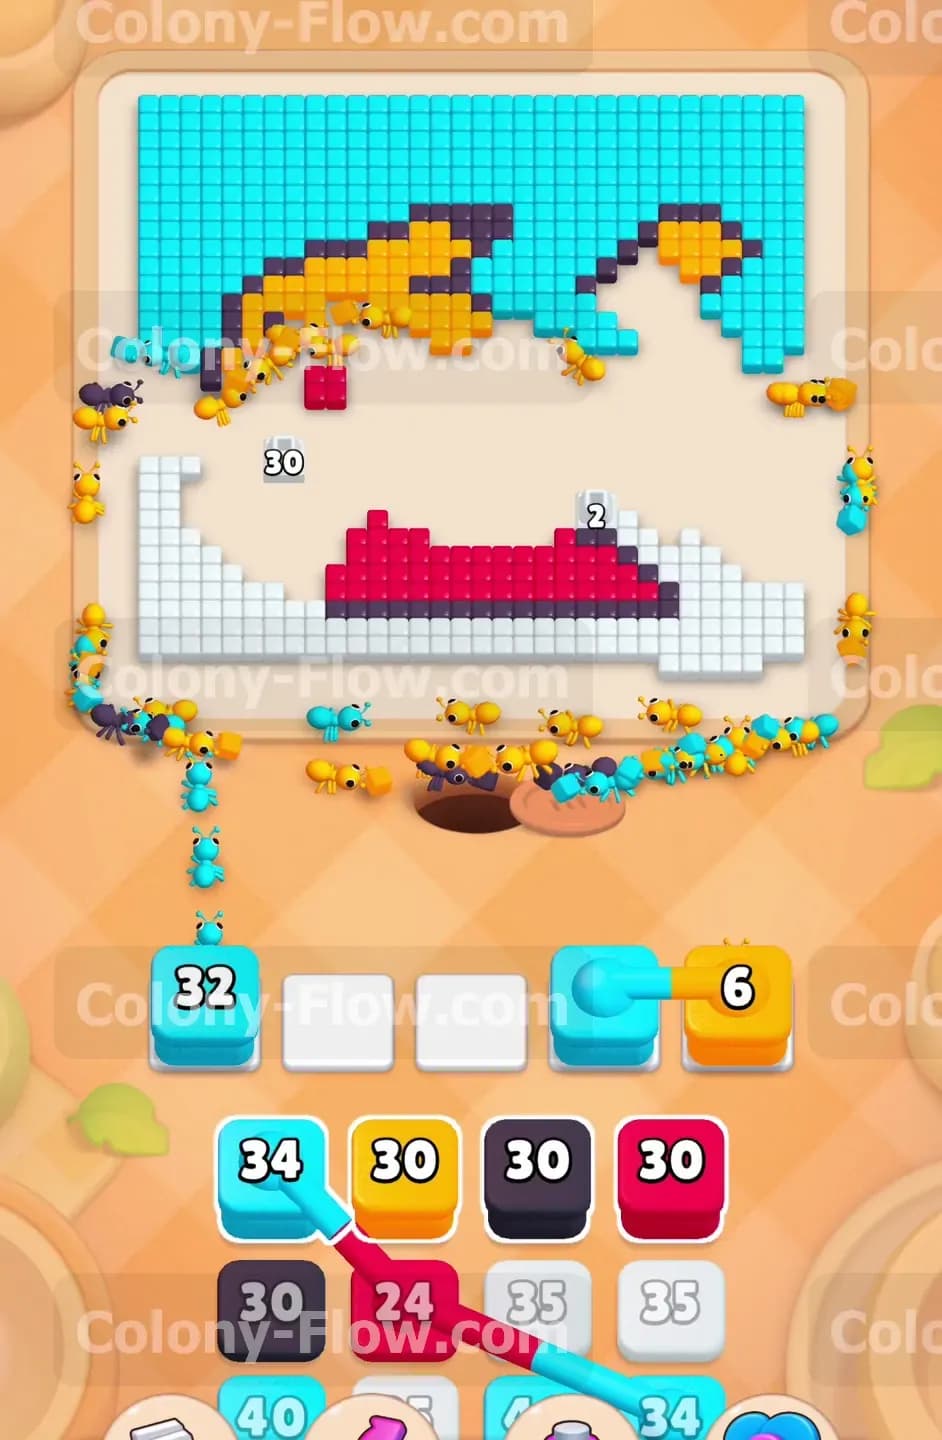
Look at your tray and spot the connected yellow blocks. Because they are linked together, pulling them will immediately take up two waiting slots. Verify that you have at least two empty slots before you tap them. Once you pull them up, a massive swarm of yellow ants will flood the board to consume a huge chunk of the yellow body. Wait patiently while these large numbers count down. Pulling any other blocks right now risks a dead end.
Step 6: Deploy connected cyan blocks for the upper background
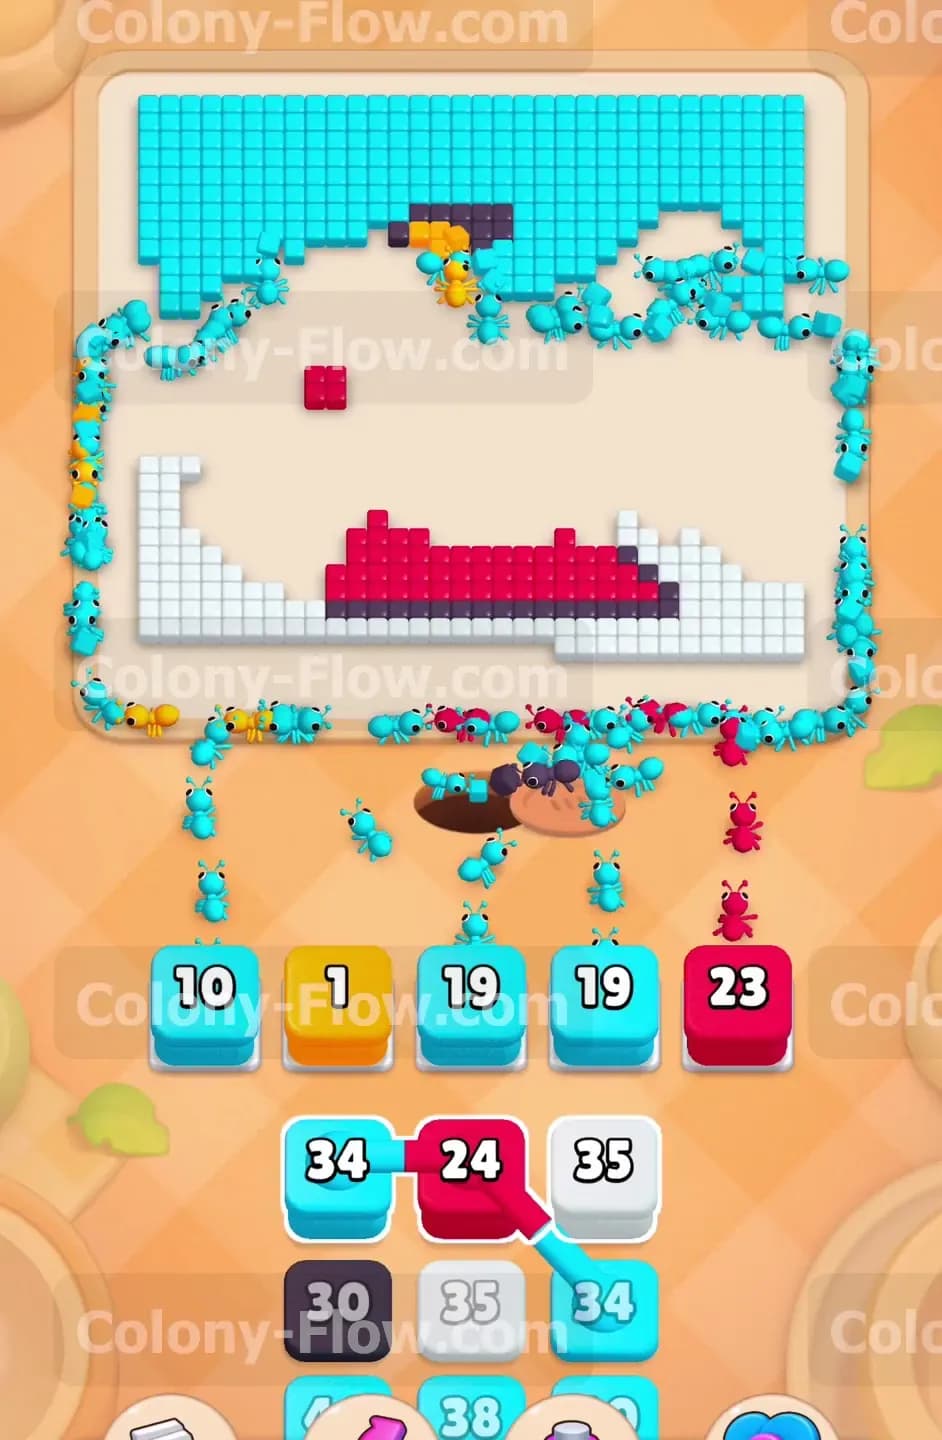
You will see connected cyan blocks in your tray next. The top background is fully exposed now that the yellow body is shrinking. Confirm you have two free slots and pull the connected cyan blocks. The cyan ants will travel up the right side and spread completely across the top of the board to eat the sky. The board will begin to look very empty at this point, but you still need to manage your tray carefully.
Step 7: Feed more yellow blocks to finish the main body
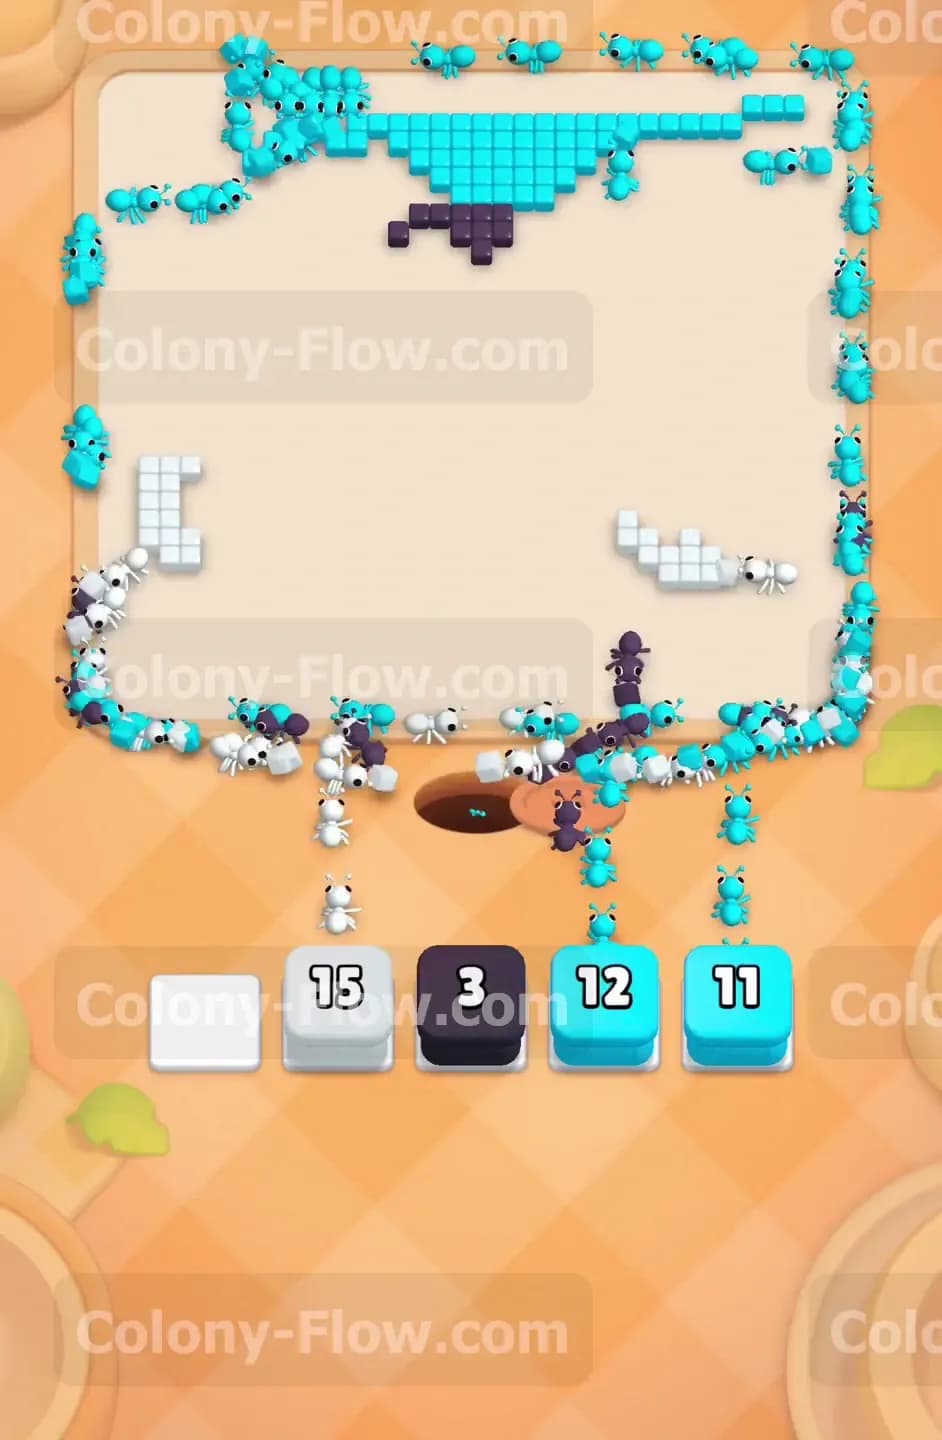
The yellow creature still has many tiles left around the head and face area. Pull another single yellow block into a free slot. The ants will march straight up the middle of the board now that the lower sections are entirely gone. Watch the numbers drop as the pixel art face disappears. Always make sure the yellow ants have an unobstructed path so they do not stall out and trap a block in your waiting area.
Step 8: Clear the remaining cyan background on the left
With the top section completely clear, the left background is fully exposed and ready to go. Pull another cyan block into your tray. The cyan ants will traverse the newly opened top area and rain down on the left side background tiles. The ants will eat their way down the left edge until the entire cyan sky is gone. You are now very close to finishing the picture.
Step 9: Pull the final black block to clean up the details
A few black outline tiles remain scattered around the left side and the face area. Pull a black block into an open slot. The black ants will seek out these isolated tiles. Since the board is mostly empty empty space now, the ants will reach their targets very quickly. Let the black block count all the way down to zero so it leaves your waiting slot entirely.
Step 10: Clear the white tiles to finish the level completely
The only tiles left on the board are the white base tiles sitting right at the very bottom. Pull your white blocks into the tray. The ants have a very short walk from the nest hole to these bottom tiles. The numbers on the white blocks will count down to zero extremely fast because the travel distance is so short. Once the last white tile is eaten, the ants return to the nest and you win the level.
Final Thought
Colony Flow Level 471 demands patience at the very beginning to open the board properly. Managing the Connected Boxes is the biggest hurdle, so always make sure you have the required open slots before you tap them. If any specific move feels hard to picture, watch the video above this article to see exactly how the ants navigate the board. Keep your paths open, rotate your colors smartly, and you will clear this level with ease.