Colony Flow Level 511 Walkthrough Solution & Guides | How to solve Colony Flow 511

Guide By Liam Stone
Updated on July 30, 2026
You can watch the full Level 511 walkthrough in the video above if you'd rather not read through every step.
Video doesn't match your screen?
Game updates frequently scramble layouts! Try our AI Screenshot Solver first to find your exact board instantly, or report broken guides to our team.
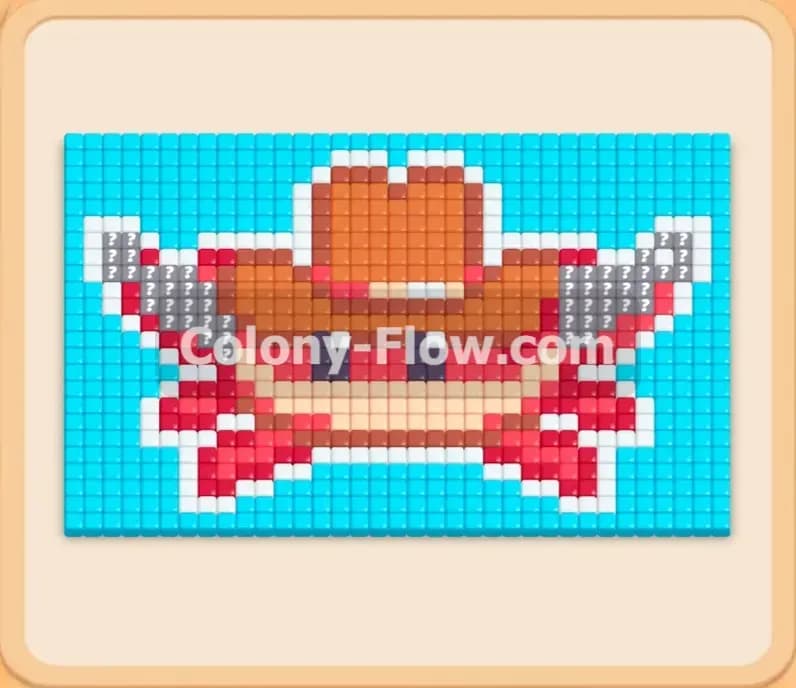
Welcome to Colony Flow Level 511 where we tackle an amazing pixel art picture of a red crab wearing a big brown cowboy hat. This puzzle requires careful slot management right from the beginning because the massive cyan sky blocks access to the upper sections of the board. You need to carve clear paths through the bottom edges first to reach the core shape of the character. Taking your time and planning your tray pulls will keep your ants moving smoothly without jamming your waiting slots.
Colony Flow Level 511 Overview
What You Are Working With
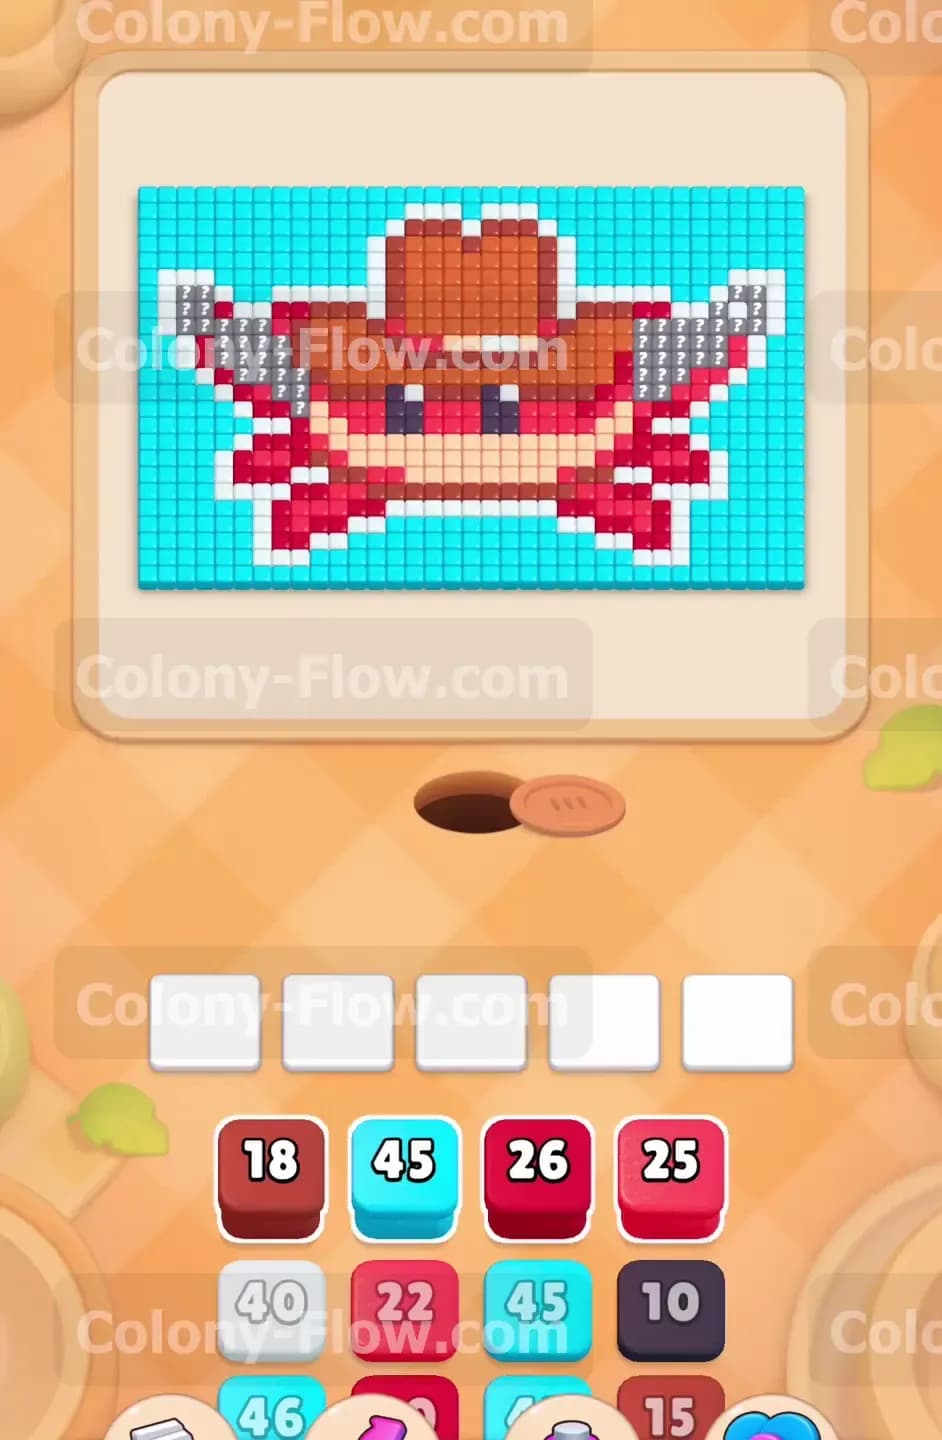
The board displays a complex picture made entirely of colored square tiles. A large red crab sits proudly in the center with a light beige face and dark purple eyes. The crab wears a large brown cowboy hat with an orange band around the middle. Two large white claws extend outward to the left and right sides. A solid bright cyan sky entirely surrounds the figure. Your starting tray gives you large numbered blocks across several colors. You will see a massive cyan block along with large red and brown options right away. The ants start their journey at a single circular nest hole located at the very bottom center of the screen. You must send your colony upward to chip away at the background while eating into the lower legs of the crab.
What It Takes to Clear Level 511 Board
Clearing this board means systematically dismantling the picture from the very bottom to the top. You have to balance pulling the giant cyan background numbers with the smaller red and white details of the crab body. The five waiting slots at the bottom of your screen will fill rapidly if you pull too many big numbers at once. Success happens when you carve clear open avenues up both sides of the screen so your ants can eventually reach the top portions of the hat. You lose the level if you fill all five slots with colored blocks that have no open paths to matching tiles. Every single decision you make must keep the ants moving and the board clearing. Managing the exact walking distance of your colony becomes crucial as the puzzle opens up.
Colony Flow Level 511 Step by Step Solution
Step 1: Open the bottom cyan border to expose the lower crab legs
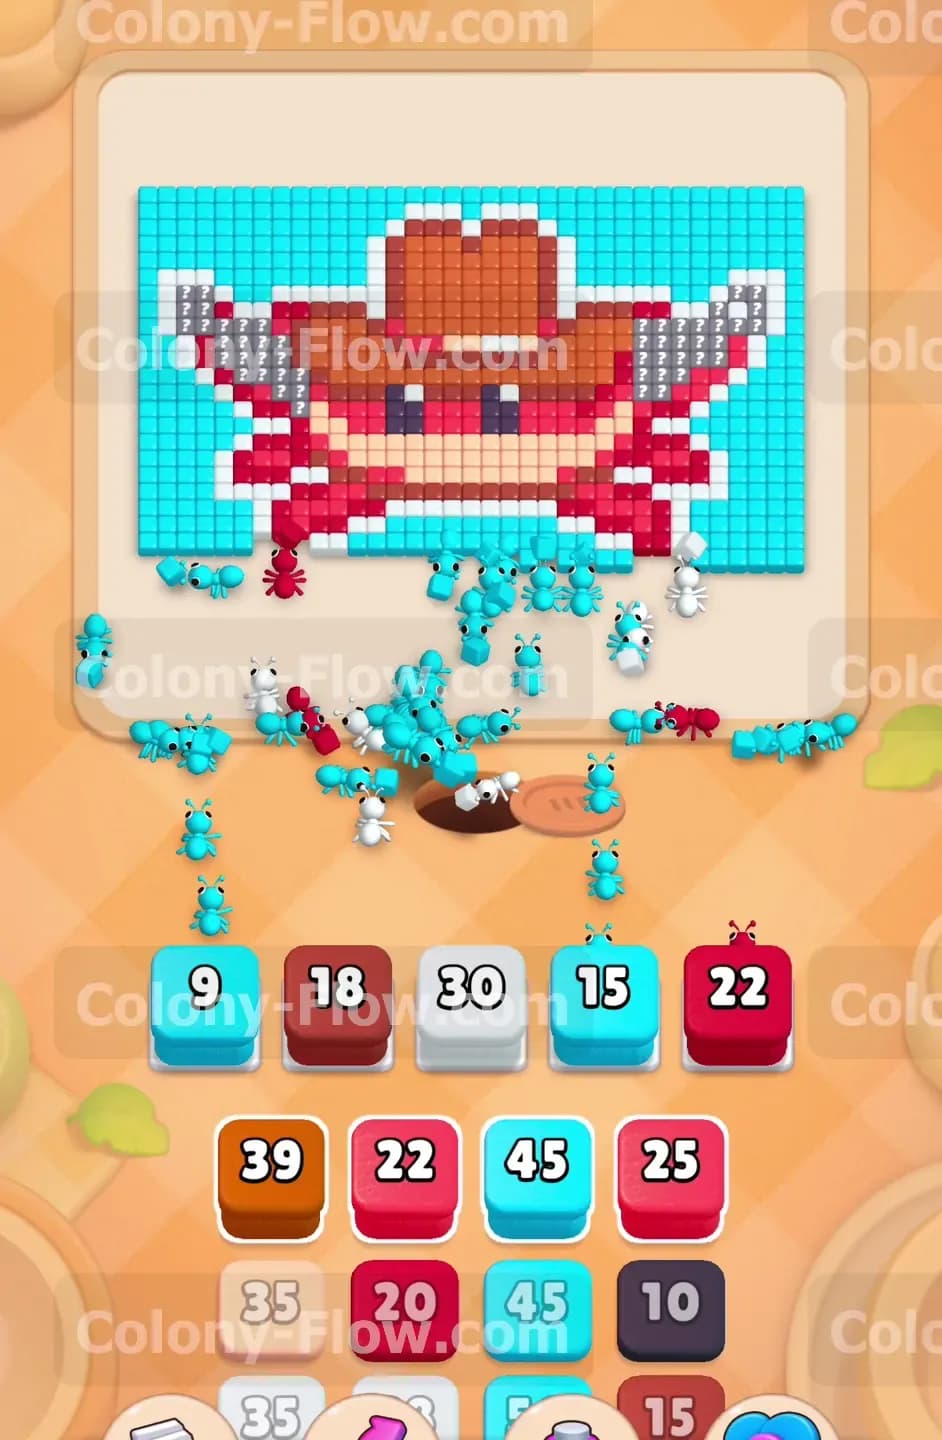
Start the level by tapping the large cyan block in your tray. This block holds a massive number and drops right into your first waiting slot. The ants stream out of the nest hole and immediately attack the bottom row of the bright sky. This action creates a critical opening across the entire bottom edge of the board. You then pull a large red block to send a new wave of ants toward the lowest red tiles forming the crab legs. You keep the bottom paths wide open by alternating between these two colors. The cyan numbers are huge so that specific block will sit in your waiting slot for quite a long time while it slowly counts down. Always make sure you do not overload your tray with colors that have no open paths. Tapping a brown block right now would be a huge mistake. The brown hat is buried deep inside the picture behind the crab body. If you pull brown early it will sit uselessly in a slot and block you from bringing up the colors you actually need right now.
Step 2: Clear the outer white claws and wear down the lower body
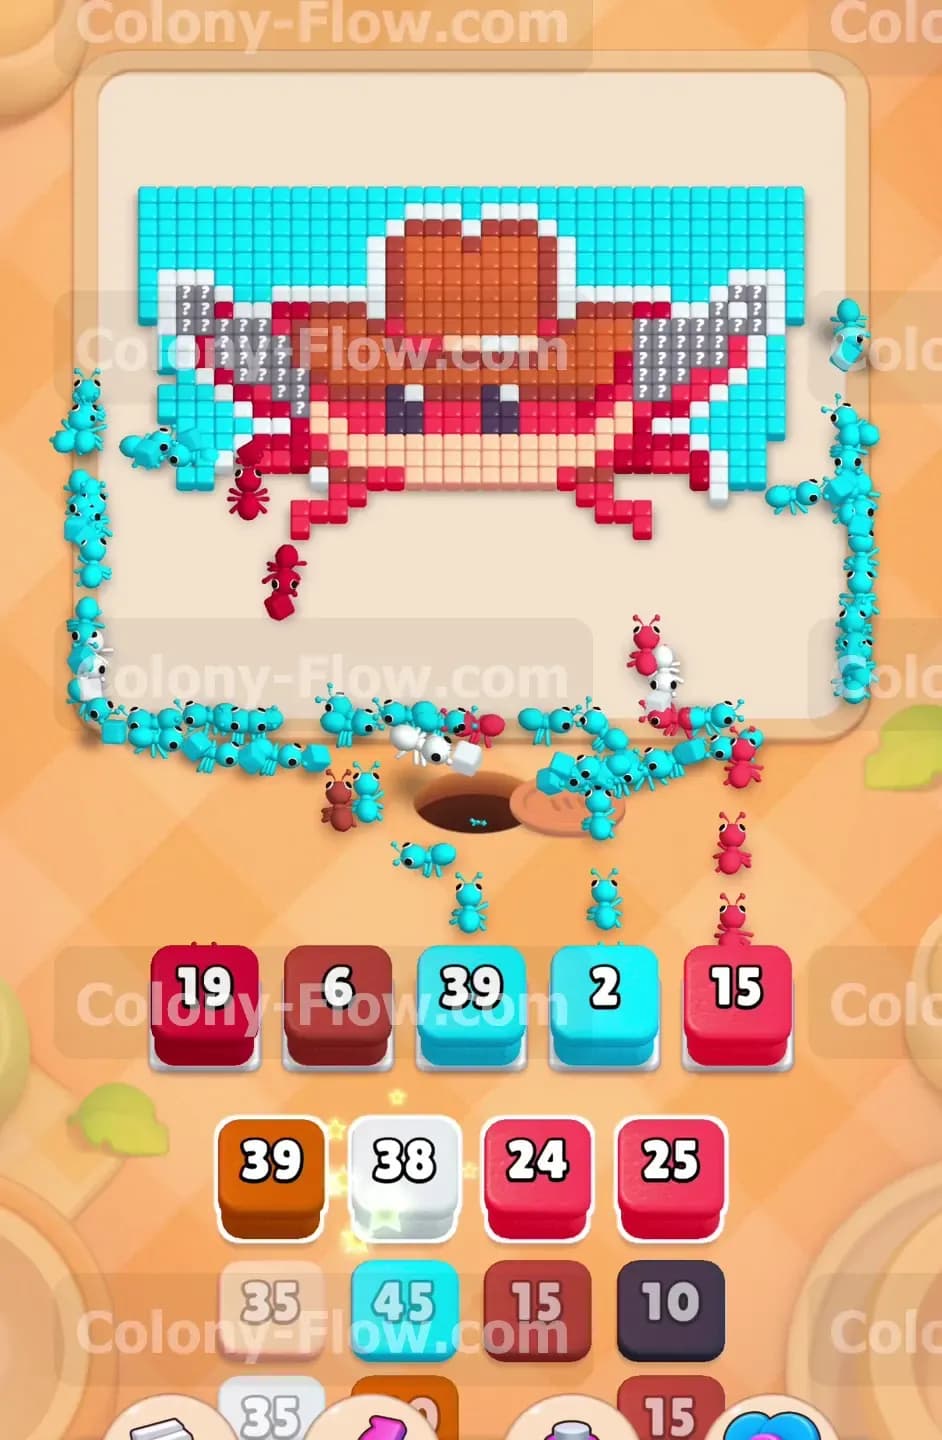
With the bottom cyan row completely gone the ants can finally reach the white claws on the outer edges. Tap the white block in your tray to drop it into an open slot. The ants march up the left and right sides to start eating the white tiles. You then pull another red block to continue wearing down the main body of the crab. The red tiles block access to the center face so clearing them away is your main priority at this stage. Your waiting slots might start to look a little crowded as the larger numbers take time to process. You must watch the numbers tick down slowly as the ants carry away the individual pieces. Keep your focus entirely on the lower red and white sections until the beige face is fully exposed to the open air. Let the ants do their work and avoid tapping new colors until a slot completely empties out.
Step 3: Attack the beige face and dark eyes in the center
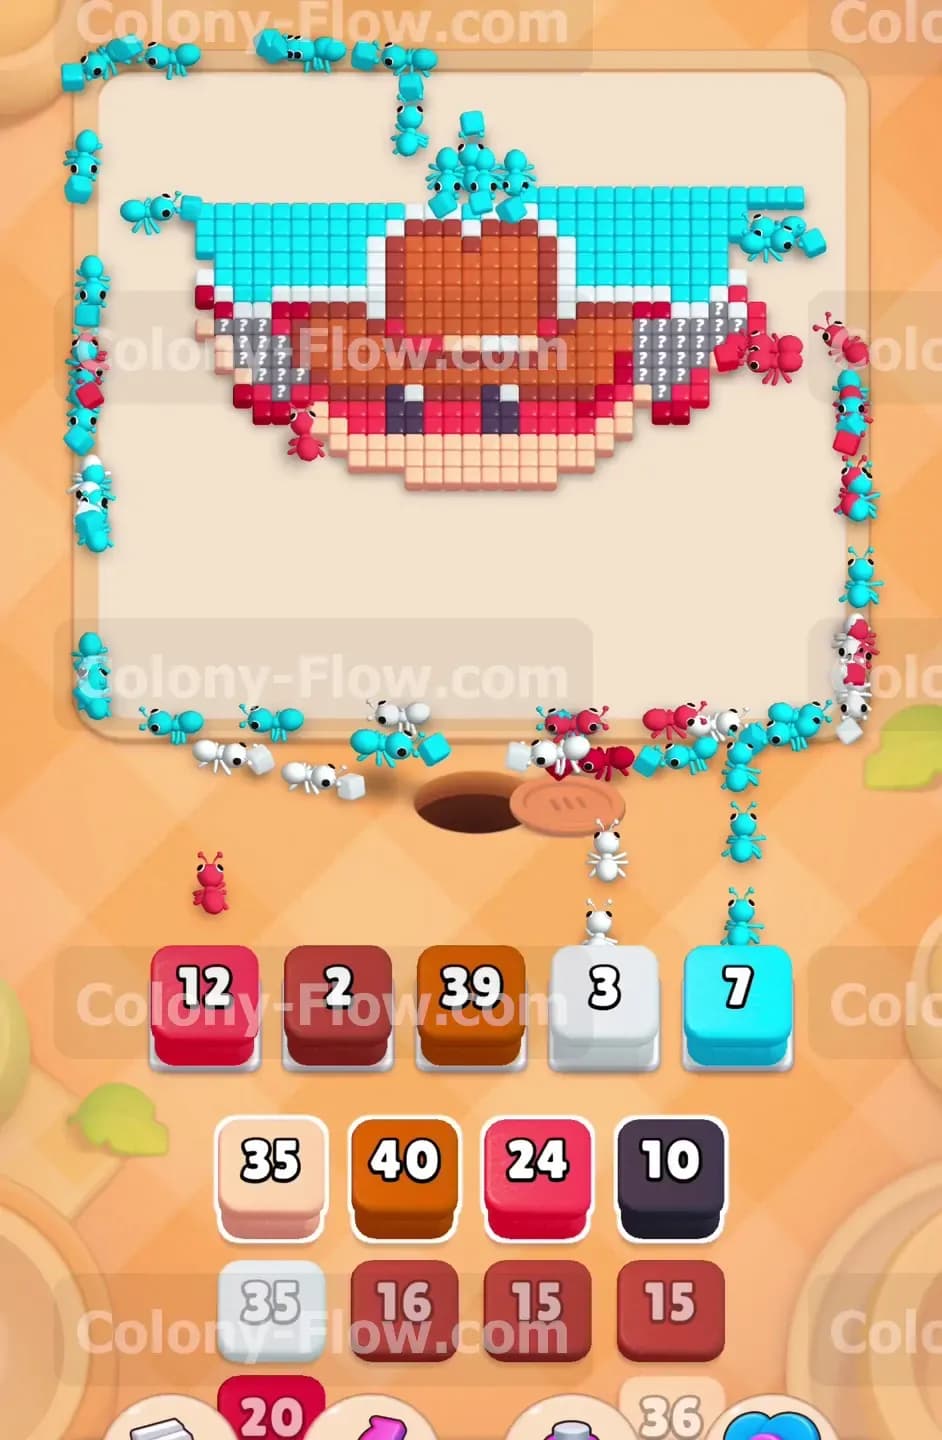
The ants now have a direct walking line to the center of the board. Tap the large beige block in your tray to drop it into an empty slot. Your colony swarms up the middle and begins clearing the face of the crab. Two dark tiles make up the eyes in the very center of the face. Bring up the dark block from your tray to let the ants clear those specific pieces once the beige tiles recede enough to expose them. The cyan background on the far sides is still very thick at this point. Pull another cyan block to send a fresh wave of ants up the left and right walls. This action keeps your side avenues clear so ants can eventually reach the top half of the board. Balancing the center face tiles with the outer sky tiles ensures your ants never run out of open targets to chase.
Step 4: Break into the bottom rim of the cowboy hat
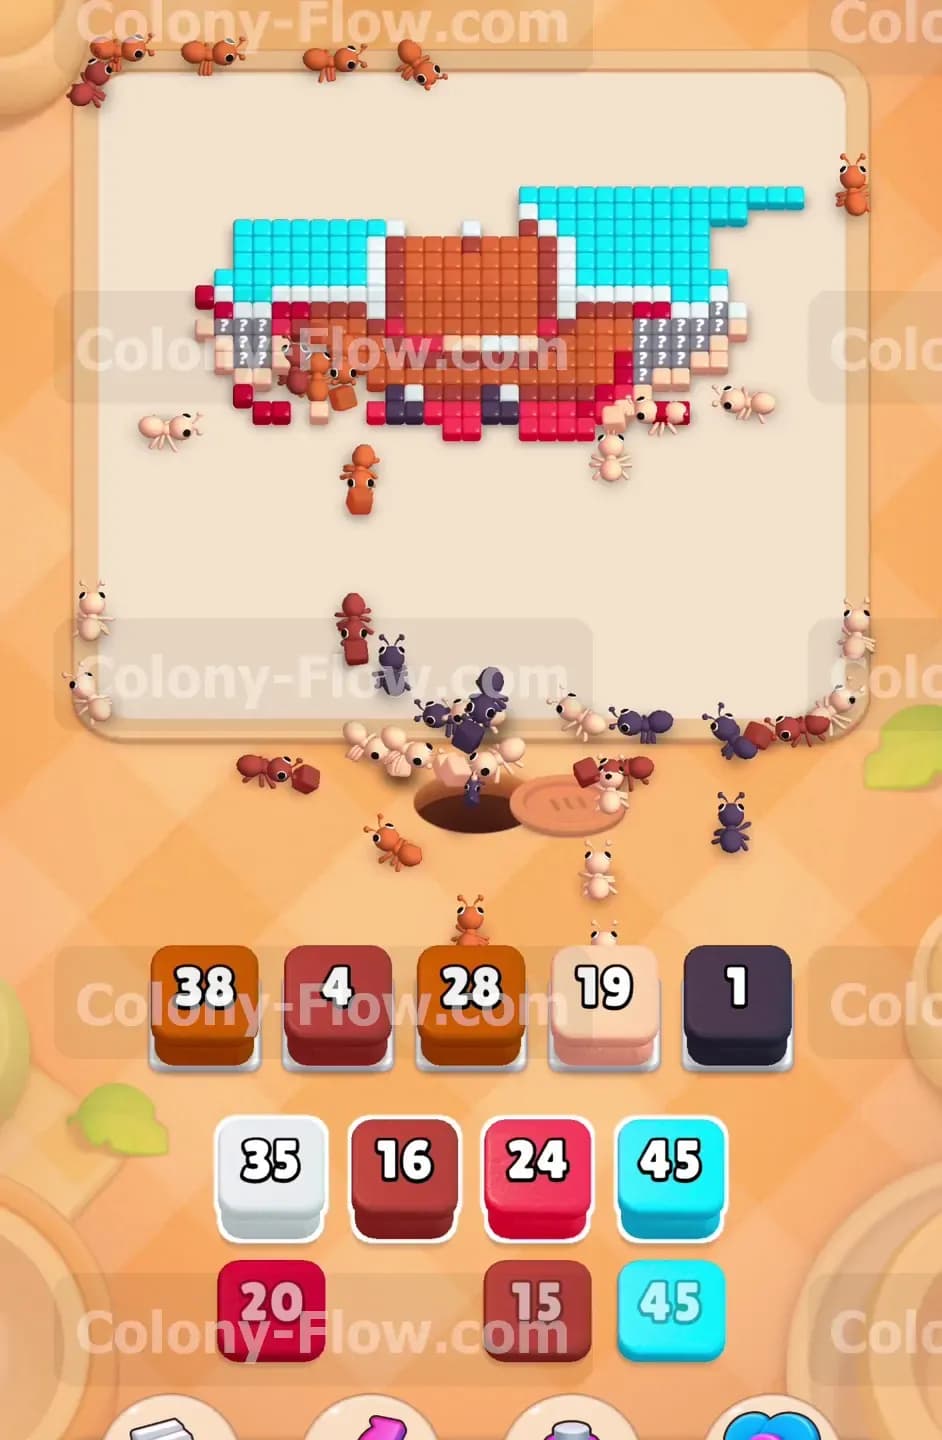
The brown blocks are finally ready for action. Tap a large brown block to let the ants start eating the wide rim of the hat. You will notice the numbers on your cyan blocks in the waiting tray are slowly dropping as the background disappears. Keep balancing your moves carefully to avoid a dead end. Pull a brown block and then another red block to clean up the upper portions of the crab body. Your slots remain totally safe because the ants always have a valid target to pursue. The picture is now cut roughly in half. The entire lower section of the screen is empty space and the ants have a long walking distance from the nest to the remaining tiles. You must factor in this extended walking time when deciding which numbered block to pull next. The longer they walk the slower your slots empty.
Step 5: Send ants up the side avenues to eat the upper sky
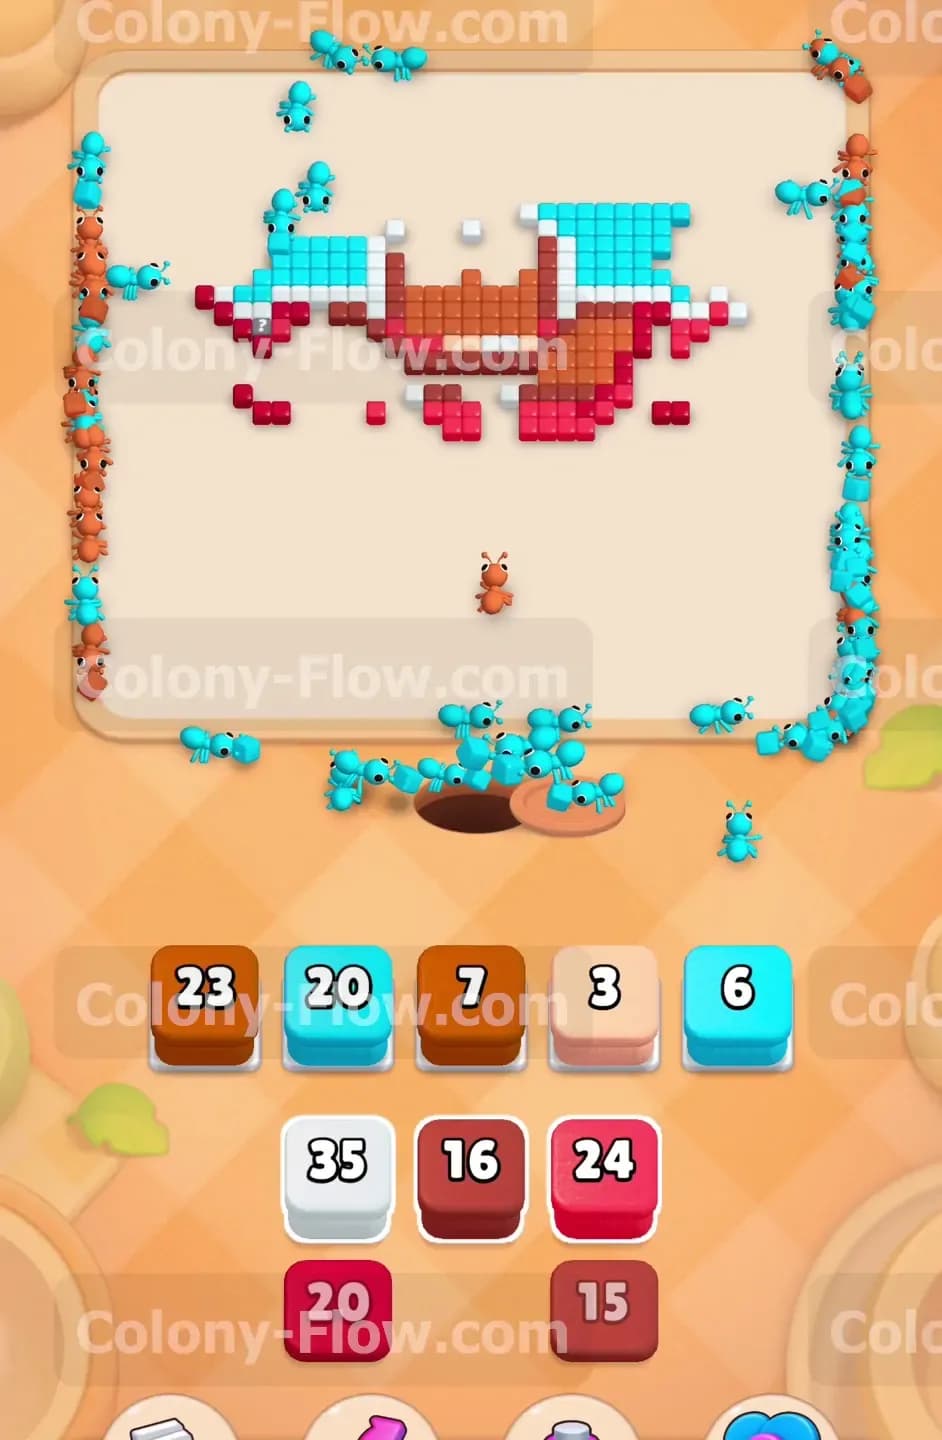
The massive cyan blocks require constant attention throughout this puzzle. Tapping a new big cyan block sends your colony on a long march straight up the sides to reach the upper background. This is a crucial moment in the level for slot management. The huge cyan numbers take a really long time to count down so they will occupy a waiting slot for a significant duration. You must support this process by pulling colors for the main hat structure at the very same time. Alternate between pulling cyan blocks and brown blocks from the tray. The ants will split their attention perfectly across the open board. One group climbs the extreme left and right walls for the sky while another group marches straight up the middle to attack the hat. This splitting strategy prevents a massive traffic jam at the nest hole and keeps your slots cycling.
Step 6: Clear the top crown and orange band of the hat
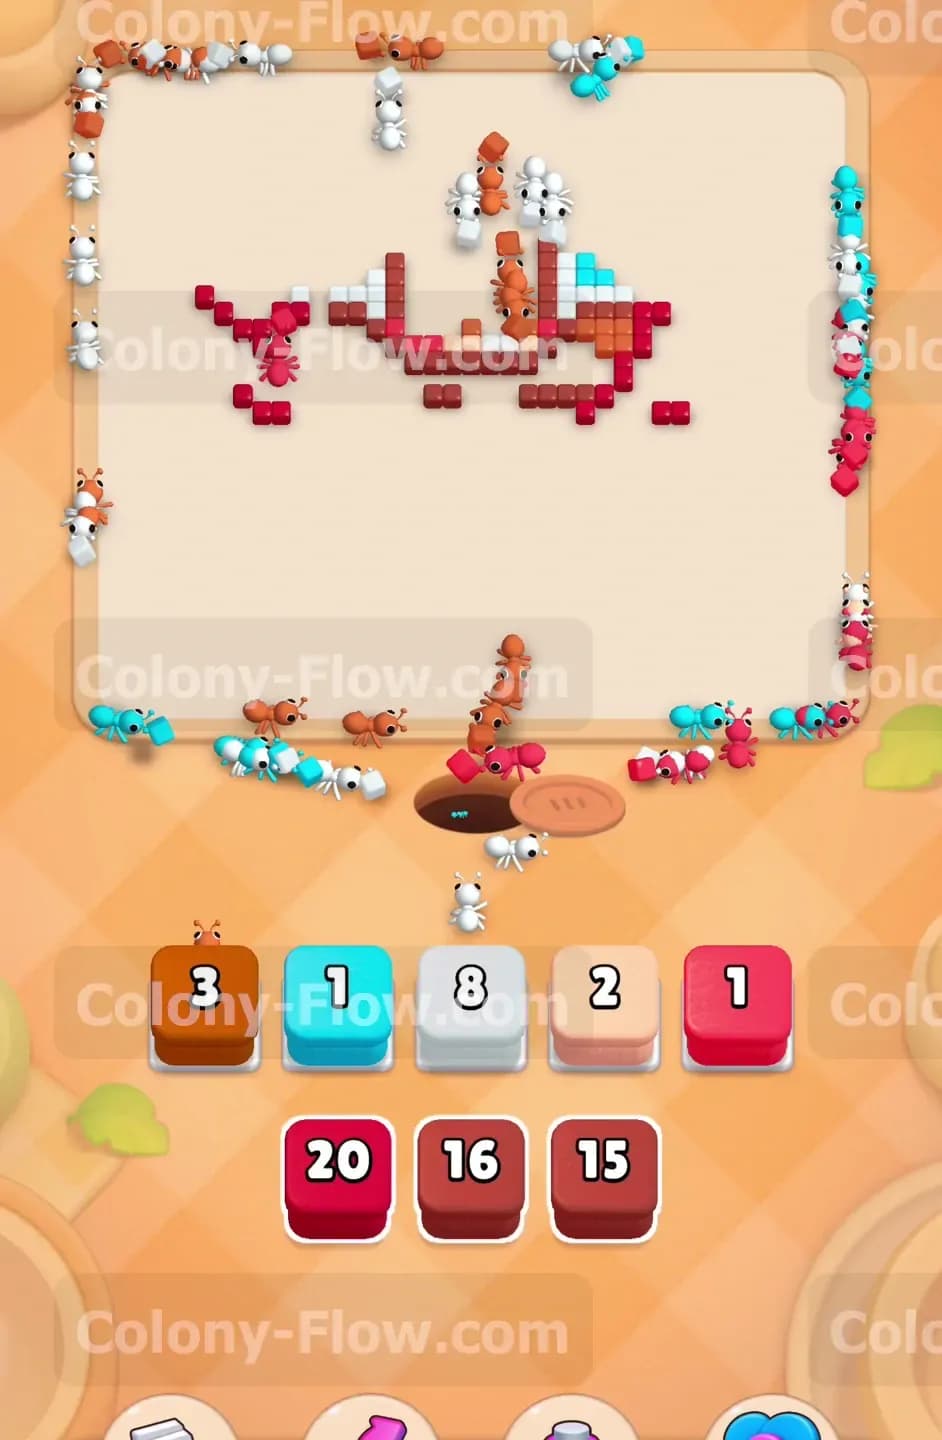
The wide brown brim is completely gone and only the top round section of the hat remains. Tap the orange block to clear the specific colored band resting on the hat crown. The red and white tiles from earlier are mostly gone but a few scattered pieces might remain near the top outer edges. Check your tray for small numbered blocks of these specific colors. Bring them up to let the ants clean up the stragglers quickly. You only have a few tiles left blocking the very top border of the screen. Keep a close eye on your slot count as you near the finish line. You never want to pull a block unless you are absolutely sure the ants can reach that exact color without getting stuck.
Step 7: Finish the final remaining background and scattered tiles
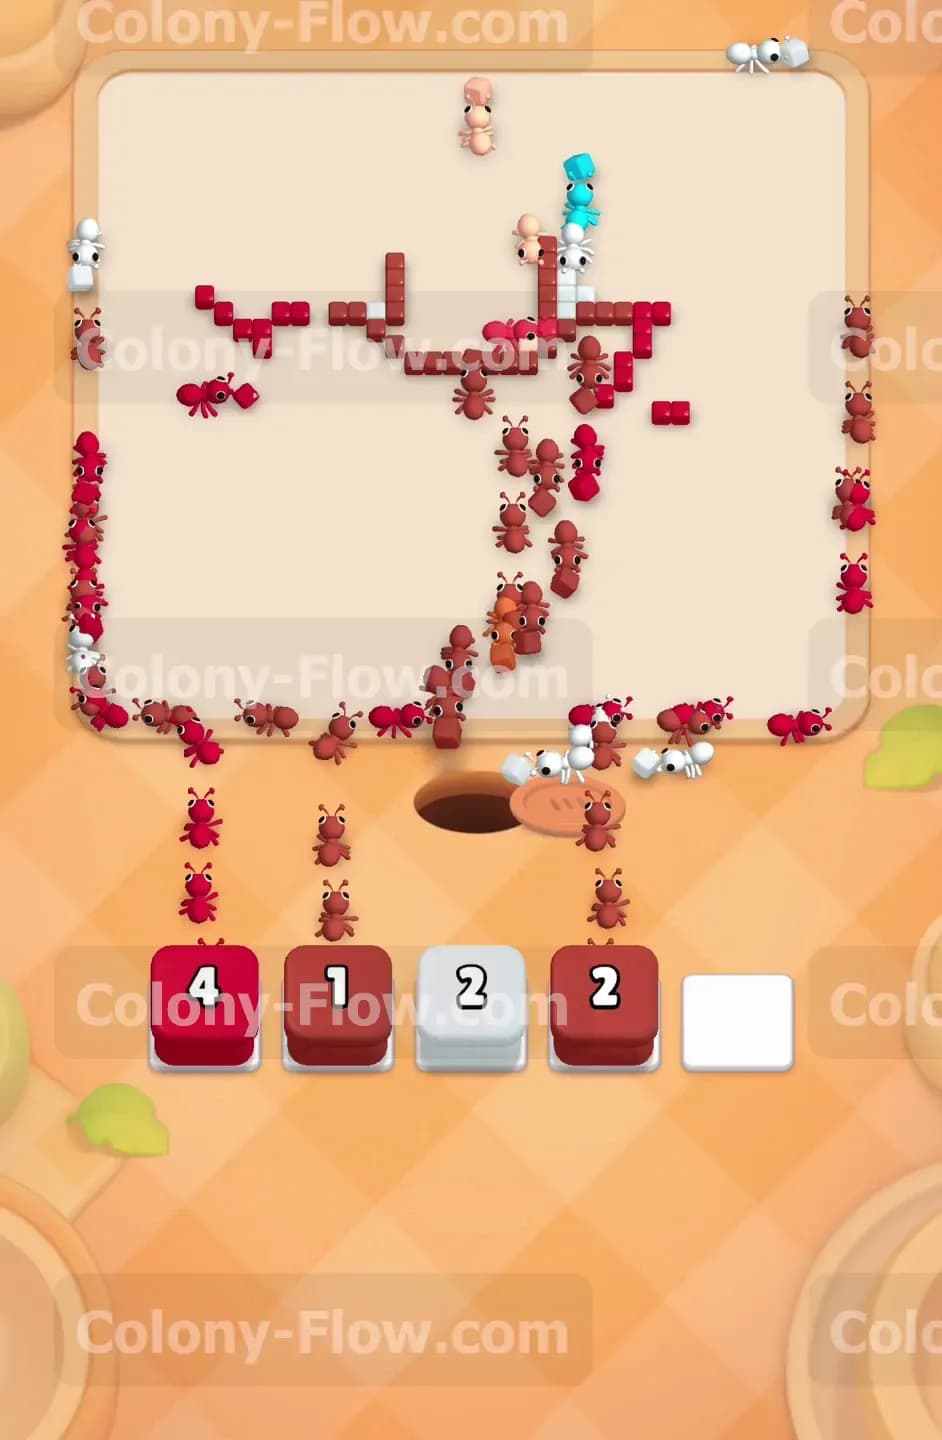
Pull the final cyan blocks to clear out the top corners of the blue sky. The ants march all the way from the bottom nest hole to the very top edge of the screen. Tap the last few brown and red blocks to eliminate the top of the hat and any tiny remaining pieces of the crab character. Your waiting slots will be nearly empty at this point in the stage. You can confidently pull the last few required blocks without any fear of jamming the tray. Watch the final ants carry away the last colored squares on the board. The screen clears completely and you win the level.
Final Thought
Managing the giant background numbers while simultaneously picking apart the smaller central details is the true challenge here. You must always think one move ahead to keep those waiting slots open and functional. I highly recommend taking your time and watching the ant paths closely before you tap the next tray item. Be sure to watch the video above this article if you find any step hard to visualize in text.