Colony Flow Level 80 Walkthrough Solution & Guides | How to solve Colony Flow 80

Guide By Liam Stone
Updated on July 13, 2026
Want the shortcut? Watch the video above for the full Level 80 solution.
Video doesn't match your screen?
Game updates frequently scramble layouts! Try our AI Screenshot Solver first to find your exact board instantly, or report broken guides to our team.
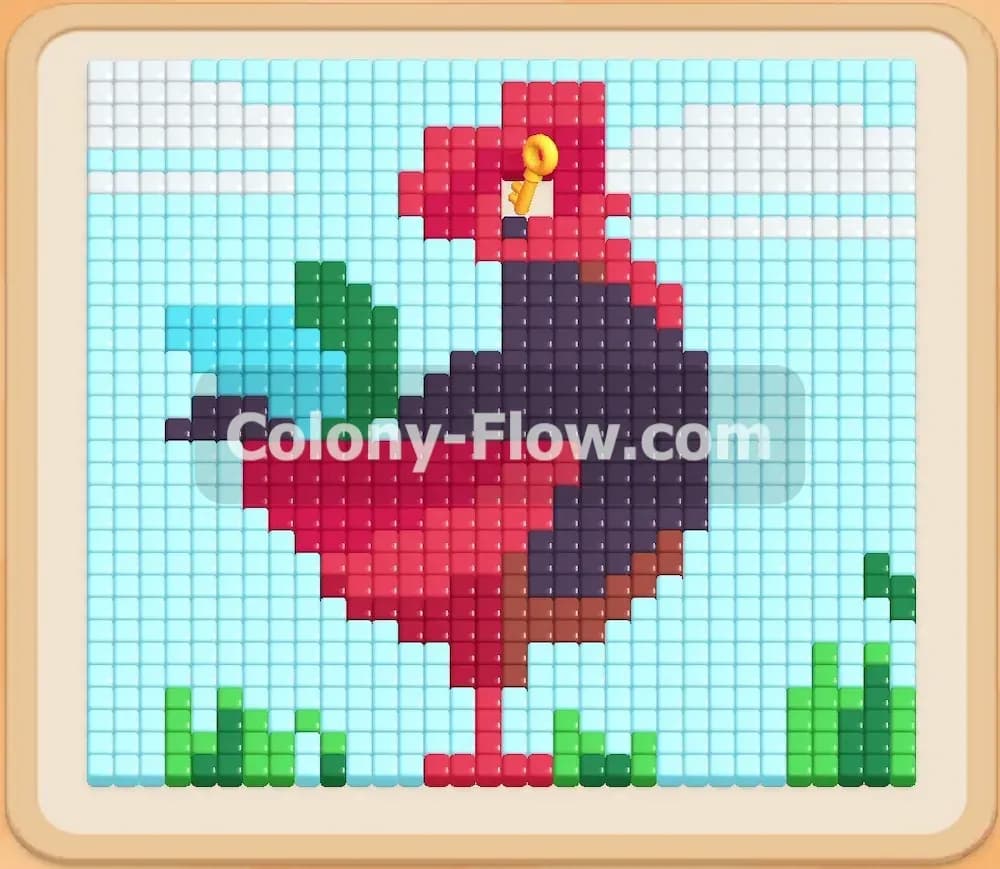
Welcome to Colony Flow Level 80. You face a large pixel art rooster standing in a grassy field with a clear sky behind it. I play every level of this game myself to figure out the exact sequence you need to win. You will find the complete solution below so you can clear the board and keep your waiting slots empty.
Colony Flow Level 80 Overview
What You Are Working With
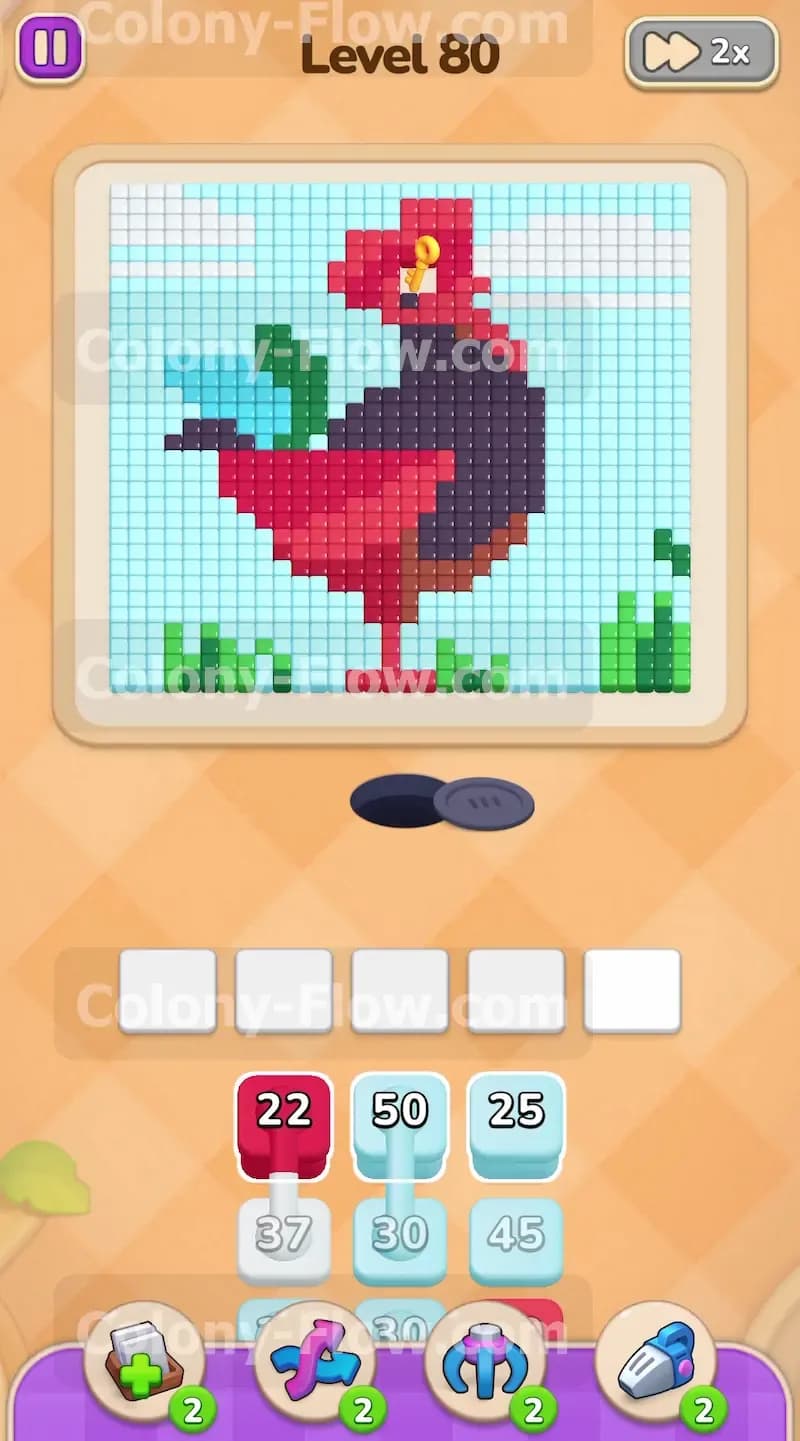
The board shows a rooster made of red tiles and dark purple tiles. The rooster has a green tail and stands on small patches of green grass. The sky behind the bird is a checkerboard pattern of light blue tiles and white tiles. You have a special lock and key mechanic to handle here. Look at the tray at the bottom of the screen. You will see a dark purple block with a yellow lock on it. Now look up at the rooster on the board. A yellow key sits near the top of the red head area. You must collect that key to unlock the dark purple blocks. Your tray starts with red blocks, light blue blocks, white blocks, and green blocks.
What It Takes to Clear Level 80 Board
You win when you clear every single colored tile from the screen and all your ants finish their work. You lose if you fill all five waiting slots with blocks that have no open path to their matching tiles. Your main goal is to clear the sky and the bottom of the rooster first. This opens a path for the red ants to climb up the body and grab the yellow key. Once you have the key, you can deploy the dark purple ants to eat the dark chest. Managing the five waiting slots is your top priority throughout the entire puzzle. Always make sure the block you tap has a clear route to its target so your tray never jams.
Colony Flow Level 80 Step by Step Solution
Step 1: Pull the first light blue and white blocks to clear the bottom sky
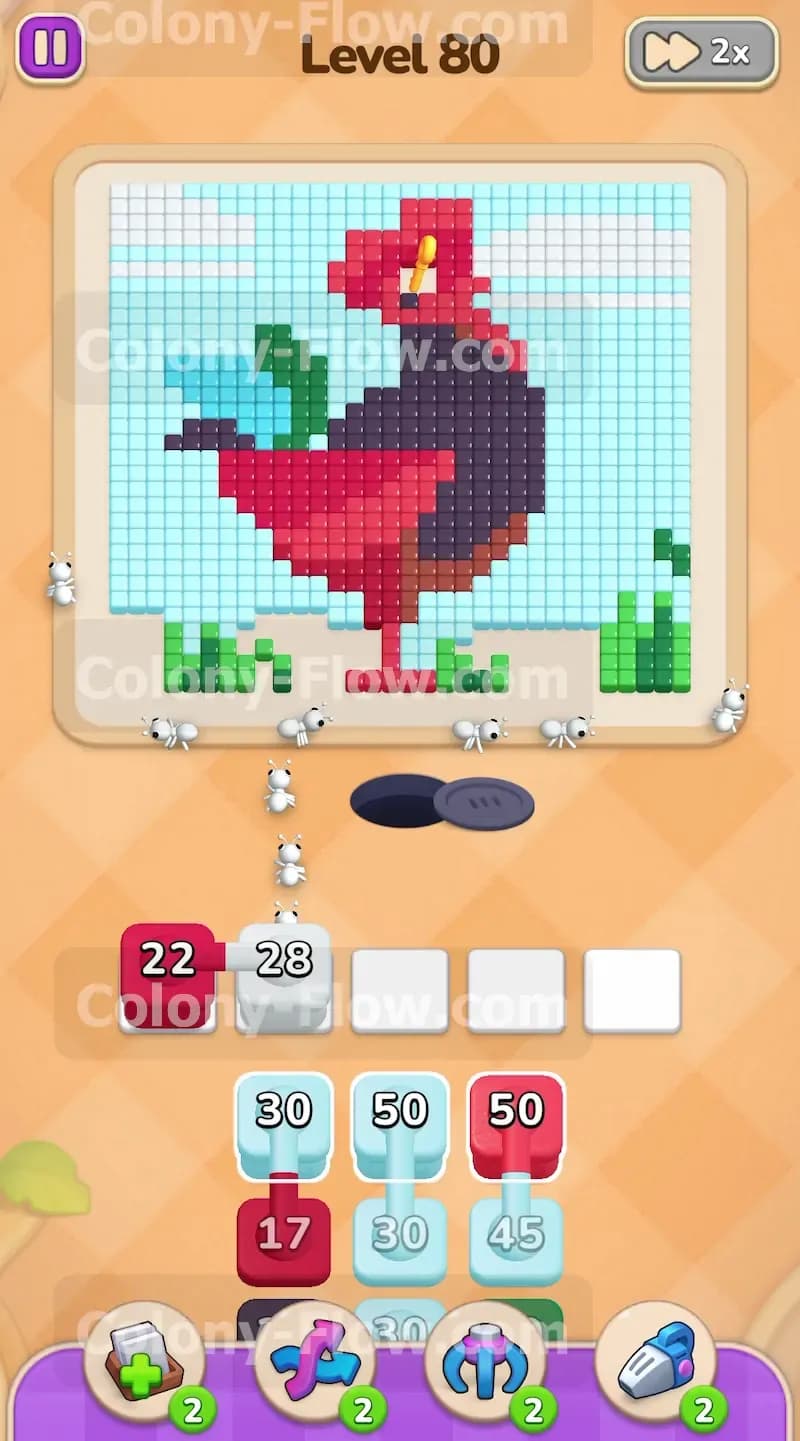
Tap the Light Blue 50 block and the White 37 block from your tray to send your first wave of ants. The ants stream out of the nest hole and immediately target the matching sky tiles along the bottom edge of the board. Watch the numbers on your blocks drop as the ants eat the tiles and clear the bottom corners. The Light Blue block counts down from 50 to 30 while the White block goes from 37 to zero. Tapping these specific background colors first guarantees your ants have a wide open path right out of the gate. This keeps your waiting slots completely safe from jamming early on.
Step 2: Bring the first red block into the waiting area to start clearing the feet
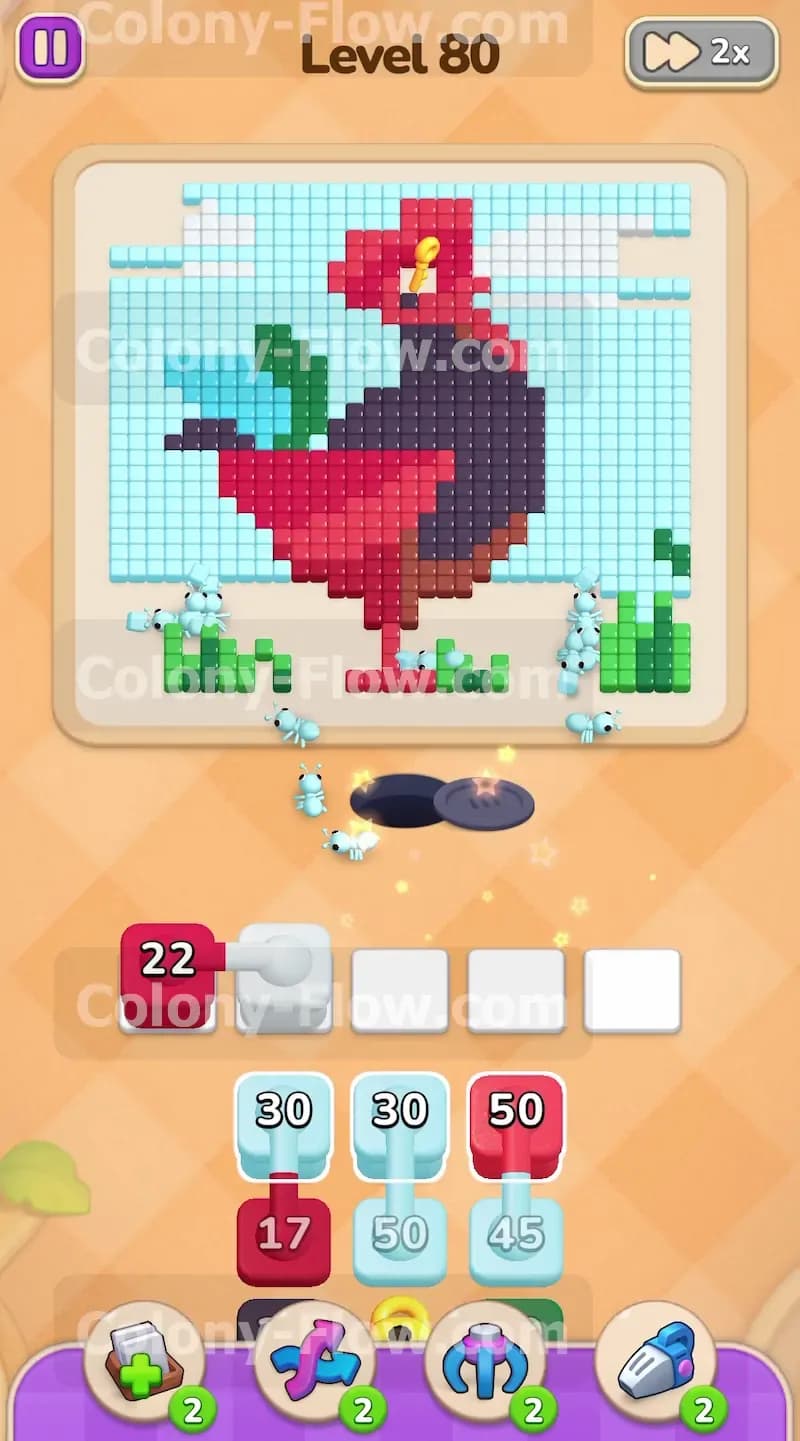
Tap the Red 22 block to move it into your waiting area. The red ants run out and find the red tiles making up the feet of the rooster. The number on the red block drops steadily from 22 down to zero as the ants consume the bottom of the bird. You need to remove these lower body tiles to create a vertical path up to the head. Waiting to tap the red block until the sky opens up slightly ensures the red ants do not get stuck behind a wall of background tiles. This careful timing keeps your paths open and prevents your slots from clogging up with unused red blocks.
Step 3: Keep clearing the sky to widen the edges of the board
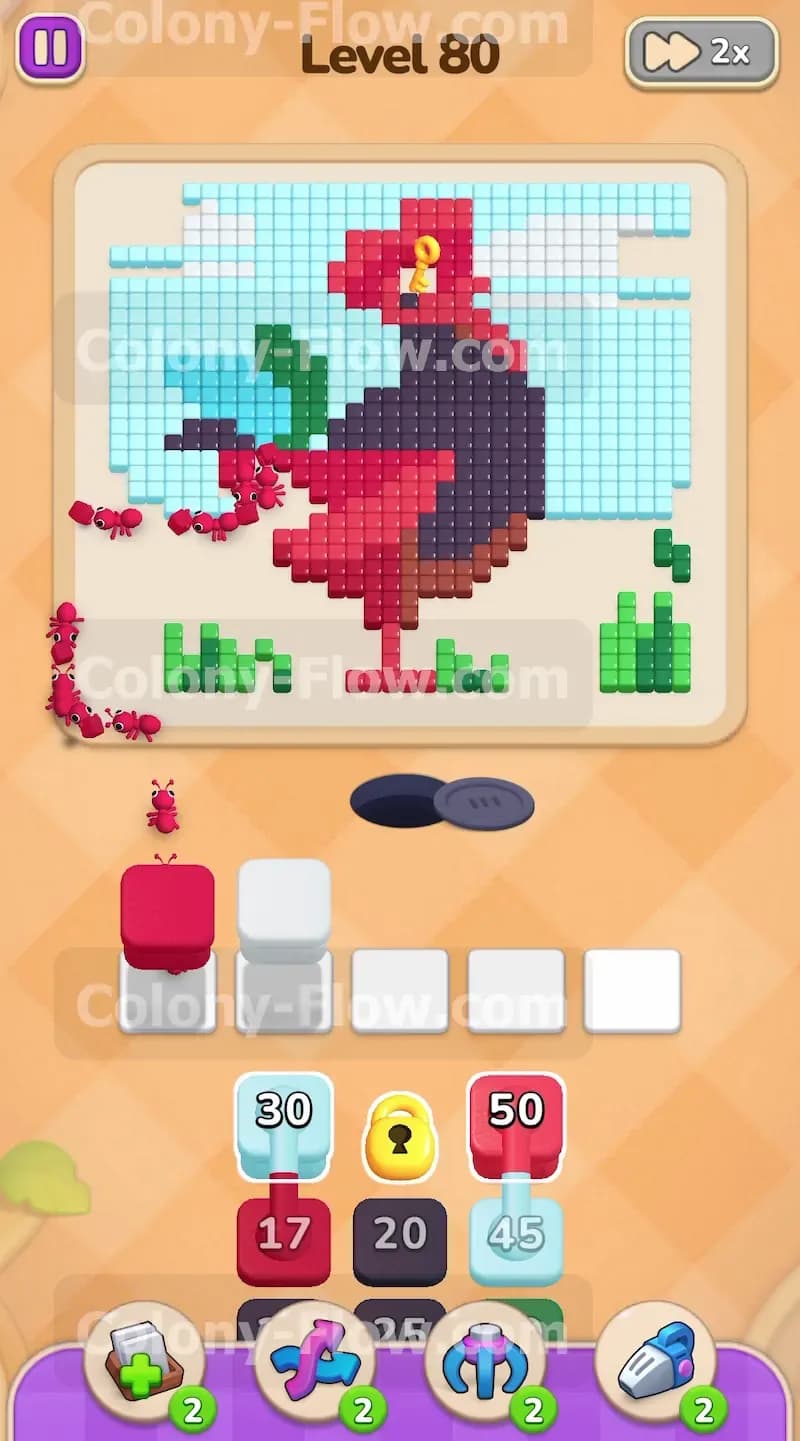
Tap the White 28 block and the Light Blue 30 block from the tray to continue your work on the background. The white and light blue ants swarm the middle sections of the sky and eat away the checkerboard pattern around the rooster. You will see the numbers on both blocks tick down rapidly as large chunks of the sky vanish. Clearing these side areas exposes the outer edges of the green tail and the upper red body. By removing the surrounding background now, you give your future ants multiple angles of attack. This strategy keeps all available routes wide open and ensures your waiting slots remain clear.
Step 4: Push your red blocks to send ants climbing up the body toward the head
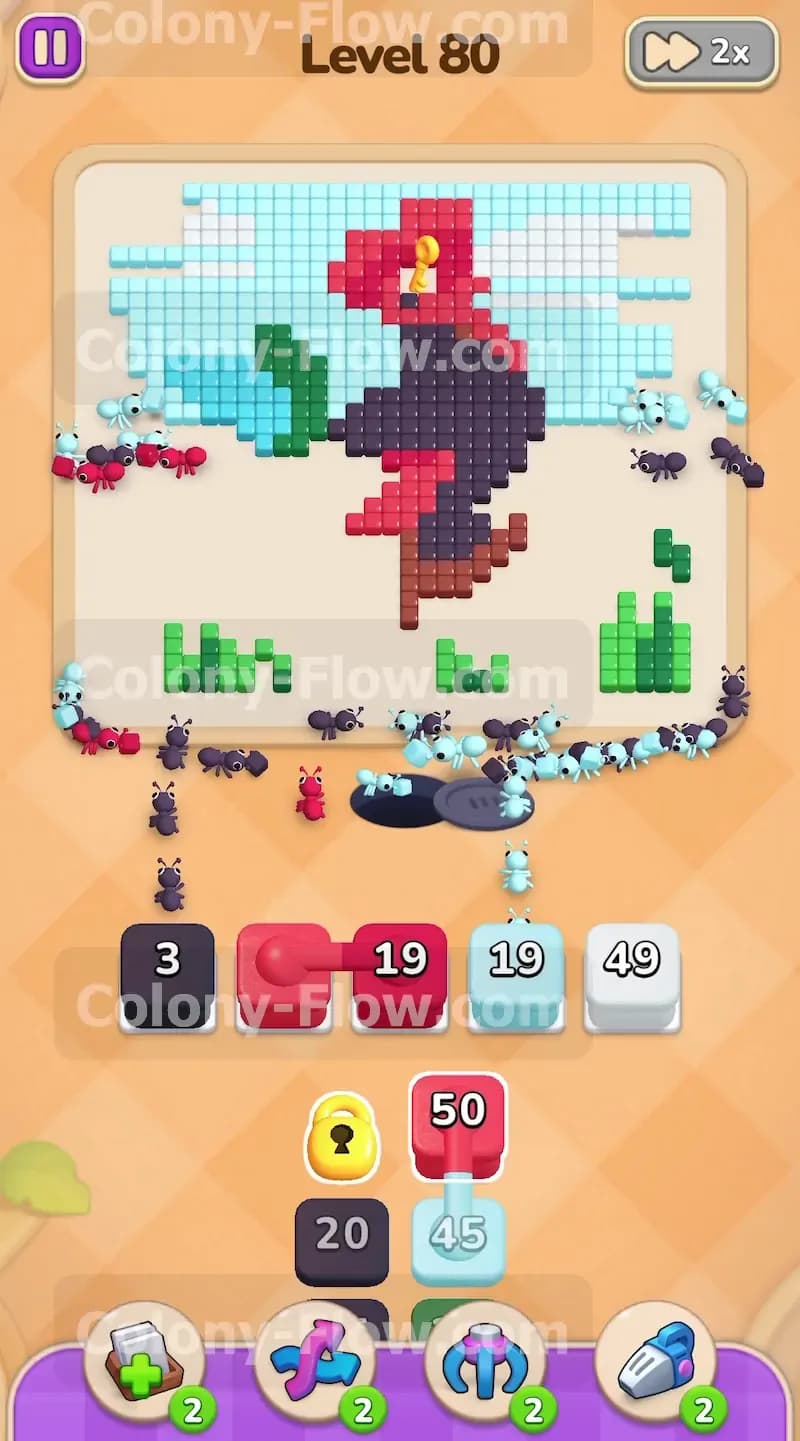
Tap the Red 50 block and bring another Red 17 block into your waiting area. The red ants flood the board and march right up the legs into the main body of the rooster. Watch the 50 block drop all the way down to 19 as the ants devour the red stomach and neck tiles. The ants move higher and closer to the yellow key with every tile they clear. You must use these large red blocks now because the key is trapped high up on the head. Giving the red blocks priority in your slots right now guarantees the ants maintain a continuous path upward without dead ending.
Step 5: Collect the yellow key to unlock the dark purple blocks in the tray
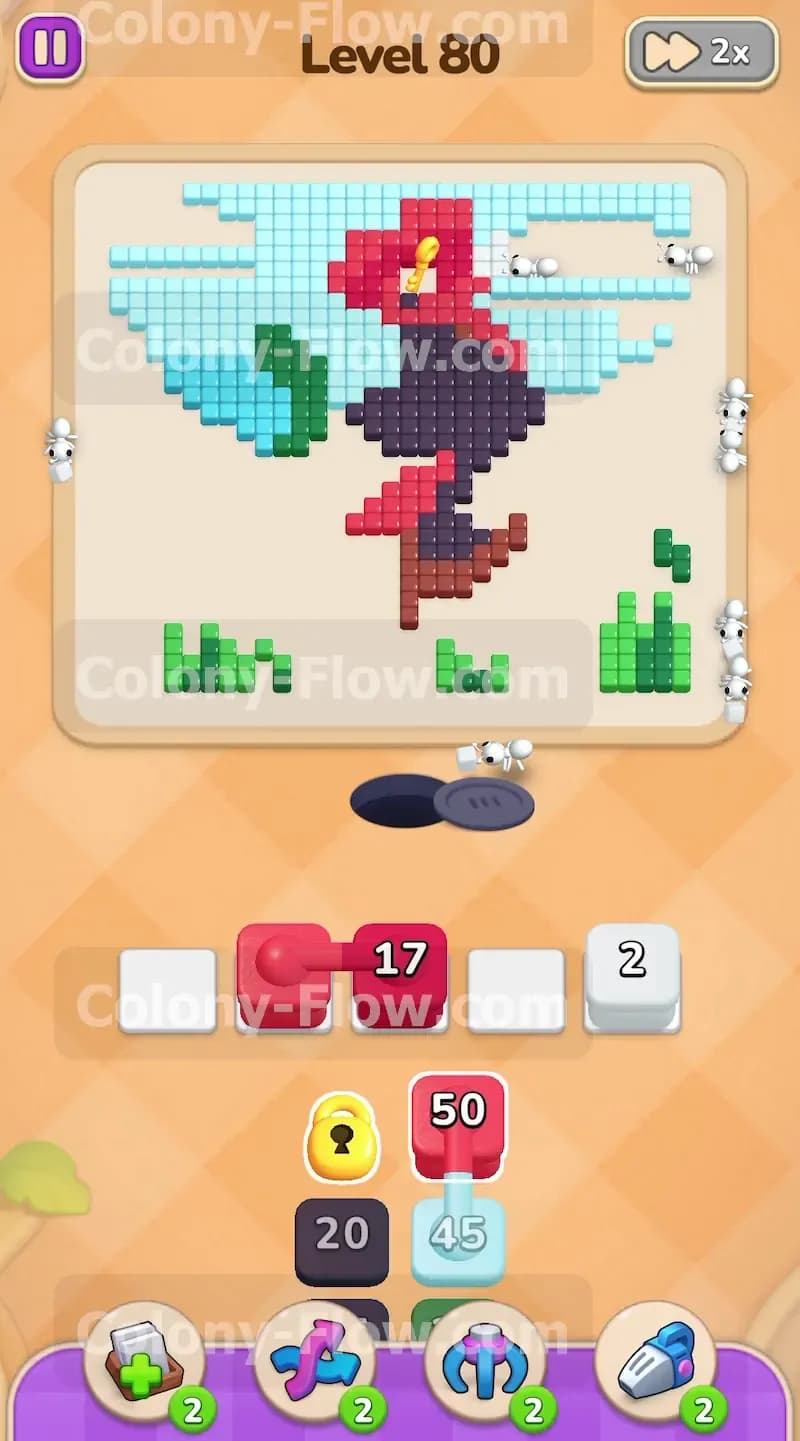
Let the active red ants finish eating the neck tiles until they reach the specific red tile holding the yellow key. The moment the ants clear that tile, the key flies down to your tray and breaks the yellow lock on the dark purple blocks. You do not need to tap any new blocks during this exact moment because the active red blocks are already doing the work. The Red 19 block finishes counting down as the head area clears out. Freeing the dark purple blocks is the most important milestone of this level. You planned your route perfectly to grab this key so your slots never filled up with useless locked blocks.
Step 6: Tap the dark purple blocks to clear the chest of the rooster
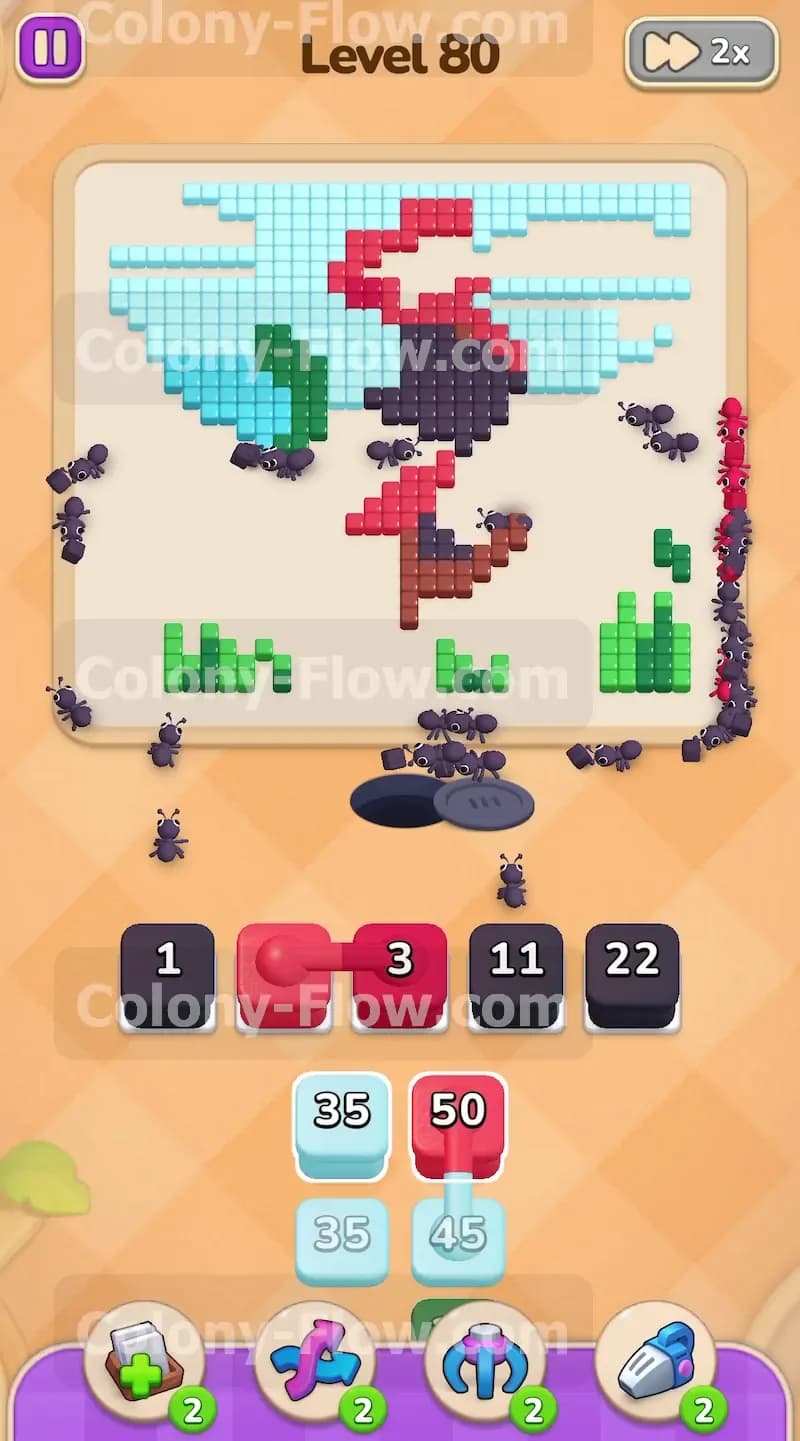
Tap the Dark Purple 20 block and the Dark Purple 30 block now that they are finally unlocked. The dark purple ants rush out of the nest and swarm the large dark chest section of the rooster. The numbers on your blocks decrease quickly, with the 30 block dropping down to 11 and then to 1 as the chest disappears. The dark tiles were completely surrounded by red tiles earlier, but your previous moves opened the whole area up. Sending the dark purple ants in right after grabbing the key utilizes the massive open space in the middle of the board. This keeps the ants flowing fast and leaves plenty of room in your waiting slots.
Step 7: Deploy the green blocks to remove the tail feathers and grass patches
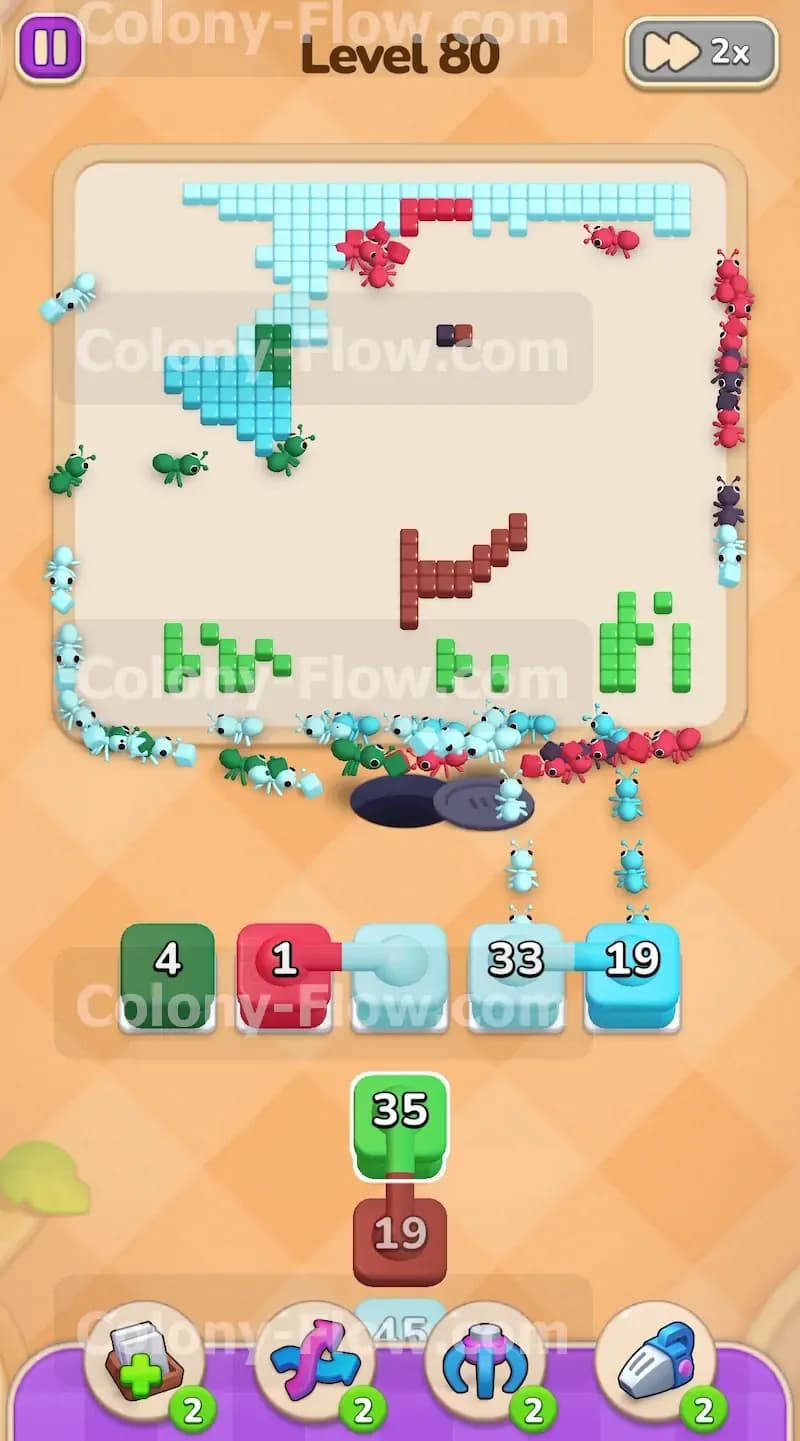
Tap the Green 22 block to send your green ants toward the remaining scenery. The ants split up to eat the grass patches near the bottom and the large tail feathers sticking out of the back of the rooster. The number on the green block drops from 22 down to 4 as the ants chew through the green pixel art. You saved the green blocks for this late stage because the tail feathers were initially blocked by the sky and the dark chest. Activating the green block only after those obstacles are gone gives the ants a direct line to their food. This deliberate pacing ensures your green block never sits idle in a waiting slot.
Step 8: Use the final light blue and red blocks to finish the puzzle
Tap the Light Blue 45 block and the final Red 17 block to clean up the very last tiles on the board. The light blue ants clear out the top corners of the sky while the red ants finish off the remaining pieces of the comb on the head. The numbers on these final blocks count all the way down to zero as the last few pixels vanish from the screen. Your ants return to the nest hole and the board is completely empty. Because you saved these specific colors for the end, they had totally unobstructed paths to their final targets. You managed your waiting slots perfectly and cleared the board without a single jam.
Final Thought
Clearing this level comes down to reaching that yellow key without clogging up your tray along the way. You have to balance clearing the background sky with pushing your red ants up the middle of the board. I know managing the slot space can get tricky when you have big blocks waiting to deploy. Please watch the video above this article if any step is hard to follow in text. Seeing the exact timing of the blocks in motion will help you master the flow and beat the level.