Colony Flow Level 854 Walkthrough Solution & Guides | How to solve Colony Flow 854

Guide By Liam Stone
Updated on August 8, 2026
Watching beats reading for some players. The video above has the entire Level 854 walkthrough ready to go.
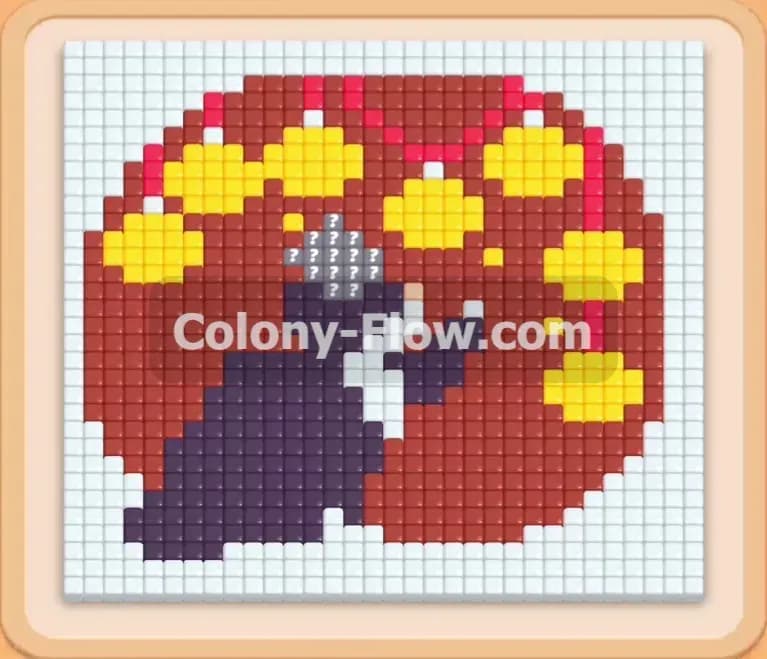
Video doesn't match your screen?
Game updates frequently scramble layouts! Try our AI Screenshot Solver first to find your exact board instantly, or report broken guides to our team.
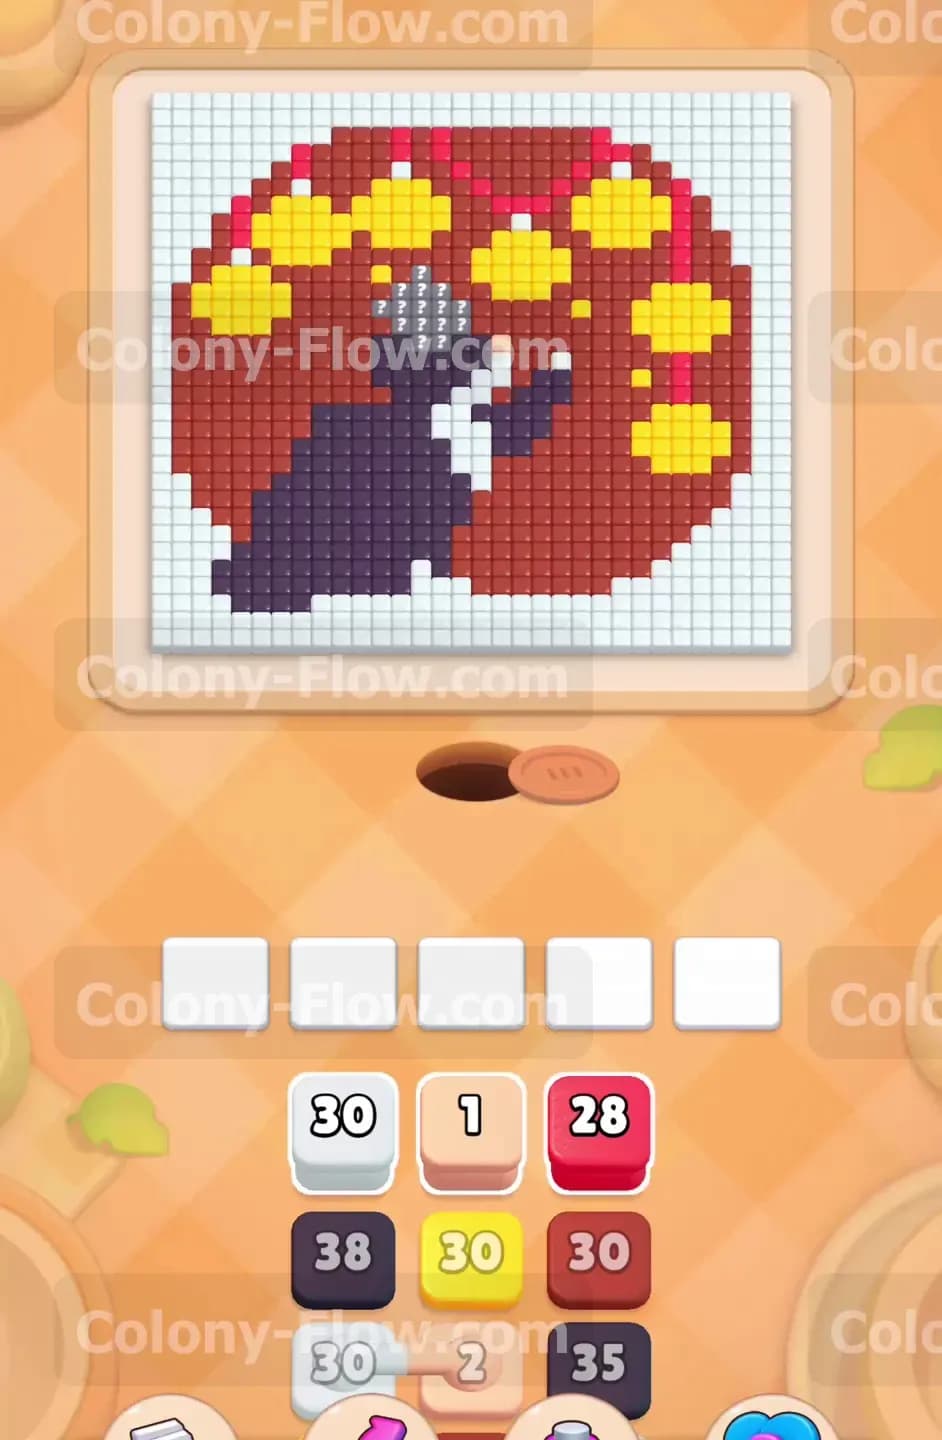
Welcome back to another puzzle guide where we tackle Colony Flow Level 854 together. You face a large circular picture today that features a dark purple shape set against a bright red background. Bright yellow and pink patterns dot the red space. A clean white border surrounds the entire image. Your goal remains the same as always. You must match numbered blocks from your tray to the colored tiles on the board to feed your colony and clear the screen completely.
Colony Flow Level 854 Overview
What You Are Working With
The board starts incredibly dense. A solid mass of colored tiles blocks the center of the screen. You only have access to the very bottom edges of the picture at the beginning. Your tray provides standard individual blocks in white, pink, red, dark purple, and yellow. You will also encounter connected boxes in your tray during this level. These linked blocks move into your waiting slots together as a pair. A solid line connects them. The game requires you to clear the first color before the second color can activate. The dark purple tiles form a solid shape in the lower middle area. The yellow tiles form large circular clusters in the upper half. The red tiles fill all the empty space between the other colors.
What It Takes to Clear Level 854 Board
The game gives you five waiting slots at the bottom of the screen. Every block you pull from the tray goes into one of these empty slots. The ants stream out of the nest hole and travel to the board to eat the tiles that match your pulled blocks. If you pull a block and the ants cannot reach its matching color on the board, that block sits stuck in the slot. If all five slots fill up and no ants can move, you lose the level instantly. You must carve a path from the bottom edge and slowly hollow out the center. You win by keeping your paths open and managing the connected boxes carefully so your waiting slots never jam.
Colony Flow Level 854 Step by Step Solution
Step 1: Open the bottom left corner to reach the dark purple and red tiles
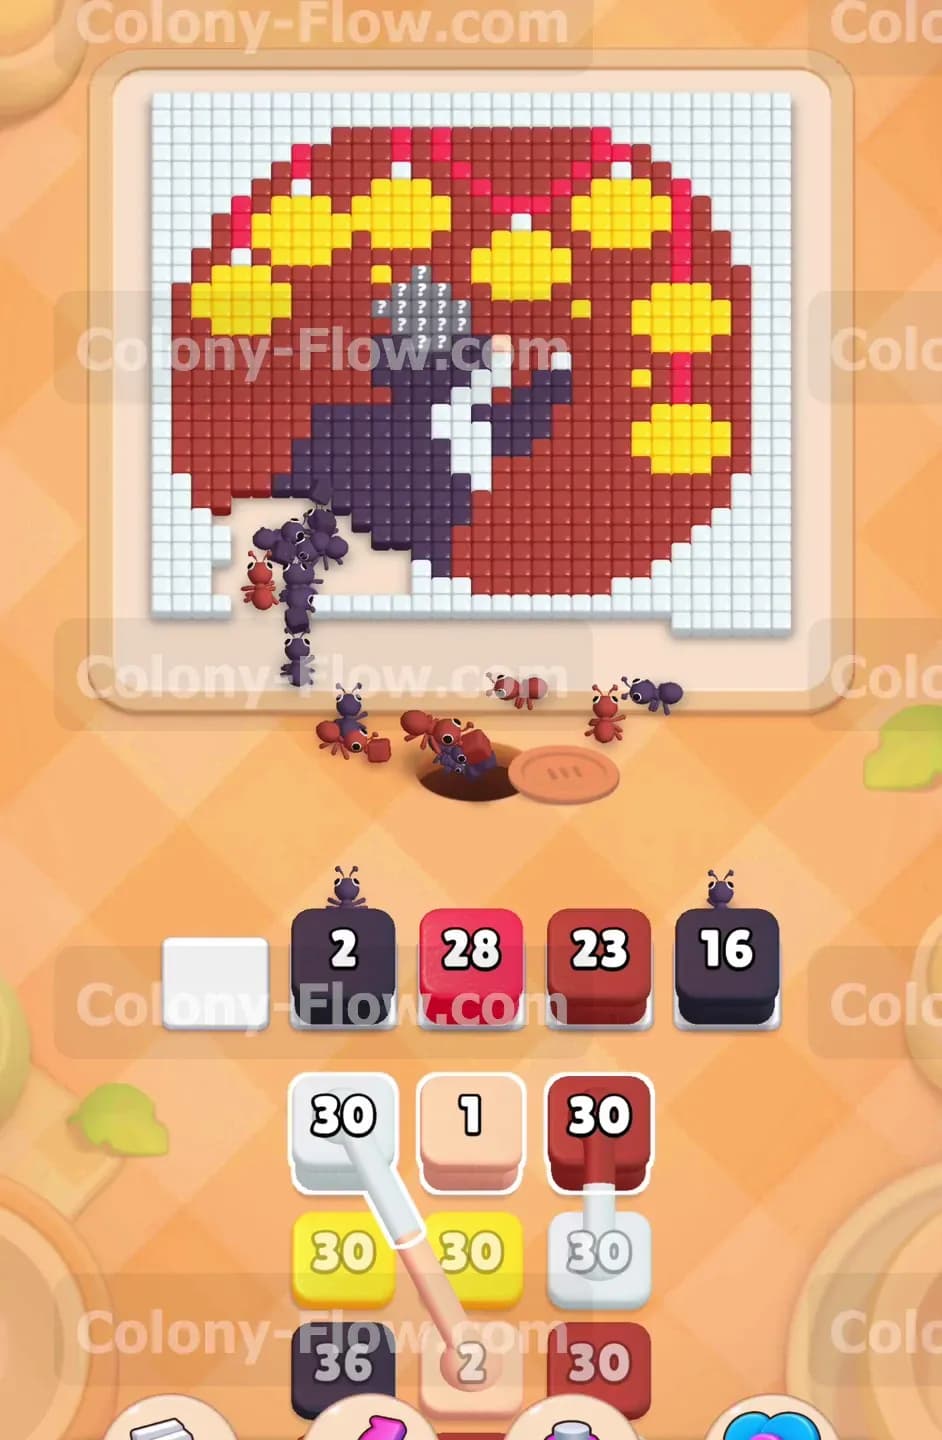
You start with a solid wall of pixels and very few exposed options. The bottom left corner offers the best initial entry point. Pull the dark purple block carrying the number 38 and the red block carrying the number 30 into your waiting slots. The ants will immediately pour out of the nest hole and march toward that left side. The dark purple ants begin eating away at the bottom of the central figure. The red ants chew through the outer red background. Watch the numbers on your blocks drop as the ants find their targets. Do not pull too many blocks at once. You want to make sure the dark purple ants clear enough space to expose the colors hidden further inside.
Step 2: Carve out the central shape and expand the red paths
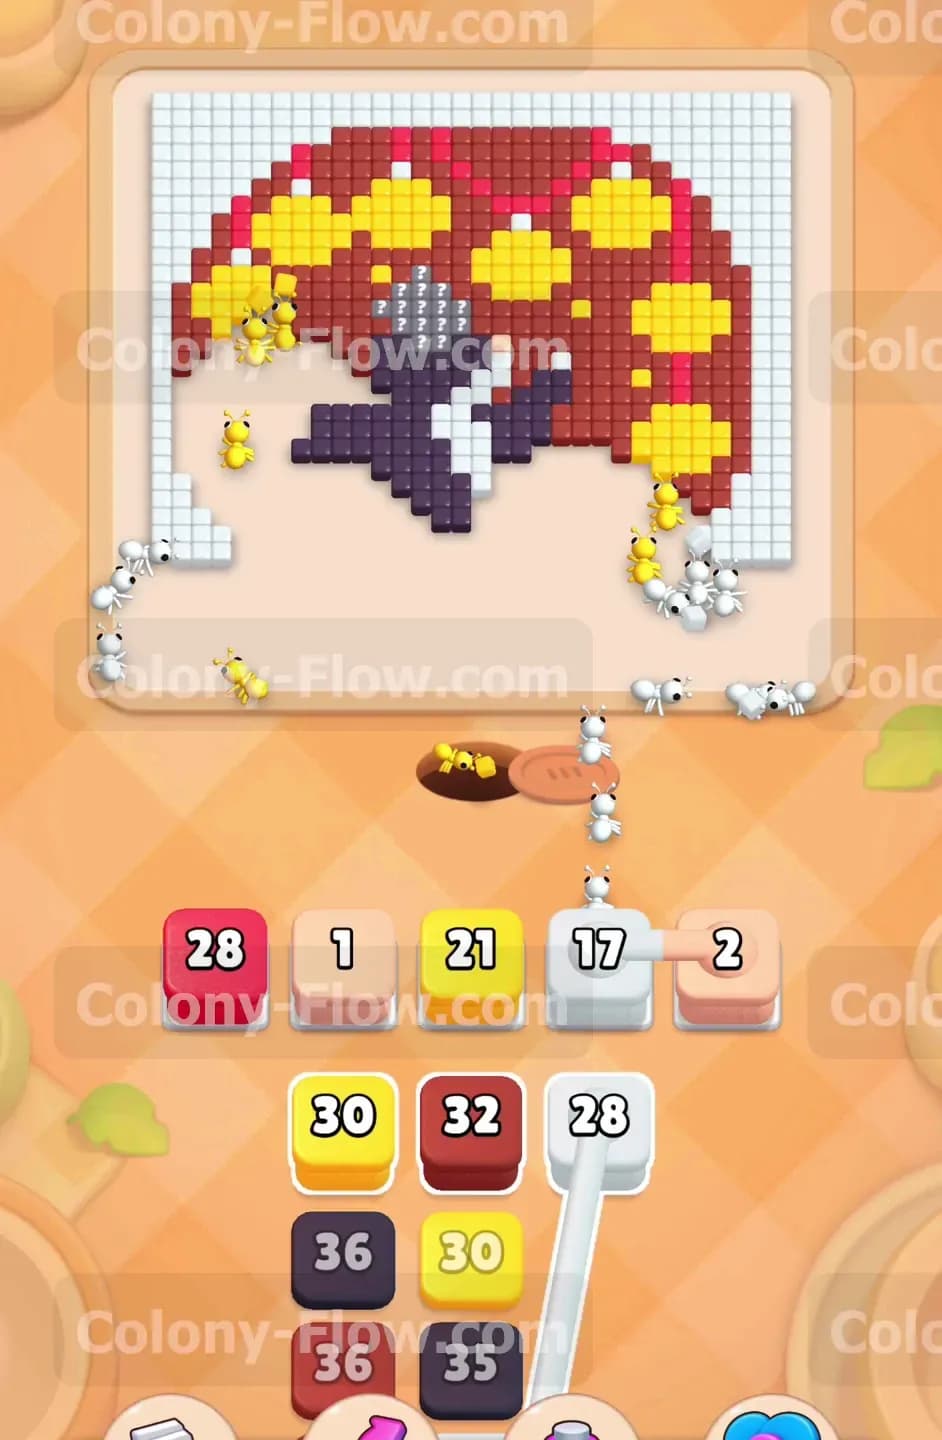
As the first dark purple block counts down, you need to send in reinforcements to keep the momentum going. Pull the next dark purple block and another red block into your open slots. Your waiting slots will start to fill up with blocks. You will see several numbers resting in your slots like a red 28 and a dark purple 16. This is a completely normal part of the process as long as the ants have an open path to the board. The dark purple ants will push deep into the center of the picture. They hollow out the dark figure from the bottom up. At the same time, the red ants widen the opening on the left side. This double offensive eventually exposes the first layer of yellow tiles.
Step 3: Deploy the connected boxes to clear the white border
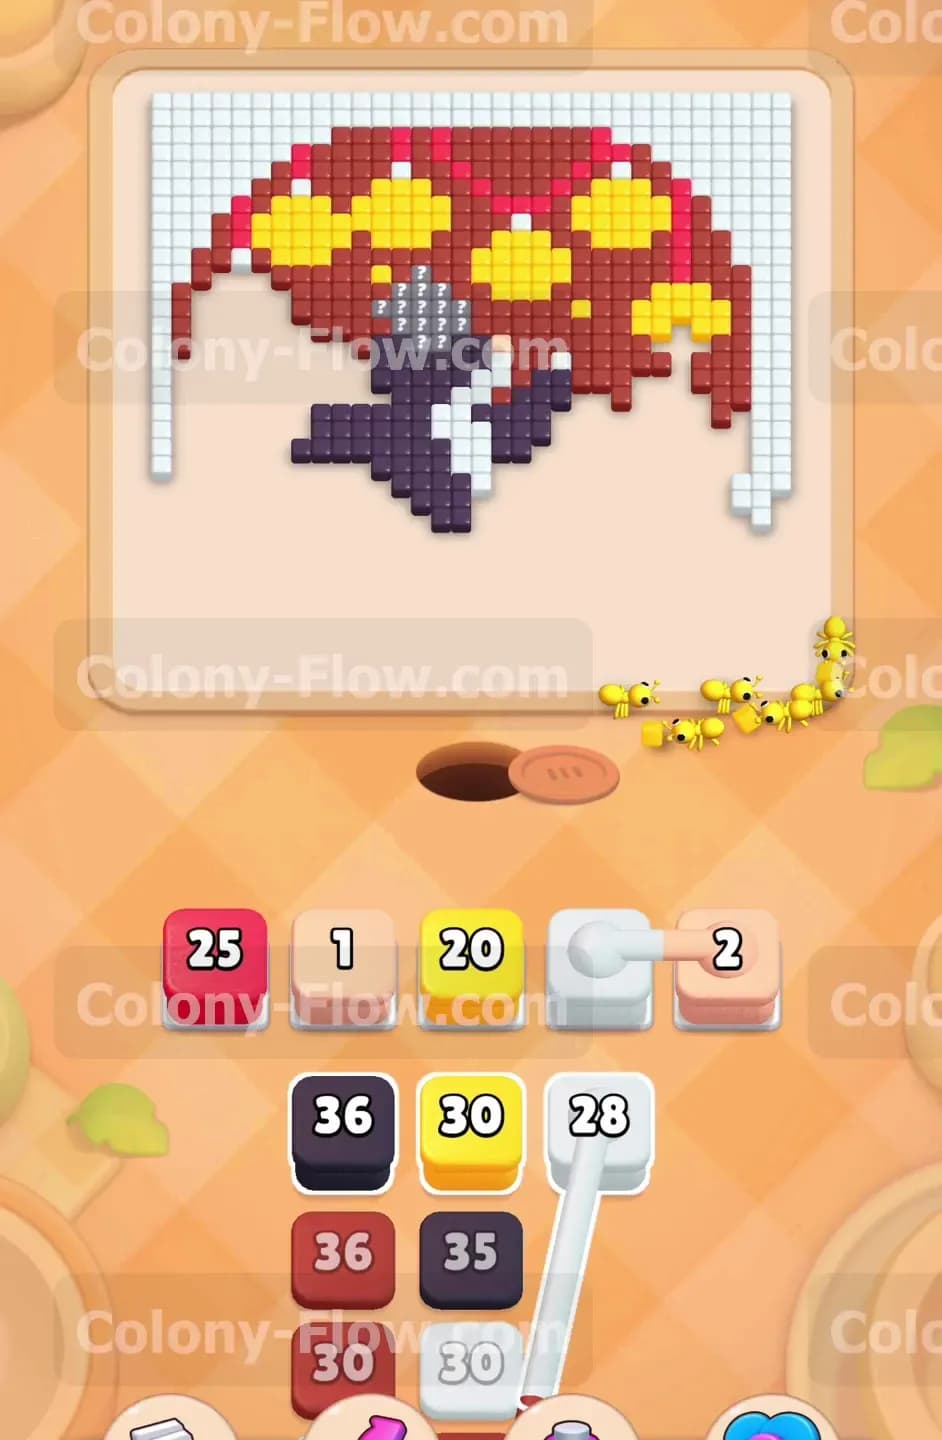
A new element enters your tray at this stage of the puzzle. You will see a white block and a pink block joined together by a solid line. These are connected boxes. When you pull them, they move as a single unit and take up two spaces in your waiting slots. The white block sits in front of the pink block. You must clear the white color first. Pull this connected pair when the white border on the left and right becomes fully accessible. White ants will surge out and run up the outer sides of the picture to eat the white outline. This action drains the white block down to zero. Once the white number disappears, the pink block becomes active. You must ensure pink tiles are exposed by the time the white block finishes.
Step 4: Chip away the large yellow clusters on both sides
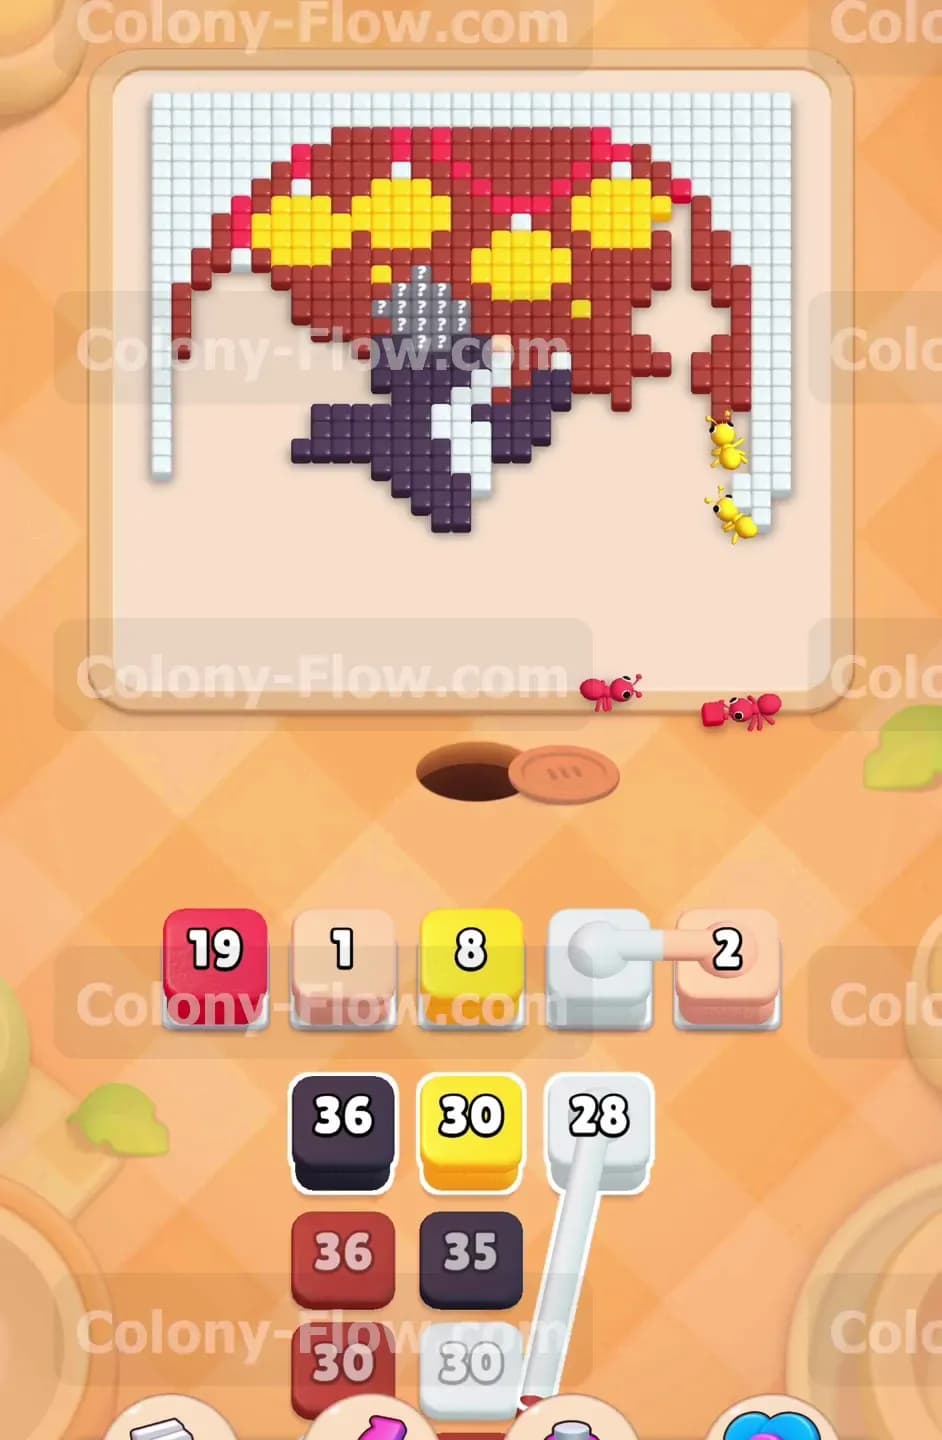
With the center opened and the sides exposed, the yellow patches become your next major target. The image contains large circular clusters of yellow tiles embedded deeply in the red background. Pull a yellow block with the number 30 into your open waiting slot. Yellow ants will rush the board and split up to attack the clusters on both the left and right sides simultaneously. You will notice the numbers on your yellow blocks counting down rapidly because the ants have multiple open paths to follow. You can pull a second yellow block to keep the heavy pressure on the board. Always leave at least one slot empty for emergencies so you never accidentally dead end your board. The yellow ants will clear massive chunks out of the middle section.
Step 5: Drain the thick red background on the right side
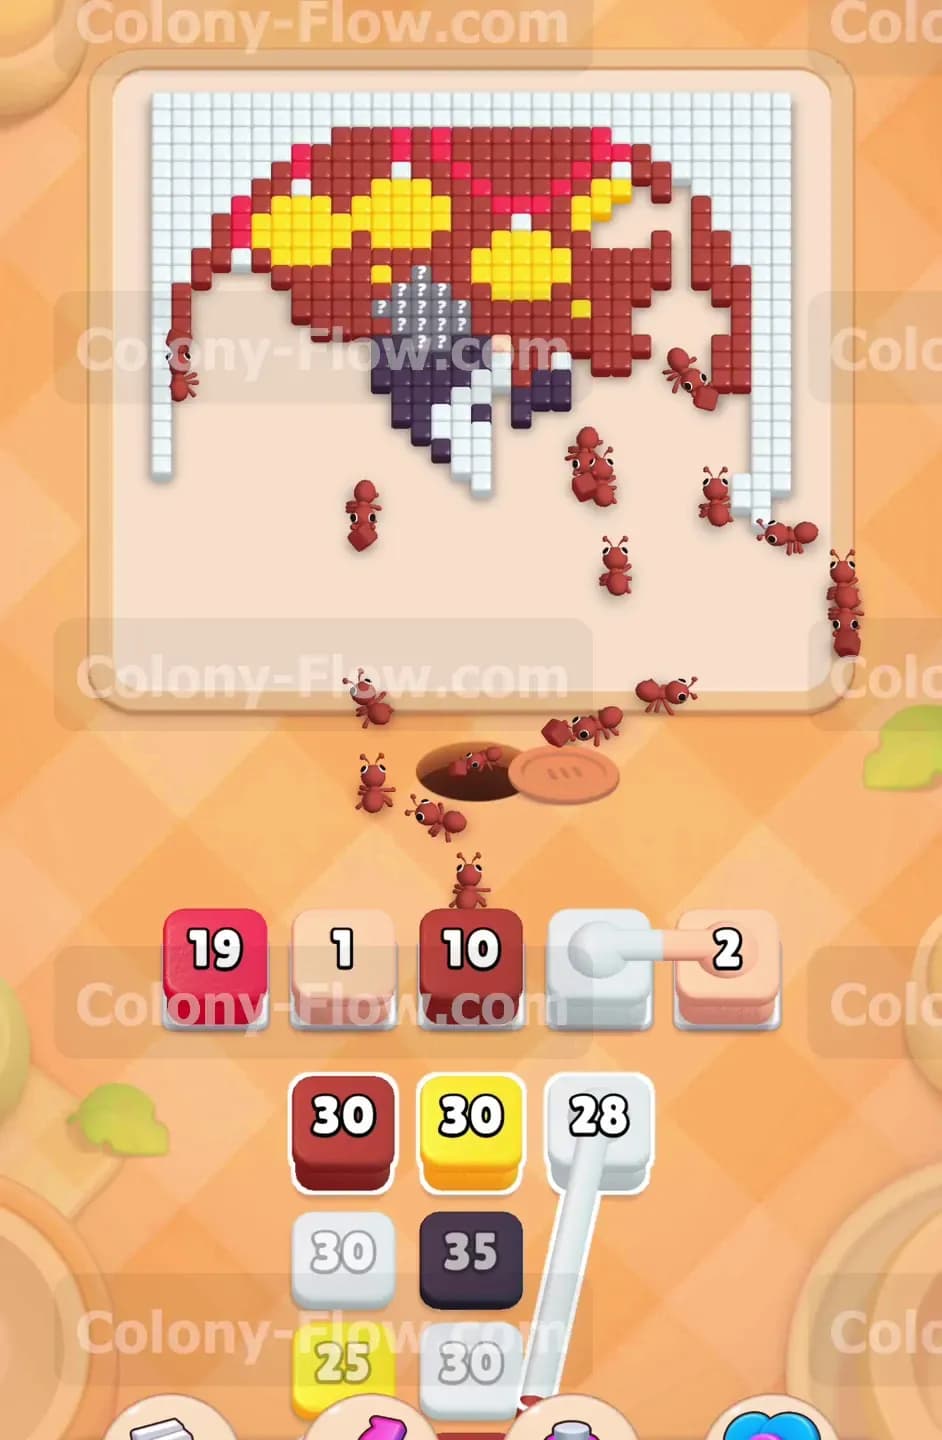
The left side and center are now mostly completely empty. Your attention must shift to the right side where a thick solid wall of red tiles remains untouched. Pull the available red blocks into your tray. You will see red numbers like 19 and 10 sitting in your waiting slots. The red ants will march all the way across the empty bottom space to reach the right side. They will chew through the red wall and climb higher up the board. The picture no longer looks like a full circle. It now resembles a thick arch hanging over the top half of the screen. You must continue feeding red ants to the right side to balance the board geometry. Keeping the remaining tiles relatively level prevents any single color from becoming trapped near the top edge.
Step 6: Push through the top canopy with a mixed swarm
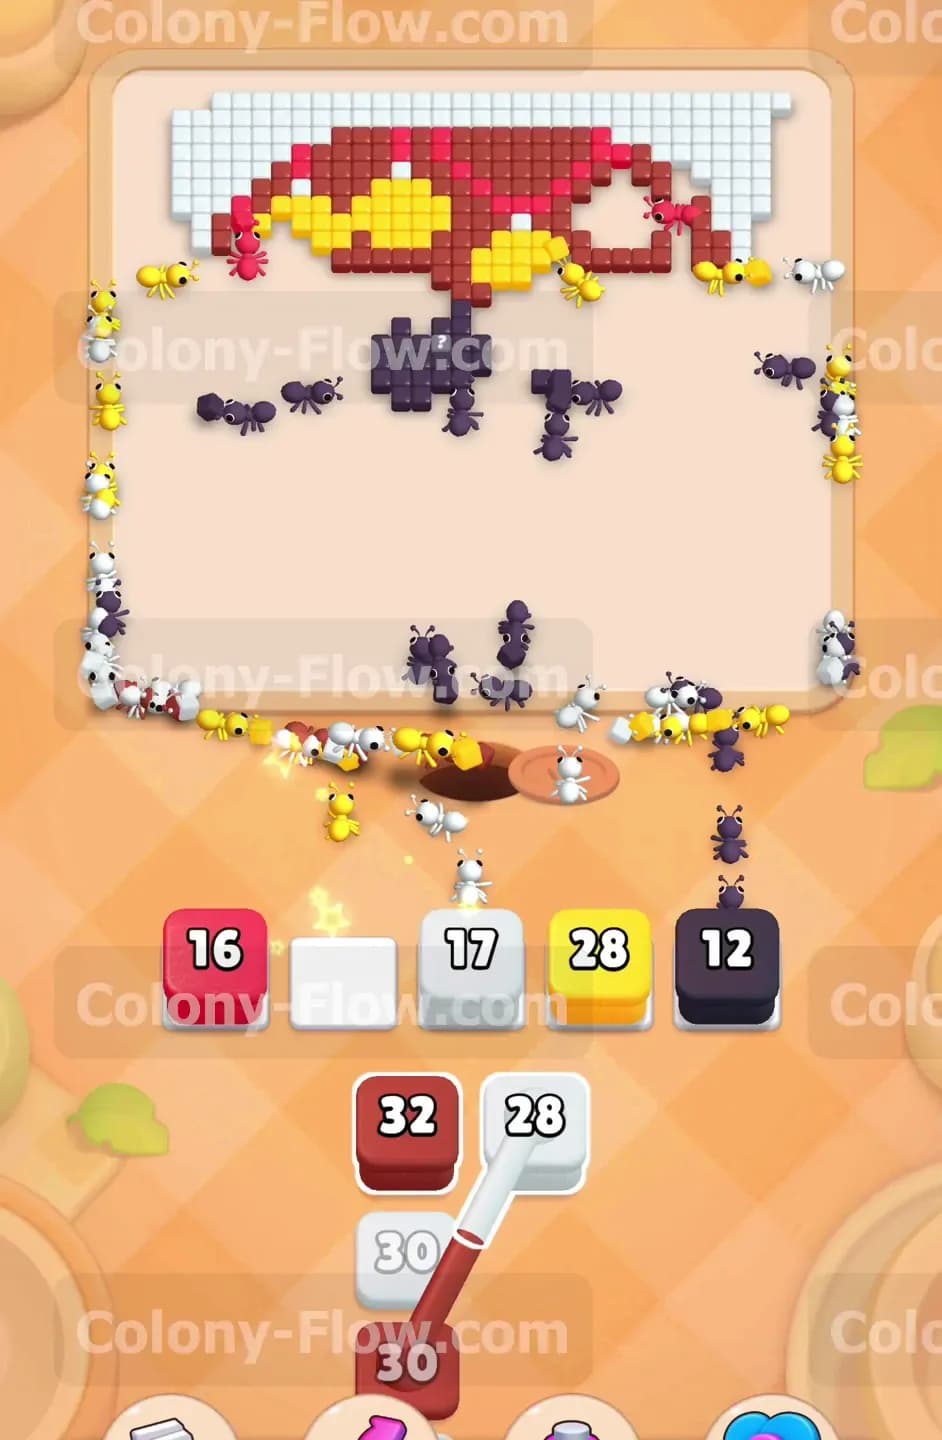
You are now looking at the final major chunk of tiles at the very top of the screen. This section contains a tight mix of red, yellow, white, and the last few dark purple tiles. You need a mixed strategy here. Pull a white block, a yellow block, and a dark purple block into your active slots. The board will turn into a chaotic moving swarm. White ants will race up the very edges to eat the remaining border pieces. Yellow ants will target the upper yellow circles. Dark purple ants will finish off the very top point of the central figure. Having multiple colors active at once is highly effective during this phase. The ants do not block each other on the paths. They simply run past one another to find their designated colors. This massive push breaks the thick canopy into small isolated pieces.
Step 7: Execute the final cleanup on the top edge
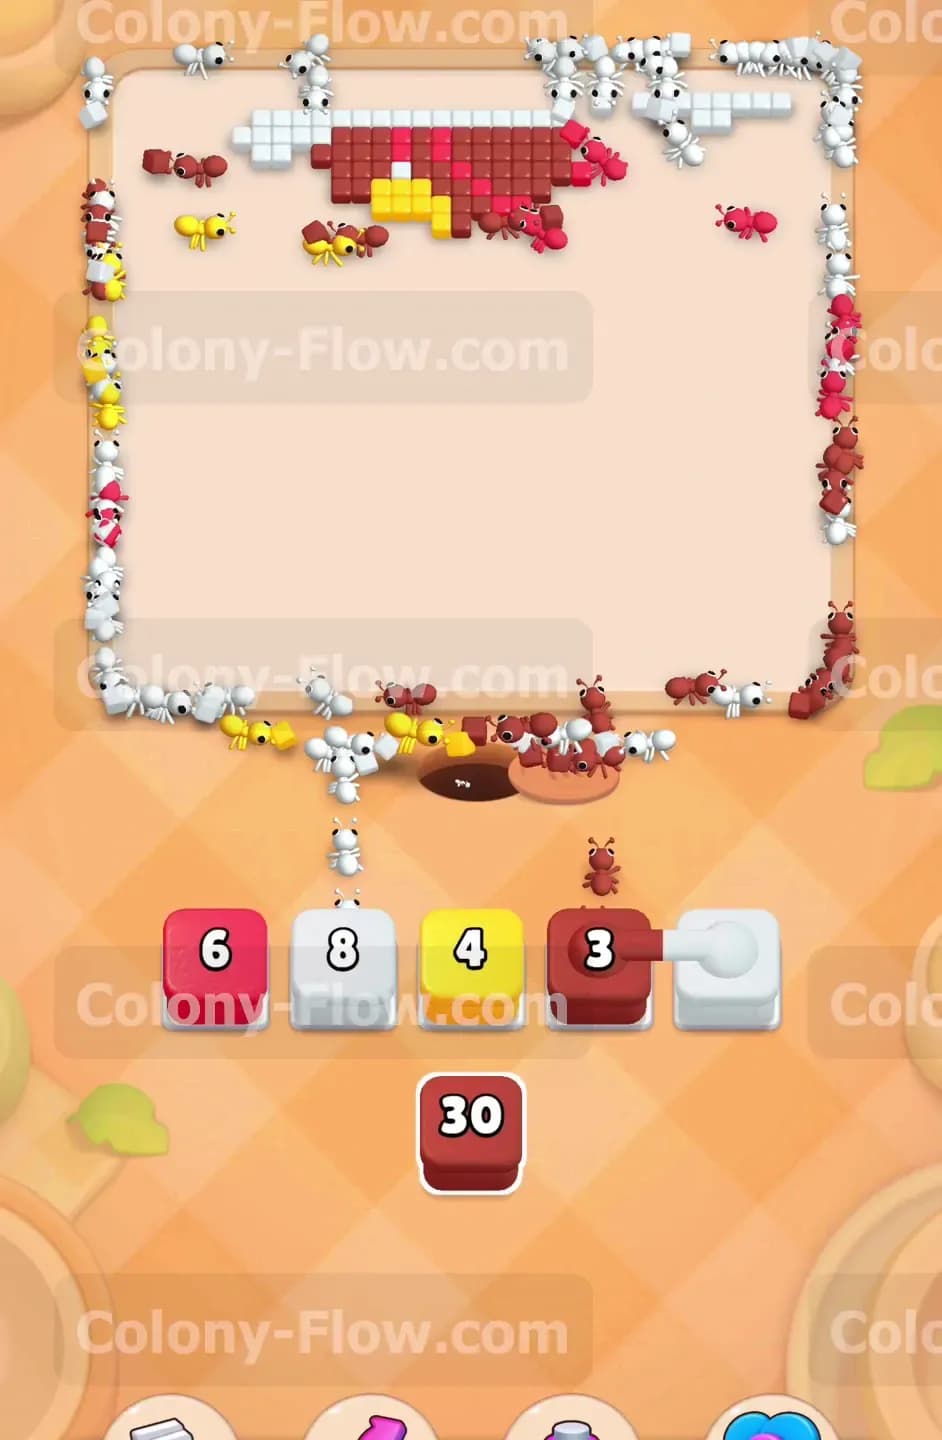
The dense arch is totally gone. Only a thin rough line of mixed tiles clings to the very top edge of the board. Your waiting slots will hold small single digit numbers like a red 6, a white 8, and a yellow 4. You are very close to the end of the puzzle. The ants have a incredibly long walking distance from the nest hole to the very top edge. You must wait patiently as they make the long trek across the massive empty space. Do not panic and pull unnecessary blocks from the tray. Just let the active ants finish their meals. The red ants will devour the final red background pieces. The yellow ants will snatch the last tiny yellow fragments. Finally, the white ants will consume the very top corners of the border. The board will clear completely and you will secure your hard earned victory.
Final Thought
That is everything you need to know to beat this specific puzzle layout. Managing those connected boxes and keeping a steady continuous flow of ants on the board will guarantee your success. If you find yourself struggling with the exact timing of the pulls or the pathing in the middle section, please watch the video above this article. Seeing the ants move in real time can help you understand the exact rhythm required to clear the board without jamming your slots. Good luck with your puzzle solving.