Colony Flow Level 777 Walkthrough Solution & Guides | How to solve Colony Flow 777

Guide By Liam Stone
Updated on August 8, 2026
You can jump straight to the video above and watch the full Level 777 solution instead of reading on.
Video doesn't match your screen?
Game updates frequently scramble layouts! Try our AI Screenshot Solver first to find your exact board instantly, or report broken guides to our team.
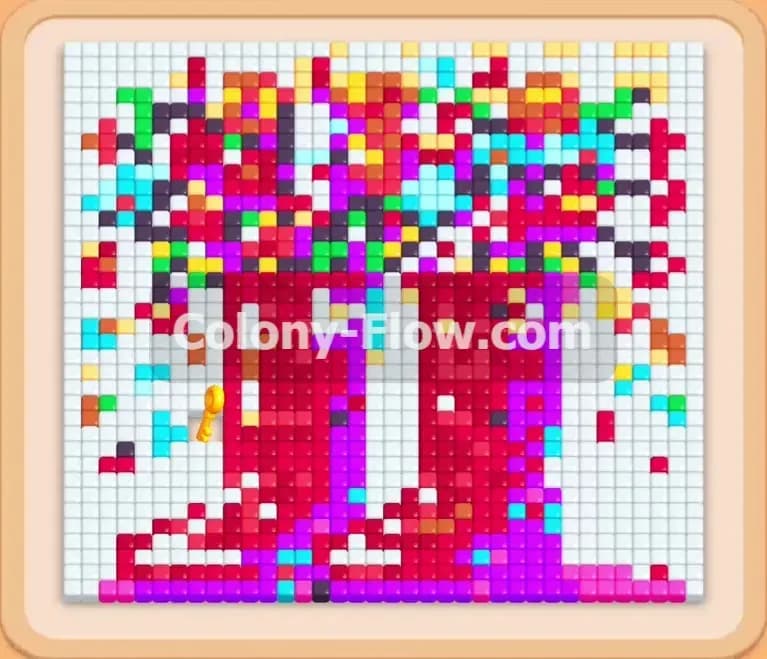
Welcome to Colony Flow Level 777 where you will dismantle a massive pixel art picture of bright red boots surrounded by colorful flowers. This board presents a dense cluster of tiles that requires careful color management to prevent a tray jam. I played this level multiple times to find the perfect sequence to keep the ants moving without interruption. You will need to balance large single color blocks with tricky connected blocks to succeed.
Colony Flow Level 777 Overview
What You Are Working With
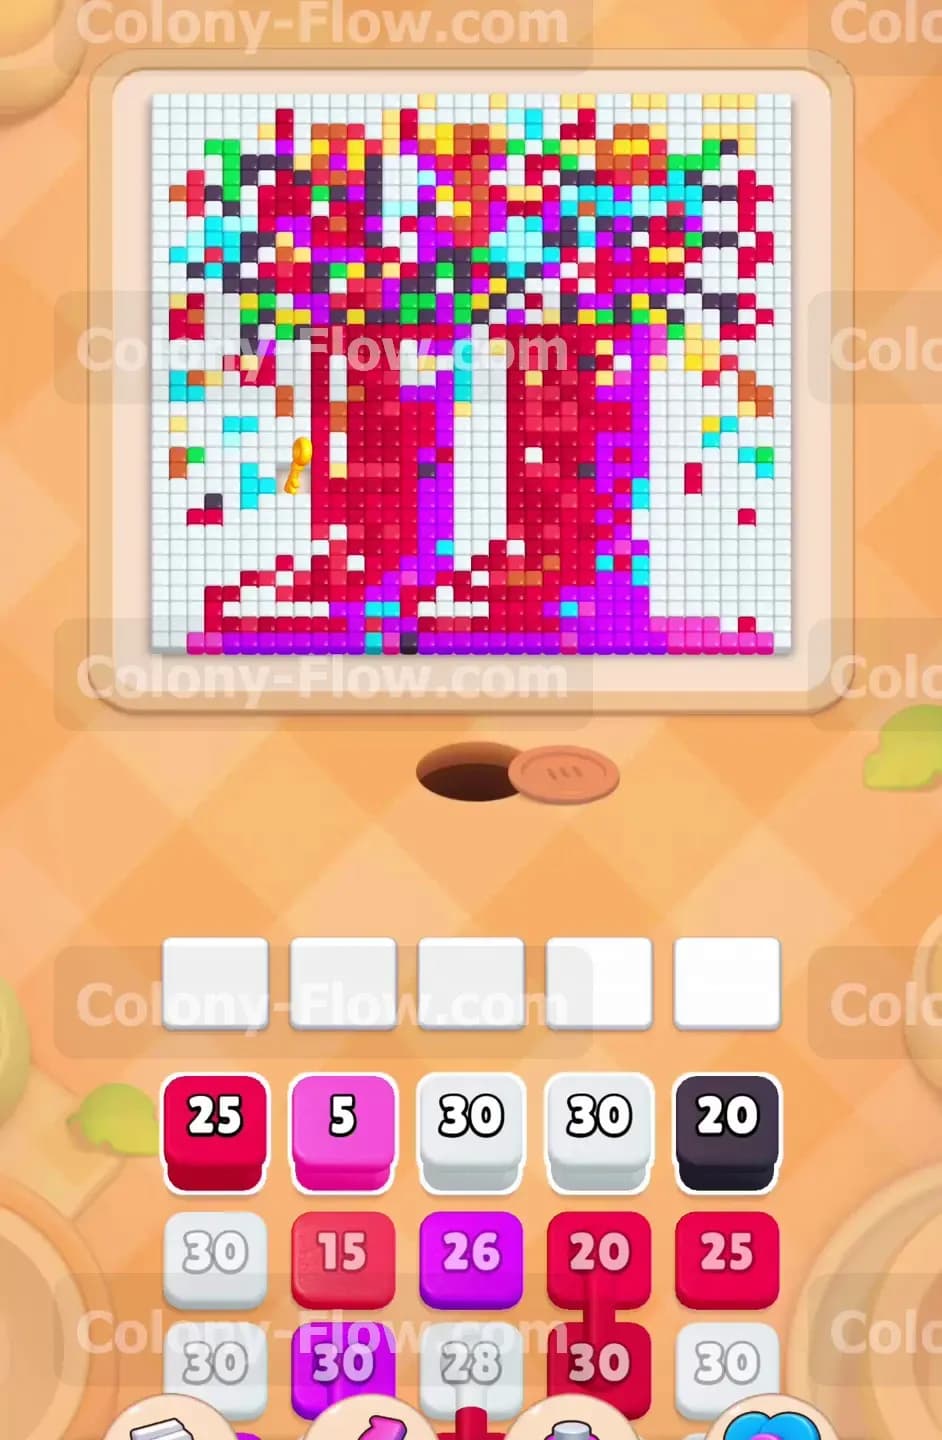
The picture at the top of your screen features two large red boots standing among a mix of cyan green yellow pink and purple tiles. A dense white background fills in the gaps between these colorful shapes. The nest hole sits at the bottom center of the screen where your ants wait for commands. Your tray at the bottom holds a variety of solid color blocks and several sets of connected blocks. These connected blocks link two different numbers together and require careful timing to use. You have exactly five waiting slots above your tray to hold active blocks.
What It Takes to Clear Level 777 Board
You win this level by clearing every single pixel art tile from the screen. The ants will only eat tiles that match the color of the active blocks in your waiting slots. You must expose the inner tiles by peeling away the outer layers one step at a time. The most important rule to remember is that you lose the level if you fill all five waiting slots with blocks that have no open paths. Every block you pull must have a direct route to matching tiles on the board. You have to clear the boots from the bottom up to safely reach the colorful canopy above.
Colony Flow Level 777 Step by Step Solution
Step 1: Pull the large red and pink blocks to clear the lowest edge of the boots.
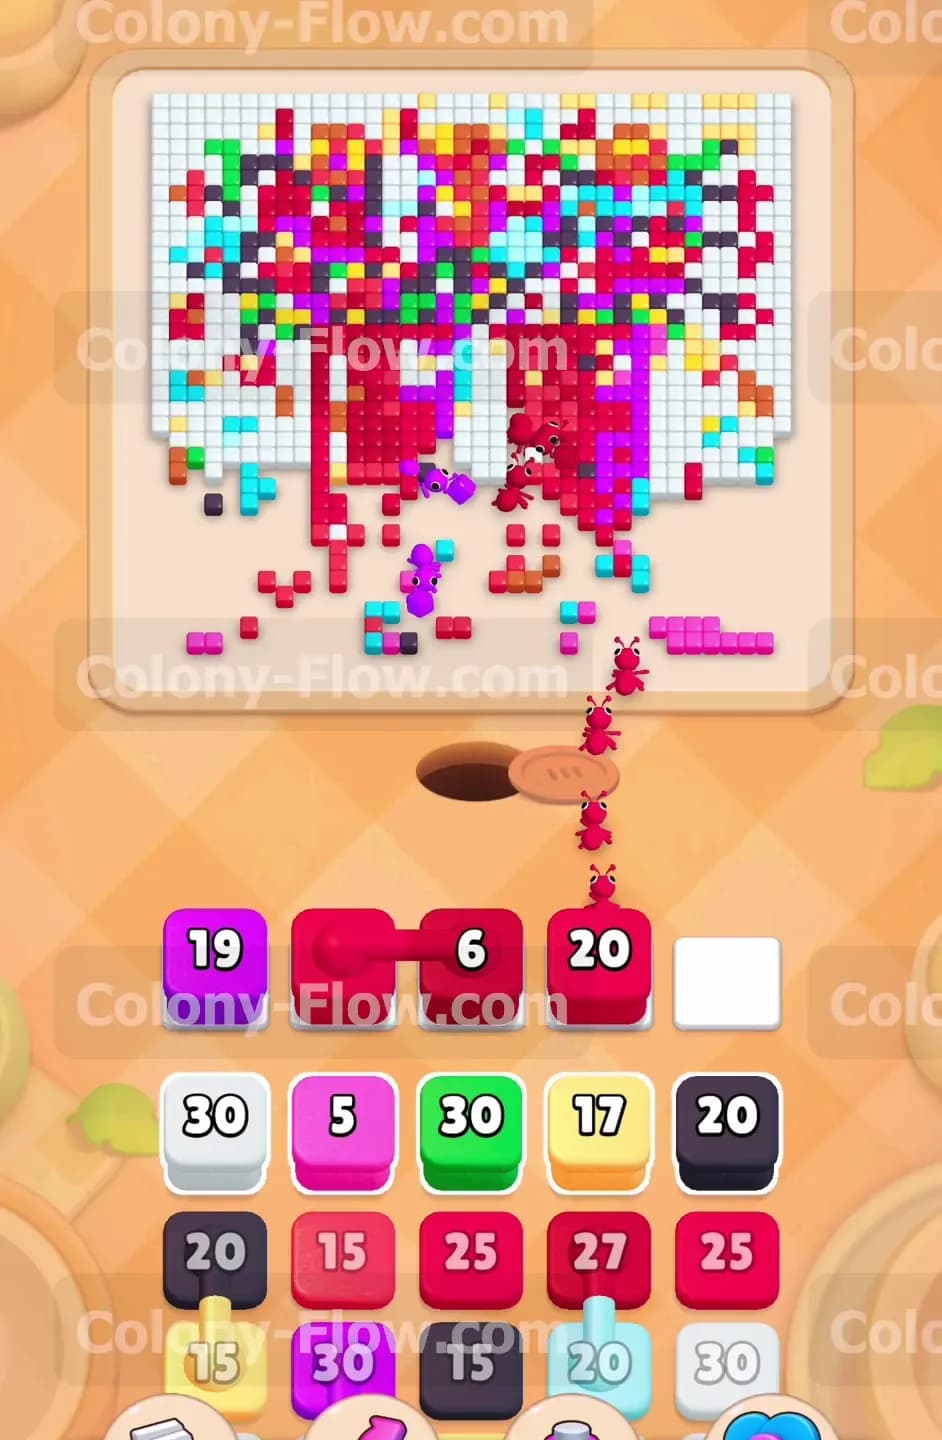
In the beginning of the level you face a solid wall of red and pink tiles at the bottom of the picture. The ants cannot reach anything else until you clear this frontline. You need to pull the red block with twenty five and the pink block with five from your tray. The ants will stream out of the nest hole and immediately start eating the bottom layer of the boots. You can watch them carry away the tiny red and pink squares back down into the earth. This action opens up the inner red tiles and creates a clear path moving upward. You must wait for these initial blocks to empty completely. If you fill the waiting slots right now the level will end in a loss because the ants will have nowhere else to go.
Step 2: Bring up the connected red blocks to dismantle the core of the picture.
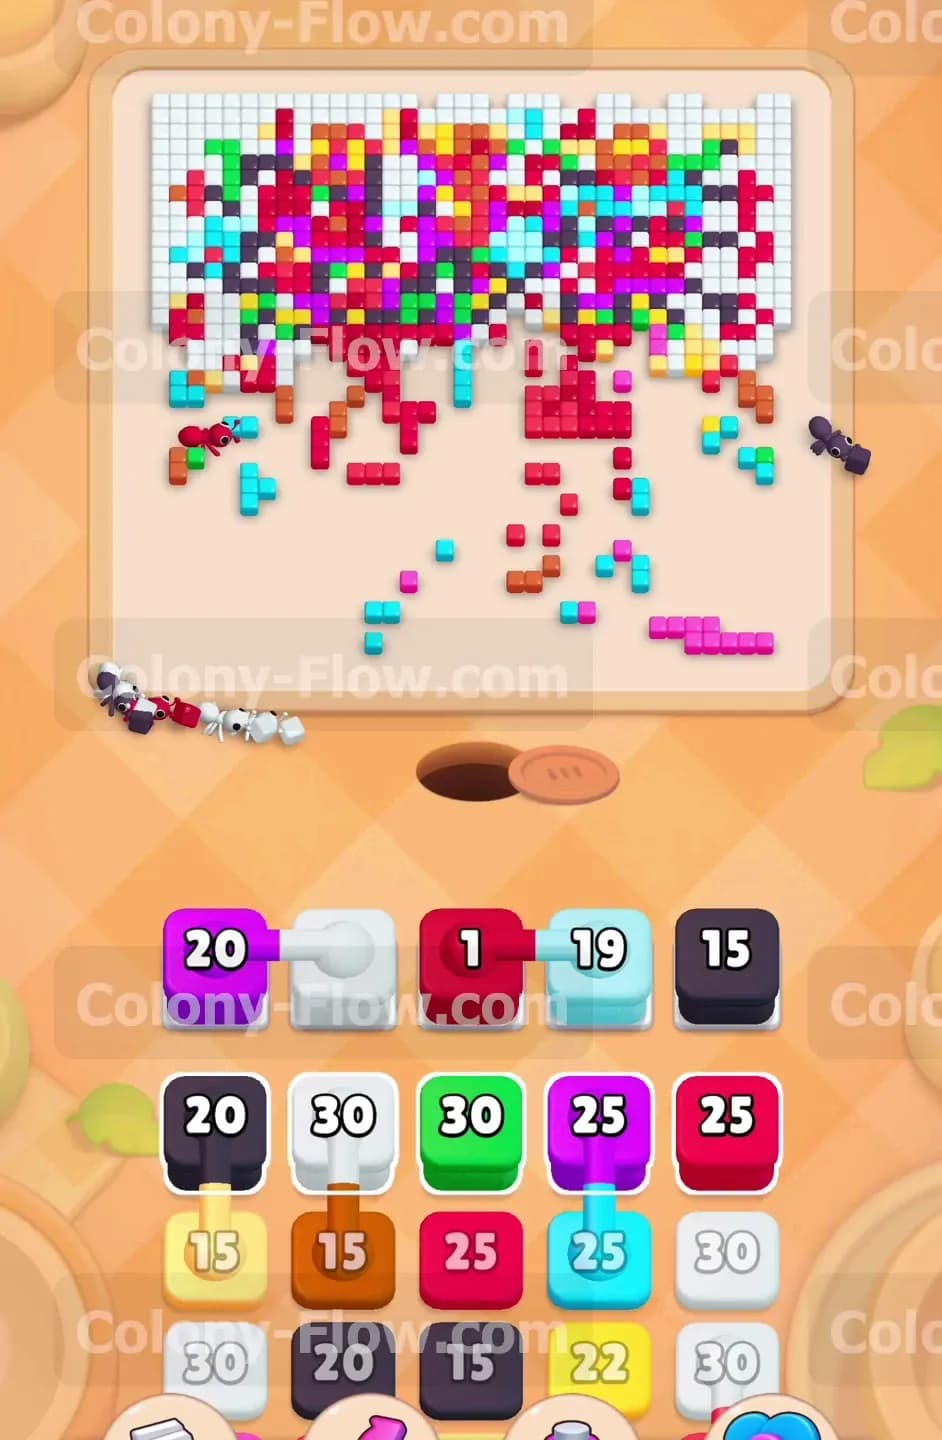
Once the bottom layer vanishes you will see a massive section of solid red available for the ants. Your tray provides a set of connected red blocks holding a six and a twenty. You must pull these connected blocks into your waiting slots together. They will take up multiple spaces in your tray so you have to be absolutely sure the ants have an open path to enough red tiles. Fortunately the boots offer plenty of red surface area. The ants rush in and tear down the main structure of the boots while the numbers on your connected blocks tick down to zero. Keep your eyes on the board and do not pull any other colors until these red blocks finish their job.
Step 3: Use the purple and black blocks to start breaking into the background details.
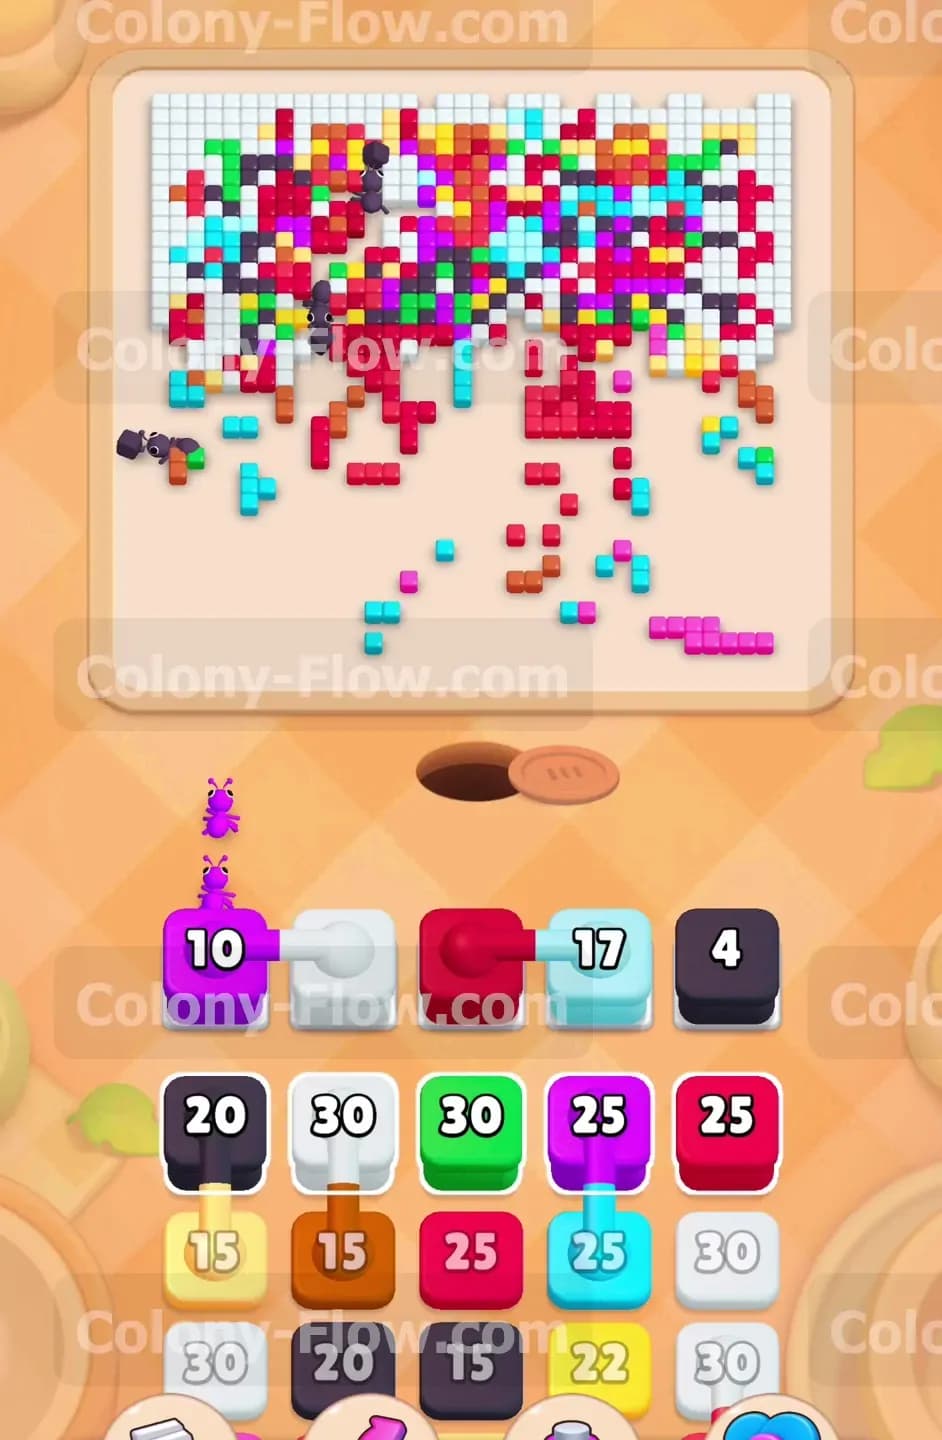
The destruction of the red boots exposes a chaotic mix of colors sitting just above them. You will notice purple and black tiles forming little clusters among the remaining shapes. Now is the time to pull the purple block with nineteen and the black block with twenty into your available waiting slots. The ants will climb higher up the board and spread out to reach these new colors. The paths are getting longer so it takes a moment for the ants to travel from the nest hole to the target tiles. You just need to stay patient and let the swarm do the work. The tiny insects will march up the cleared empty space where the boots used to be. The waiting slots remain safe as long as the ants are actively clearing the purple and black sections.
Step 4: Deploy the connected white blocks to clear the massive background layer.
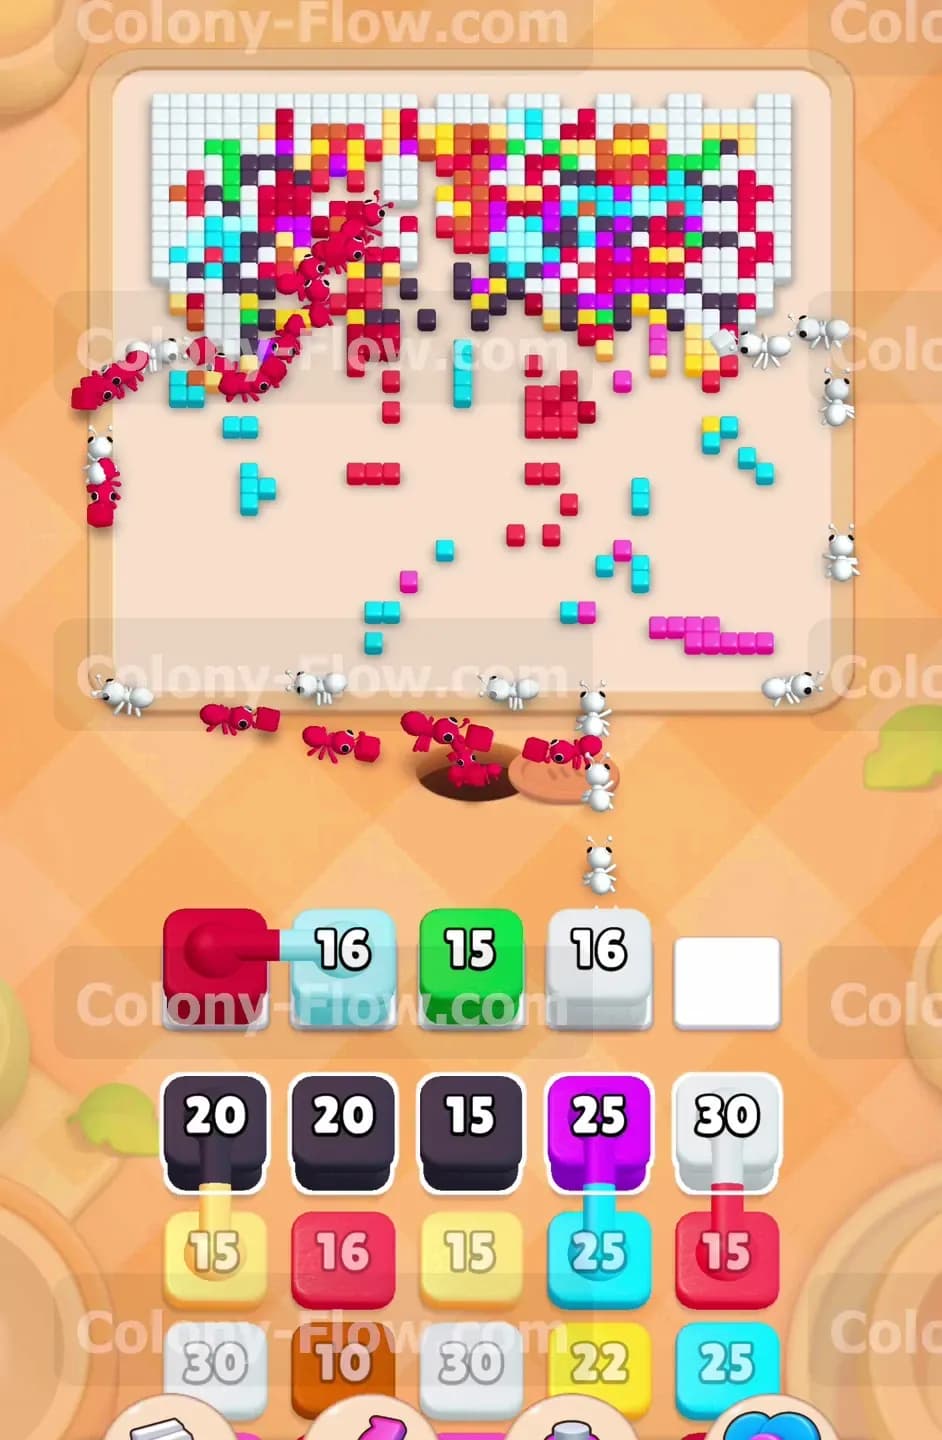
The white background tiles surround all the colorful details at the top of the picture. You have a set of connected white blocks in your tray holding a one and a nineteen. Pull these into the waiting slots to unleash a huge wave of ants dedicated to clearing the white sections. The white tiles are exposed on multiple sides now so the ants have plenty of valid paths to reach them. The connected white blocks clear out the bulk of the negative space around the central flower shapes. This massive clearing action is necessary to expose the hidden inner edges of the green and cyan tiles. Always verify the white tiles are directly accessible before pulling these connected blocks.
Step 5: Activate the cyan and green blocks to tear apart the floral canopy.
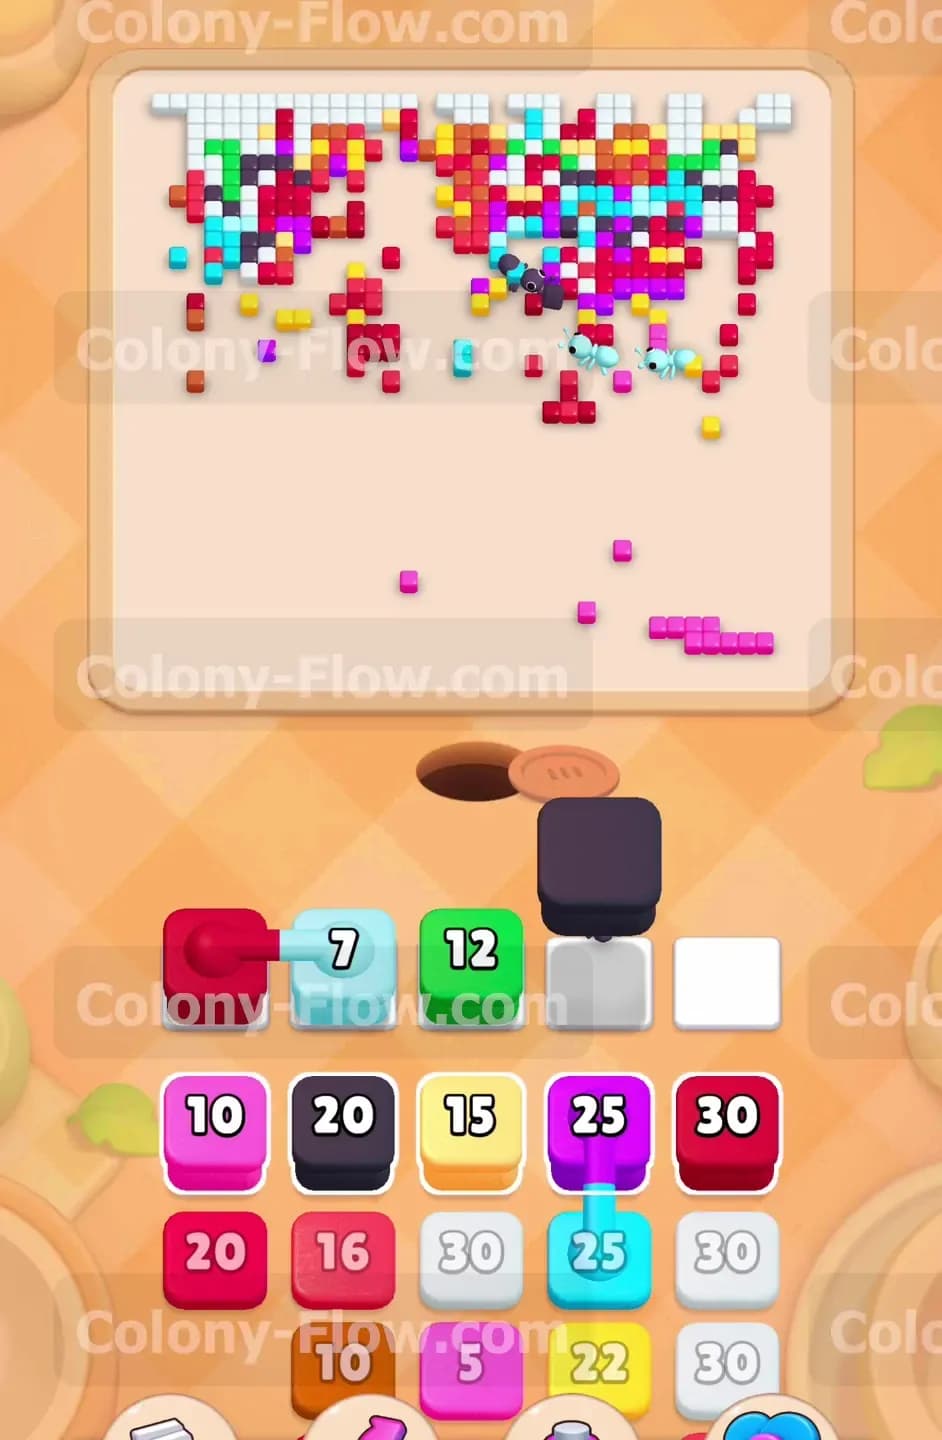
With the white background heavily reduced you can focus on the bright cyan and green clusters. The top half of the picture looks like a colorful explosion of pixel art flowers. Pull the cyan block with sixteen and the green block with fifteen from your tray. The ants split into distinct trails to hunt down these specific colors. The board begins to look very sparse and fragmented at this stage. You have to be careful because pulling a color that is trapped behind another tile will cause a jam. Verify that the cyan and green tiles have at least one clear side before you commit those blocks to your waiting slots.
Step 6: Clear the remaining scattered black and white tiles with smaller blocks.
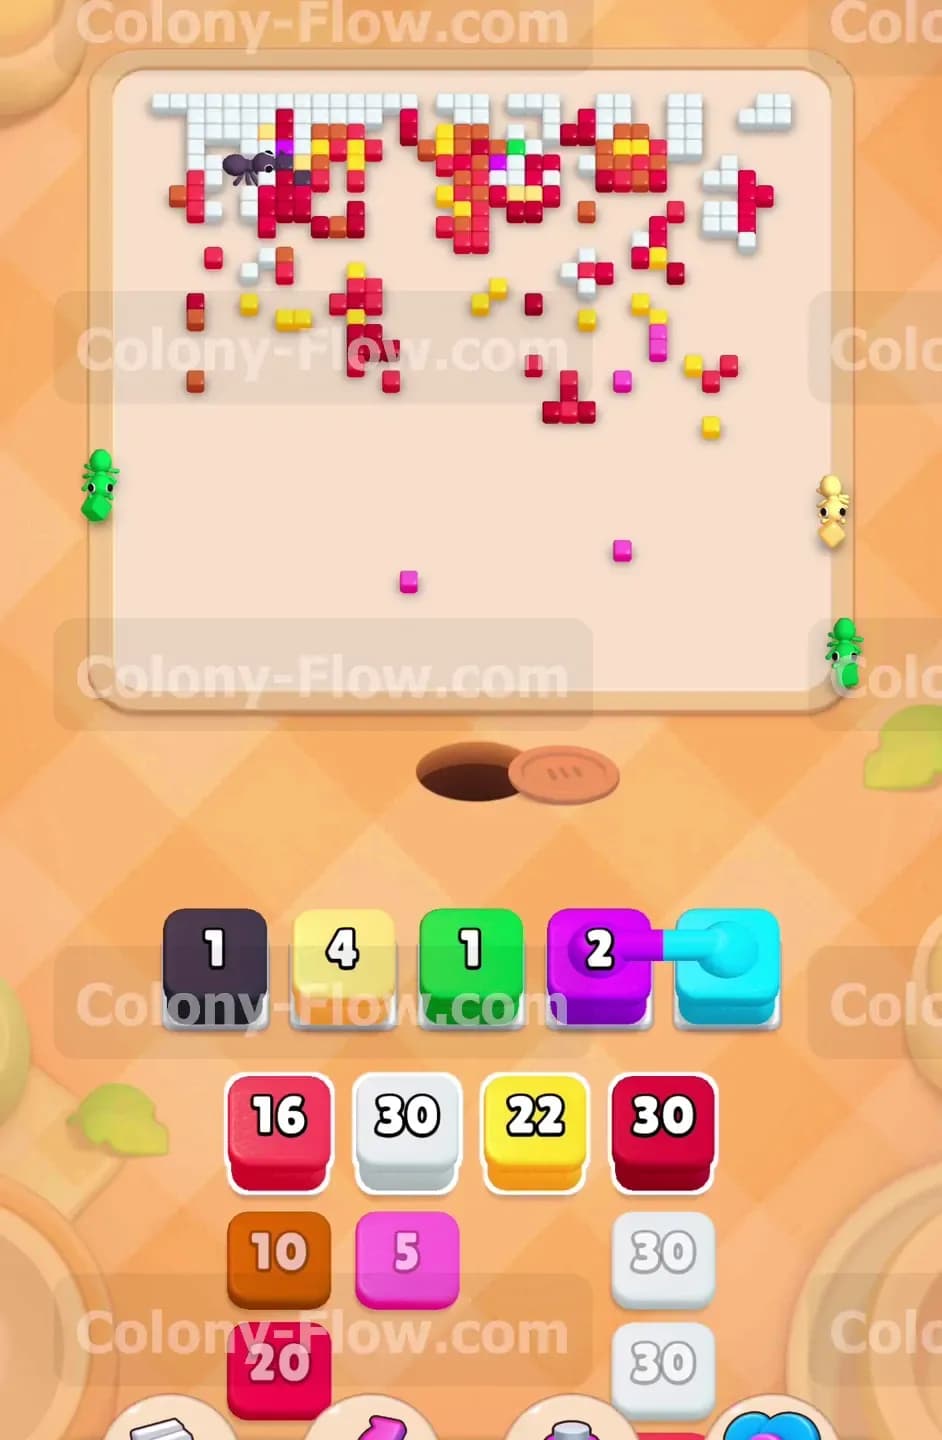
The board now contains mostly disconnected dots of color floating near the top edges. The main structure is completely gone. You will need to pull the black block with four and the next white block with sixteen to handle these scattered remnants. The ants have to walk all the way from the bottom nest hole to the very top corners of the screen. You will see a long continuous line of insects forming a massive trail across the empty board. This long travel time means your waiting slots will stay occupied for a longer duration. You must resist the urge to pull extra blocks while waiting. Just let the ants march up the sides of the board and consume the isolated black and white pixels.
Step 7: Introduce the small yellow and purple blocks to clean up the isolated dots.
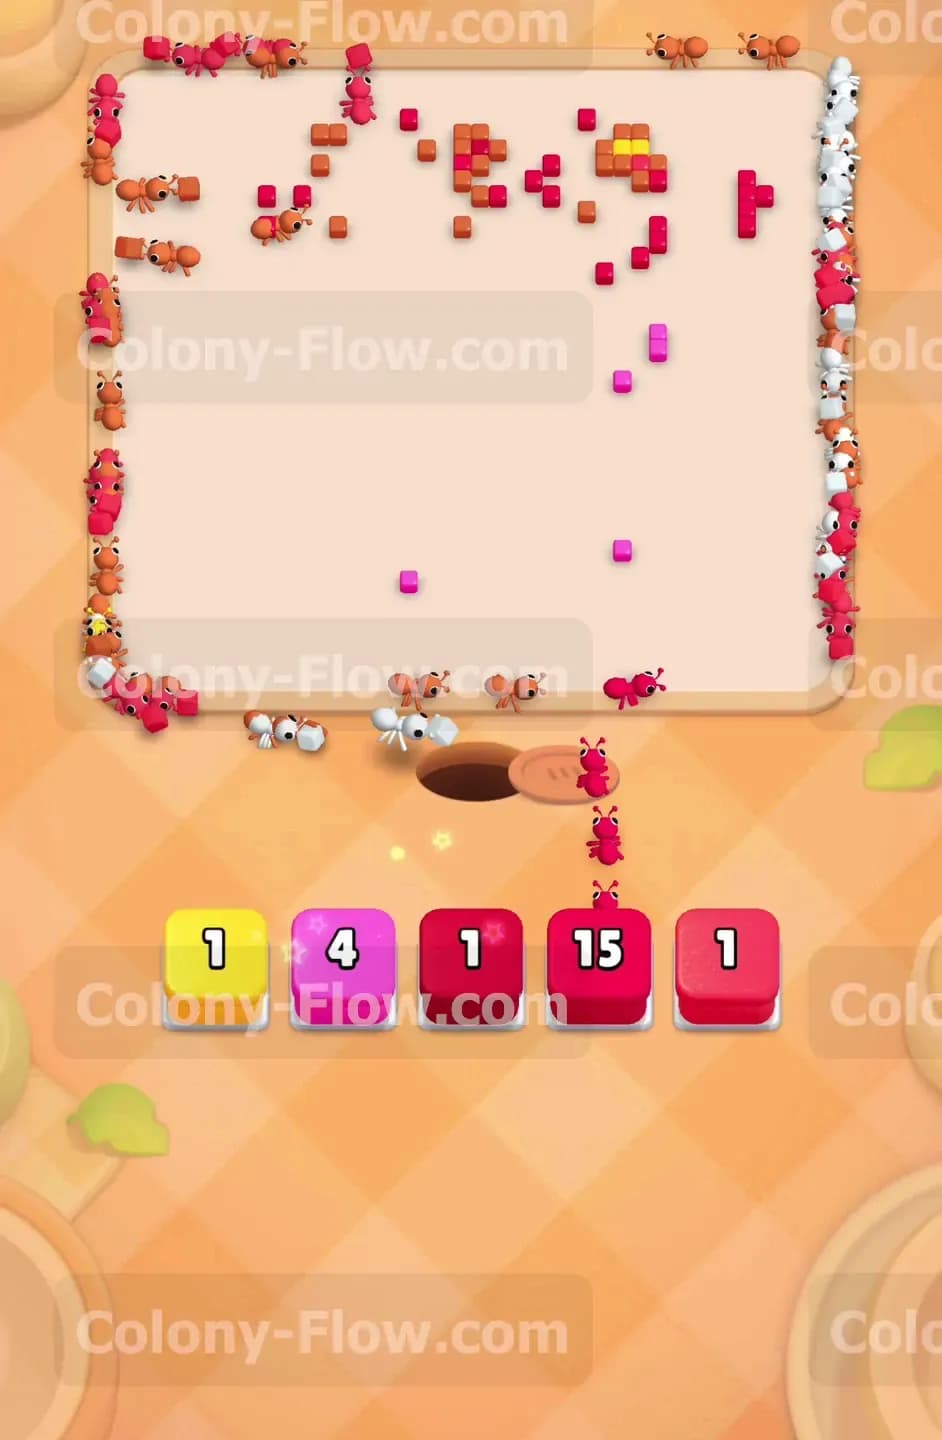
As you near the end of the level only a handful of specific colors remain. The tray gives you small numbered blocks like a yellow four and a purple two along with a set of connected cyan blocks. Pull these blocks into your waiting slots one at a time. The ants will target the tiny clusters of yellow and purple scattered across the upper canopy. The paths are completely open now so you do not have to worry about blocked routes. However you still have five waiting slots and you must not fill them all at once. Methodically pull one color let the ants finish it and then move to the next color to maintain a steady flow.
Step 8: Finish the board by using the final red and pink blocks on the perimeter.
The final few tiles are pushed out to the extreme edges of the screen. You will see a few remaining pink and red tiles clinging to the borders. Pull the pink block with four and the red block with fifteen to finish the job. The ants form a massive perimeter line marching entirely around the empty space to reach these last tiles. It is incredibly satisfying to watch the long chain of ants outline the space where the giant pixel art boots once stood. The numbers on your final tray blocks drop to zero as the ants consume the very last red pixel. You clear the level once the final tile disappears and the last ant returns. Keeping the tray organized up to this very last second ensures your victory.
Final Thought
This level teaches you exactly how to manage large sections of solid color followed by tricky scattered pixels. Keep your focus on pulling only the colors that sit on the exposed frontline of the remaining shapes. If any of my written descriptions feel hard to picture you can always watch the video above this article to see exactly how I handled the connected blocks and the scattered outer edges. Keep your paths open and those boots will disappear in no time.