Colony Flow Level 377 Walkthrough Solution & Guides | How to solve Colony Flow 377

Guide By Liam Stone
Updated on July 19, 2026
Watch first, read later. The video above shows the complete Level 377 walkthrough.
Video doesn't match your screen?
Game updates frequently scramble layouts! Try our AI Screenshot Solver first to find your exact board instantly, or report broken guides to our team.
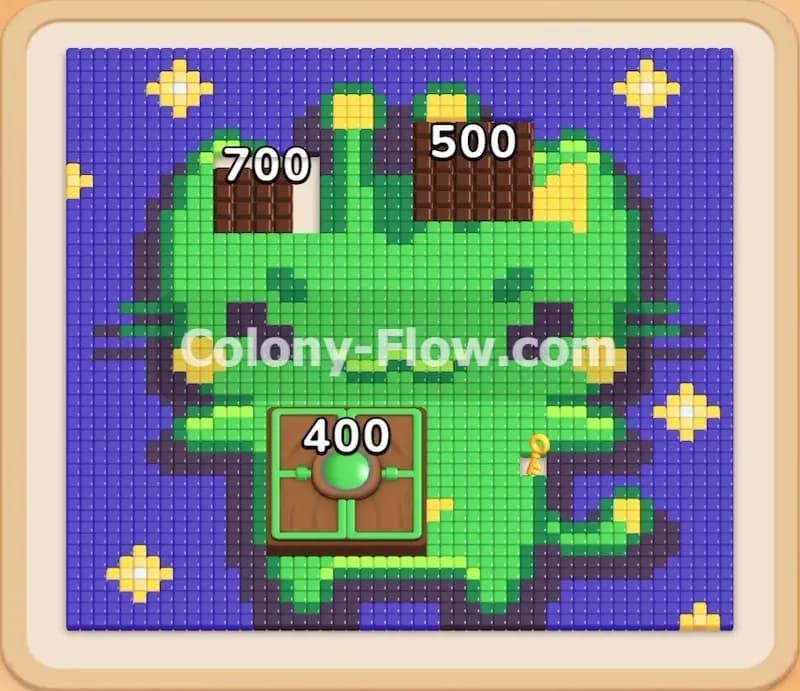
Welcome to Colony Flow Level 377. This puzzle presents a colorful pixel art picture of an alien cat floating in a starry night sky. You pull numbered blocks from your tray to send hungry ants out of the nest hole to eat the matching food tiles. The ants will always follow the shortest open path to their target. This board throws some heavy obstacles at you right from the start. You must carefully manage your limited waiting slots to ensure the ants always have a clear path to their food. One wrong move will jam your tray and end your run.
Colony Flow Level 377 Overview
What You Are Working With
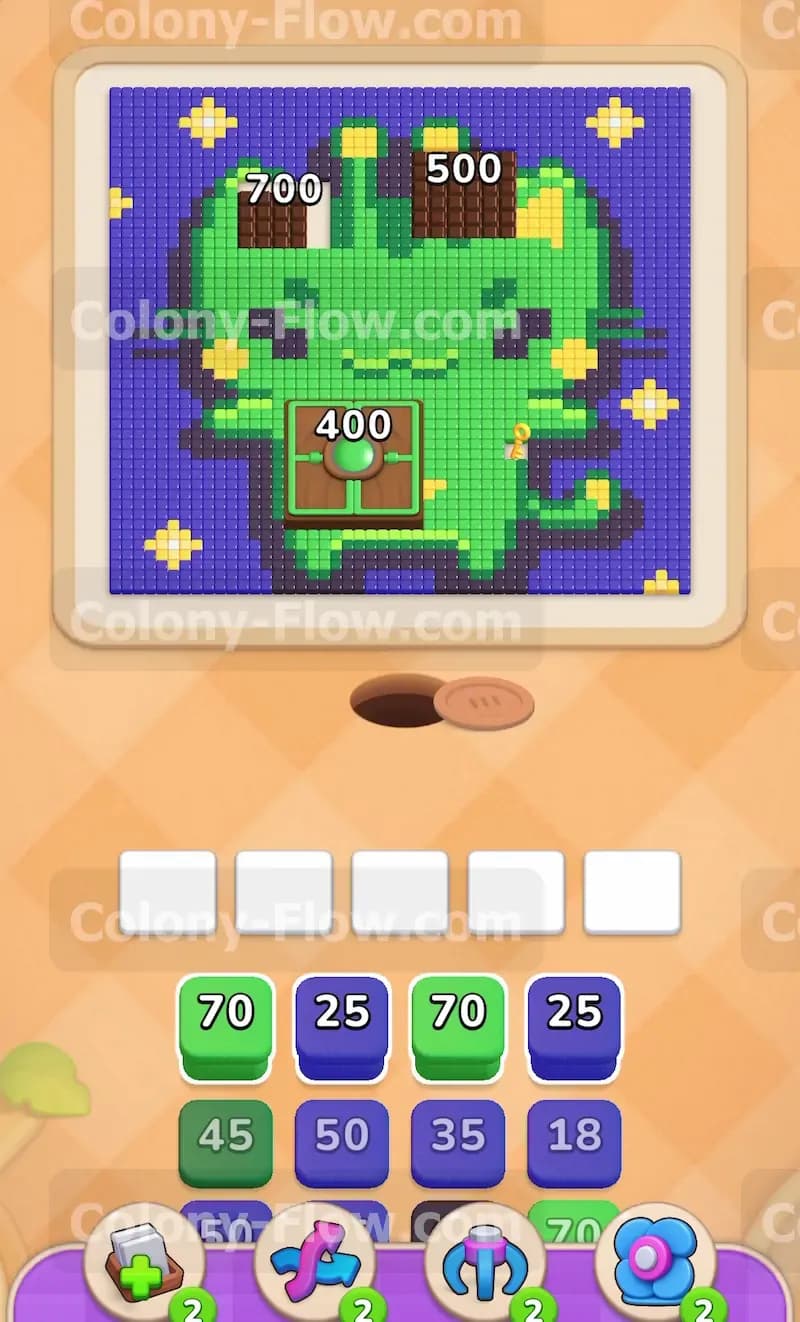
The picture features a bright green alien cat face with black whiskers and large green ears. The background is a deep dark blue sky dotted with small yellow stars. Three massive brown chocolate blocks sit directly on top of the cat. One chocolate block sits on the left ear with a starting value of 700. Another sits on the right ear with a starting value of 500. A third chocolate block rests right in the middle of the chest with a starting value of 400. The chocolate completely covers and blocks the food tiles underneath until you clear it. Your tray contains standard green, dark blue, yellow, and black blocks. The tray also holds a set of connected boxes. You will see a white 4 block permanently attached to a black block. You cannot separate them. Finally there is a lock and key mechanic in play. A yellow lock symbol sits over a specific yellow block in your lower tray and prevents you from accessing the blocks beneath it.
What It Takes to Clear Level 377 Board
You win the level by clearing every single pixel from the board and completely emptying the picture. You lose the level if you fill all five waiting slots at the bottom of the screen and no ants can move. The connected boxes will clog up your slots early because there are no white tiles immediately available. You must play the majority of the game with reduced slot capacity. You need to keep a continuous flow of green and blue ants moving to chip away at the giant chocolate blocks. You also need to find the key hidden on the board to unlock the yellow block in your tray.
Colony Flow Level 377 Step by Step Solution
Step 1: Pull early green blocks to attack the cat face
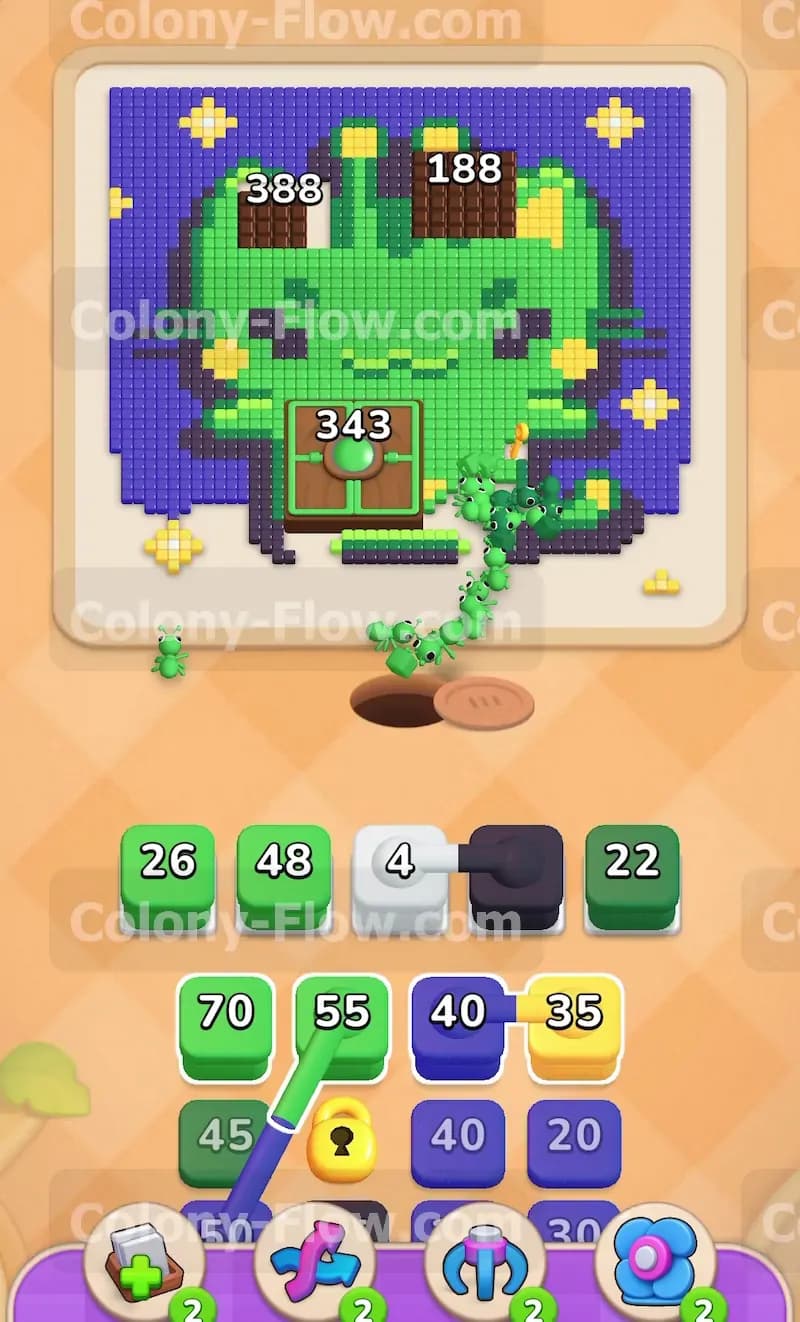
You start the level by focusing entirely on the main green area of the alien cat. Your tray is full of green blocks and you need to get the ants moving immediately. Pull the large green blocks from your tray up into your empty slots. The game gives you a green 70 and a green 25 right away. The green ants stream out of the nest hole in a long line and attack the bottom edge of the cat face. This establishes your first solid path. The numbers on the matching green tiles drop rapidly as the ants consume them. You create a wide opening in the lower section of the board. This opening gives your future ants more room to maneuver around corners and reach deeper into the picture.
Step 2: Start chipping away at the massive central chocolate block
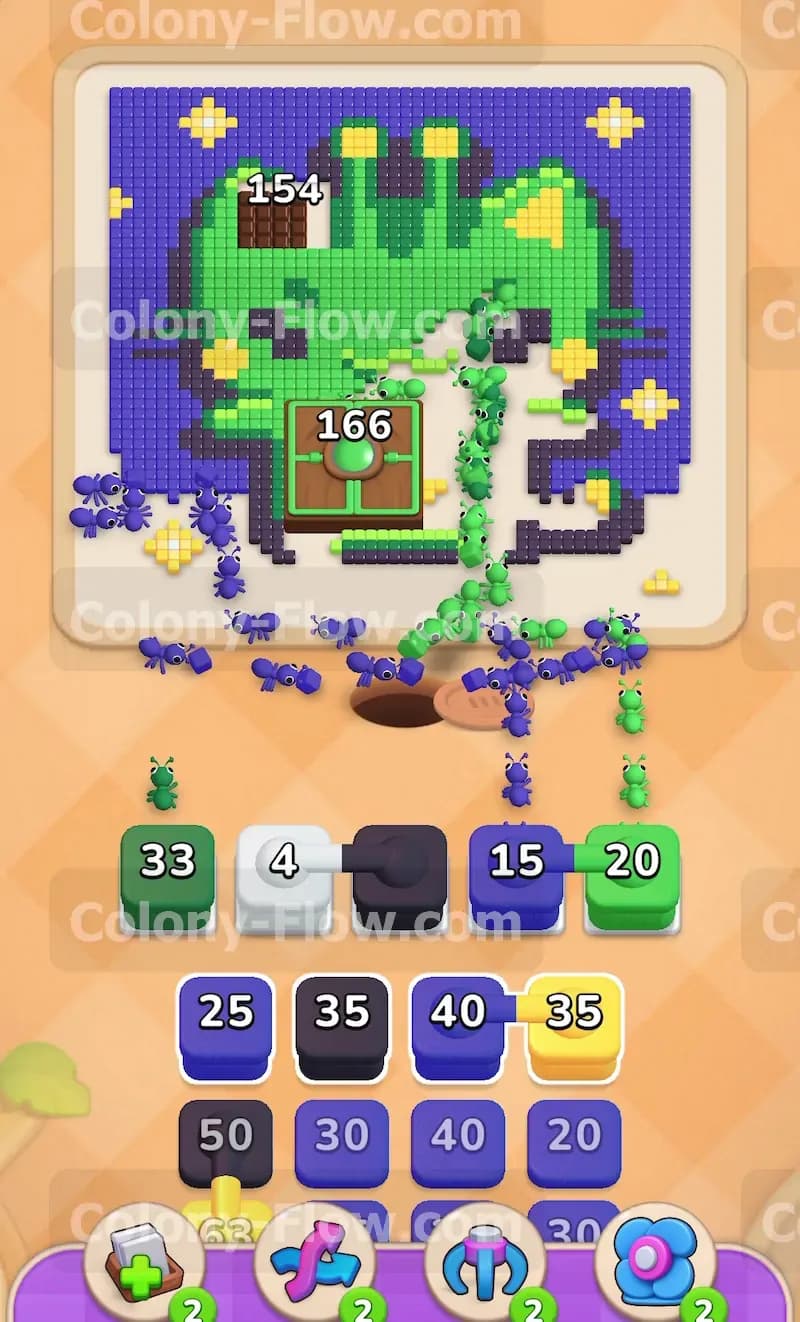
The huge brown chocolate block in the middle of the chest is your biggest early problem. You must send a massive volume of ants to break it down. Pull your green 55 block into an open slot. The ants march straight up the path you just cleared and begin chewing on the central chocolate obstacle. Watch the number on the chocolate drop from 400 down into the 300 range. Keep feeding green blocks to the board to maintain this attack. You will see a green 45 and a green 40 in your tray later. Pull them as soon as you have a clear path. Always make sure you leave at least one empty slot in your tray so you never hit a dead end.
Step 3: Move the connected boxes into a waiting slot
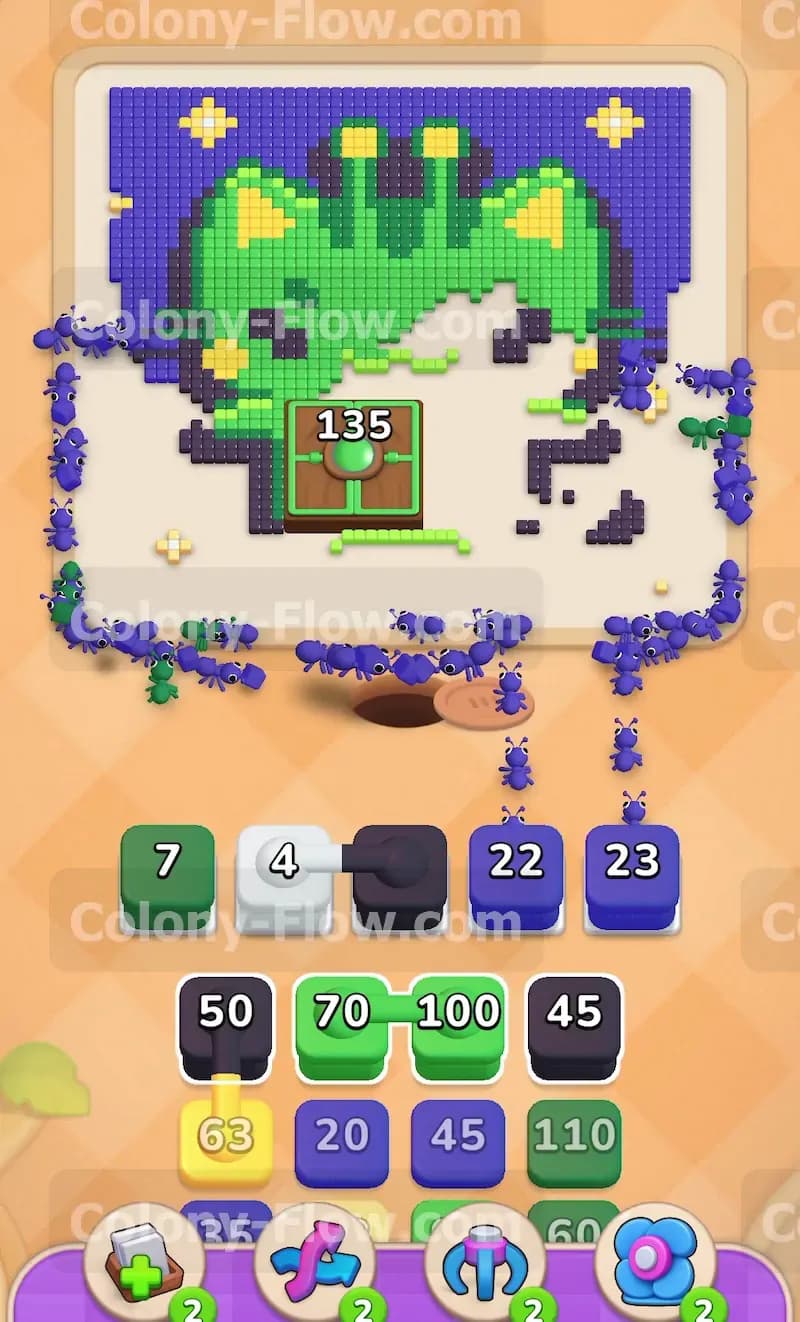
Your tray soon reveals the connected boxes. This pair consists of a white 4 block permanently attached to a black block. You cannot reach the useful blocks buried underneath it without pulling it up. Pull the connected pair into one of your open slots. The unit will simply sit there because no white food tiles are open yet. Accept that you now only have four usable slots for a long time. You must be extremely careful with every single move from this point forward to avoid a dead end. Playing with reduced capacity is the true challenge of this level. You must constantly scan the board to verify that your next block color has a guaranteed open route.
Step 4: Send blue ants to clear the dark blue night sky
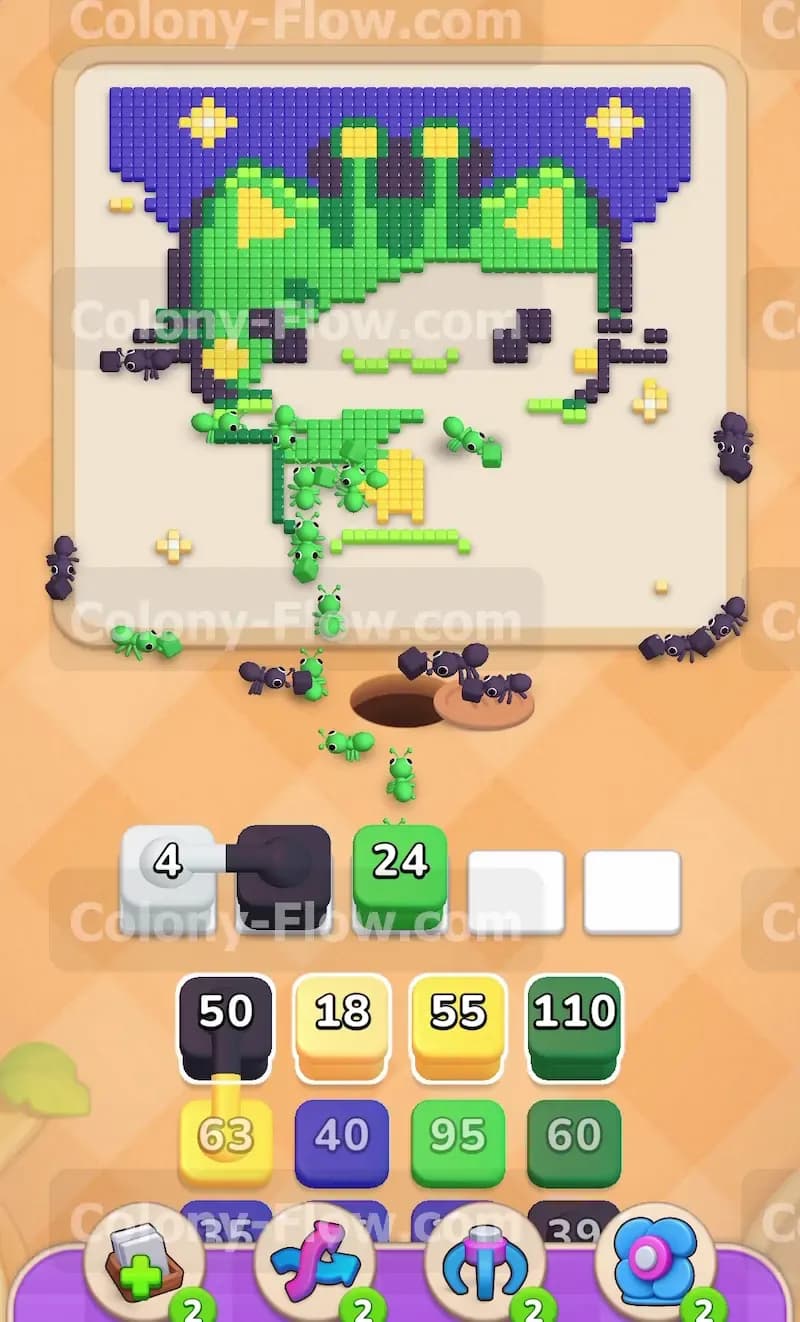
With the connected boxes taking up permanent space you need to open new paths on the outside edges. Shift your attention to the dark blue background surrounding the cat. Pull the dark blue 40 and dark blue 35 blocks from your tray. The blue ants exit the nest hole and wrap completely around the left and right sides of the picture. They consume the background pixels and create a wide open perimeter. This prevents your blue blocks from getting stuck in the tray and jamming your remaining slots. The blue ants travel in long beautiful arcs around the central face to reach the top corners of the sky.
Step 5: Break down the upper chocolate blocks
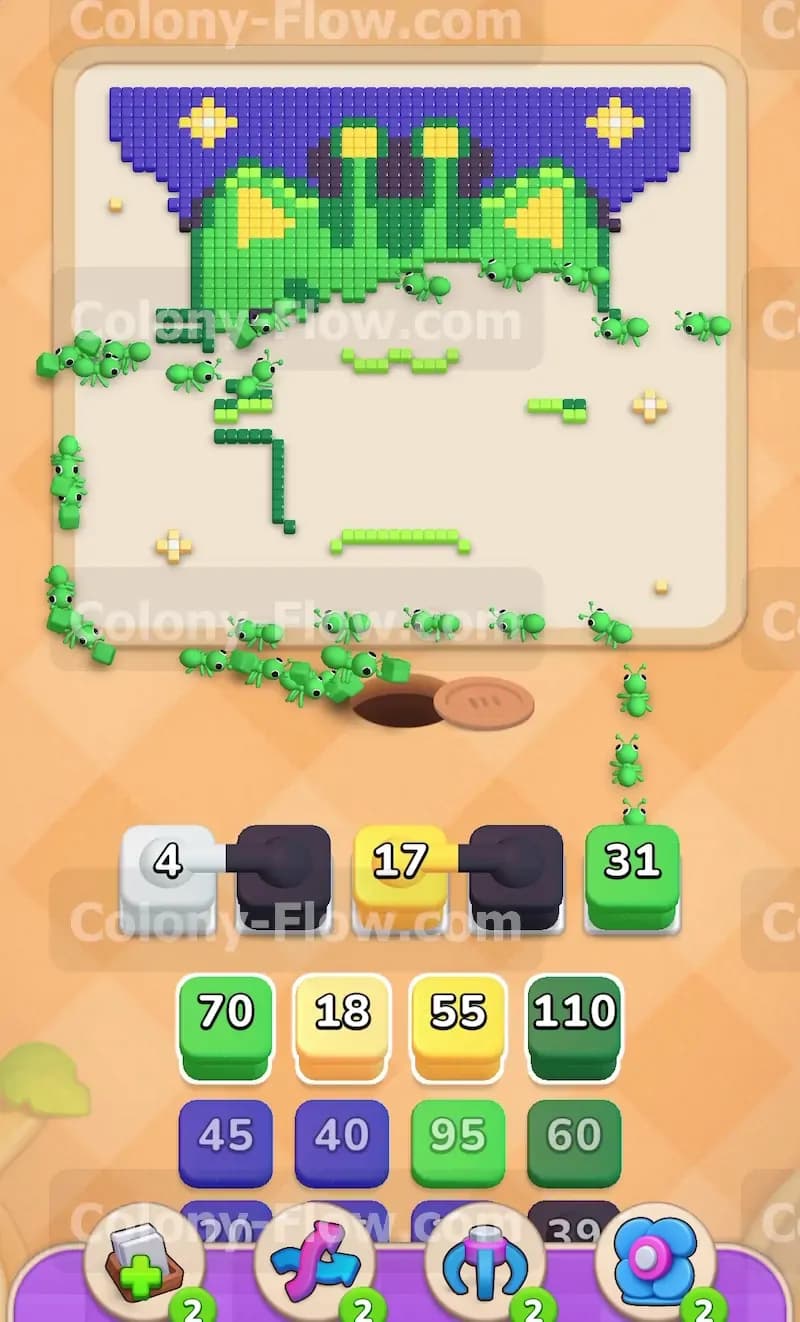
The blue ants and green ants are now working perfectly together to surround the top of the cat head. This exposes the two massive chocolate blocks sitting on the ears. Keep pulling large green and blue blocks into your active slots. The ants chew into the chocolate from multiple angles at once. The top left chocolate block drops heavily from 700 down to 154. The top right chocolate block takes similar heavy damage and falls well below 200. Your continuous flow of combined ants is slowly destroying the absolute hardest obstacles on the board. You are carving out huge sections of the picture.
Step 6: Find the key and unlock the tray
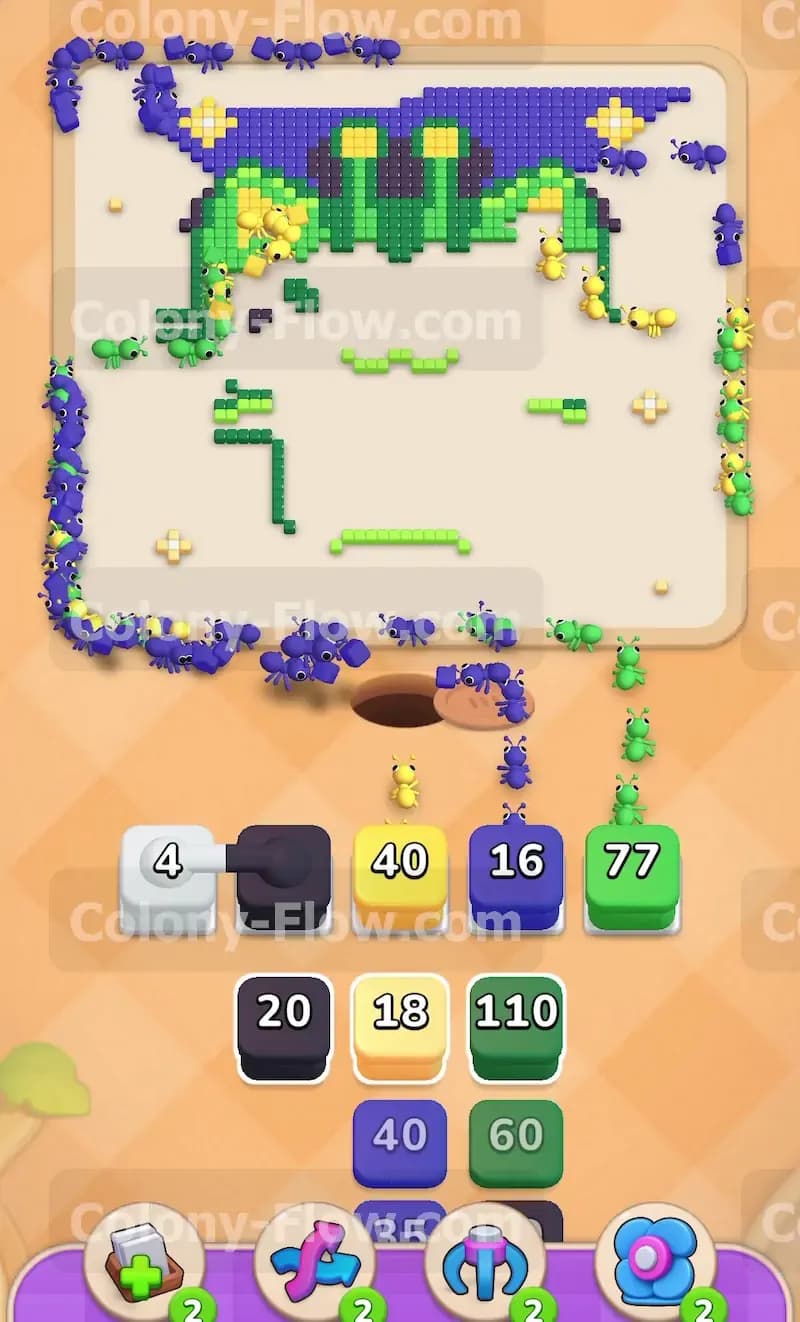
Look closely at your lower tray to spot your next objective. A yellow lock totally blocks a critical yellow 63 block. You need this exact block to clear the stars but you cannot touch it yet. The key is located among the scattered tiles on the board. As your ants clear the left side of the cat face they finally uncover and consume the required key tile. The yellow lock in your tray shatters instantly. The yellow 63 block is now completely free to use. This unlocks a huge portion of your lower tray and gives you the exact color you need for the upcoming star clearing phase.
Step 7: Destroy the central chocolate block completely
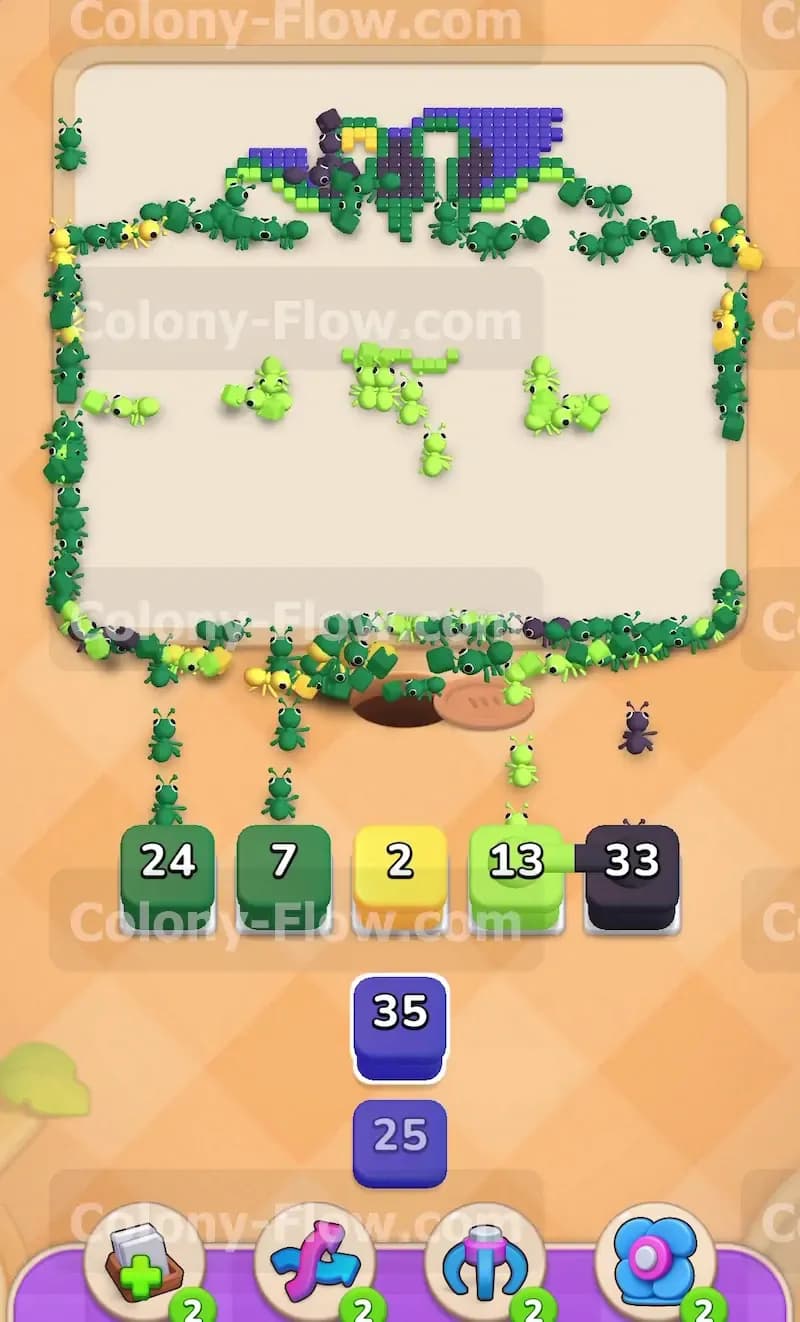
Your relentless waves of green ants finally finish off the middle section of the picture. The central chocolate block reaches zero and vanishes completely from the board. This opens a massive hole right in the dead center of the board. Ants can now march straight through the middle instead of walking all the long way around the outer edges. This shorter path speeds up everything and changes the entire flow of the board. Pull your black 50 block into an open slot right now. The black ants rush straight up the newly opened middle path and prepare to attack the fine details of the face.
Step 8: Erase the black whiskers and outlines
The alien cat has long black whiskers extending outward and thick black outlines framing the entire face. The black ants you just deployed get right to work on these tiny details. They systematically trace the edges of the picture and eat the individual black pixels. Pull the remaining black 45 block to keep them moving without interruption. The face loses its sharp definition as the dark borders disappear. Your slot management is tight here but the board is open enough that the black ants find their targets easily. Just keep watching those waiting slots and never pull a block blindly.
Step 9: Consume the yellow stars
The background sky is mostly empty but several bright yellow stars remain floating isolated in the void. Now is the perfect time to use the yellow 63 block you unlocked earlier. Pull it up into an available slot. The yellow ants spread out rapidly across the entire upper half of the board. They track down every individual yellow star and devour it. The outer edges of the picture are now totally empty space. Only the core remnants of the green cat face remain. The board is incredibly clean and you are very close to the finish line.
Step 10: Deploy the connected boxes and clear the final pixels
The board state finally aligns perfectly for your stubborn connected boxes. The remaining tiles match the exact requirements of the white and black pair that has been sitting in your tray for minutes. The connected boxes deploy from your waiting slots and send their ants to finish the job. Your tray instantly frees up completely. You now have all five slots available again for the first time since the early game. Pull the remaining green 24 and green 13 blocks. The last few green ants rush out and eat the final scattered pixels. The board goes entirely blank and you win the level.
Final Thought
Level 377 requires patience and excellent slot management. The massive chocolate blocks and the stubborn connected boxes force you to plan your paths carefully. If any step of this written guide is hard to follow in text format I highly recommend you watch the video above this article to see the exact block order in action.