Colony Flow Level 114 Walkthrough Solution & Guides | How to solve Colony Flow 114

Guide By Liam Stone
Updated on July 11, 2026
The article below breaks down Level 114 in detail, but the video above shows the whole thing if you'd rather watch.
Video doesn't match your screen?
Game updates frequently scramble layouts! Try our AI Screenshot Solver first to find your exact board instantly, or report broken guides to our team.
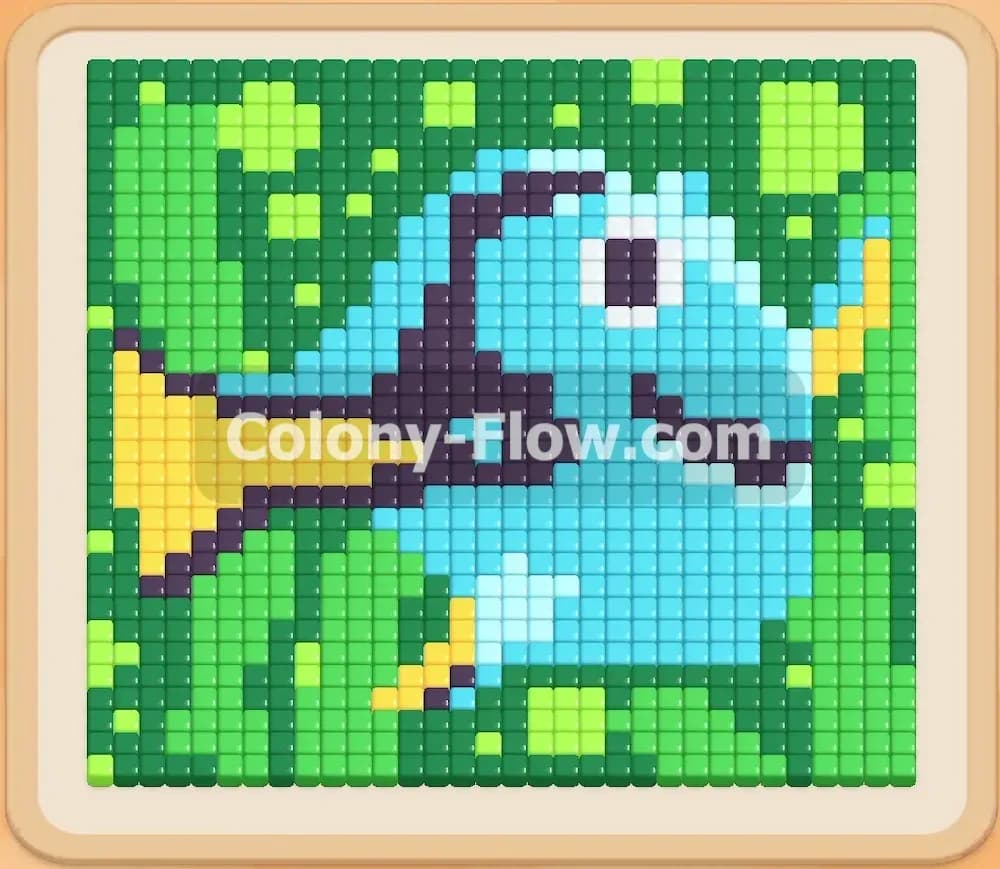
Colony Flow Level 114 presents a massive blue fish design set against a solid green background. You need to dismantle the entire picture by feeding the right colors to your ant colony. It takes careful tray management to carve through the bottom edge before you can reach the main body of the fish. I play every single level myself to figure out the safest path through the board so you can win without getting stuck.
Colony Flow Level 114 Overview
What You Are Working With
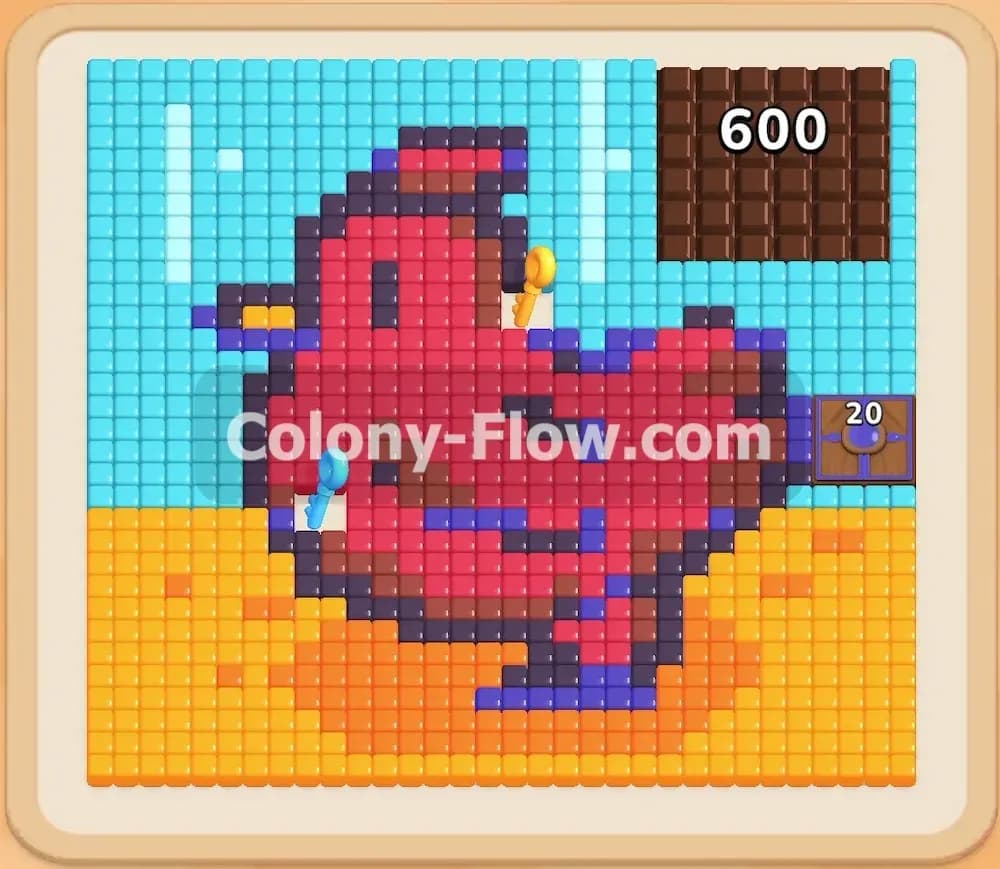
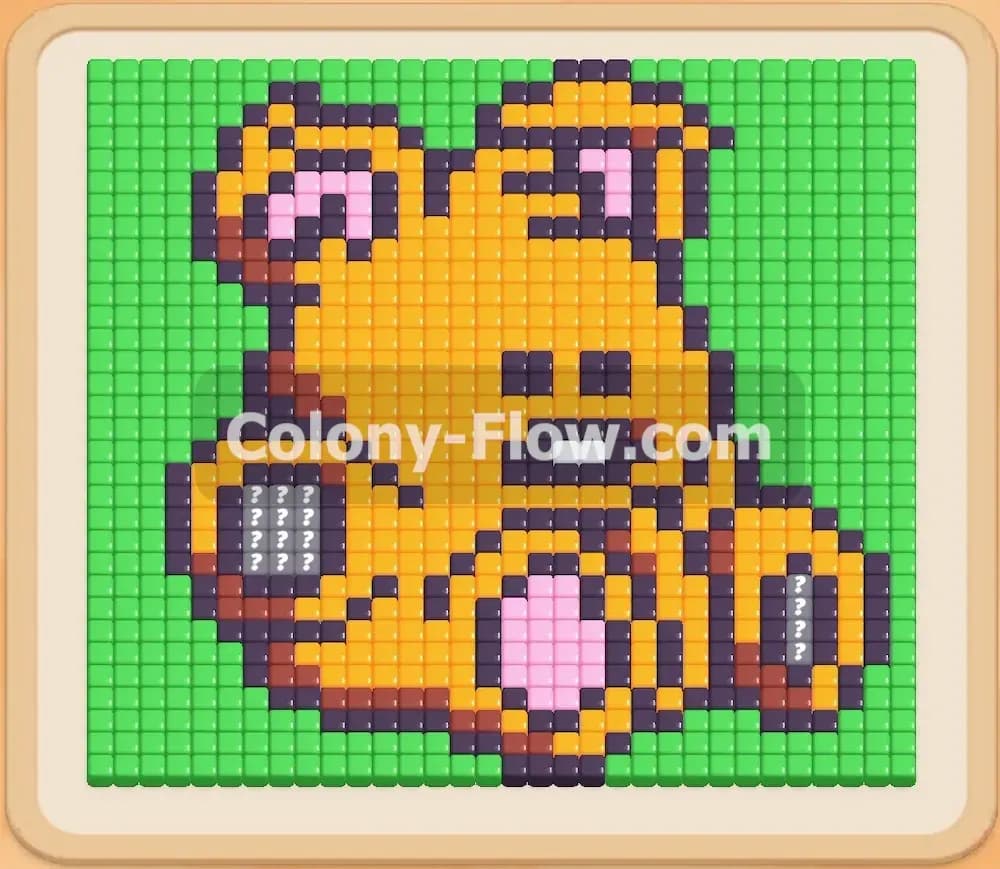
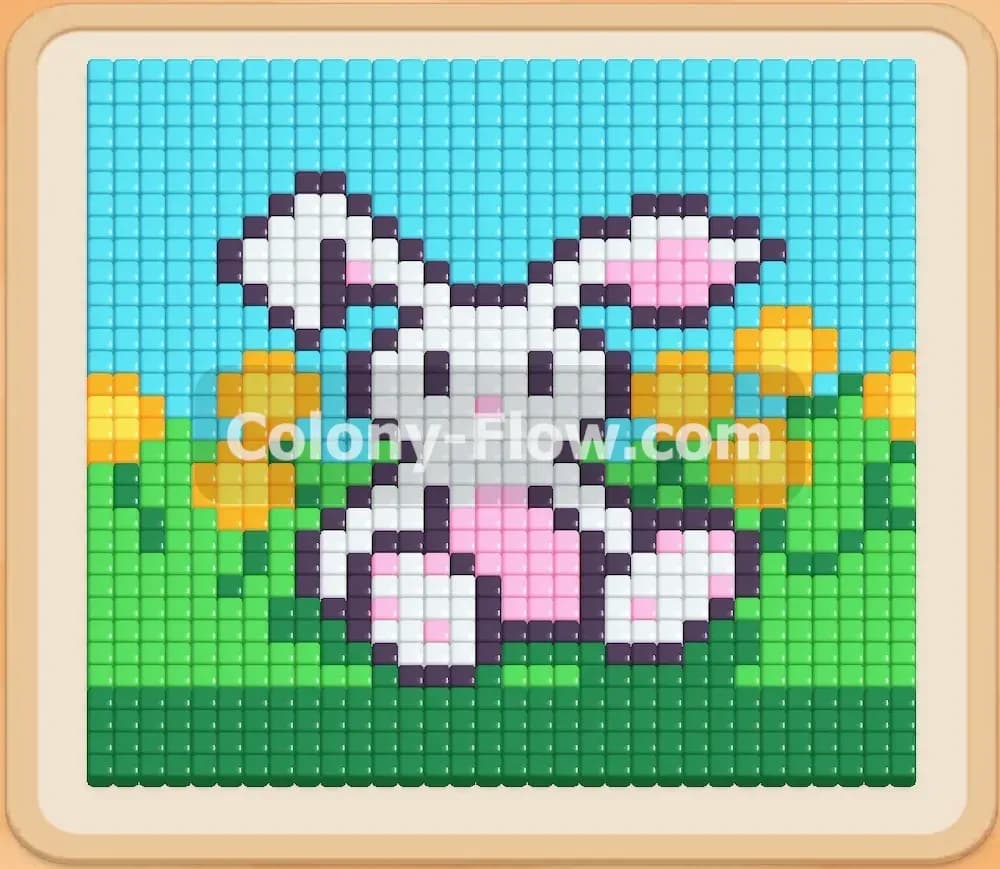
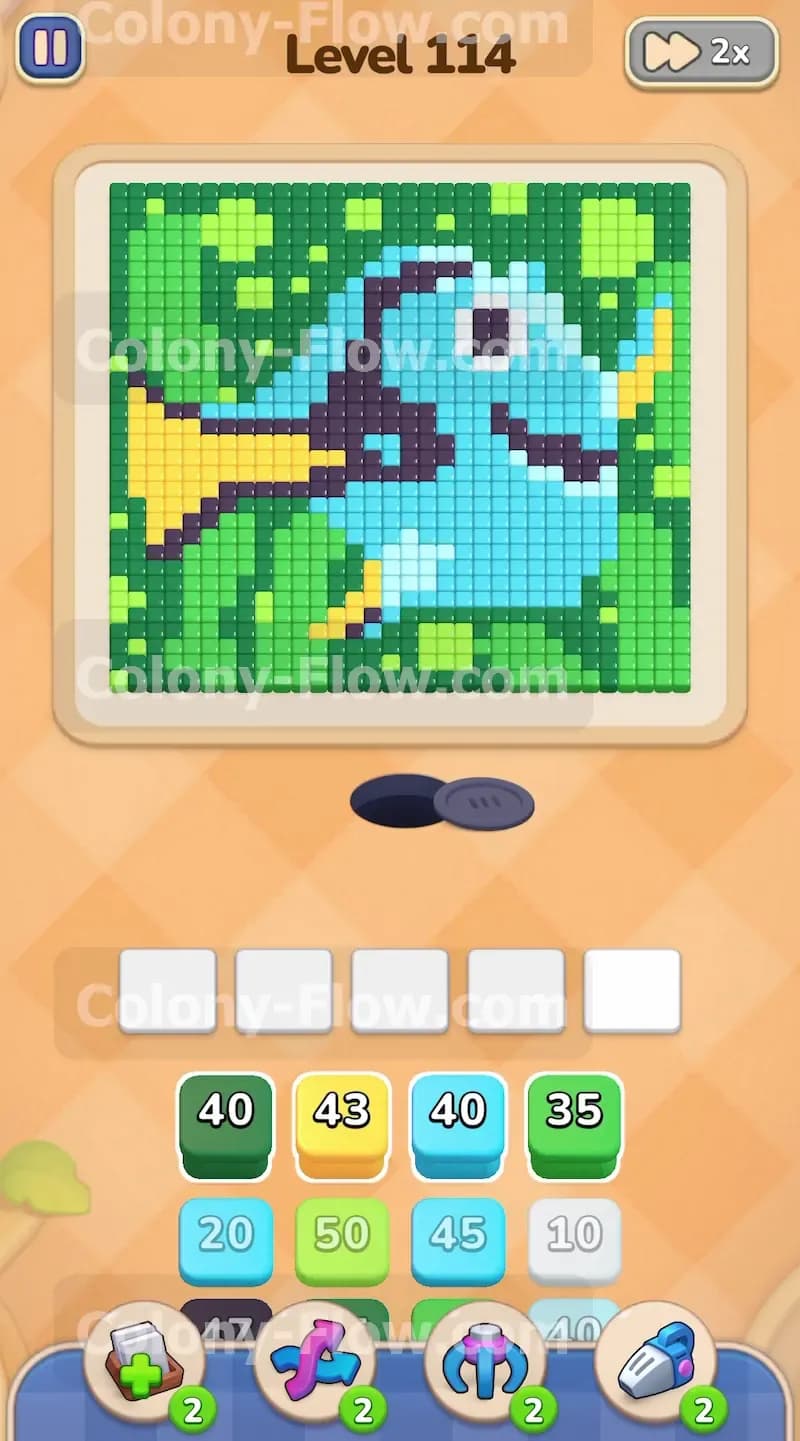
The board displays a large pixel art fish facing right. The main body uses light blue and cyan tiles. The fins and tail consist of yellow tiles. A dark blue outline defines the overall shape of the fish and creates inner details separating the belly from the upper back. A single white and dark blue eye sits near the top right of the face. The entire background framing the fish is filled with standard green and dark green tiles.
The tray at the bottom holds your numbered blocks. You have a massive stack of colors including dark green forty, yellow forty three, light blue forty, and green thirty five right at the top. Below those sit more cyan, white, and dark blue blocks. The board has no special hidden boxes or connected locks. It is just a massive block of solid food tiles you must break down from the outside in. The only way for the ants to access the inner fish is to chew through the bottom green background and yellow fins first.
What It Takes to Clear Level 114 Board
You clear this board by matching every single colored block in your tray to the exact number of matching food tiles above. You pull blocks into the five waiting slots at the bottom. Ants stream out of the nest and consume the tiles. You win when the entire fish and background disappear. The core challenge comes from the five slot limit. If you pull a block color that has no open path on the board, that block sits stuck in the slot. If you fill all five slots with blocked colors, the ants stop moving and you lose the level instantly. You must always ensure at least one active block has an open path to the food tiles. Your main goal is to carefully open the bottom edge so multiple colors can flow at the same time.
Colony Flow Level 114 Step by Step Solution
Step 1: Start by pulling the yellow block to open the lower fin.
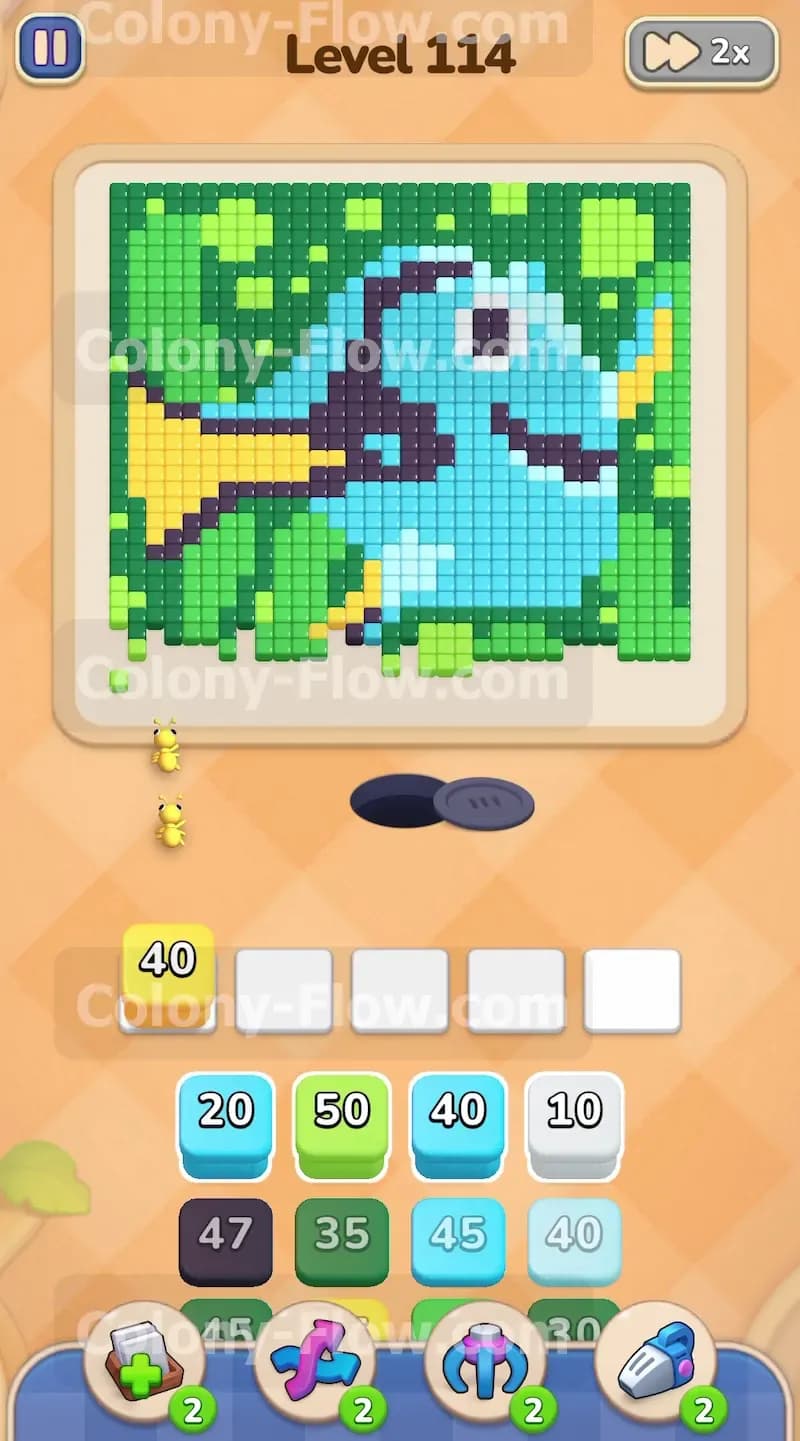
You begin with the board completely solid and blocking most paths. Look at the bottom left area where the yellow tail fin touches the edge. You need to pull the yellow forty block from the tray into your first waiting slot. Yellow ants immediately pour out of the dark nest hole at the bottom center of the screen. They form a steady marching line across the beige floor and start eating away at the bottom edge of the tail. This initial action is crucial because it creates your very first gap in the solid wall of tiles. As the yellow ants consume the fin pieces, the number on your yellow block counts down rapidly. You must keep your other four waiting slots completely empty for now. You do not want to risk trapping a color before the board opens up enough to support multiple paths. Watch the yellow ants clear the lower left corner completely.
Step 2: Add green and light blue blocks to expand the newly created bottom gap.
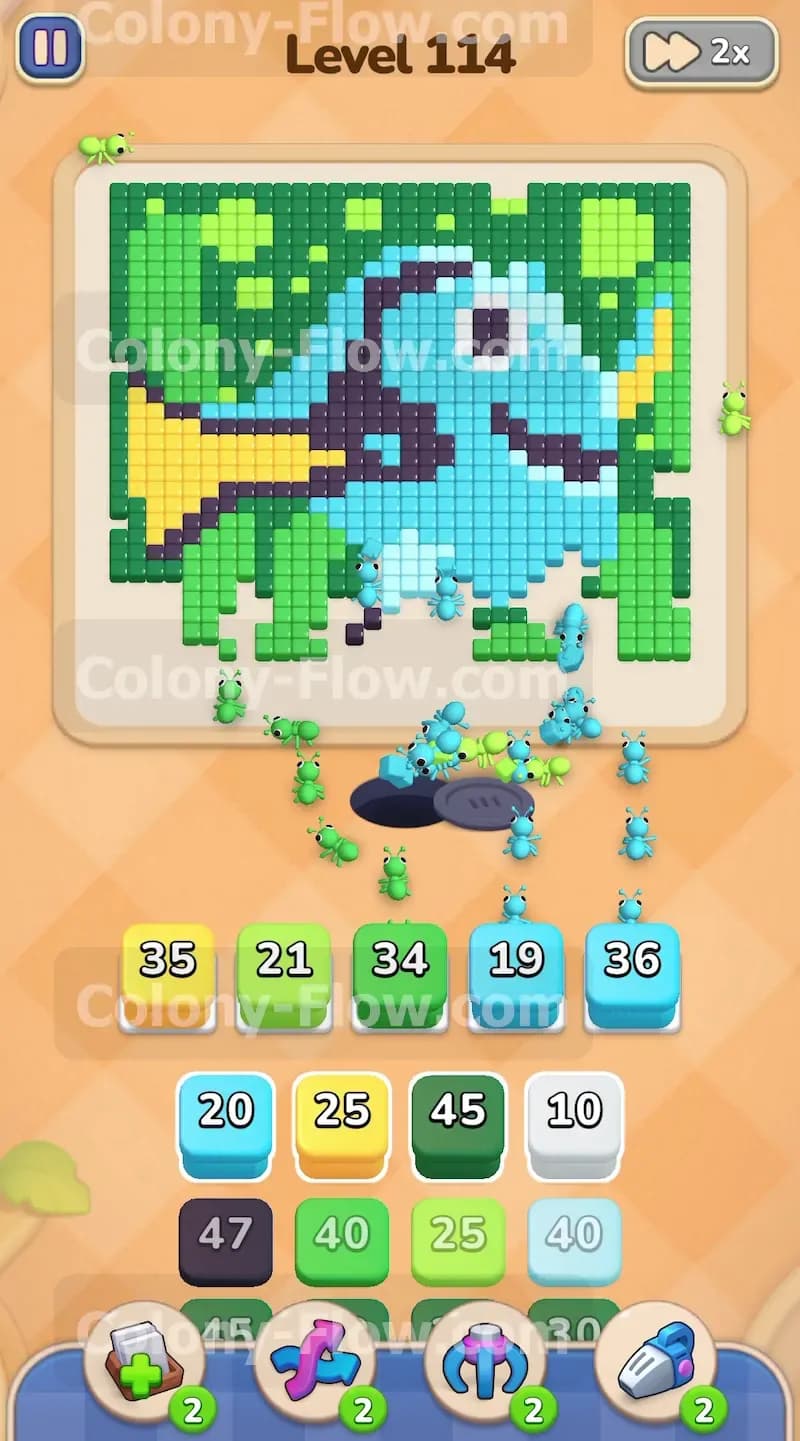
Once the yellow ants remove the bottom tip of the fin, a few green background tiles and light blue belly tiles become accessible. Now you can safely pull a green thirty five block and a light blue forty block into your tray. Green ants and light blue ants join the yellow ants emerging from the nest. The green ants target the bottom edge of the background directly below the fish. The light blue ants start nibbling at the very bottom of the fish belly. The numbers on your blocks drop quickly as the colony swarms this lower section. You now have three active slots working simultaneously. The board starts to look like a carved out bowl at the bottom. You still maintain two empty slots to act as a safety buffer in case a path temporarily closes. Keeping empty slots saves you from losing the level.
Step 3: Keep the momentum going with more green and cyan blocks.
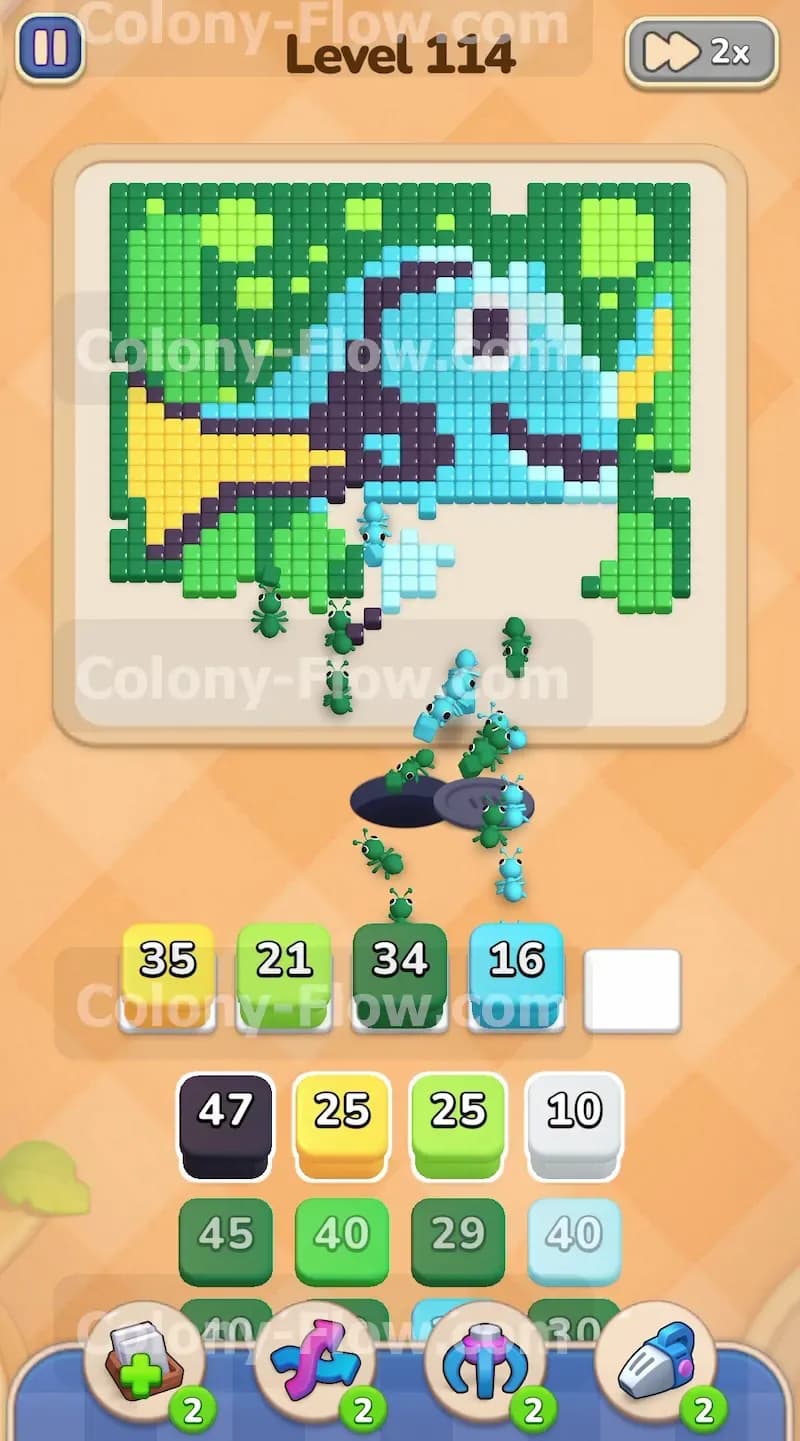
The lower edge is now wide open across the entire bottom. You need to sustain the flow of ants to prevent any downtime. Pull a dark green thirty four block and a light blue nineteen block from the tray. Your slots will temporarily hold five active blocks. You will see a yellow thirty five, a green twenty one, a dark green thirty four, a light blue nineteen, and another light blue thirty six all running at once. This is normally very dangerous but the bottom of the board is completely exposed right now. The ants have clear and direct paths to all these required colors. The green and dark green ants chew through the lower right background section. The light blue ants push deeper into the belly of the fish. The yellow block continues to drain as ants eat the large tail section on the left side. The entire bottom third of the picture dissolves into a chaotic swarm of busy ants.
Step 4: Pull the dark blue block to attack the thick outline.
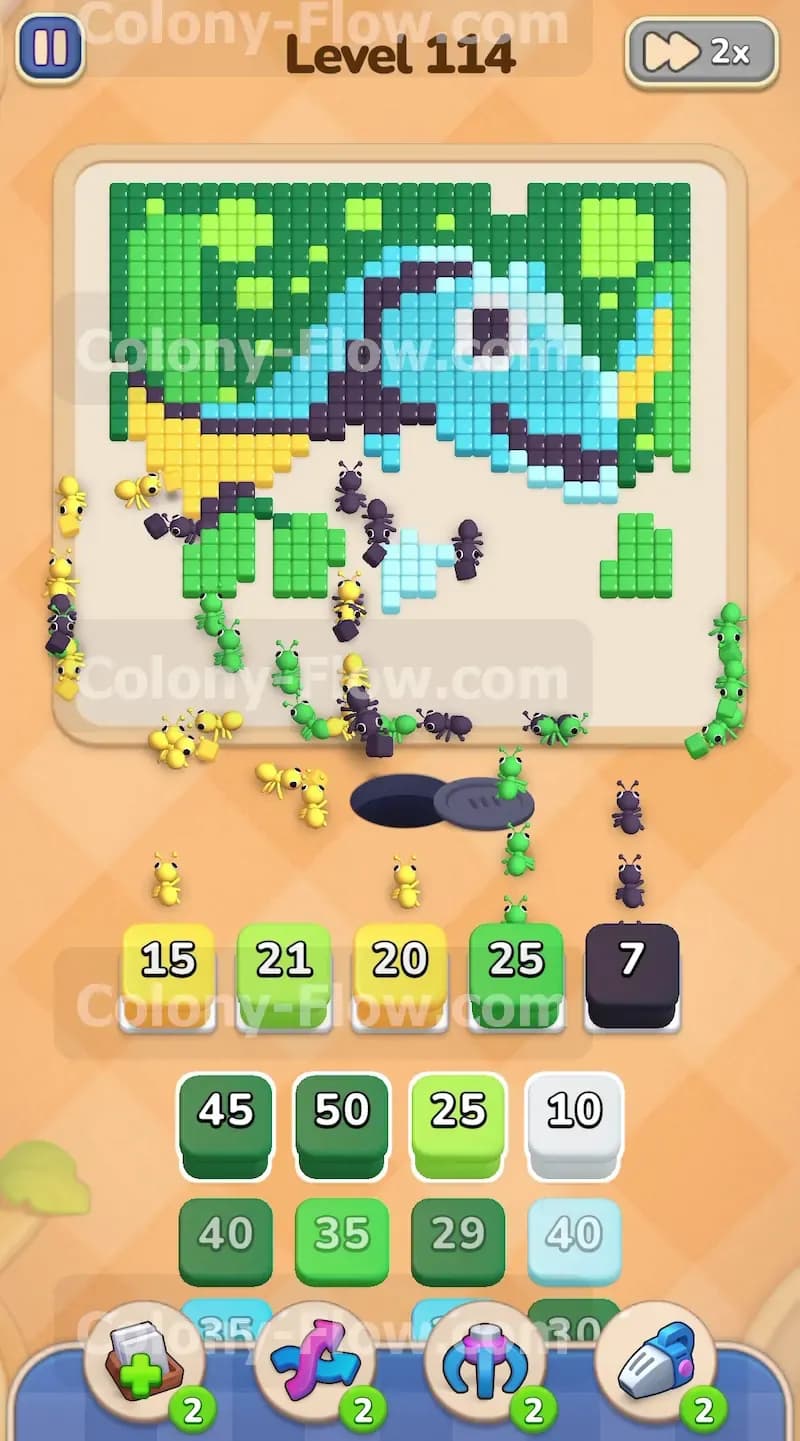
With the bottom background completely gone, the dark blue outline of the fish becomes completely exposed. You can now safely pull the dark blue forty seven block from the lower section of your tray. Dark blue ants march out and start dismantling the thick outline separating the belly from the upper body. At the same time you should pull another yellow block to finish off the massive tail piece on the left. Your tray now holds a yellow fifteen, a green twenty one, a yellow twenty, a green twenty five, and the dark blue seven. Notice how the dark blue block rapidly drains from forty seven all the way down to seven. The dark blue line is long but thin, so the ants wrap around the inner fish quickly to eat it. This removes the main barrier protecting the upper half of the board. Your slots remain flowing freely.
Step 5: Swarm the outer borders with green background blocks.
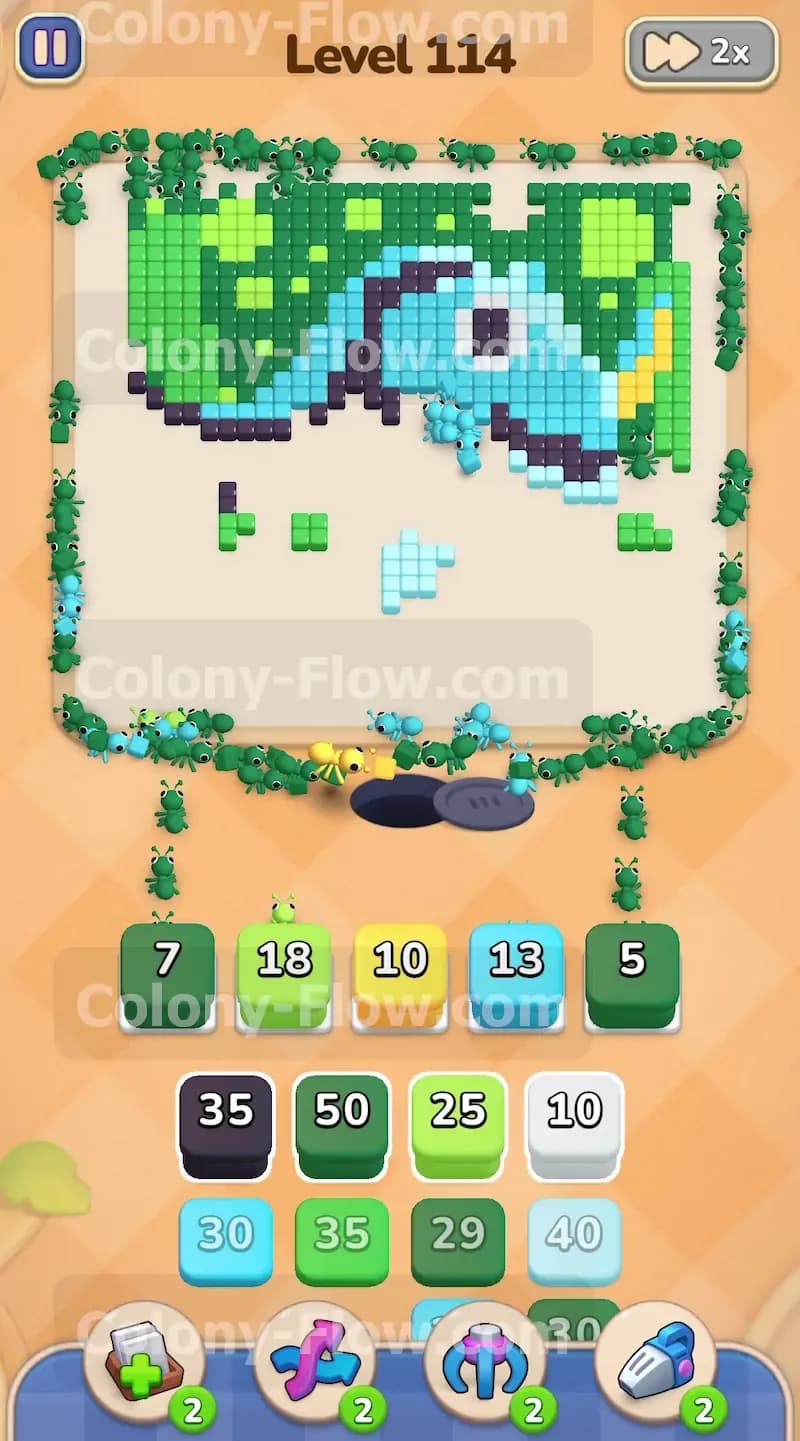
The main body is open but you still have a massive amount of green background framing the top and sides. The ants need to travel all the way around the remaining fish to reach these pieces. Pull dark green and green blocks into your open tray slots. You want a dark green seven, a green eighteen, a yellow ten, a light blue thirteen, and a dark green five active in your slots. The green and dark green ants will form two massive streams traveling up the left and right borders of the board. They start chewing away the thick green frame enclosing the fish. The yellow ants finish the top tip of the tail section. The light blue ants continue eating the head and upper back area. Keeping the green blocks active ensures the ants constantly clear the longest travel paths on the very edges of the screen.
Step 6: Clear the white eye and remaining top body sections.
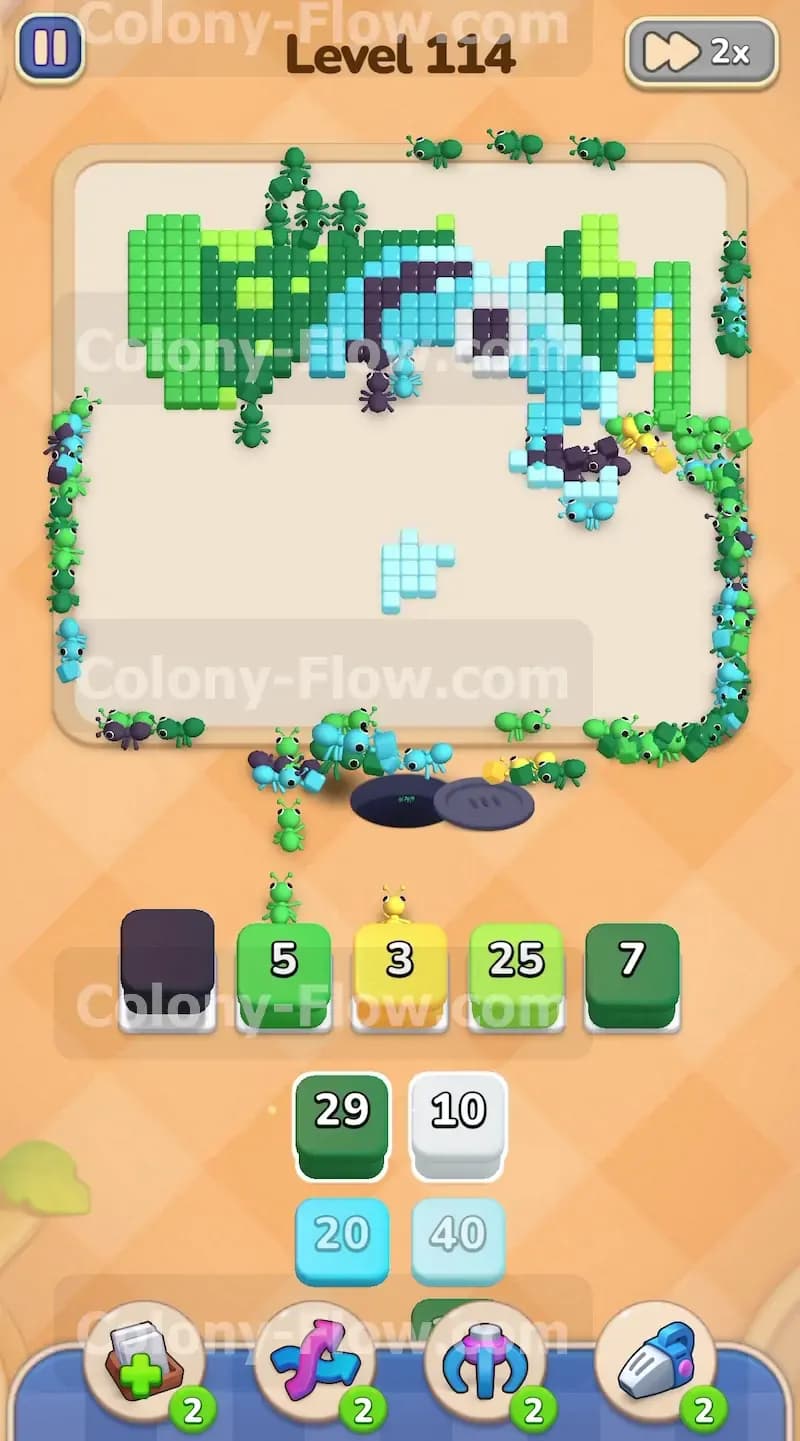
The board is now mostly empty space with isolated chunks of the fish and background left behind. The white eye of the fish is completely exposed near the top right. Pull a white ten block from the tray. White ants rush all the way up to consume the small square eye. You should also pull the remaining dark blue blocks to clear the final outline details around the face. The main thing to watch here is pathing distance. Ants take much longer to reach the very top corners of the board. Pull your final green twenty five and dark green seven blocks early so the ants have plenty of time to travel up the sides. Your active slots will dwindle down to just a green five, a yellow three, a green twenty five, and a dark green seven. You easily avoid filling the five slots because you opened the whole map.
Step 7: Empty the final tray pieces to finish the board completely.
You are down to the absolute last blocks in the tray. Pull the remaining light blue twenty and white forty blocks if you have not already done so. The final ants will scurry across the empty beige space to clean up the last few green background tiles in the top left corner. Another group will attack the last few cyan tiles near the nose of the fish on the right. Because the board is entirely open space now, the ants take direct diagonal paths right to their targets. Let the final numbers tick down to zero. The last block vanishes from your tray and the victory screen appears. You successfully cleared a massive solid board without ever jamming your waiting slots.
Final Thought
Taking down a solid block of tiles requires patience at the start and speed in the middle. You have to wait for the bottom edge to open before you unleash the full colony. Once you break the dark blue outline the rest of the board falls apart easily. Encourage the reader to watch the video above this article if any step is hard to follow in text.