Colony Flow Level 267 Walkthrough Solution & Guides | How to solve Colony Flow 267

Guide By Liam Stone
Updated on July 15, 2026
If you want to skip straight to the solution, watch the video above covering Level 267.
Video doesn't match your screen?
Game updates frequently scramble layouts! Try our AI Screenshot Solver first to find your exact board instantly, or report broken guides to our team.
Welcome to Colony Flow Level 267. This level puts you up against a massive pixel art hamburger sitting right in the middle of a huge background square. The tray is loaded with high number blocks and several connected box pairs that will test your slot management skills. You play this game by matching block colors to the board and I will show you exactly how to do that here. I played through this entire puzzle and found the best sequence to keep your ants moving without getting stuck.
Colony Flow Level 267 Overview
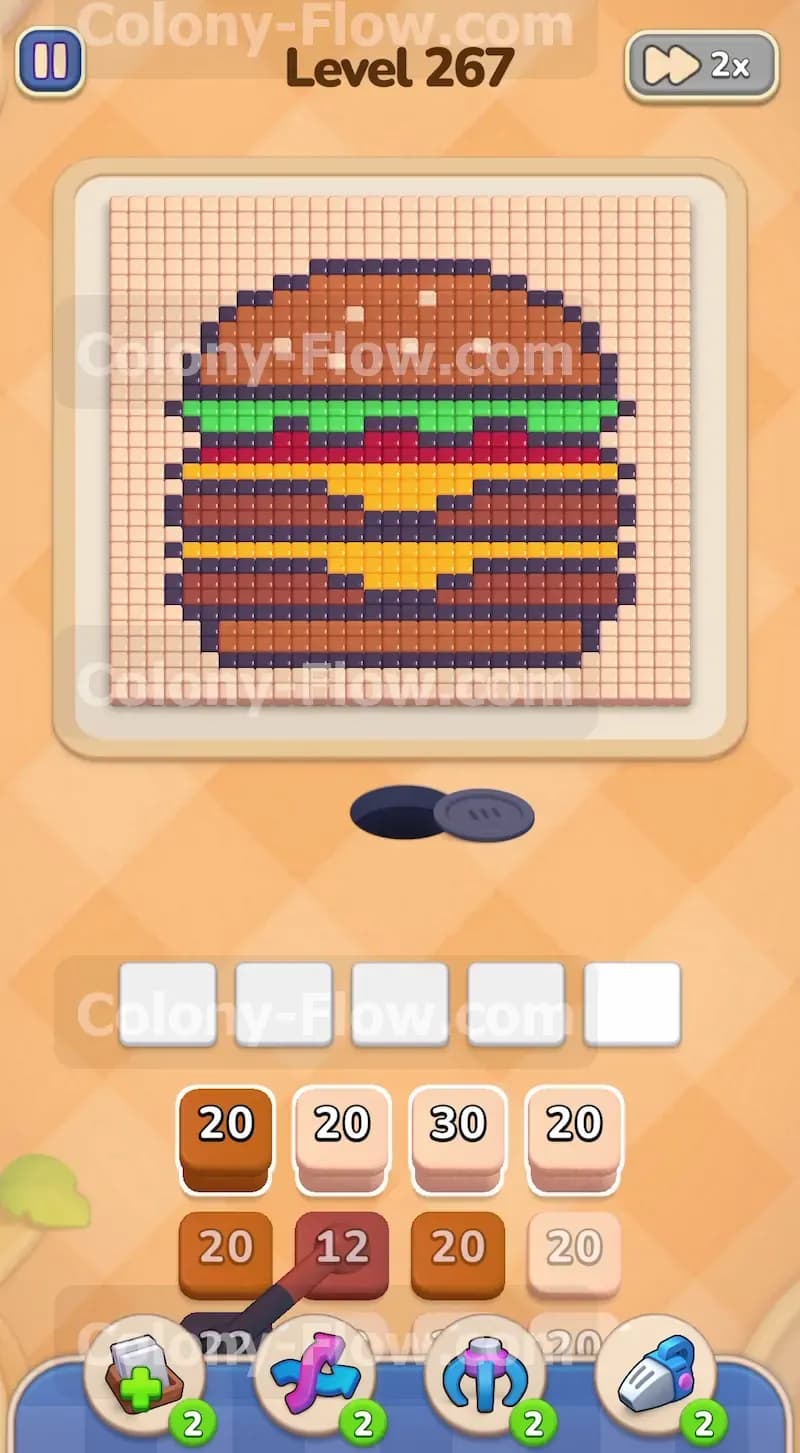
What You Are Working With
You face a large square picture dominated by a tall burger. The background is completely made of light beige tiles. The burger itself features a black outer rim that locks in all the inner ingredients. Inside that rim you will find a bottom bun and top bun made of brown tiles. Between the buns sit two dark brown meat patties separated by a bright yellow cheese layer. Above the top meat patty rests a green lettuce layer and a dark red tomato layer. The tray at the bottom of the screen holds the numbered blocks you need to pull. This level introduces the connected boxes mechanic. Two blocks in the tray share a linking line and move as a single unit when you pull them. Taking a connected pair instantly fills two of your five waiting slots.
What It Takes to Clear Level 267 Board
Winning means every single colored tile on the board is gone and your ants retreat to their nest. You accomplish this by matching the colored blocks in your tray to the exposed tiles on the picture. The game gives you exactly five empty slots to hold your active blocks. Every time an ant takes a unit of color from a block the number drops by one. When a block hits zero it vanishes and frees up a slot. You lose the level if you fill all five slots with colors that cannot reach the board. If your ants have no open path to match the active colors the slots jam and the game ends. You must keep at least one path active at all times.
Colony Flow Level 267 Step by Step Solution
Step 1: Open the board by clearing the light beige background.
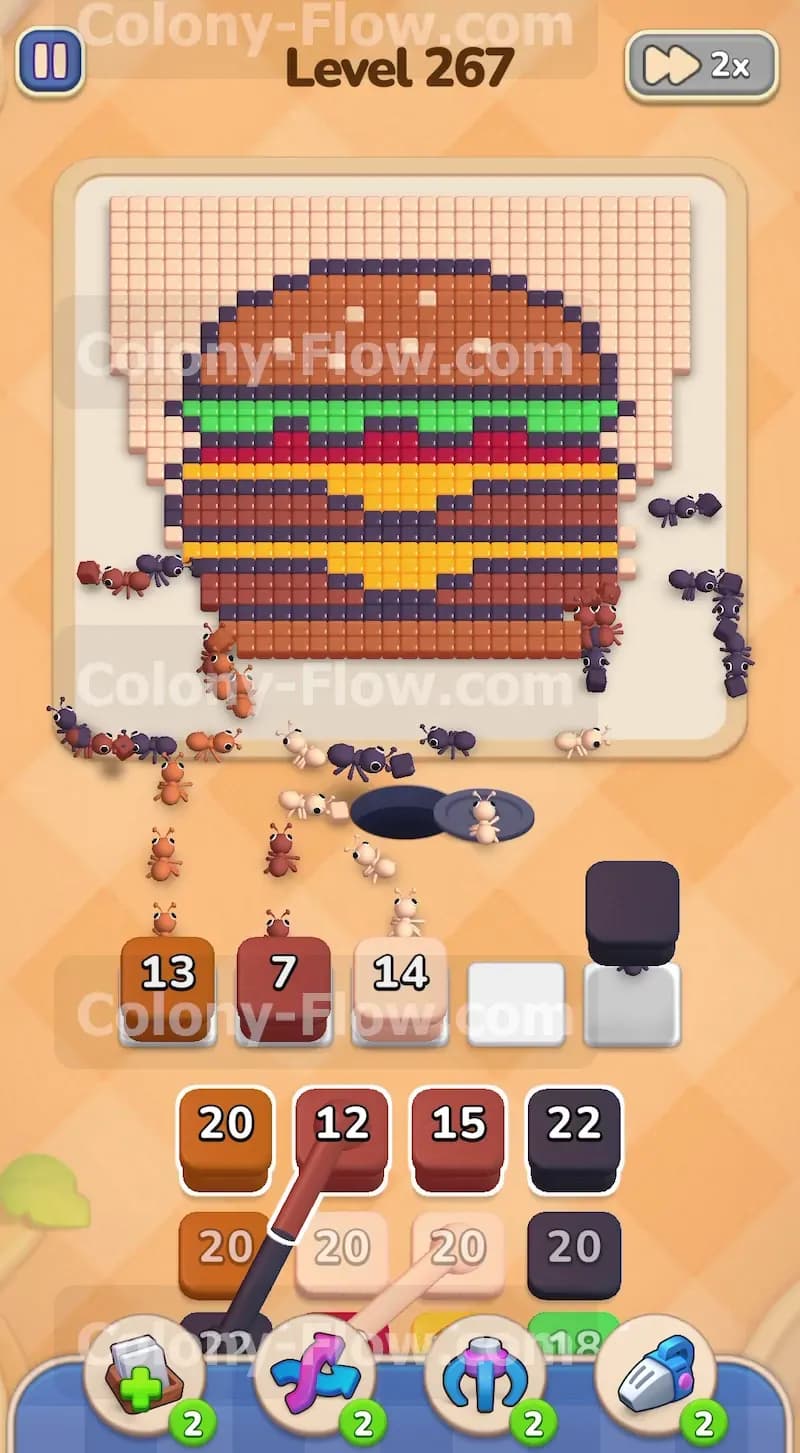
Start by pulling the large light beige blocks from the top row of your tray. The background covers a huge portion of the board and blocks access to the outer edges of the burger. When you pull a twenty or thirty block into an active slot your ants stream out of the nest hole. They grab the color and march straight up to the lowest exposed background tiles. You want to focus heavily on this color first because it frees up the physical space on the board. Getting the background out of the way exposes the black outer layer of the burger. Keep feeding light beige blocks into your slots until the bottom half of the square is completely gone.
Step 2: Break the black outline to reach the ingredients.
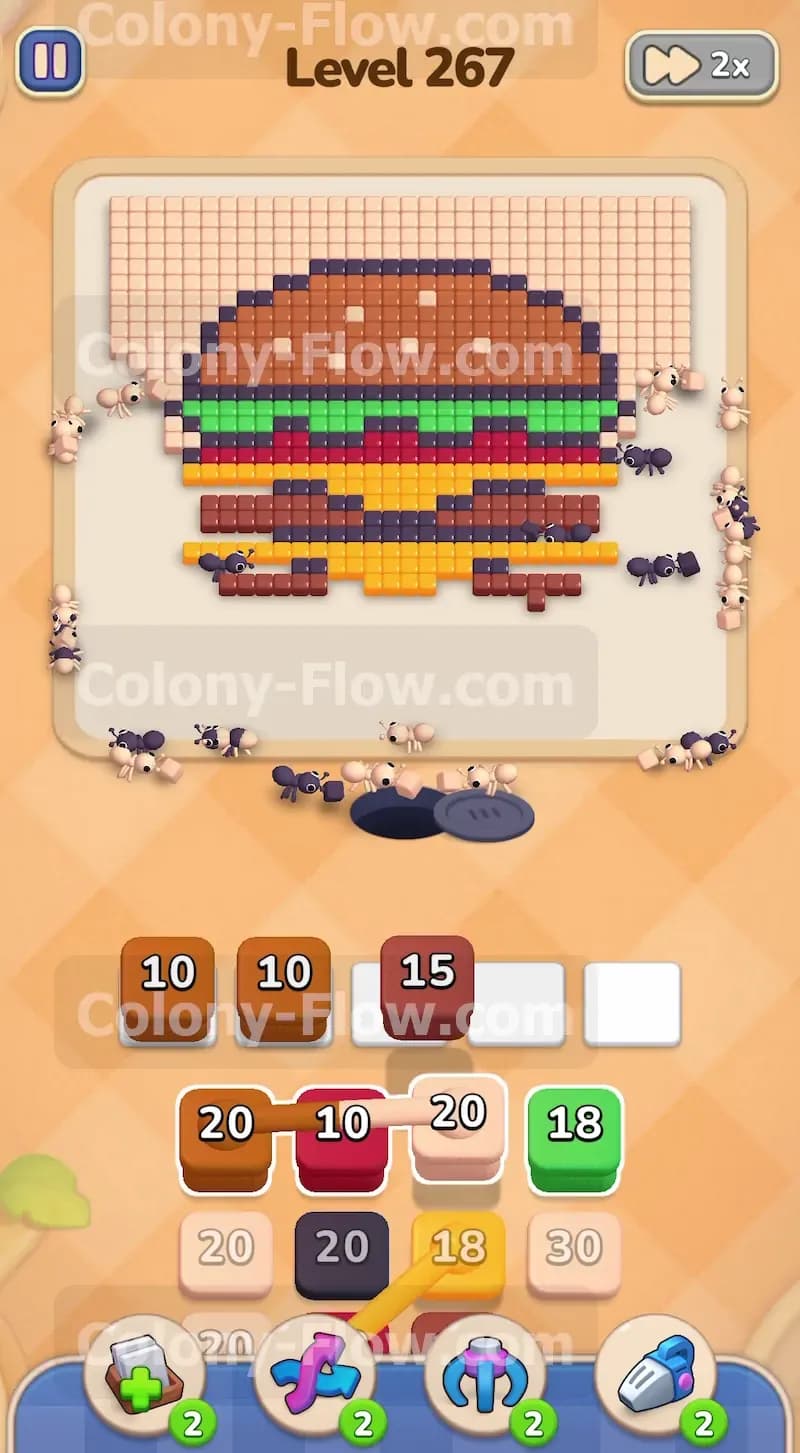
The burger has a solid black barrier running all the way around its edge. You cannot reach the buns or the meat until this shell is broken. Pull a twenty block of black from the tray. The black ants will follow the cleared background space and start eating away the bottom outline of the burger. This is a critical move for your slot management. If you try to pull brown or yellow blocks before clearing this outline those blocks will just sit in your waiting slots and take up space. You must wait for the black ants to finish their job. Watch the black outline dissolve and reveal the brown bottom bun.
Step 3: Pull the first connected blocks to work on the bottom bun.
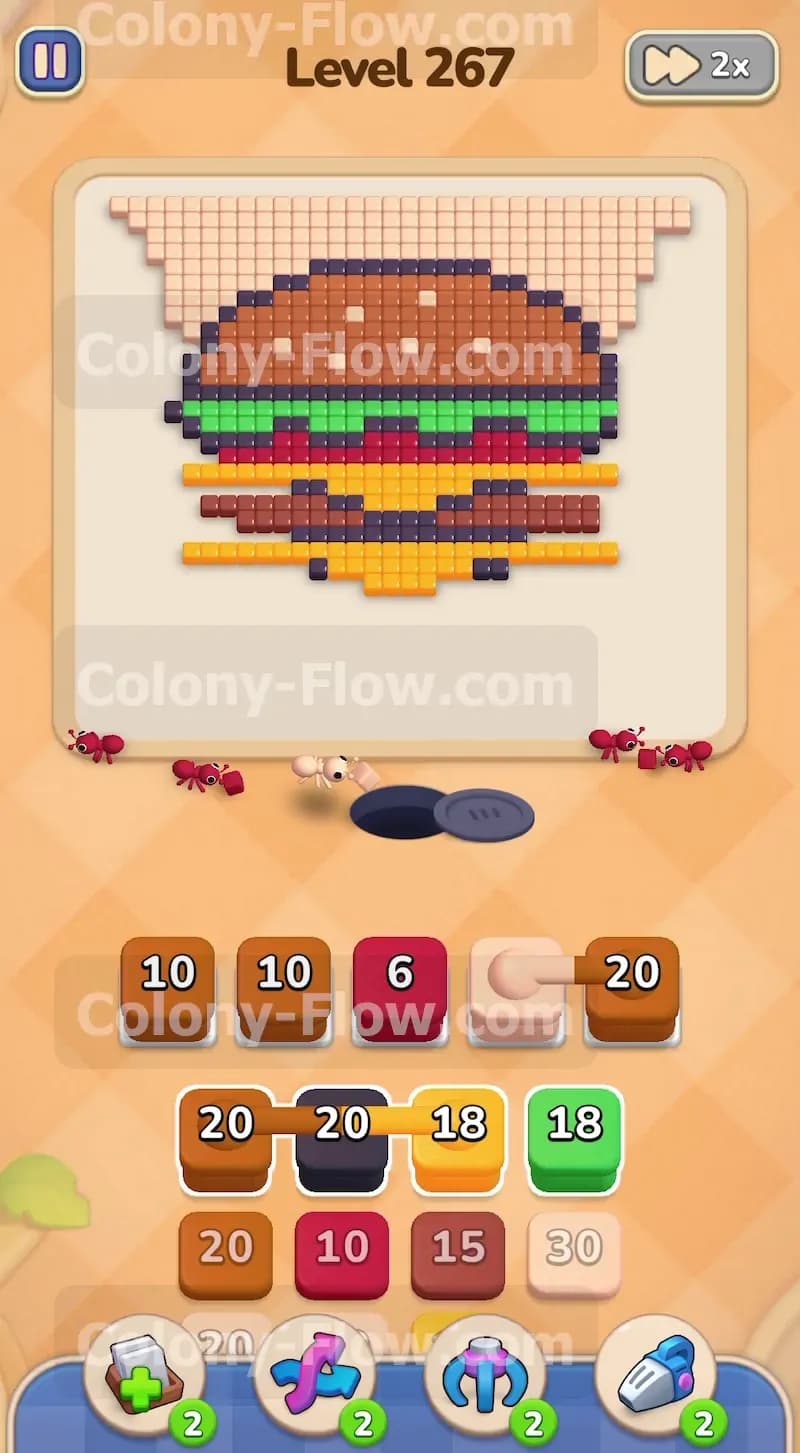
Your tray holds a connected pair featuring a twenty brown block and a twelve dark red block. Pulling this pair brings both blocks up into your waiting area at the same time. This immediately takes up two of your five precious slots. Because you cleared the black outline earlier the brown ants have a clear path to the bottom bun. They will rush out and start eating the bread layer. The dark red block will sit idle for a moment because the tomato layer is still trapped higher up in the burger. This is perfectly fine as long as the brown block is actively counting down and freeing up space in your tray.
Step 4: Devour the first meat patty with dark brown blocks.
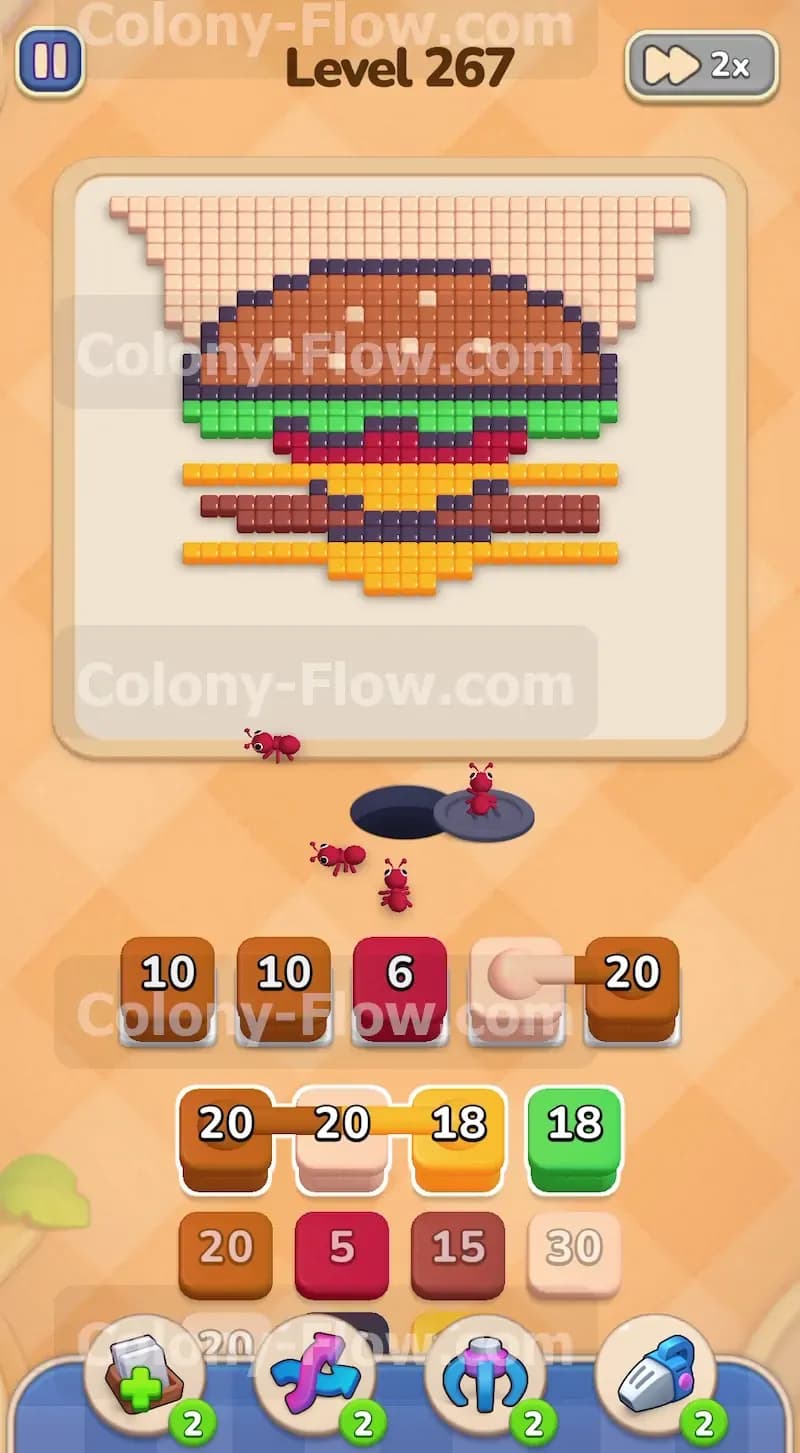
Once the bottom bun is mostly gone the first dark brown meat patty becomes fully exposed. Find a dark brown block in your tray and pull it up to the waiting area. The ants will switch targets and start clearing the meat layer. This action moves very fast because the patty is wide and allows many ants to attack it at once. Keep an eye on your remaining light beige blocks as well. If your slots start to look empty you can pull another light beige block to keep the ants chewing on the upper corners of the background. Always keep the colony moving so your waiting area never stagnates.
Step 5: Pull the second connected group to melt the yellow cheese.
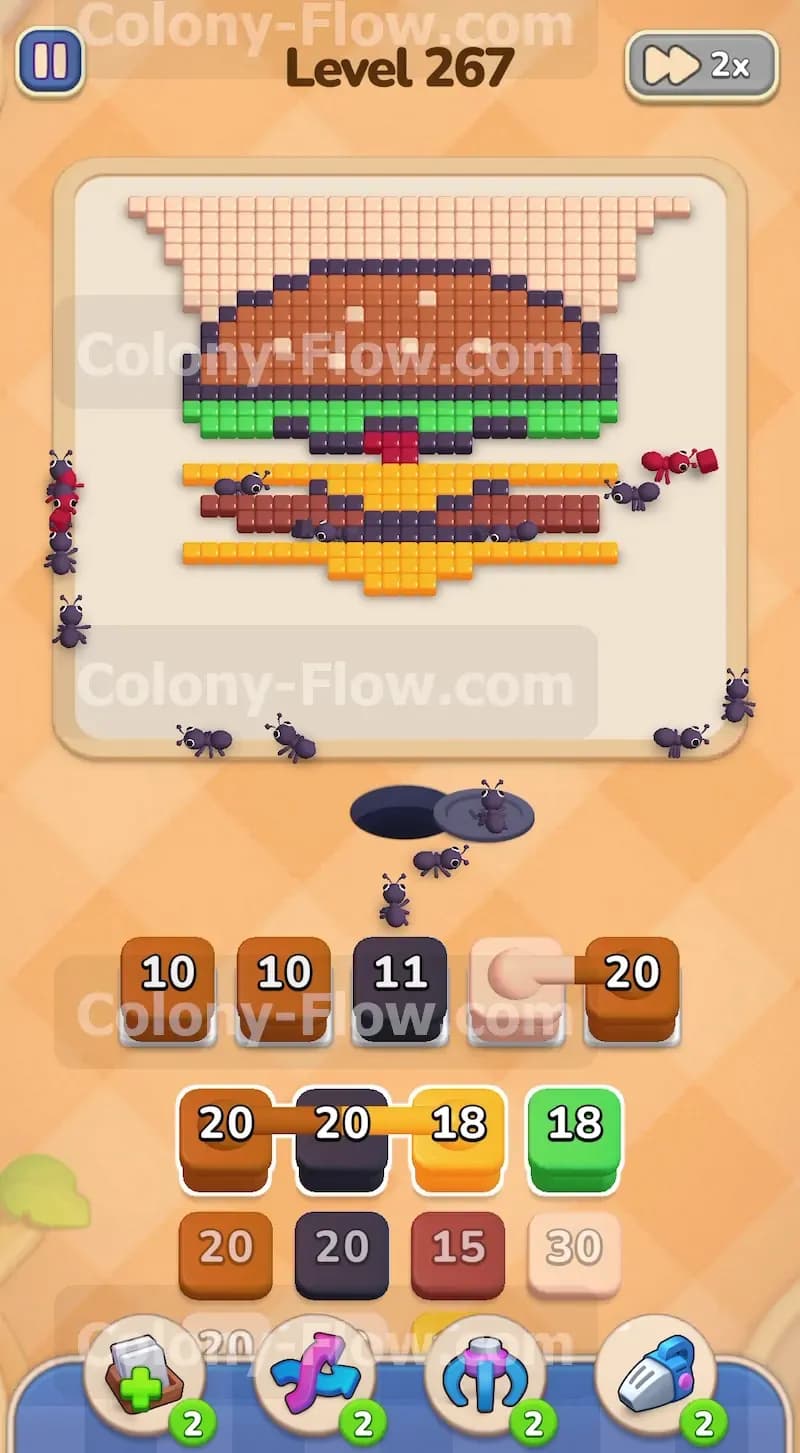
You will spot another connected pair in the lower section of your tray. This pair links a black block with an eighteen yellow block. Pull this connected pair into your slots. The black ants will clean up the side sections of the burger outline. The yellow ants will pour into the middle of the board and completely dissolve the bright yellow cheese layer. Managing this second connected pair is much easier now because you have opened up so much surface area on the picture. Both colors have valid paths right away so neither block will jam your active setup.
Step 6: Clear the second meat patty and the green lettuce layer.
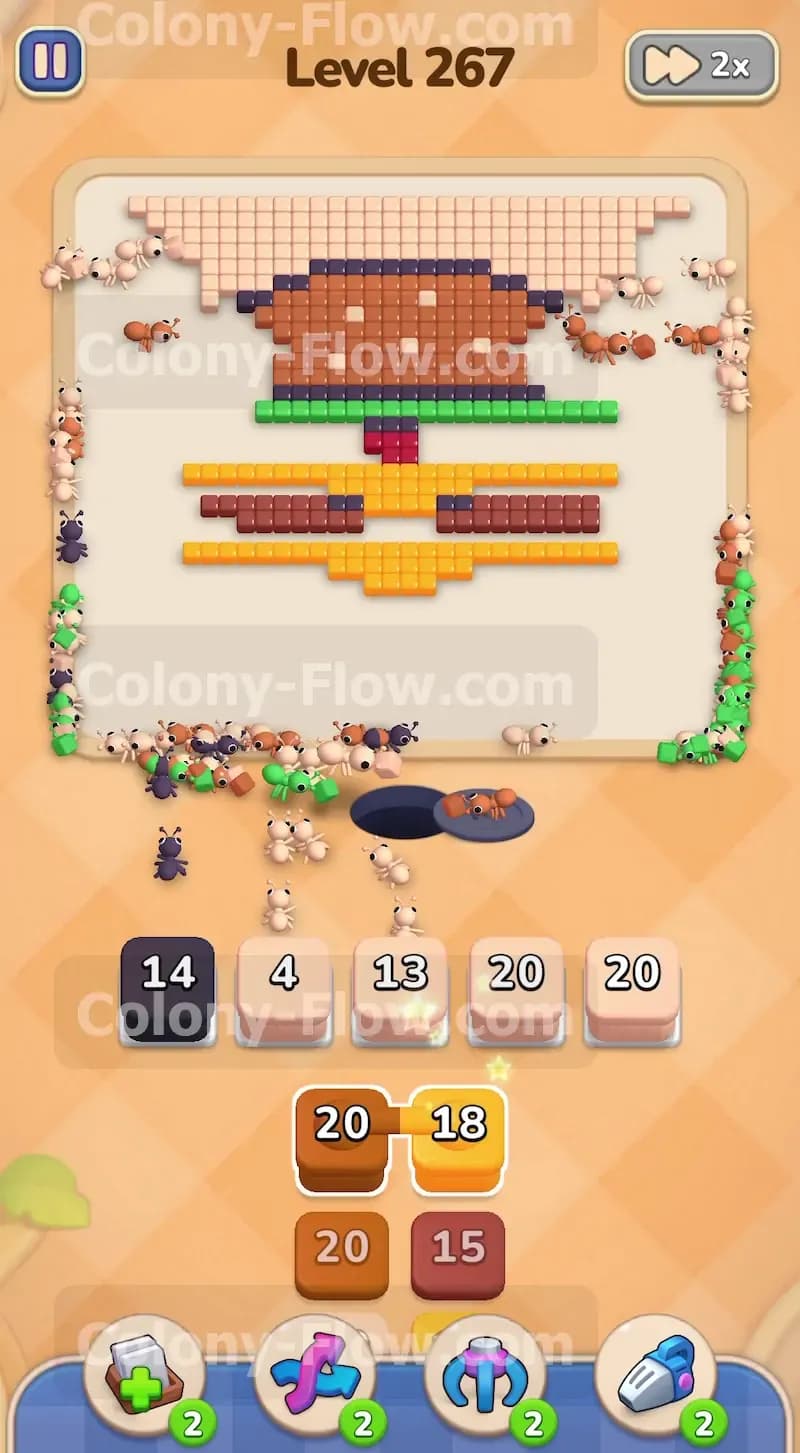
With the cheese gone you can pull another dark brown block to eliminate the top meat patty. Right behind that meat sits the bright green lettuce layer. Find the eighteen green block sitting near the bottom of your tray. Pull it up to an empty slot. The green ants will swarm up the middle of the board and clear out the entire leafy section in one big rush. The lettuce layer is completely flat so the eighteen ants will handle it very quickly. When the green block hits zero it vanishes and gives you your slot back immediately.
Step 7: Activate the dark red tomato layer blocks.
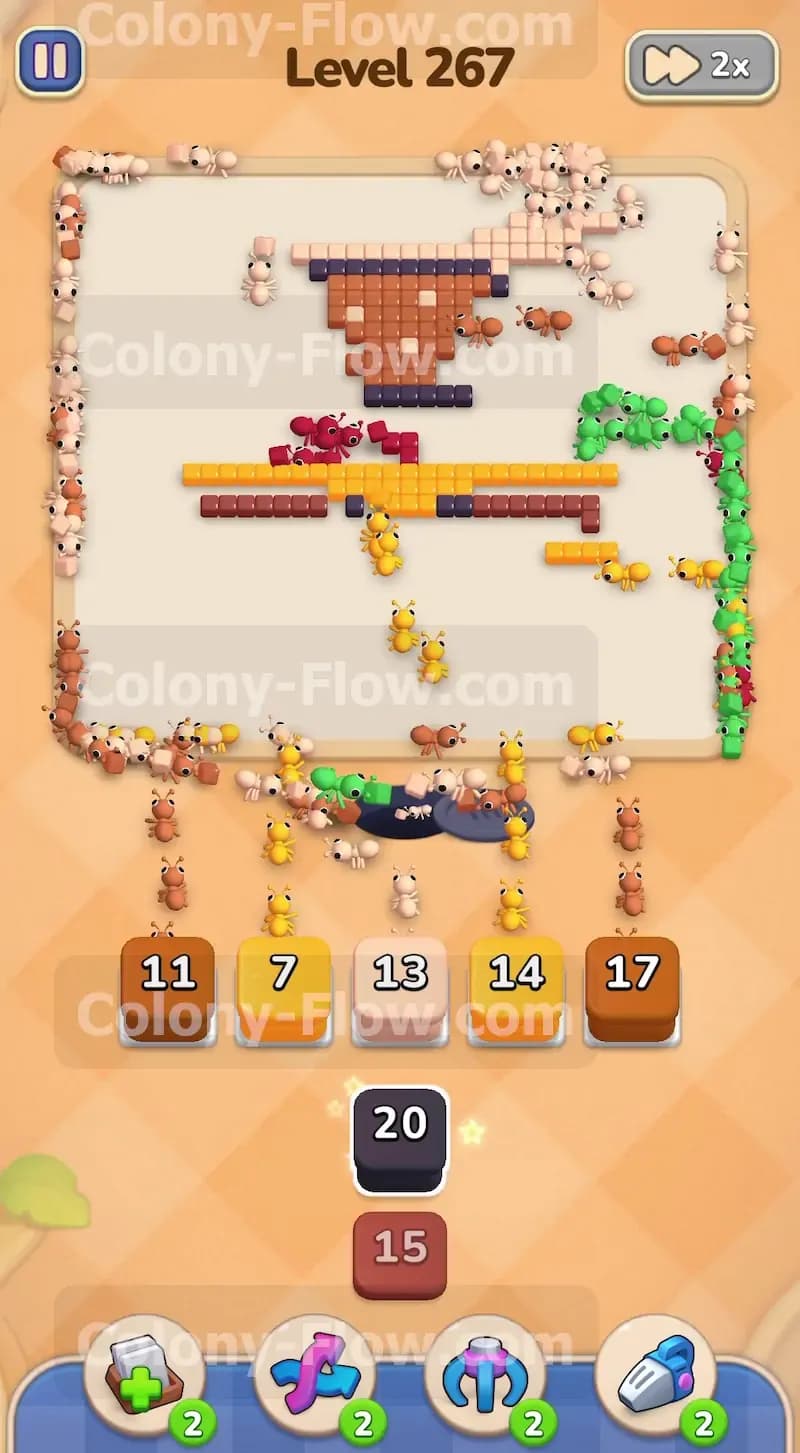
Remember that dark red block you pulled earlier as part of the first connected pair. That block has been waiting patiently in your slot this entire time. Now that the lettuce is gone the dark red tomato layer is completely exposed. The dark red ants will finally spring into action and rush the board. You also have another fifteen dark red block in your tray. Pull that one up to help finish off the massive tomato slice. Watch the numbers count down rapidly as both dark red blocks empty out. This clears out a huge chunk of your waiting slots and gives you immense breathing room for the final moves.
Step 8: Finish the top bun and remaining background tiles.
The only things left on the board are the massive top bun and a few stray light beige background tiles at the very top of the screen. Your tray is now nearly empty. Pull the remaining brown blocks to send your ants after the top bun. Pull the final light beige blocks to clean up the top corners of the picture. All your paths are completely wide open at this stage so you have zero risk of jamming your slots. The ants will cover the top of the board in a massive wave and eat every remaining pixel until the board is totally clear.
Final Thought
This puzzle looks intimidating because of the sheer size of the picture and those tricky connected blocks taking up your slots. If you focus on opening the outer layers first and wait for clear paths before pulling the connected pairs you will succeed easily. Remember to keep the colony fed and never block your own progress. If any of these movements feel confusing in text you can always watch the video above this article to see exactly how I cleared the board.