Colony Flow Level 188 Walkthrough Solution & Guides | How to solve Colony Flow 188

Guide By Liam Stone
Updated on July 13, 2026
Some players prefer video. The one above covers the entire Level 188 walkthrough.
Video doesn't match your screen?
Game updates frequently scramble layouts! Try our AI Screenshot Solver first to find your exact board instantly, or report broken guides to our team.
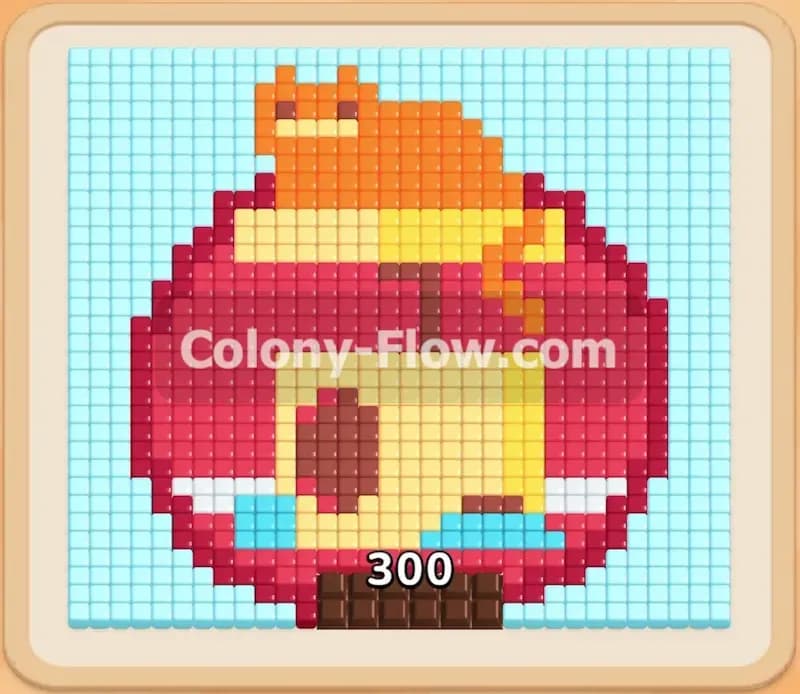
Welcome to Colony Flow Level 188. This stage presents a massive red dome structure with a sleeping orange cat resting on top of it. A heavy brown door blocks the main entrance right at the start of the puzzle. You have to carefully route your ants around the sides to break the door open before you can reach the core of the picture. I played through this board myself and found the exact right sequence to keep the colony moving without clogging the waiting slots. Clogging your slots is the fastest way to fail. I wrote this guide to help you navigate the early bottleneck and break through the dome safely. Follow my method and you will clear the picture with ease.
Colony Flow Level 188 Overview
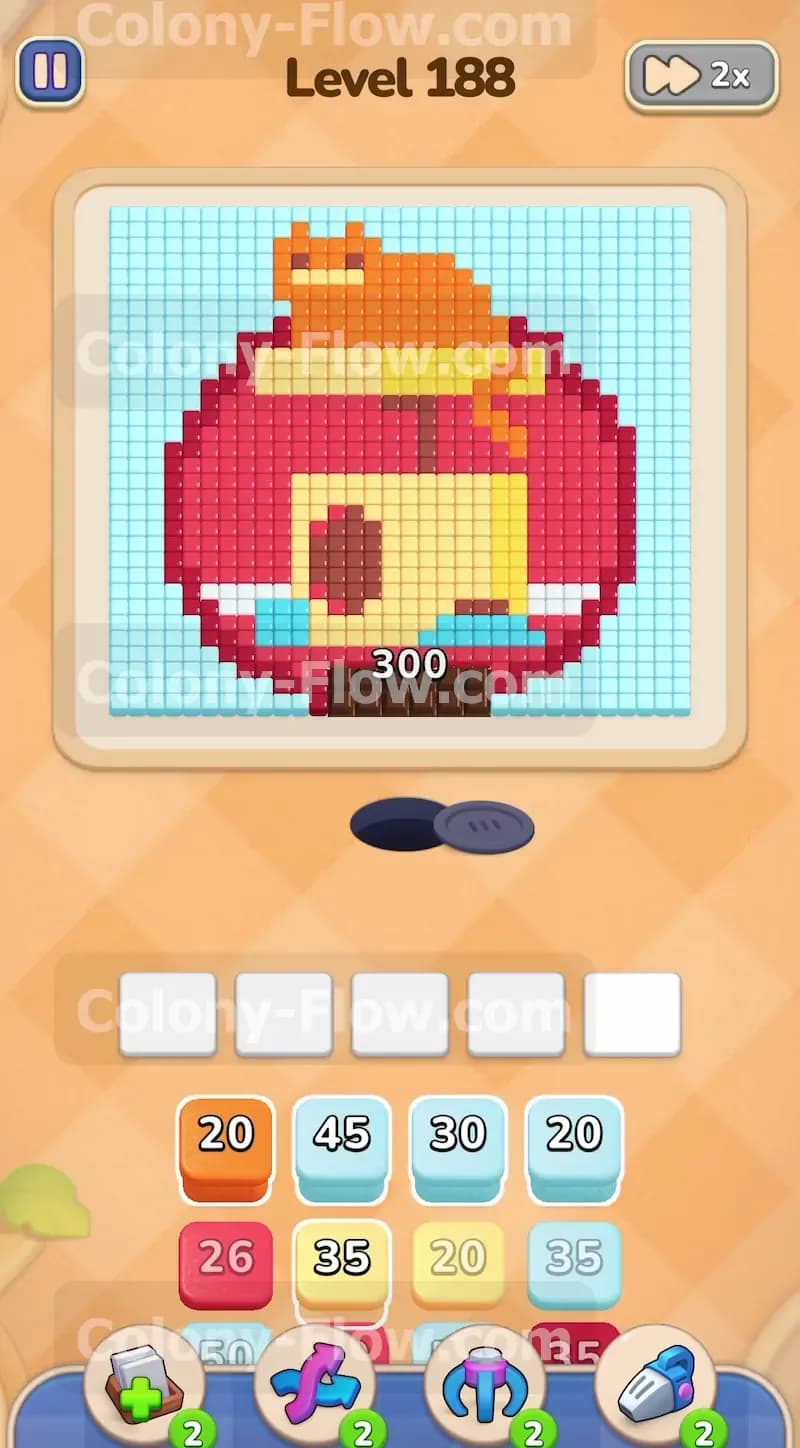
What You Are Working With
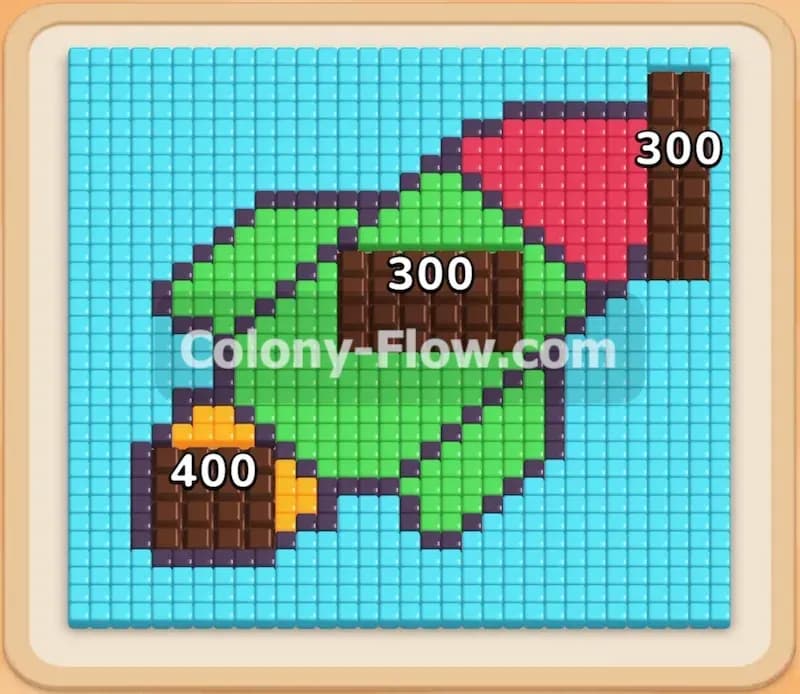
The pixel picture on this board features a large red dome protecting a solid yellow square inside. A bright orange cat lies resting on the top flat section of the dome. A light blue background fills the sky above the cat and around the sides of the structure. Down at the bottom center a brown Hungry Door completely blocks the main vertical path into the yellow square. This door displays a massive requirement of 300 tiles. You also have a small stack of brown food tiles hidden deep inside the yellow square. Down in your tray you will find several normal blocks alongside a few sets of connected boxes. These linked blocks move into your active slots together and require careful timing. If you pull them too early they will jam your board.
What It Takes to Clear Level 188 Board
Clearing this board requires you to chip away at the outer edges first. Since the main center path is blocked by the brown Hungry Door your ants must travel around the far left and right sides. They need to eat the lower sections of the red dome and the light blue background to make progress. Every single tile they eat reduces the door counter. Once the door opens you can finally flood the center to clear the yellow square and the hidden brown tiles. Finally you will pull the heavy connected red boxes to destroy the rest of the dome and reach the orange cat at the very top. You win the puzzle when every colored tile is gone and your ants return to the nest. You lose if your five active slots fill up with colors that have no open path.
Colony Flow Level 188 Step by Step Solution
Step 1: Route your ants around the locked center door to start clearing the outer dome
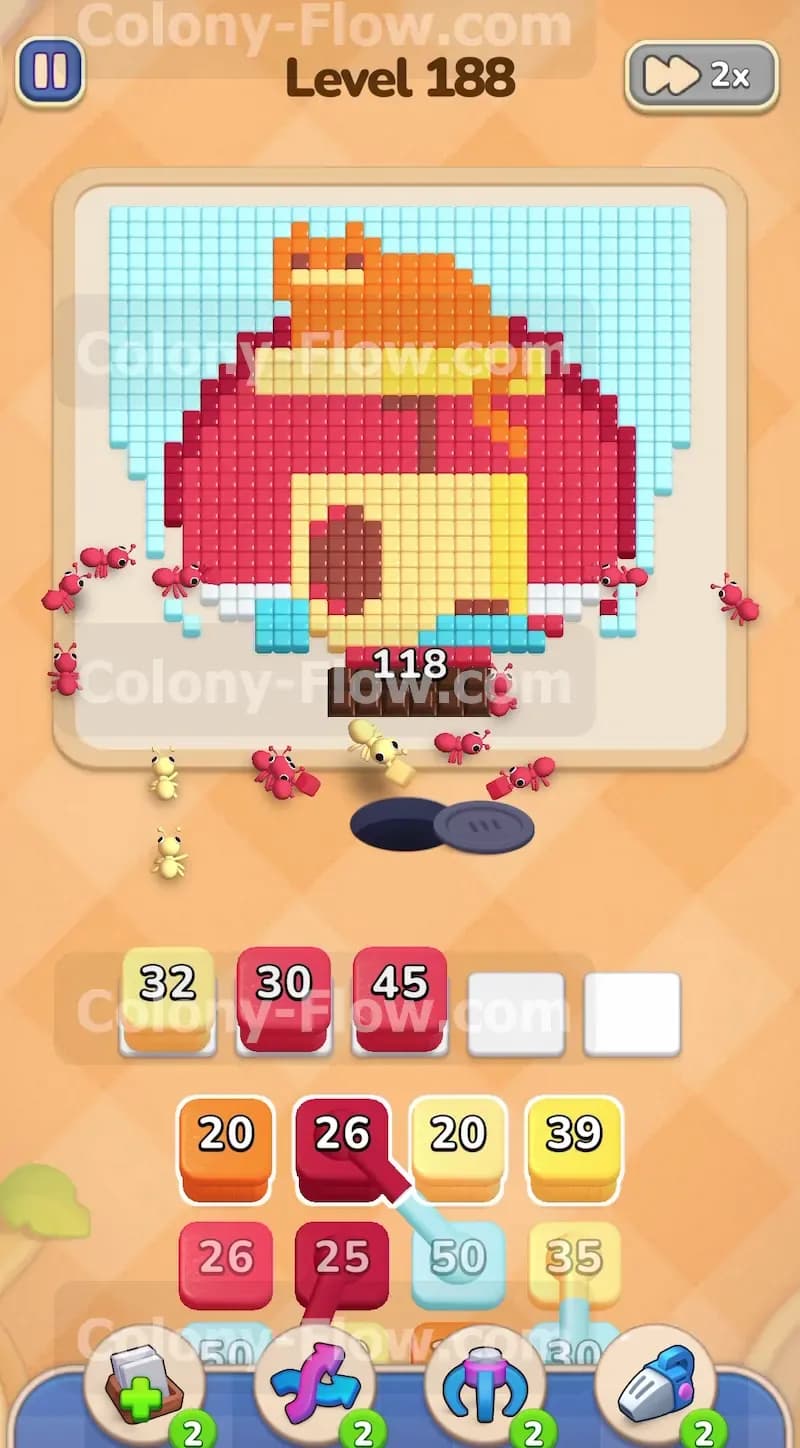
The brown Hungry Door demands 300 cleared tiles before it opens and gets out of your way. You cannot send ants straight up the middle path because the door blocks all forward movement. You must pull blocks from your tray that match the accessible outer edges of the picture. Tap two red blocks and one yellow block into your five waiting slots to begin. The ants will stream out of the nest and immediately split into two groups. They will march all the way around the left and right sides of the Hungry Door to reach the bottom exposed corners of the red dome. The yellow block will allow them to eat the tiny exposed bottom edges of the yellow square that stick out past the door. Watch the counter on the Hungry Door drop quickly as the colony consumes these outer perimeter tiles. Keep a close eye on your five waiting slots to ensure you never pull a block that has no open path. You must leave room for the ants to keep working.
Step 2: Introduce light blue blocks to strip away the background and force the door open
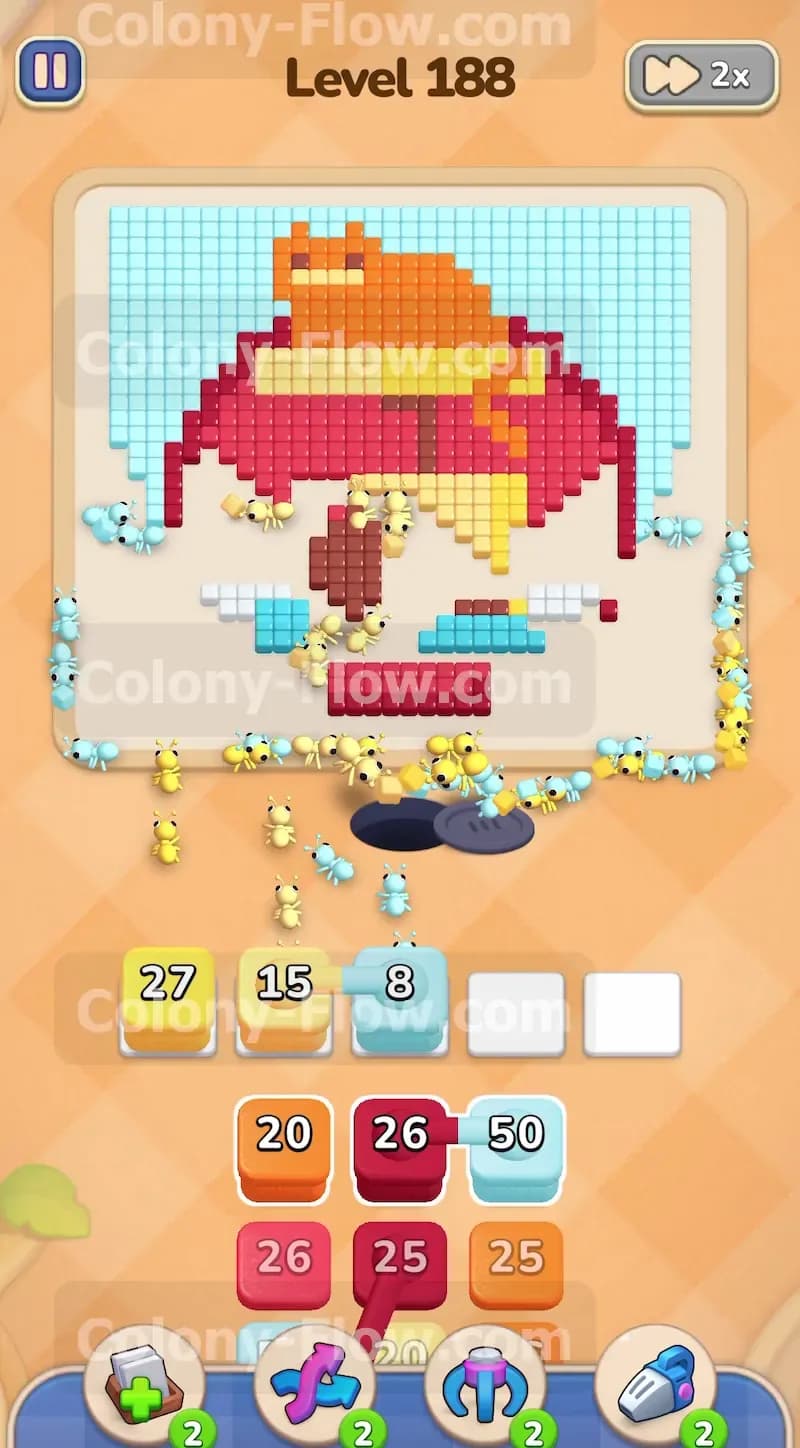
You need to reach that 300 tile goal to remove the center barrier. The lower red and yellow tiles alone will only get you part of the way there. Pull a couple of light blue blocks into your active tray to target the background tiles on the far left and right edges. Your ants will now attack the red dome, the yellow square, and the light blue sky all at the same time. This massive wave of continuous eating will drain the Hungry Door counter completely. The brown door will suddenly vanish and reveal the direct center path. This action is the most crucial move in the entire level because it opens up the middle of the board. Your waiting slots will naturally clear out as the ants finish their current red and blue blocks. Do not rush to fill the slots until the door is completely gone.
Step 3: Flood the open center path to hollow out the solid yellow square
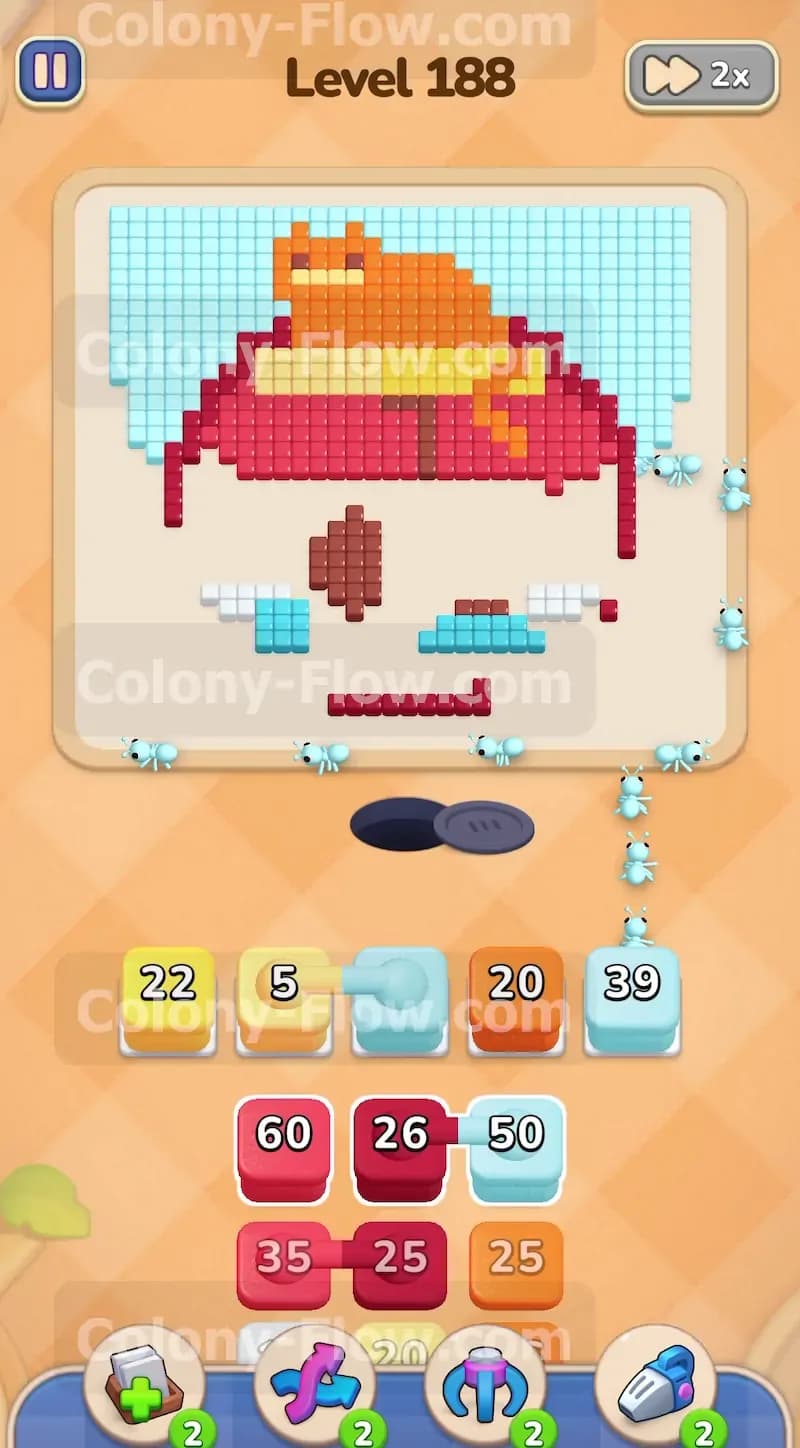
With the Hungry Door gone the colony now has a straight shot right into the middle of the picture. Pull several large yellow blocks into your waiting slots to take full advantage of this new wide open path. The ants will pour directly into the yellow square and carve it out from the bottom up. Mix in another light blue block to keep some ants working on the outer background edges. Spreading the colony across different colors prevents traffic jams on the board and ensures your blocks drain steadily. As the massive yellow square disappears you will expose a small vertical column of brown food tiles right in the middle of the structure. Do not pull a brown block yet because you want to finish the yellow section first to clear the surrounding area. Always make sure your active blocks have plenty of exposed surface area so the numbers drop rapidly.
Step 4: Deploy the heavy connected red boxes to demolish the protective dome
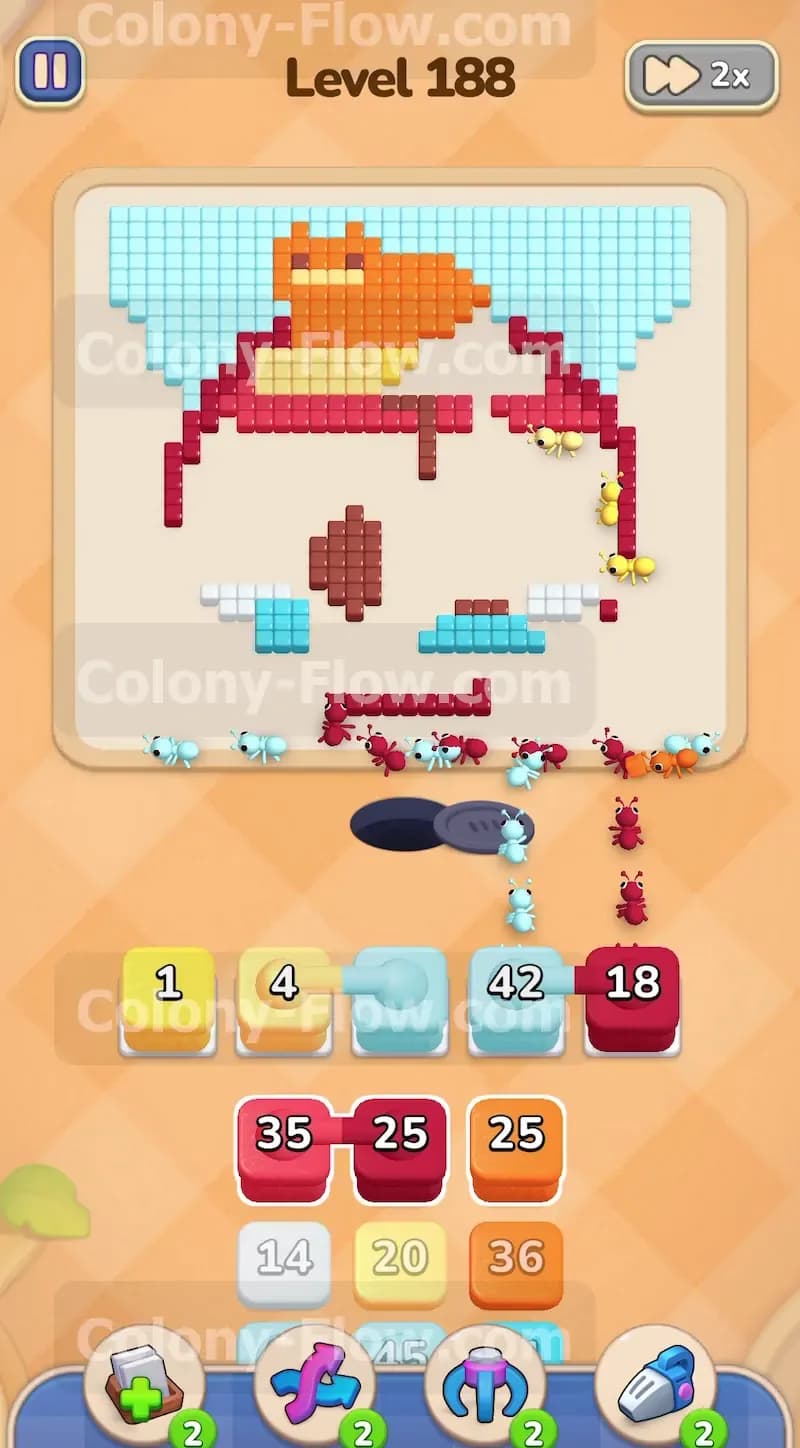
Your lower tray contains connected boxes. These are red blocks securely linked together by a thick line. When you tap one of them they all move into your waiting slots at the exact same time. You must have enough empty slots to hold them or you will ruin your run. Wait until your current yellow and light blue blocks finish completely and your slots empty out. Then pull the connected red boxes. The red dome is now fully accessible from both the inside and the outside edges. The colony will swarm the entire red structure in huge numbers. Because the dome offers so much exposed surface area the ants will drain these heavy connected blocks very fast. This is the absolute best way to handle connected boxes without risking a total dead end.
Step 5: Clear the inner brown tiles and sweep the remaining light blue sky
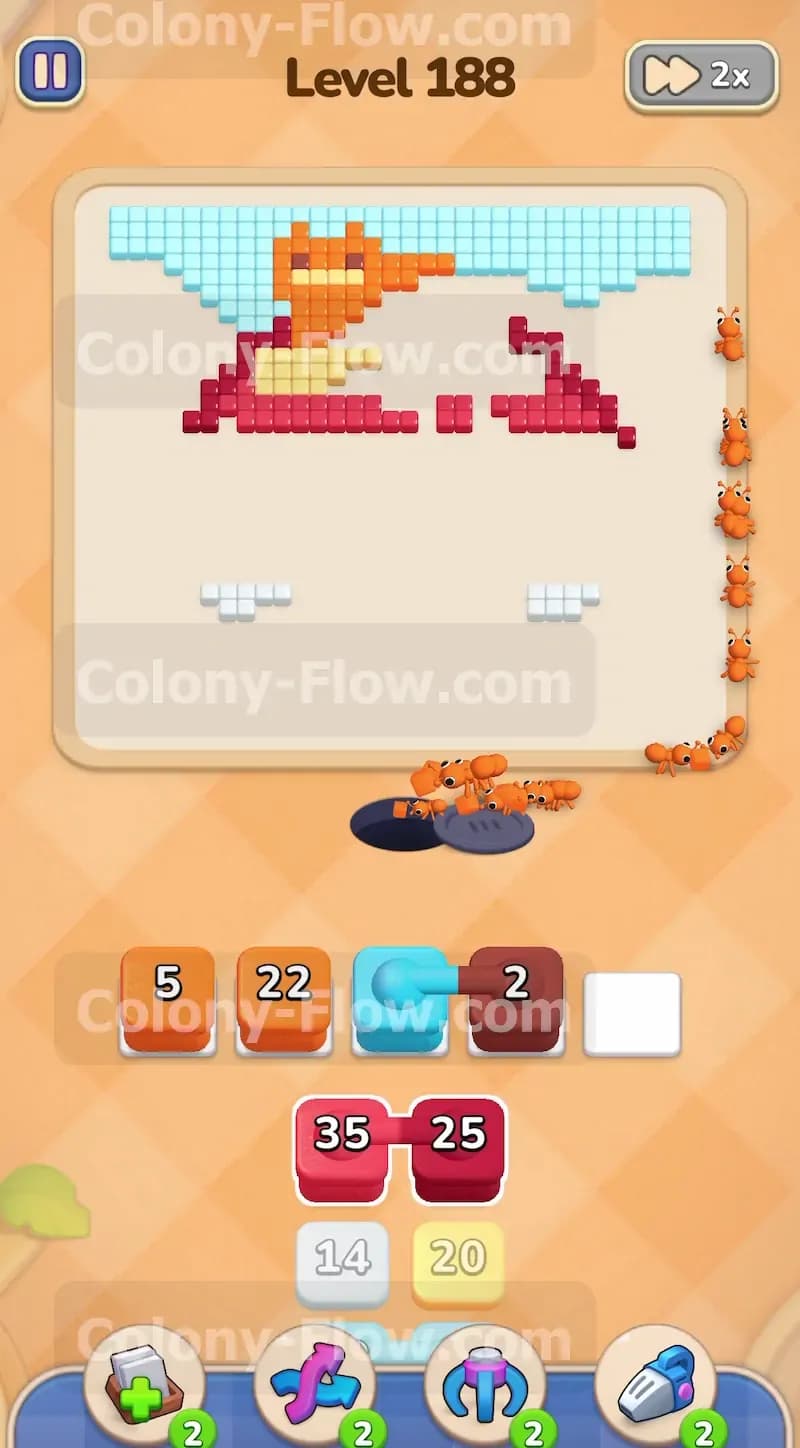
While the main group of ants tears down the thick red dome you have plenty of room to address the smaller details inside. Pull a brown block into a free slot. A small group of ants will run straight up the middle and eat the small brown column you uncovered earlier inside the yellow zone. At the same exact time bring up another light blue block to clear the top corners of the sky. Keeping a light blue block active ensures that your ants always have an alternate destination to visit. If the red tiles happen to get blocked behind a narrow bottleneck the colony can simply switch over to eating the sky instead. This constant forward movement keeps your slots rotating and keeps you completely safe from the main lose condition. The picture is now mostly empty and only the bright orange cat remains sitting at the top.
Step 6: Feed the orange cat to the colony and finish the level completely
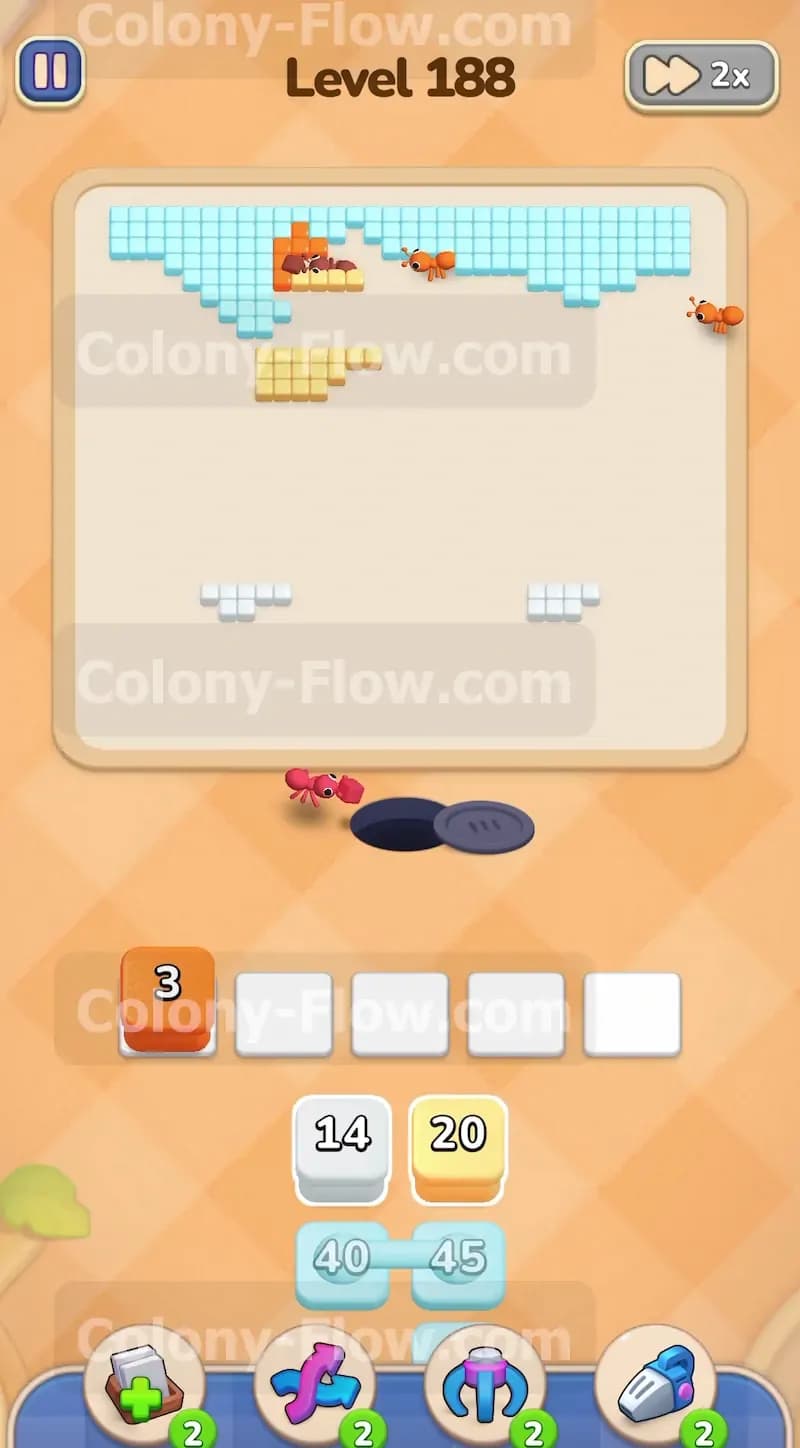
The red dome is entirely gone and the path to the very top is wide open. You can now safely pull the orange blocks into your waiting slots. The ants will march all the way up the empty screen and start eating the orange cat. Pull the final light blue blocks to wipe away the last few pieces of the sky directly above the cat. The board is completely open so you absolutely do not have to worry about dead ends anymore. Watch the numbers drop down to zero as the colony consumes the final orange tiles. The ants will finish their work and return down the screen to the nest hole. The board will declare a win and you can move on to the next challenge. You have successfully managed your five slots and beat the stage.
Final Thought
This board really tests your patience with that massive Hungry Door sitting right at the start. You have to resist the urge to push too many random blocks into the slots before the center path actually opens. By working the outside edges first and saving your connected boxes for the perfect moment you keep the colony flowing smoothly. I highly recommend watching the video above this article if you want to see the exact timing for pulling the connected blocks. Seeing the ants move in real time makes the spacing strategy much easier to understand. Good luck keeping those waiting slots clear and enjoy breaking through the dome.