Colony Flow Level 890 Walkthrough Solution & Guides | How to solve Colony Flow 890

Guide By Liam Stone
Updated on August 8, 2026
Some players prefer video. The one above covers the entire Level 890 walkthrough.
Video doesn't match your screen?
Game updates frequently scramble layouts! Try our AI Screenshot Solver first to find your exact board instantly, or report broken guides to our team.
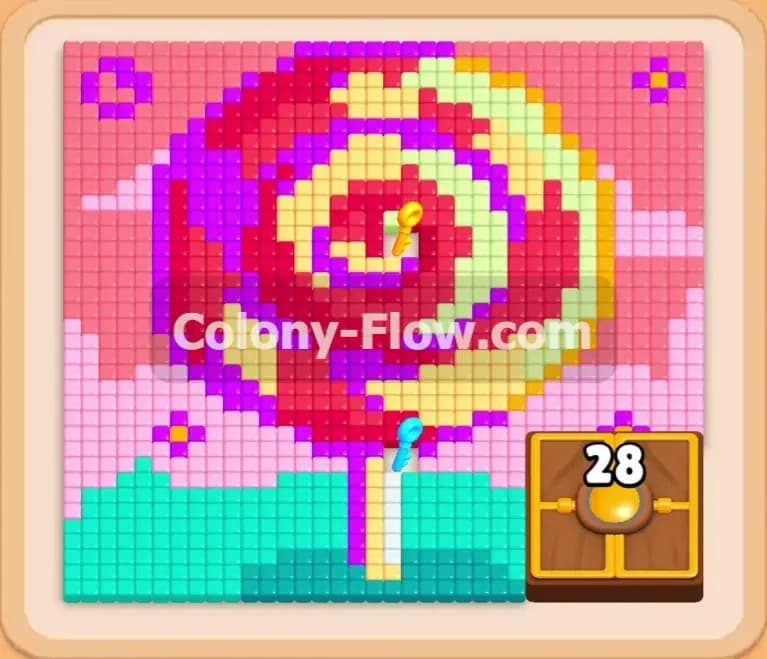
Colony Flow Level 890 presents a massive colorful lollipop picture that dominates the screen. You need to carve through thick layers of bright candy tiles to reach the center while carefully managing a crowded tray. I found this board requires strict attention to your five waiting slots because the outer background tiles trap the inner layers entirely. One wrong pull will fill your limited space and force a restart.
Colony Flow Level 890 Overview
What You Are Working With
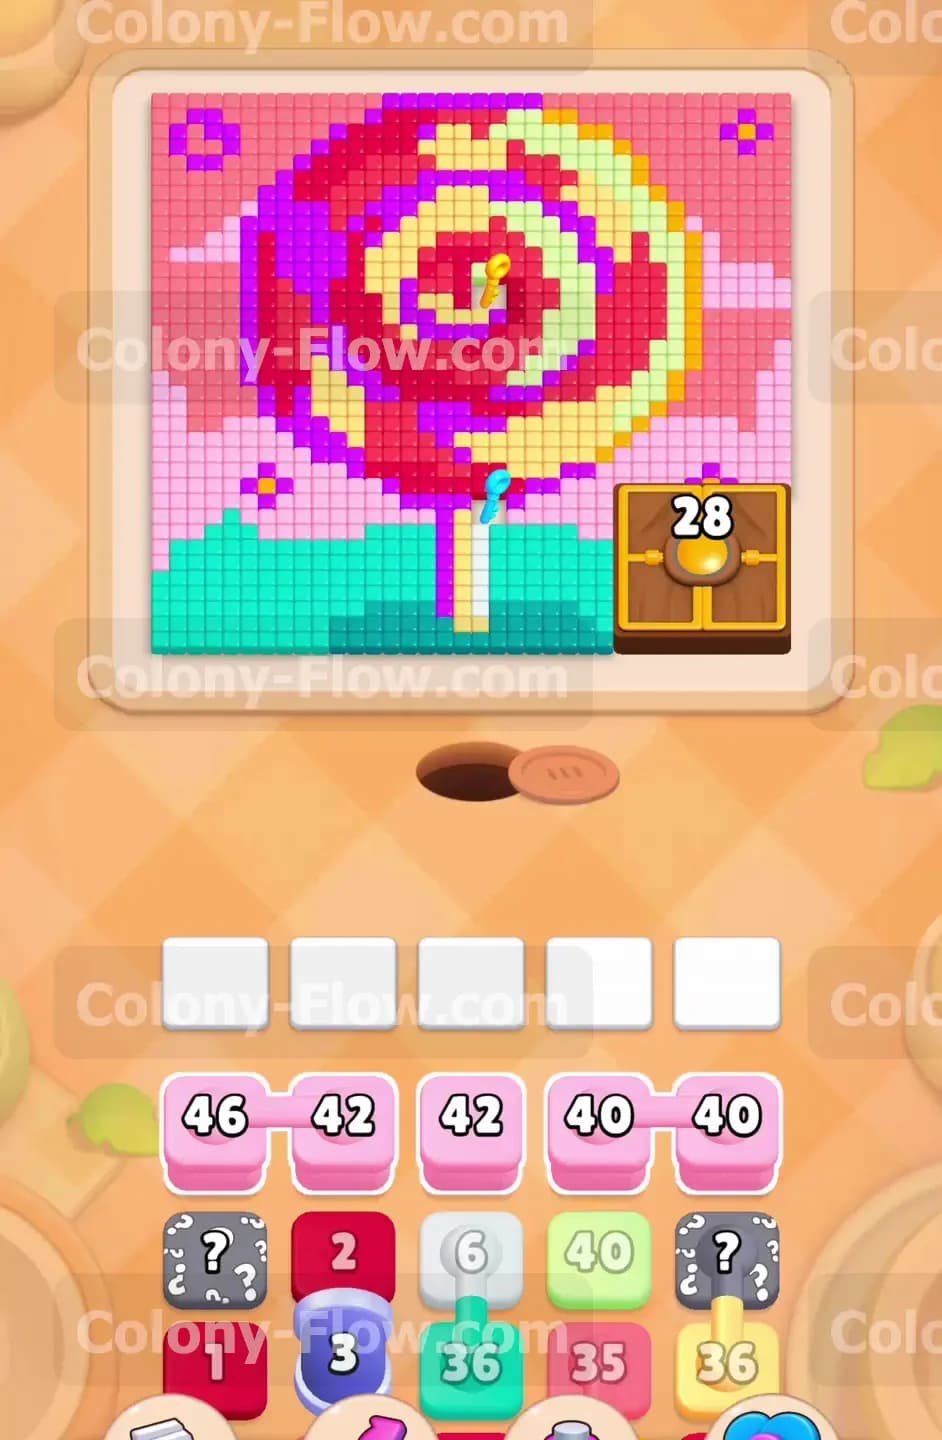
The main image is a giant swirling lollipop. The background behind the candy is a solid block of light pink tiles filling the top corners. The candy stick and base consist of teal tiles at the bottom. You will navigate several special elements in your tray and on the board. Hidden boxes sit in the second tray row masking their true colors behind question marks. A single yellow key sits right in the very center of the lollipop swirl. Locks block your progress in the lower tray rows. Connected boxes linked together by a thick line force you to play multiple blocks at the same time. A hungry door shaped like a treasure chest sits on the right side of the teal base holding the number 28.
What It Takes to Clear Level 890 Board
Clearing this board means you must strip away the huge light pink background first to create safe walking paths. You then break into the outer edge of the magenta and red swirl. Peeling the candy layers back one by one lets your ants travel deep into the center to grab the key. Collecting that key unlocks the bottom of your tray and gives you the exact pieces you need to finish the stick. You win when every single tile is eaten the hungry door is fully fed and your five waiting slots remain empty.
Colony Flow Level 890 Step by Step Solution
Step 1: Clear the pink background to open initial paths and reveal the hidden boxes
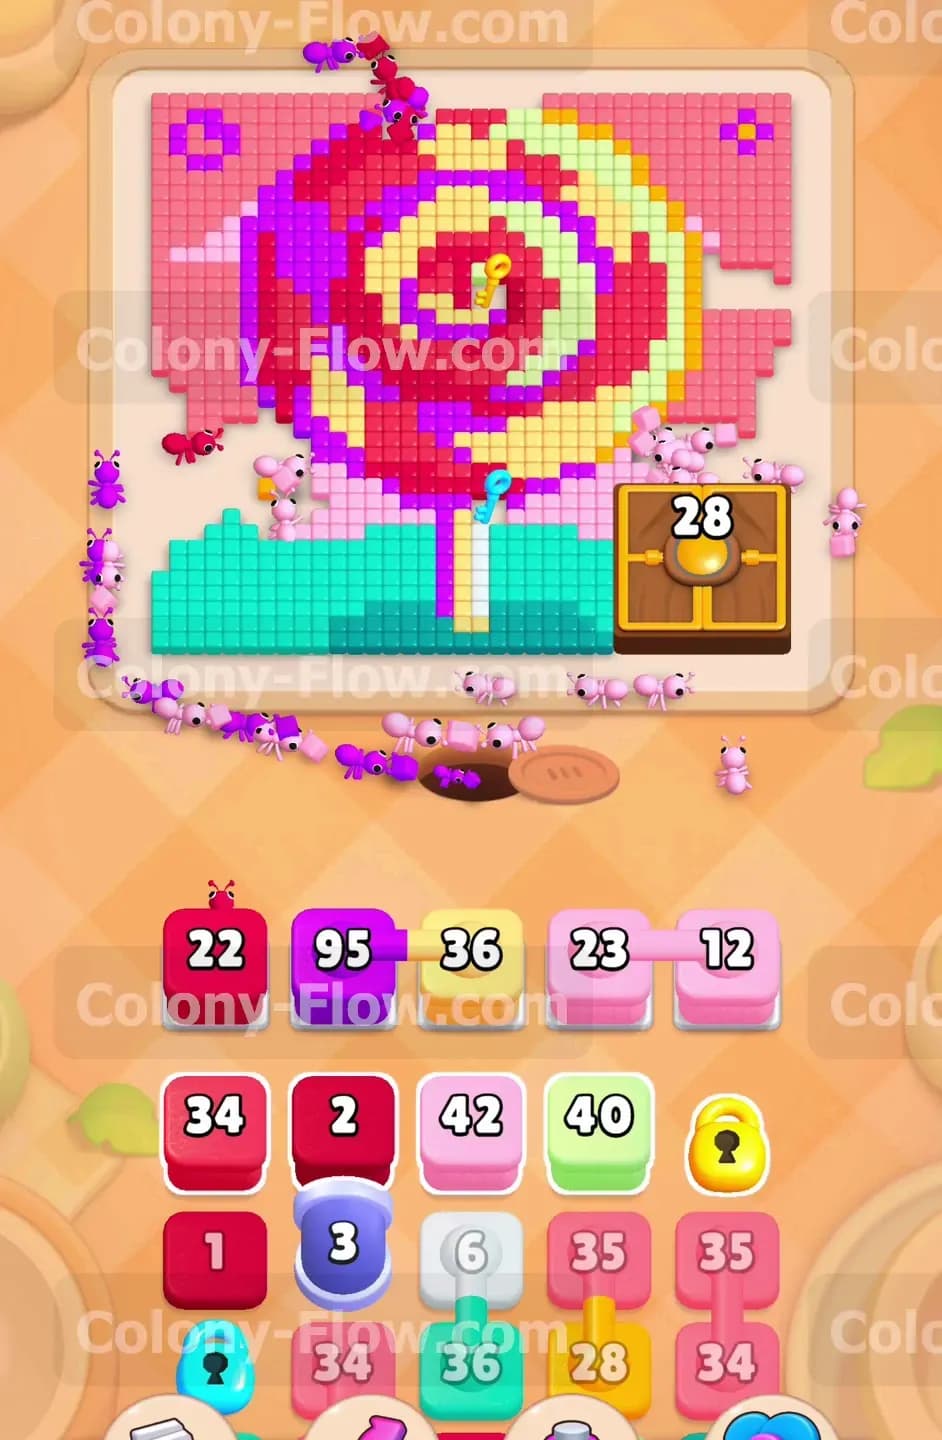
Your first move is to deploy the large pink blocks from the top row of the tray. You have several pink blocks holding numbers in the forties. Send these pink ants out to eat away the light pink background surrounding the lollipop. This action clears massive amounts of space on the top and sides of the board. Opening this space gives your ants room to walk around the giant candy circle without getting stuck. As you play these initial pink blocks the hidden boxes in the second tray row reveal their true colors. You must wait for the pink background to thin out completely before pulling any other colors. Pulling a newly revealed block too early will trap it in one of your five waiting slots with nowhere to go.
Step 2: Unleash the massive purple block and large red blocks to break the outer swirl
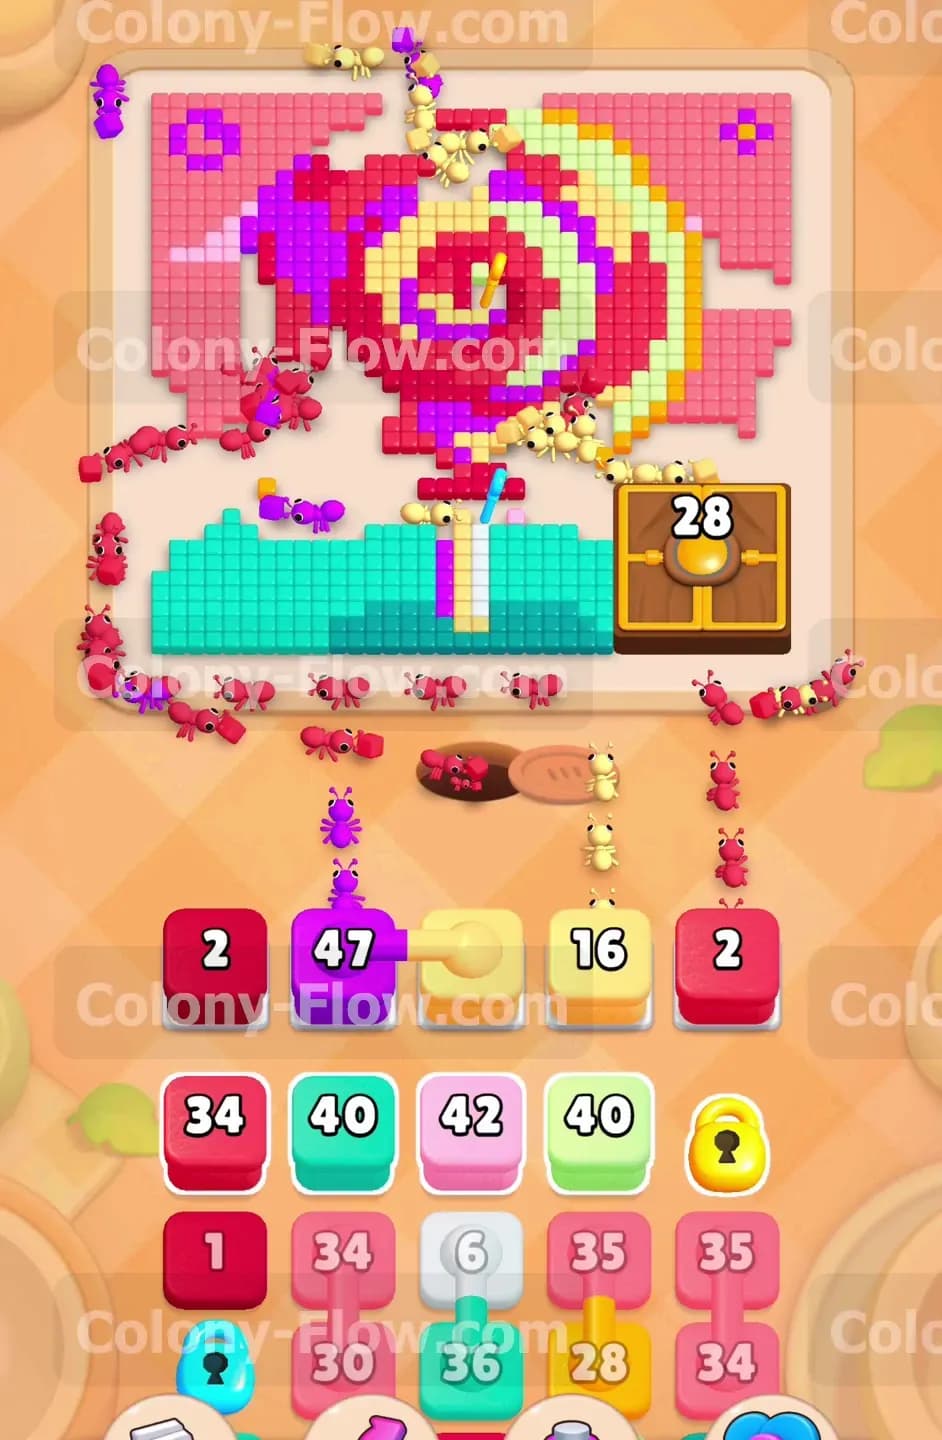
With the pink background mostly gone you now focus on the outer edges of the candy swirl itself. The tray offers a giant purple block holding 95 ants alongside several large red blocks. Send the purple ants into the board first. The purple ants march toward the thick magenta bands wrapping around the left side of the candy. The red ants target the bright red sections bordering the top and bottom. A block of 95 ants creates a very long line that blocks other paths while they spawn. You must watch the walking paths carefully and let the purple ants finish deploying. Pulling more blocks while the purple line is moving will jam your slots because the new ants cannot cross the stream.
Step 3: Play the connected yellow boxes and navigate the inner candy bands
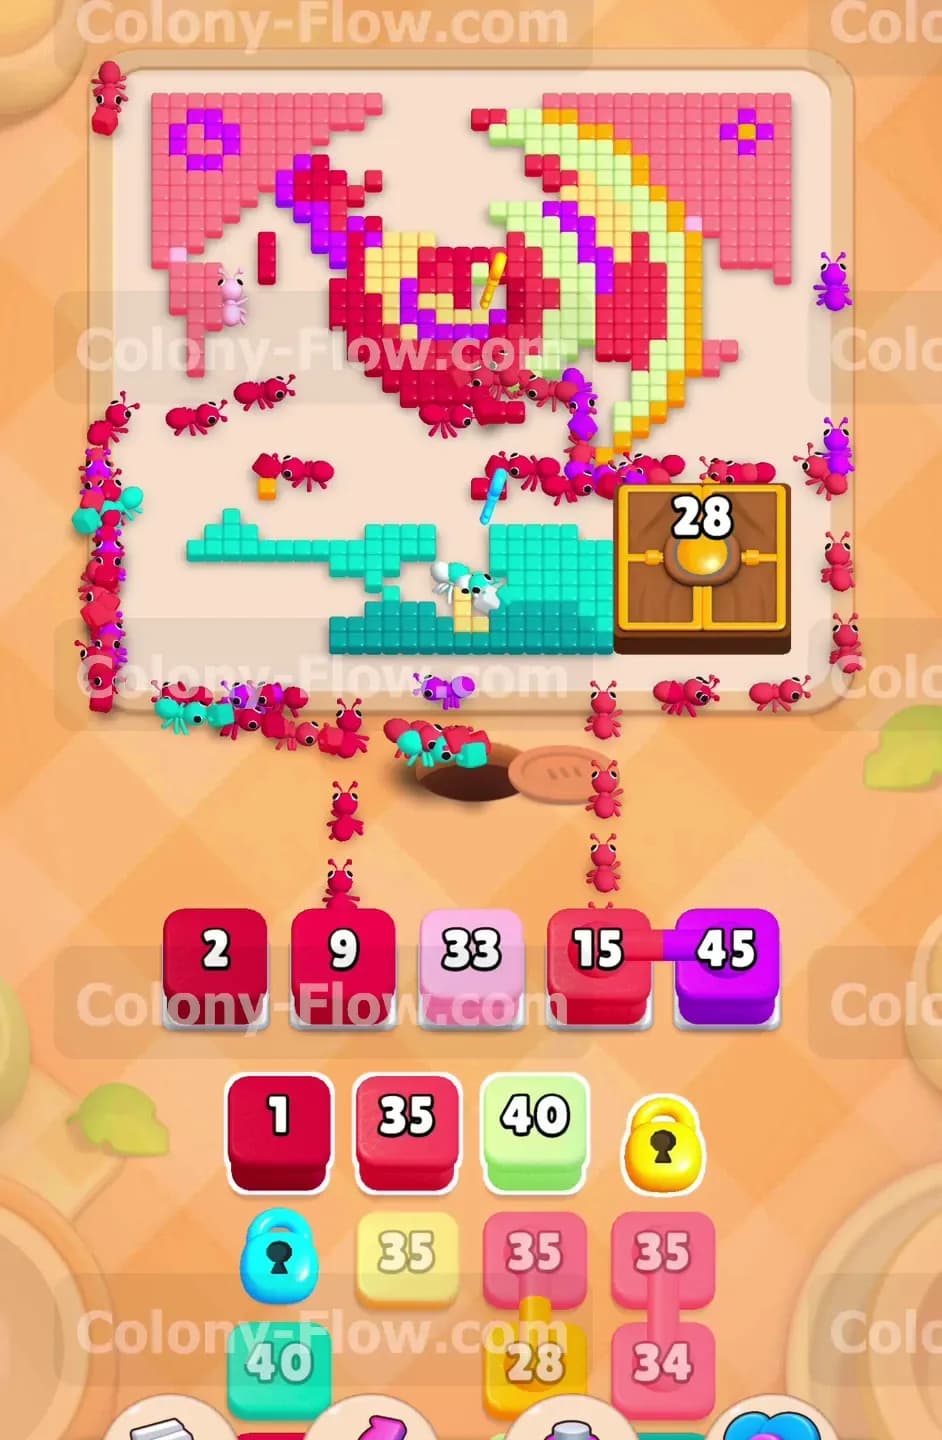
Your tray will present connected yellow blocks holding smaller numbers like 16. You must play these connected boxes together. Tapping one instantly pulls both into your waiting area. You must ensure you have at least two empty slots before making this move. Send the yellow ants out to eat the yellow bands inside the lollipop swirl. These yellow bands sit deeper inside the candy shape. You need to make sure the red and purple layers are broken enough to let the yellow ants inside. If the yellow ants hit a solid wall of red tiles they stop moving and your waiting slots fill up immediately. Always verify a clear physical gap exists in the outer candy shell before deploying your connected boxes.
Step 4: Breach the exact center of the candy to grab the key
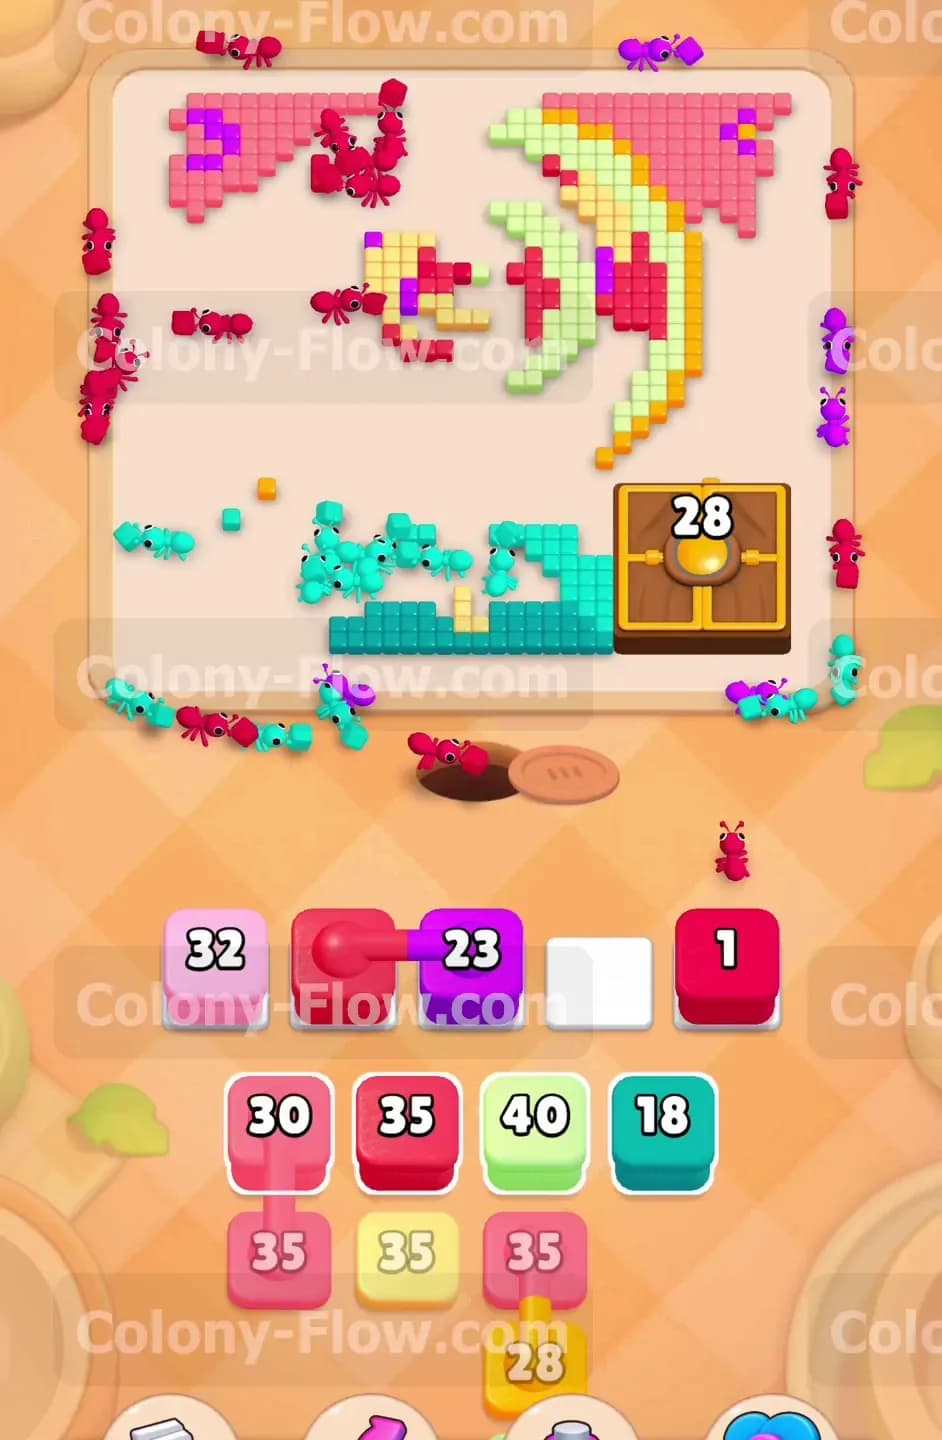
The core of the lollipop holds the key you need to unlock the bottom rows of your tray. You must deploy smaller red pink and purple blocks to chew away the very center of the swirl. As the central tiles vanish your ants automatically collect the yellow key. Collecting the key shatters the locks blocking your green and yellow blocks down below. You need these locked blocks to tackle the final sections of the board. Prioritize sending ants to any tile touching the key. Do not waste space in your waiting slots on colors that sit on the far outer edges of the board. Focus entirely on the middle circle until the locks disappear from your tray.
Step 5: Utilize the newly unlocked tray rows to attack the teal base
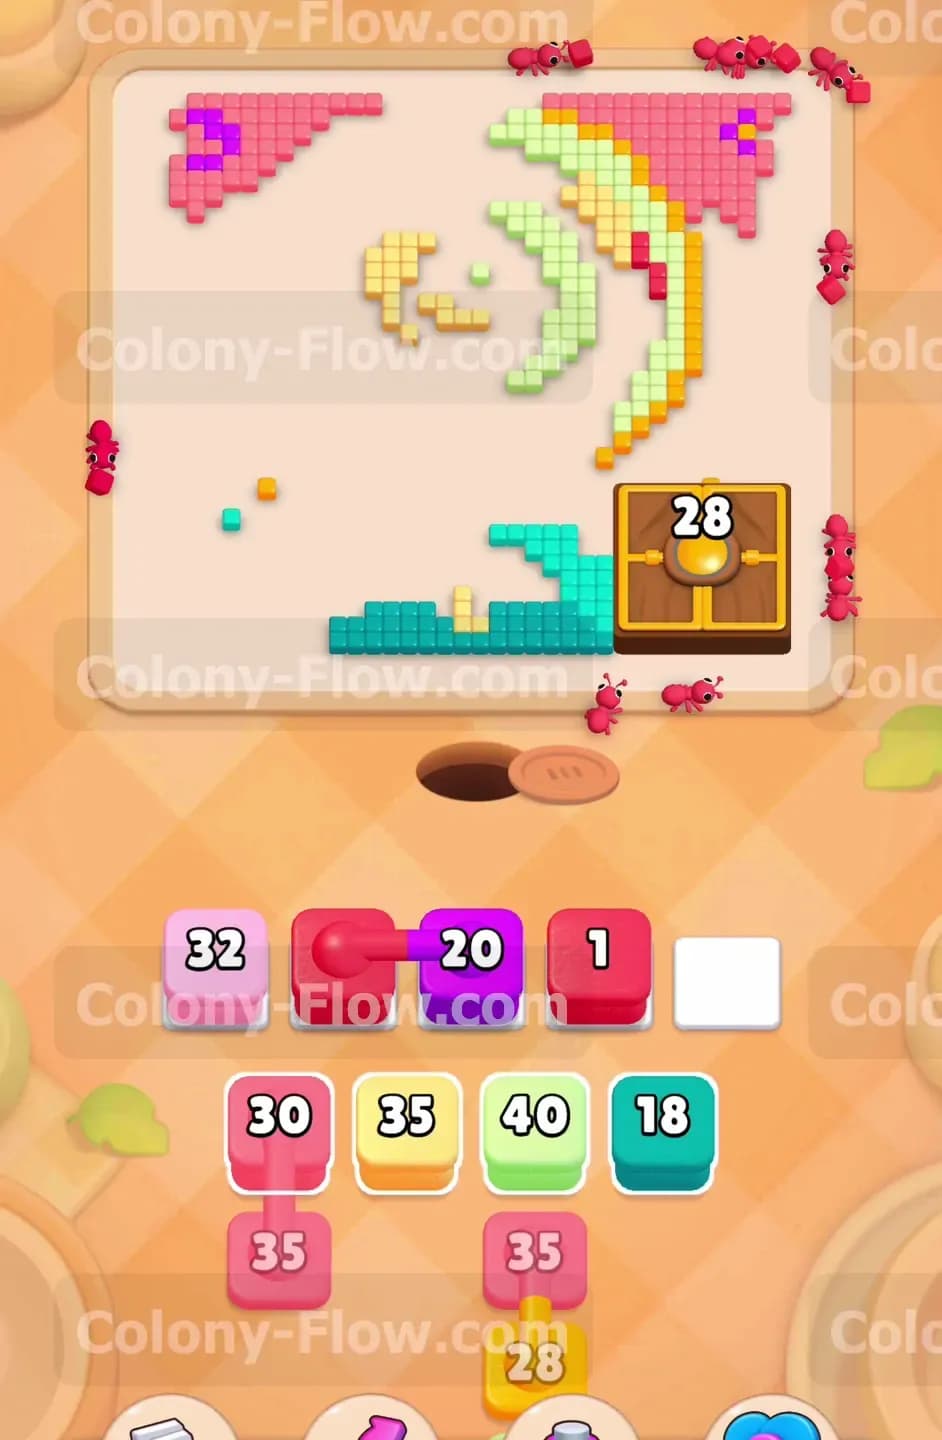
With the main candy swirl gone you turn your attention to the bottom half of the board. The lollipop rests on a straight teal base. Send out the teal and green blocks from your newly unlocked tray rows. The teal ants swarm the base and clear out the stick pattern. You must wait for the candy center to be fully clear before sending the teal blocks. The path to the stick crosses right over the area where the swirl used to be. Pulling the teal blocks too soon leaves them sitting in your tray taking up valuable space while they wait for the red and yellow ants to finish eating.
Step 6: Send the connected pink blocks to sweep the extreme top corners
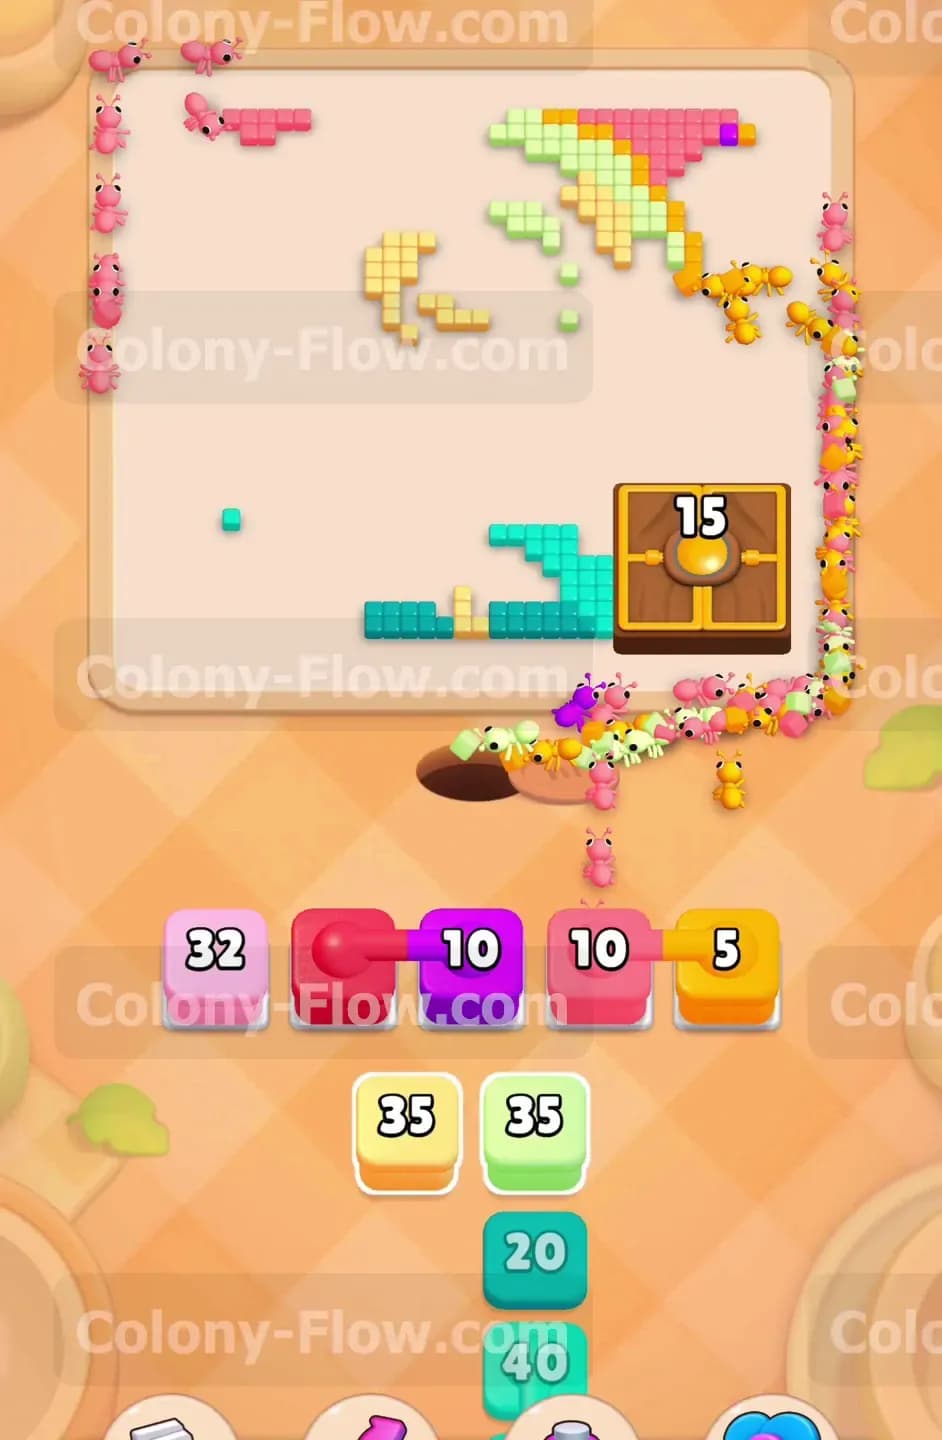
You will see more connected pink boxes holding 35 ants each appear in the bottom tray. Send these pink ants to mop up the very last corner pieces of the background. The travel time from the spawn hole to the top corners takes a long time. You must let these ants finish their long walk before you try to clear the final few tiles at the bottom. Tapping other blocks while the pink ants are walking runs a high risk of filling your slots. Patience during this long travel phase prevents a frustrating late game jam.
Step 7: Feed the hungry door chest and clear the final pieces
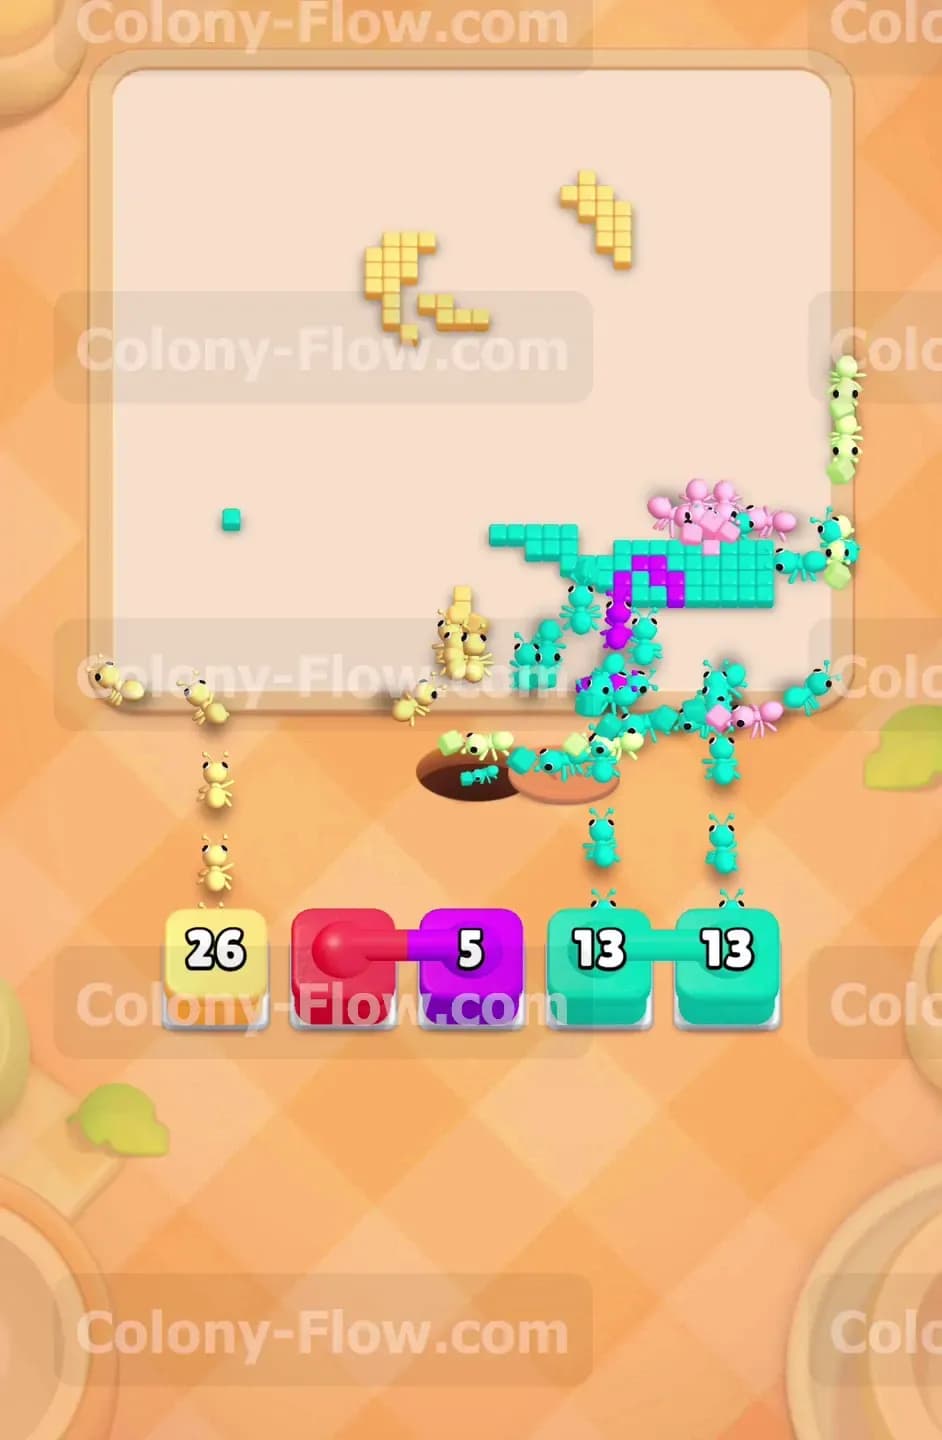
The last major obstacle is the hungry door chest sitting on the right side of the base. The door demands 28 ants to open and vanish. You use your remaining yellow red and purple blocks to feed this door and clean up the scattered leftovers. Send the final yellow block to finish the last yellow tiles and funnel ants directly into the chest. The number on the chest counts down rapidly as the ants arrive. Play your remaining blocks one at a time. Verify that every single color has an open target before pulling it into your waiting area. Once the hungry door hits zero it disappears completely and your final ants walk off the screen to secure your win.
Final Thought
This level tests your patience with long walking paths and multiple layers of thick candy. You must pace your block pulls to avoid choking your waiting slots while the massive lines of ants march across the board. Take your time unlocking the center key and always plan your connected box moves carefully so you never run out of tray space. If you struggle to find the right order for peeling back the candy swirl layers watch the video above this article to see the exact clearing paths in motion.