Colony Flow Level 437 Walkthrough Solution & Guides | How to solve Colony Flow 437

Guide By Liam Stone
Updated on July 29, 2026
You don't have to read the whole guide. The video above shows you exactly how to clear Level 437.
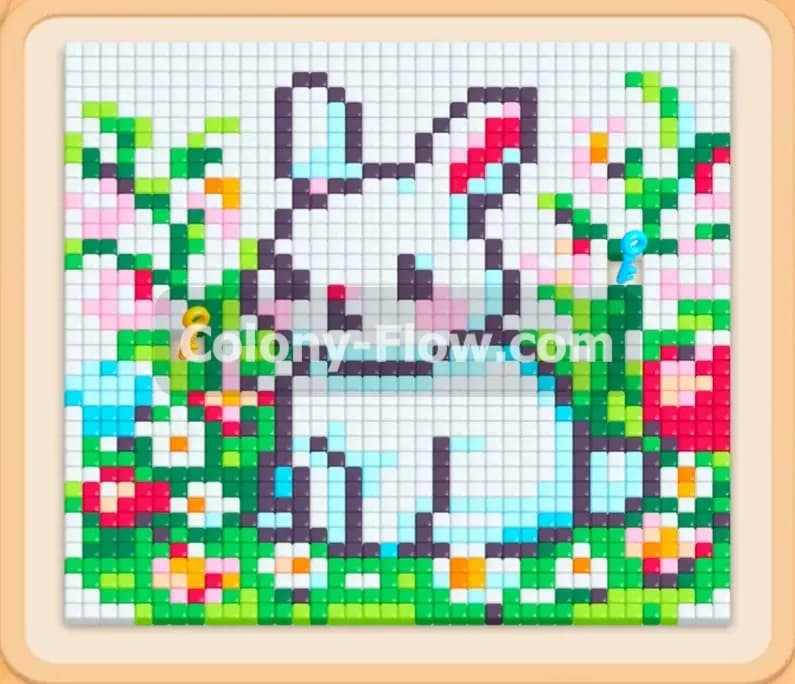
Video doesn't match your screen?
Game updates frequently scramble layouts! Try our AI Screenshot Solver first to find your exact board instantly, or report broken guides to our team.
Welcome back to another puzzle breakdown. Colony Flow Level 437 presents a charming pixel art rabbit sitting in a lush meadow surrounded by bright flowers. Do not let the cute picture fool you because this puzzle requires tight resource management and very careful tray sequencing. You face a dense board packed with high count color blocks and you have to navigate tricky connected boxes. I am Liam Stone and I am ready to guide you through my exact method for beating this stage. I play every board myself to find the absolute best route so you never get stuck on a difficult section.
Colony Flow Level 437 Overview
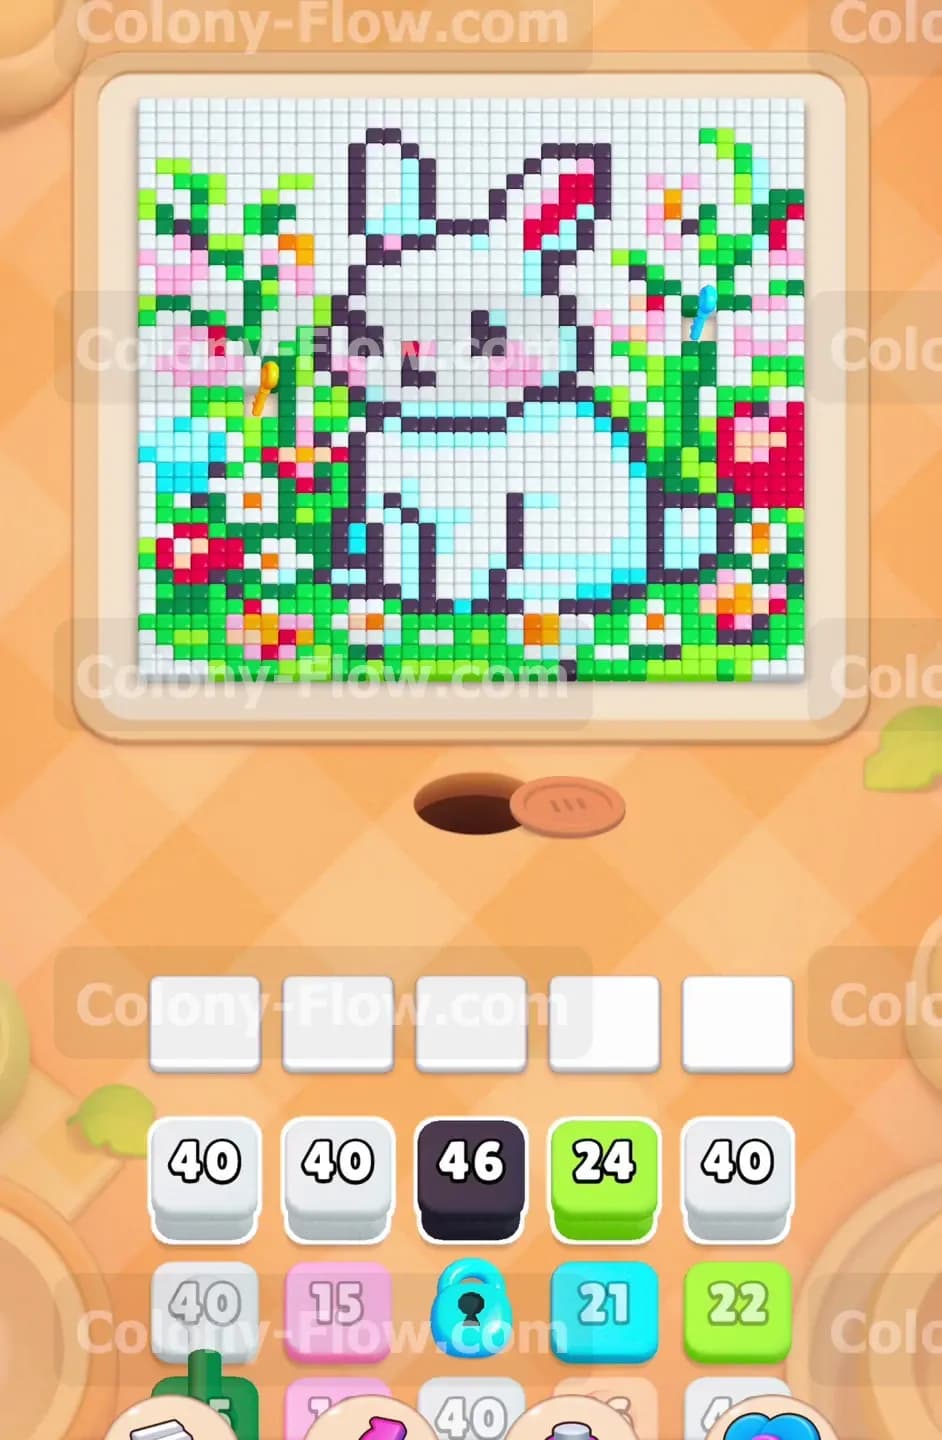
What You Are Working With
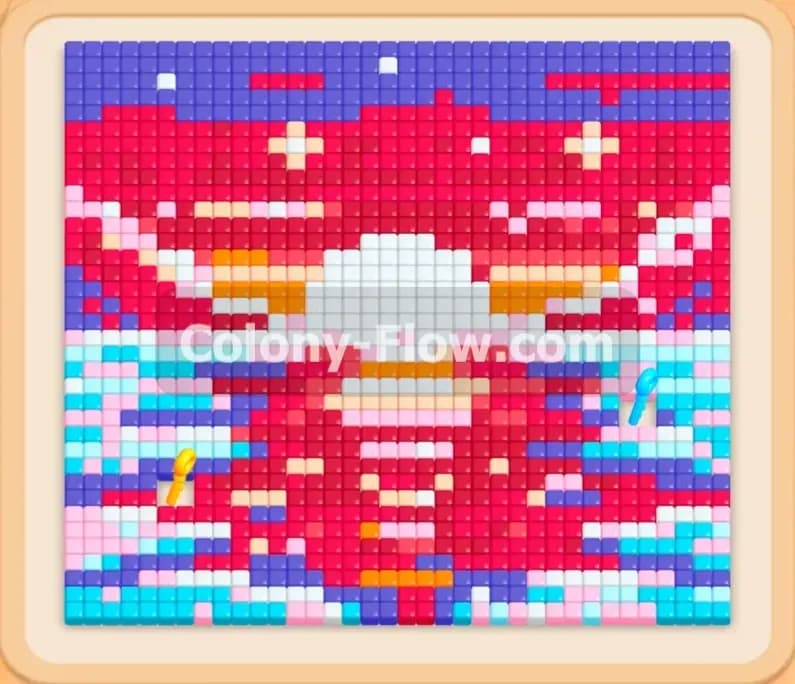
The top of your screen displays a massive white rabbit outlined in black pixels. The rabbit rests on a thick bed of green grass mixed with red and pink flower details. You have a few yellow keys scattered across the lower grass area. Down in your tray you will see very large number blocks including multiple white blocks holding forty ants each. You also have a locked light blue block that you cannot touch yet. As you pull blocks you will reveal connected boxes deeper in the tray queue. These connected boxes link two different colors together with a solid line and they force you to place both blocks into your waiting slots at the exact same time.
What It Takes to Clear Level 437 Board
You win the round when your ant colony consumes every single pixel of the rabbit and the meadow. The main obstacle standing in your way is your five slot waiting area at the bottom of the screen. If you fill all five slots with blocks that have no open path to their matching colors you lose the game immediately. You must carefully sequence your pulls to clear the outer grass first so the ants can walk deeper into the board. You need to gather the yellow keys early to open your locked tray items before they block your progress. You also need to make sure you always have at least two empty slots ready before you pull any connected boxes. Keeping a steady flow of ants moving is the only way to survive.
Colony Flow Level 437 Step by Step Solution
Step 1: Open the bottom edges with green and cyan blocks
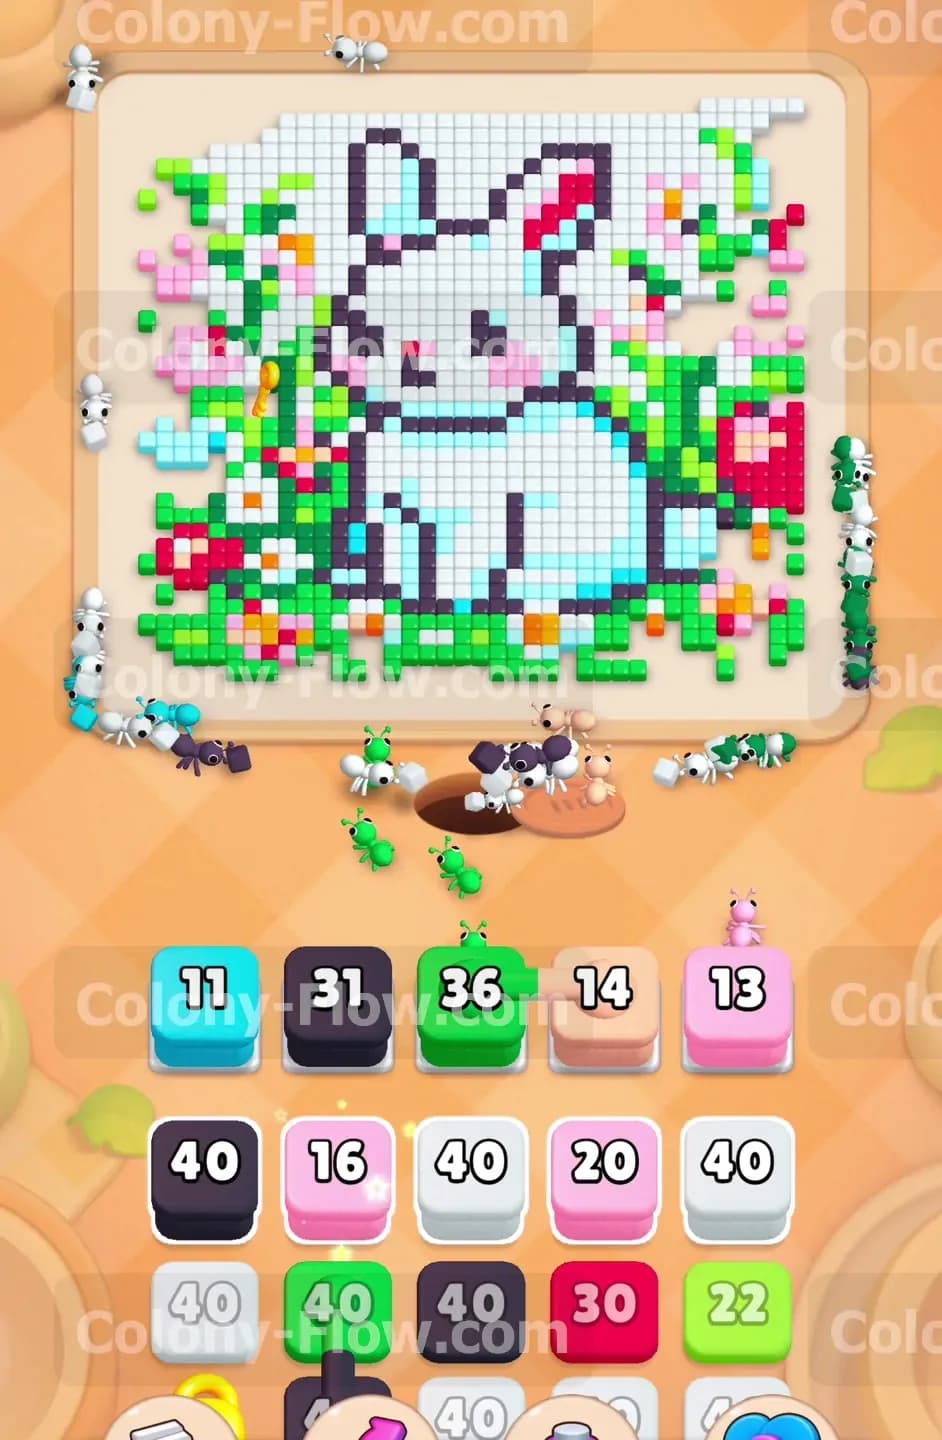
Your first major goal is to carve out some working space in the meadow. The ants need a clear walking path from their nest hole to the higher sections of the board. Look at your tray and select the green block holding twenty four ants along with the cyan block holding twenty one ants. Dropping these into your waiting slots sends two thick streams of ants up the left and right sides of the screen. The green ants start eating the grass along the bottom edge while the cyan ants target the blue background pieces near the flowers. Watch the numbers on your tray blocks drop as the ants successfully grab their targets. You want these initial blocks to empty completely before you pull anything else so you do not crowd your five slots too early. This patient approach prevents a sudden board lock.
Step 2: Deploy the massive white blocks to clear the rabbit body
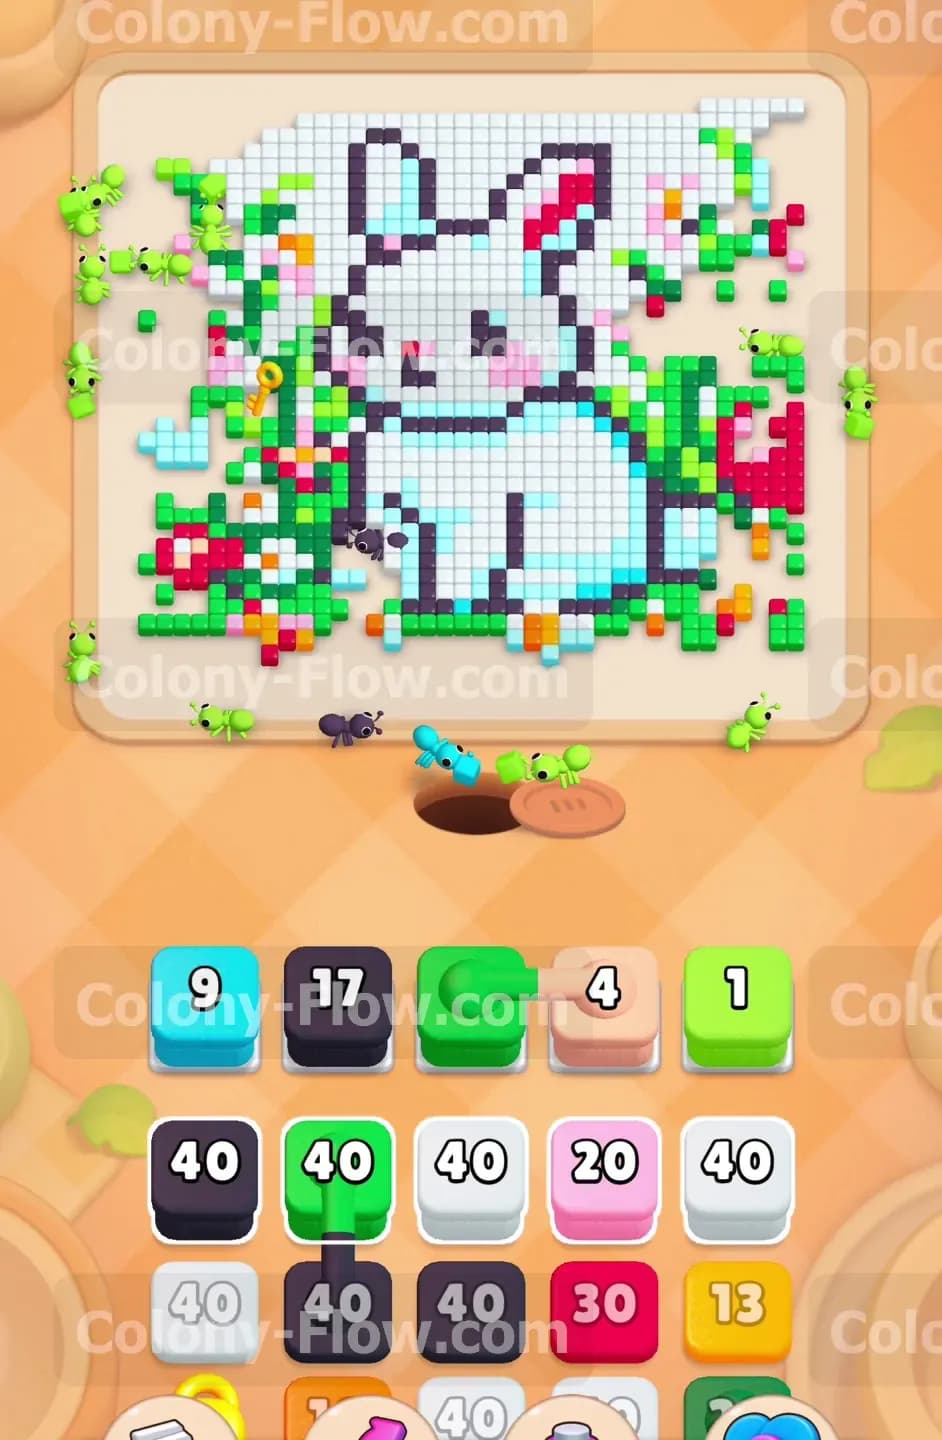
Once the bottom grass recedes you will see open paths leading directly into the lower half of the white rabbit. Your tray is full of white blocks that each hold forty ants. Pull one of these heavy white blocks into a waiting slot right now. A massive swarm of ants will pour out of the nest hole and march straight up the middle of the board. They will spread out across the bright white pixels that make up the belly and legs of the rabbit. You can pull a second white block shortly after the first one drops below twenty ants. This keeps a continuous wave of white ants clearing out the bulk of the picture. Leaving the white blocks for later would cause a massive traffic jam in your tray so getting them out of the way now is a very smart choice.
Step 3: Collect the yellow keys to unlock your tray
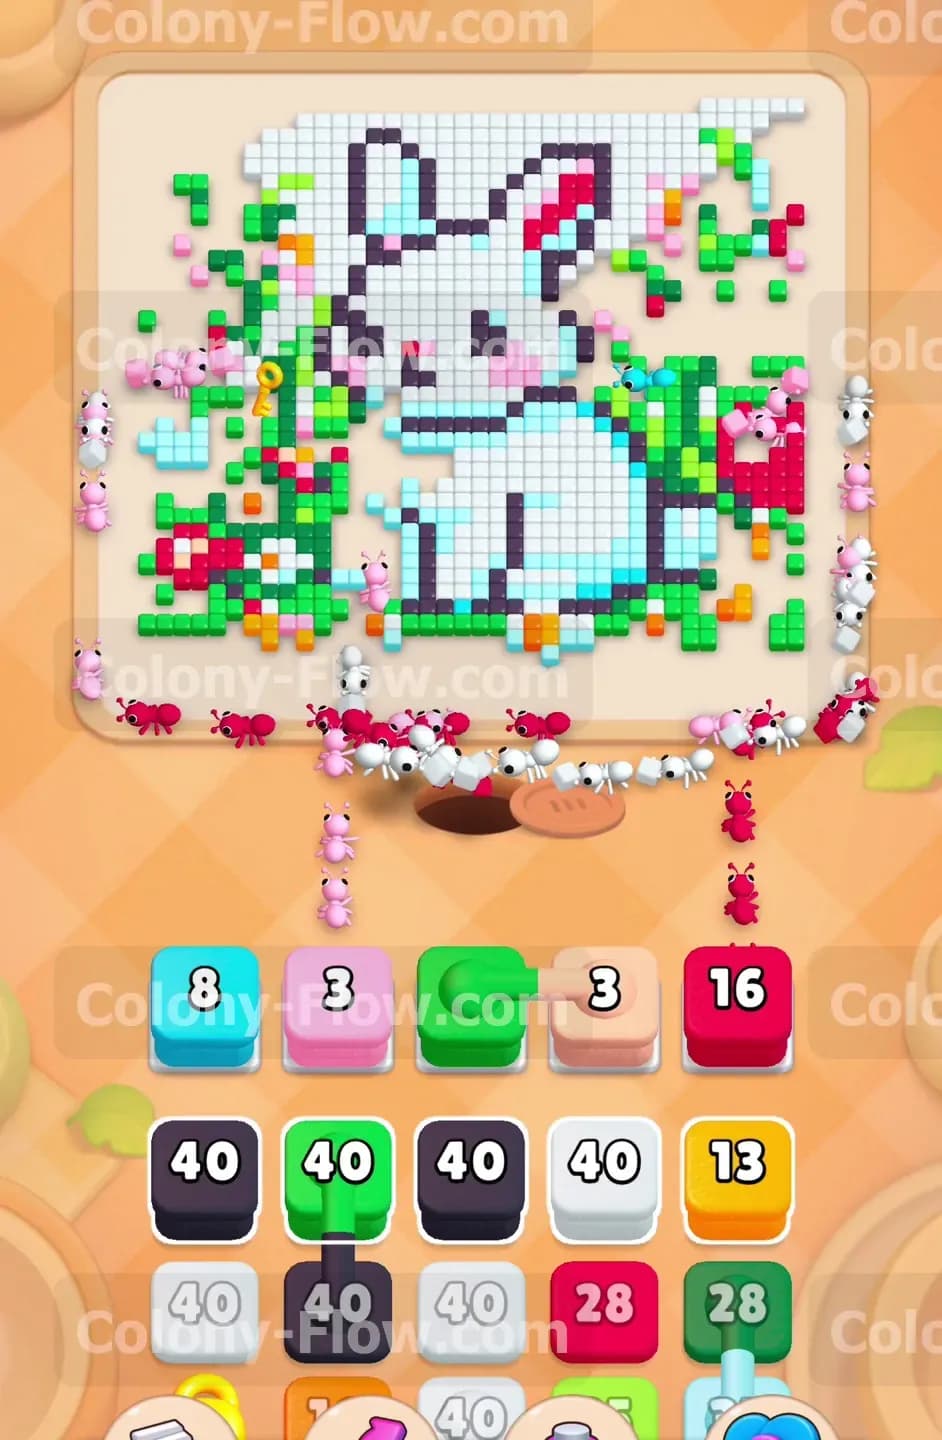
As the white ants eat away the bottom of the rabbit they will expose the yellow keys resting in the grass. You need these keys to access the locked light blue block sitting in your lower tray. Wait for a clear path and then pull a small yellow block into your slot area to match the key colors. The yellow ants will run up to the keys and grab them. Instead of simply eating the tiles the ants will physically carry the keys all the way back down the board and drop them into the nest hole. Once the final key enters the hole the padlock icon on your light blue tray block shatters into pieces. This unlocks a color you absolutely need for the later stages of the board. Always prioritize keys the moment their surrounding tiles disappear.
Step 4: Manage the first set of connected boxes
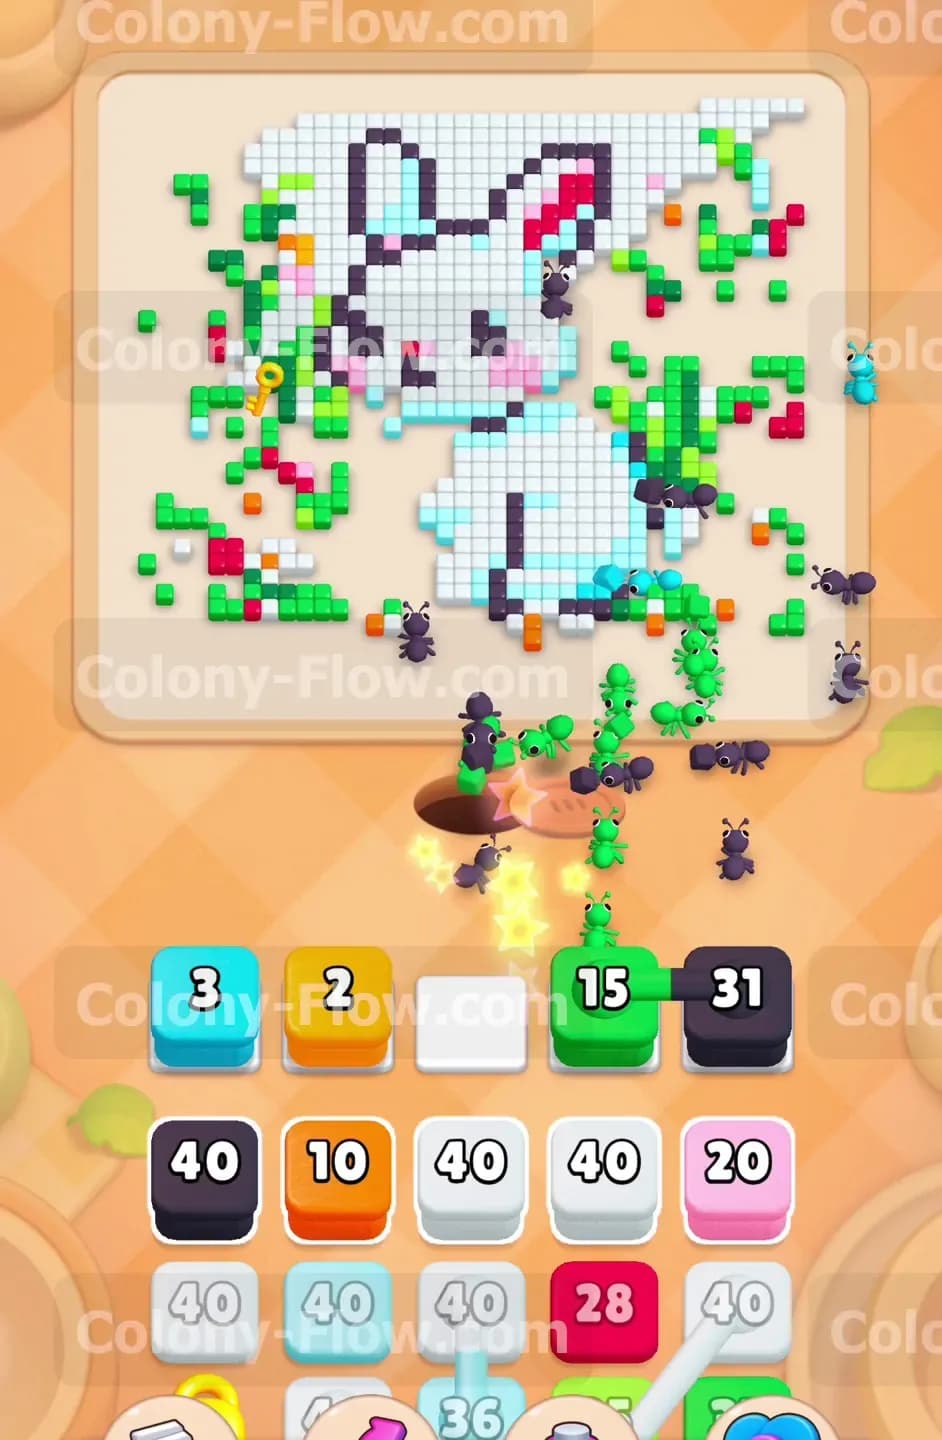
Now that you have some breathing room you will notice connected boxes appearing in your tray queue. You will see a green block linked directly to a beige block. Pulling either one automatically pulls the other into your waiting slots. This mechanic takes up two of your five precious spaces instantly. Before you tap them you must verify that both green grass tiles and beige flower center tiles are exposed on the board. Since you already cleared the lower sections the paths to the higher flowers are wide open. Pull the connected pair and watch the ants stream out to eat the remaining beige centers and middle grass pieces. The blocks will clear out evenly and free up your two slots again. Never pull connected boxes if you only have one open slot.
Step 5: Break down the black outline
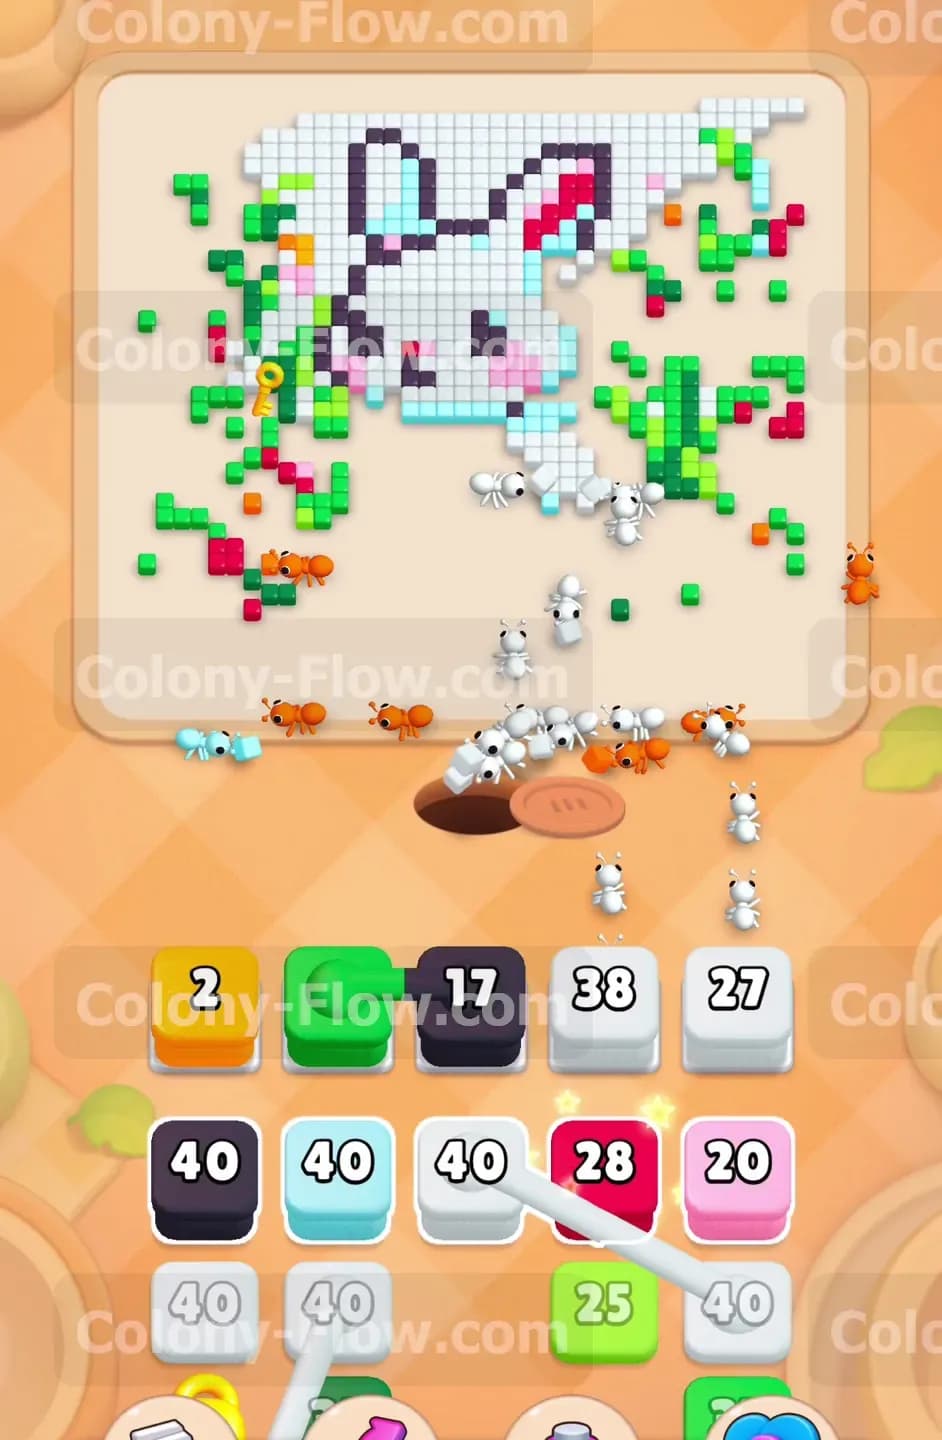
The white rabbit is completely outlined in black pixels and you cannot reach the inner ear colors until you break that dark wall. Find the large black block holding thirty one ants in your tray and drop it into an open slot. The black ants will march up the board and scatter across the entire perimeter of the rabbit shape. This move takes a little longer to finish because the black tiles are spread very far apart and the ants have to travel higher up the screen. To keep the flow moving you can pull a smaller pink block to start working on the flowers while the black ants do their job. Just ensure you never exceed four active blocks in your slots so you always have one panic space available for emergencies.
Step 6: Handle the connected green and black boxes
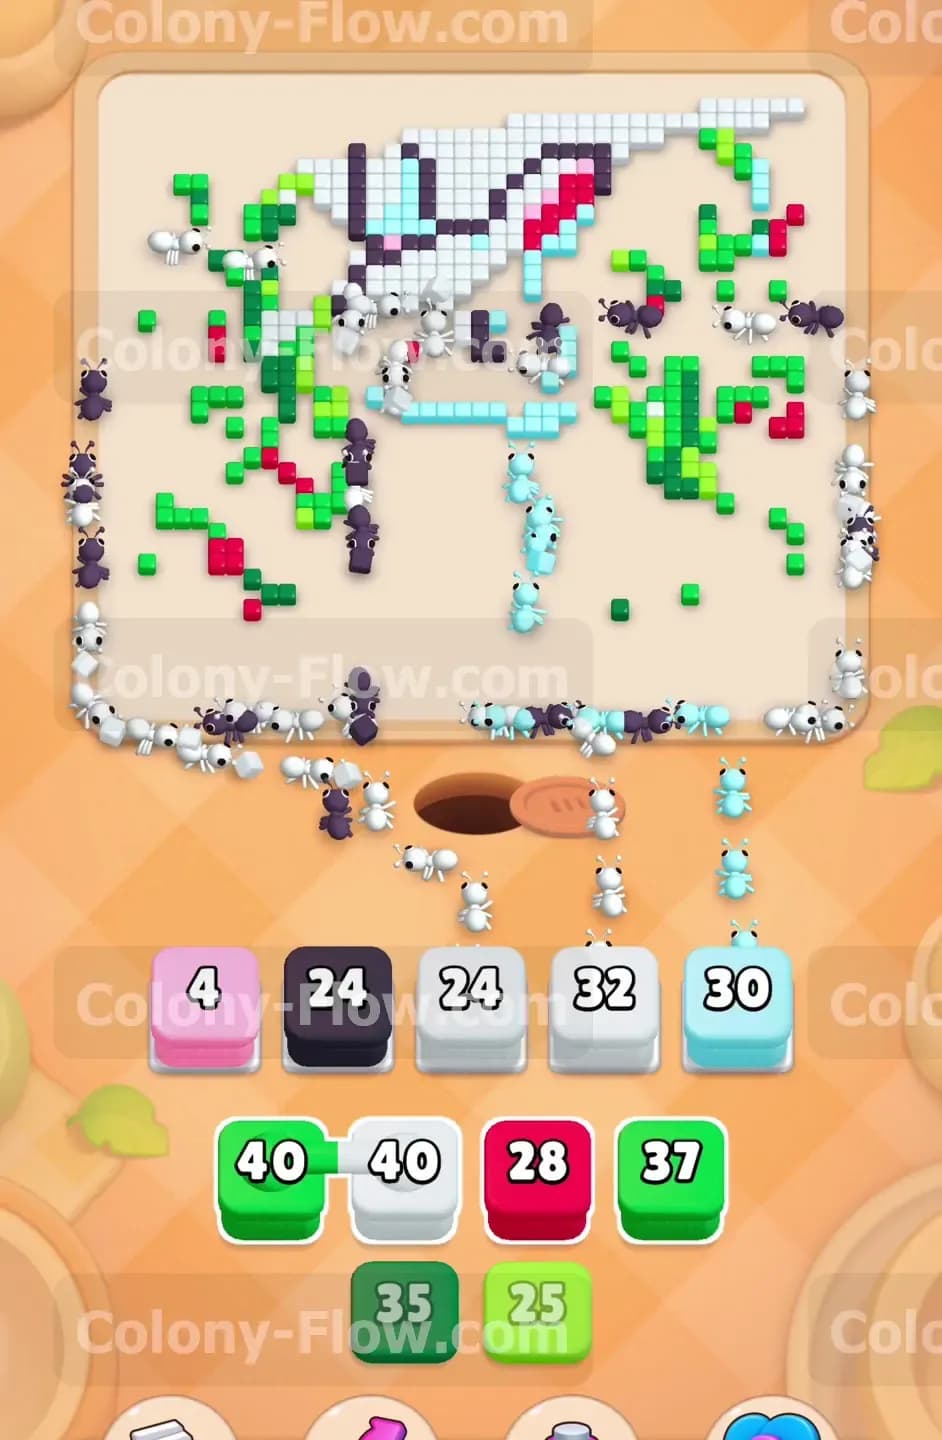
As the black outline thins out another set of connected boxes slides into view at the bottom of your screen. This time you face a green block connected to a black block. You need to be very careful right here because the remaining black tiles are mostly at the very top of the rabbit ears. If you pull this pair too soon the black block will stall in your tray while the ants struggle to find a walking path. Wait until the first large black block finishes completely. Once the path up to the ears is perfectly clear you can pull the green and black connected boxes. The ants will easily clean up the last few outline pieces and grab the upper grass tiles near the ears without jamming your board.
Step 7: Clear the pink ears and remaining flowers
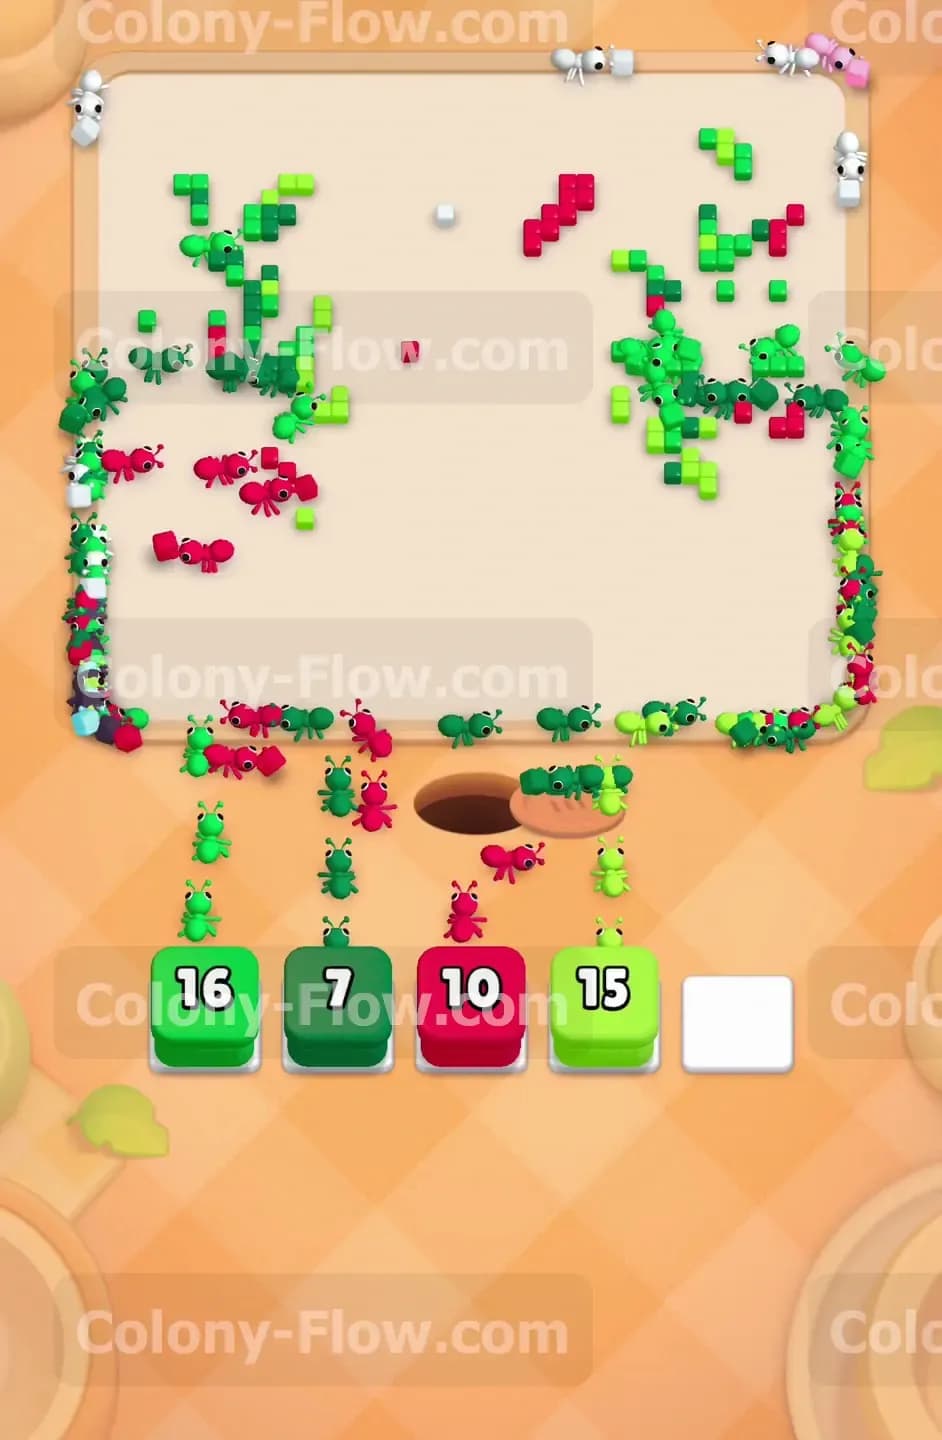
The picture is now mostly gone except for the bright pink inside the rabbit ears and a few scattered red and pink flowers in the meadow. Your tray has matching pink and dark pink blocks ready to go. Drop a pink block holding sixteen ants into an empty slot. The ants will bypass all the empty space and climb straight up to the top of the rabbit ears. At the exact same time you can pull a dark red block to finish off the flower petals on the right side of the screen. The board looks very sparse at this point and the ants have completely unrestricted access to every corner. The numbers on your pink blocks will drain rapidly as the ears disappear.
Step 8: Perform the final board sweep
You are now down to the very last few blocks in your tray and a handful of scattered green leaves. The rabbit is completely gone and only fragments of the meadow remain. Pull the final light green and dark green blocks into your slots. Because you managed your space perfectly throughout the puzzle you can safely pull all remaining blocks at once without any fear of failing. The last few ants will emerge from the nest and run to the far edges of the screen to eat the remaining green pixels. The moment the final leaf vanishes the board goes completely blank and you win the level.
Final Thought
Beating this stage comes down to respecting your slot space and timing your connected box pulls perfectly. If you try to force the black outline before the white body is gone you will jam your tray and lose. Take your time and let the ants clear the heavy center sections first. If you find any of these movements confusing to visualize you can watch the video above this article to see exactly how I executed every single step.