Colony Flow Level 610 Walkthrough Solution & Guides | How to solve Colony Flow 610

Guide By Liam Stone
Updated on August 1, 2026
Watching beats reading for some players. The video above has the entire Level 610 walkthrough ready to go.
Video doesn't match your screen?
Game updates frequently scramble layouts! Try our AI Screenshot Solver first to find your exact board instantly, or report broken guides to our team.
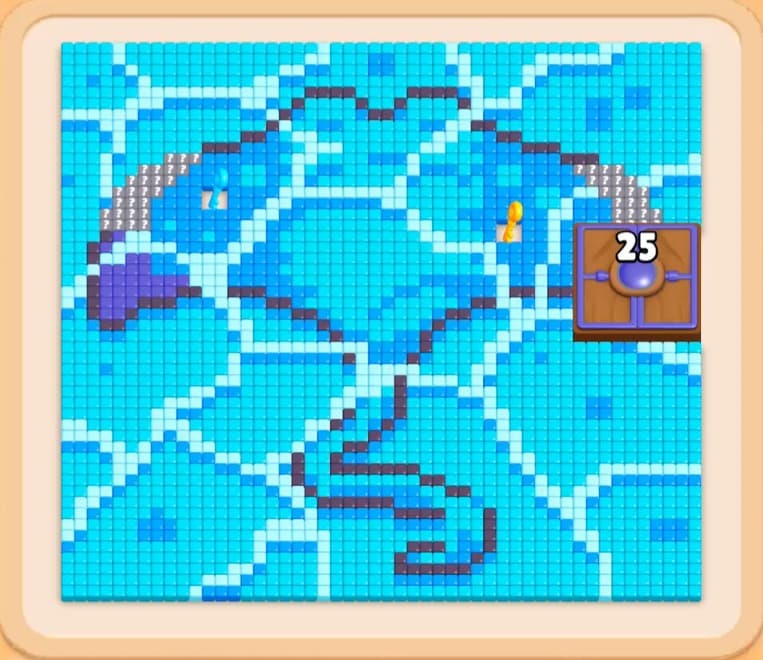
Colony Flow Level 610 presents a striking blue umbrella picture that requires careful planning and smart block management to clear. You have to manage a massive amount of light blue and cyan tiles while navigating around special obstacles scattered across the board. The keys and the locked tray column add an extra layer of challenge that forces you to prioritize your moves. You will need to carve paths strategically to avoid filling your waiting slots and trapping your ants.
Colony Flow Level 610 Overview
What You Are Working With
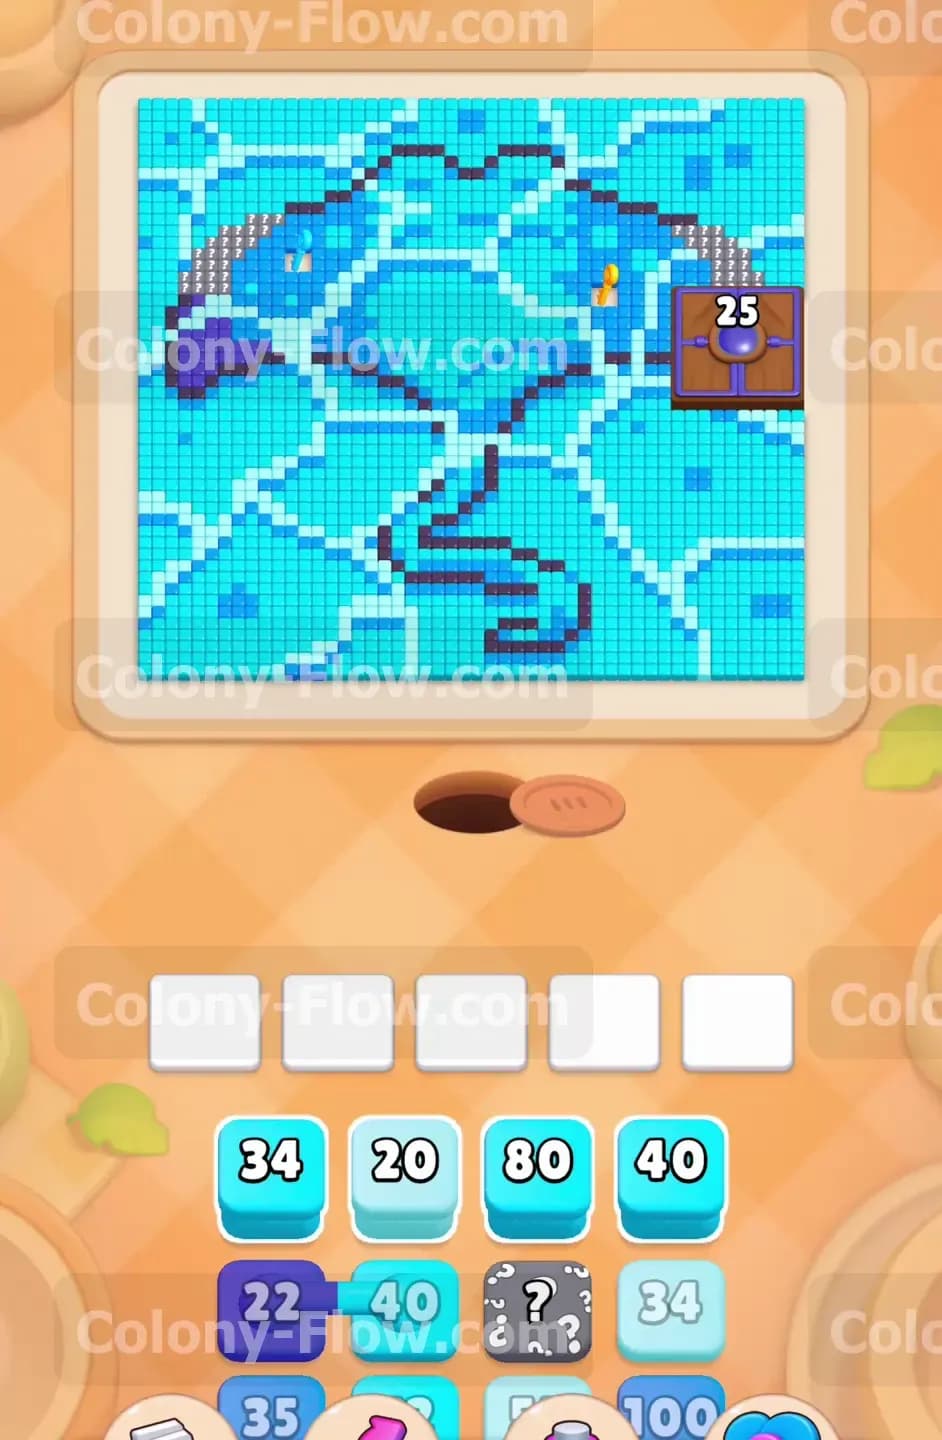
The board features a large umbrella design created from light blue, cyan, dark blue, and black tiles. Three yellow keys sit on top of the tiles in different spots across the main canopy of the umbrella. On the right side of the board sits a large purple Hungry Door with the number twenty five printed right on the front. Down in your tray you will see multiple blocks in light blue and cyan with very high numbers ranging up to one hundred. You will also notice a locked column on the right side of the tray keeping several vital blocks out of your reach. Some blocks in the lower rows are Hidden Boxes showing large question marks. These Hidden Boxes conceal their true color until they move to an active position where you can use them.
What It Takes to Clear Level 610 Board
Winning this level means you must clear every single tile from the umbrella picture. You must collect all three yellow keys from the board to open the locked tray column and access the hidden blocks. You also need to feed twenty five purple ants to the Hungry Door to completely remove it from the board. Your main goal throughout the entire puzzle is to always keep a valid path open for the ants to travel. If you pull a block into one of your five waiting slots and the ants cannot reach their matching color, they will stop moving entirely. If all five waiting slots fill up with trapped blocks, you lose the level instantly and have to start over.
Colony Flow Level 610 Step by Step Solution
Step 1: Open the bottom edge of the umbrella picture.
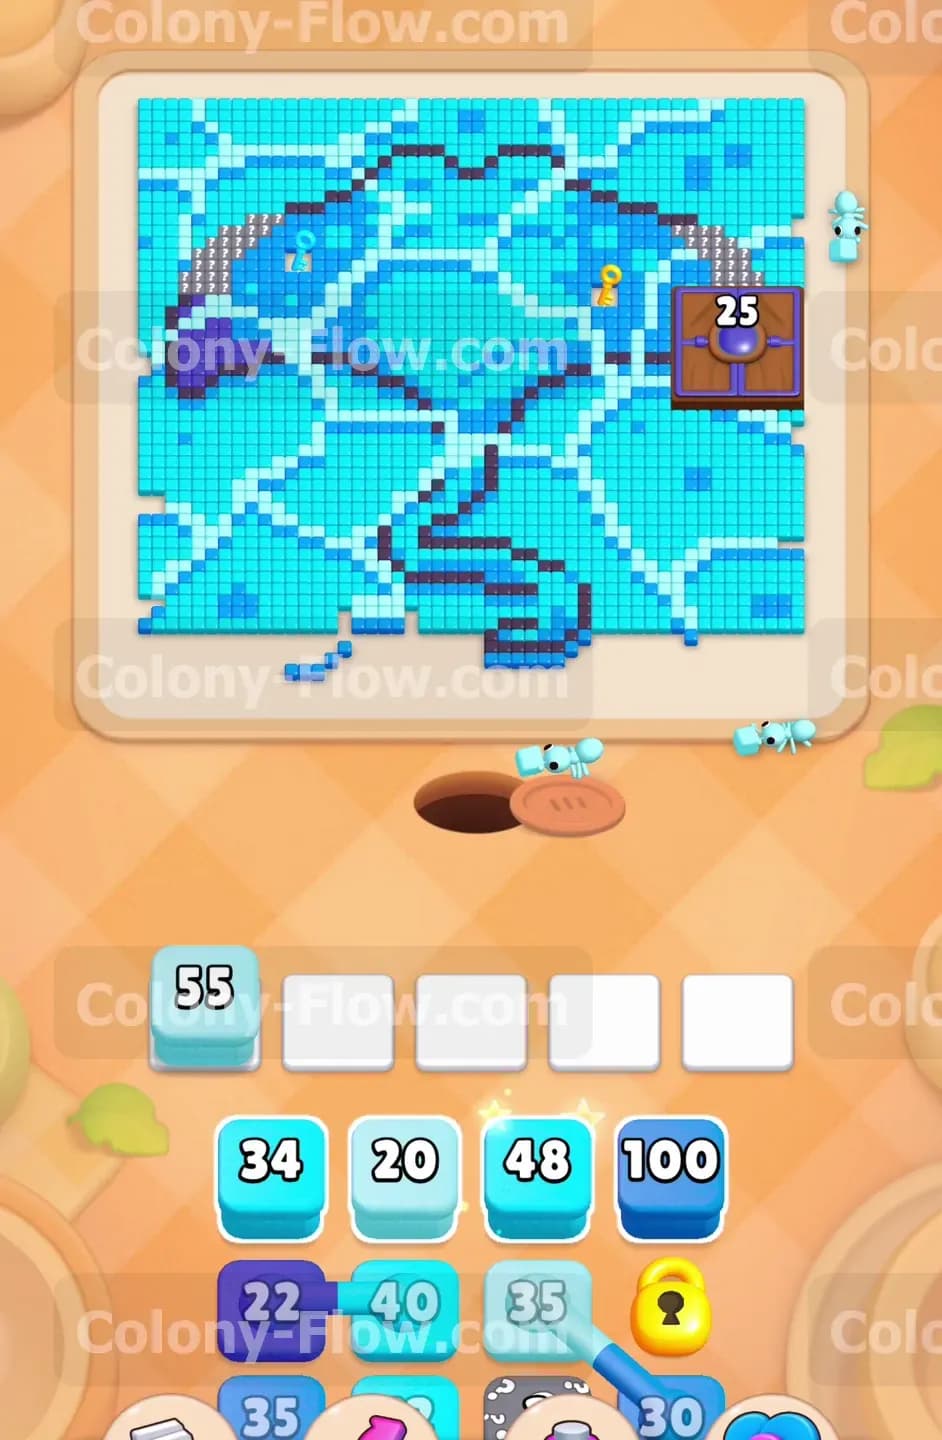
You want to start by attacking the lowest accessible tiles near the nest hole where the ants emerge. Tap a light blue block from your tray to send a steady stream of light blue ants onto the board. They will march out of the hole and begin eating the light blue tiles at the bottom right curve of the umbrella. The number on your selected block will tick down exactly one digit as each ant grabs a tile. This initial move creates a small pocket of open space which you will use to branch out into the rest of the picture. Keep an eye on the waiting slots to make sure the block clears completely before moving forward.
Step 2: Start clearing the cyan sections.
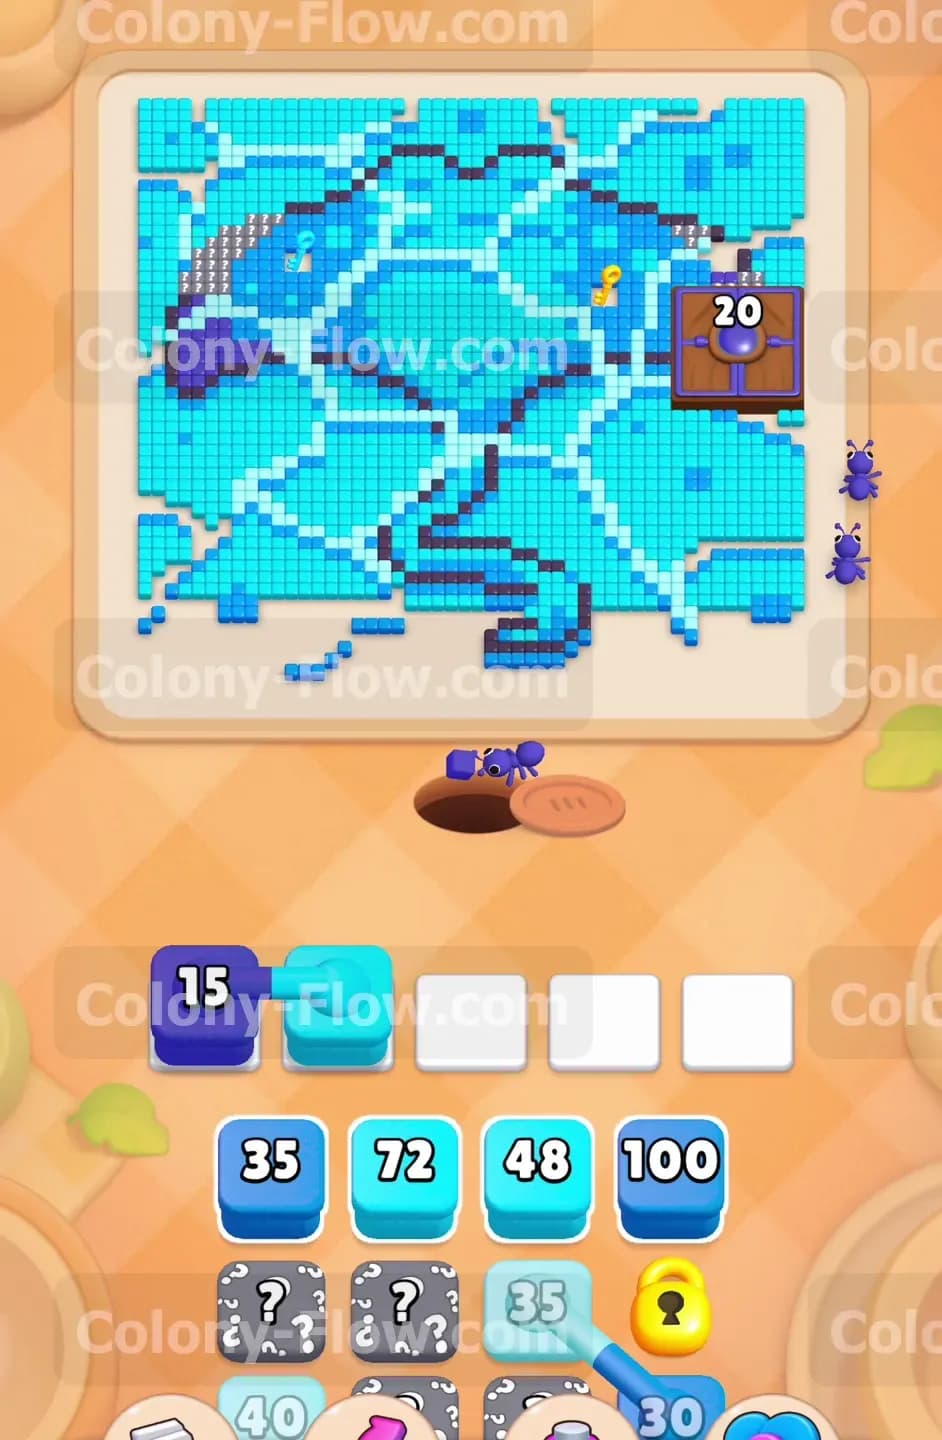
Once the bottom light blue tiles vanish, the cyan tiles right above them become fully exposed to your ants. Pull a cyan block into your waiting tray to continue the assault. The cyan ants will surge out of the hole and clear the bottom sections of the umbrella fabric. You will see the cyan patches slowly shrink as the ants consume the colored pixels. This opens up a wider path towards the left side of the umbrella and exposes the dark blue handle sitting at the bottom center. Clearing these initial cyan tiles is absolutely critical because it gives your future ants more entry points into the main body of the picture.
Step 3: Attack the dark blue handle and bottom outline.
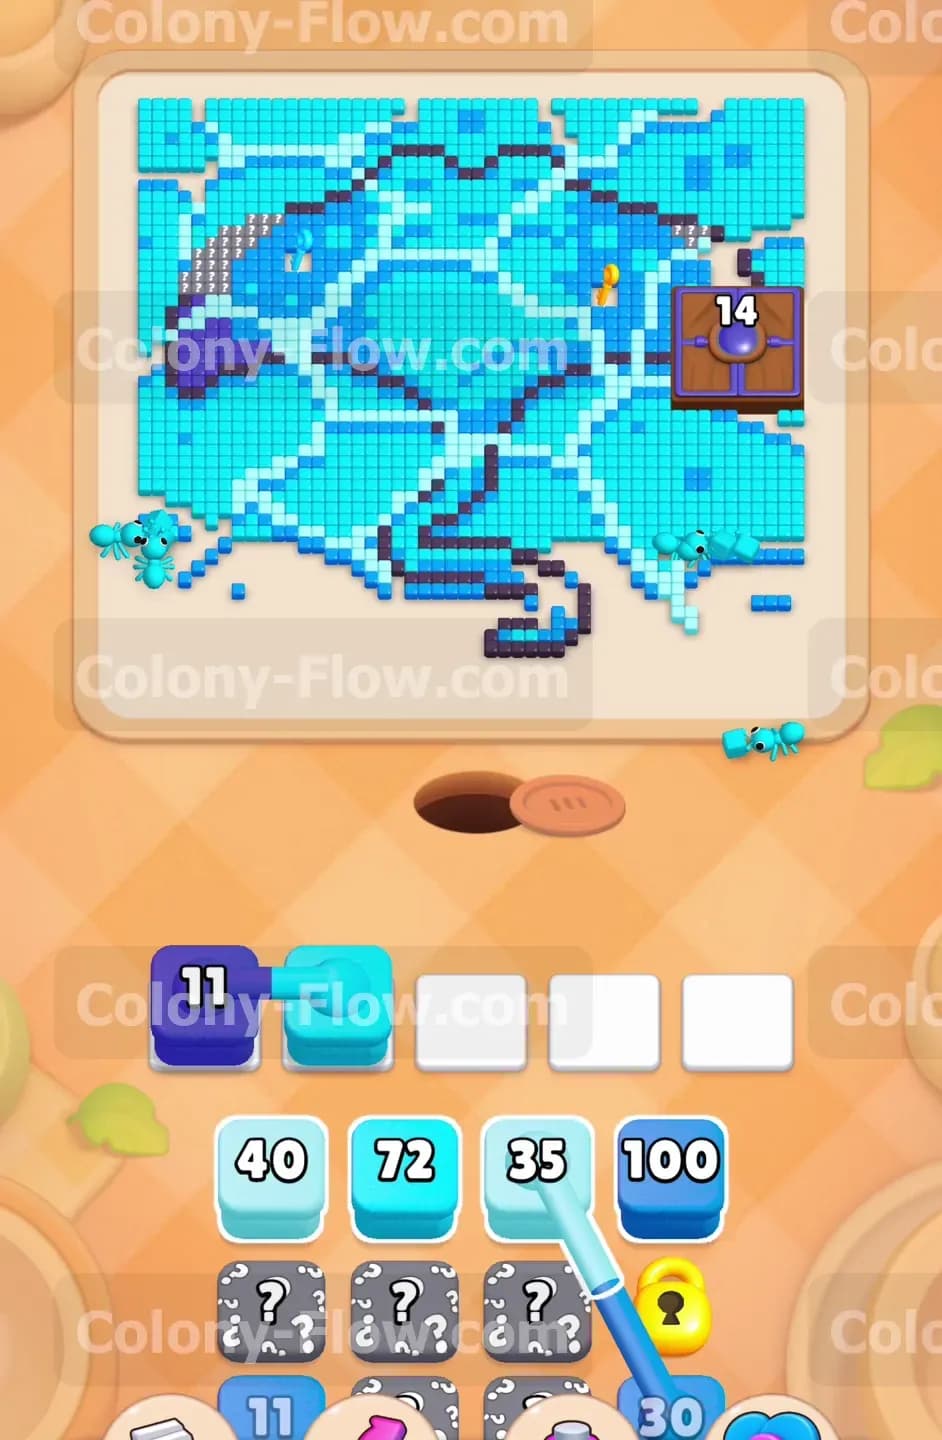
Now that the bottom boundary is wide open, you can clearly see the dark blue tiles forming the umbrella handle. Select a dark blue block from the tray to address this specific part of the drawing. The dark blue ants will trace the winding curved shape of the handle and eat the dark blue outline on the lower left side. This move effectively splits the bottom half of the board in two separate sections. By removing the handle you create a direct vertical route straight up the middle of the board. Your waiting slots remain completely clear because the dark blue ants have a completely unobstructed path to their target tiles.
Step 4: Reach and collect the first key.
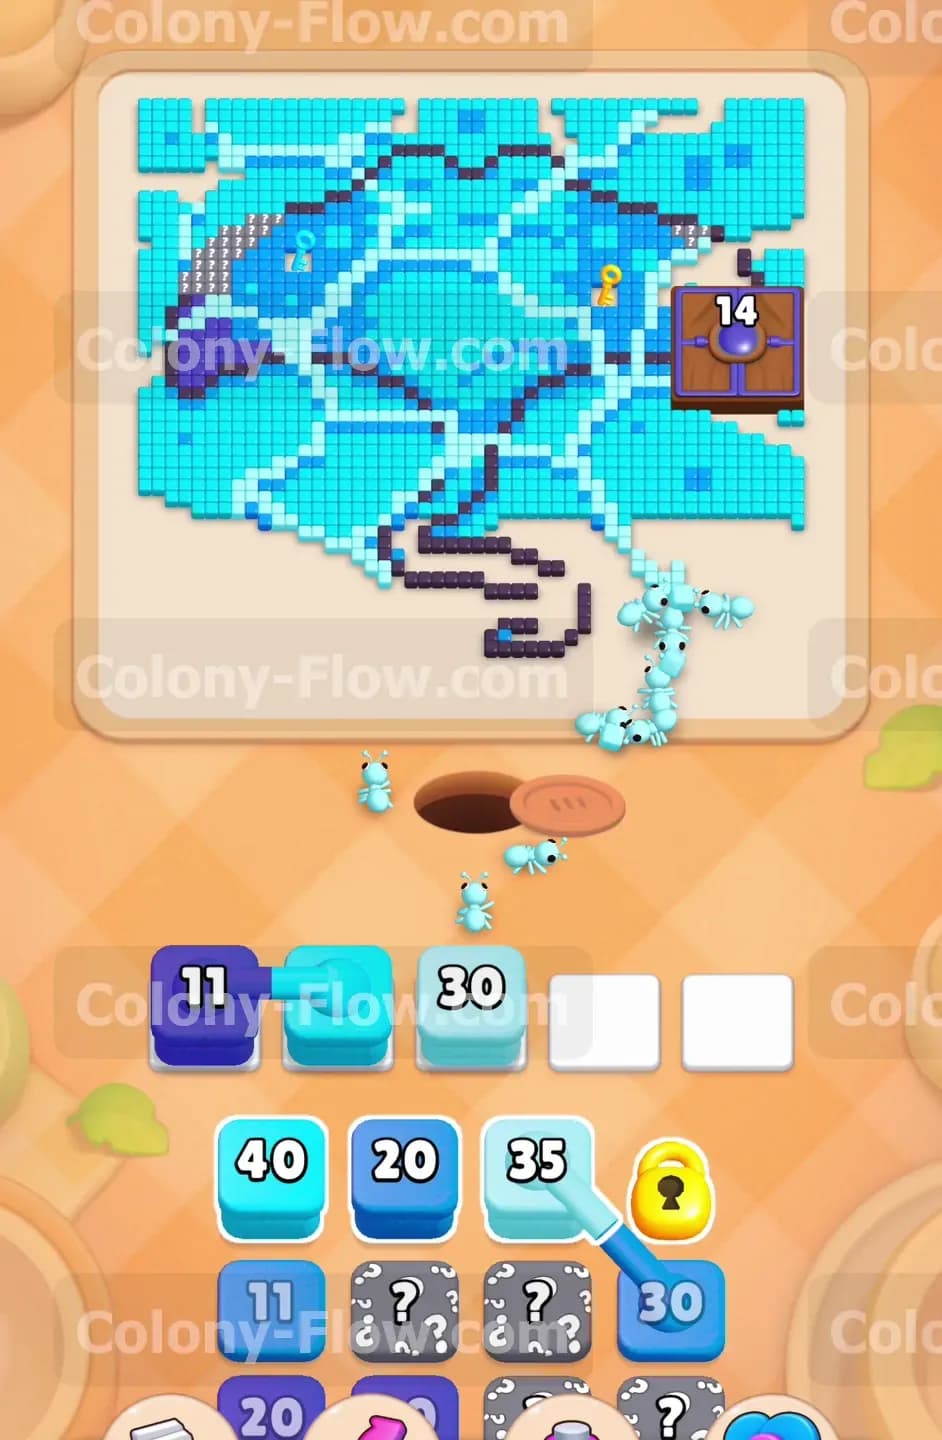
With the center channel wide open you can now push directly towards the first yellow key. Send a medium numbered light blue block into the waiting slot to launch the next wave. The ants will march straight up the middle corridor and consume the light blue tiles surrounding the first key. When the ants eat the exact tile underneath the key, the key flies off the board and travels down to the lock on your tray. Securing this first key is a big milestone for your progression. You still need two more keys to open the tray but you now have a solid foothold right in the center of the umbrella canopy.
Step 5: Carve a path to the right side.
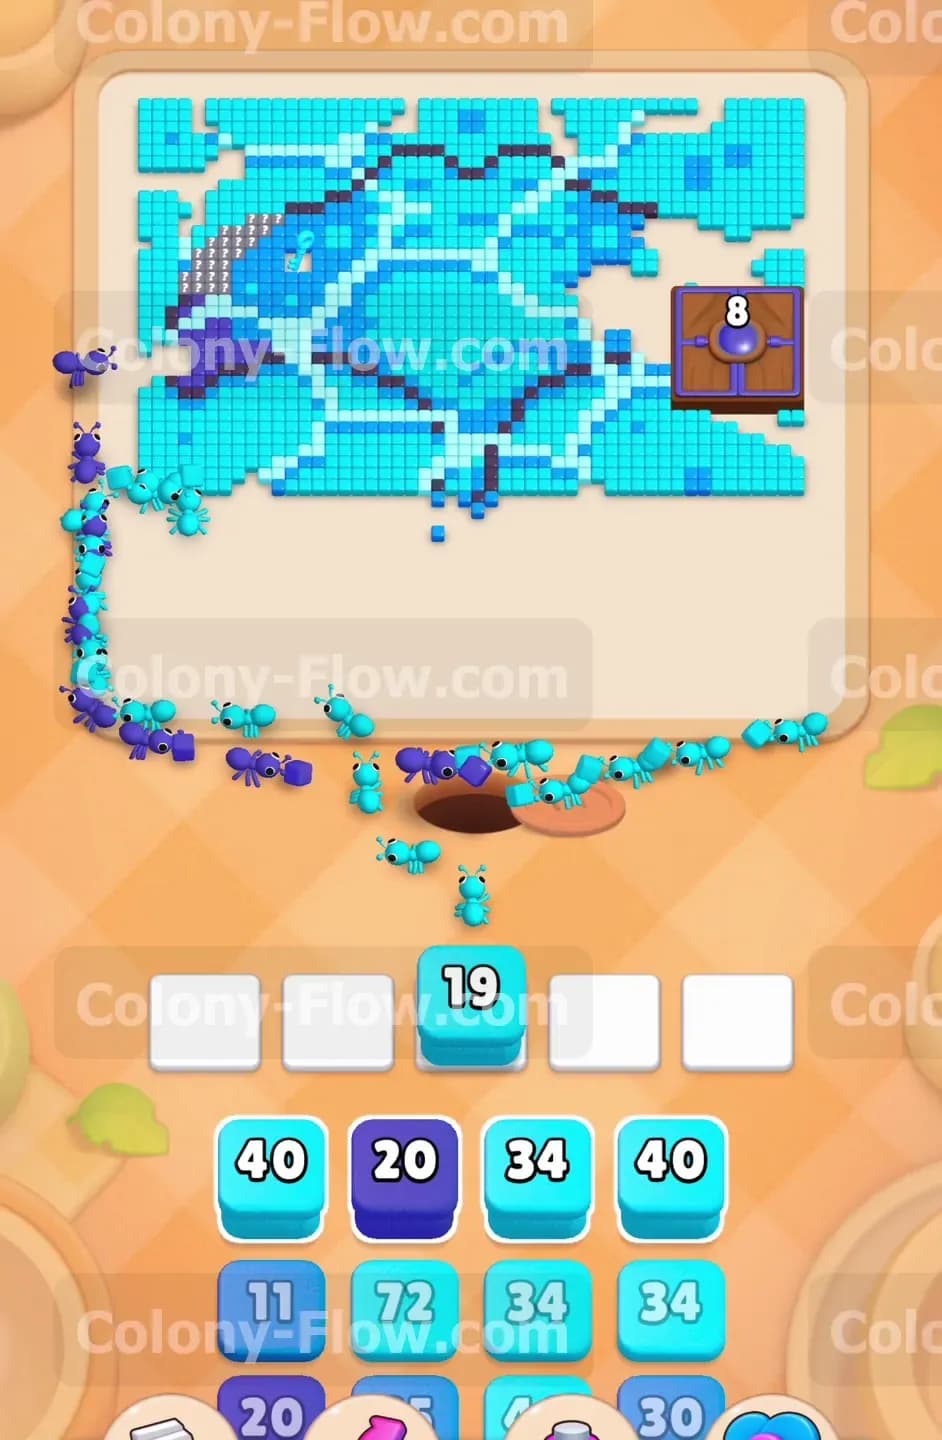
Your next major obstacle is the purple Hungry Door sitting quietly on the right side of the picture. To get to that door you must clear the tiles blocking the way. Pull another cyan block from the tray to send ants to the right side. The cyan ants will flow to the right side and chew through the thick layers of cyan tiles protecting the door. As the cyan block counts down to zero, a totally clear path emerges leading directly to the base of the Hungry Door. You have successfully navigated the right side of the puzzle without dead ending any of your blocks in the waiting slots.
Step 6: Open the purple Hungry Door.
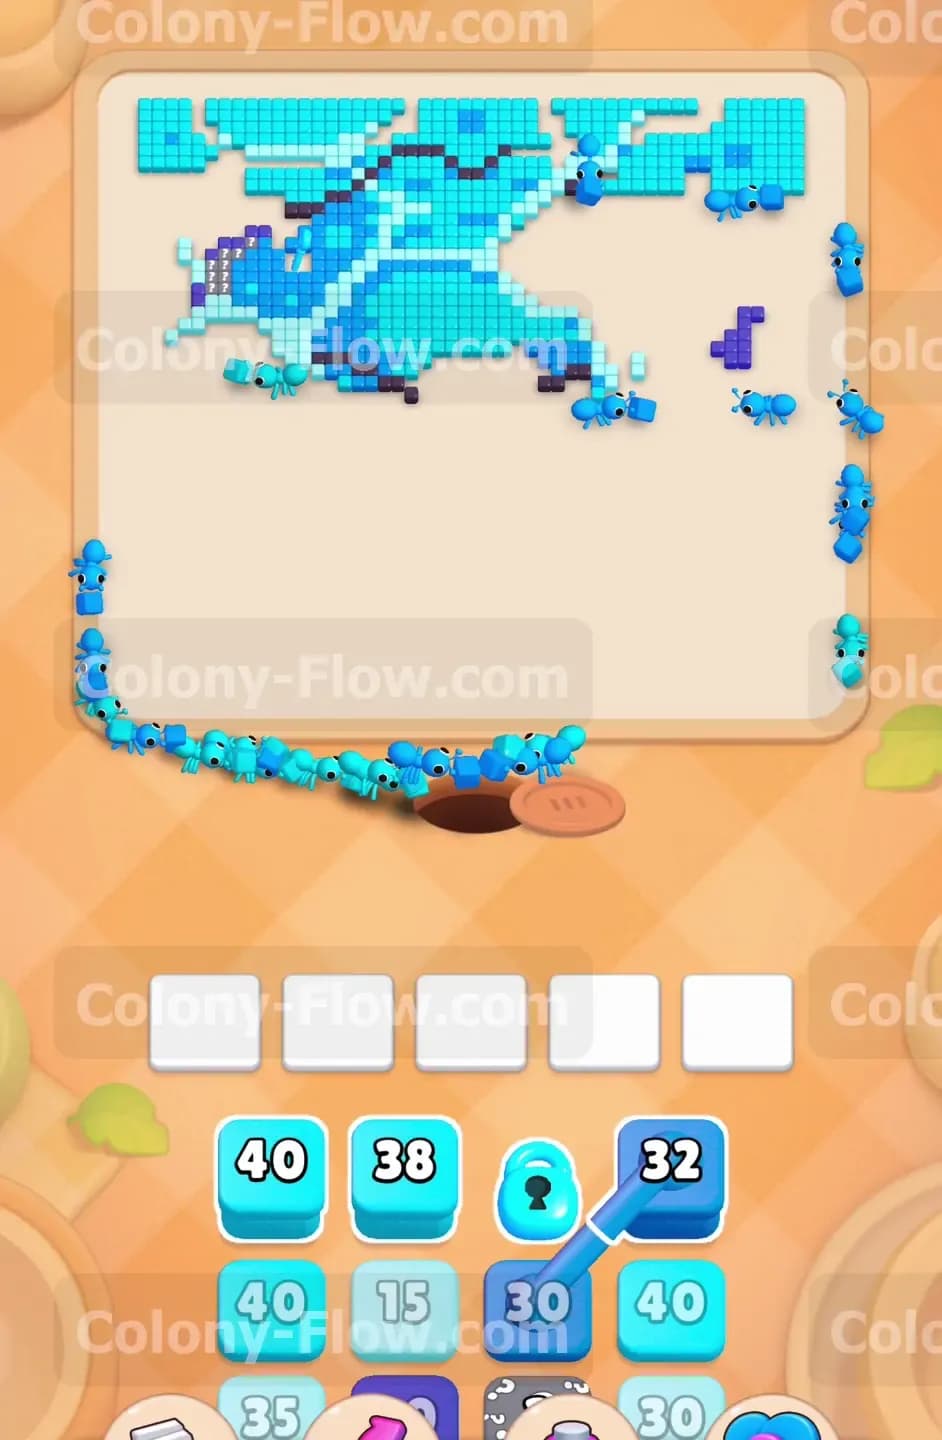
Now that the path to the Hungry Door is completely open, you can deal with this specific obstacle. Look in your tray for a purple block that matches the door. If you do not see one immediately, pull a valid light blue block to reveal the Hidden Boxes underneath the top layer. The question marks will spin and reveal their true colors. Once you reveal a purple block, tap it into your active waiting slot. The purple ants will race across the board and run straight into the Hungry Door. You will watch the number twenty five on the door count down to zero as the ants dive inside. The door will vanish into thin air and open up the entire right wing of the umbrella.
Step 7: Secure the second key.
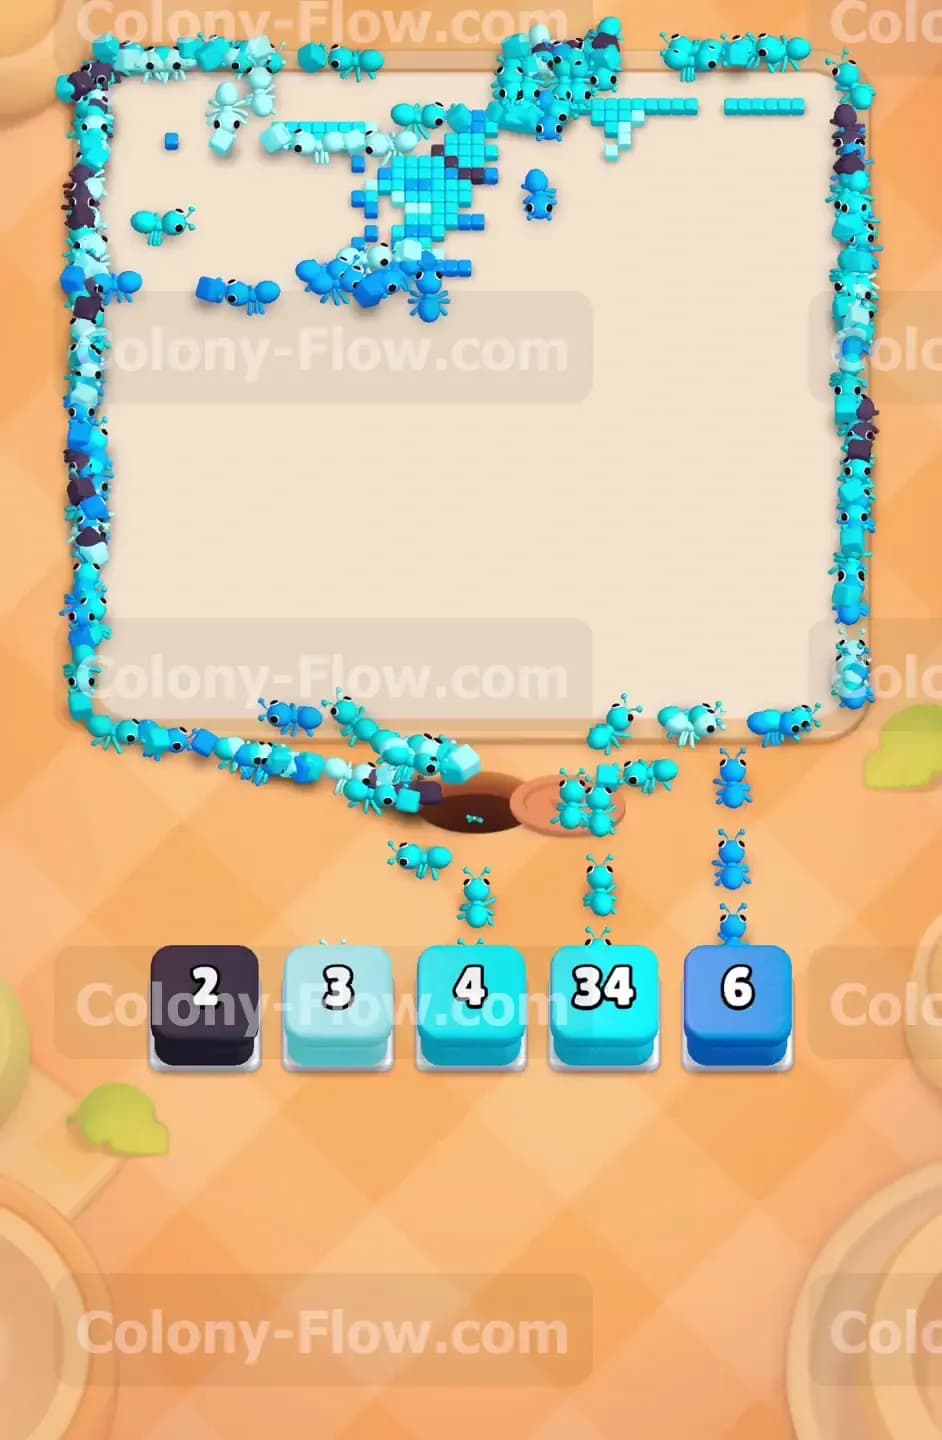
Removing the Hungry Door completely exposes the area holding the second key. Tap a light blue block to send ants into this newly opened space on the right wing. The ants will quickly devour the light blue tiles scattered all around the old door location. One of these tiles holds the second yellow key directly on top of it. Once the ants eat that specific tile, the second key joins the first one at the bottom of the screen. Your waiting slots stay totally empty because you planned the path perfectly before pulling the block from the tray.
Step 8: Push towards the final key on the left.
You now need to shift your focus to the top left section of the umbrella where the final key rests waiting for you. Pull a cyan block from the tray to clear the large cyan patches on the left side of the canopy. The ants will march around the remaining dark blue structural lines and eat the cyan sections from the outside in. This clears a massive area and leaves only a few light blue tiles protecting the final key. Taking down these large cyan sections also reduces the total tile count significantly and gives you plenty of open room to maneuver your future blocks.
Step 9: Collect the third key and unlock the tray.
Tap a small light blue block to finish off the remaining tiles holding the third key. The ants will run straight up the left side of the board and eat the tile under the last yellow key. The key drops down to the tray and the lock covering the column finally breaks open with a satisfying click. The locked column is now fully accessible and ready to use. This action reveals fresh high number blocks that you desperately need to finish the massive top section of the umbrella. You managed to unlock the column just in time before running out of valid moves in your open tray slots.
Step 10: Unleash the high number blocks.
The top of the umbrella consists of massive blocks of light blue and cyan tiles that require a huge amount of ants to clear. Now that your tray is unlocked you can use the powerful blocks holding numbers like eighty and one hundred. Tap a huge light blue block from the newly opened column to see what happens. Watch as a massive swarm of ants pours out of the hole and completely floods the top of the picture. The giant patches of light blue will melt away in mere seconds as the ants swarm the pixels. This move is incredibly satisfying and completely transforms the look of the board.
Step 11: Clear the remaining cyan patches.
Following the massive light blue clear you are left with several large cyan patches sitting snugly between the dark blue umbrella ribs. Pull a high number cyan block from the tray to send out the next wave. The cyan ants will quickly fill the gaps and consume all the remaining cyan tiles in the upper half of the canopy. Your board is now looking very empty and clean. You only have the dark blue ribs and the black top pieces left to clear. Your waiting slots are totally safe because the board is wide open and the ants can travel absolutely anywhere they want without getting stuck.
Step 12: Remove the dark blue ribs.
The internal structure of the umbrella relies on the dark blue ribs spanning across the picture to hold the shape together. Tap a dark blue block from your tray to send the next group of ants onto the board. The dark blue ants will march up the open spaces and trace the thin lines stretching across the top area. The ribs will disappear piece by piece until nothing is left but the very top points and the outside edges. You have successfully stripped away the inner framework of the picture without causing any pathing issues in your waiting slots.
Step 13: Clean up the final black tiles.
The very last tiles on the board form the black tips and the top handle point of the umbrella. Pull your final black block into the waiting slot to finish the job. The black ants will run all the way to the top of the screen and eat the final remaining tiles scattered at the very top. As the counter hits zero the board clears completely and the level ends. You have managed your waiting slots perfectly and navigated every special tile to secure the win.
Final Thought
Clearing this board requires patience and a really good eye for pathing around obstacles. You have to balance collecting the keys with opening the path to the Hungry Door without making mistakes. If you ever feel stuck on a specific section or if a path description feels a bit confusing, please watch the video above this article. Seeing the ants move in real time will help you understand exactly how to keep your waiting slots empty and win the level.