Colony Flow Level 1100 Walkthrough Solution & Guides | How to solve Colony Flow 1100

Guide By Liam Stone
Updated on August 12, 2026
Want the shortcut? Watch the video above for the full Level 1100 solution.
Video doesn't match your screen?
Game updates frequently scramble layouts! Try our AI Screenshot Solver first to find your exact board instantly, or report broken guides to our team.
Colony Flow Level 1100 throws a massive and colorful pixel art puzzle right onto your screen. You face a vibrant picture of a cute creature holding bright balloons under a giant red mushroom hat. I am Liam Stone, and I play every single stage myself to verify the exact sequences you need to win. I wrote this guide to help you beat this exact layout without getting stuck on the trickier sections. I know how frustrating it feels to fill up your waiting slots right at the end of a long level. You will find all the right block pulls and pathing strategies right here so you can clear the board smoothly. Follow my lead, and you will have this puzzle solved on your next attempt.
Colony Flow Level 1100 Overview
What You Are Working With
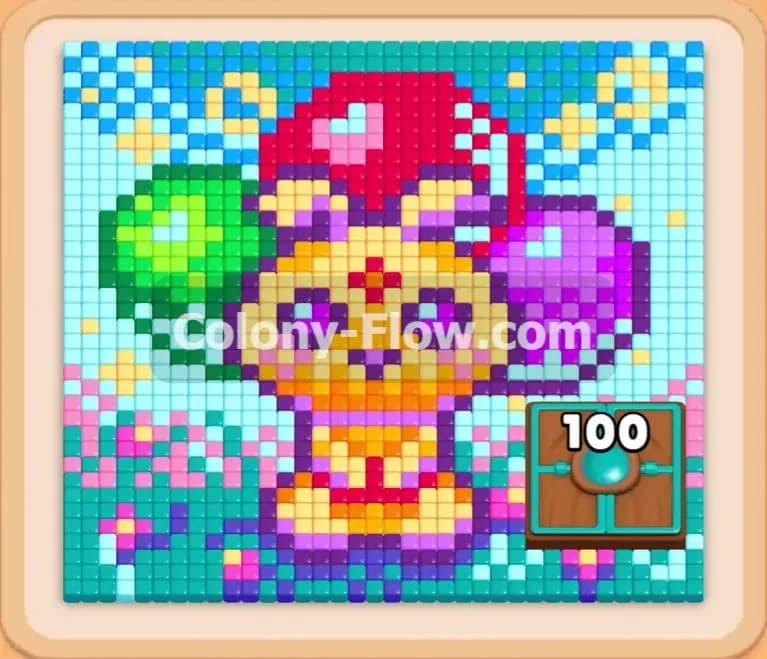
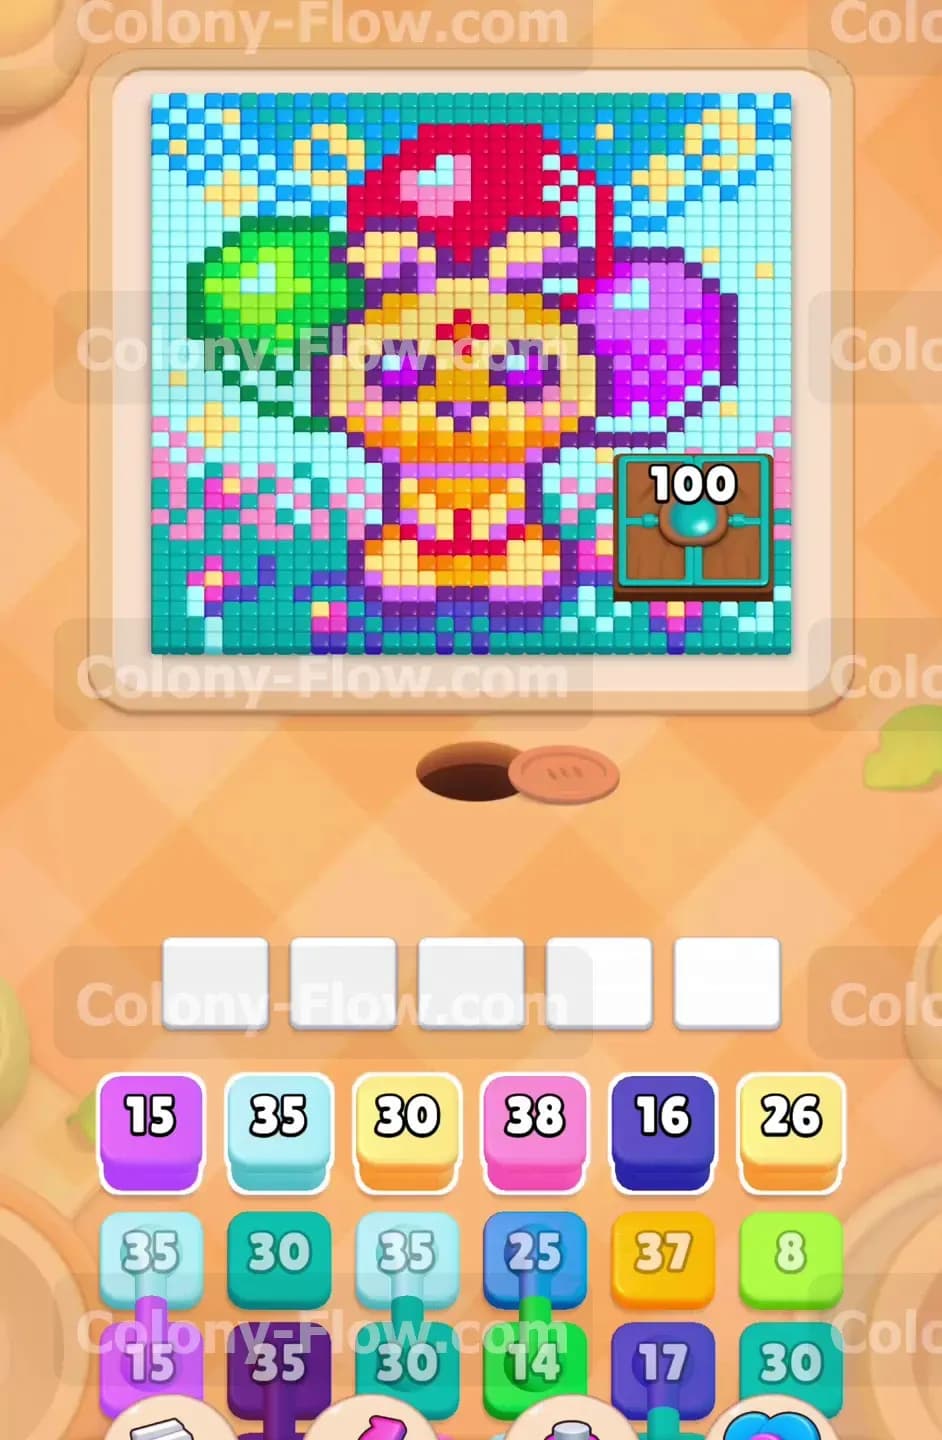
The board presents a beautiful pixel art character sitting in the middle of a light blue sky. The creature features a bright yellow and orange body with a giant red mushroom sitting perfectly on its head. A vibrant green balloon floats on the left side of the character while a deep purple balloon floats on the right. You also have a Hungry Door located directly on the bottom right side of the board. This Hungry Door displays a massive requirement of one hundred ants. The tray at the bottom contains dozens of numbered blocks in every color imaginable to match the picture. You will also deal with Connected Boxes heavily in this level. These are groups of blocks linked together with a physical line in the tray. When you pull one of these linked blocks the entire connected group moves into your active area at the exact same time.
What It Takes to Clear Level 1100 Board
You win the level by clearing every single colored tile from the screen and feeding all your ants. You manage a tray at the bottom of the screen with exactly five waiting slots. You must match the colored blocks from the tray to the exposed food tiles on the board above. The ants stream out of their nest hole at the bottom and follow the open paths to eat the matching food. You lose the game if you fill all five waiting slots and the ants have no valid paths to reach the required colors. Every single move you make must keep at least one path open so your slots never jam up. You must slowly chip away at the outer edges of the picture and feed the Hungry Door to open up the center of the board.
Colony Flow Level 1100 Step by Step Solution
Step 1: Open the bottom edges and start feeding the Hungry Door
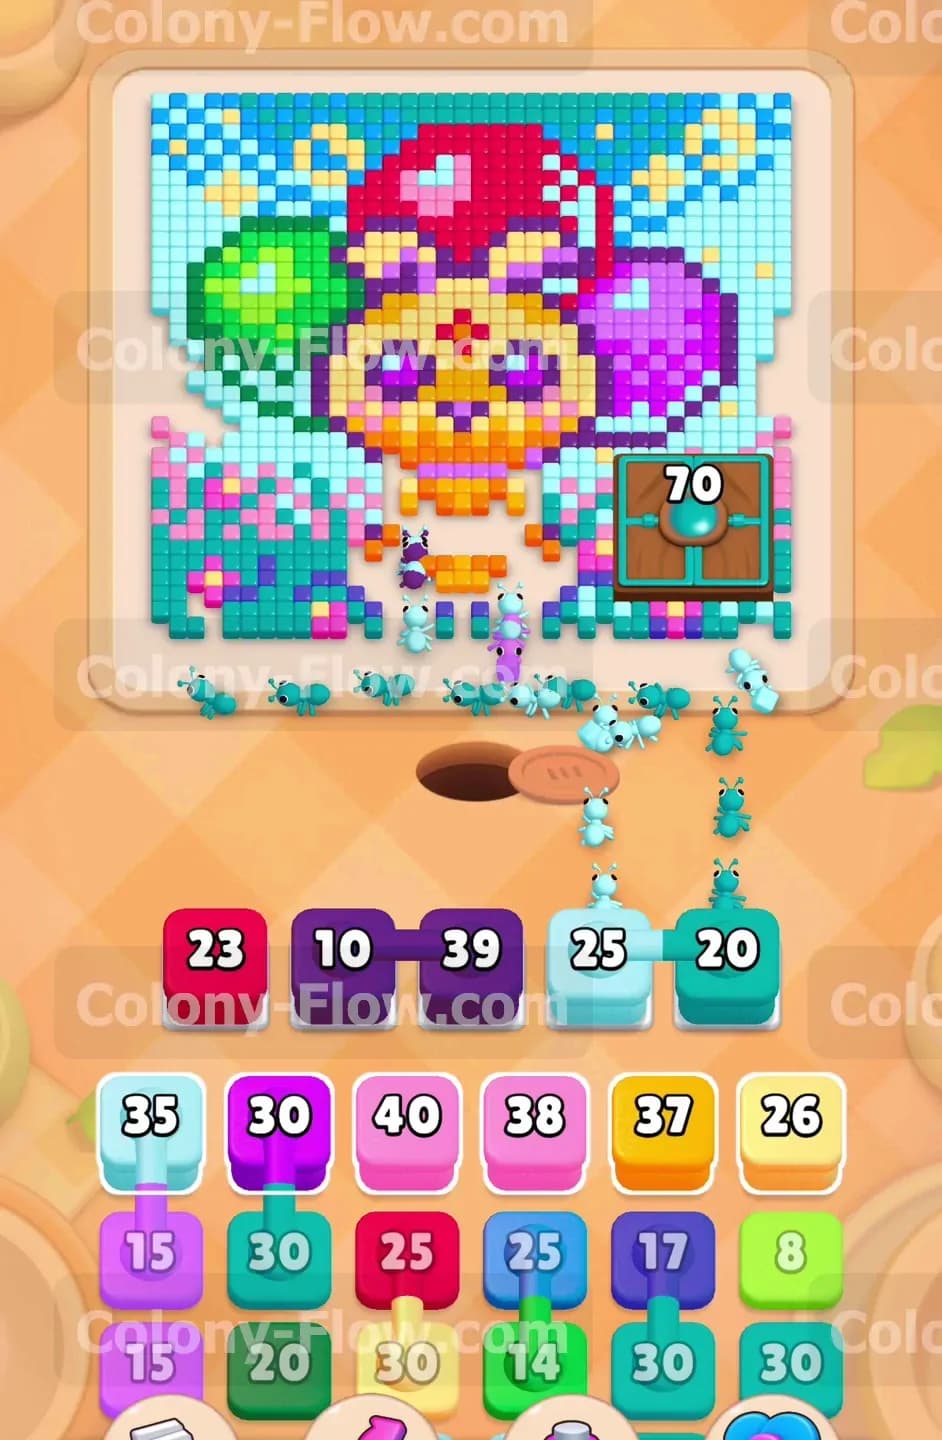
You begin the level by attacking the bottom corners of the pixel art. The Hungry Door blocks a large portion of the right side and demands one hundred ants before it opens. You pull the light blue and dark pink blocks from the tray to start clearing the bottom left corner of the background. The ants stream out of the nest hole and march directly to the exposed tiles on that side. You also pull blocks that match the colors required by the Hungry Door. The ants begin their long process of clearing the required colors and draining the counter from one hundred down to zero. You must manage your five waiting slots very carefully during this opening phase. You only pull enough blocks to keep a steady flow of ants moving so you never dead end the board early. If you pull too many colors at once, the ants will have nowhere to go and you will fail the level right at the start.
Step 2: Deploy the first Connected Boxes to clear the lower sections
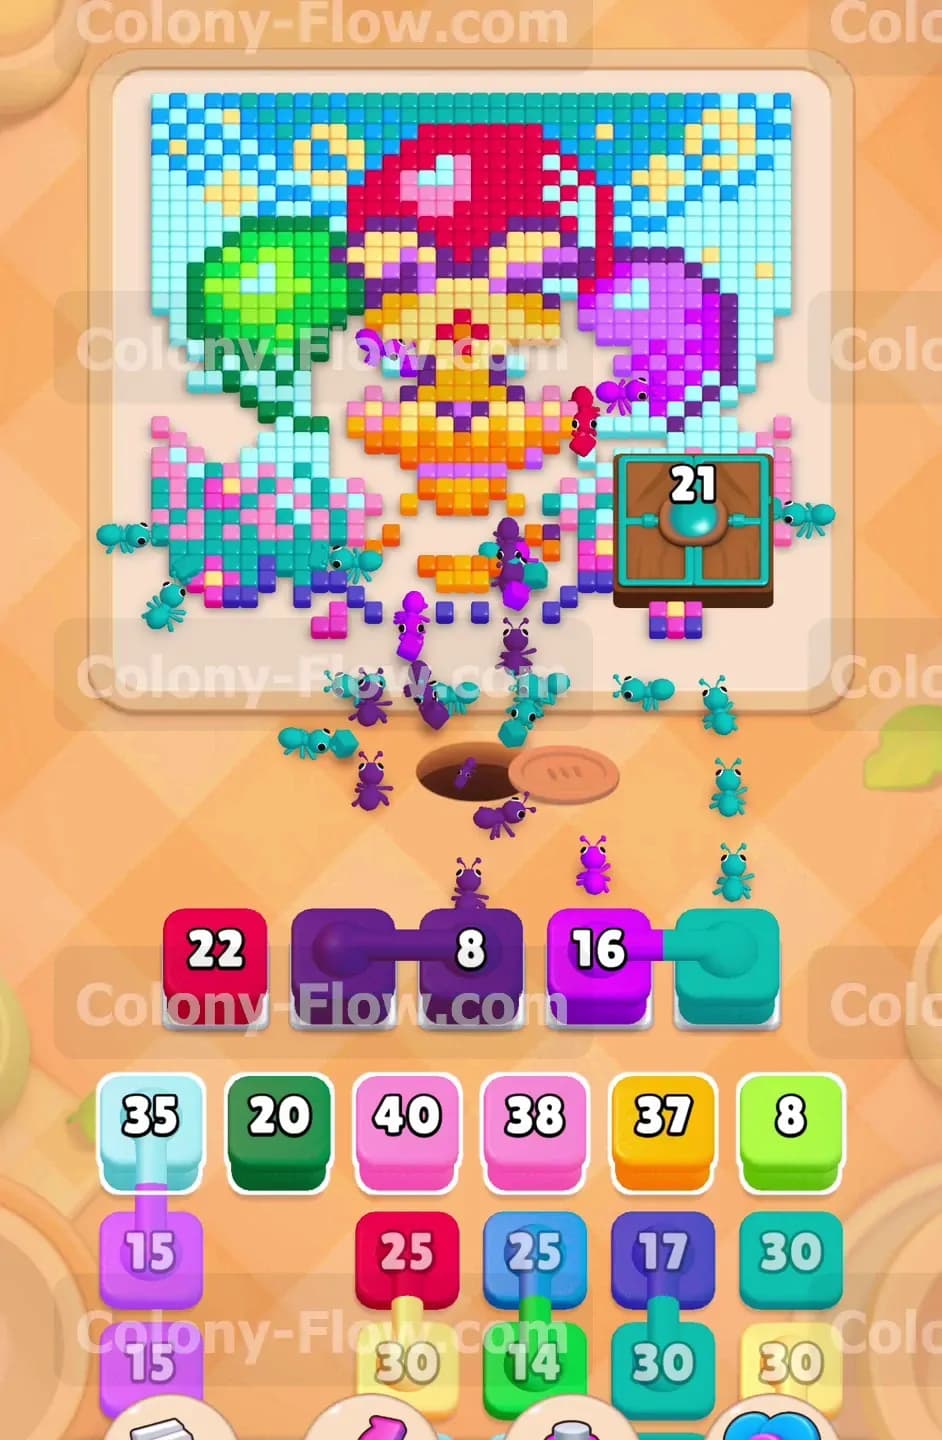
With the bottom corners partially open, you face your first real challenge in the block tray. You need to pull a set of Connected Boxes featuring a dark purple block and a regular purple block. When you move Connected Boxes into the waiting slots, they travel together and consume multiple spaces instantly. You must guarantee the ants have a direct path to the purple tiles on the board before you make this move. You slide the connected set up into the slots, and the ants immediately rush out to eat the dark purple and purple tiles. Your waiting slots empty out quickly because the board paths remain totally clear. The ants continue pouring into the Hungry Door and drop its heavy counter down to twenty one. The bottom of the board looks much cleaner now, and the ants have a wider area to walk.
Step 3: Destroy the Hungry Door and pull the massive connected chain
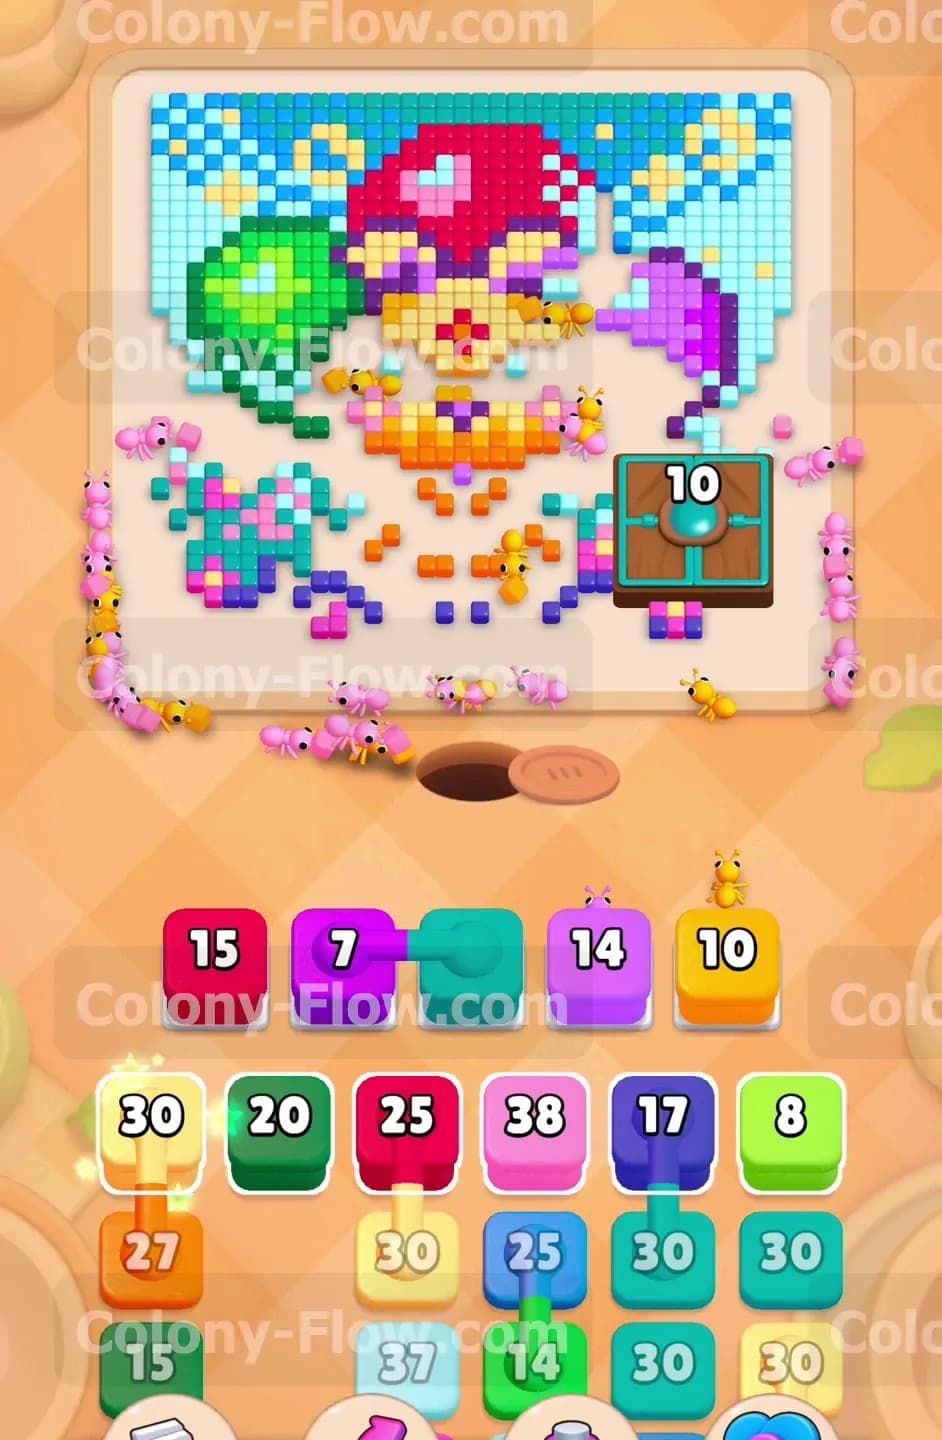
The Hungry Door finally reaches zero and vanishes from the board completely. This action opens up the entire lower right area and gives your ants full access to the center of the picture. The main character body consists of bright yellow and orange tiles. You pull the yellow blocks into your waiting slots so the ants can start hollowing out the center area. The tray now reveals an enormous chain of Connected Boxes. This chain links yellow, dark green, red, light purple, dark blue, and light green blocks together. You pull this massive chain into the slots because the yellow and green tiles are fully exposed on the board. The ants immediately consume the yellow center and the outer green pieces. This fast feeding clears the blocks out of your slots before a jam ruins your run. You always want to time your massive chain pulls when the board is wide open.
Step 4: Clear the red mushroom hat and hollow out the main body
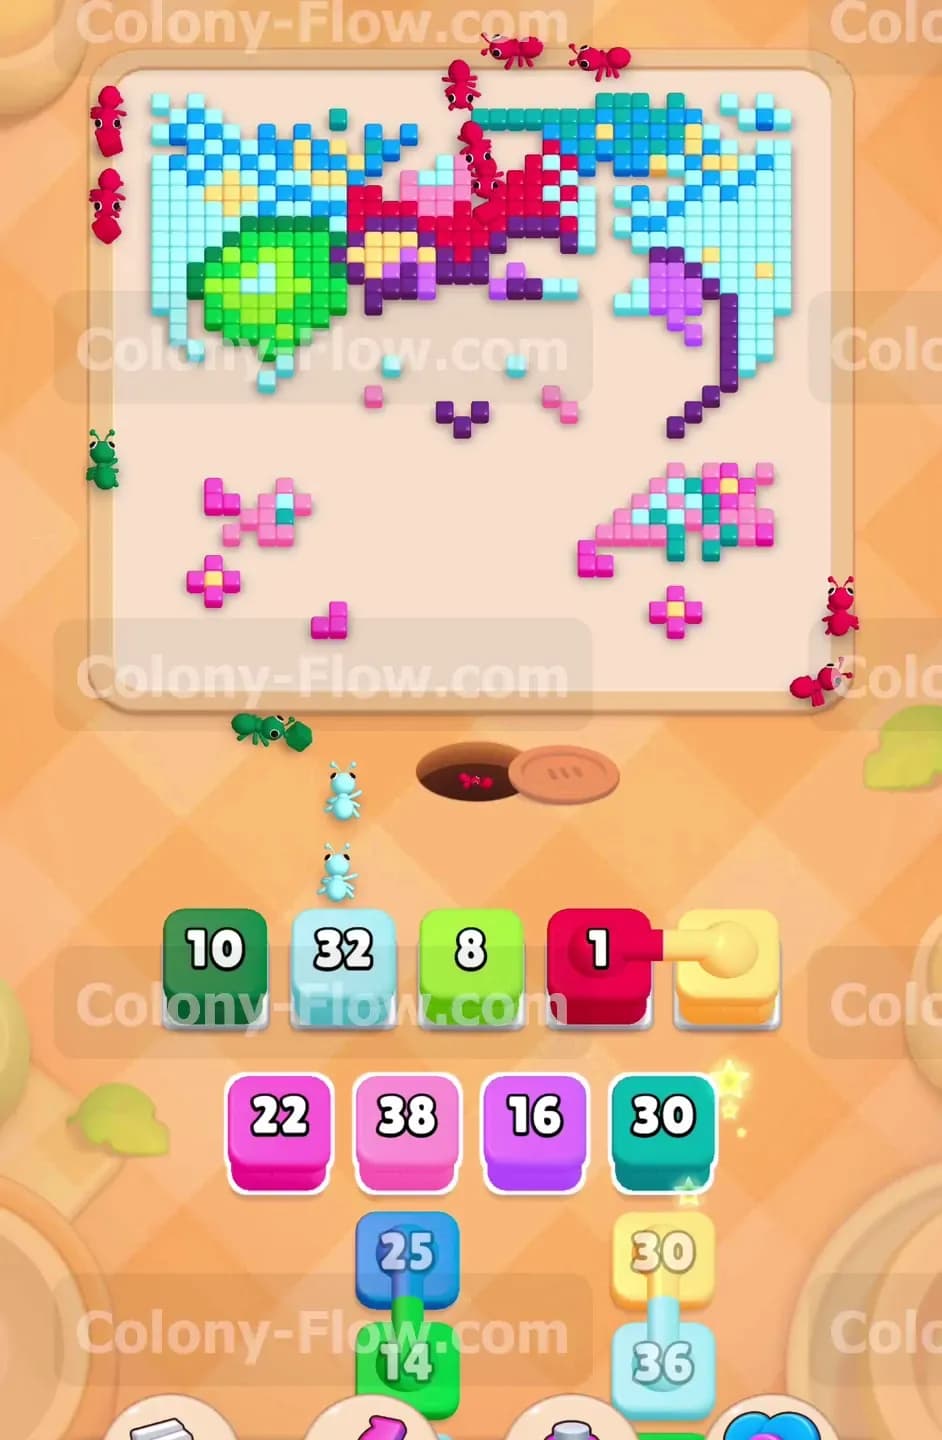
The yellow body of the creature disappears completely and leaves a large empty cavity in the middle of the board. The ants now have a direct open line to the red mushroom hat sitting on top of the character. You pull the red blocks from the tray into your open waiting slots. The ants march straight up the middle of the screen and begin devouring the red tiles. You also pull a few blue blocks to target the inner edges of the light blue sky. The walking distance is much longer now, so the ants take more time to travel from the nest hole to the upper tiles. You wait patiently for the slots to empty before you pull any more colors from the tray. You never want to rush a move and fill the tray while the ants are still walking to their destination. Patience is the key to surviving the middle section of this level.
Step 5: Consume the purple balloon and the green balloon on the sides
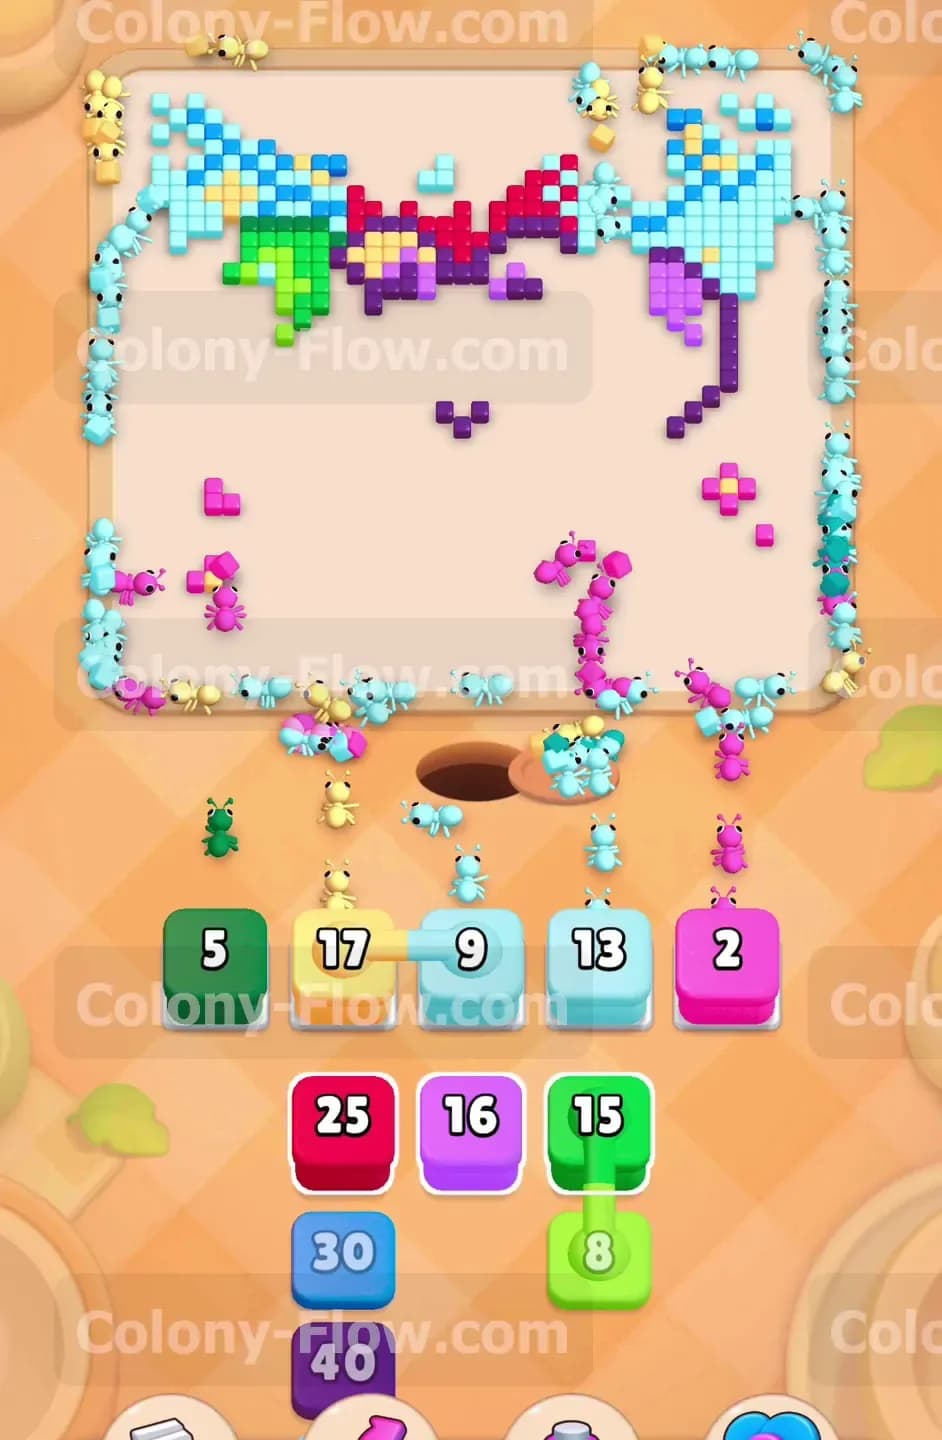
The red mushroom is mostly gone, and the ants turn their attention to the large balloons floating on either side. You pull dark green and light green blocks to finish off the remaining pieces of the left side balloon. You then pull dark purple and light purple blocks to dismantle the right side balloon. Your waiting slots handle several smaller numbered blocks like a green five and a pink two during this phase. Keeping the board active on both the left side and the right side prevents any heavy traffic jams near the nest hole. The ants systematically eat away the colorful pixels until only the very outer boundary of the background remains on the screen. The picture looks entirely different now that the main creature and the balloons are out of the way.
Step 6: Finish the outer sky background and the final connected group
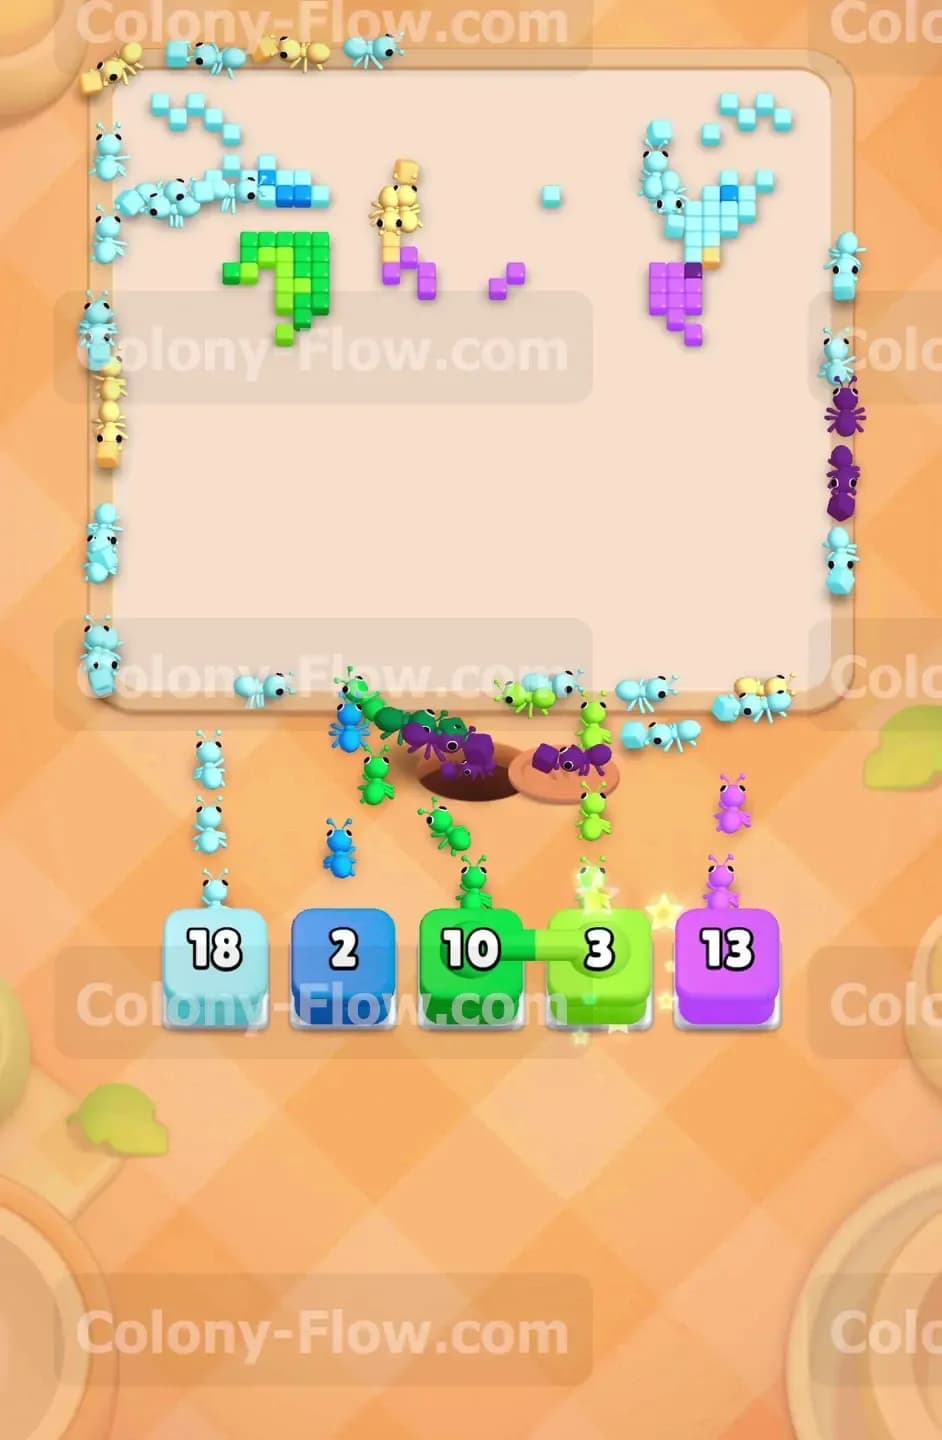
The board looks like a blank canvas surrounded by a thin broken frame of light blue tiles. You pull the last remaining set of Connected Boxes from the tray to clean up the stragglers. This final group contains a green ten, a light green three, and a purple thirteen. The ants rapidly consume the last scattered balloon pieces that match these exact colors. Your waiting slots open up one final time for the closing moves of the level. You pull the large light blue blocks into the tray to send the ants all the way around the far edges of the screen. The ants clear the top corners, and the final pixels vanish from the board. You win the level when the board sits completely empty and the tray has no more blocks to pull.
Final Thought
Colony Flow Level 1100 requires patience and a really good eye for color paths. You just need to manage those Connected Boxes carefully and keep the Hungry Door fed early on to guarantee your success. Never rush your pulls when the ants have a long distance to travel. If you find any of these steps hard to visualize through text, I highly recommend you watch the video above this article. Seeing the ants pathfind in real time makes managing the five waiting slots much easier to understand. Good luck clearing the pixels and keeping your ant colony moving forward.