Colony Flow Level 356 Walkthrough Solution & Guides | How to solve Colony Flow 356

Guide By Liam Stone
Updated on July 18, 2026
You don't have to read the whole guide. The video above shows you exactly how to clear Level 356.
Video doesn't match your screen?
Game updates frequently scramble layouts! Try our AI Screenshot Solver first to find your exact board instantly, or report broken guides to our team.
Colony Flow Level 356 brings a charming pixel art challenge that demands strict tray management and careful timing. You face a cute character with a massive dark hat and bright eyes resting against a solid green background. The trick to winning is steering the flow of ants perfectly so your five waiting slots never jam up. I played this board multiple times to find the safest route through the colors and avoid dead ends. I will walk you through exactly how I clear this board from start to finish without making any mistakes.
Colony Flow Level 356 Overview
What You Are Working With
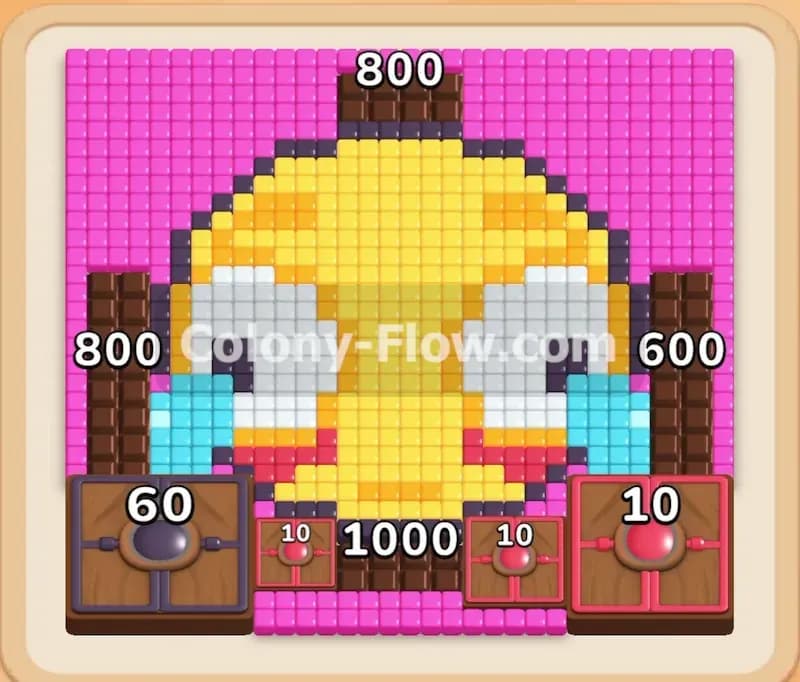
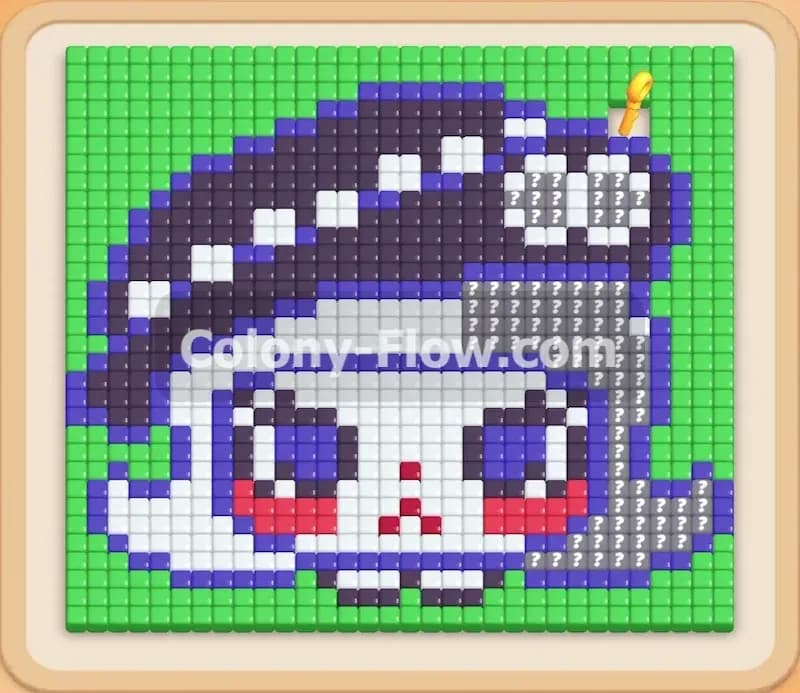
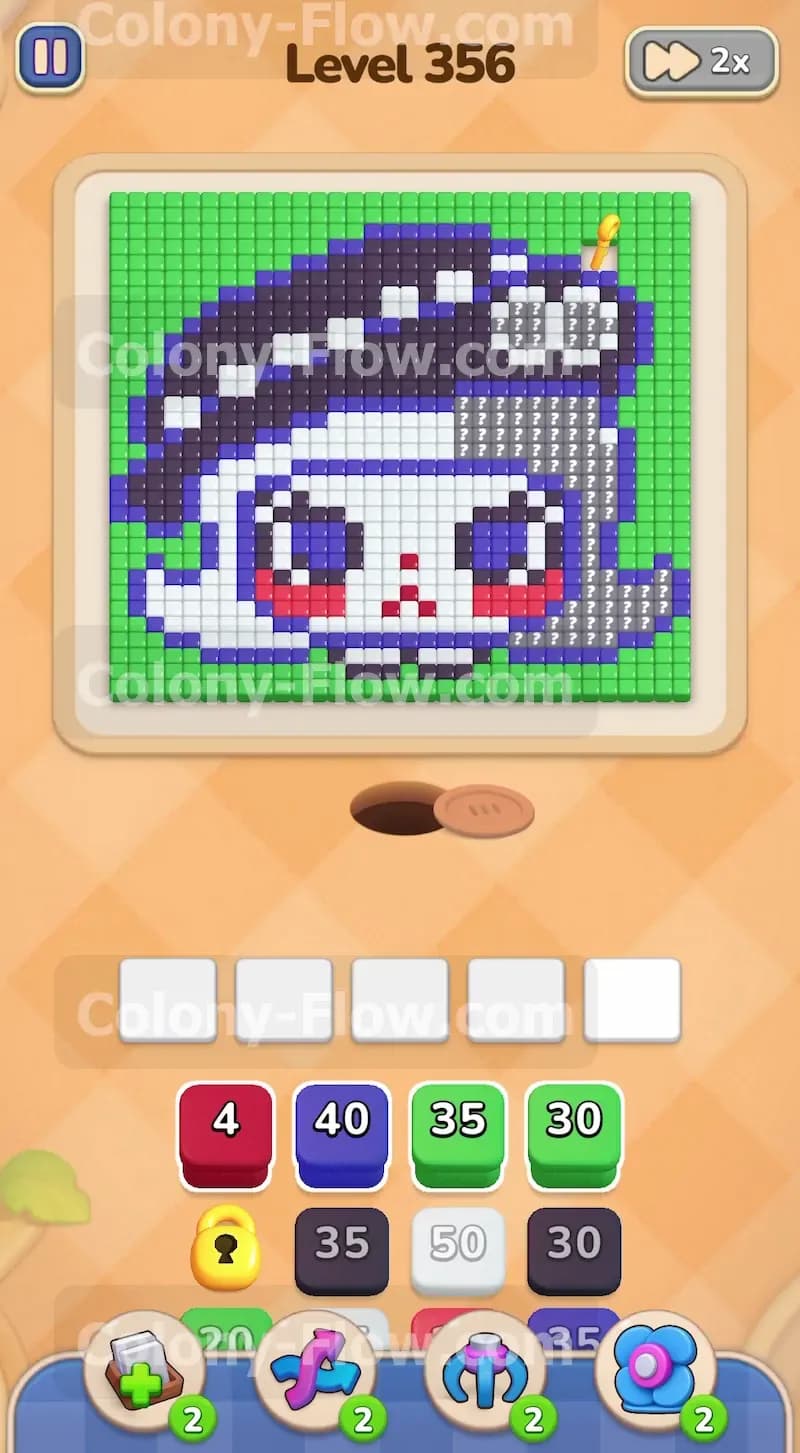
The board displays a large pixel art face built out of white tiles outlined in bright blue. The character has large blue eyes and tiny red cheek squares that add extra color to the center. On top of the face sits a heavy dark hat constructed from black tiles and dark blue tiles with white flower shapes acting as decorations along the rim. A thick border of green background tiles surrounds the entire character and walls off the edges of the screen. At the extreme top right corner of the hat rests a single yellow key. Down in your tray you find a dense mixture of colored numbered blocks. You have a red block along with several blue blocks white blocks and black blocks carrying numbers ranging from single digits up to fifty. Further down the tray holds a solid wall of green blocks waiting for the end of the game. You will also see a yellow locked block waiting in the lower section of the tray which blocks access to the final green pieces.
What It Takes to Clear Level 356 Board
Winning this level requires you to dismantle the character from the bottom up while keeping your tray slots completely fluid. You must start by feeding the ants the white tiles and blue tiles at the very bottom edge of the face. This initial action clears a pathway upward into the eyes and the dark hat. You must constantly balance pulling white blocks blue blocks and black blocks so the ants always have an open target to eat. If you pull the large green blocks too early you will fill your five waiting slots with blocks the ants cannot use yet. The ants cannot reach the green background without traveling completely around the character first. Your primary goal is to chew through the black hat to grab that top right yellow key. Once the ants secure the key the locked tray block opens up permanently and you can unleash a massive swarm of green ants to clear the remaining background.
Colony Flow Level 356 Step by Step Solution
Step 1: Clear the bottom boundary of the character face to open a path.
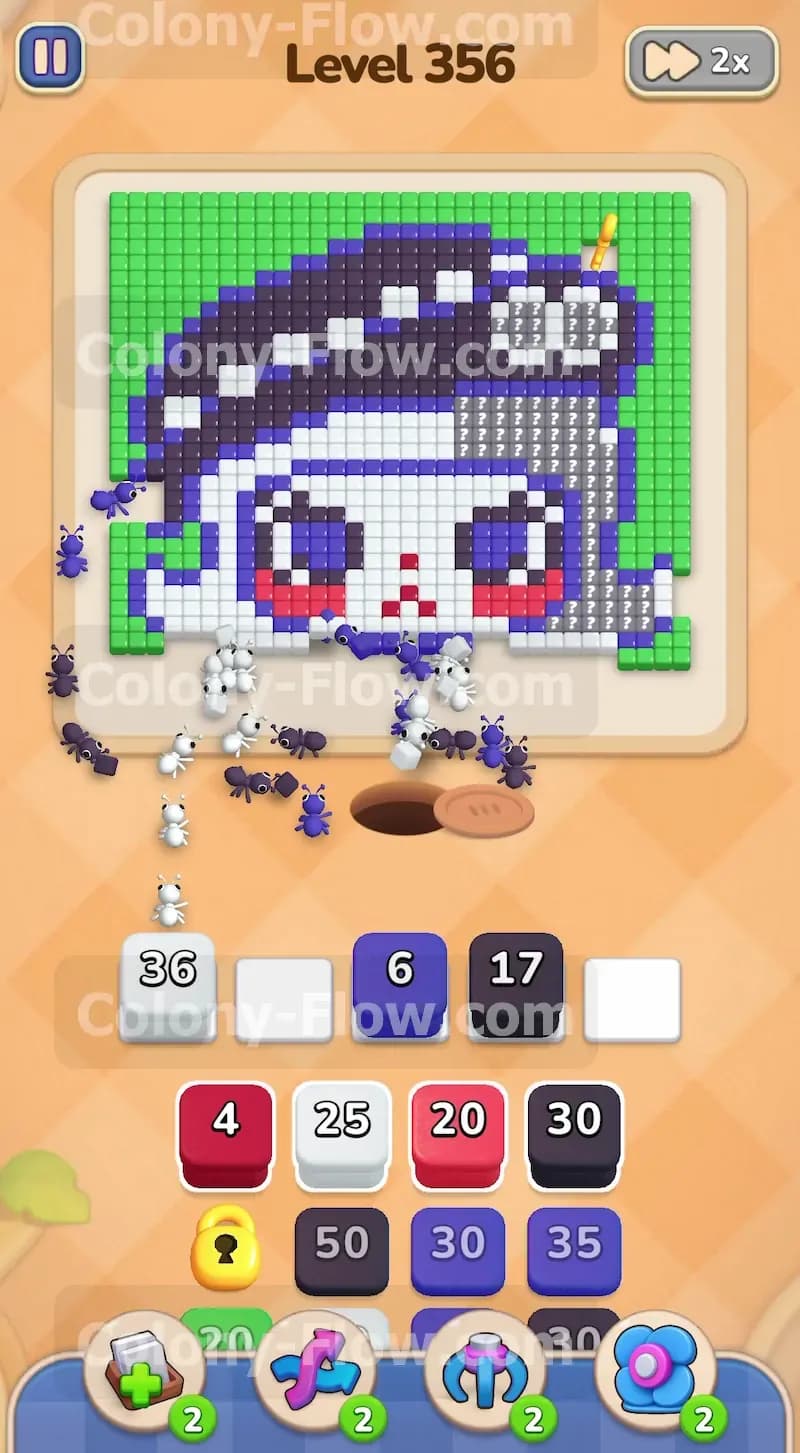
The ants emerge from the nest hole at the bottom center of the board and immediately touch the white face tiles and the blue outline tiles. Look at your tray and pull a white block and a small blue block into your five waiting slots to get the ants moving onto the board. Do not touch the green blocks under any circumstances at this stage. The ants have no direct path to the green background and pulling green blocks now will permanently clog your slots and cause you to lose the level. As the white ants stream upward they quickly chew through the chin and lower cheeks of the face. The blue ants follow right behind to eat the outline pieces holding the shape together. This initial attack creates a wide opening into the center of the board and gives you breathing room to pull larger blocks from the tray.
Step 2: Consume the white face and red cheek details with your first large blocks.
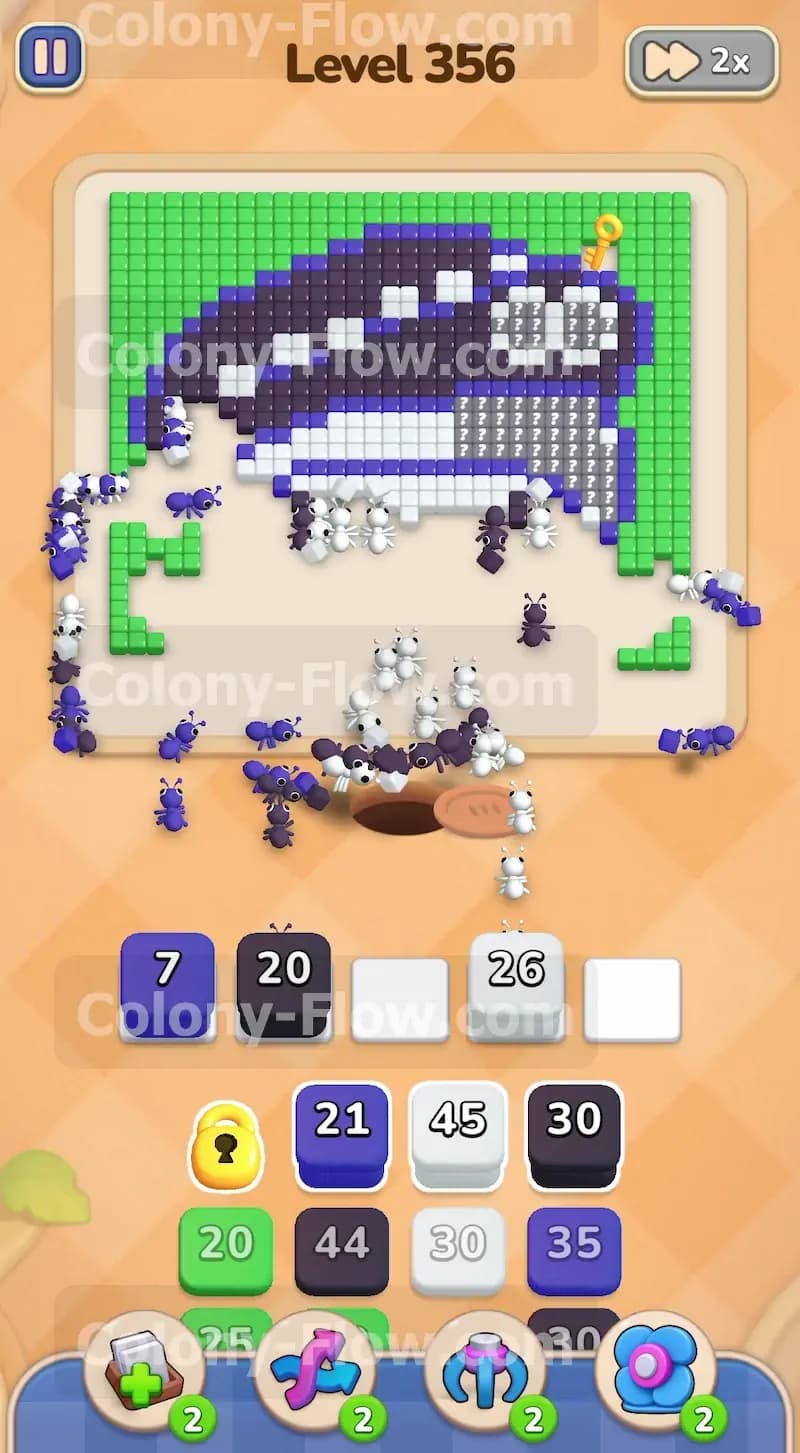
With the bottom boundary entirely gone the ants have direct access to the main white section of the face and the small red cheeks. Pull the red block from your tray to send a quick burst of red ants to clear those tiny cheek tiles out of the way. Then pull a large white block carrying a big number to keep the swarm moving through the vast field of skin tiles. The ants will spread out across the middle of the board to find their matching colors and eat everything in sight. You will see the white block numbers drop rapidly as the ants find plenty of valid targets. Keep a close watch on your waiting slots and only pull a new block when a previous block finishes counting down to zero. This steady methodical pace prevents the board from jamming while you expose the bottom edge of the massive dark hat.
Step 3: Attack the big blue eyes and the lower hat section using black and blue blocks.
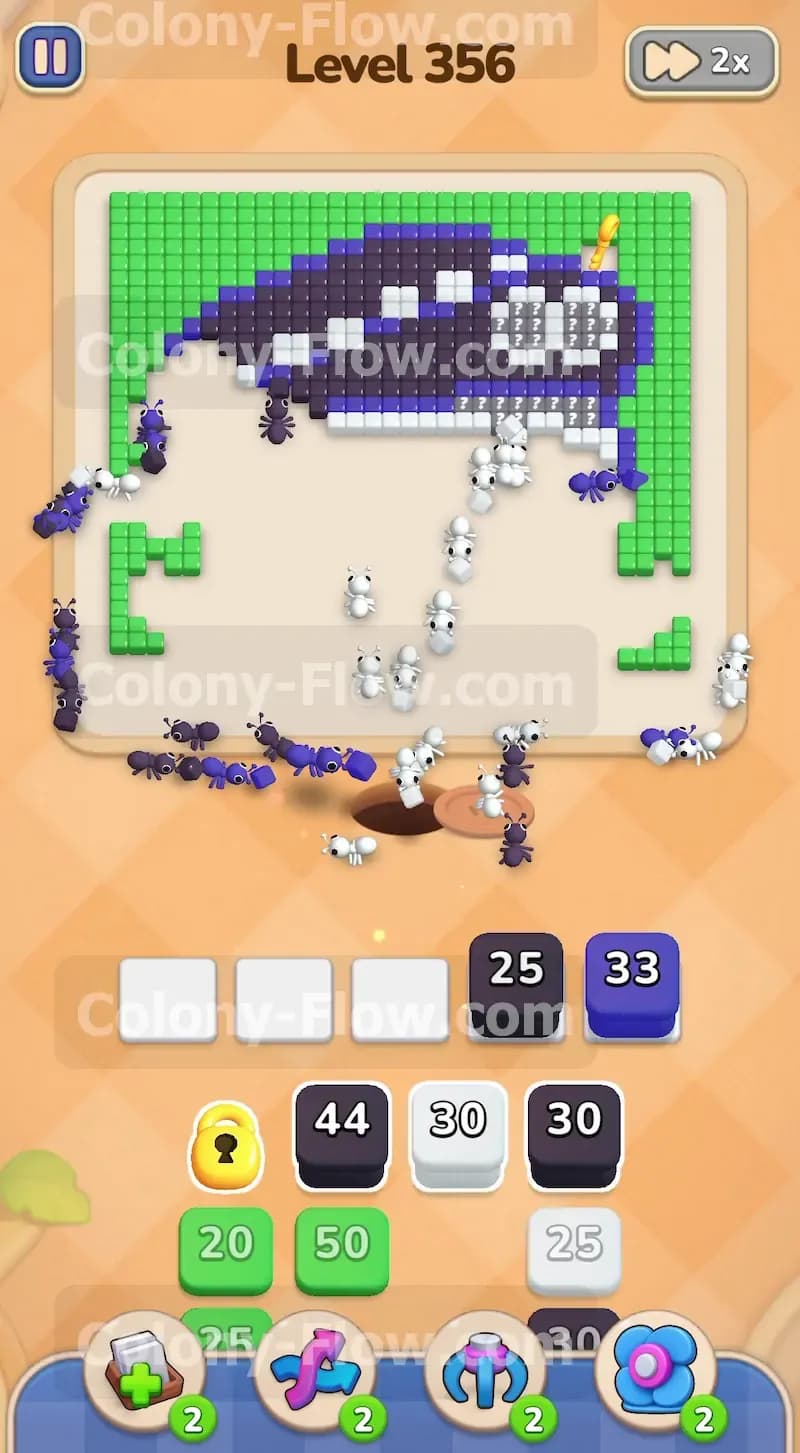
The huge blue eyes are now completely exposed to the nest hole. Pull a heavy blue block from the tray to unleash the blue ants onto the board. They will rush upward and devour the eyes while also picking away at the blue outline sections of the hat. At the exact same time you need to begin pulling black blocks into your open slots. The hat is primarily black and the ants need a huge volume of black units to make a dent in the shape. Pull a large black block into your tray and watch the ants stream into the lower half of the hat. You will also notice white decorations embedded in the hat structure. Pull a medium white block to let the ants clear those white flower shapes. Balancing the black blocks blue blocks and white blocks here guarantees your waiting slots remain clear of clutter.
Step 4: Eat through the top of the hat to grab the yellow key.
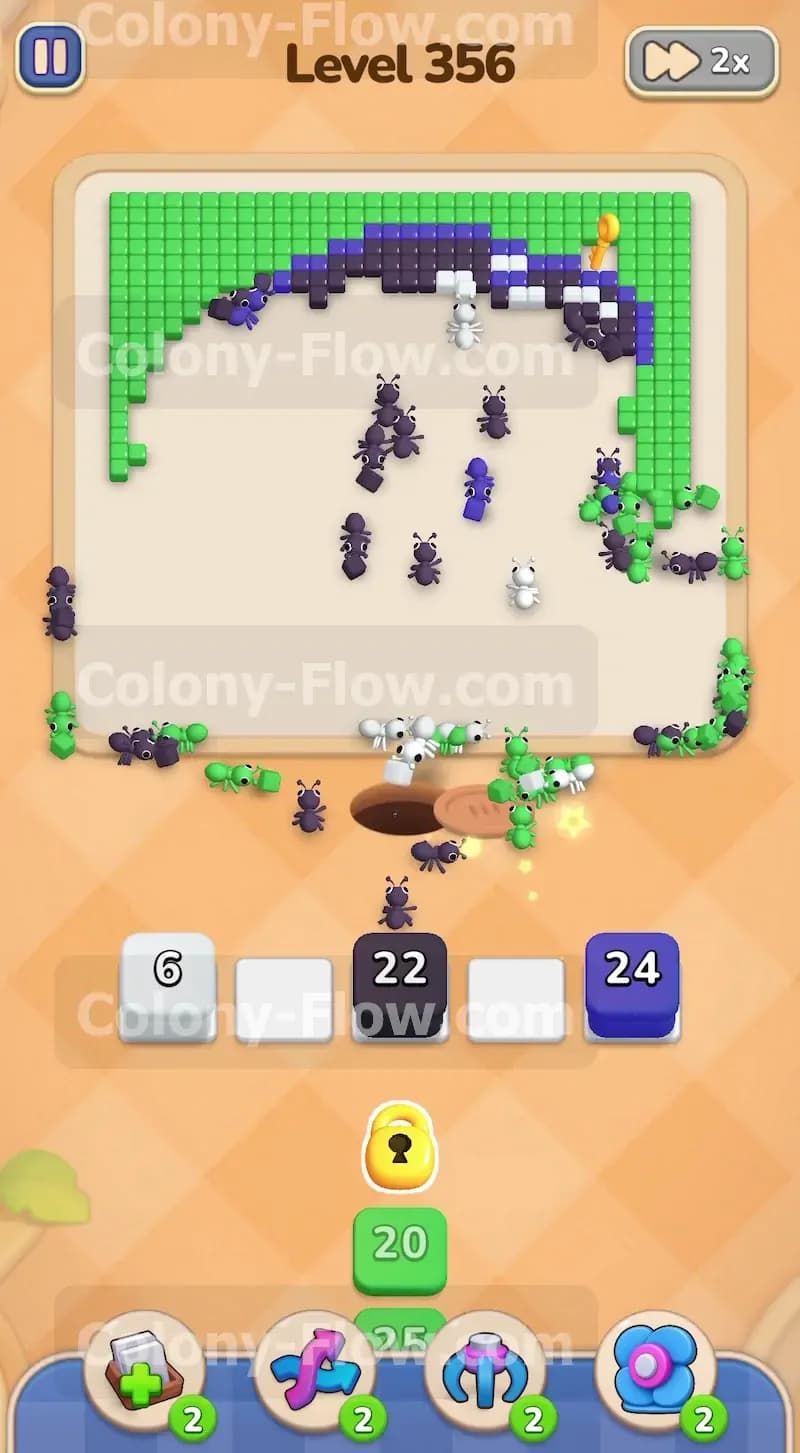
The face is entirely gone and only the top arc of the dark hat remains on the board. The yellow key sitting at the top right corner is finally within reach of the ant colony. Pull your remaining black blocks and blue blocks to clear the final dense layers of the hat. The ants will march up the left side of the remaining shape and spread across the top rim. As they consume the last black tiles they will physically touch the yellow key. The key will immediately fly down to your tray and unlock the yellow lock holding your progress back. Do not rush this delicate part by pulling green blocks before the key drops to the tray. Wait until the ants actually grab the key and the hat is fully erased from the board to keep your tray perfectly safe and open.
Step 5: Unleash the green swarm to devour the remaining background and finish the level.
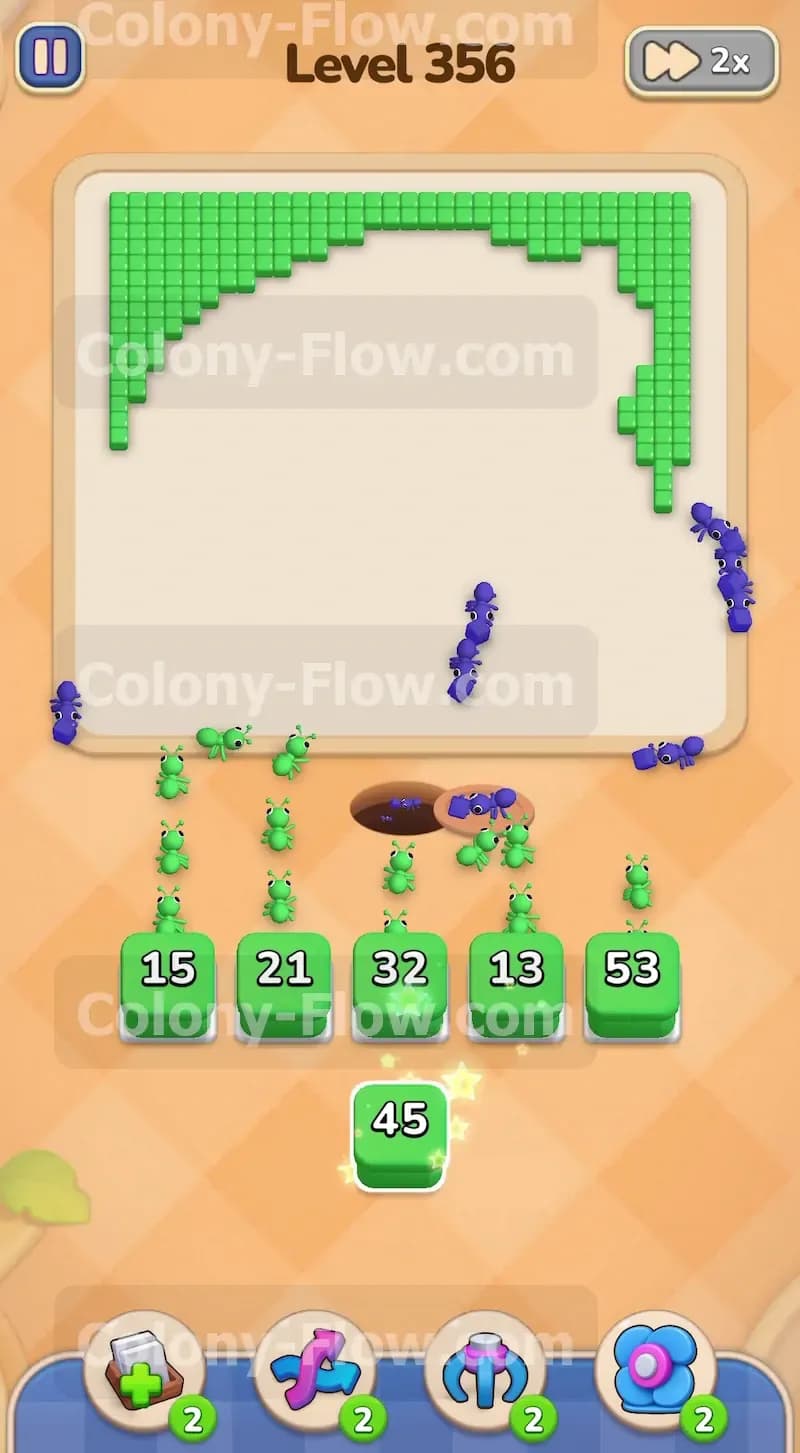
Collecting the key opens up the rest of your tray and leaves you face to face with the massive green background. The ants now possess wide open paths to the green tiles on the left side top edge and right side of the screen. Pull all the available green blocks into your five waiting slots without hesitation. Since the entire remaining board is solid green the ants will stream out by the hundreds. The numbers on your green blocks will count down incredibly fast as the colony floods the screen to feast. The swarm will wrap around the empty center space and chew through the remaining green pixels until the board is completely clear. You win the level the moment the final green tile vanishes from the screen.
Final Thought
Level 356 tests your patience and your ability to read the board layout from the ground up. The absolute biggest trap is pulling those green blocks before the yellow key is fully secure in your tray. By breaking down the face first and working steadily upward through the hat you guarantee your waiting slots always have an active path for the ants to travel. Taking your time with the black blocks and white blocks pays off immensely in the end. If you find yourself getting stuck on the hat section or jamming your tray please watch the video above this article to see the exact block timing in perfect motion.