Colony Flow Level 914 Walkthrough Solution & Guides | How to solve Colony Flow 914

Guide By Liam Stone
Updated on August 8, 2026
If skimming isn't enough, watch the video above for the full Level 914 walkthrough.
Video doesn't match your screen?
Game updates frequently scramble layouts! Try our AI Screenshot Solver first to find your exact board instantly, or report broken guides to our team.
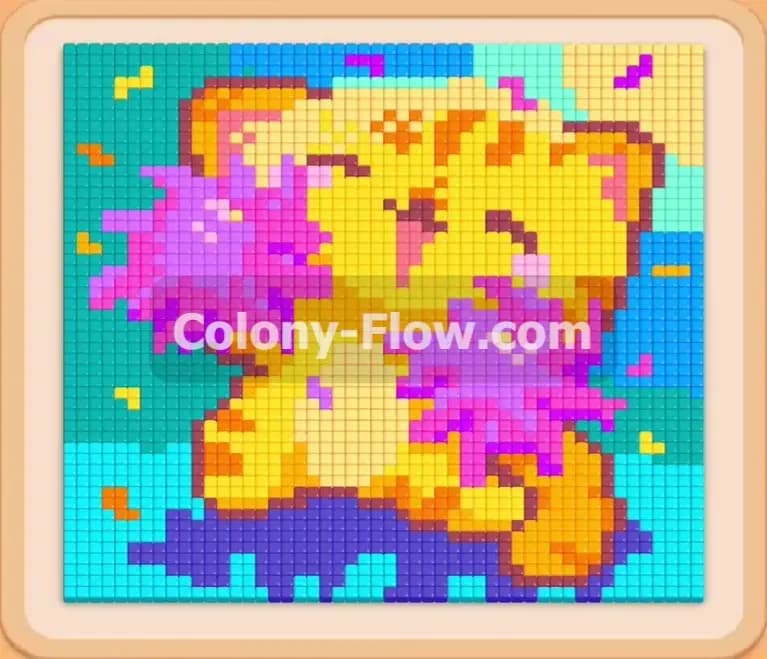
Welcome to Colony Flow Level 914. This board presents a massive pixel art image of a cheering yellow cat holding two bright pink pom poms against a blue and cyan background. I play every single puzzle to figure out the safest routes and this level requires careful tray management to avoid a complete traffic jam. You need to watch your paths open up and pull the right colors at the exact right moment to keep your ants moving.
Colony Flow Level 914 Overview
What You Are Working With
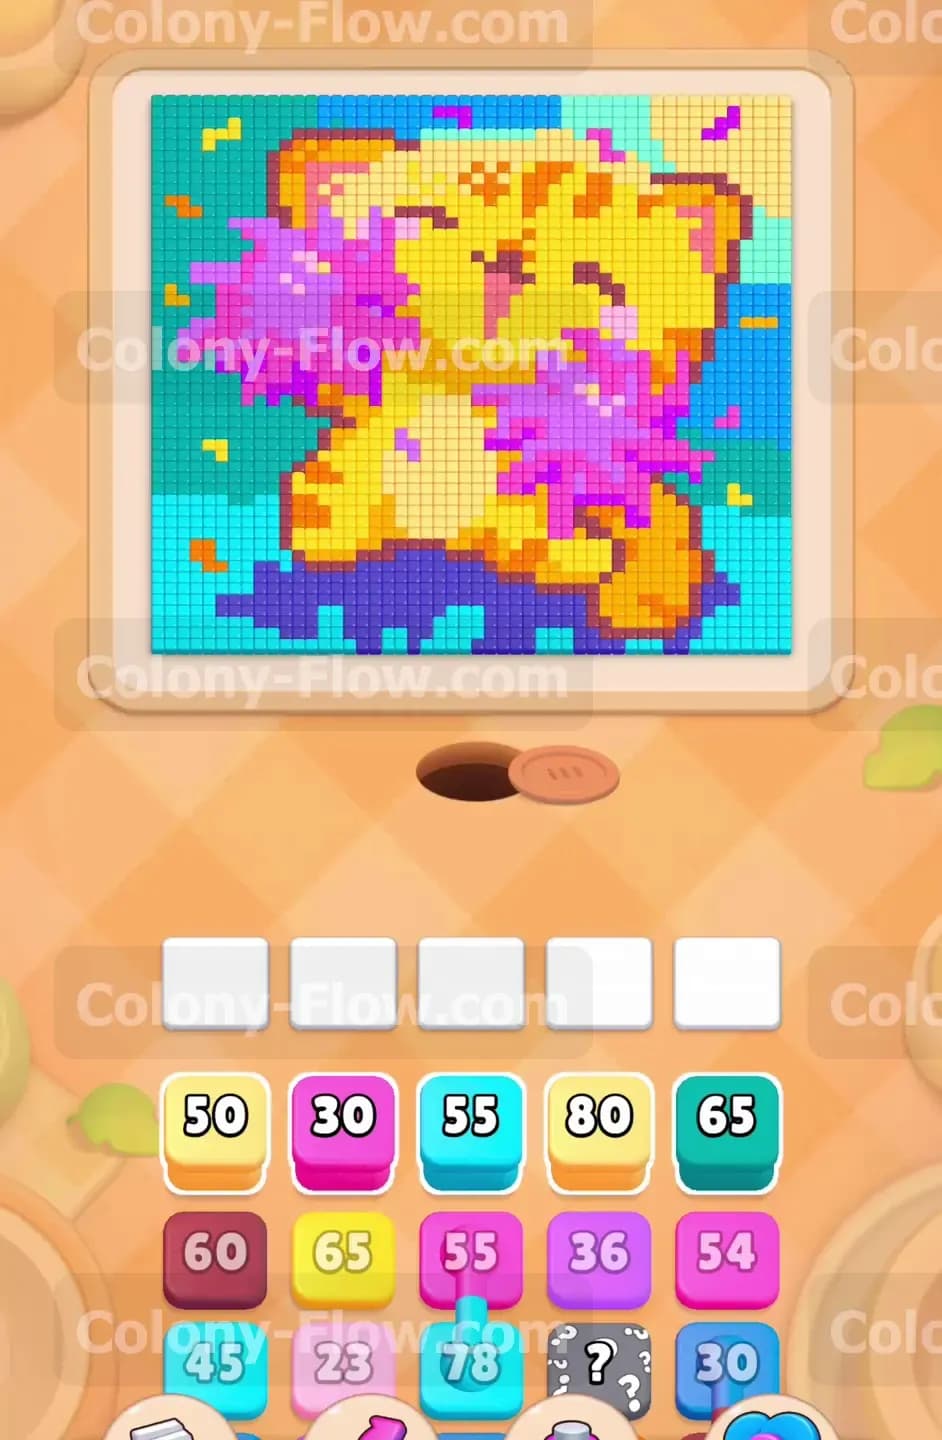
The picture on your screen shows a yellow cat with orange stripes holding massive pink fluffy pom poms. A cyan background wraps around the top and sides of the character. A dark purple ground area anchors the bottom of the picture right above the ant nest hole. You start with a full tray of colored blocks carrying large numbers. The top row holds a yellow 50 block, a pink 30 block, a cyan 55 block, a yellow 80 block, and a cyan 65 block. The rows underneath hide maroon blocks, purple blocks, and more pink blocks. You will also encounter connected boxes further down in your tray. These linked blocks have a small visual bridge between them and must move together into your active slots. Two hidden boxes sit in the third row down waiting for you to uncover them. They display gray question marks and keep their color a secret until you clear the blocks resting directly above them.
What It Takes to Clear Level 914 Board
Winning this stage means your ants must eat every single colored tile on the board before your five waiting slots fill up completely. You lose the game if you pull five blocks into the active waiting area and none of them can find an open path to matching food tiles. You must always maintain a clear walking route between the brown ant nest at the bottom of the screen and the target colors. The cyan border wraps around the cat and creates a thick wall on the left and right sides. You will systematically strip away the outer cyan and purple tiles to expose the pink pom poms and the yellow cat body underneath. You succeed by balancing the large number blocks with quick clearing small blocks so your waiting area never gets jammed.
Colony Flow Level 914 Step by Step Solution
Step 1: Start stripping the outer cyan background to open new walking paths
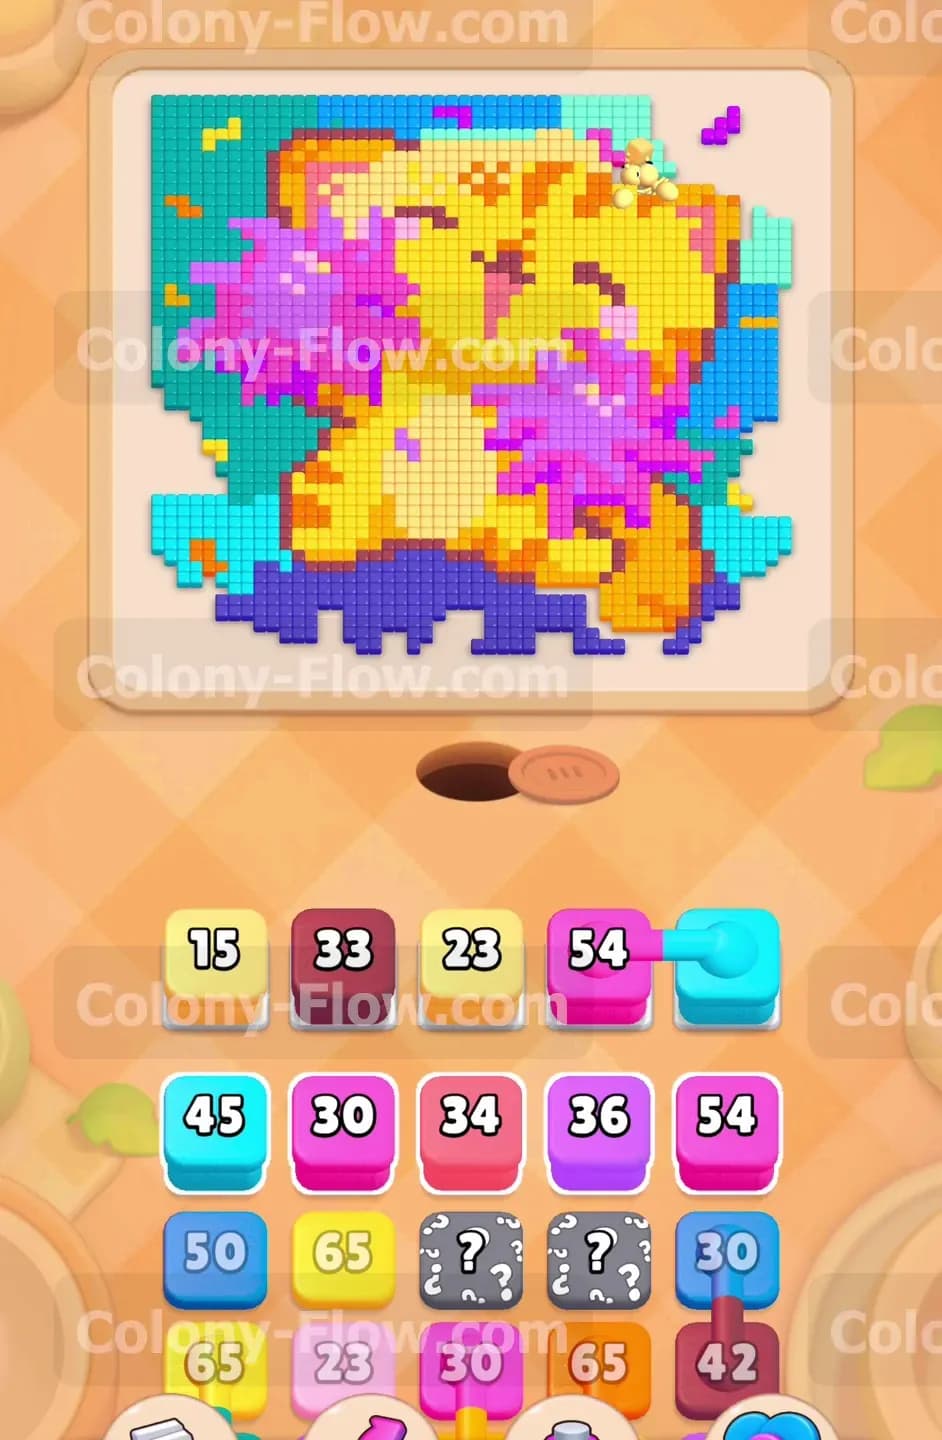
You begin by pulling the cyan 55 block and the yellow 50 block from the top row of your tray. The cyan block immediately sends a stream of ants to the outer right edge of the picture. They chew through the solid wall of blue and cyan tiles along the border. This creates a clear route toward the right pink pom pom. The yellow block targets the top left corner of the cat head and starts wearing down the border tiles there. Pulling these two pieces first ensures your ants have immediate targets without clogging your five waiting slots. The ants stream out of the nest hole and march up the right and left borders. You want to keep this momentum flowing steadily so you do not dead end the board early.
Step 2: Deploy the pink and purple blocks to dismantle the right side
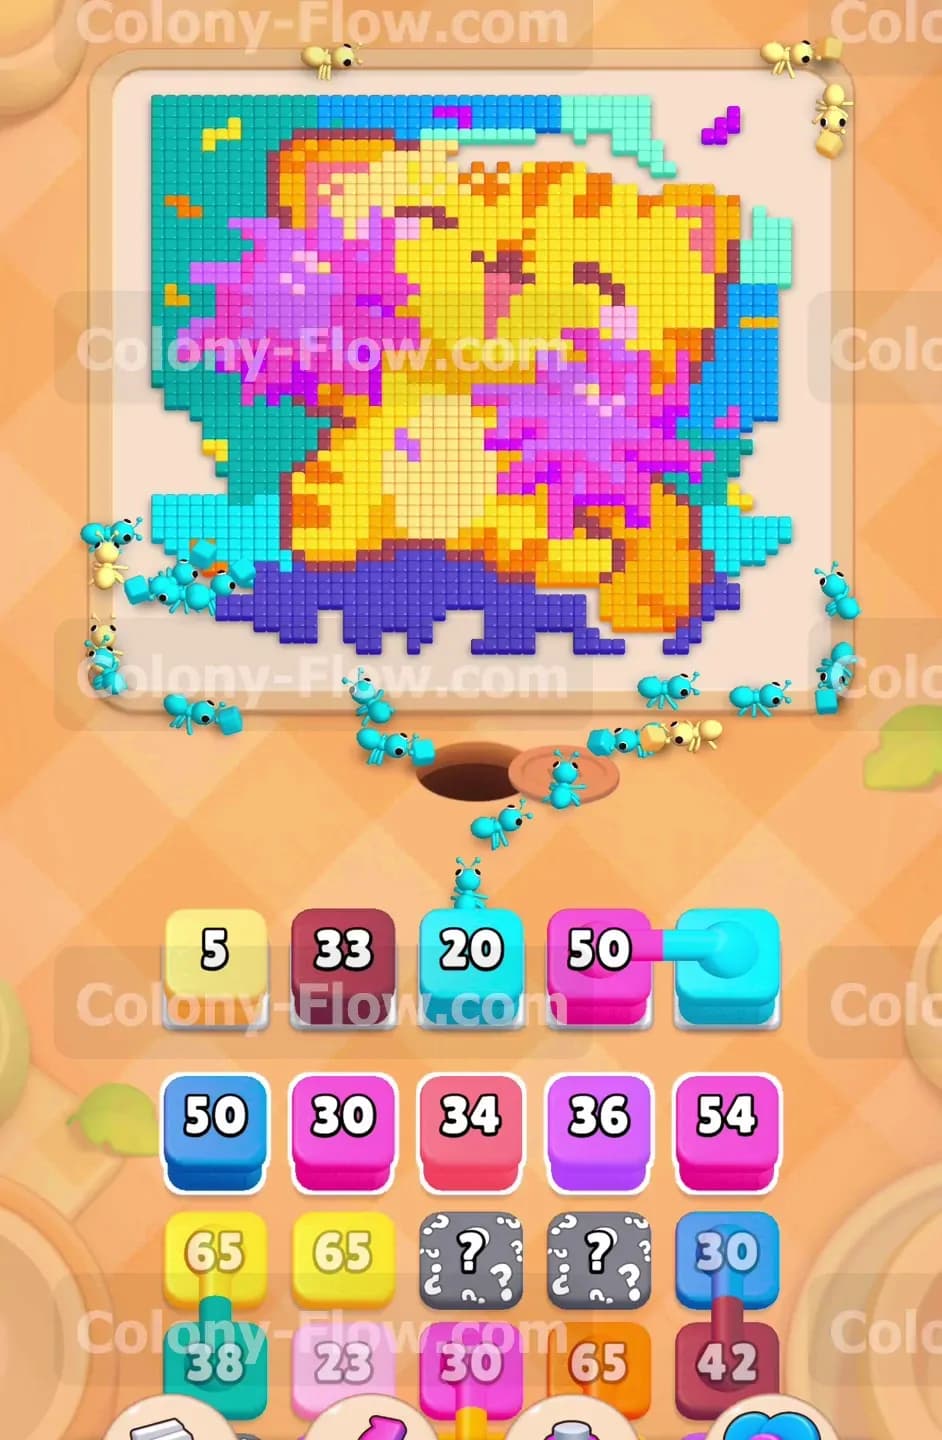
With the right cyan wall partially broken down you now have a direct line to the right pink pom pom. Pull the pink 30 block and the purple 36 block into your active slots. The ants swarm the bright pink tiles and start chipping away at the fluffy shape on the right side of the cat. The purple block targets the dark base beneath the cat feet. Clearing the purple ground area opens up a massive shortcut across the bottom of the board. The ants no longer have to walk all the way around the outside edges to reach the center tiles. Your pink block counts down to zero and vanishes from the slot. This frees up precious space for your next move.
Step 3: Clear the maroon and orange tiger stripes on the main body
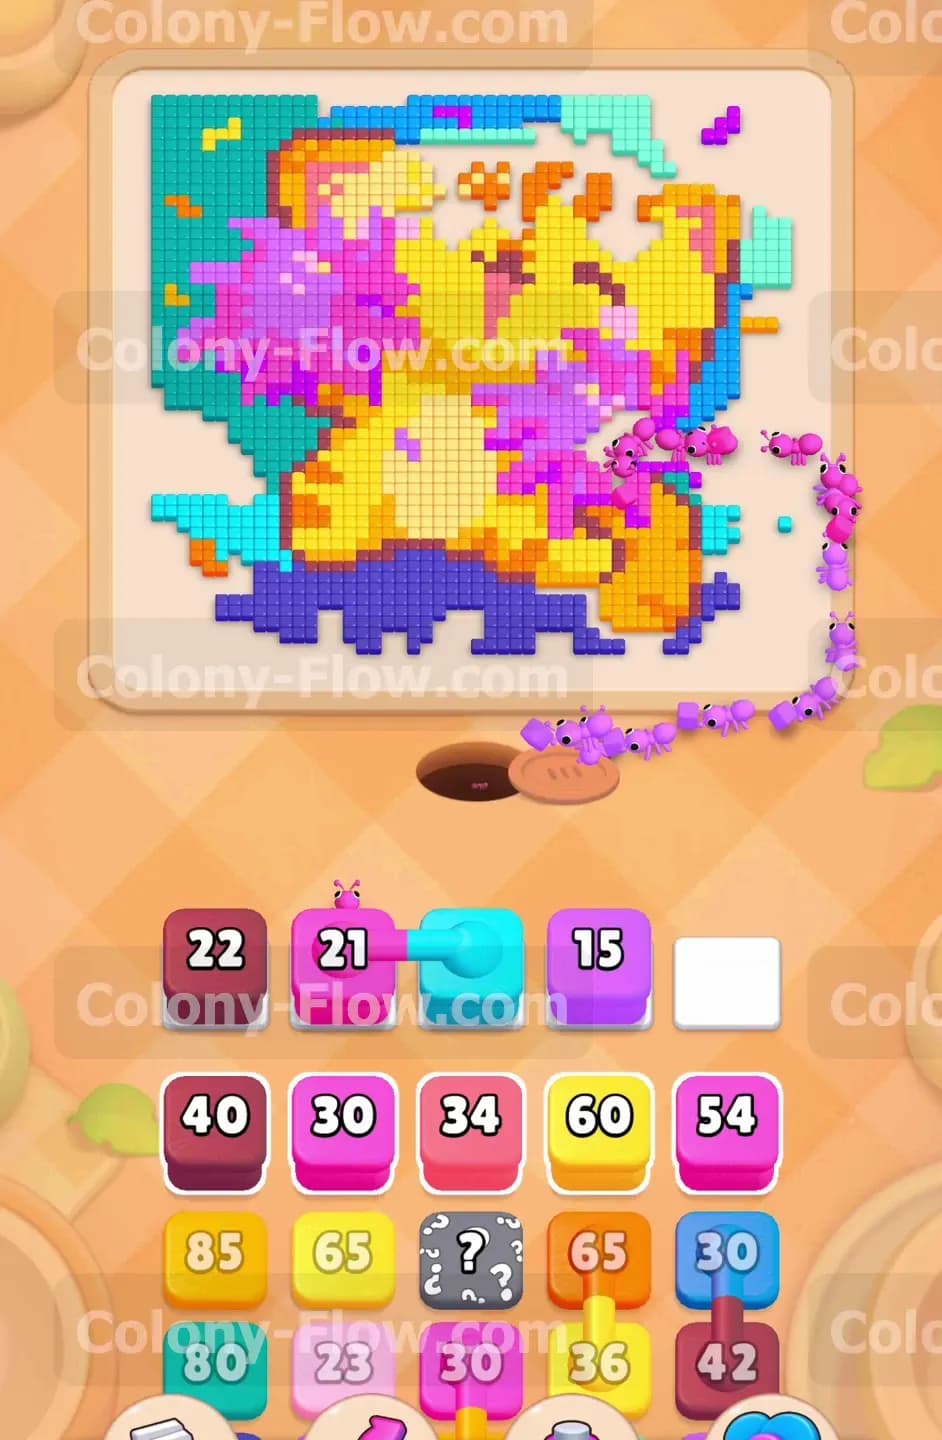
The cat body features thick orange and maroon stripes that you can now reach. Since the outer paths are fully open you can safely target the center. Pull the maroon 60 block and the yellow 65 block from the second row of your tray. The ants rush straight up the middle of the board and begin eating the orange stripes across the chest and face of the cat. The large numbers on these blocks mean they will sit in your waiting slots for quite a while. You must balance this delay by leaving your remaining active slots open for quick clears. Do not pull any other massive numbers just yet. Let the ants finish the entire middle section so the yellow 65 block clears completely and leaves your tray.
Step 4: Handle the connected cyan and pink blocks to clear the top left
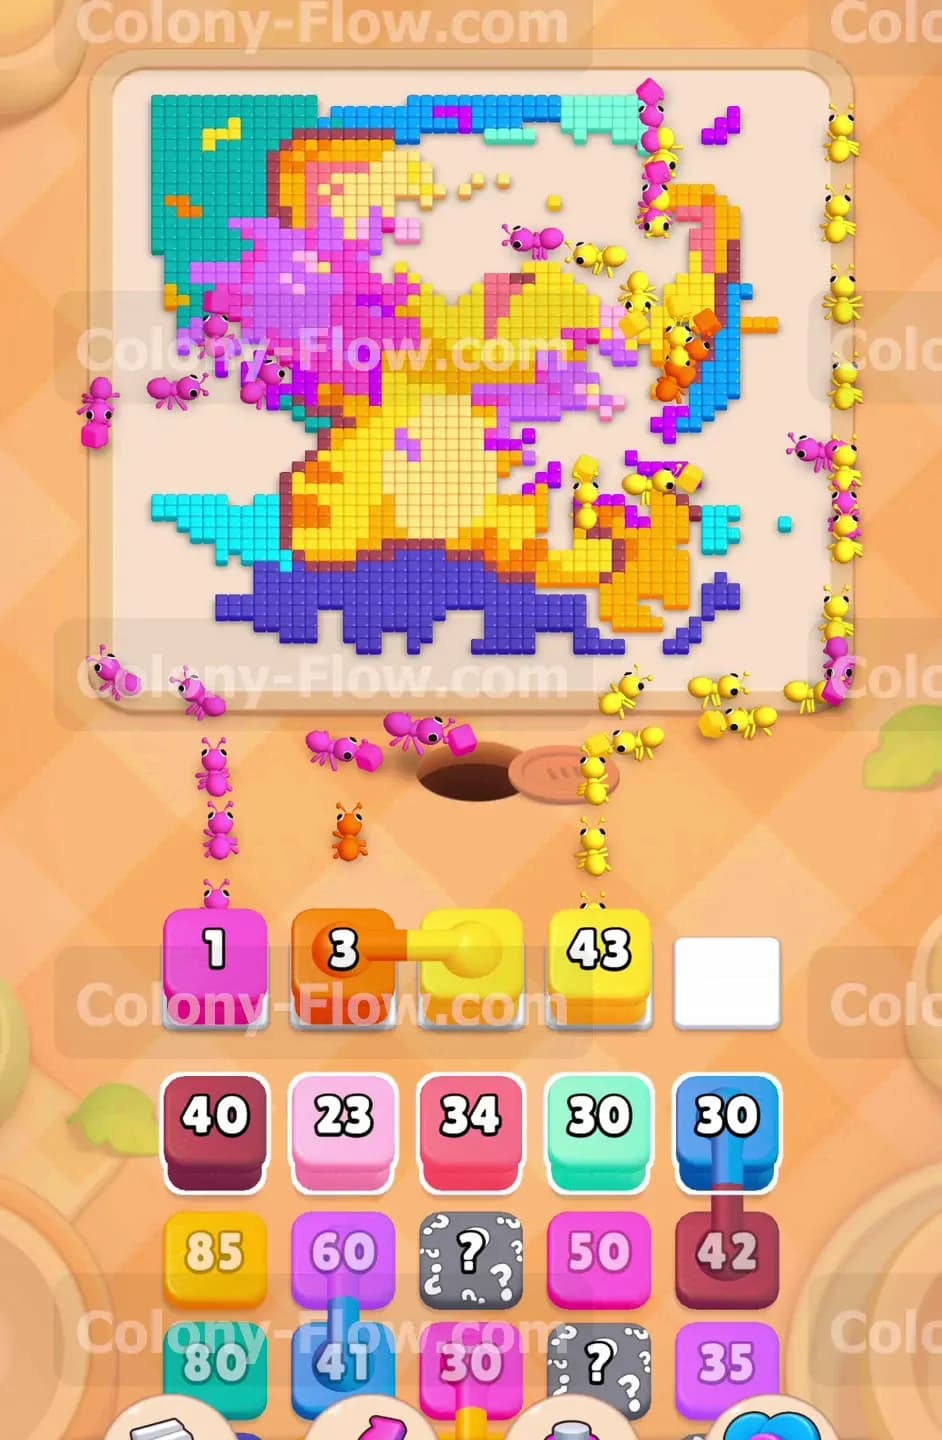
You will notice connected boxes waiting in your tray as you clear the top rows. A cyan block and a pink block are glued together by a visual link. You must have at least two completely empty slots in your waiting area to pull them down. Wait until your initial large blocks finish clearing then pull this linked pair. The ants will take the cyan pieces from the top left corner of the board. The pink block will send a second stream of ants to finish off the remnants of the right pom pom and start working on the left pom pom. Bringing these connected blocks out prevents them from blocking the deeper layers of your tray. Always make sure your ants have a clear walking path to both colors before you drag a connected pair down.
Step 5: Reveal and use the hidden boxes near the bottom of the tray
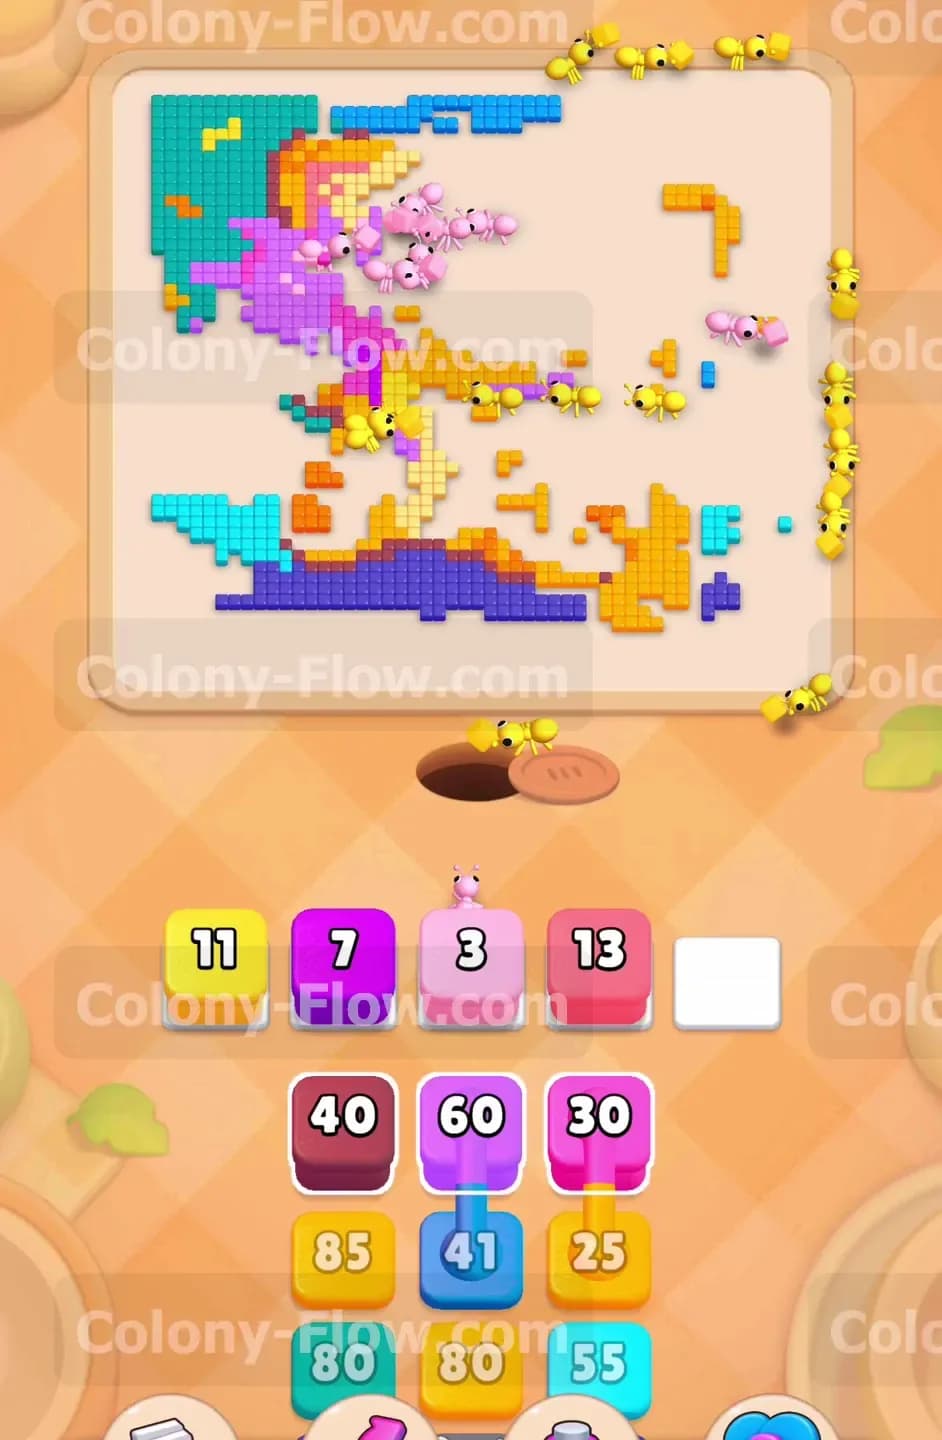
Digging deeper into your tray reveals two hidden boxes sitting side by side. They sit there as gray squares until you pull the blocks directly in front of them. Clear the remaining cyan blocks in the third row to unlock these hidden pieces. Once uncovered they flip over to reveal their true colors. Pull them immediately so the ants can clean up the remaining yellow body parts and the top left cyan sky. You always want to activate hidden boxes the exact second they unlock so you know exactly what resources you have left to play with. Letting them sit there traps the blocks beneath them and limits your options.
Step 6: Eliminate the left pink pom pom and the remaining purple base
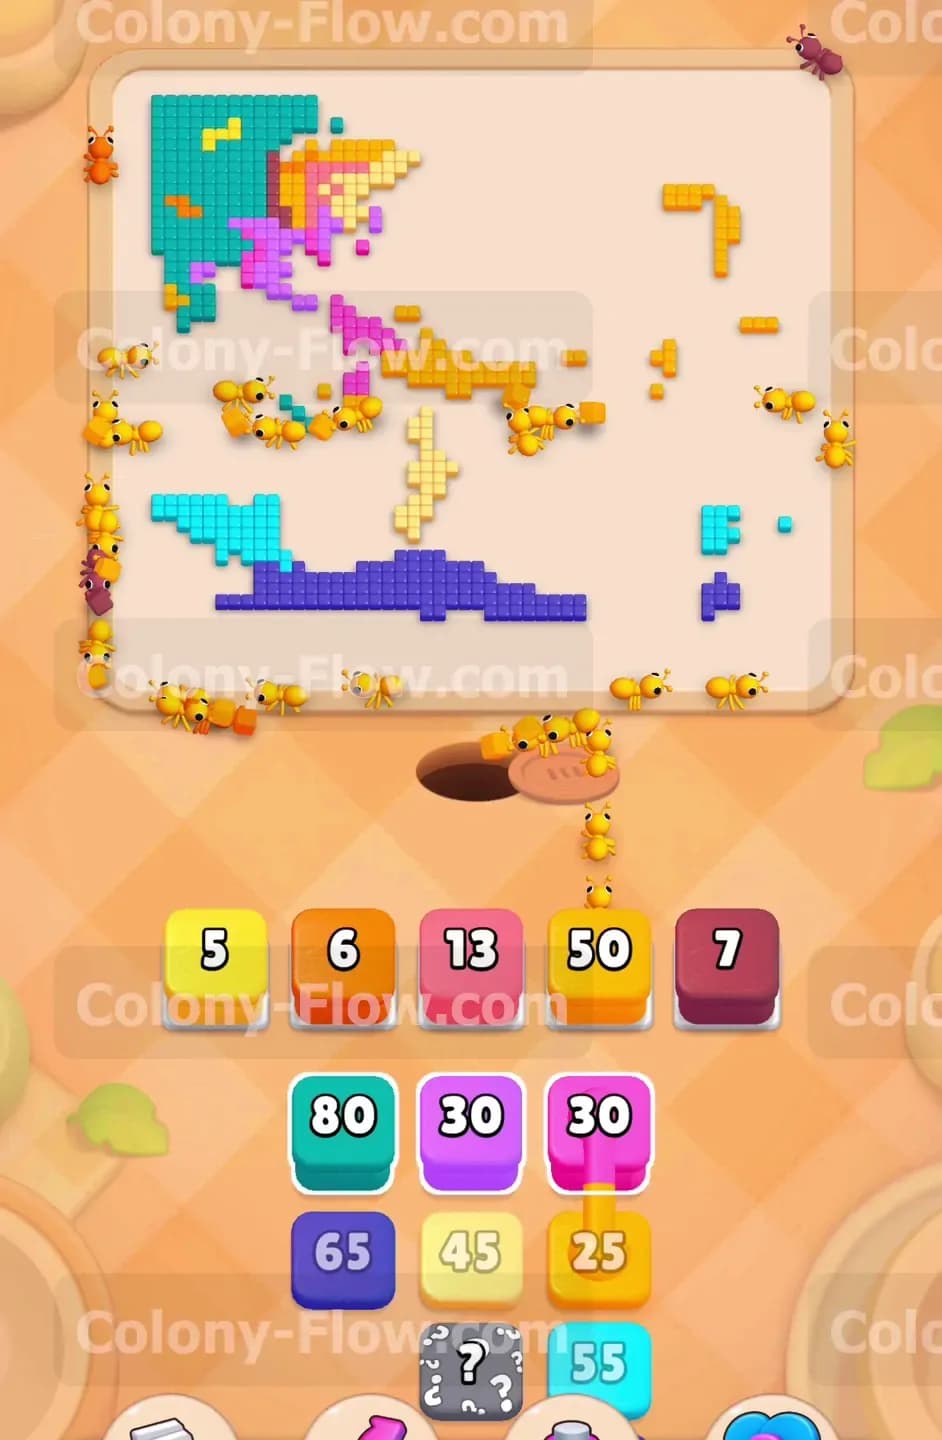
The board looks very sparse at this point. The left pink pom pom still has a large chunk of tiles remaining and a few scattered purple tiles sit near the bottom left corner. Pull the pink 54 block and the purple 21 block. The ants march straight across the newly opened bottom area and devour the dark purple ground. Another stream of ants heads straight up the left side to tackle the pink pom pom. These two blocks will clear rapidly because the walking paths are very short and direct. Your waiting slots remain mostly empty during this phase. You have completely avoided any risk of a slot jam by timing these specific pulls perfectly.
Step 7: Clear the connected yellow and orange blocks to finish the cat face
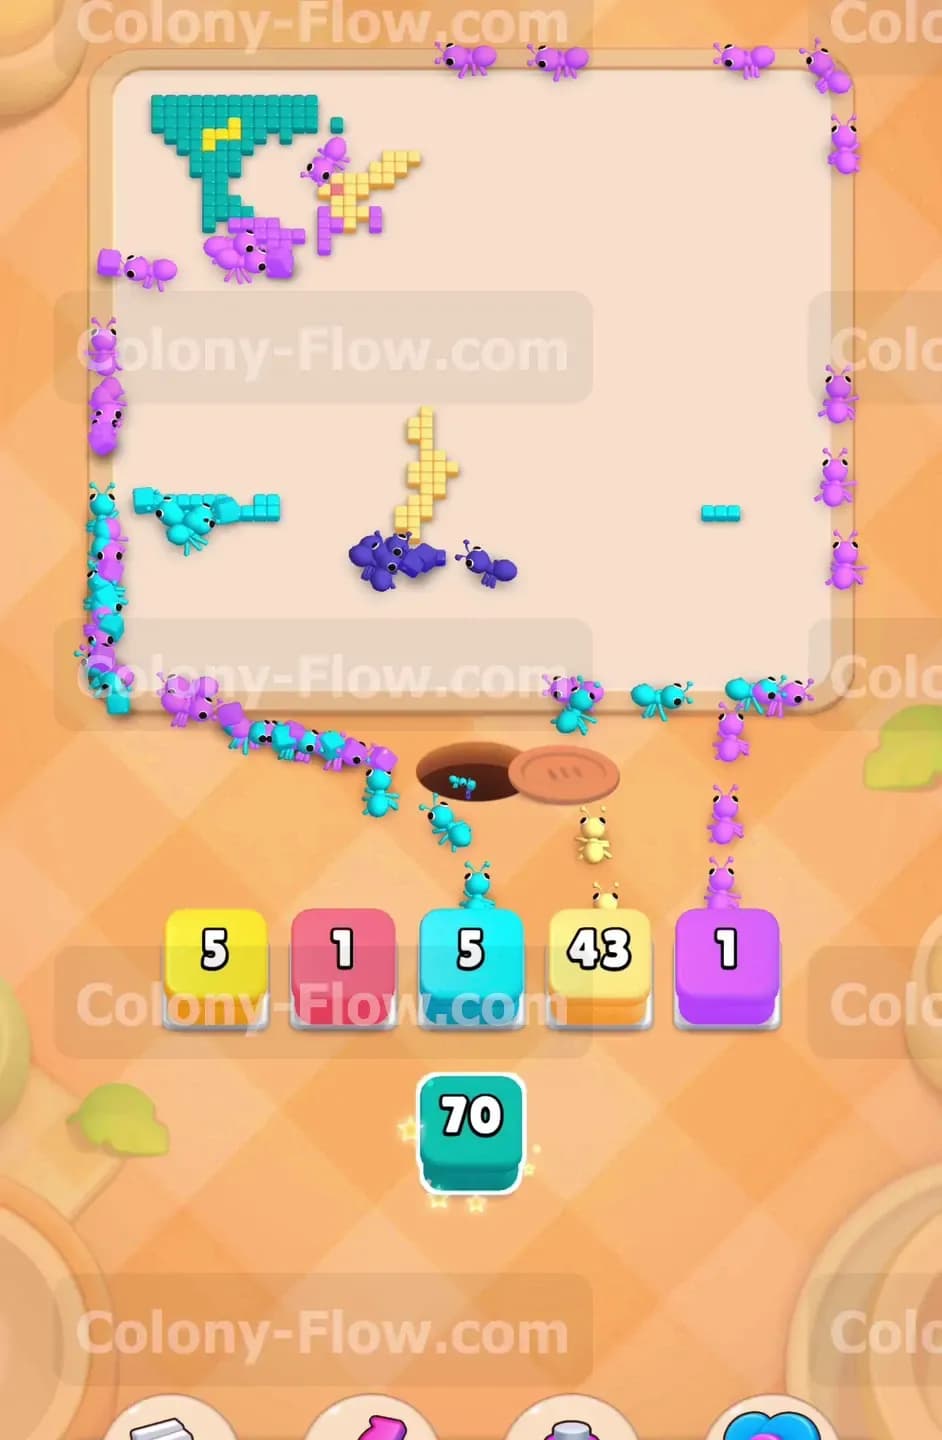
A tiny yellow 43 block and an orange 3 block appear connected near the very bottom of the tray. Pull this linked pair into your active slots to address the final details on the cat face. The ants run up the center path and grab the last few orange stripes and yellow cheek tiles. Because the orange block only requires three tiles it vanishes almost instantly. The yellow block takes a few seconds longer but quickly clears out of your tray. Keeping the center of the board clear allows the ants to travel in a straight vertical line without navigating any maze walls.
Step 8: Clean up the final cyan stragglers scattered on the board
Only a handful of colored dots remain scattered across the white canvas background. You have a massive cyan 70 block left at the very bottom of your tray. Pull this final large block into your active area. Even though the number is exceptionally large there are exactly enough cyan tiles left in the top left corner to consume it completely. The ants form a massive single file line up the left wall and eat the very last blue squares. The cyan block hits zero and vanishes from your tray. The screen is now completely empty of food tiles and the level is won.
Final Thought
Clearing this board requires you to constantly bounce your focus between the left and right sides to keep your tray empty. Managing the connected boxes properly and uncovering the hidden boxes early gives you a massive advantage over the board layout. I highly encourage you to watch the video above this article if you get stuck on any specific tray pulls or pathing directions.