Colony Flow Level 569 Walkthrough Solution & Guides | How to solve Colony Flow 569

Guide By Liam Stone
Updated on August 1, 2026
The Level 569 walkthrough video above shows every step, so feel free to skip the article and watch instead.
Video doesn't match your screen?
Game updates frequently scramble layouts! Try our AI Screenshot Solver first to find your exact board instantly, or report broken guides to our team.
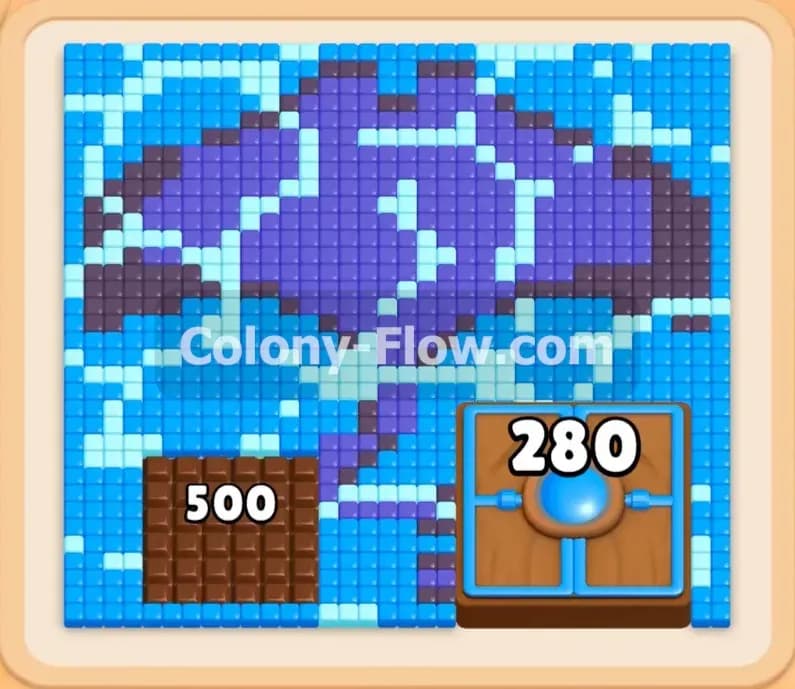
Welcome to Colony Flow Level 569. I am Liam Stone and I guide players through the toughest puzzles in this game by playing them myself and mapping out the best strategies. This particular level features a beautiful pixel art whale surrounded by a massive dark background. You feed and steer your colony by pulling colored numbered blocks from the tray at the bottom of the screen. You will need careful tray management to clear the board without filling your waiting slots. Let us dive into the mechanics and figure out exactly how to break through this colorful puzzle.
Colony Flow Level 569 Overview
What You Are Working With
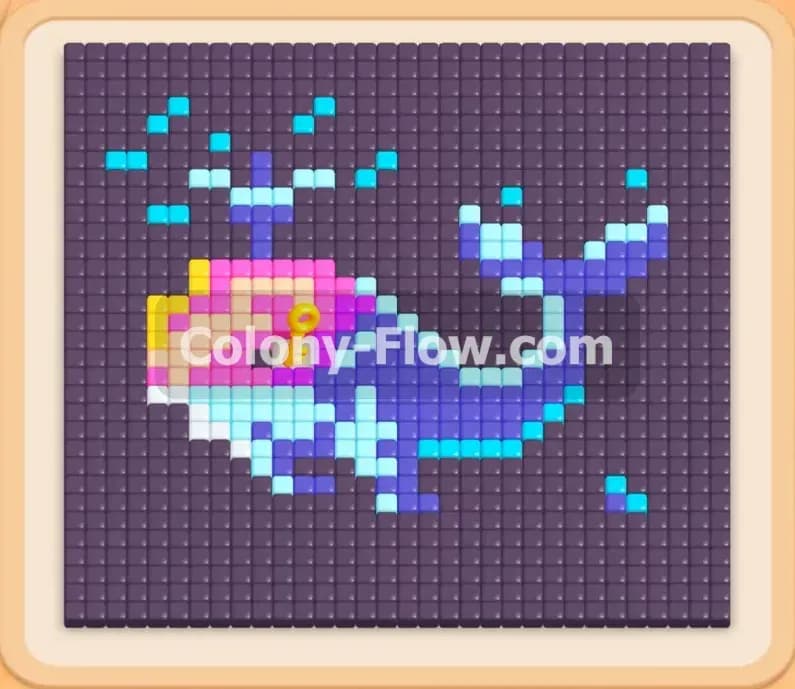
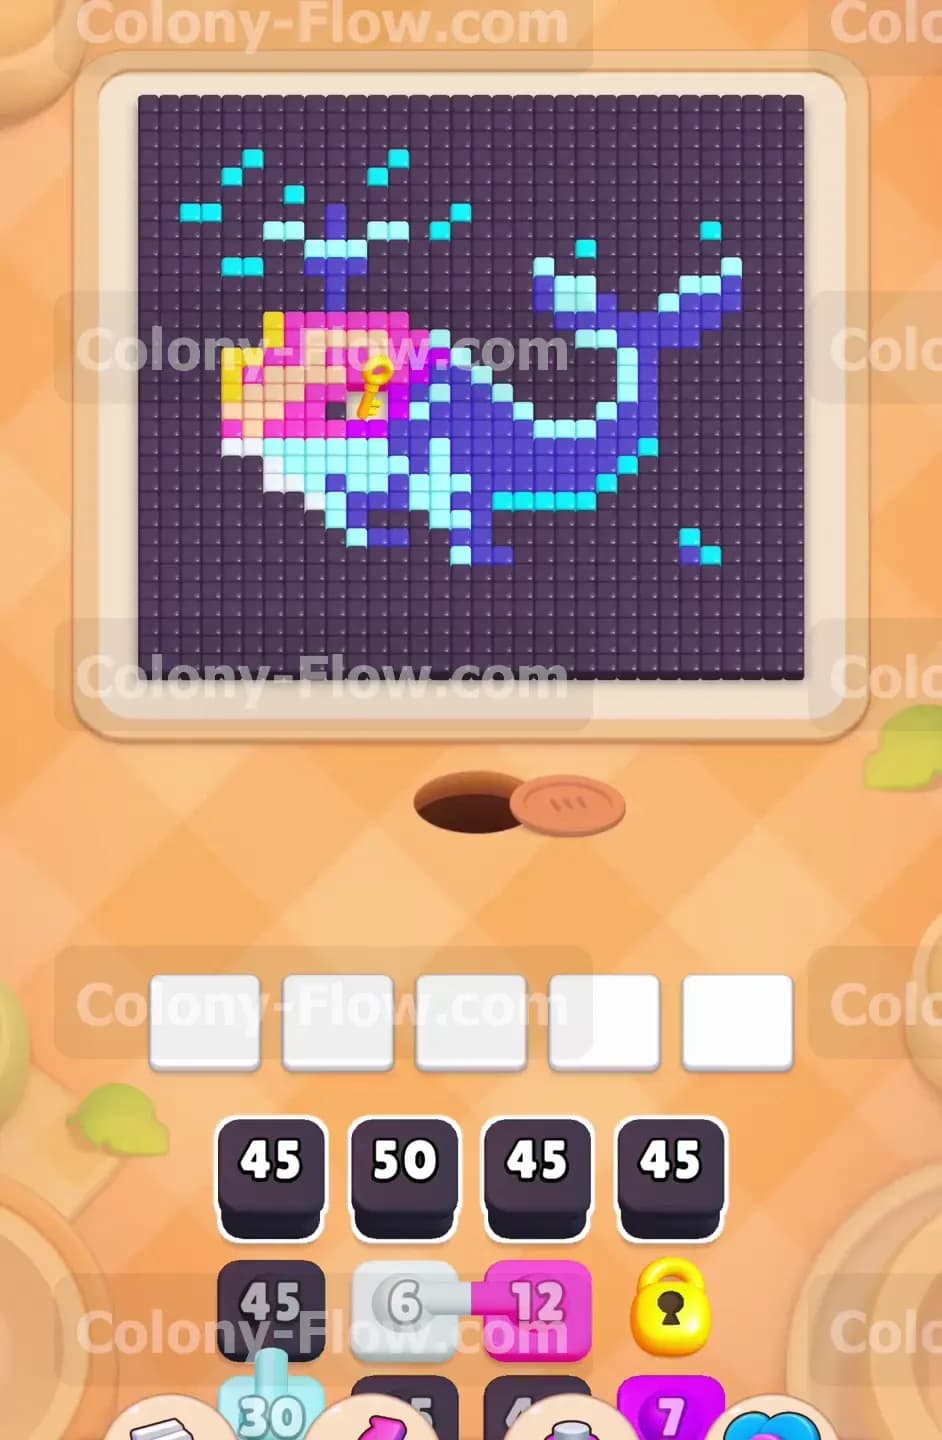
When you load into the board you will see a massive pixel art picture taking up the top half of your screen. The picture is a large whale framed by cyan water splashes. The whale features a blue and purple body along with a very bright head made of pink, white, and yellow tiles. You will immediately notice a golden key sitting right on top of the yellow section in the center left of the picture. Down in your block tray you start with a massive wall of black blocks carrying huge numbers like 45 and 50. You will also see connected blocks where two distinct colors are linked together and must be played at the same time. Finally there is a yellow locked block sitting in the tray that completely blocks your access to the necessary pieces buried below it.
What It Takes to Clear Level 569 Board
Clearing the board means removing every single pixel art tile so the ants can finish their work and return home. The main challenge here is the sheer volume of black background tiles surrounding the whale. You have to carve a clean path through the black tiles just to reach the colorful inner sections. You also have to retrieve that golden key to open the locked block sitting in your tray. You will lose the level if you fill all five waiting slots with blocks that have nowhere to go. You must always maintain an open path for your active ants to prevent a fatal jam. Every move requires checking the board to ensure the ants can reach their target color.
Colony Flow Level 569 Step by Step Solution
Step 1: Pull the first black blocks to breach the outer background
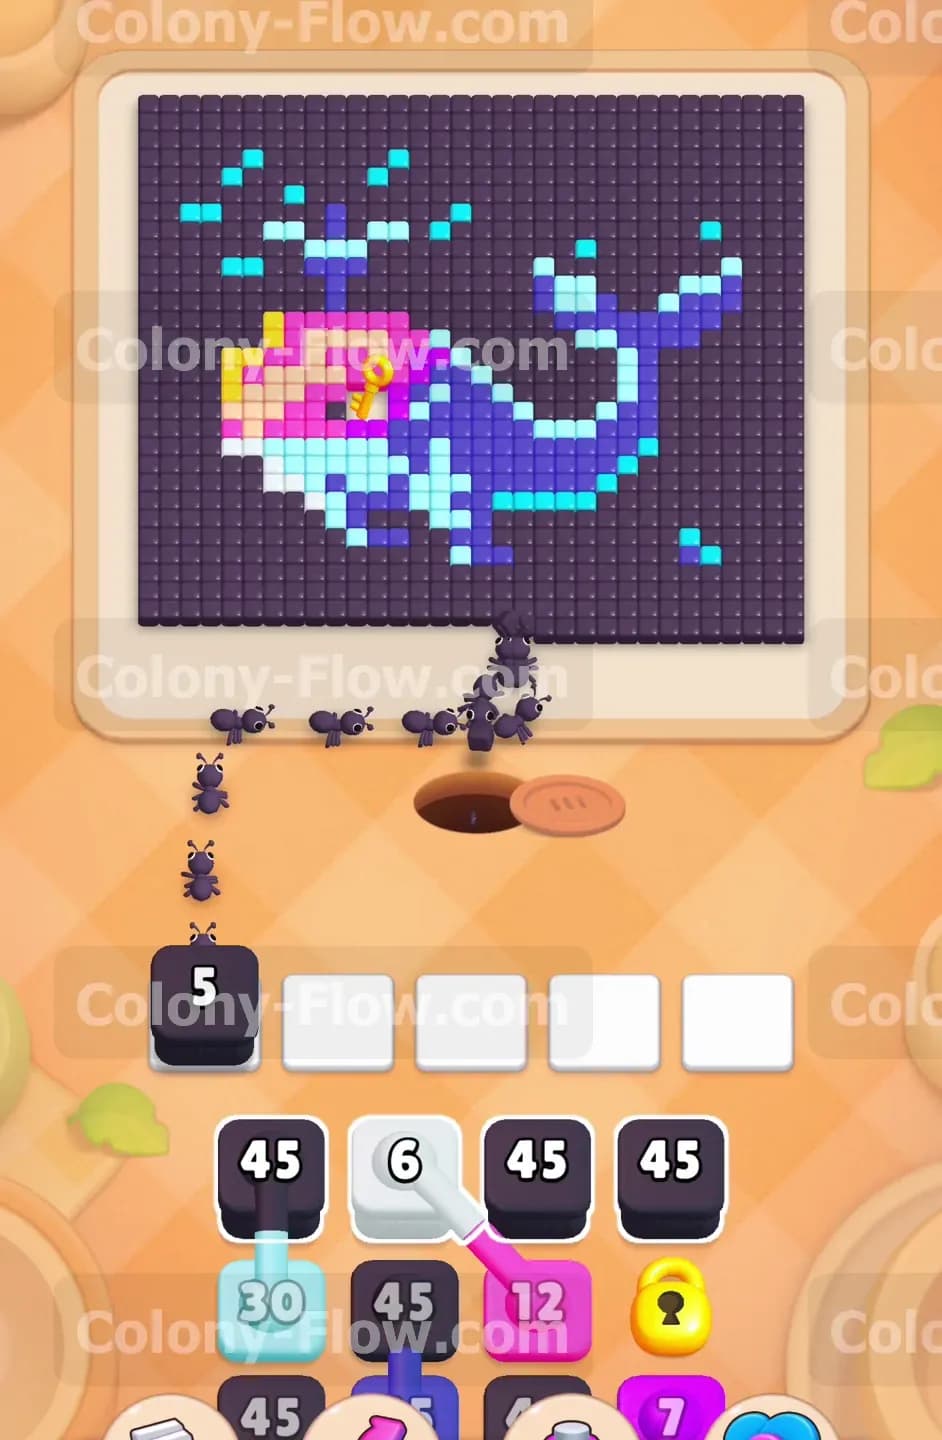
You start with an overwhelming number of black tiles making up the background of the picture. Look at the top row of your tray and pull the first black block numbered 45 into your waiting slot. The black ants will stream out of the nest hole and begin eating the bottom edge of the picture. This initial push is very important because it opens up the bottom layer of the board. Once the ants clear the first few rows of the dark background you will reveal paths to the inner colors. Wait for the black block number to count down a little bit before pulling another block into the waiting area. You want to make sure the ants do not get stuck behind a tight corner. Clearing the bottom left section creates a wide open entry point for your future colors. Taking your time here prevents the waiting slots from filling up too quickly.
Step 2: Bring out the cyan block to target the water splashes
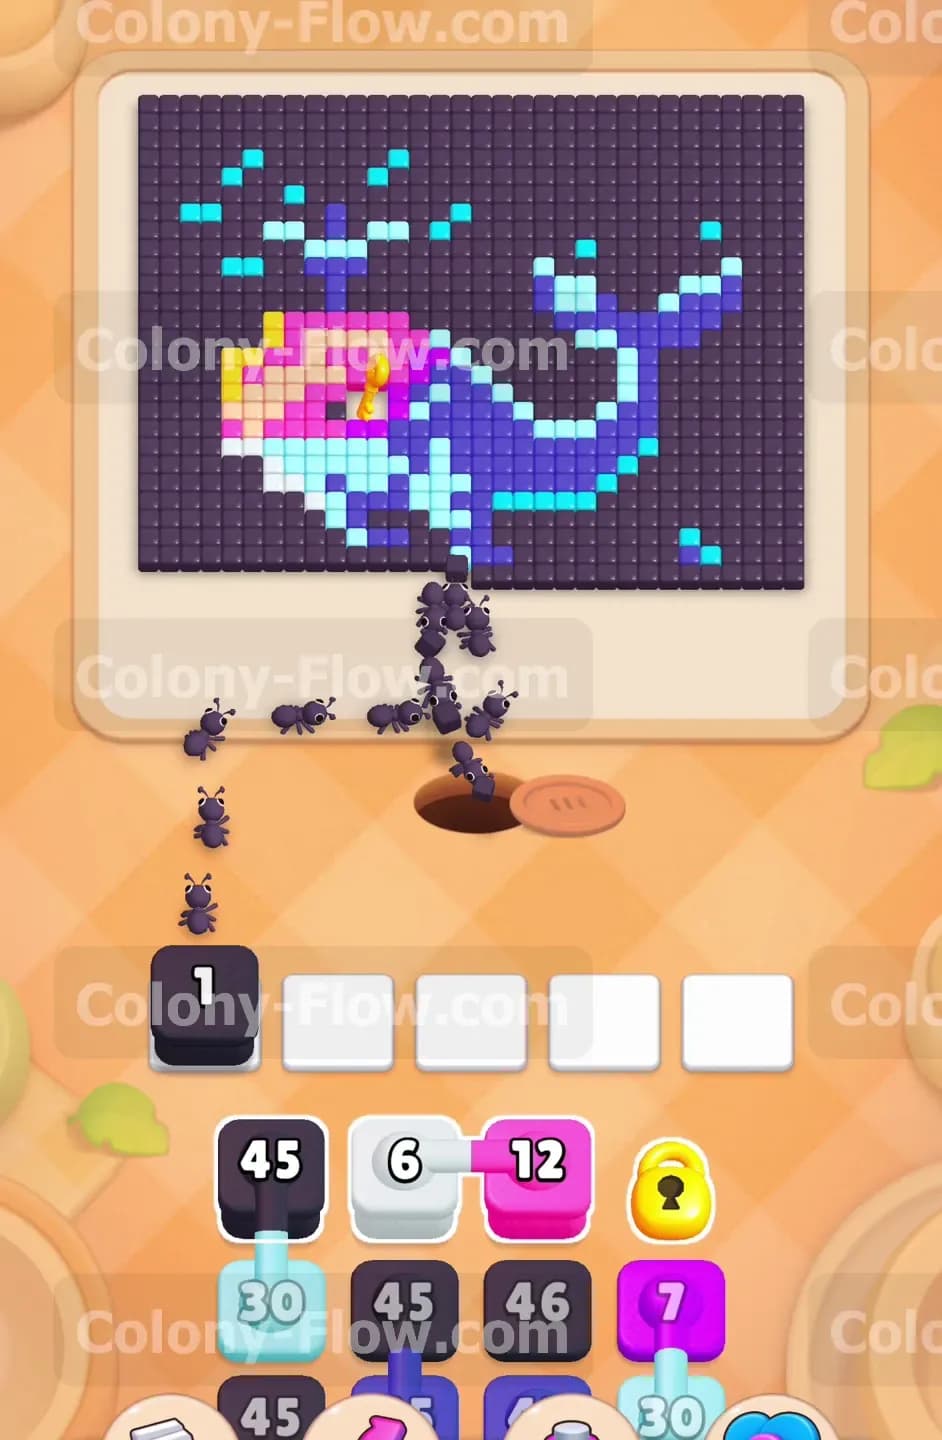
As the black ants clear the bottom left area they expose the cyan water tiles underneath the whale. You will find a cyan block numbered 30 in your tray. Pull it up into an empty waiting slot. The cyan ants will march out and start cleaning up the water outlines and the small splashes near the bottom of the screen. By having both black ants and cyan ants working at the very same time you maximize your board clearing speed. Always check your five waiting slots to ensure you have enough room for incoming blocks. Since both the black ants and the cyan ants have completely open paths your waiting slots will not jam. Letting these two colors flow simultaneously drains the numbers on their blocks fast. This clears them from the waiting area and makes room for the next phase.
Step 3: Deploy the connected white and pink blocks for the whale belly
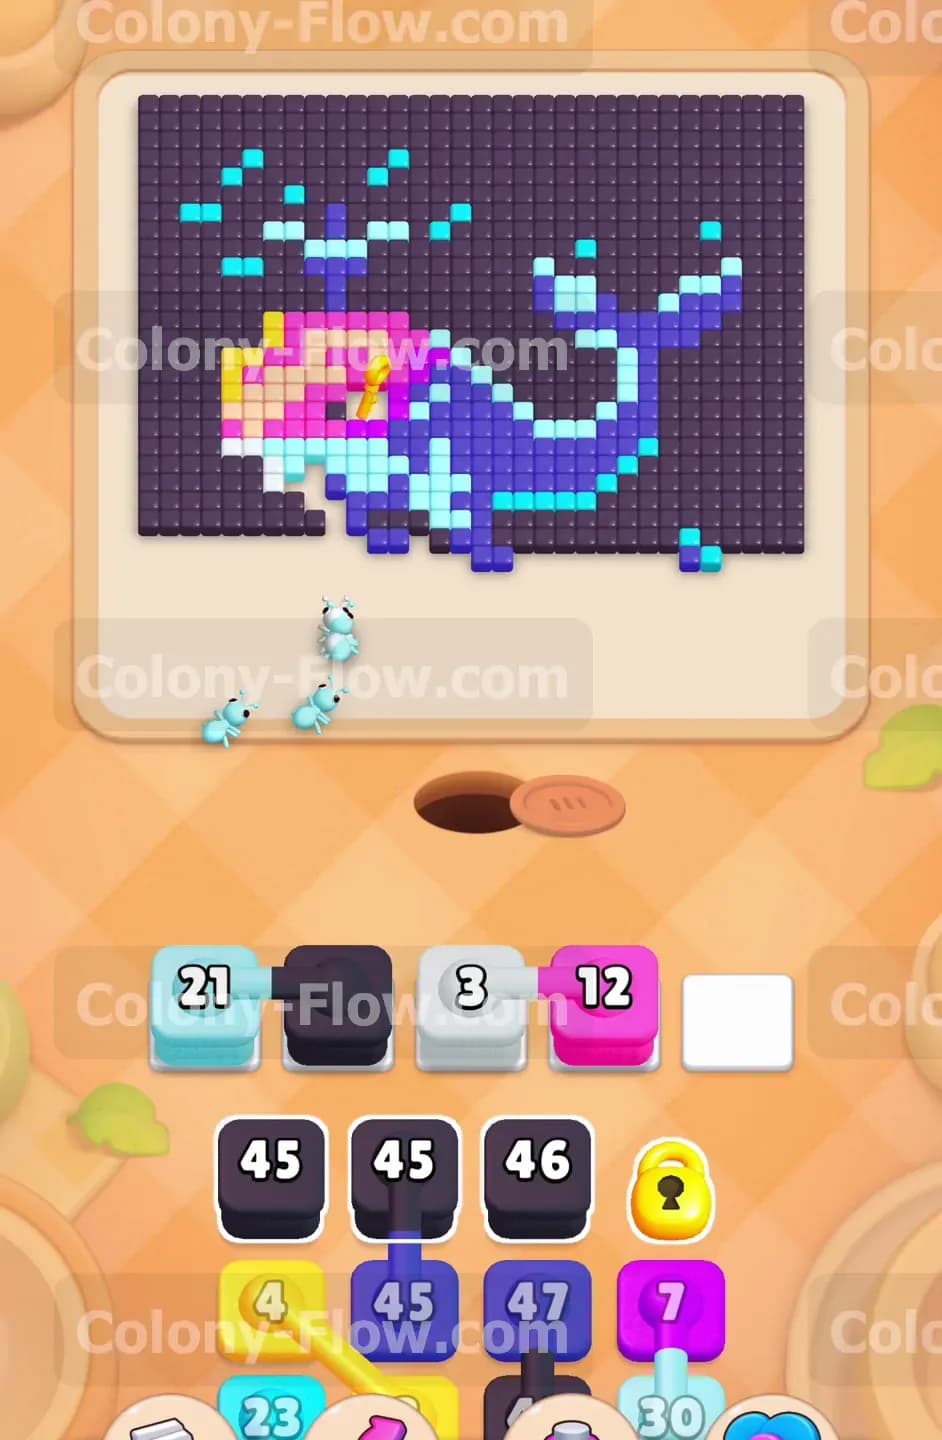
In your tray you will see a connected block piece linking a white block and a pink block together. Pulling this specific piece moves both colors into your waiting slots simultaneously. The white ants will head straight for the lower belly of the whale. The pink ants will march toward the pink section on the upper head of the whale. Connected blocks are dangerous because they take up two waiting slots right away instead of just one. You must make absolutely sure both colors have a completely open path to their matching tiles before you pull them. In this case the earlier black and cyan moves opened the exact paths you need for the white and pink ants to travel freely. Watch as the numbers count down and clear out these tricky connected pieces.
Step 4: Pull more black blocks to clear the sides of the picture
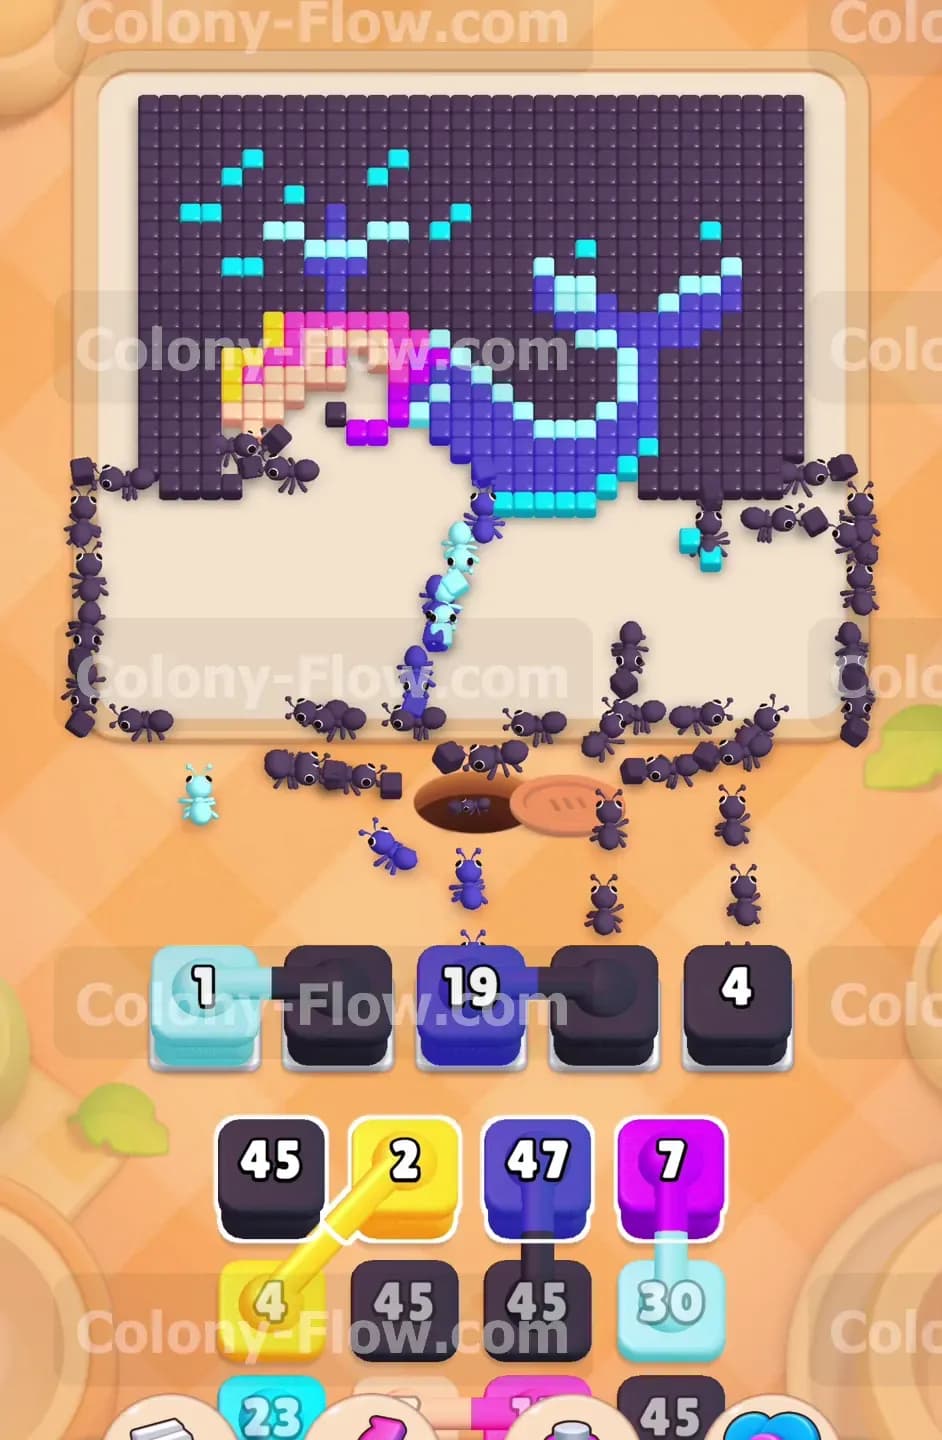
The black background is incredibly thick on the sides and the top of the board. Bring up another black block numbered 45 and a black block numbered 50 to keep the momentum going. The black ants will split off and travel up the left and right sides of the whale to consume the heavy borders. Managing the background is an ongoing task that requires constant attention throughout the entire puzzle. If you stop pulling black blocks the top half of the whale will remain completely trapped behind the solid wall of background tiles. Letting the black ants work the perimeter continuously frees up essential tray space for the rest of your colored blocks. Keep an open channel for the black ants at all times.
Step 5: Send the yellow blocks forward to grab the golden key
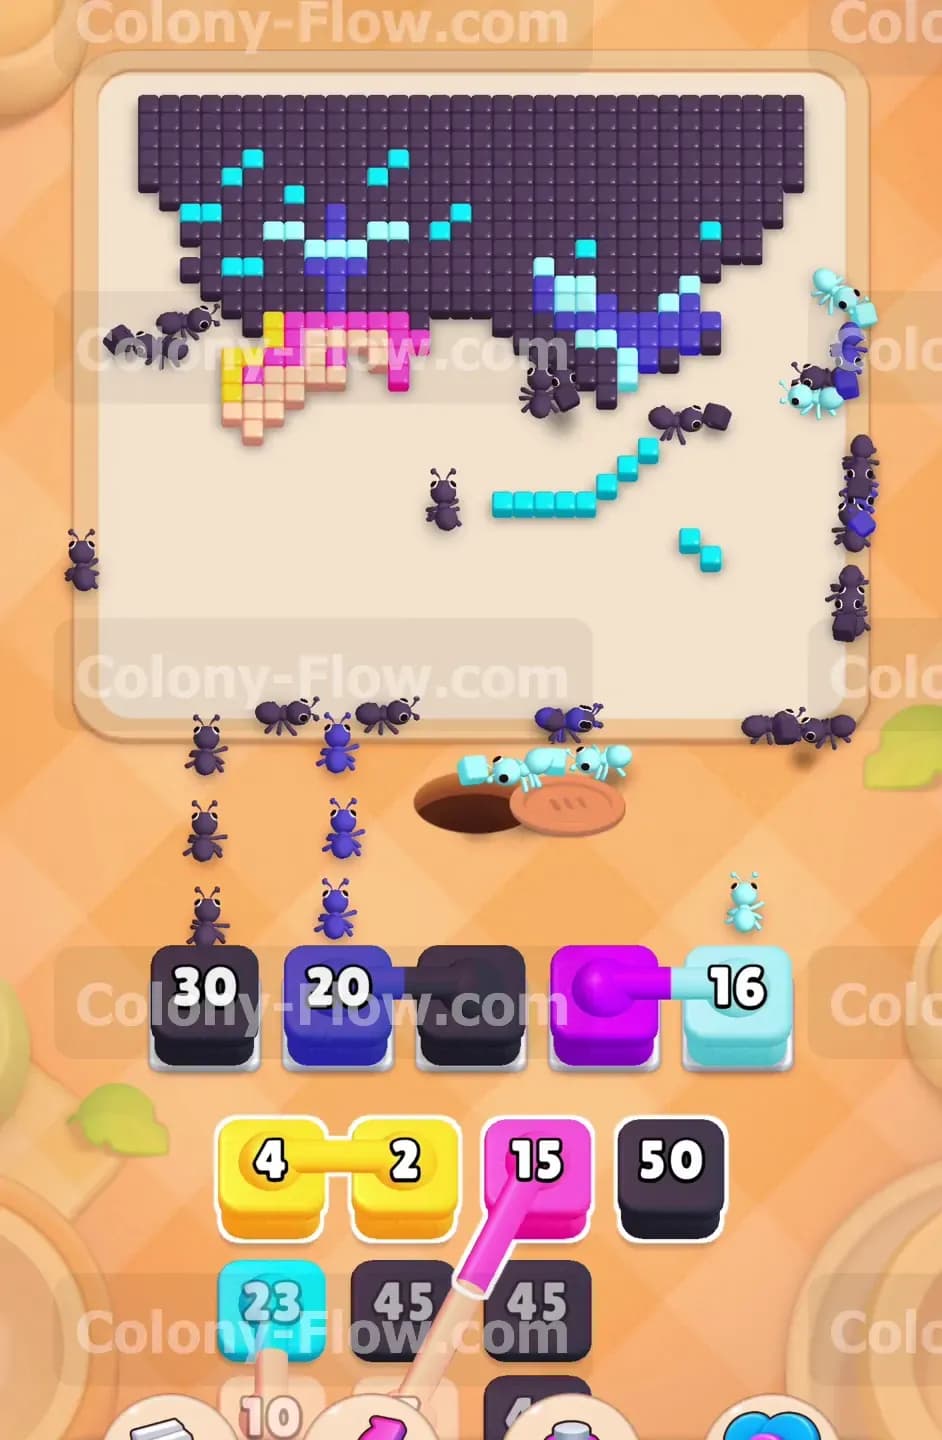
This is the most significant sequence of the entire puzzle. You will find connected yellow blocks numbered 4 and 2 sitting in your tray. Pull them up into the waiting slots when the path to the head is clear. The yellow ants will travel directly to the bright yellow section on the head of the whale. As the ants consume the yellow tiles they will automatically collect the golden key resting right in the middle of that section. Watch your tray closely as the locked block instantly pops open and disappears. This incredible action reveals the hidden blocks you desperately need to finish the puzzle. If you pulled the yellow blocks too early they would have jammed your waiting slots and caused an immediate loss. Patience pays off when fetching the key.
Step 6: Release the blue and purple blocks to clear the main body
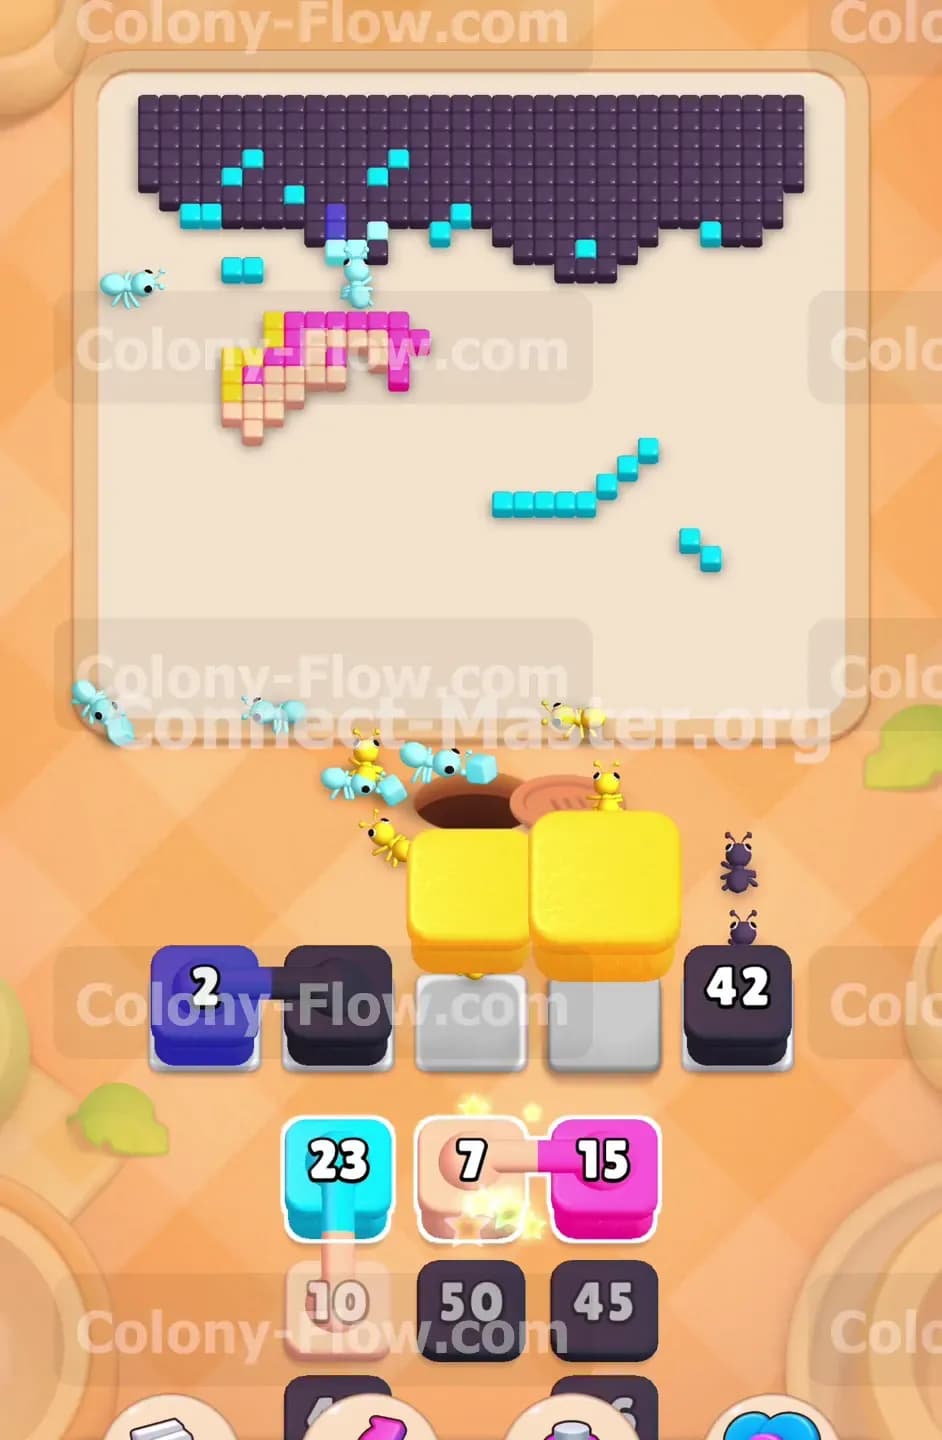
With the yellow lock completely removed from the board you finally have access to the blue block numbered 47 and the purple block numbered 15. Pull these two colors into your waiting slots. The blue ants will swarm the massive tail and the main blue body of the whale. The purple ants will tackle the darker shading along the spine and the upper back. At this stage the board opens up drastically. The ants have massive clear paths across the entire center of the screen. Keep an eye on the countdown numbers on your blue and purple blocks. They will empty out rapidly as the large colored sections disappear from the picture. The screen will look quite chaotic with so many ants running around but as long as the paths are open you are perfectly safe.
Step 7: Clear the top background and finish the final details
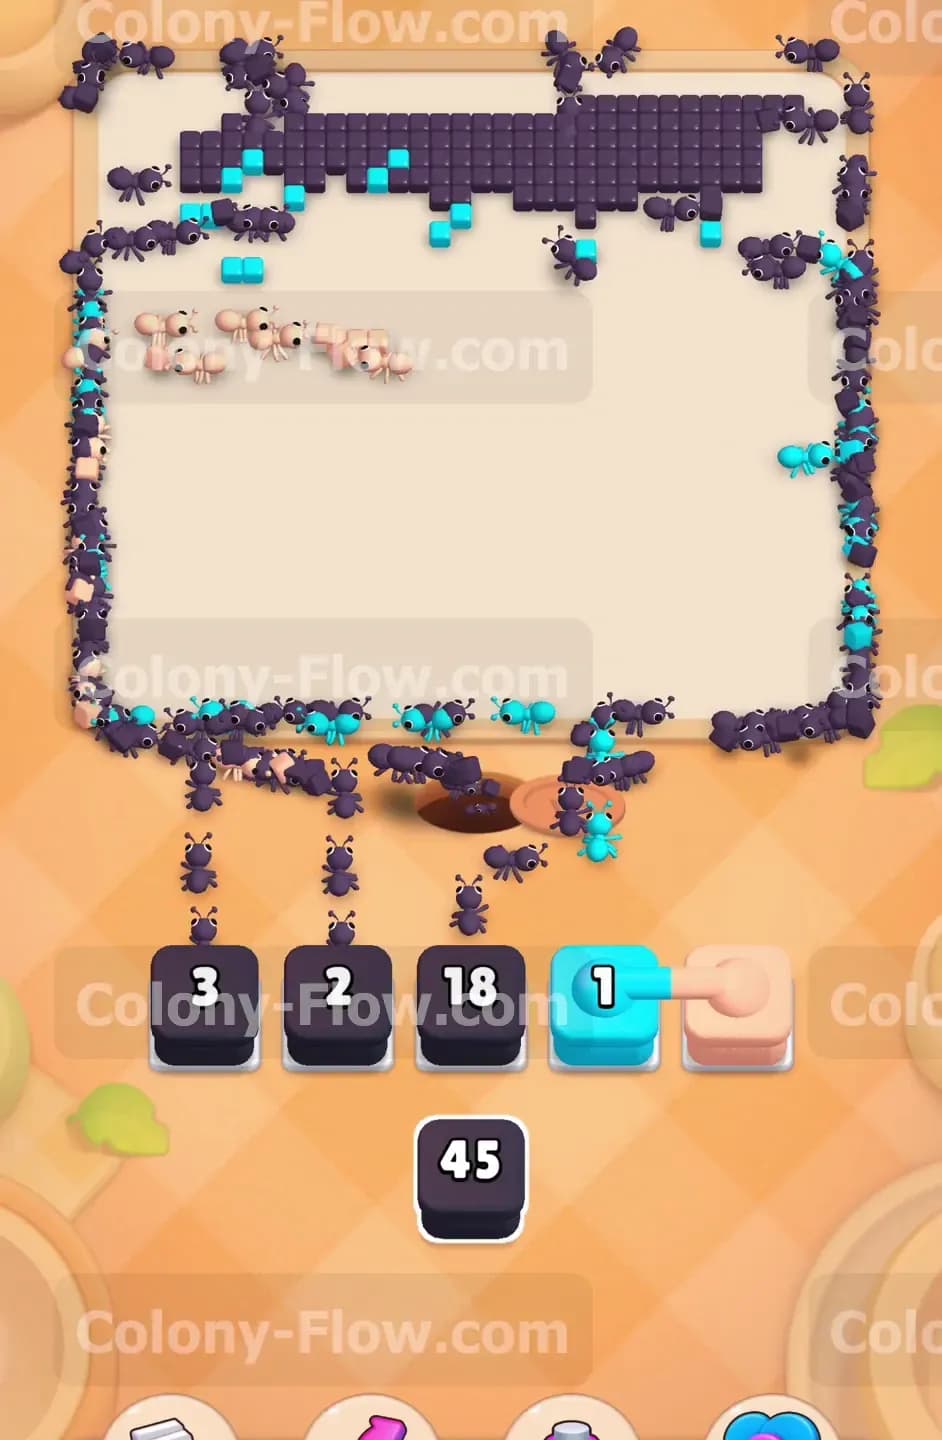
You are nearing the very end of the puzzle but the top corners of the dark background still remain intact. Pull your final black blocks to send a massive wave of black ants to the very top of the board. They will eat away the remaining border tiles and clear the heavy ceiling above the whale. You will also uncover a few light blue and pink blocks in your tray meant for the final water splashes floating above the whale. Pull these last few blocks into your open waiting slots. The final waves of ants will clean up the tiny floating pixels above the whale head. Watch the numbers hit zero on your final blocks. Once the last tile is completely gone the ants will finish the board and you will achieve a hard earned victory.
Final Thought
Level 569 tests your patience and your ability to manage connected blocks while dealing with a massive surrounding background. Always focus on carving a clear path to that golden key before your waiting slots fill up and cause a trap. I highly recommend watching the video above this article if you want to see exactly how the connected blocks clear the board in real time. Seeing the ant paths open up can really help you understand the timing of each move. Good luck and keep those ants moving forward.