Colony Flow Level 970 Walkthrough Solution & Guides | How to solve Colony Flow 970

Guide By Liam Stone
Updated on August 8, 2026
The video above walks through Level 970 in full, so feel free to skip the written steps below.
Video doesn't match your screen?
Game updates frequently scramble layouts! Try our AI Screenshot Solver first to find your exact board instantly, or report broken guides to our team.
Colony Flow Level 970 brings a bright and colorful balloon dog picture to your screen. You need to manage your tray carefully to clear this detailed pixel art without filling your active slots. I played through this board and found the perfect rhythm to keep the colony moving safely. You will clear this stage easily by matching colors in the right order and feeding the door properly.
Colony Flow Level 970 Overview
What You Are Working With
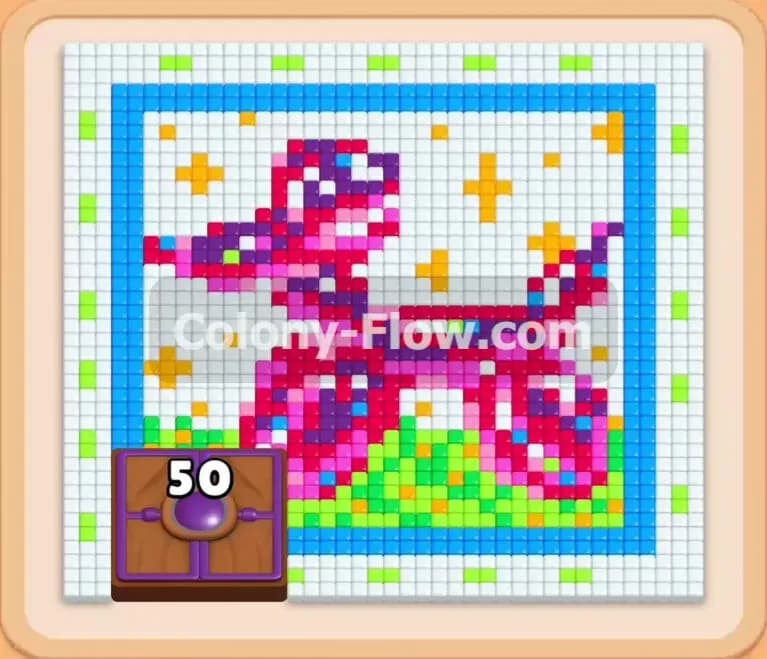
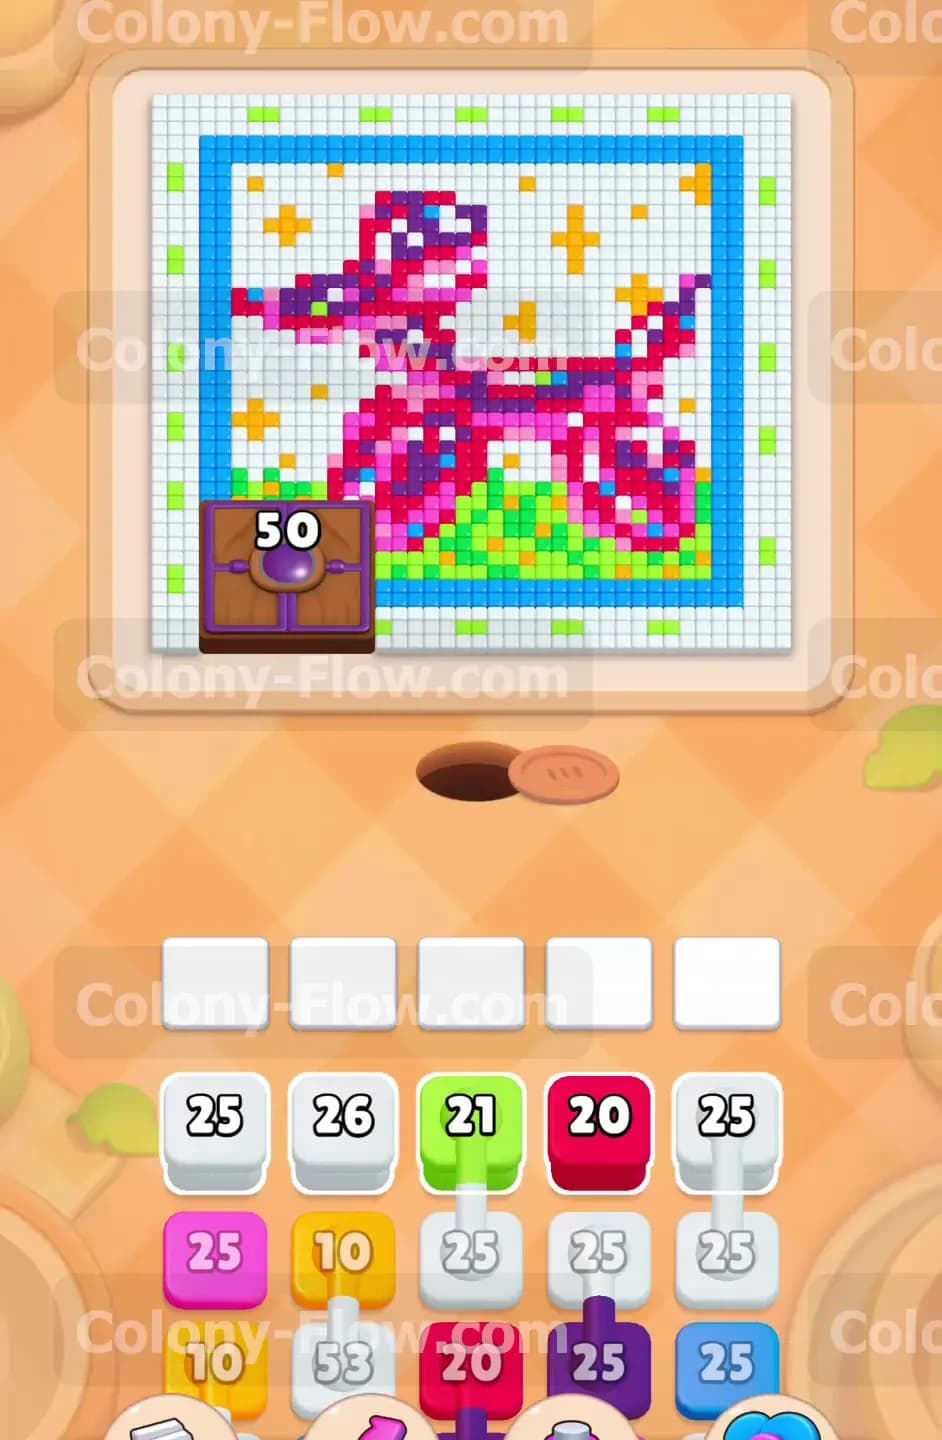
The main picture is a large balloon dog made of bright pink and dark red pixels. The dog stands on a patch of bright green grass. A thick white background fills all the empty space inside a solid blue border frame. Several bright yellow stars float in the white space around the dog. A Hungry Door sits at the bottom left corner of the art area. This door displays a purple gem and the number fifty. Your bottom tray holds an assortment of numbered blocks in white, light green, dark red, yellow, pink, purple, and blue. The blue blocks appear as Connected Boxes that link together in the tray.
What It Takes to Clear Level 970 Board
You win the game when every colored pixel is completely eaten and the ants return to their nest underground. You lose the game if you fill all five active waiting slots at the bottom of the screen with blocks that have no clear path to their targets. You must feed the Hungry Door fifty purple ants to remove it from the board. You clear the level by sending matching colored ants to the picture while guaranteeing you always leave at least one active slot entirely empty.
Colony Flow Level 970 Step by Step Solution
Step 1: Pull white and green blocks to open the bottom section
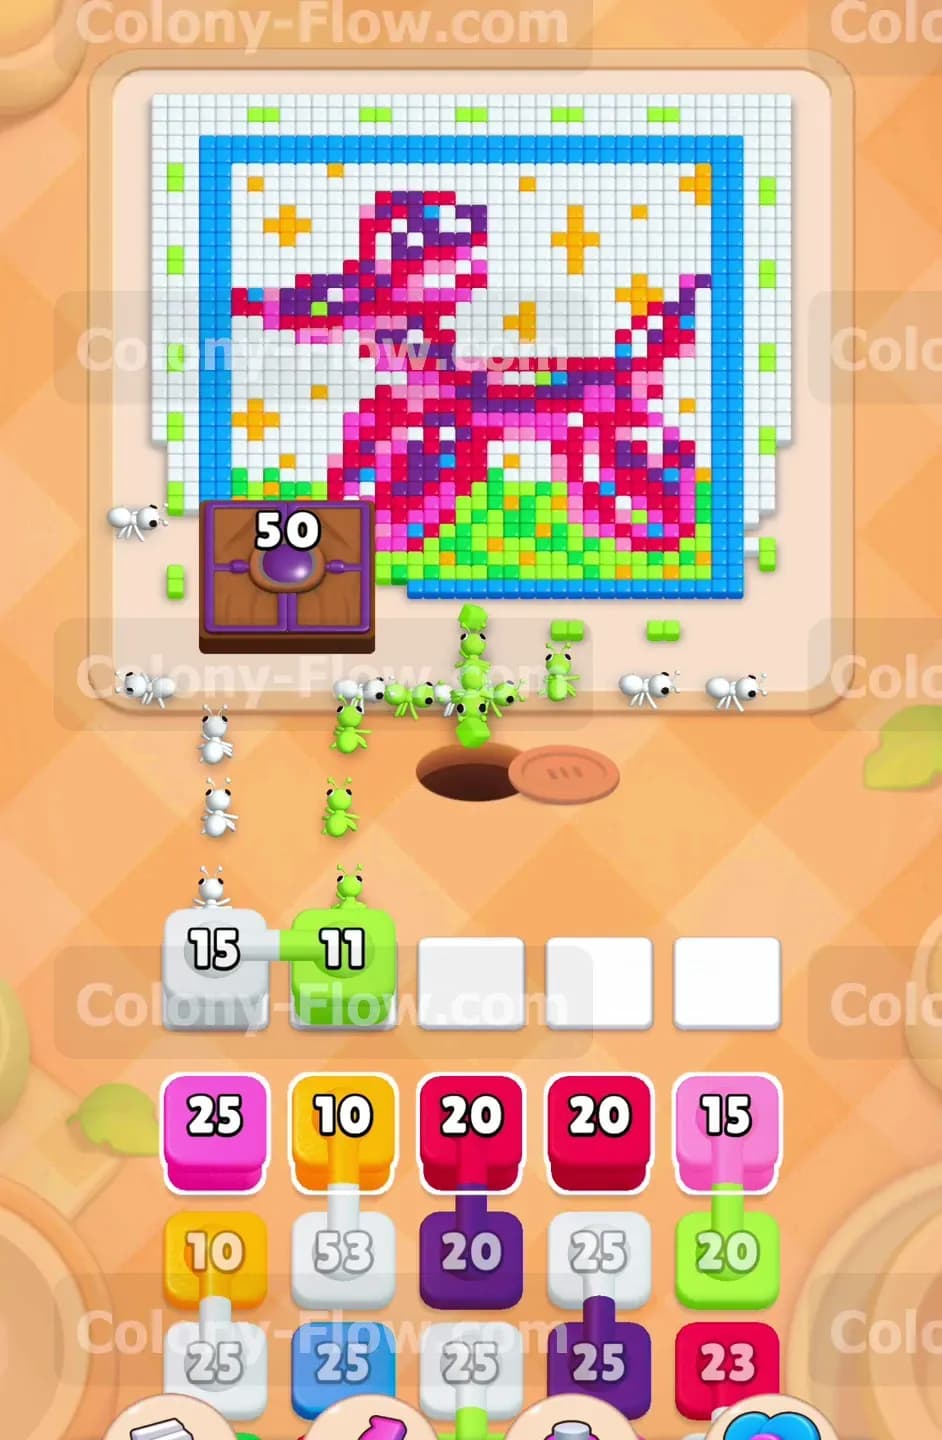
You see a White 25 block and a White 26 block sitting in your starting tray. You tap both of them to pull them up into your active waiting slots. The numbers on the blocks count down as the white ants stream out of the nest hole. The white ants travel up and start eating the thick white background underneath the dog. You then pull the Light Green 21 block. These green ants target the bright green grass. Pulling these three blocks first creates a massive open space at the bottom of the picture. This open space allows future ants to travel much faster. You still have two empty slots in your active tray. Keeping these slots open guarantees you will not jam the board and lose the level early.
Step 2: Send yellow ants to the stars and pink ants to the dog
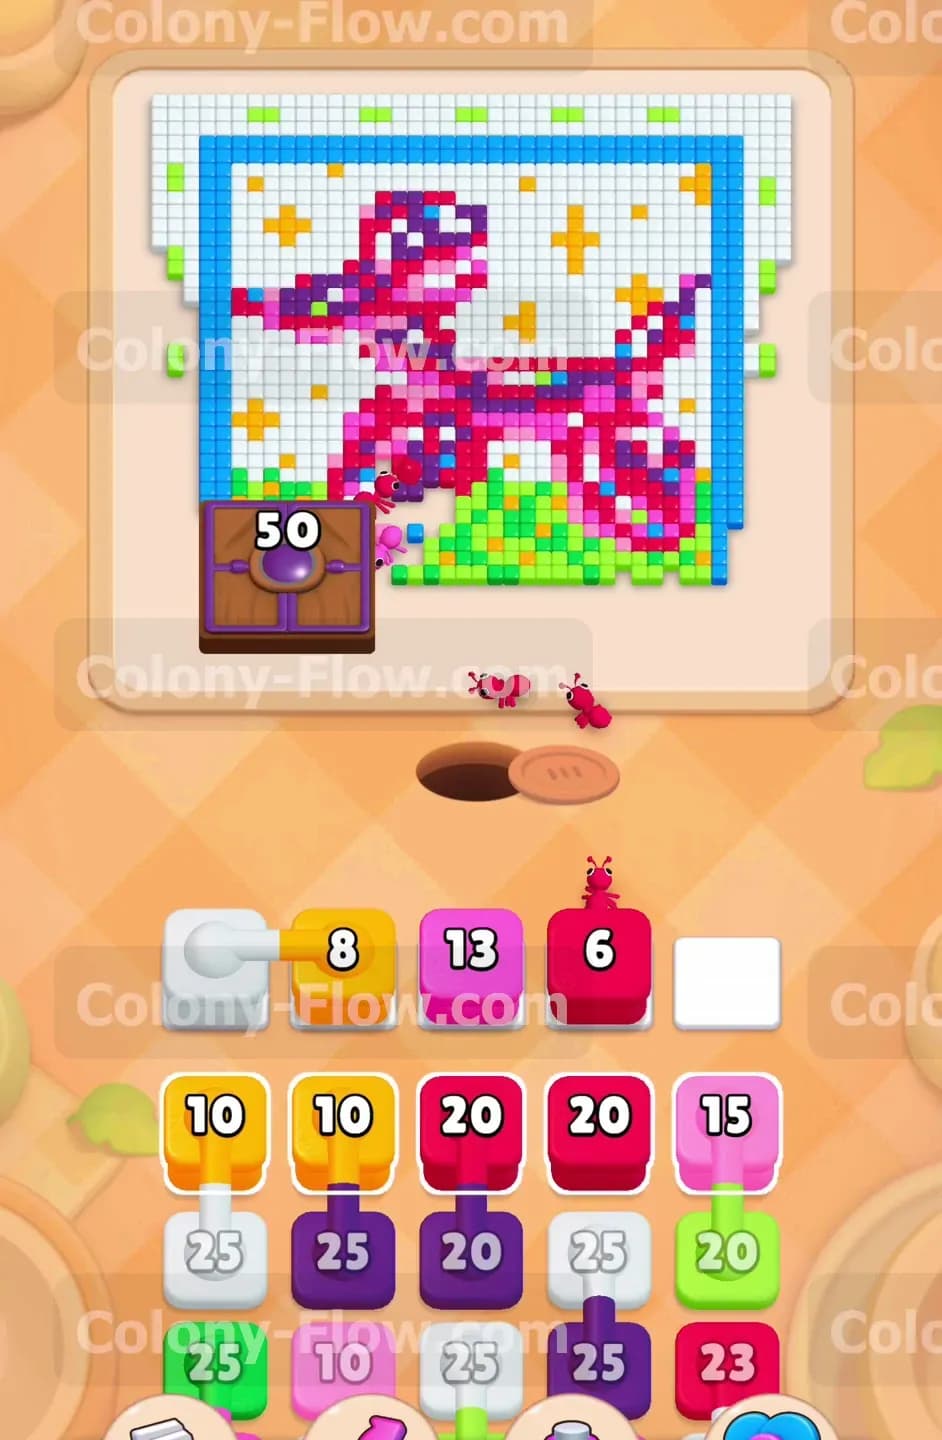
You need to start breaking down the details of the picture while the bottom continues to clear. You pull the Yellow 10 block into an open slot. The yellow ants scatter across the board to eat the yellow stars surrounding the balloon dog. Next you pull the Pink 25 block. The pink ants form a steady line and attack the main body of the dog. The bright pink pixels start disappearing from the tail and the back legs. The numbers on your active blocks tick down steadily as the ants do their work. You wait for the yellow block to completely empty out and vanish from the active tray. This clears the slot and gives you breathing room in your tray again.
Step 3: Feed the Hungry Door its first batch of purple ants
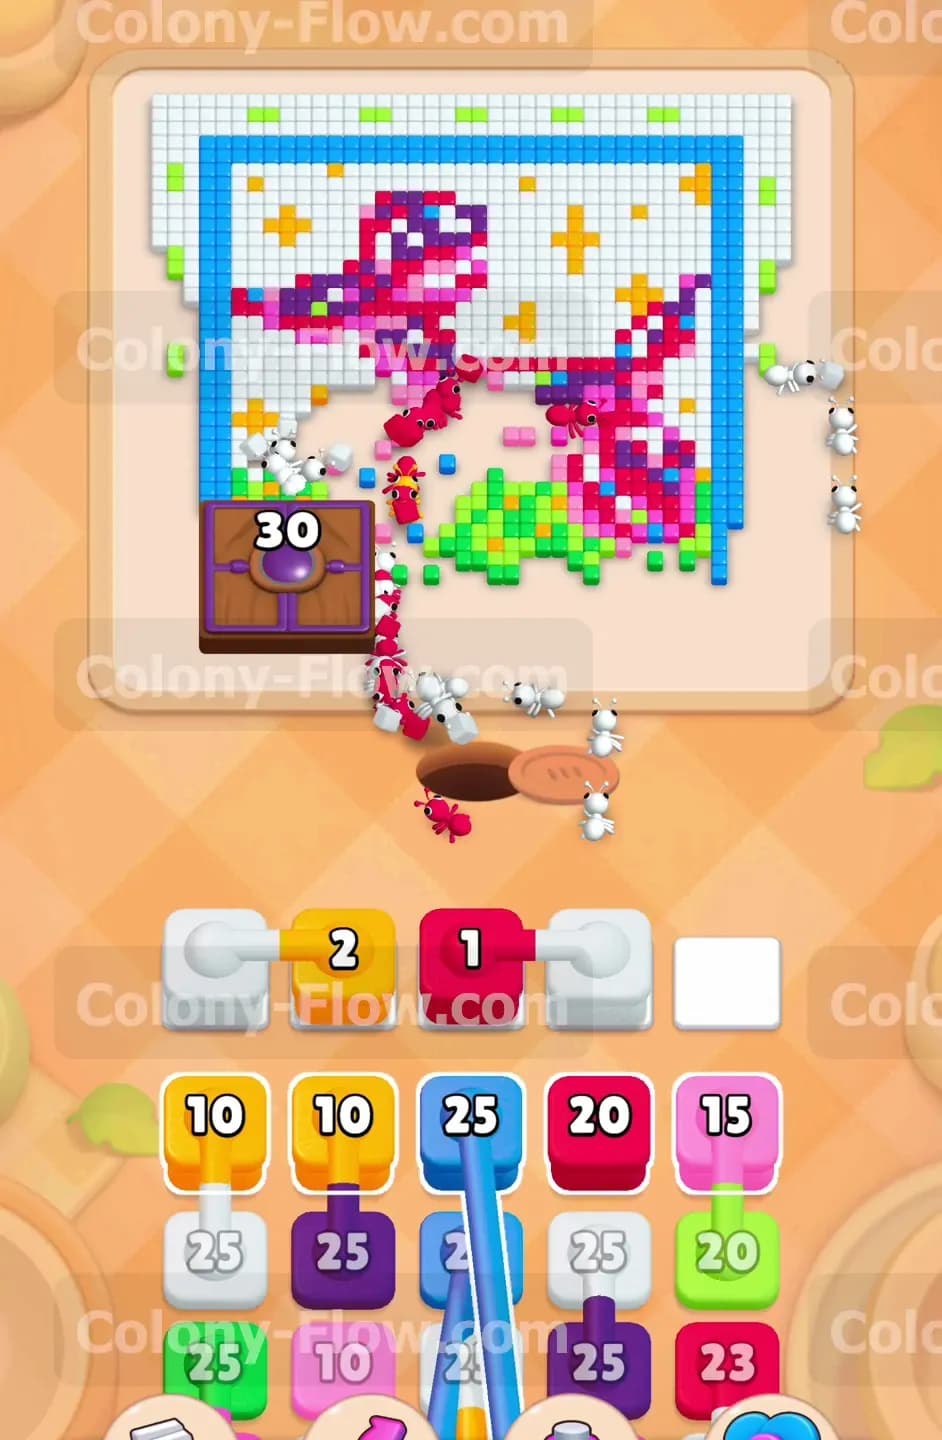
The Hungry Door blocks a large portion of the board on the left side. It requires purple ants to open. You locate the Purple 20 block in your lower tray and pull it up to the active slots. The purple ants march directly out of the hole and straight into the Hungry Door. They do not eat any pixels on the board. They only feed the door. You watch the number on the door drop from fifty down to thirty. The purple block empties quickly because the door is very close to the nest hole. The block vanishes and frees up your slot. You successfully fed the first batch without clogging your active tray.
Step 4: Clear the dark red sections of the balloon dog
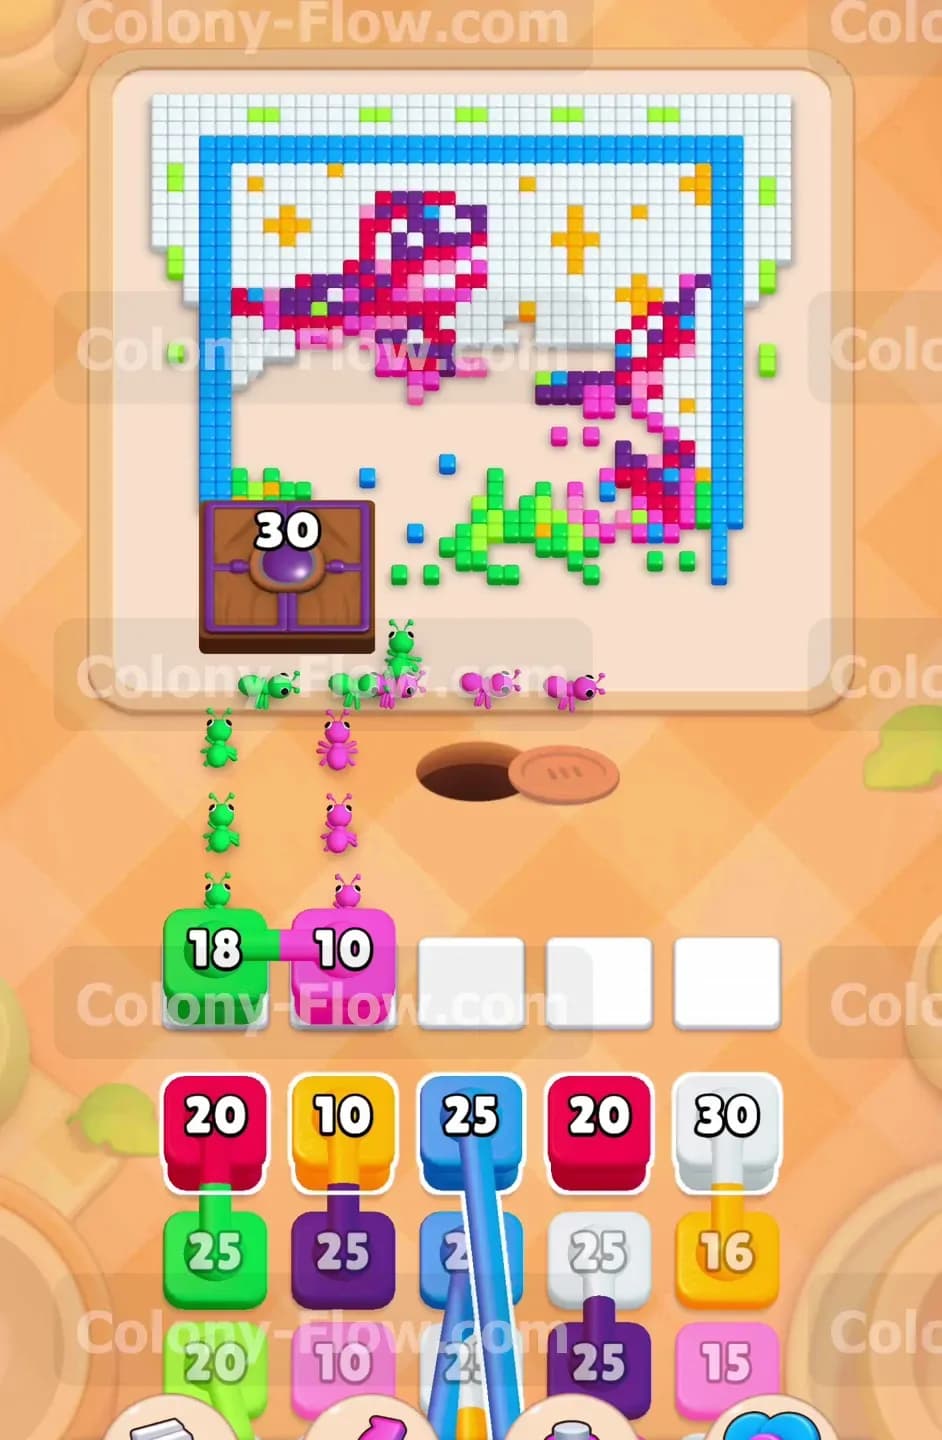
The balloon dog has dark red shading that you need to clear to open up the center of the board. You pull the Dark Red 20 block into an open slot. The dark red ants navigate through the cleared bottom space and climb up to eat the shading pixels on the legs and belly. You also pull a White 15 block to keep chipping away at the background. The white ants consume more of the empty space around the head of the dog. The picture looks very fragmented and broken apart at this point. You keep your eyes on the five active slots. You have three blocks currently active but they are all counting down fast and moving efficiently. You remain perfectly safe from a jam.
Step 5: Finish the green grass and pull more pink blocks
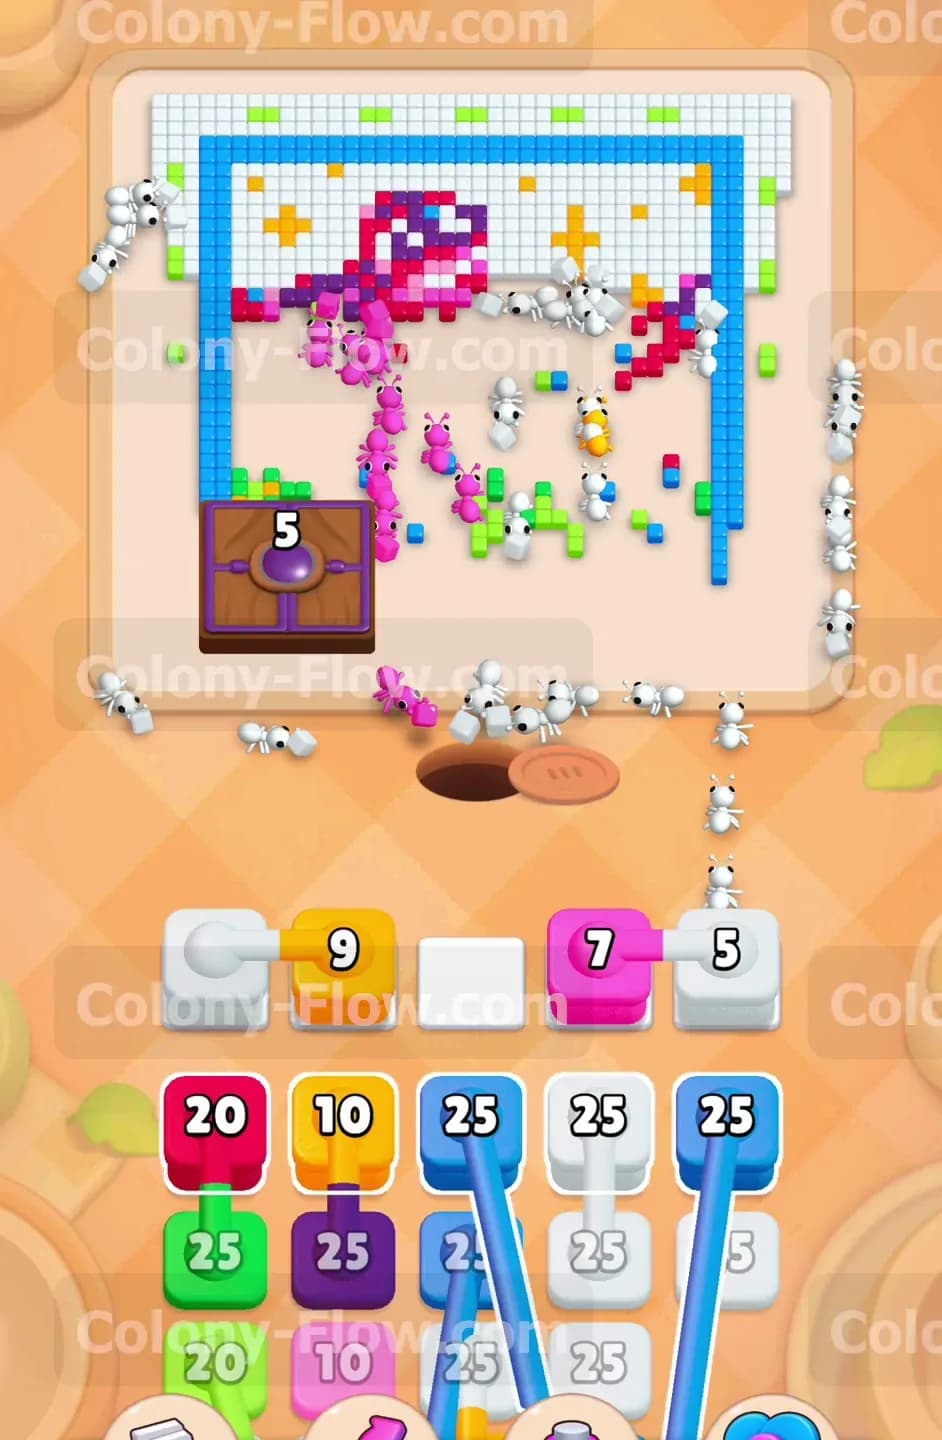
You notice a few pieces of green grass still sitting at the very bottom edge of the art. You pull the Light Green 11 block to finish them off completely. The green ants rush out and eat those final grass pixels. The green block vanishes from your tray immediately. You then pull Pink 10 and Pink 13 to continue dissolving the dog body. The pink ants swarm the head and the snout of the balloon dog. The entire center of the board turns into empty space. You rely on this empty space to let the remaining ants travel up the board without any delay. Your active slots keep cycling blocks smoothly.
Step 6: Deliver the final purple ants to open the Hungry Door
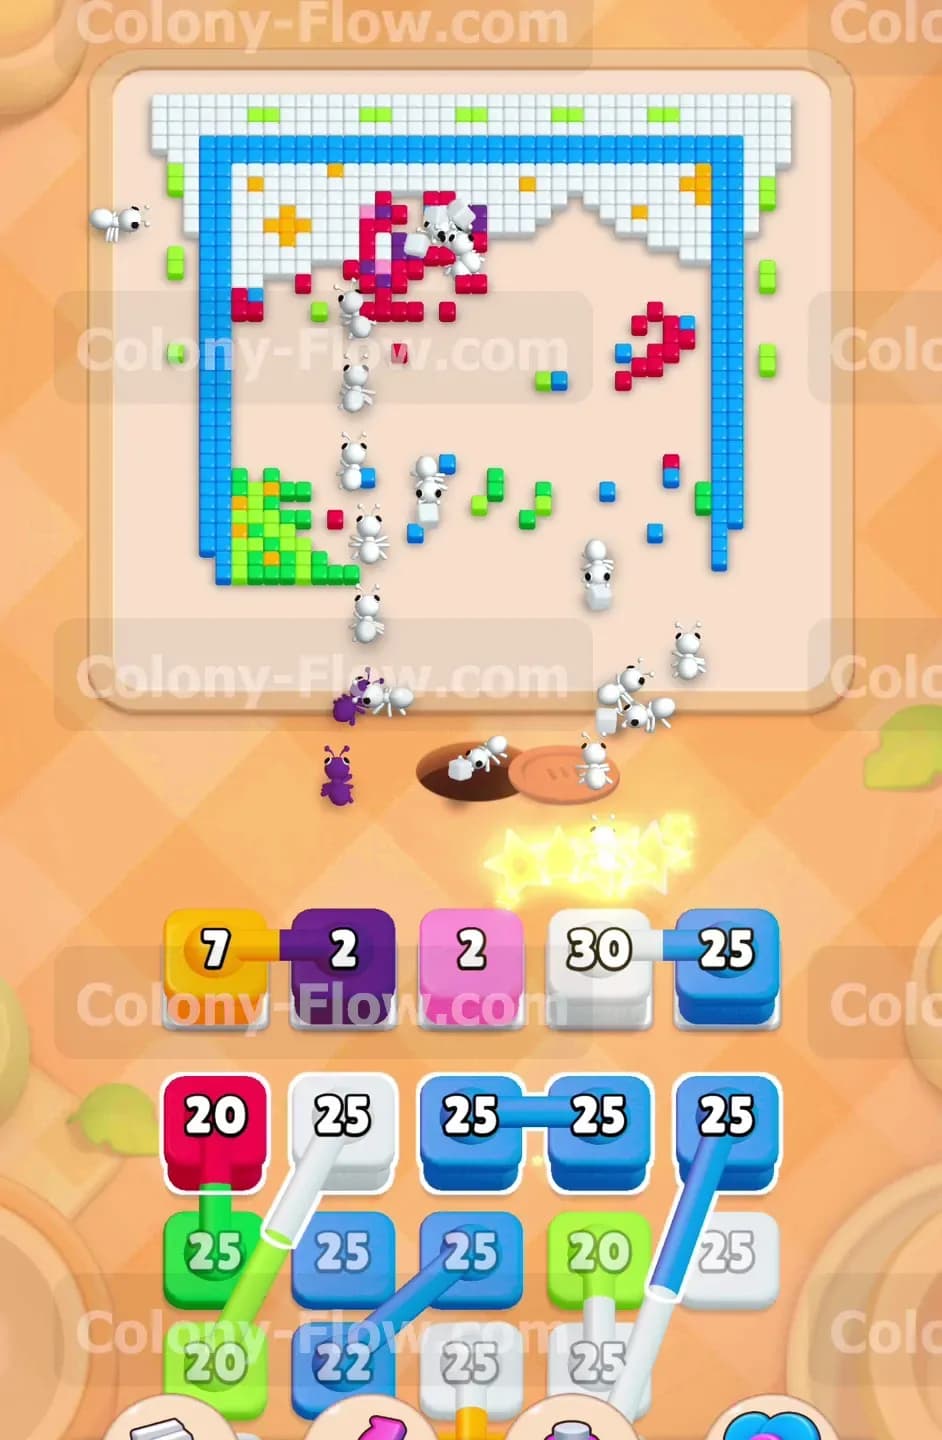
It is time to finish off the Hungry Door and remove it from the board. The door still needs thirty purple ants. You find the Purple 25 block in the tray and pull it up to your active slots. The purple ants pour into the door very quickly. The counter drops rapidly down to five. You pull a small Purple 5 block to provide the final few ants. The door hits zero and vanishes completely in a flash of light. This action removes the biggest obstacle on the board and opens up the final corner. You now have full access to every remaining pixel. Your active tray remains clear and ready for the massive border cleanup.
Step 7: Unleash the connected blue boxes to consume the border
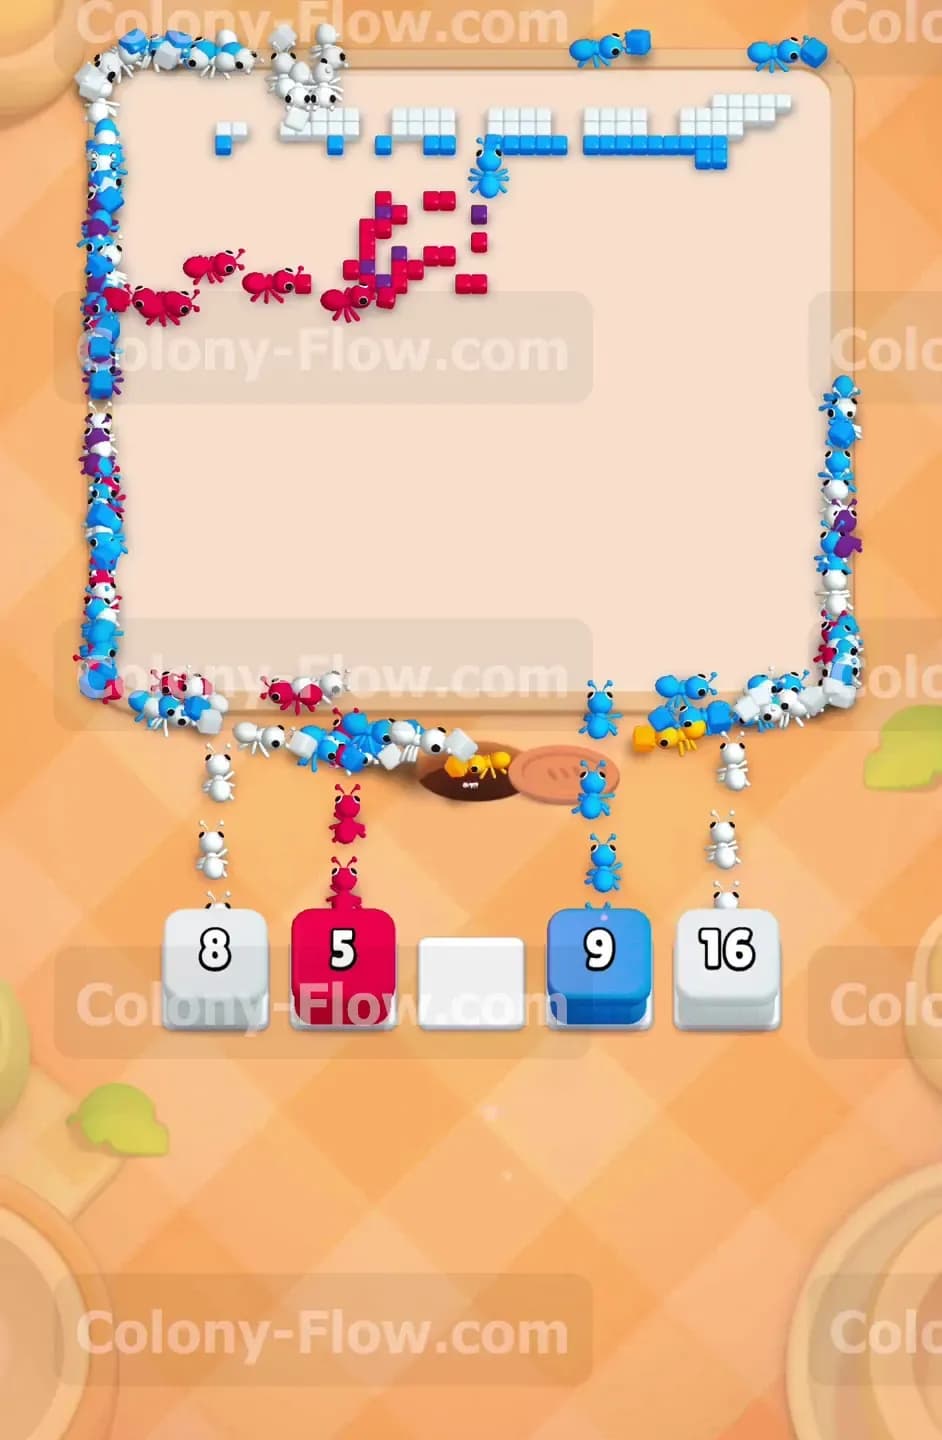
The solid blue border still surrounds the entire outside edge of the picture area. You look at your tray and see Connected Boxes colored blue. These are two Blue 25 blocks linked together by a thick line. When you tap one block the other follows it automatically into the active tray. This action takes up two of your five slots instantly. You make sure you have room before you pull them. The massive swarm of fifty blue ants races out of the hole and splits up. They travel up both sides of the board simultaneously and eat the entire blue frame. The border disappears rapidly. Both blue blocks empty out and vanish from your active tray at the exact same time.
Step 8: Clear the final scattered pixels to finish the level
The board is almost completely clean at this stage. You only have a few scattered red and white pixels left near the top. You pull the White 30 block into your active tray to flood the board with white ants. They hunt down the last fragments of the upper white background. You pull Dark Red 5 to clean up the final shading on the dog ear. Every single block empties out. The last few ants return to the nest hole. The board clears completely and the level ends in a victory. You win by maintaining perfect slot management from the first pull to the very last block.
Final Thought
Keeping your active tray flowing is the only way to beat this board. You must clear the bottom area early so your ants do not get stuck traveling long distances. Watch the video above this article if you want to see exactly how to time the Connected Boxes and the Hungry Door perfectly.