Colony Flow Level 277 Walkthrough Solution & Guides | How to solve Colony Flow 277

Guide By Liam Stone
Updated on August 1, 2026
The article below breaks down Level 277 in detail, but the video above shows the whole thing if you'd rather watch.
Video doesn't match your screen?
Game updates frequently scramble layouts! Try our AI Screenshot Solver first to find your exact board instantly, or report broken guides to our team.
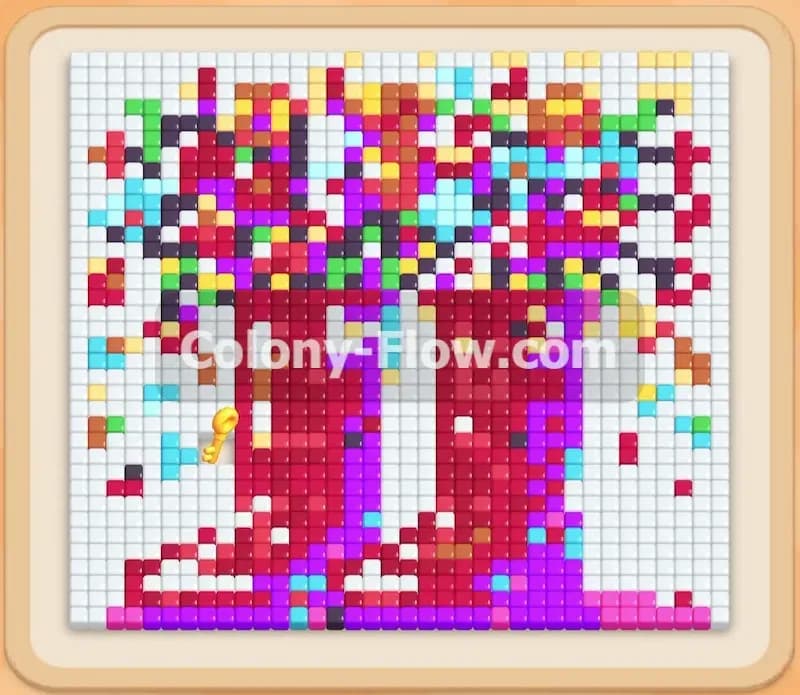
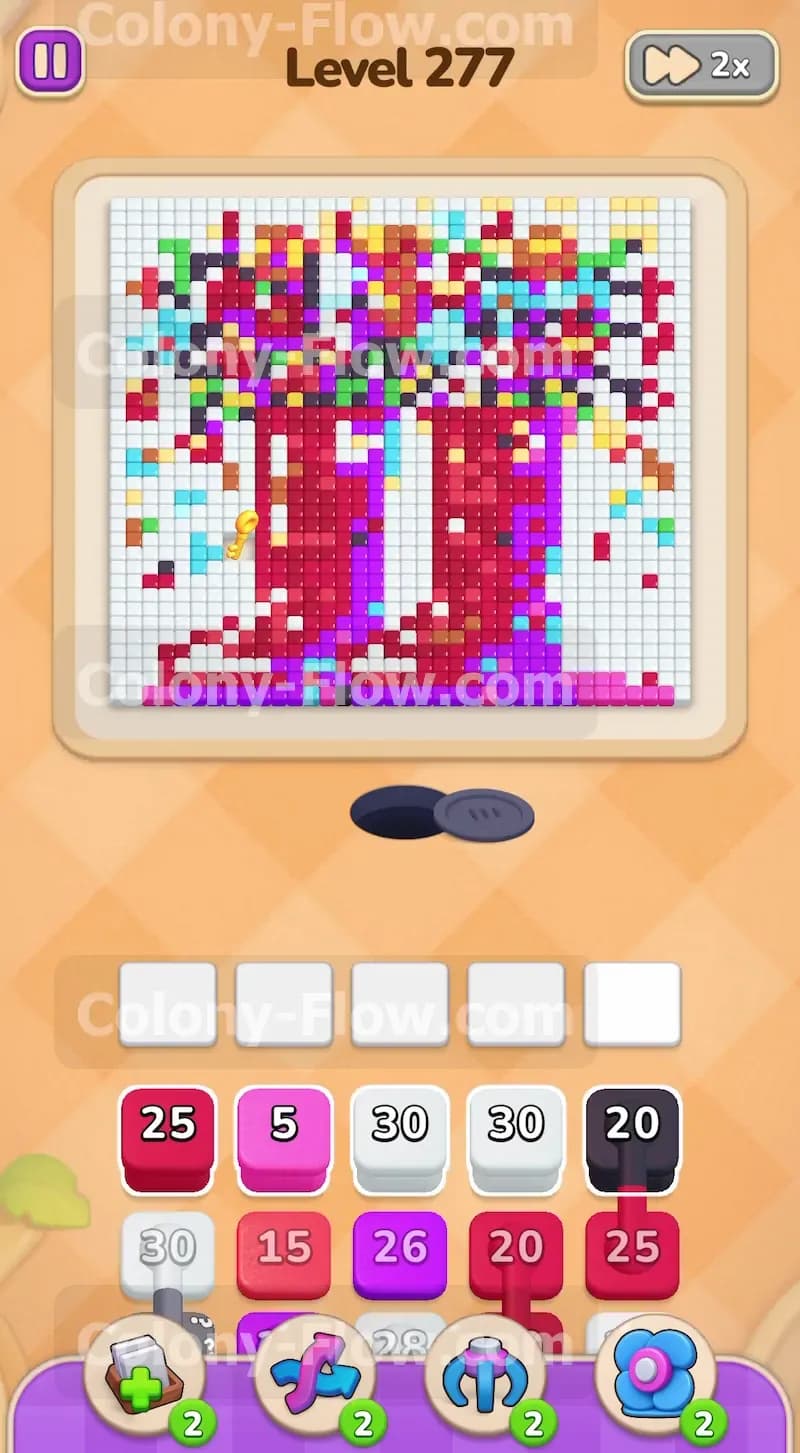
Welcome to Colony Flow Level 277. This level presents a beautiful pixel art picture of two tall boots filled with blooming flowers. You will face a very crowded board right from the start and a tray packed with large numbered blocks. I will walk you through exactly how to clear this puzzle without getting your waiting slots jammed.
Colony Flow Level 277 Overview
What You Are Working With
The board features a massive cluster of colorful tiles forming two large boots at the bottom and a wide canopy of flowers at the top. The primary colors making up the boots are deep red and bright purple. The flower section above includes green blue yellow pink and black tiles. You will see several special elements in your tray and on the board. This level includes connected boxes where two different colored blocks are joined together and must be pulled into the slots at the same time. You will also encounter the lock and key mechanic. A yellow lock block sits in your tray and you must collect the yellow keys on the board to open it. The board starts very restricted with only a few open paths along the bottom edges.
What It Takes to Clear Level 277 Board
To achieve victory you must completely erase every tile from the board by feeding them to your ant colony. You pull numbered colored blocks from your tray into the five available waiting slots. Ants of the matching color then exit the nest hole and travel along open paths to eat the tiles. The number on the block counts down with every tile eaten. The main challenge is managing your five waiting slots. If you fill all five slots with blocks that have no clear path to their target tiles the ants stop moving and you lose the level. You must methodically dismantle the boots from the bottom up to create clear walking paths to the complex flower clusters and the yellow keys at the top.
Colony Flow Level 277 Step by Step Solution
Step 1: Open the lower edges by deploying the first white block.
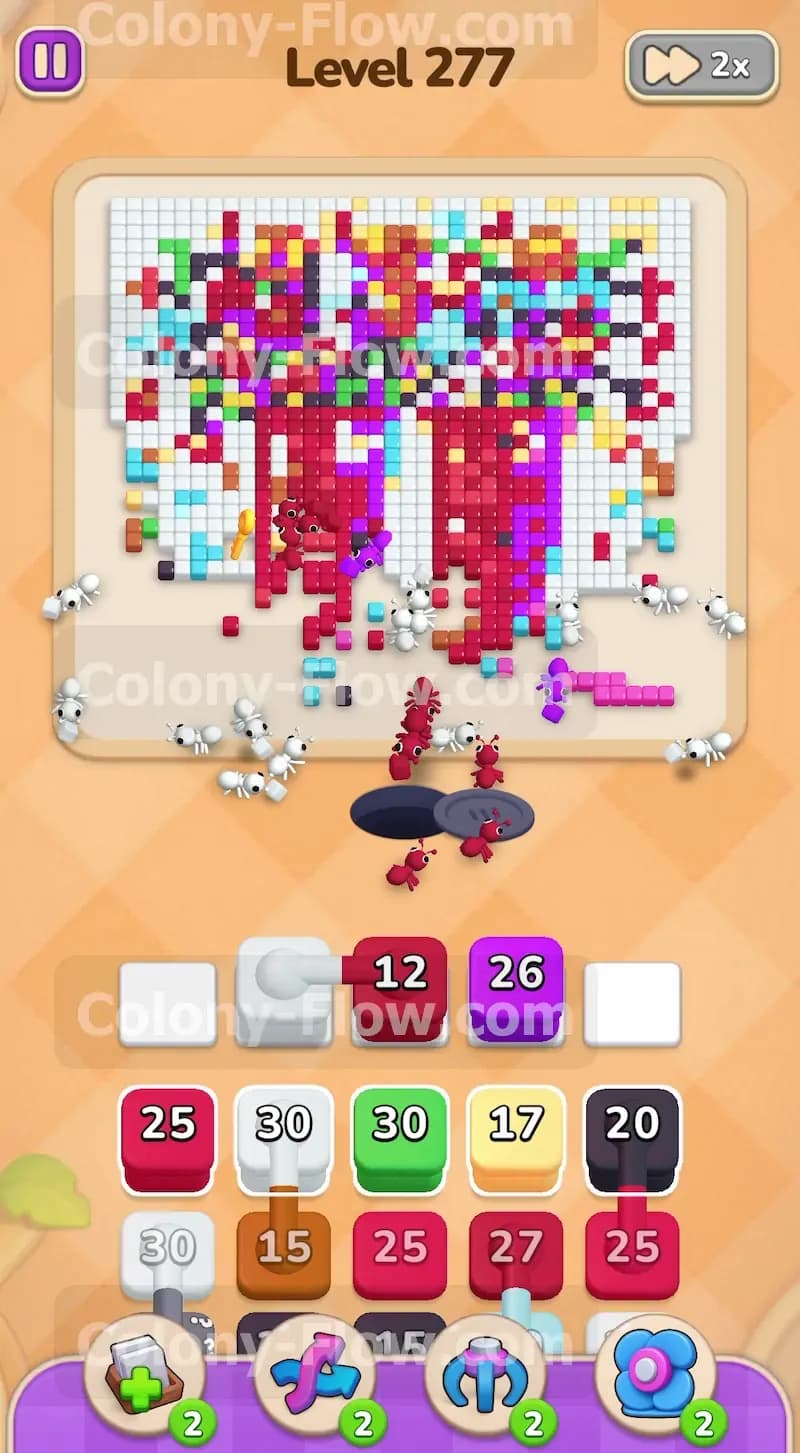
At the very beginning of the level you will see a solid wall of tiles resting just above the nest hole. The outer bottom edges of this shape are lined with white tiles. You must clear these first to create room for your ants to walk around the main structure. Pull a White 30 block from your tray into the waiting slots. The white ants will stream out of the nest and march toward the bottom left and right corners. As they eat the white tiles you will see the paths open up along the sides of the large red boots. Keeping the outer lanes open is essential for routing ants to the higher sections of the board later on. Let the white block count down completely to free up its slot.
Step 2: Start dismantling the boots with the large red blocks.
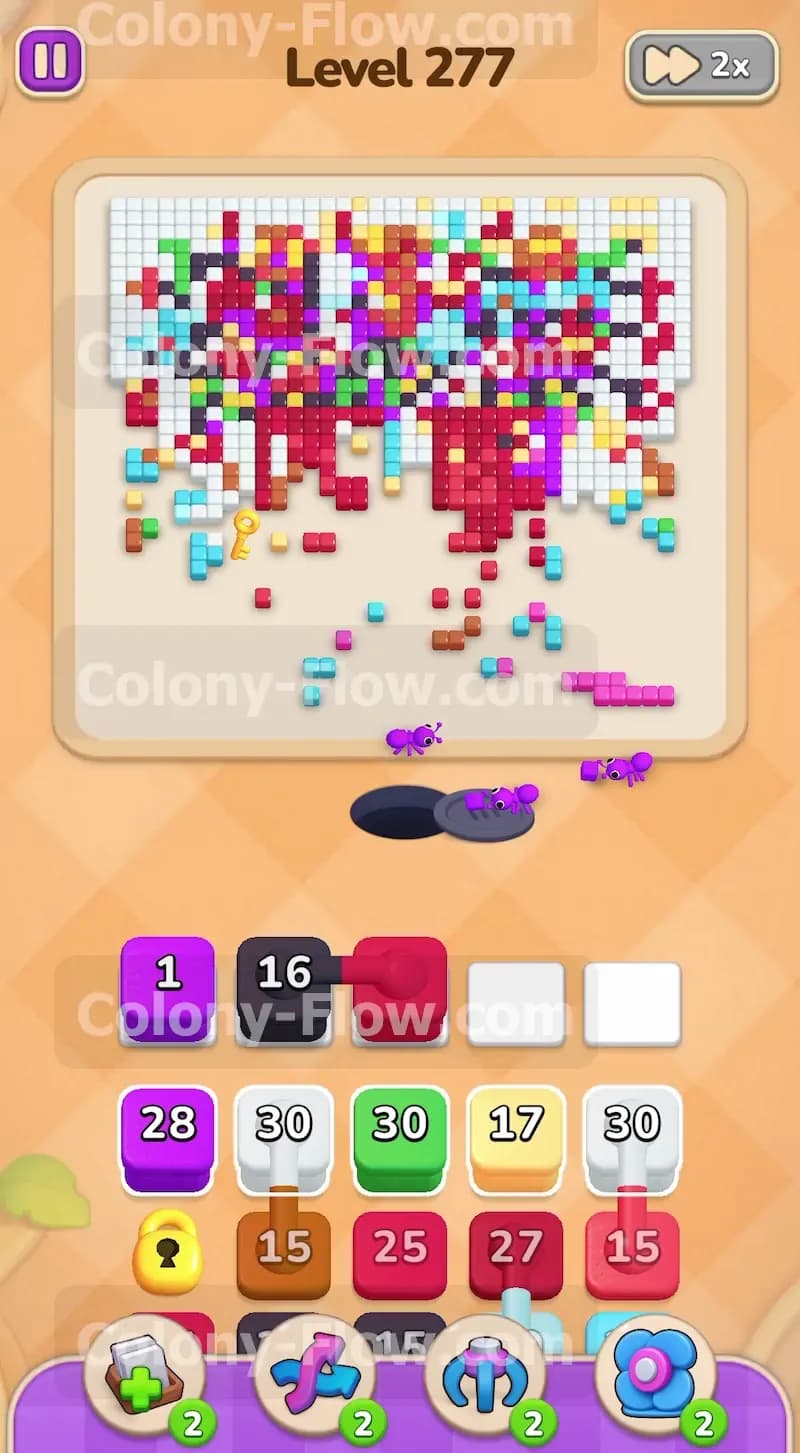
With the outer bottom edges clear you can begin tearing down the massive boot structures. The boots consist mostly of red tiles. Pull the Red 25 block into your waiting slots. The red ants will pour out and head straight up the middle of the board to attack the heels and soles of the boots. This is a very large chunk of tiles so it will take a moment for the red ants to chew through them. You will see the bottom center of the picture start to vanish. This process carves a central highway right up the middle of the board. This central path gives your ants direct access to the inner layers of the picture.
Step 3: Pull the connected white and red blocks to widen the paths.
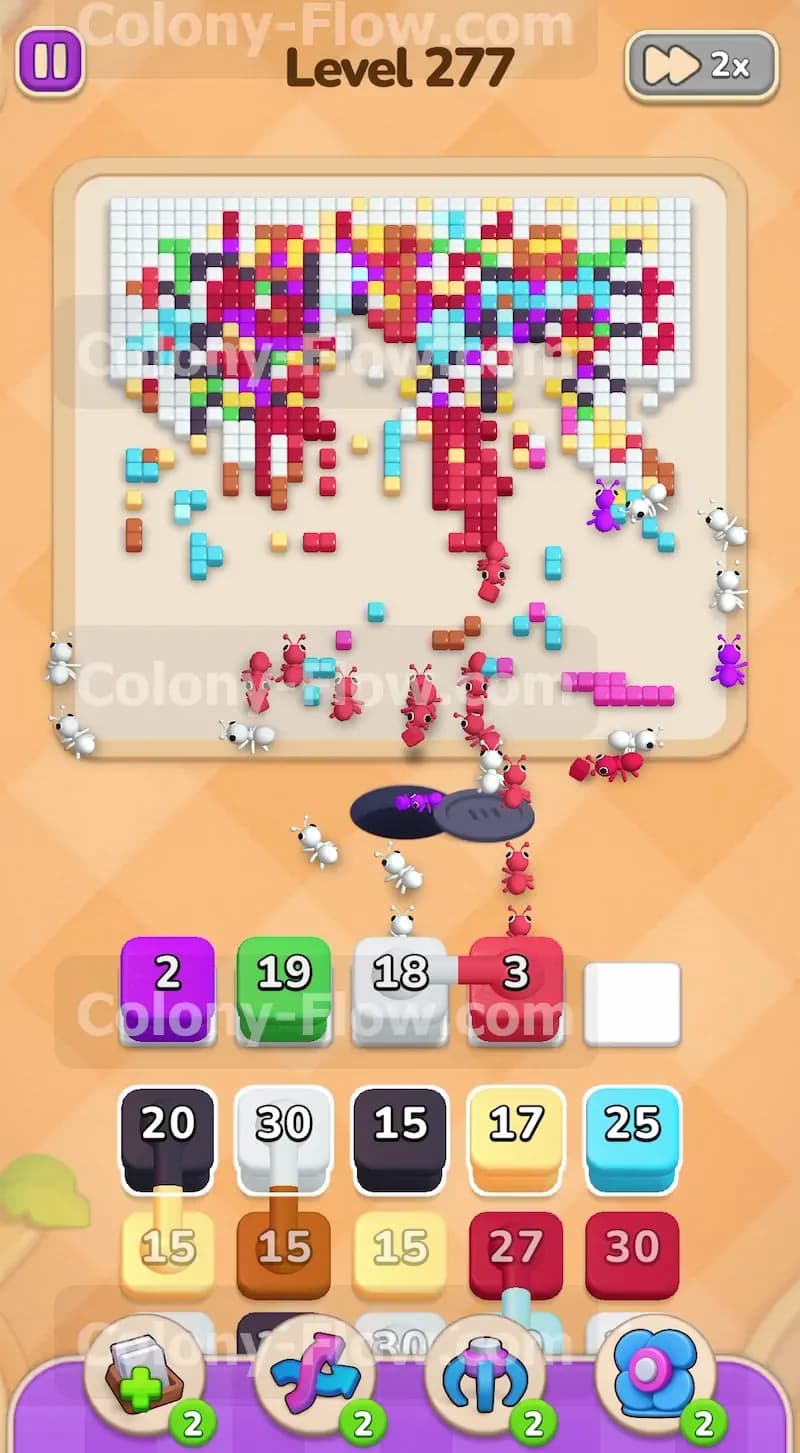
Next you will notice a White block physically linked to a Red 12 block in your tray. These are connected boxes and pulling them requires two open slots in your waiting area. Make sure you have the space and then pull this connected pair up. The white ants will target the remaining white border tiles while the red ants continue eating away at the boots. Combining these two colors at the same time is very efficient. The ants work simultaneously on the edges and the center. You will watch the lower third of the picture dissolve completely. This leaves a wide open space at the bottom of the board for your ants to navigate freely.
Step 4: Erase the sides of the boots using the large purple block.
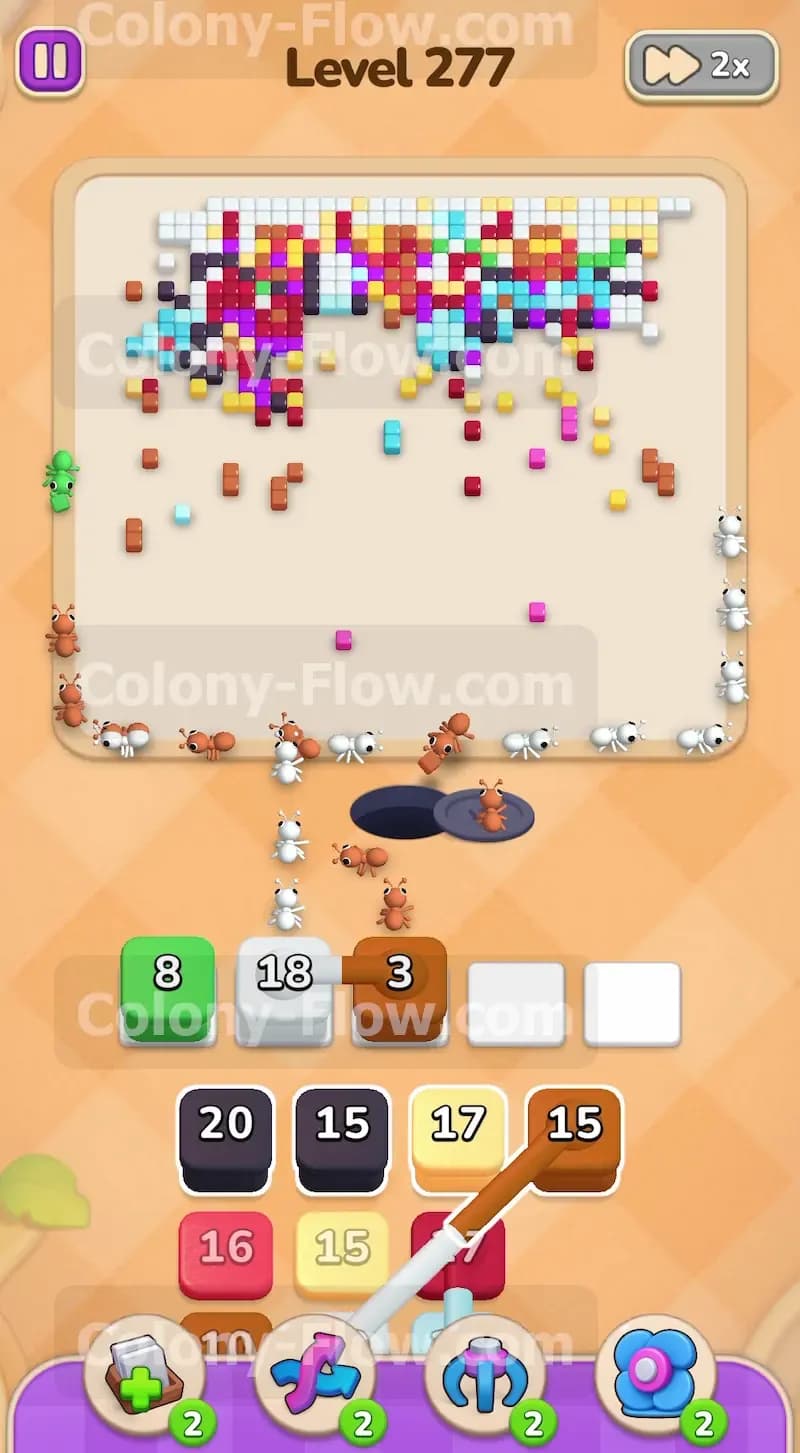
The tall shafts of the boots feature thick stripes of purple tiles. To clear these you need to pull the Purple 26 block from your tray into your waiting area. The purple ants will rush up the newly created central and side paths to reach their targets. Watch as they march in long lines up the sides of the boots. Because this block holds a high number it will keep your ants busy for quite a while. The purple stripes will slowly disappear and expose the very top edge of the boots. You are now breaking through the barrier between the boots and the flower canopy. Always ensure your slots do not jam while waiting for these large numbers to count down.
Step 5: Collect the yellow keys to unlock the restricted blocks.
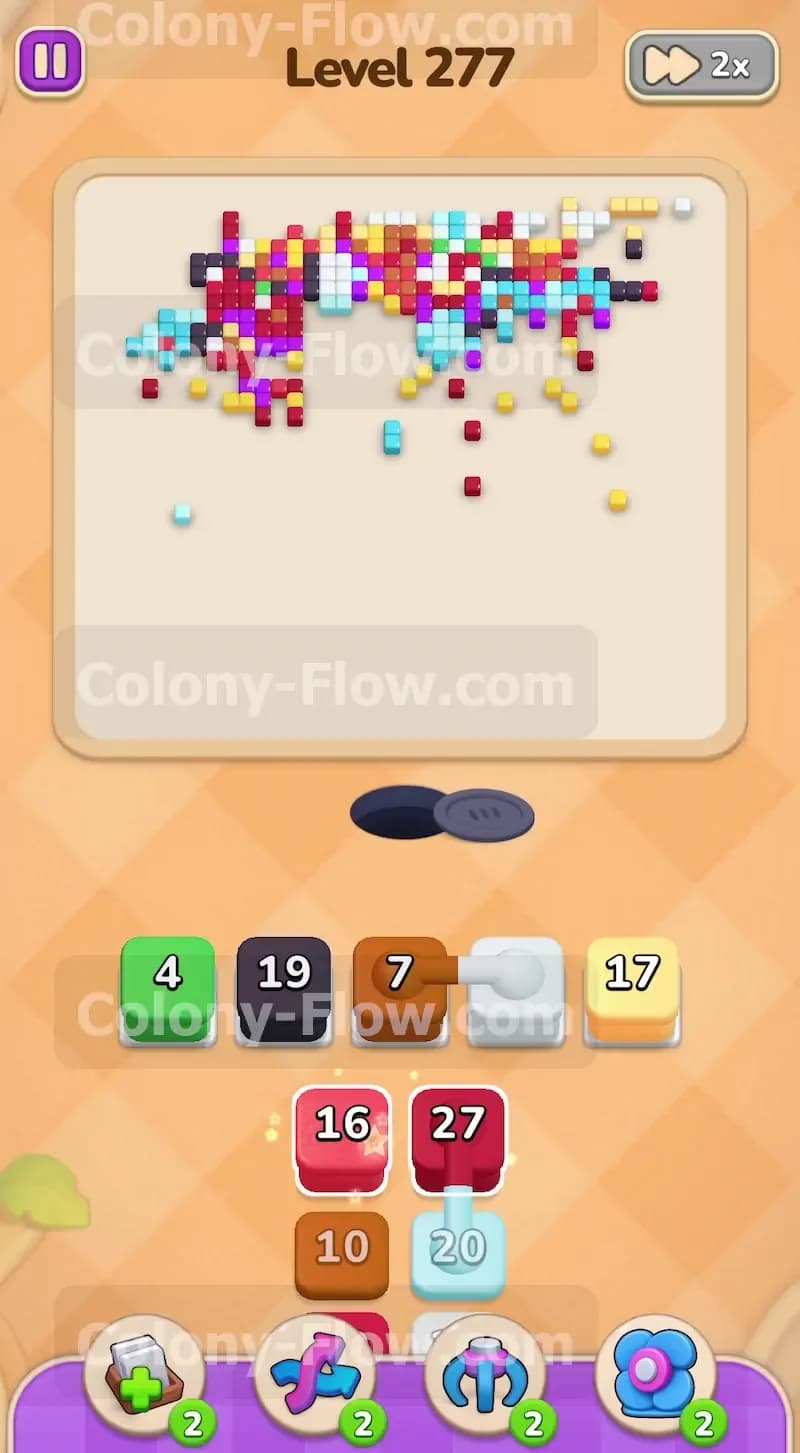
As the top of the boots fade away you will reveal yellow key tiles resting among the lower flower petals. In your tray you have a yellow block stamped with a lock symbol. You cannot pull this locked block until you collect all the keys on the board. Pull a Yellow 17 block into your waiting slots. The yellow ants will quickly run up the board and grab the yellow keys. Once the ants consume these specific tiles the lock on your tray block breaks open. This action frees up your tray and gives you access to the remaining colors you need. You must prioritize these keys to avoid getting stuck later.
Step 6: Attack the dense flower clusters with green and black blocks.
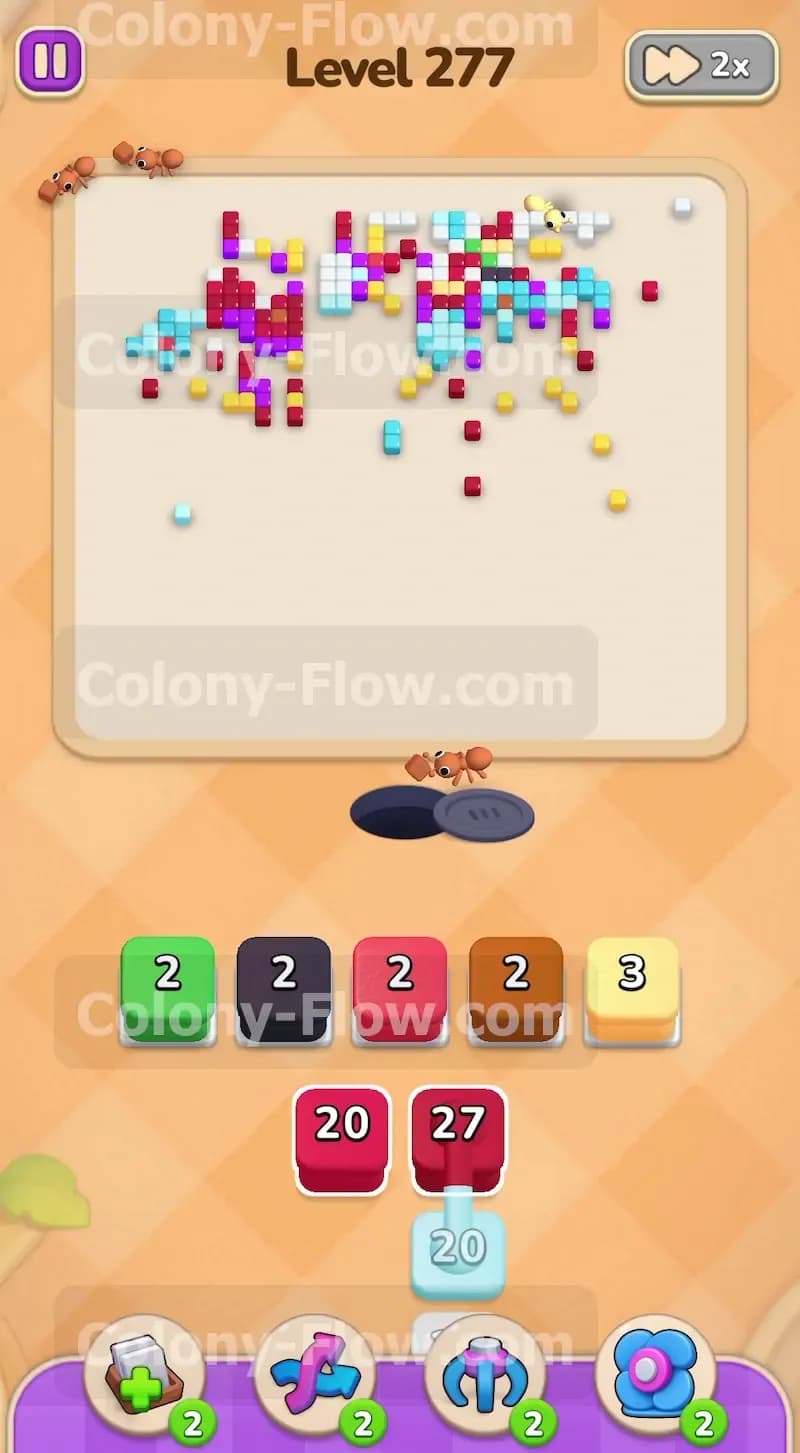
The upper section of the board is packed with a tight mixture of different colors. You must pick this area apart carefully. Pull a Green 30 block and a Black 20 block into your available slots. The green ants will target the leafy sections of the flowers while the black ants aim for the dark outlines. The ants will weave their way through the narrow gaps in the remaining picture. As they remove the green and black tiles the solid mass of flowers begins to look like a skeleton. These new gaps act as shortcuts allowing future ants to reach the very top corners of the board much faster. Keep an eye on the numbers decreasing in your tray.
Step 7: Deploy the connected black and red blocks for the upper canopy.
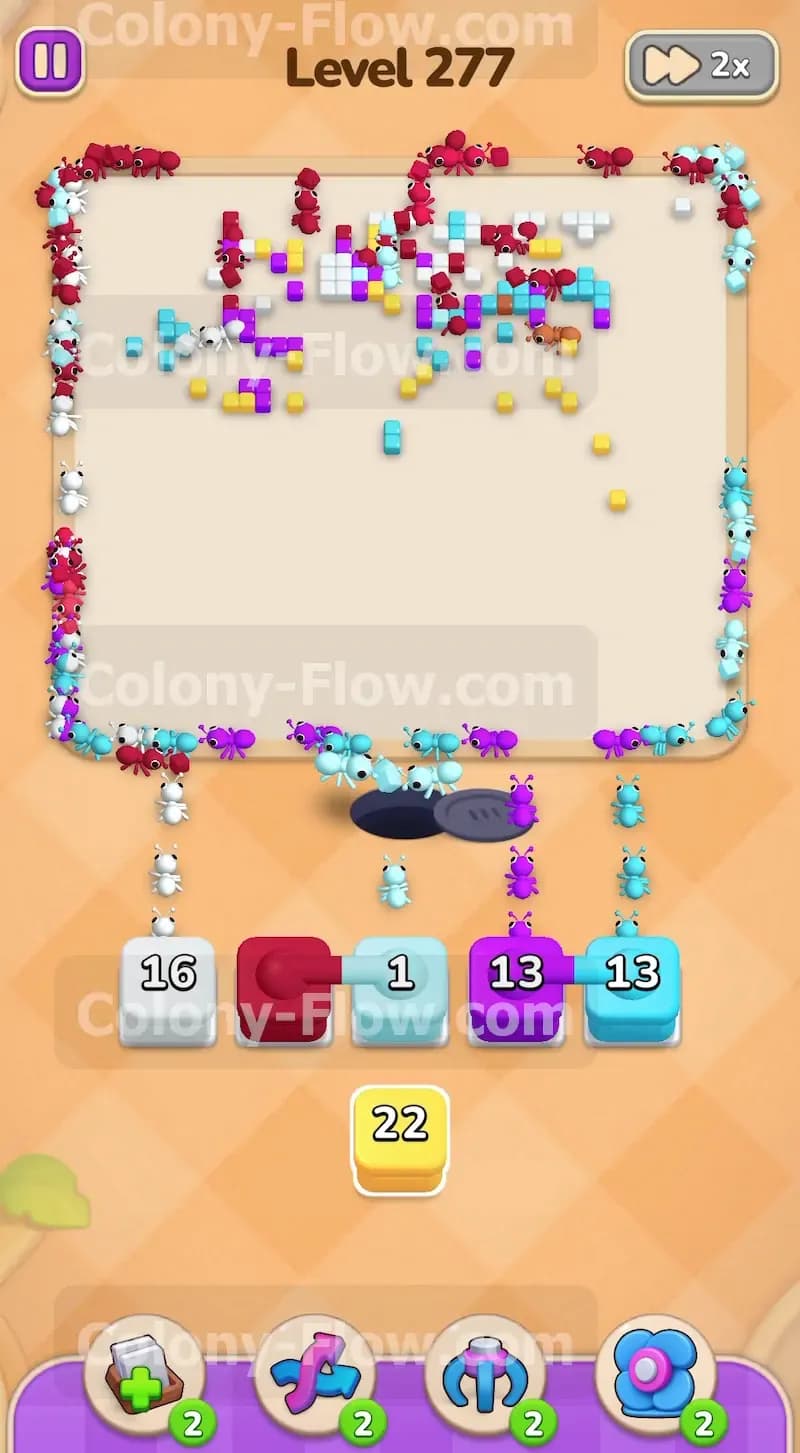
Look in your tray for a Black 16 block connected directly to a Red 3 block. Check your slots to ensure you have two empty spaces. Pull this connected unit into your waiting area. The black ants will finish off the dark spots scattered throughout the upper flowers. The red ants will quickly erase the last three red petals remaining on the board. Connected blocks are excellent for cleaning up mixed areas because they send two streams of ants to different targets at once. The picture is now significantly reduced and the board feels very open. The ants have massive amounts of empty space to walk across.
Step 8: Clear the scattered brown and yellow flower centers.
Your next move involves pulling a Brown 15 block and another Yellow 17 block into the waiting slots. The brown ants will head toward the scattered brown tiles that represent the centers of the flowers. The yellow ants will mop up the rest of the yellow petals. At this stage of the level the paths are very long. The ants must travel all the way from the nest at the bottom to the very top edges of the screen. You will see long winding trails of ants crossing the empty void where the boots used to stand. Be patient and let them complete their journey. Pulling too many blocks right now could jam your slots if the ants take too long to reach their food.
Step 9: Use the connected brown and white blocks for the top left corner.
You will find a Brown 7 block connected to a White block in your tray. Bring this pair up into your waiting slots. The white ants will sprint toward the isolated white pixels hovering in the top left corner of the board. The brown ants will finish consuming the very last brown tiles. Managing connected blocks near the end of a level requires careful attention. You must verify that both colors have a clear uninterrupted path to their specific tiles. If the white ants can reach their tiles but the brown ants are blocked the entire connected unit will freeze in your tray. This will consume two slots and put you at risk of losing.
Step 10: Send light blue and green ants to the remaining leaves.
The picture is now reduced to a few tiny specks of color in the upper corners. Pull a Light Blue 25 block and a Green 4 block into your slots. The light blue ants will stream up the right side of the board to erase the sky blue flower petals. The green ants will run up the left side to handle the final green leaves. Because the board is almost entirely empty the ants will spread out into a wide perimeter formation. They will trace the very edges of the screen to reach their targets. Watch the numbers on the blocks drop to zero and free up your tray for the final move.
Step 11: Finish the board with purple and connected red blocks.
For your final actions you need to clear the last remaining pixels. Pull a Purple 13 block to send purple ants to the upper right area. Then pull the Red 1 block connected to a Light Blue 1 block. These connected blocks have very low numbers so they will vanish from your tray almost instantly. The red and light blue ants will speed to the top and eat the final two tiles. You will watch the last few pixels disappear from the board completely. The ants will finish their walking paths and return to the nest. You have successfully managed your tray kept the paths open and beaten the level.
Final Thought
This level requires patience and careful management of your waiting slots especially when handling the connected blocks and the key tiles. Always prioritize clearing the bottom edges first to give your ants room to maneuver. If you find yourself struggling to visualize the ant paths or the order of the tray pulls I highly recommend you watch the video above this article. Seeing the moves in real time will help you master the flow and beat the board.