Colony Flow Level 6 Walkthrough Solution & Guides | How to solve Colony Flow 6

Guide By Liam Stone
Updated on July 10, 2026
Prefer to watch rather than read? The Level 6 walkthrough video sits right above this guide.
Video doesn't match your screen?
Game updates frequently scramble layouts! Try our AI Screenshot Solver first to find your exact board instantly, or report broken guides to our team.
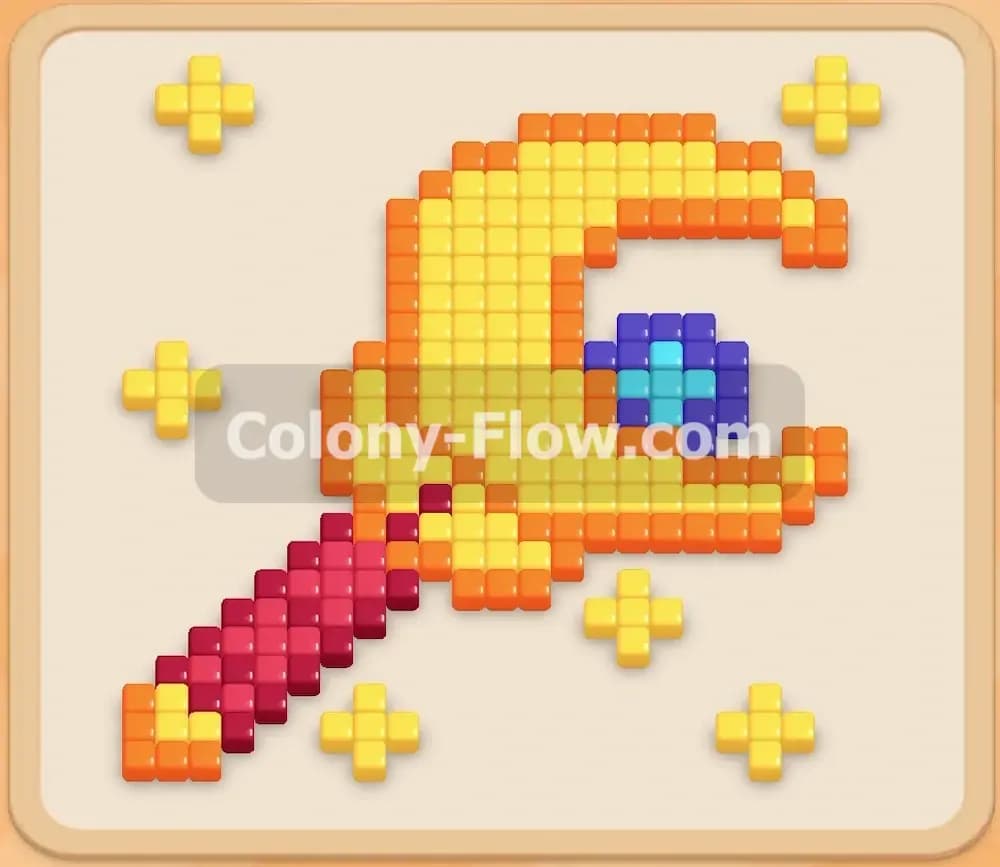
Colony Flow Level 6 brings a beautiful golden scepter to your screen. You take on a puzzle featuring a crescent moon staff decorated with a bright blue gem and a thick red handle. I play every single level myself to figure out the exact clear order so you never hit a dead end. This board tests your ability to juggle floating pieces alongside a solid central object while carefully managing your waiting slots.
Colony Flow Level 6 Overview
What You Are Working With
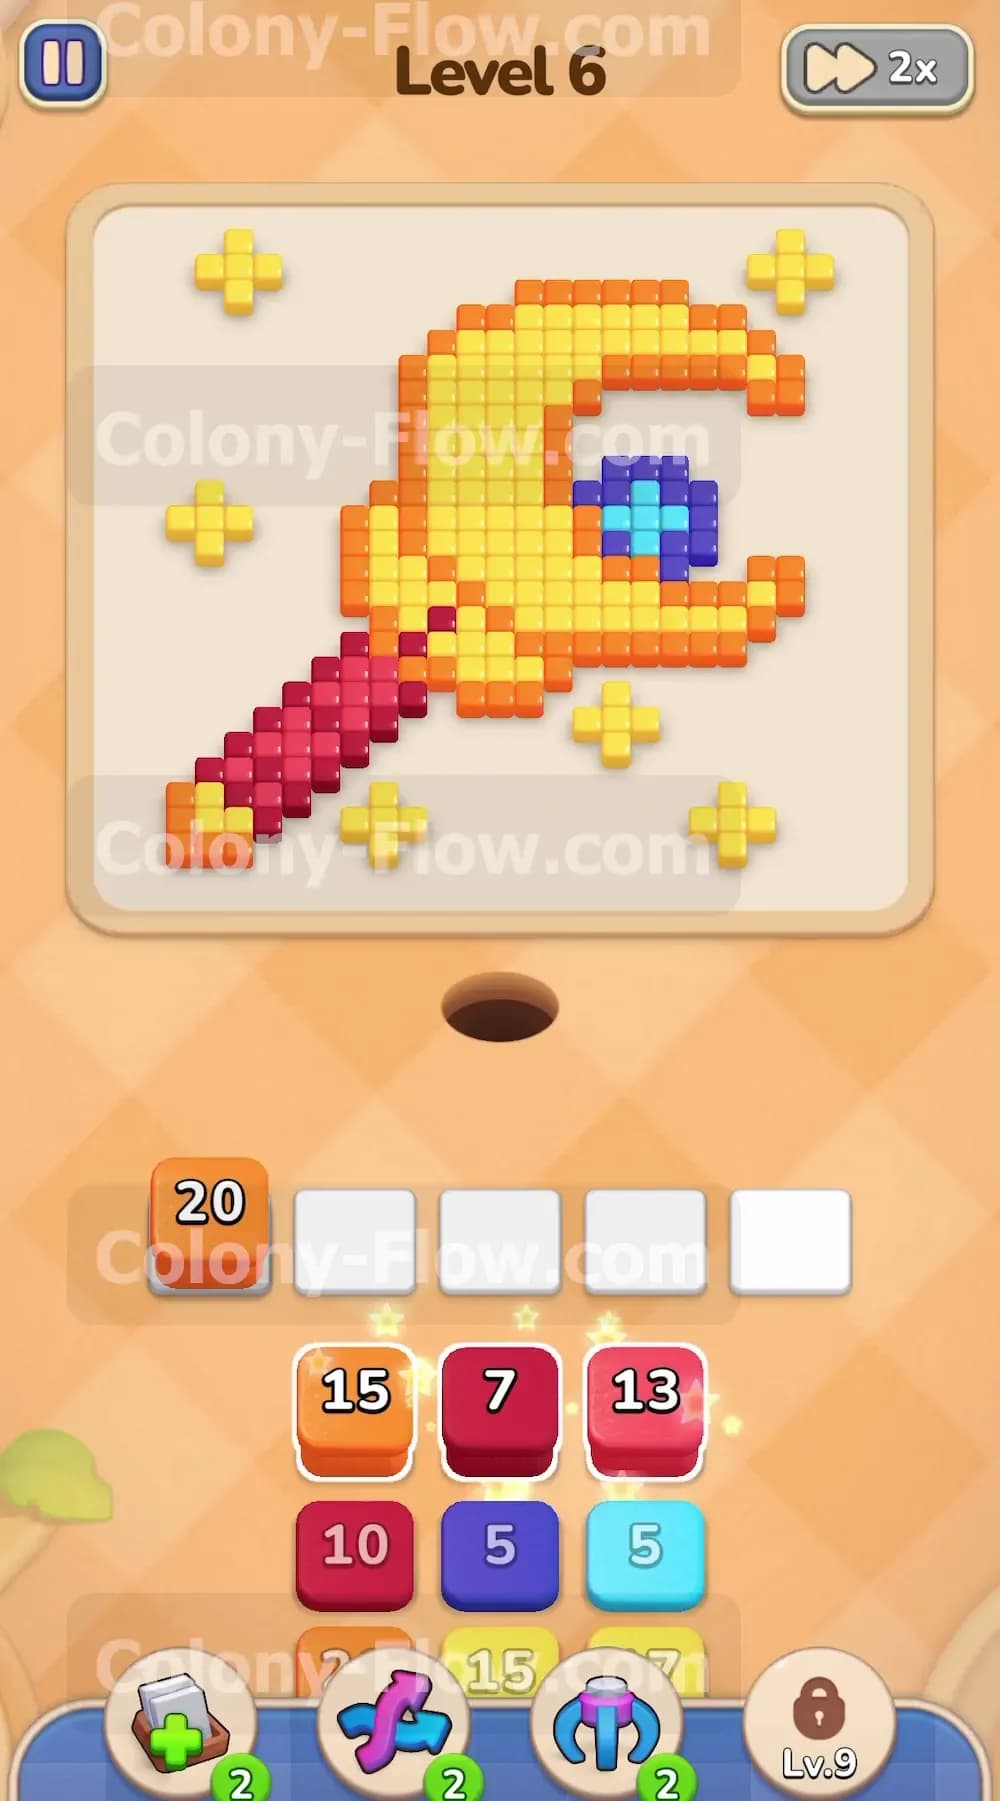
The main picture is a large magical staff surrounded by glowing details. The entire outer border of the staff is made of orange tiles. The handle of the staff sits at the bottom left and consists of bright red and deep maroon tiles. The top of the scepter is a thick yellow crescent moon shape holding a dark blue gem right in its inner curve. There are also several small yellow plus signs acting as floating stars in the empty space around the main picture. The tray at the bottom is packed with multiple layers of blocks. You will work through large orange blocks, medium red and maroon blocks, small light blue blocks, dark blue blocks, and massive yellow blocks that hold up to seventeen ants each. The paths start at the nest hole at the very bottom center and spread out across the board.
Level 6 Objective
You win the level when the ants eat every single colored tile on the board and the picture disappears completely. You must pull blocks from the bottom tray in the correct order to keep the walking paths open. The board has exactly five waiting slots sitting right above the tray. If you pull too many blocks and fill all five slots while the ants have nowhere to go, the board jams and you lose the game. Your goal is to guide the colony from the outer edges inward until the entire scepter is gone. You need to clear the floating stars early and save the massive yellow blocks for the final push on the moon.
Colony Flow Level 6 Step by Step Solution
Step 1: Clear the outer orange border to open the main picture
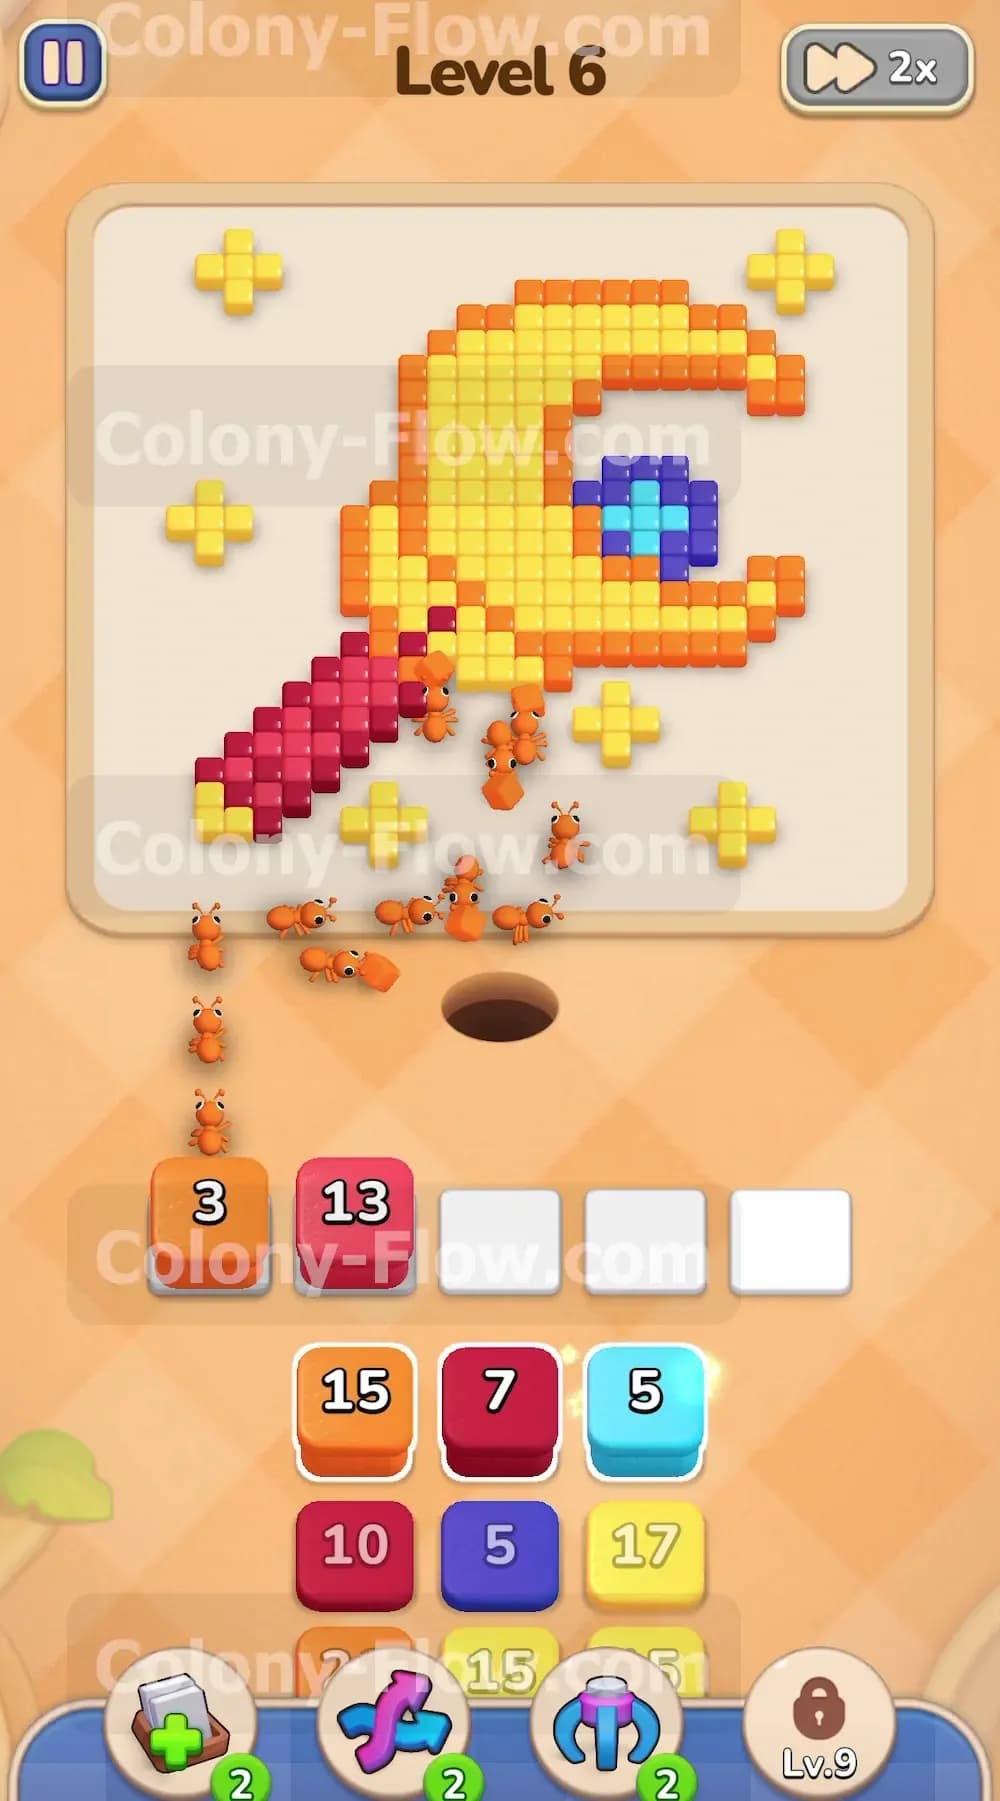
You begin the level with a massive Orange 20 block already active in your first waiting slot. This block is your master key to opening the rest of the board. The orange tiles form a continuous protective shell around the entire scepter. The ants stream out of the nest hole and immediately start chewing away the bottom section of the orange outline. You watch them split naturally into two separate paths. One group travels up the left side toward the handle while the other group marches up the right side toward the moon. Clearing this border first is entirely mandatory. You cannot access the red handle or the yellow moon until these orange edge tiles disappear. Let the ants work through a good chunk of this block before you pull anything else from the tray.
Step 2: Attack the red section of the handle
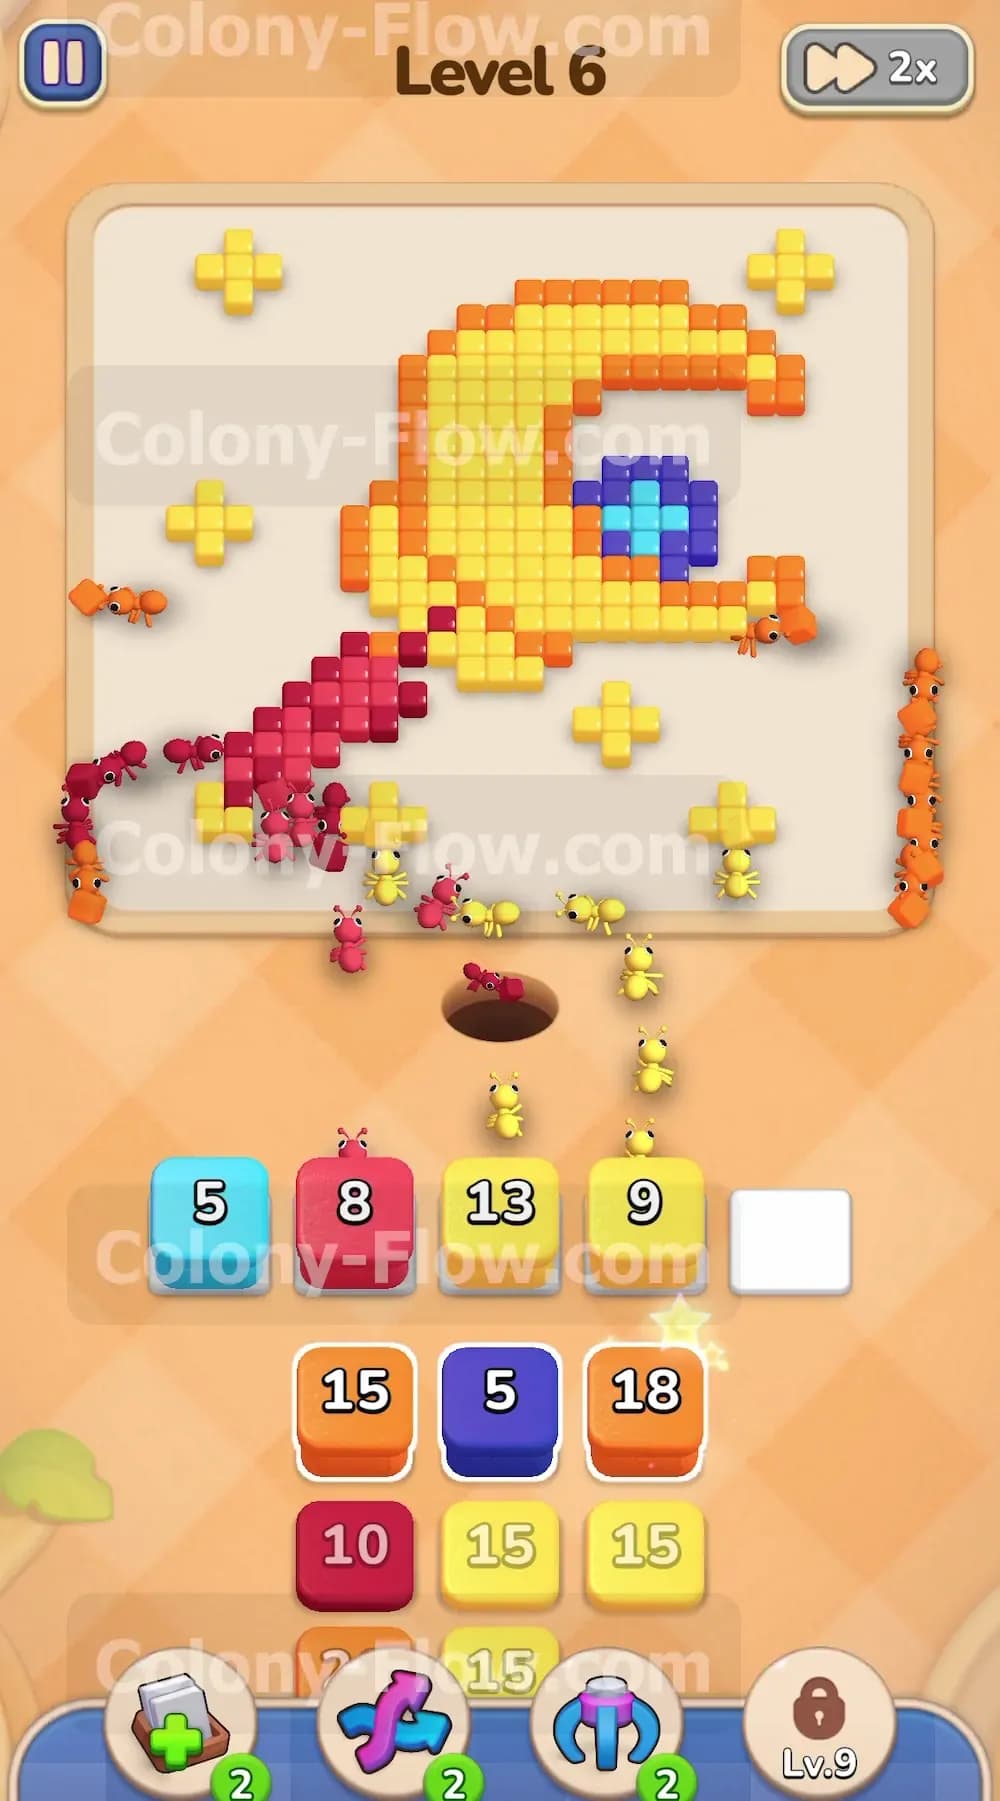
Once the bottom orange tiles clear out slightly, the red handle becomes fully exposed to the ants. You reach into the tray and pull the Red 13 block into your second waiting slot. The colony instantly shifts some focus and a stream of red ants marches straight up into the handle section. The red tiles are grouped tightly together at the bottom left of the staff structure. This cluster creates a very fast and efficient path for the ants to follow. You keep a close eye on your active slots because the original Orange block is still counting down its remaining numbers. You now have two active slots running at the exact same time. The ants easily handle both colors without causing any traffic jams on the main board.
Step 3: Target the floating stars and maroon details
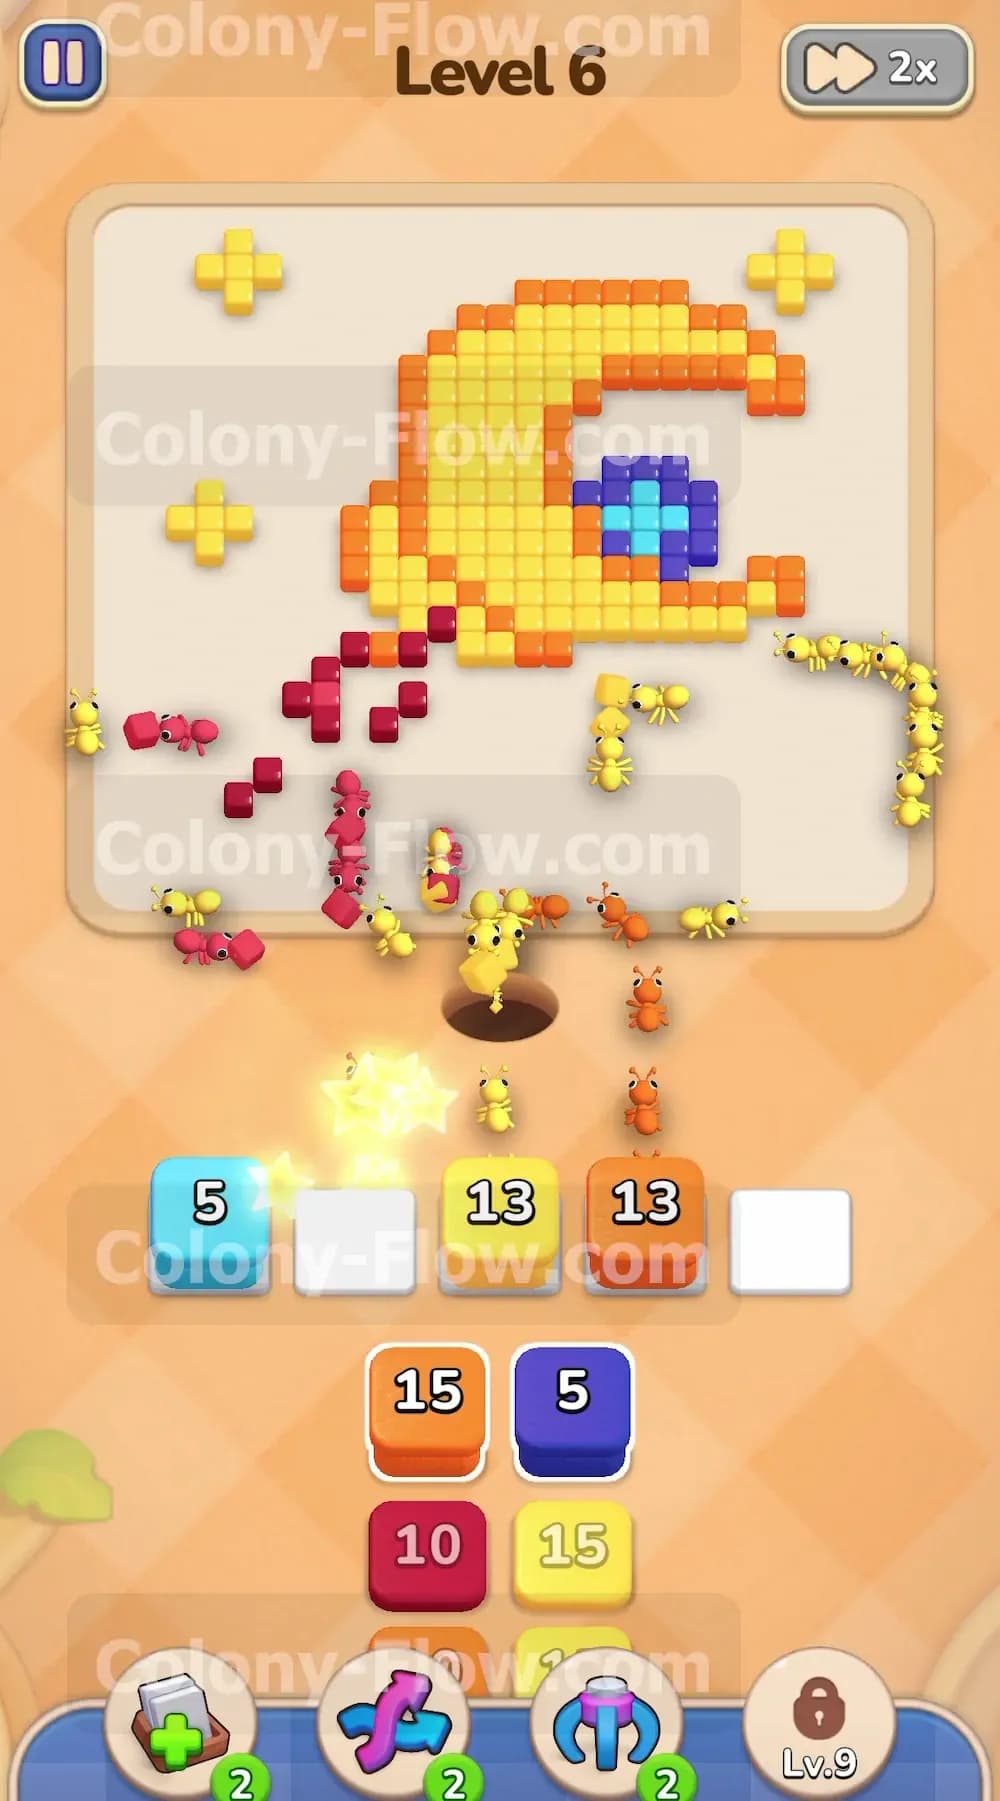
The tray reveals a Light Blue 5 block and a Maroon 10 block. You pull the Light Blue block and then bring up a Yellow 9 block to start managing the loose pieces. The light blue tiles act as tiny highlight details on the board. The maroon tiles sit right next to the red handle pieces to give the staff some shadow. You now have four slots filled with Light Blue, Maroon, Red, and Yellow blocks. This feels quite dangerous because you are approaching the five slot limit. Fortunately, the ants have completely separate and clear paths to follow. The red and maroon ants attack the handle together. The light blue ants run off to clear their specific small targets. The yellow ants ignore the main staff entirely and branch off to eat the plus shaped stars scattered on the left and right sides of the board.
Step 4: Deepen your cut into the main staff structure
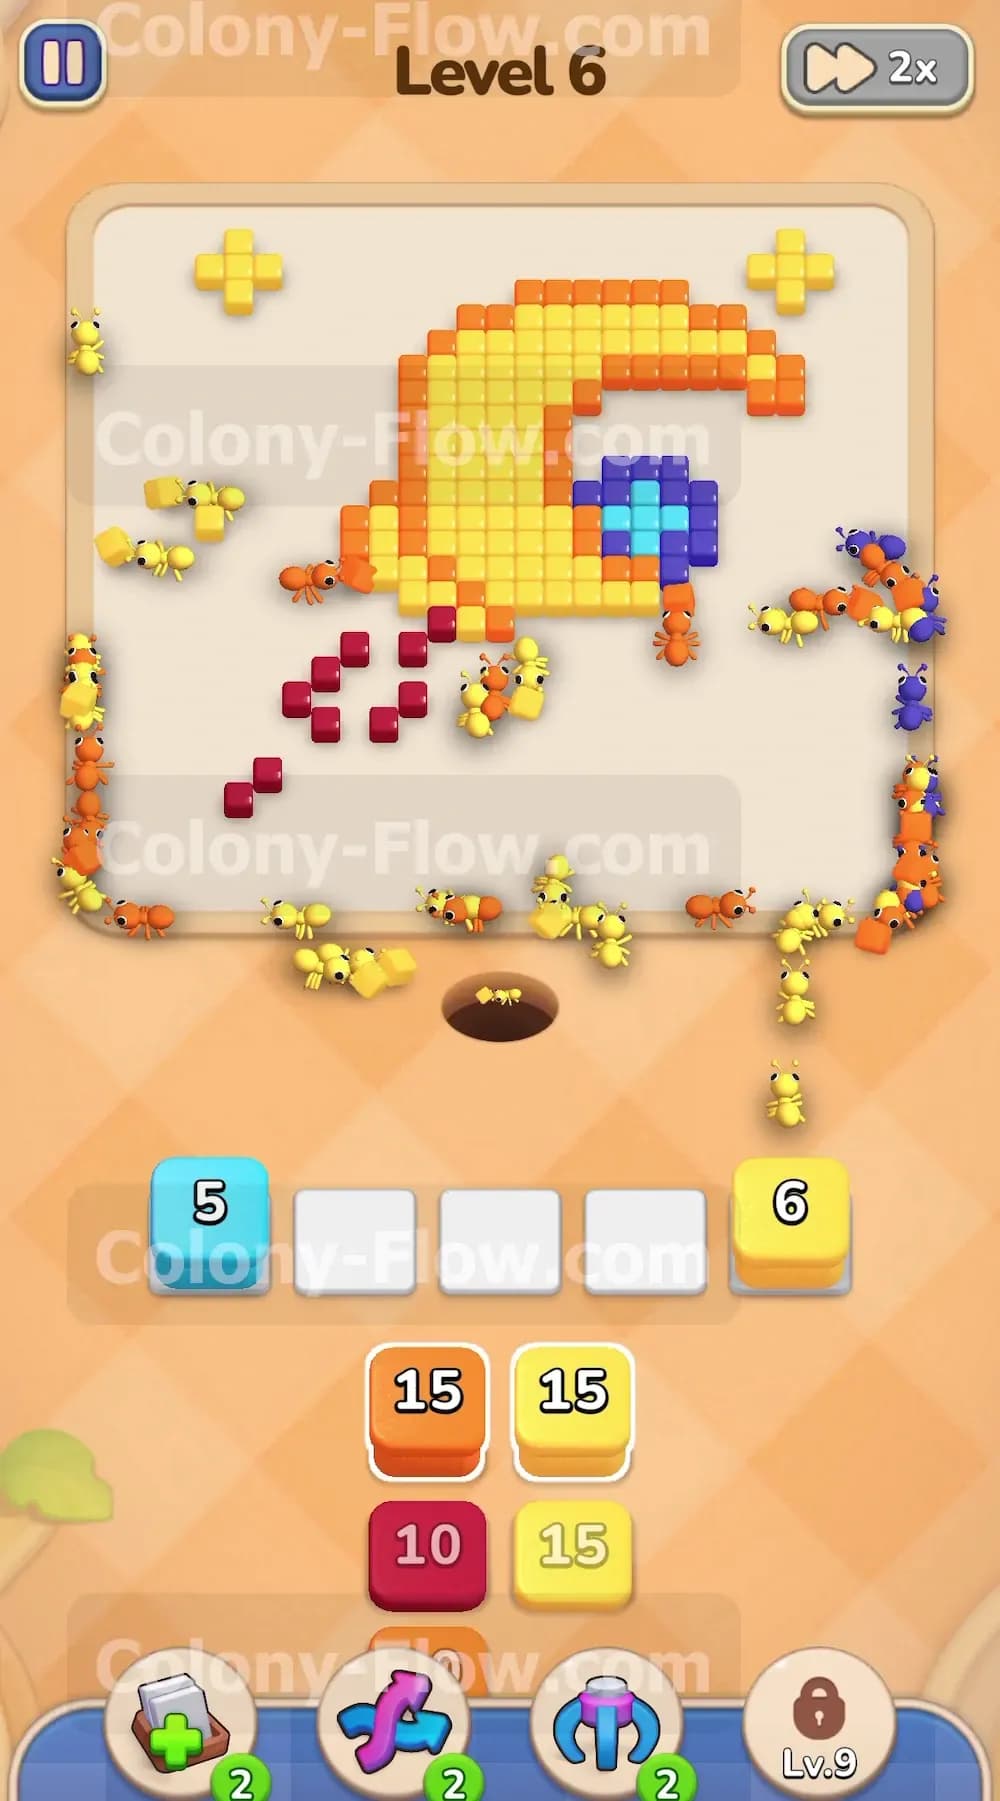
With the handle shrinking rapidly, you need to continue clearing the loose stars while pushing deeper into the handle. You pull the Maroon 10 block from the tray to finish off the dark shadows of the handle. You also pull a Yellow 17 block to consume more of the floating star pieces. Clearing these floating stars early is a fantastic strategy. It gets the loose scattered pieces out of your way and opens up plenty of maneuvering room for the late game. The red and maroon handle pieces are almost entirely gone by this point. You maintain a steady flow of ants up the left side of the board while keeping your slots active but moving.
Step 5: Transition to the crescent moon shape
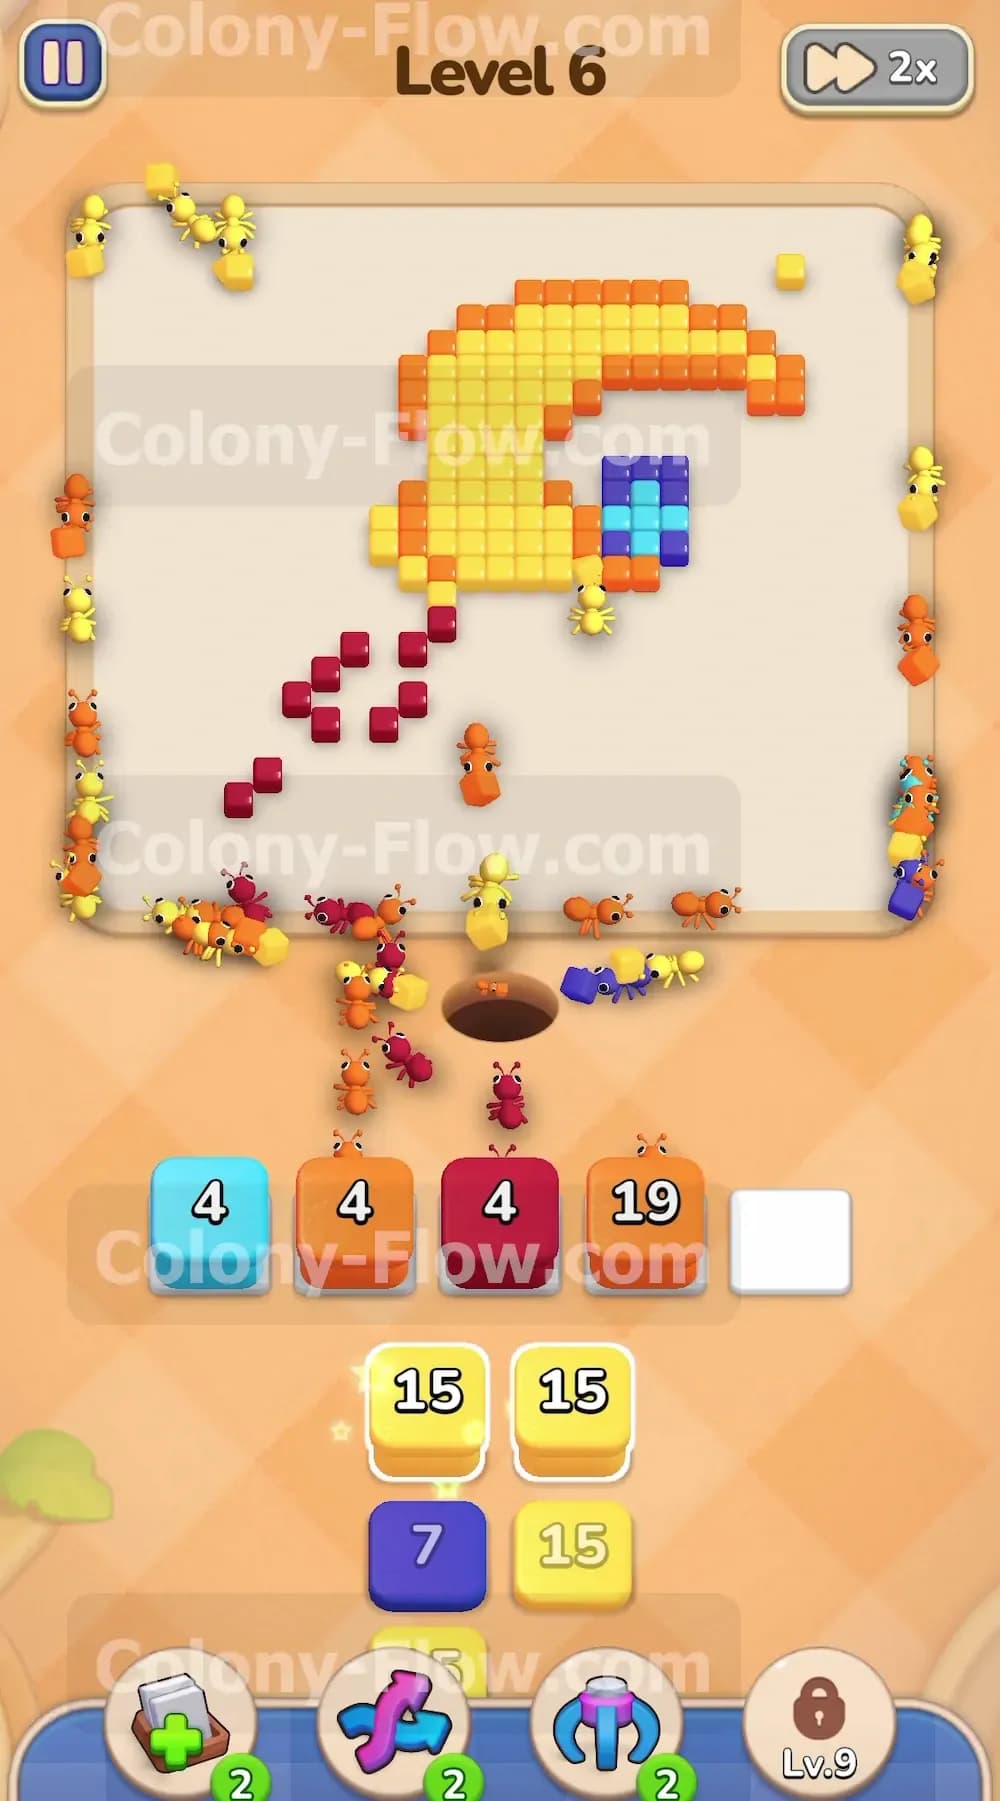
You pull an Orange 13 block and an Orange 18 block from the tray to finish off the thickest parts of the scepter border. You also pull your first Yellow 15 block into the active row. The yellow ants finally begin eating the main crescent moon shape at the very top of the staff. The colony pours into the bottom edge of the moon and starts carving out the yellow center. Your waiting slots clear out beautifully as the light blue and red blocks finish their countdowns and vanish. You maintain a wide open path right up the middle of the board directly to the moon structure.
Step 6: Clear the dark blue gem inside the moon
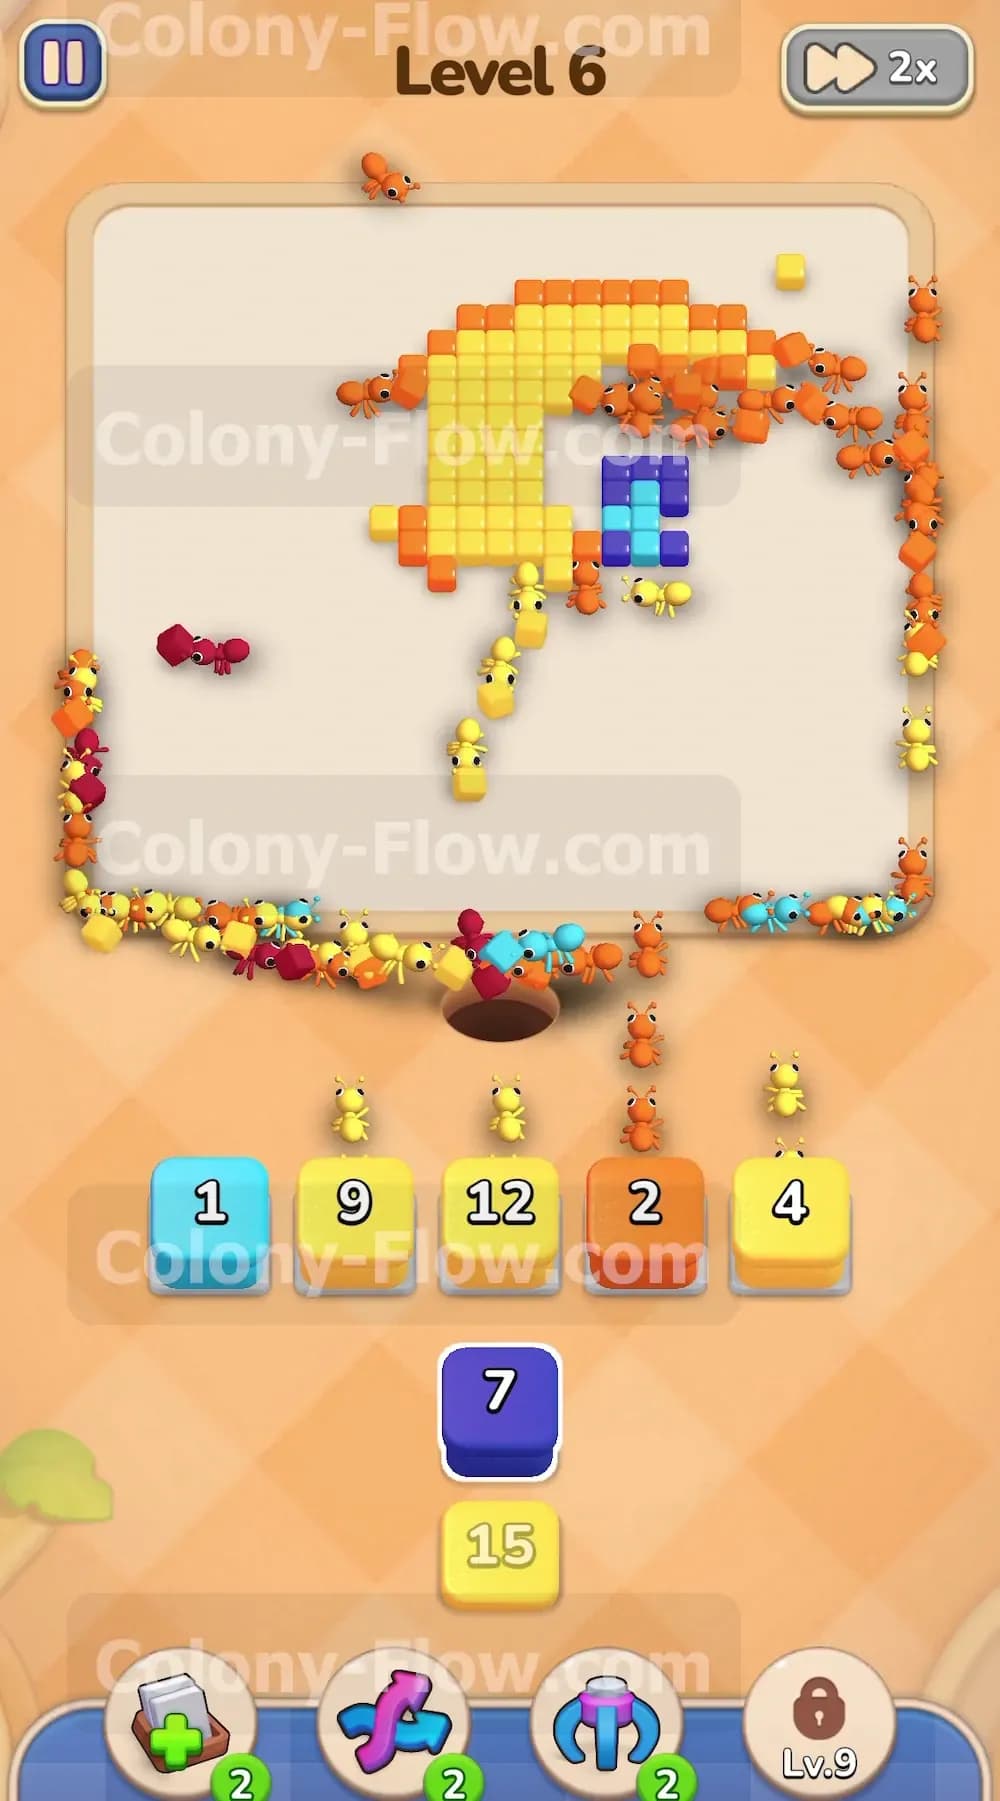
As the yellow ants chew away the bottom tiles of the crescent moon, they completely expose the dark blue gem resting inside the inner curve. You pull the Dark Blue 5 block and then the Dark Blue 7 block from the tray. You also pull the remaining small Red blocks to clear out the final handle details. The dark blue ants run straight up the middle path and consume the gem perfectly. Getting the blue gem out of the way is critical because it acts as a barrier blocking the ants from reaching the uppermost yellow tiles of the moon. You always want to clear solid obstacles in the center of a shape exactly when they become available.
Step 7: Flood the board with yellow ants to finish the moon
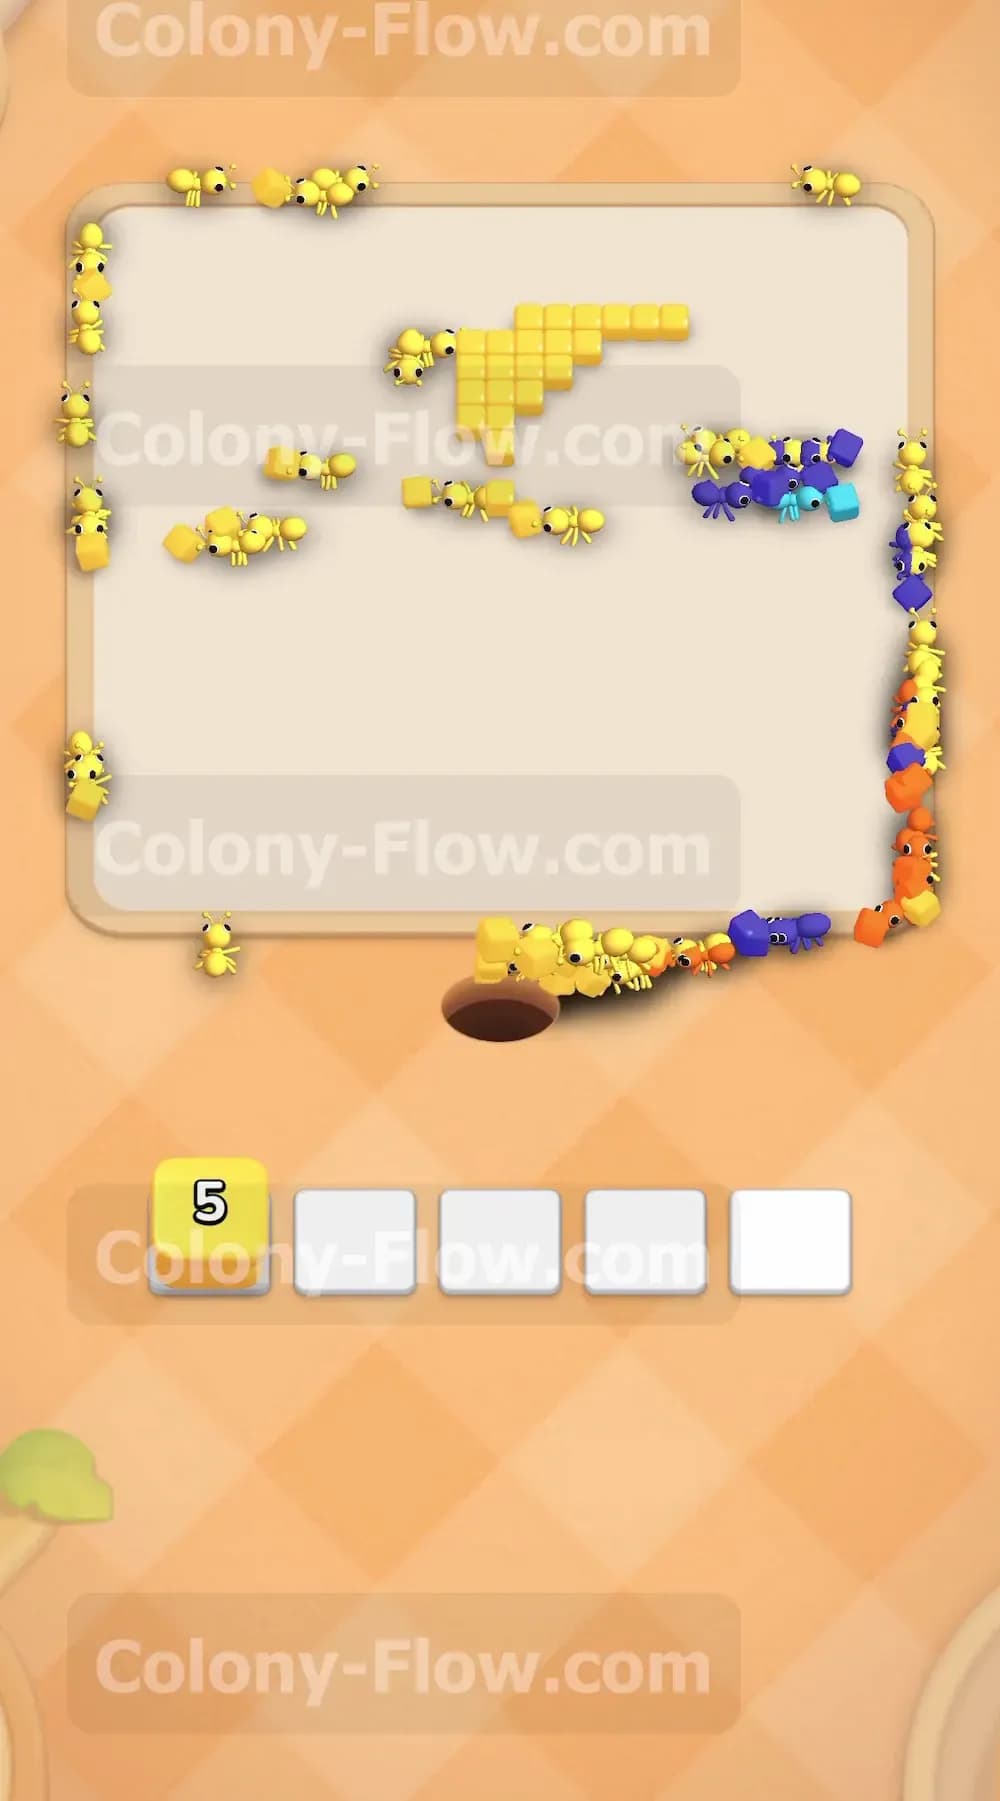
You now enter the final phase of the level. The tray is packed with massive Yellow 15 blocks. The only thing left on the board is the thick bulk of the yellow crescent moon. You pull multiple Yellow blocks into the waiting slots. You also pull a small Orange block to clear the absolute last border piece on the top right edge. Your five waiting slots fill up completely with Light Blue, Yellow, Yellow, Orange, and Yellow blocks. Under normal circumstances, maxing out all five slots is a massive risk that ends your game. However, the path to the moon is completely wide open. A massive swarm of yellow ants pours out of the nest and fully covers the remaining shape. They chew through the final yellow tiles at incredible speed. The slots count down smoothly and clear the entire board to win the level.
Overall Strategy to Clear Level 6 Board
- Work from the outside edges inward by focusing entirely on the orange border blocks before attempting to clear the central structures.
- Clear the scattered yellow stars early in the game to free up your waiting slots and create cleaner walking paths.
- Manage the red and maroon handle colors together since they share the same physical space on the bottom left of the board.
- Always clear the dark blue gem the moment the yellow ants expose it so you do not block access to the top of the moon.
- Save the massive yellow blocks holding fifteen ants for the very end when the moon is fully exposed and ready to be eaten.
Final Thought
Colony Flow Level 6 requires careful tray management and a good eye for prioritizing outer layers over inner details. You must clear the orange borders and floating yellow stars first to guarantee a smooth finish on the giant moon shape. Please watch the video above this article if you find any specific tray pull or ant path hard to follow in the text.