Colony Flow Level 296 Walkthrough Solution & Guides | How to solve Colony Flow 296

Guide By Liam Stone
Updated on July 16, 2026
Watch first, read later. The video above shows the complete Level 296 walkthrough.
Video doesn't match your screen?
Game updates frequently scramble layouts! Try our AI Screenshot Solver first to find your exact board instantly, or report broken guides to our team.
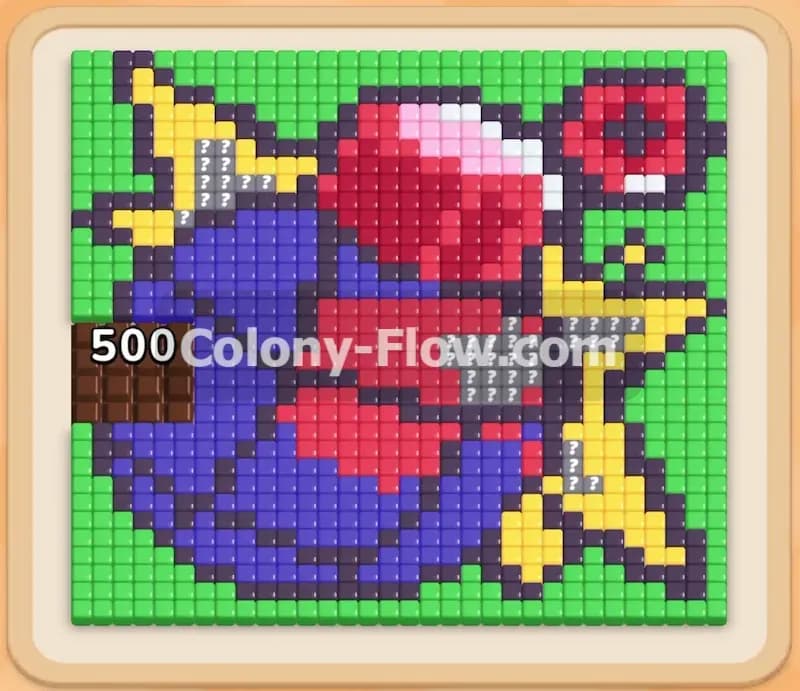
Welcome to Colony Flow Level 296 where you face a massive chocolate block right from the very start. This board is packed with green borders and a large blue and red center design that demands your full attention. You will need to manage connected boxes carefully to keep your waiting slots open and avoid losing the level. I played through this entire level myself and found the absolute best way to feed your ants without ever jamming the board. You have to be strategic with how you pull colors from the bottom tray. Every single move counts when you have a giant obstacle blocking half of your main picture. You must keep the ant streams flowing smoothly around the outside edges while you chip away at the tough center.
Colony Flow Level 296 Overview
What You Are Working With
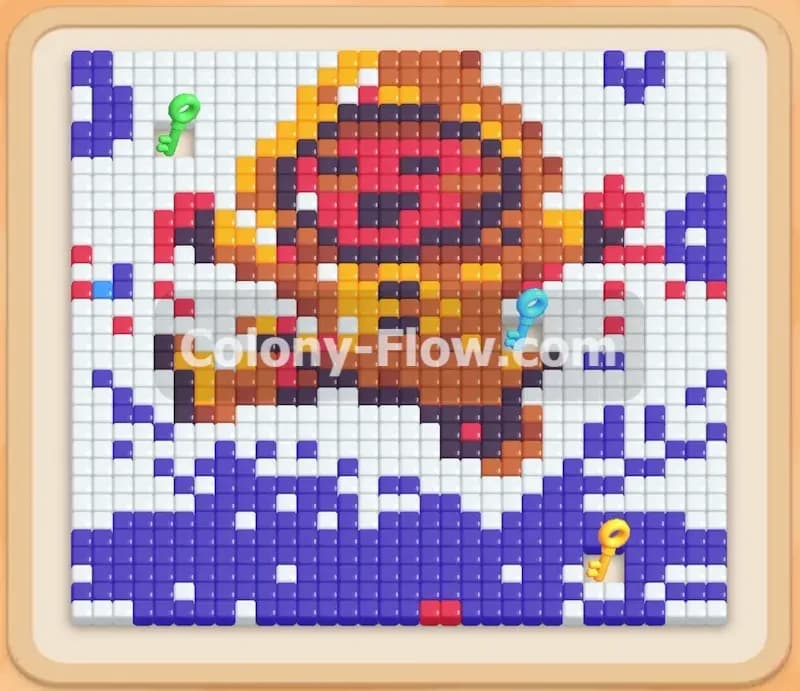
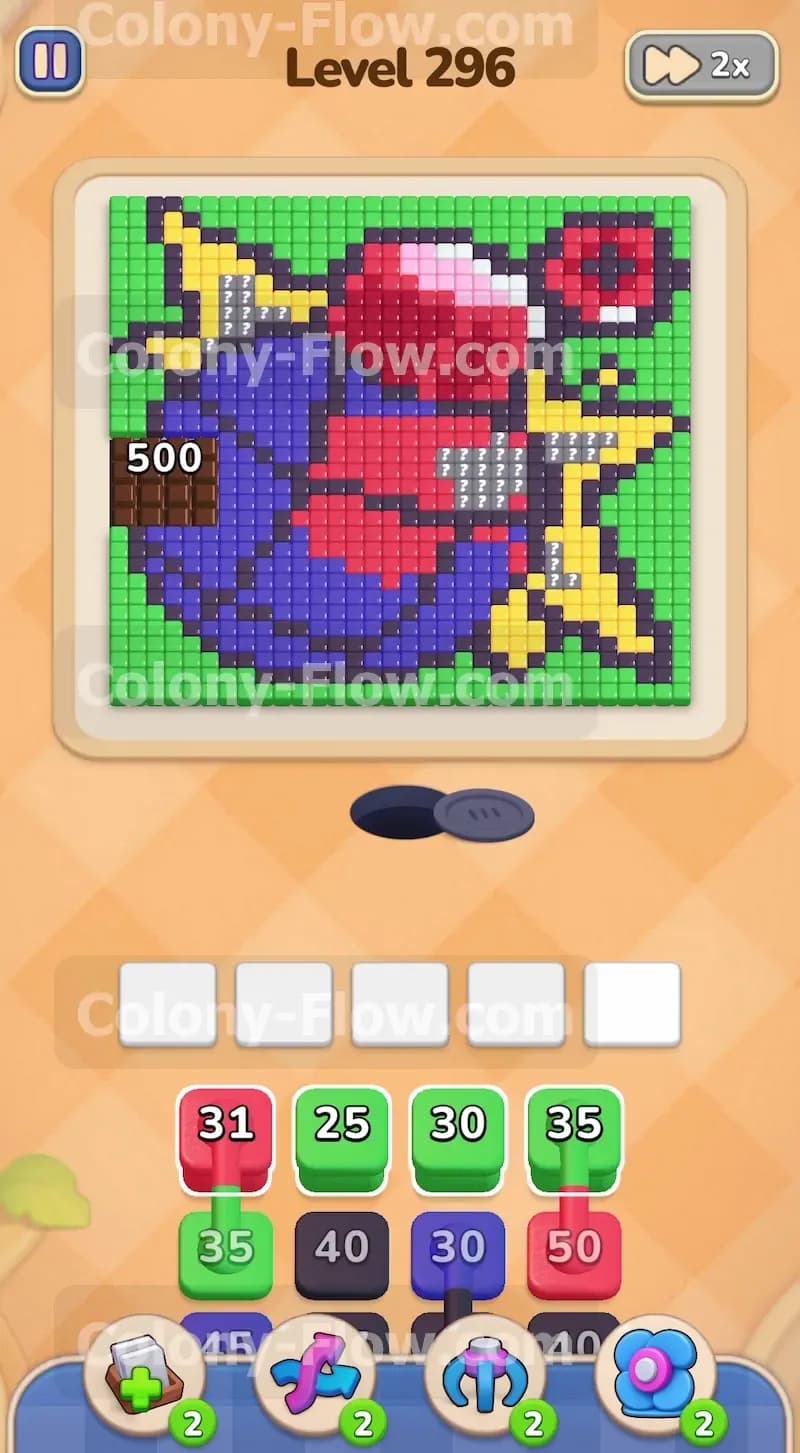
The board features a highly detailed pixel art picture filled with solid green background tiles around the outer edges. The center of the screen shows a large blue circular shape mixed with bright red interior details. You will also notice sharp yellow accents on the right side that look like stars or lightning bolts. The most intimidating feature is a massive brown block of chocolate sitting directly on the left side of the blue circle. This huge chocolate block hides a large portion of the blue food tiles underneath it and requires exactly five hundred hits to clear. Down in your tray at the bottom of the screen you will find several green and red blocks waiting for your command. You will also see special connected boxes where a distinct blue line links two different colored blocks together. Pulling these connected boxes takes up two slots in your waiting area at the exact same time. This limits your flexibility so you must plan ahead before you tap them.
What It Takes to Clear Level 296 Board
To win this level you must clear every single colored tile from the picture and reveal the hidden food trapped under the chocolate. You have to feed the green edges early on to create wide open paths for your other ants to travel. The main challenge of this board is managing the dark blocks needed for the chocolate while simultaneously handling the connected boxes in your tray. You must carefully balance pulling these paired blocks with single blocks so you never fill all five waiting slots with colors that cannot reach their food. If your slots fill up and no ants can move you will fail the level instantly. You clear the board successfully when the final hidden tiles are eaten and all the ants return to their nest hole.
Colony Flow Level 296 Step by Step Solution
Step 1: Focus on the outer green borders and the starting red blocks to open early paths.
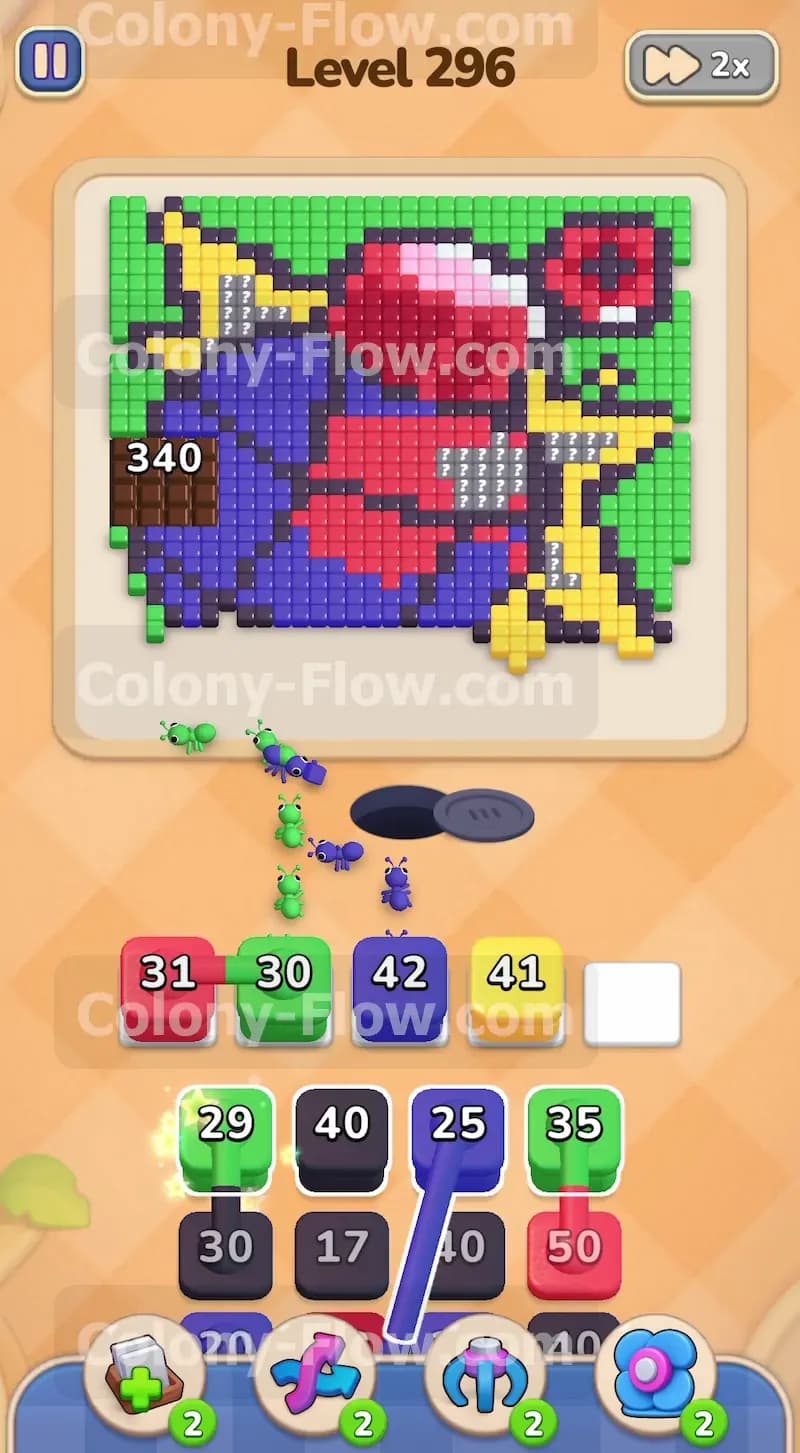
Begin your game by pulling the available green blocks from your tray to send green ants to the top and bottom corners of the board. The green border tiles are completely exposed on the outside edges so these ants will start working immediately without any blockages. You can also pull the early red blocks to target the bright red shapes located inside the main picture. This clears out the initial single blocks from your tray and makes room for the more complex connected boxes to slide up into view. Keep a close eye on your five waiting slots and make sure you only pull a block if its path is completely clear. Feeding the green borders first gives your future ants a much wider lane to travel around the central design. This prevents early traffic jams and sets you up for a smooth clear.
Step 2: Start chipping away at the massive chocolate block with dark colored ants.
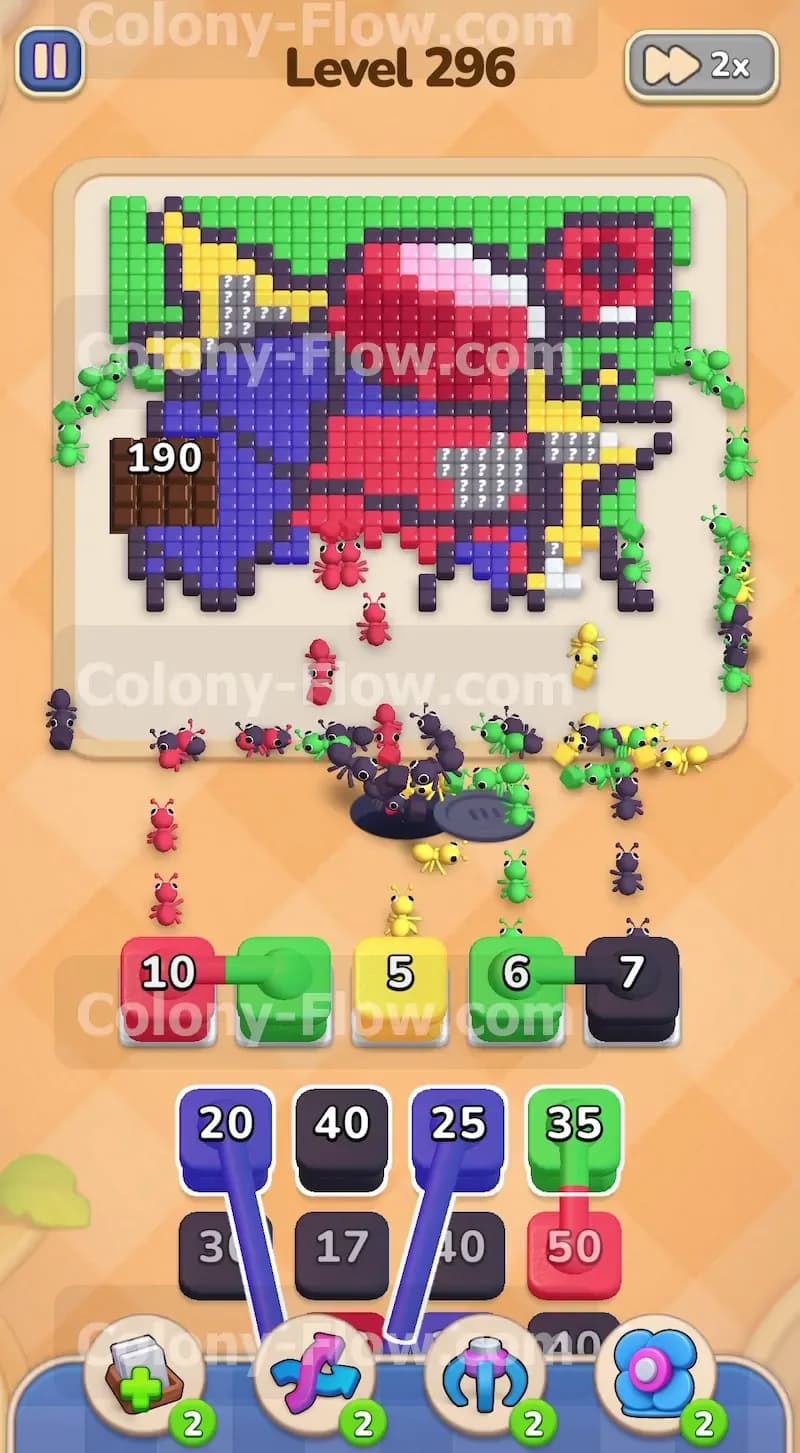
Once the green ants clear enough of the left side border they will naturally open a much better path toward the center of the board. You will soon see dark colored blocks appear in your tray that correspond to the large brown chocolate square. Pull these dark blocks to send swarms of black ants directly to the chocolate. This massive block starts at five hundred so you will need to commit multiple dark blocks to break it down completely. While the black ants diligently work on reducing the chocolate number you can pull a yellow block from the tray. This will send yellow ants to start clearing the yellow star shapes located on the far right side of the board. Managing two different areas at once keeps your ant streams moving and prevents your waiting slots from backing up.
Step 3: Handle the first set of connected boxes with extreme caution to avoid jamming.
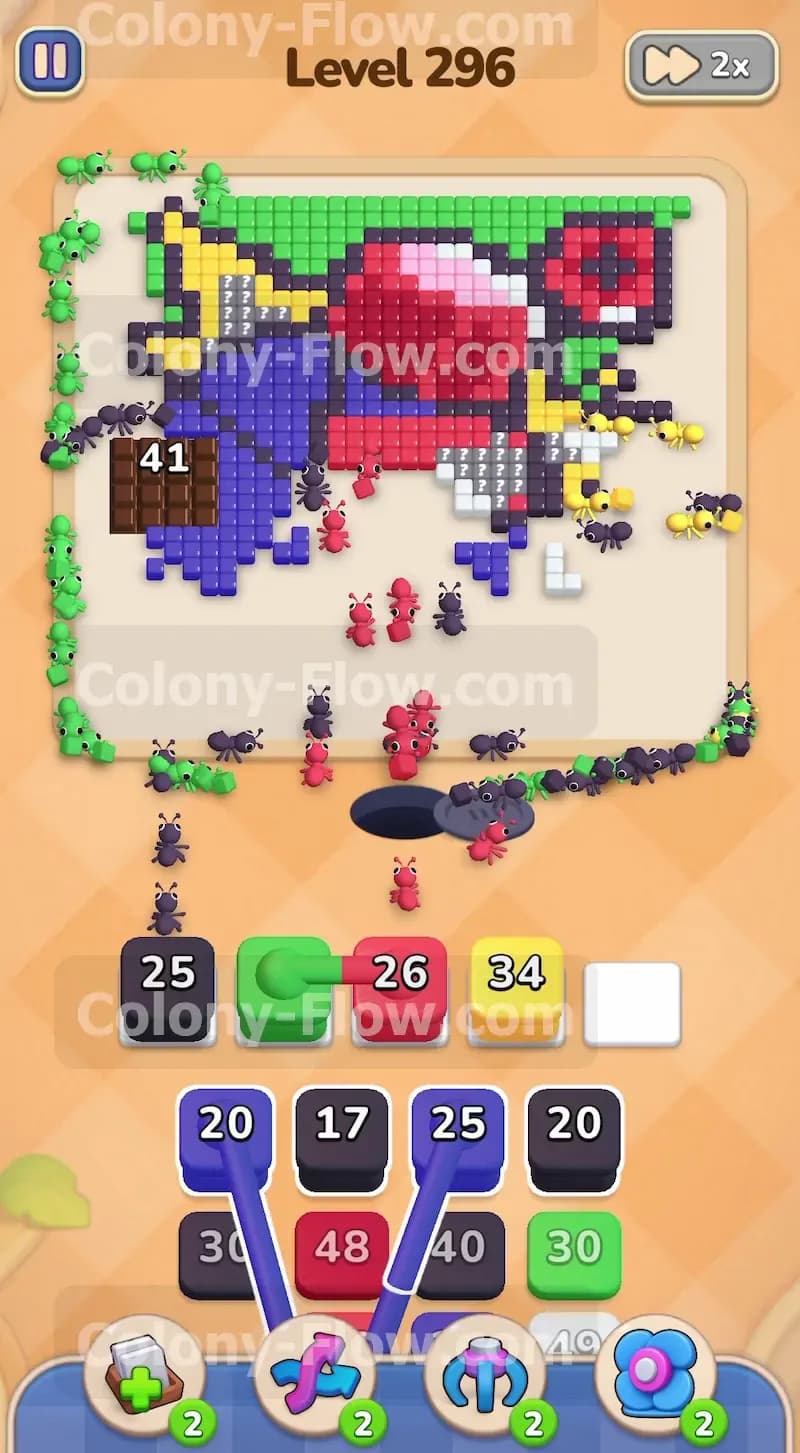
Your tray will soon reveal special connected boxes linking a green block and a dark block together with a blue line. Because pulling one of these blocks brings both into the waiting slots at the exact same time you must ensure both colors have a wide open path. Wait until the green borders are being actively eaten and the chocolate block is fully accessible. Then you can safely pull the connected green and dark blocks into your active slots. The green ants will immediately continue clearing the outer edges while the dark ants join the massive attack on the chocolate square. This careful strategy keeps your slots from jamming and maintains a steady flow of ants moving up the board. Never tap a connected box if one of the colors is blocked by other tiles.
Step 4: Continue balancing the chocolate attack with the right side colors to maintain board control.
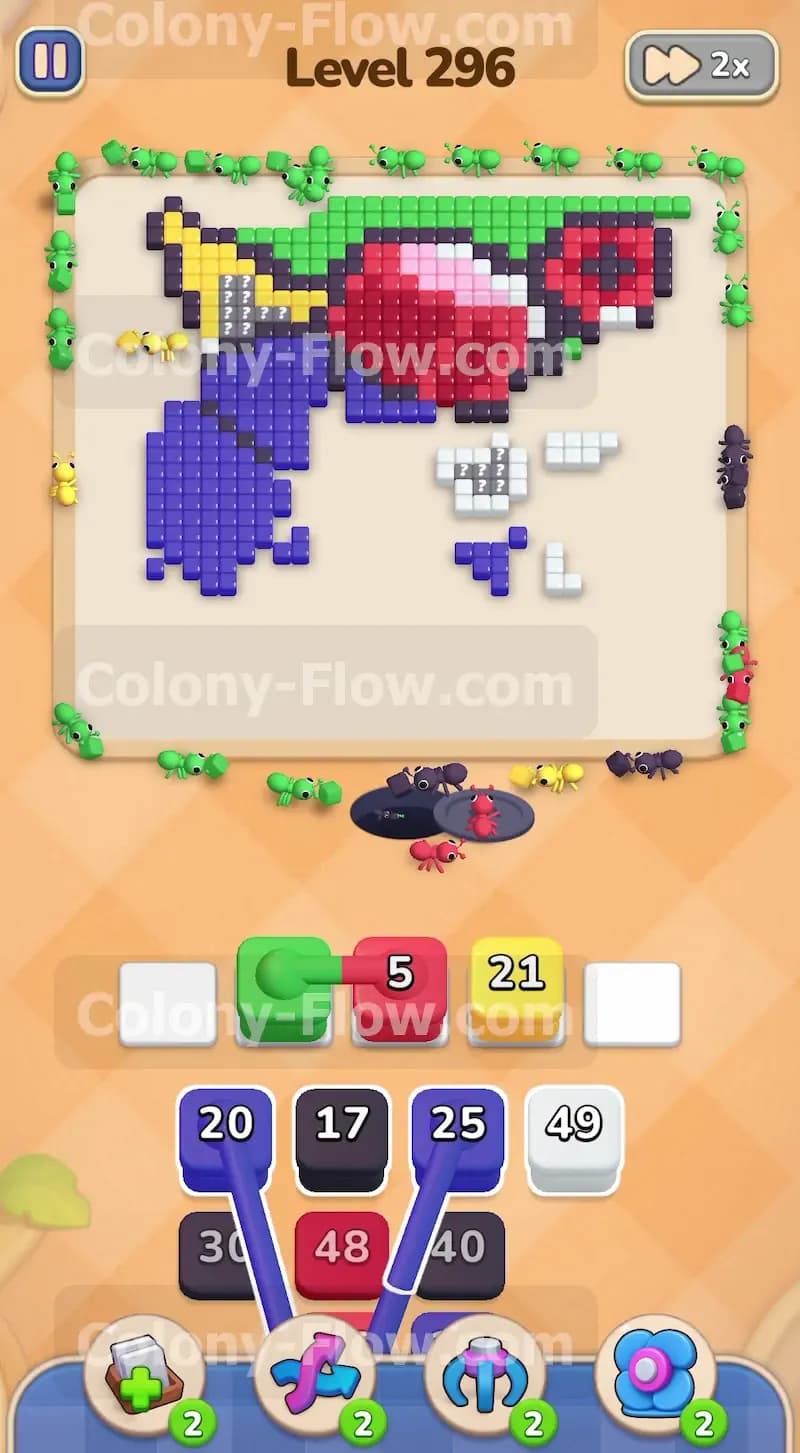
The giant chocolate block requires continuous attention throughout the early stages of the level. Keep pulling the available dark blocks whenever an active slot opens up and the path is clear. You will also start to see blue blocks dropping into your tray. Pull a blue block to send ants to the exposed blue tiles on the right side and bottom edges of the central circular shape. You should also bring up another red block to keep working on the inner red details. Managing these three active colors ensures that no single group of ants blocks the others from reaching their destinations. Your dark ants will significantly reduce the huge chocolate number during this phase which brings you much closer to revealing the hidden tiles.
Step 5: Pull the next set of connected boxes to maintain your forward momentum.
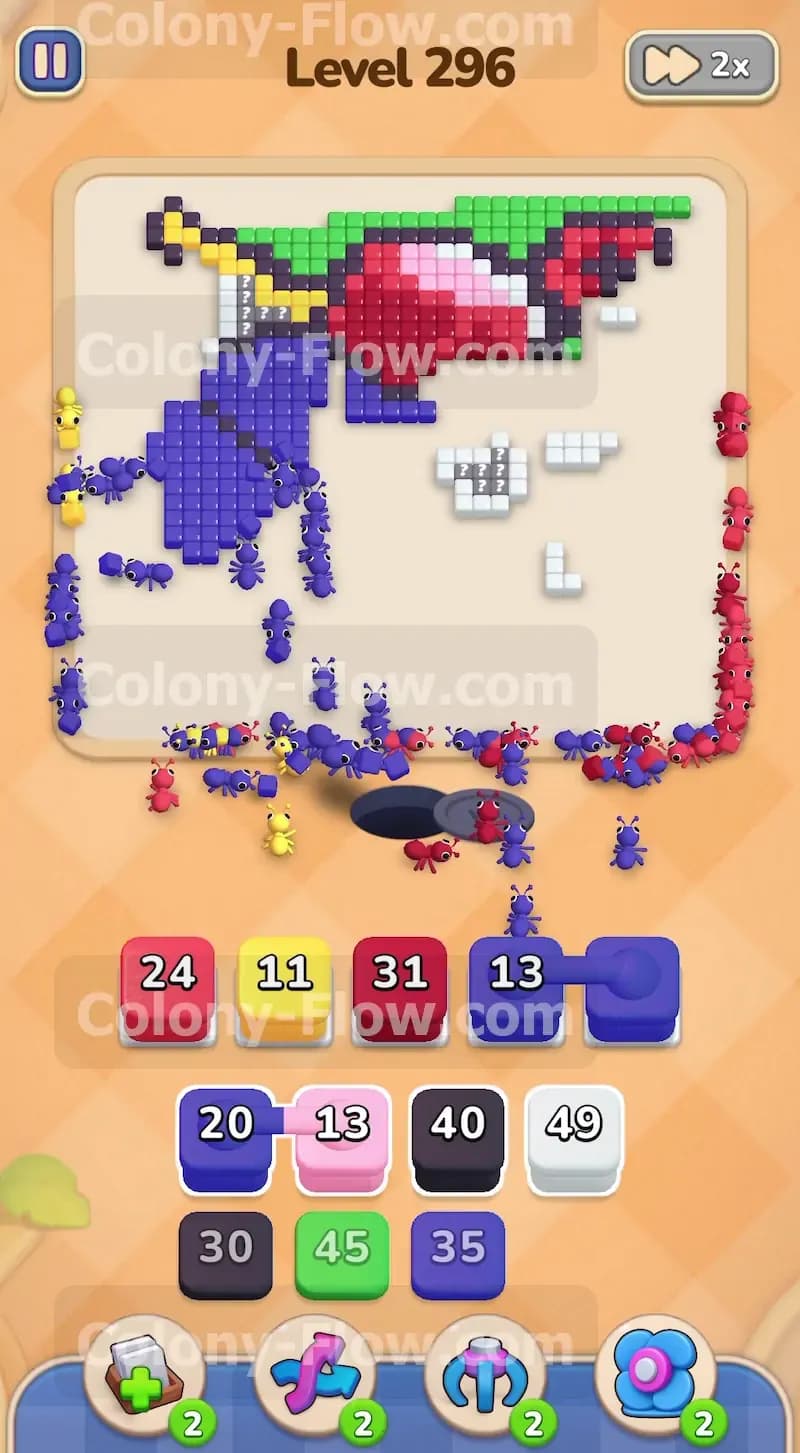
You will spot another pair of connected boxes in your tray featuring a blue block and a dark block linked together. Wait for the blue tiles on the right side to open up further before you pull this specific pair. Once the path is perfectly clear you can pull the connected boxes up into your waiting area. The blue ants will swarm the right side of the circle while the dark ants rush in to finish off the last remaining chunk of the chocolate. This combined effort is absolutely crucial for exposing the hidden blue tiles that have been trapped under the chocolate block since the level started. Timing this move perfectly ensures that both groups of ants can feed without any delay.
Step 6: Clear the remaining chocolate block and unleash the blue ants onto the left side.
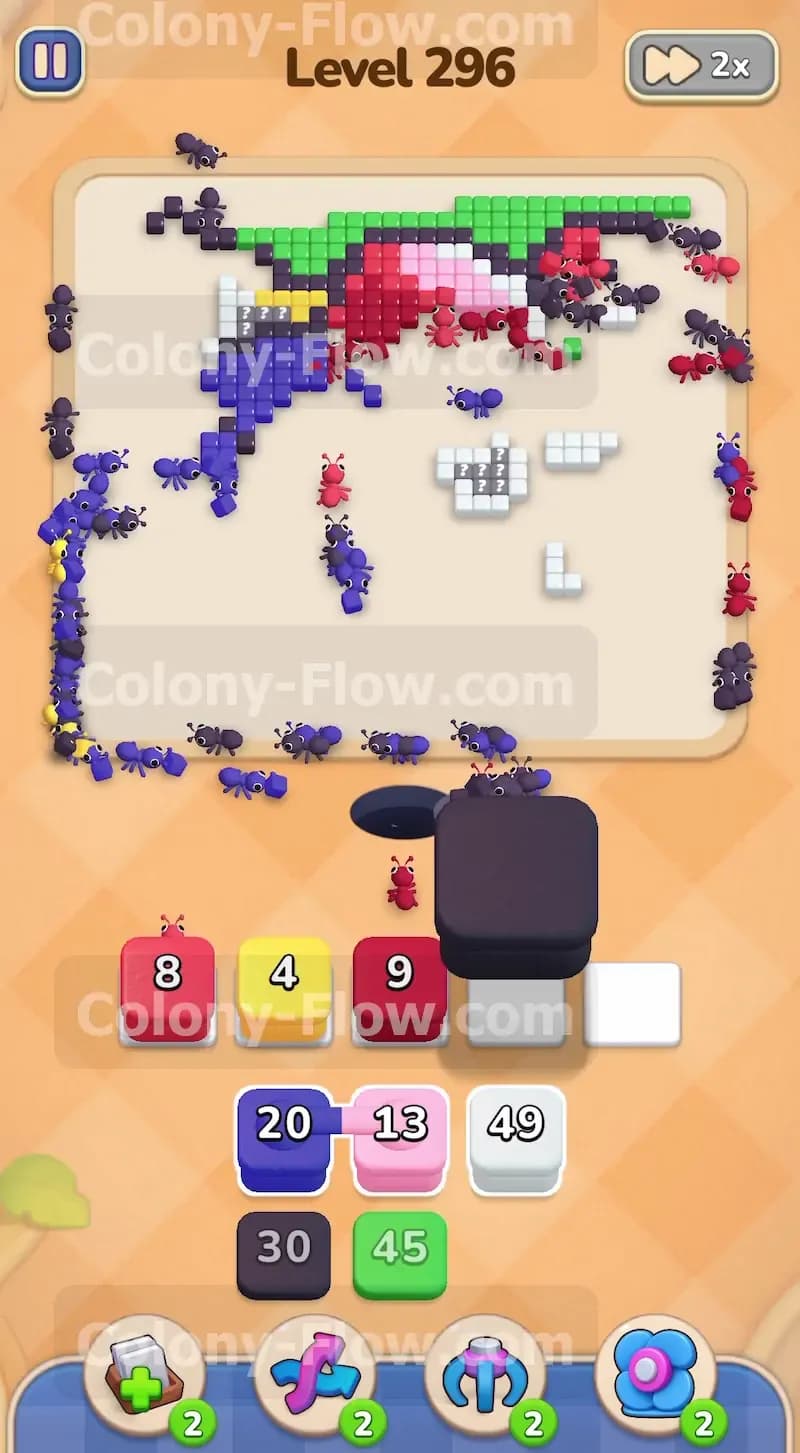
When the dark ants finally eat the very last piece of the chocolate the giant brown square will vanish completely. This massive event reveals a huge patch of blue tiles on the left side of the main circle. Now you have a massive open area for your blue ants to feed without restriction. Pull the remaining single blue blocks from your tray to flood the newly exposed left side with ants. At the very same time you should pull any available yellow or red blocks to keep the right side of the board shrinking at a steady pace. You must keep the board balanced so ants do not cluster in one single area and block the surrounding paths.
Step 7: Clear the hidden white tiles that appear late in the block tray.
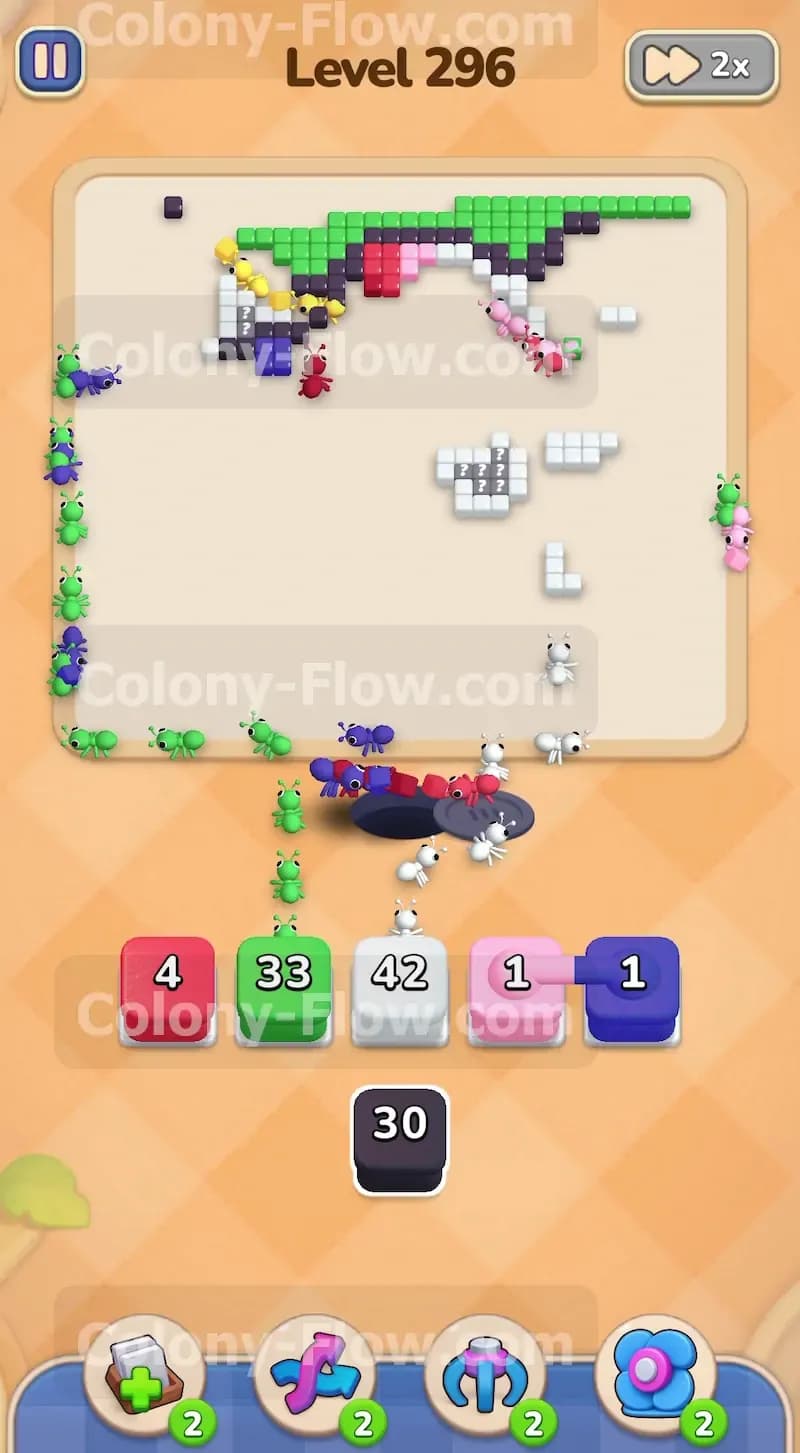
As the blue and red sections continue to shrink you will notice white blocks finally appearing in your tray. Pull these white blocks to target the small white details located in the lower right area of the board. These white tiles are nestled closely near the remaining yellow shapes. Make sure the yellow and blue ants have cleared enough space for the white ants to get through the crowded area. You should also continue pulling green blocks to finish off the very top edge of the board. Your waiting slots should remain completely clear as long as you match the tray blocks to the newly opened paths on the screen.
Step 8: Manage the final connected boxes and wrap up the remaining board tiles.
You will eventually face one last pair of connected boxes linking a blue block and a dark block. Pull this final pair to send the last few blue ants to the center and the dark ants to any remaining dark spots on the board. Bring up the last pink block to clear the tiny pink details near the top right corner. Feed the remaining white and green blocks from your tray to the last scattered tiles left on the board. The ants will swiftly clean up the final few pieces and march off the screen back to their nest. Once the very last tile disappears from the picture you successfully complete the level and secure your victory.
Final Thought
Colony Flow Level 296 truly tests your ability to break down a massive obstacle while properly managing tricky connected boxes. Breaking the chocolate early is the absolute best method to opening up the rest of the board for your other colors. If you find yourself struggling with the exact timing of the connected boxes you can always refer to the video above this article for a much closer look at the exact block order. Take your time with every move and keep your paths clear to secure the win.