Colony Flow Level 468 Walkthrough Solution & Guides | How to solve Colony Flow 468

Guide By Liam Stone
Updated on July 29, 2026
The video above covers the entire Level 468 solution. Watch it if you want to skip the article and jump straight to the answer.
Video doesn't match your screen?
Game updates frequently scramble layouts! Try our AI Screenshot Solver first to find your exact board instantly, or report broken guides to our team.
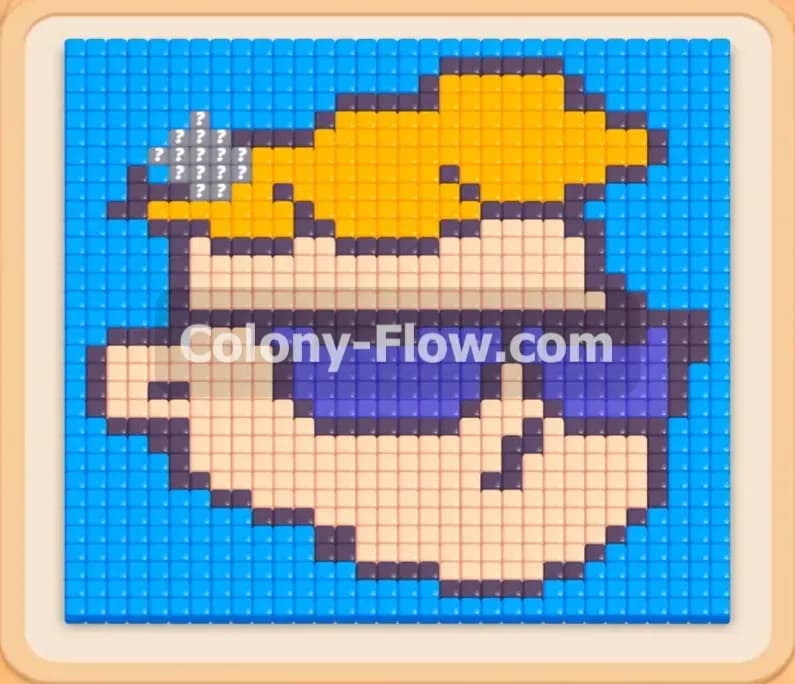
Welcome to Colony Flow Level 468. This stage presents a vibrant pixel art face complete with sunglasses and bright yellow hair. The board looks straightforward but managing your tray slots requires careful planning to prevent a jam. You need to carve a clear path from the bottom up while balancing multiple colors at once. Every choice you make down in the tray impacts how the ants move up top. Getting greedy and pulling too many blocks at the start will lock up your board and force a restart. You must read the layout and anticipate what colors will open next.
Colony Flow Level 468 Overview
What You Are Working With
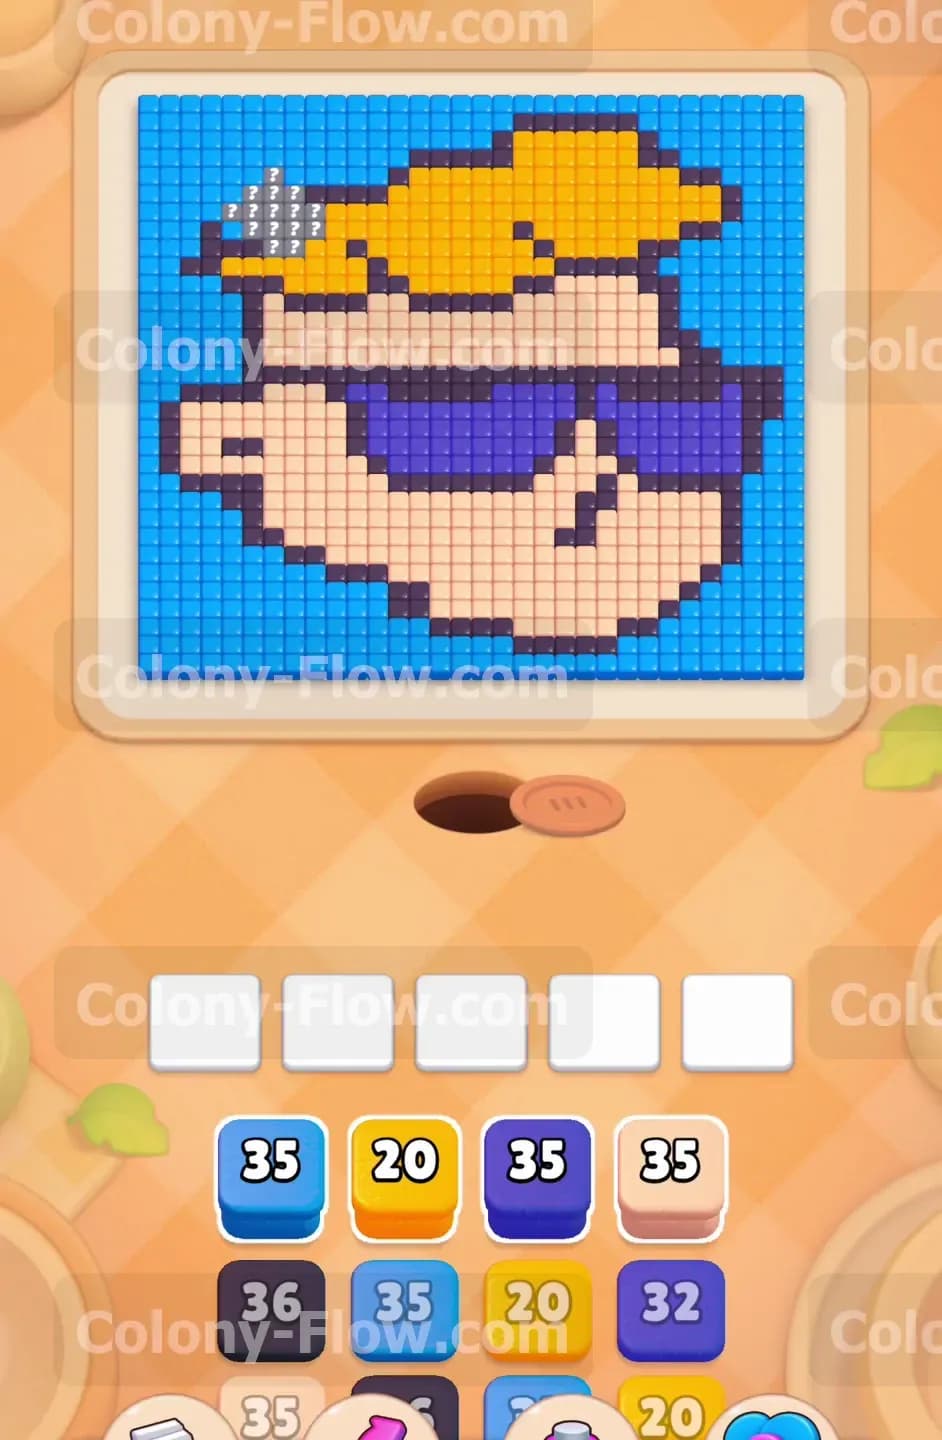
The pixel art displays a detailed portrait of a boy with peach skin and vibrant yellow hair set against a light blue background. He wears dark sunglasses featuring bright purple lenses. A thick black outline separates the different sections of the picture and creates natural barriers that you have to break down. The colony nest hole sits directly below the center of the chin. The starting tray contains peach blocks and yellow blocks on the top layer. Dark blue blocks and purple blocks and black blocks wait underneath in a stacked formation. You have exactly five waiting slots to hold your active blocks. Every block displays a specific number that drops as the ants carry those pixel tiles away.
What It Takes to Clear Level 468 Board
Winning this level means breaking down the picture entirely without filling all five waiting slots with blocked colors. You start at the very bottom edge and work your way up to the top corners. You must match the right color blocks to the accessible tiles on the board. Since the hole is at the bottom center the ants naturally reach the chin and the lower light blue background first. You lose the game if you pull a block that has no open path to its matching color and the five slots fill up completely. Your entire strategy revolves around opening new sections before you pull the blocks needed to clear them. You never want a block sitting idle in your slots.
Colony Flow Level 468 Step by Step Solution
Step 1: Open the bottom edge with peach and black blocks.
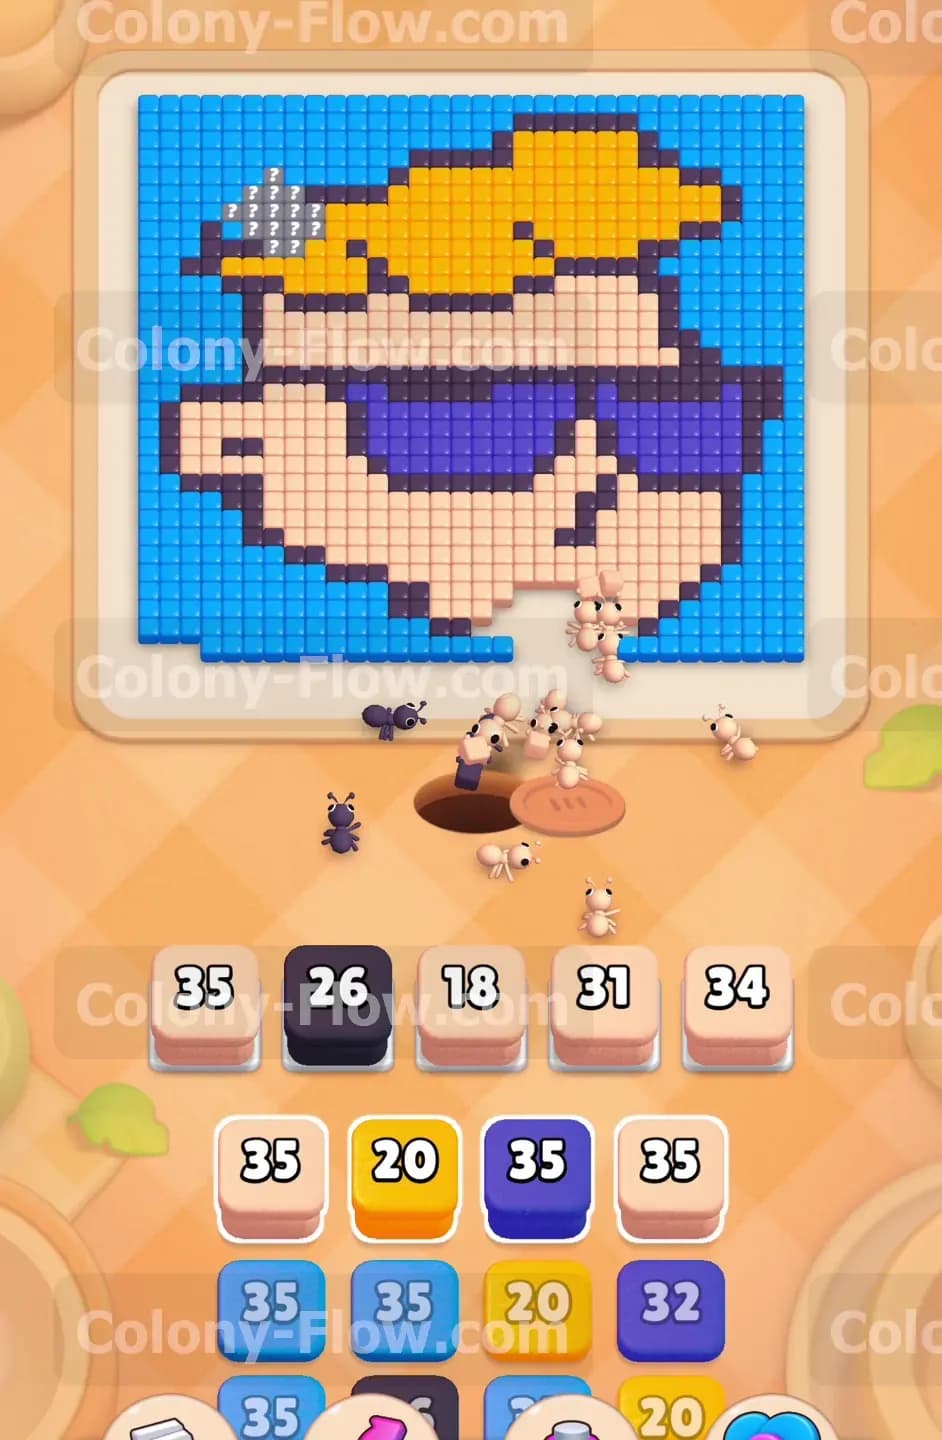
Your first goal is to create a wide opening at the base of the picture so the ants have room to maneuver. The nest hole sits right under the peach chin and the black outline. Tap a peach block from your tray to send it up to the waiting slots. The ants stream out of the hole and immediately start eating the peach skin tiles on the chin. Tap a black block next so the black ants target the bottom outline. Pull multiple peach blocks early on because the lower half of the face contains a massive amount of peach tiles. Keeping multiple peach blocks active at the same time ensures a steady continuous flow of ants. Keep a close eye on your five waiting slots. Do not pull colors like yellow or purple right now because those tiles remain trapped higher up in the picture behind the skin and frames. If you pull them now they sit in the slots doing nothing and they block your progress.
Step 2: Carve into the right side and the sunglasses.
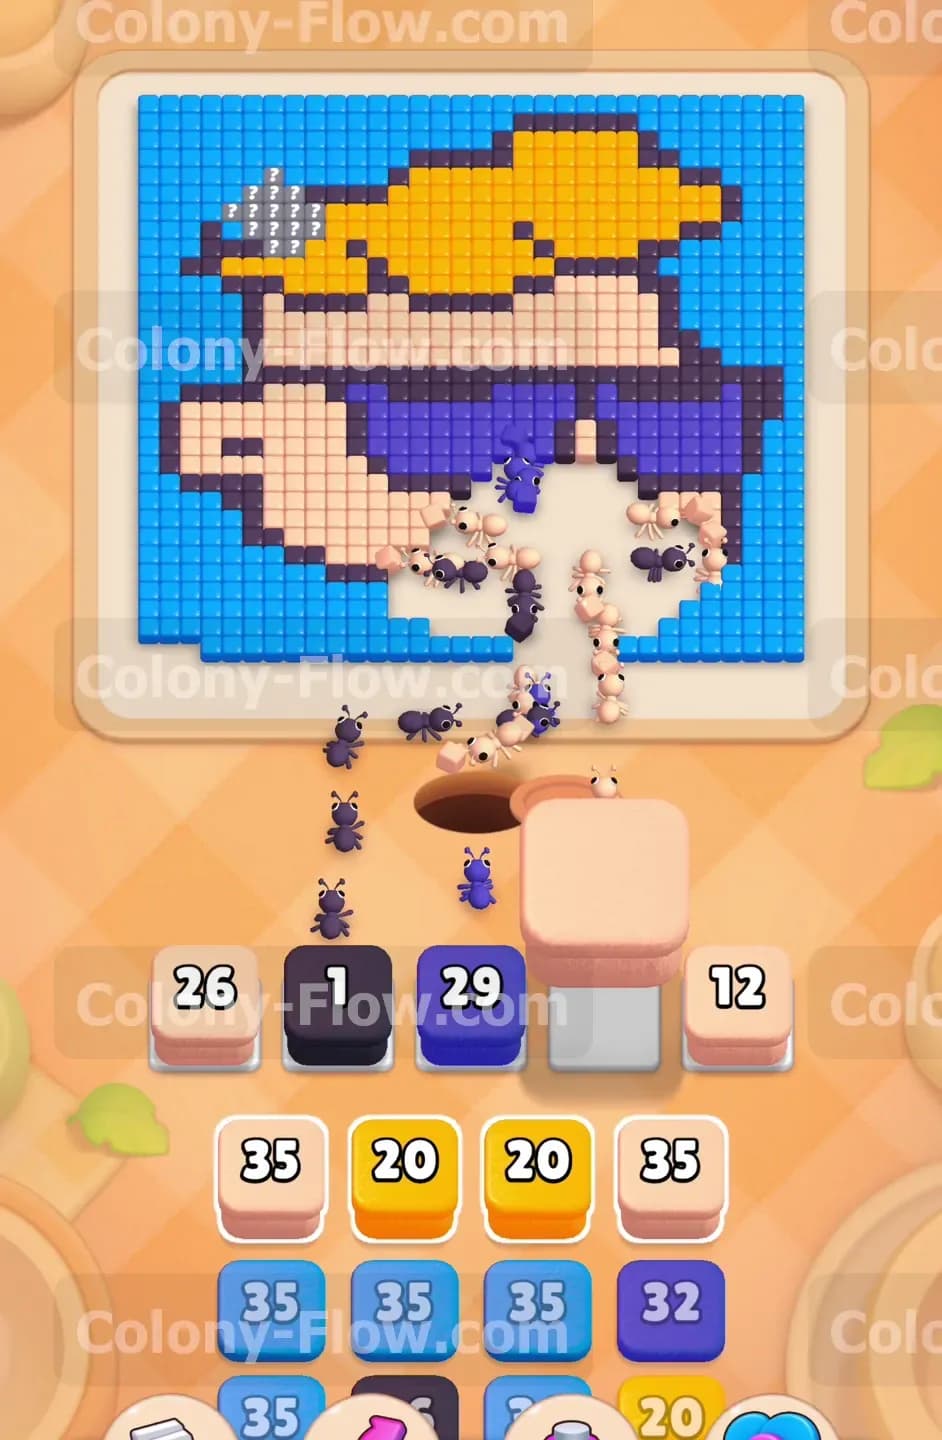
Once the ants clear a large portion of the chin they expose the right side of the face and the lower edge of the glasses. You can now access the purple lenses of the sunglasses. Bring a purple block up to the waiting slots. The ants climb up the right side and begin clearing that right lens. This is a critical move because the glasses cover a huge central section of the board and act like a solid wall. Clearing the right lens opens up the upper skin tiles and the inner black frames. Continue feeding peach blocks from your tray to clear the remaining skin on the lower right cheek. Watch the numbers drop on your active blocks in the slots. When a block reaches zero it vanishes and frees up that waiting slot for a new color. You must always wait for a slot to open before introducing a completely new color to the board.
Step 3: Shift your focus to the left background and the ear.
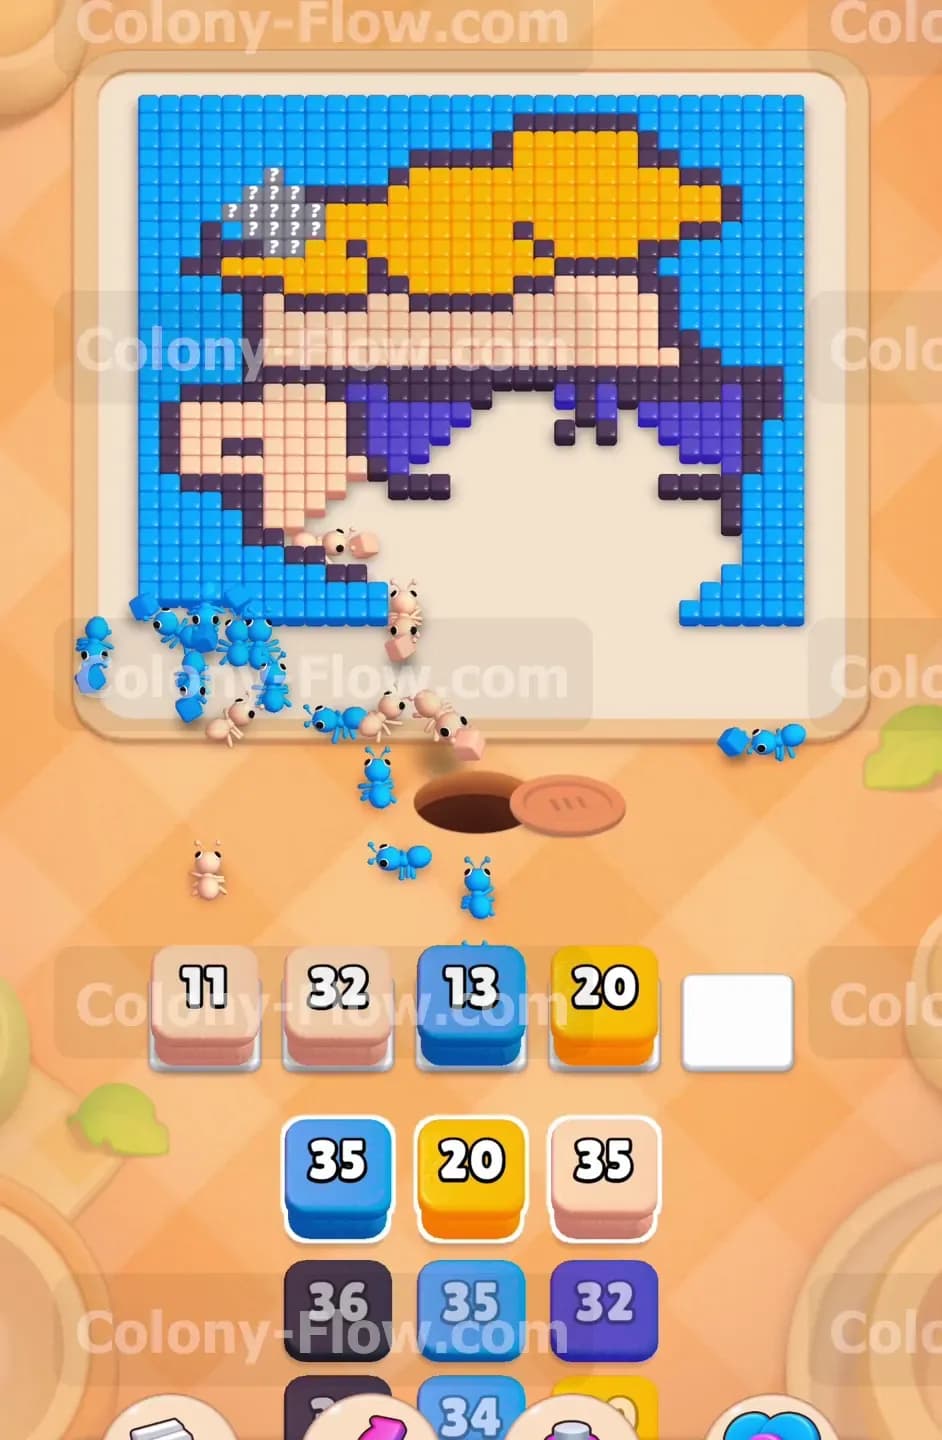
With the right side making excellent progress you need to balance the board by attacking the left side. The left side features a solid chunk of light blue background and the peach ear. Pull a light blue block from your tray and drop it into a waiting slot. The ants travel to the far left and start eating away the background tiles. Send another peach block to work on the ear and the left cheek area. Expanding your attack on both sides prevents the ants from bottlenecking in the middle of the board. The black outline around the ear also becomes exposed as the skin vanishes. When your previous black block finishes its countdown bring up a new black block to handle these fresh outline tiles. Always make sure the ants have a direct route to their target without bumping into solid barriers. The path on the left is now wide open and your ants move freely.
Step 4: Dismantle the left frames and upper skin.
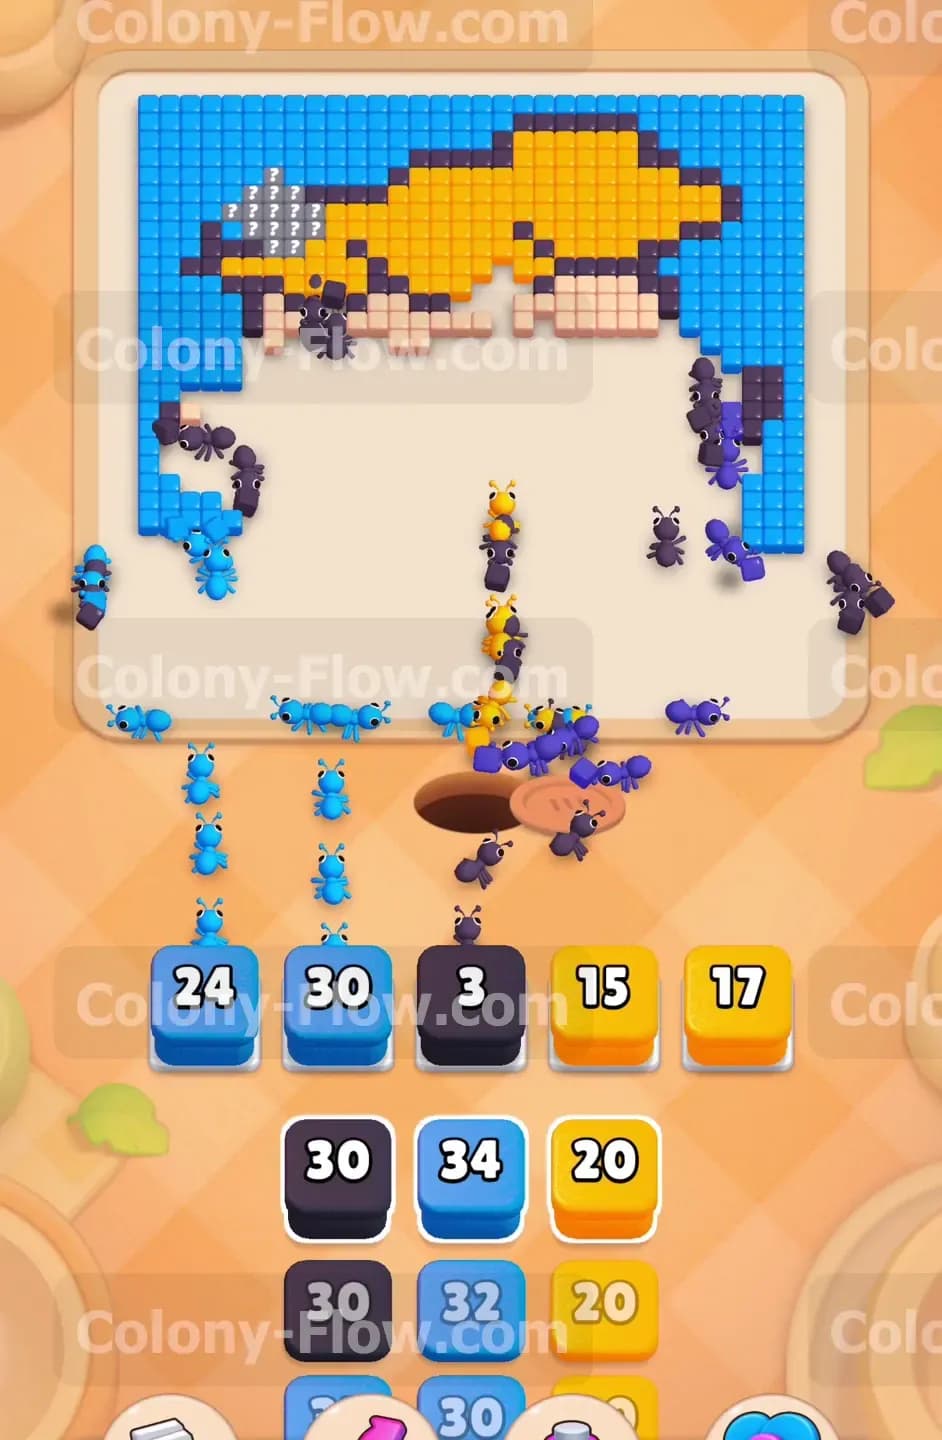
The lower half of the face is mostly gone now and the board feels much more open. The ants have exposed the left purple lens and the thick black frames connecting the glasses across the nose. Pull another purple block to clear out that left lens. Send a black block to chew through the middle frames and the side outlines. You will also see more peach tiles forming the forehead at this stage. Keep a peach block active in your slots to clear the forehead skin. You are managing three distinct colors right now. You have purple for the glasses and black for the frames and peach for the skin. This takes up at least three of your five precious slots. Manage your remaining two slots carefully. Only pull a block if you see a large cluster of its color ready to be eaten. Do not pull a yellow block yet because the hair is still blocked by the black outline on the top of the head.
Step 5: Attack the yellow hair and the remaining background.
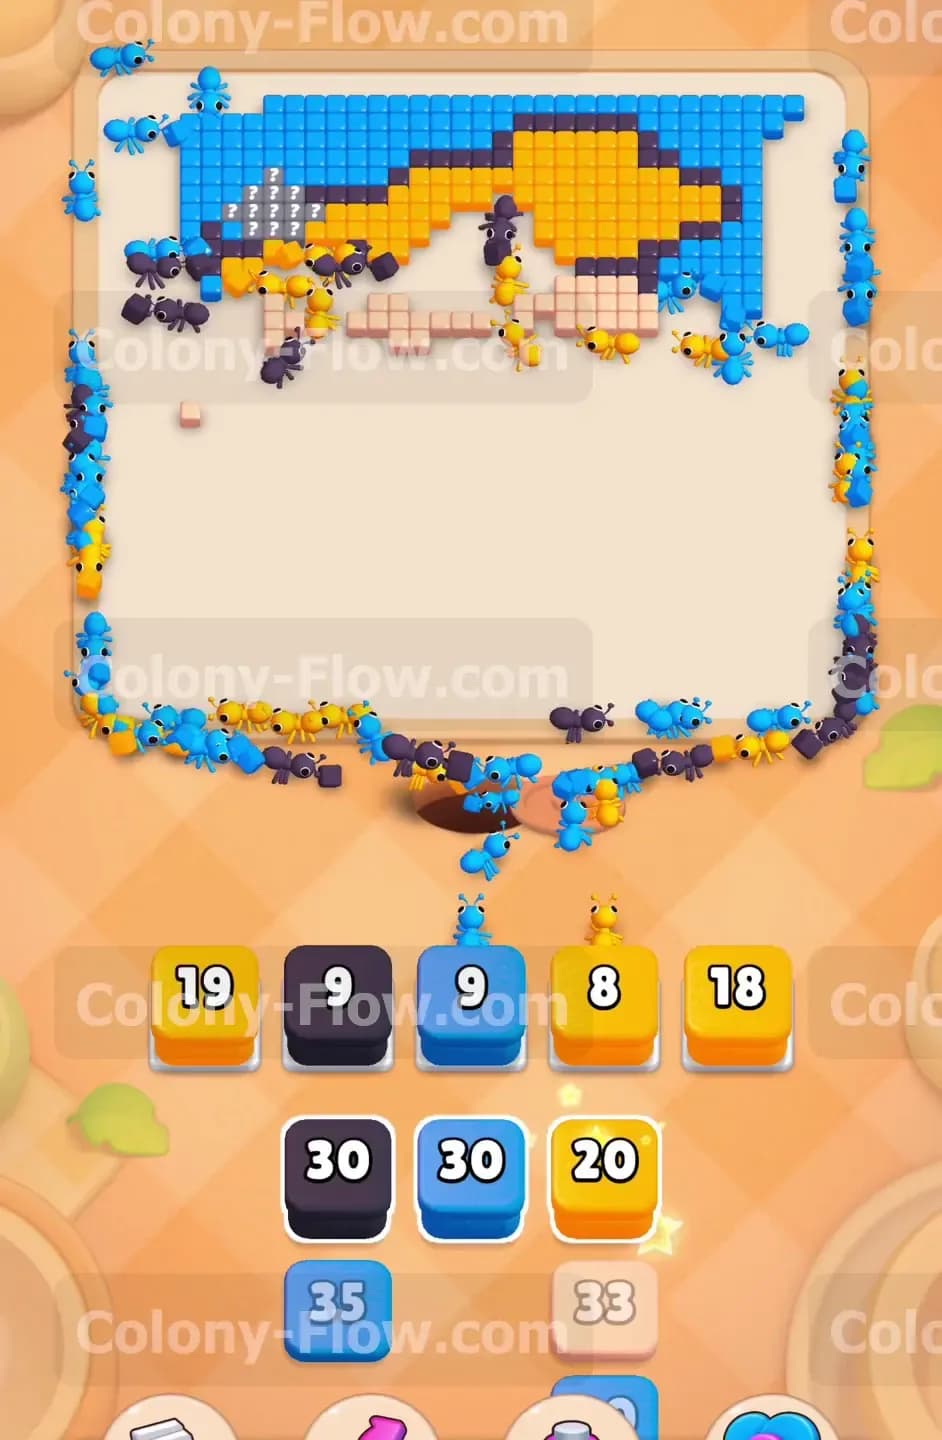
The forehead skin clears out completely and finally exposes the bright yellow hair. The upper light blue background is also fully accessible on both sides. Now is the perfect time to bring up your yellow blocks. Tap a yellow block to send it to the active slots. The ants swarm the hair and rapidly reduce the tile count. Bring up another light blue block to handle the upper background corners. You also need a black block to clear the very top outline of the hair. Your slots should now hold yellow blocks and light blue blocks and black blocks. The board is wide open at this stage so the risk of dead ending a path is very low. However you must still watch your block numbers. If you pull too many yellow blocks at once you will not have room for a black block to clear the final outline pieces. Maintain a steady rotation of colors.
Step 6: Clear the top edges and finish the board.
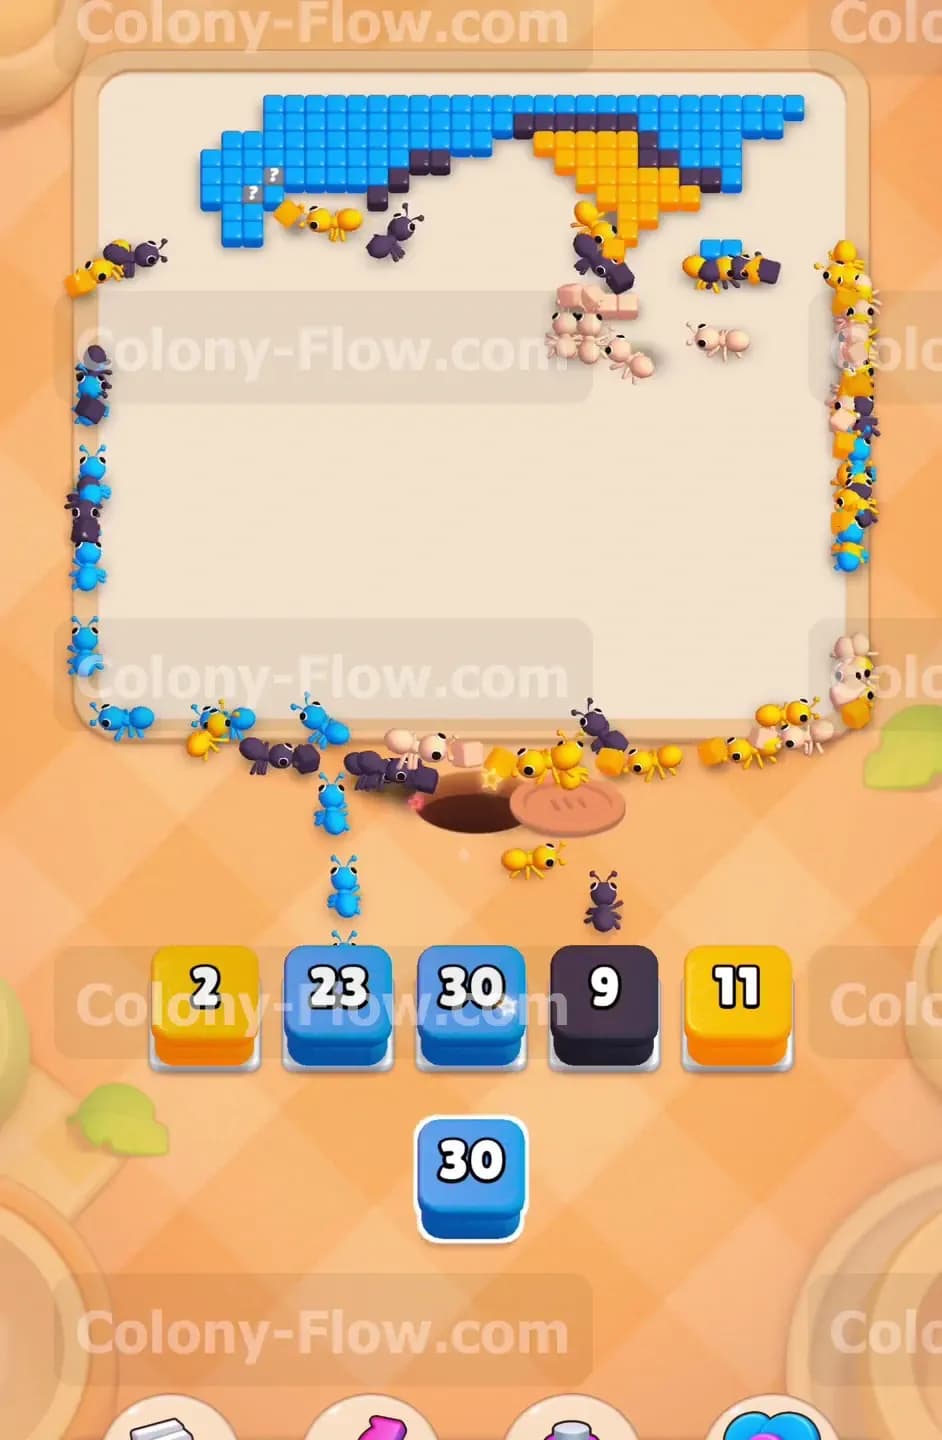
The board is now down to the final scattered pieces at the very top of the screen. You will see a few light blue background tiles left in the top corners along with the last bits of yellow hair and top black outline. Look at the numbers on your remaining tiles on the picture. Check the numbers on your tray blocks at the bottom. Pull exactly what you need to finish the job without overfilling your slots. If there are twenty light blue tiles left pull a light blue block with a high enough number to clear them all. Send your final yellow blocks to consume the very top of the hair. Send a final black block to eat the last few outline tiles. The ants rush up the long empty board to grab these final pieces. Once the last tile vanishes from the screen the ants return to the hole and you officially win the level.
Final Thought
This stage tests your ability to pace your block pulls and manage multiple active colors at the exact same time. The real key to success is simply refusing to pull a color until its matching tiles are completely exposed and ready to be eaten. Take your time and let the ants clear the lower sections entirely before rushing into the top sections. Keeping an open slot gives you the flexibility to fix a jammed path if things go wrong. Please watch the video above this article if you find any of these steps hard to visualize. The visual flow of the ants makes the slot management strategy much easier to understand and master.