Colony Flow Level 515 Walkthrough Solution & Guides | How to solve Colony Flow 515

Guide By Liam Stone
Updated on July 30, 2026
Skip the article and watch the video above instead. It covers every move you need for Level 515.
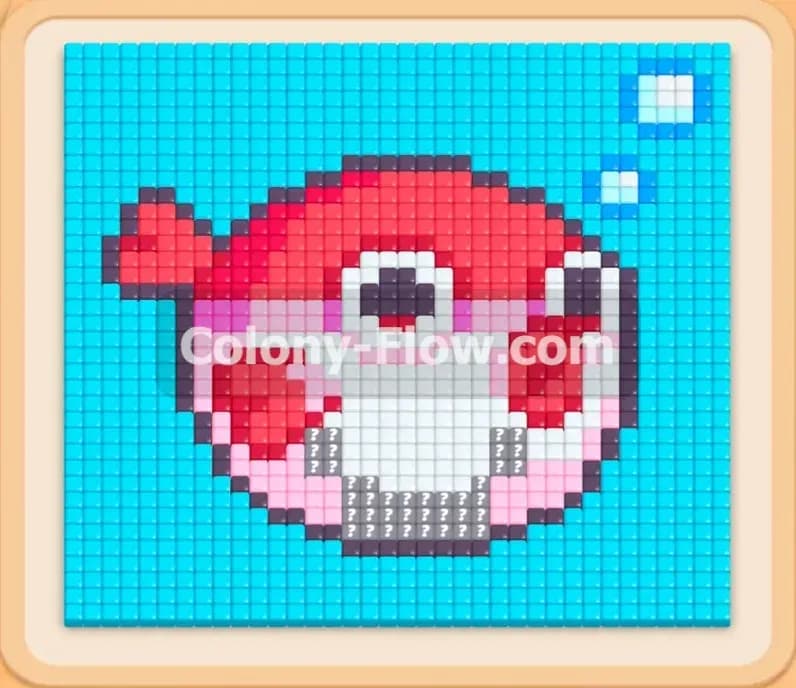
Video doesn't match your screen?
Game updates frequently scramble layouts! Try our AI Screenshot Solver first to find your exact board instantly, or report broken guides to our team.
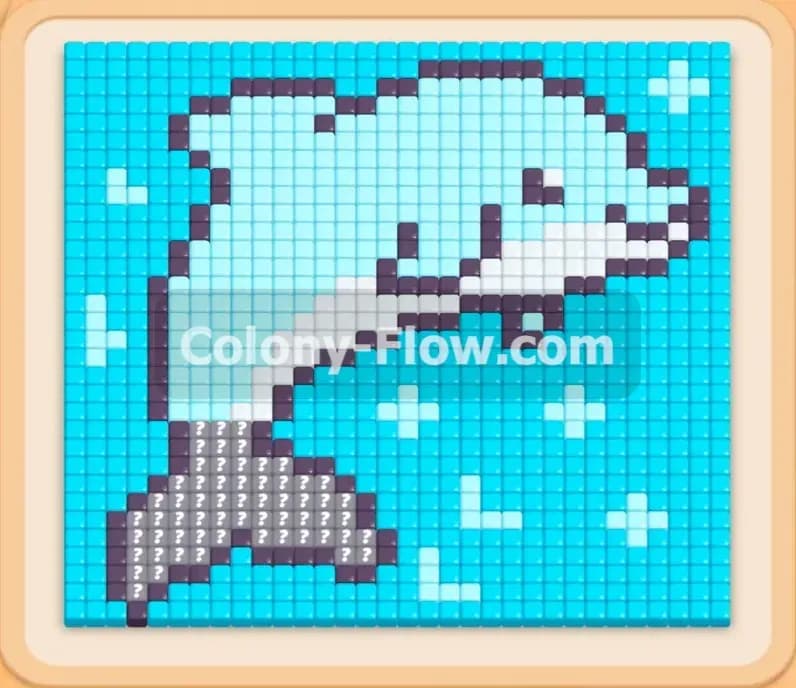
Colony Flow Level 515 presents a fun pixel art picture of a cute pufferfish swimming in a bright light blue ocean. You will need a solid strategy to clear this board because the tray includes connected boxes that can easily clog your waiting slots. I played through this level myself and mapped out the exact order of moves to keep the ant paths open from start to finish. I love how this game challenges you to think ahead and manage your queue carefully. Let me show you how to beat this stage without getting stuck or running out of space in your tray. Following my exact steps will guarantee your ants never hit a dead end.
Colony Flow Level 515 Overview
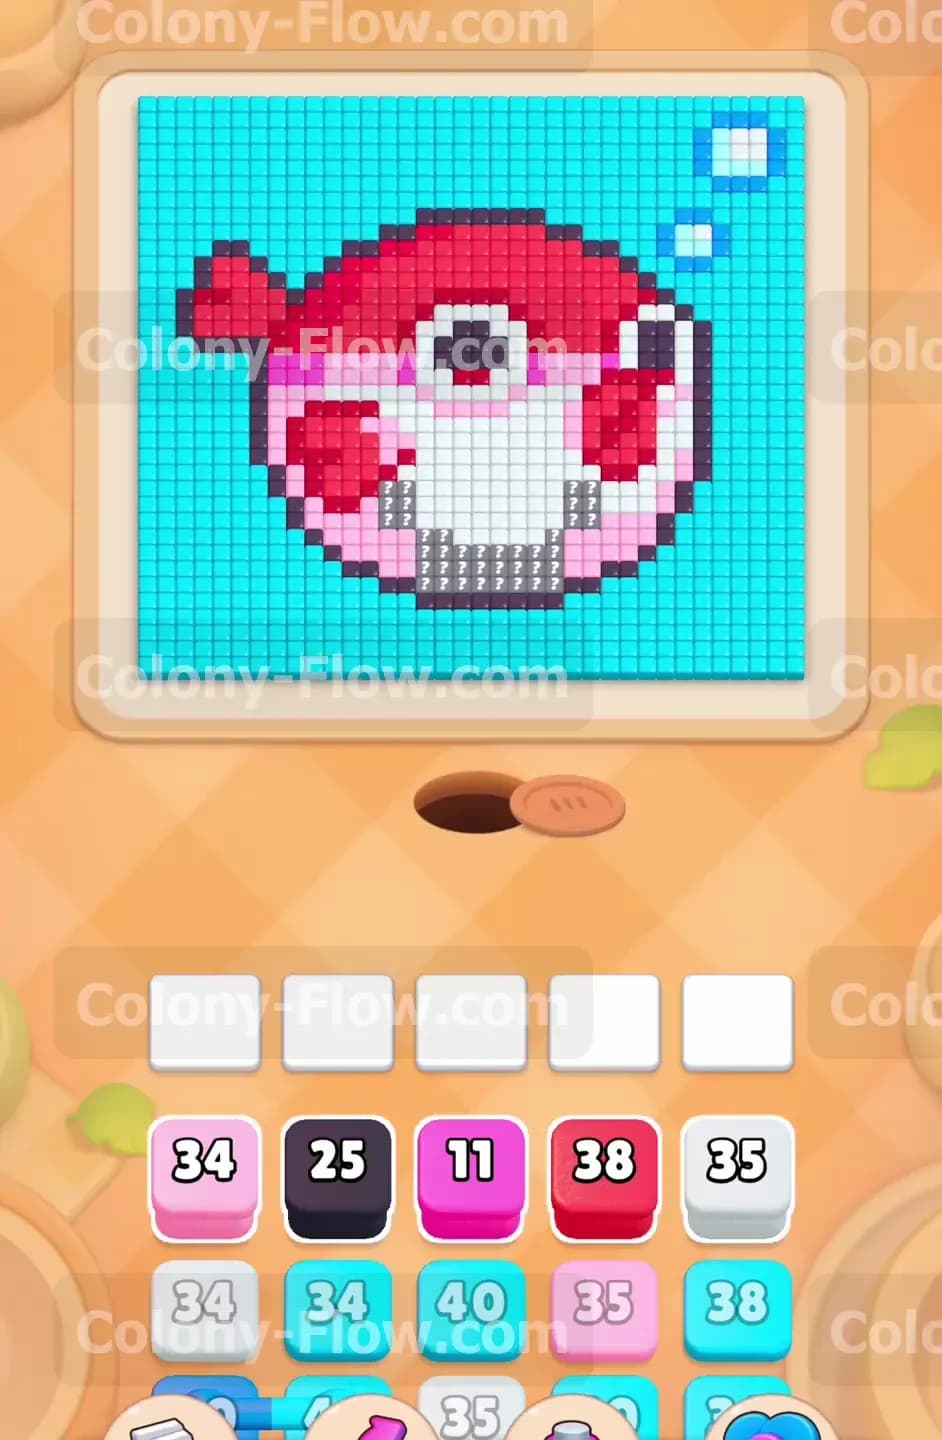
What You Are Working With
The board features a large round pufferfish design right in the center of your screen. The background consists of light blue water tiles with a few small white bubbles floating near the top right corner. The fish itself has a thick dark outline with a bright red upper body and a pink lower body. The belly area is made of white and light gray tiles that create a nice rounded shadow effect. Down in your tray you will find numbered blocks matching all these specific colors. The numbers tell you exactly how many tiles each block can consume. The most important elements to watch out for are the connected light blue boxes. These blocks are permanently linked together and will take up multiple spaces in your waiting slots if you pull them too early. You have to plan around them carefully.
What It Takes to Clear Level 515 Board
Winning this level requires a strict bottom up approach. You must clear the water and belly tiles at the very base of the design first. This opens the paths for the colored ants to reach the inner body of the pufferfish. You have to constantly monitor the five waiting slots at the bottom of the screen. You only pull a block when its matching color is exposed and accessible on the board. This ensures the ants stream out of the nest and start eating immediately. The connected boxes require extra patience. You must wait until large sections of the light blue background are fully exposed before bringing those connected blocks into your queue. If your five slots fill up and no ants can move to clean the board you will lose the level instantly. Keeping one path active at all times is your primary goal.
Colony Flow Level 515 Step by Step Solution
Step 1: Open the bottom light blue water path to expose the lower fish body
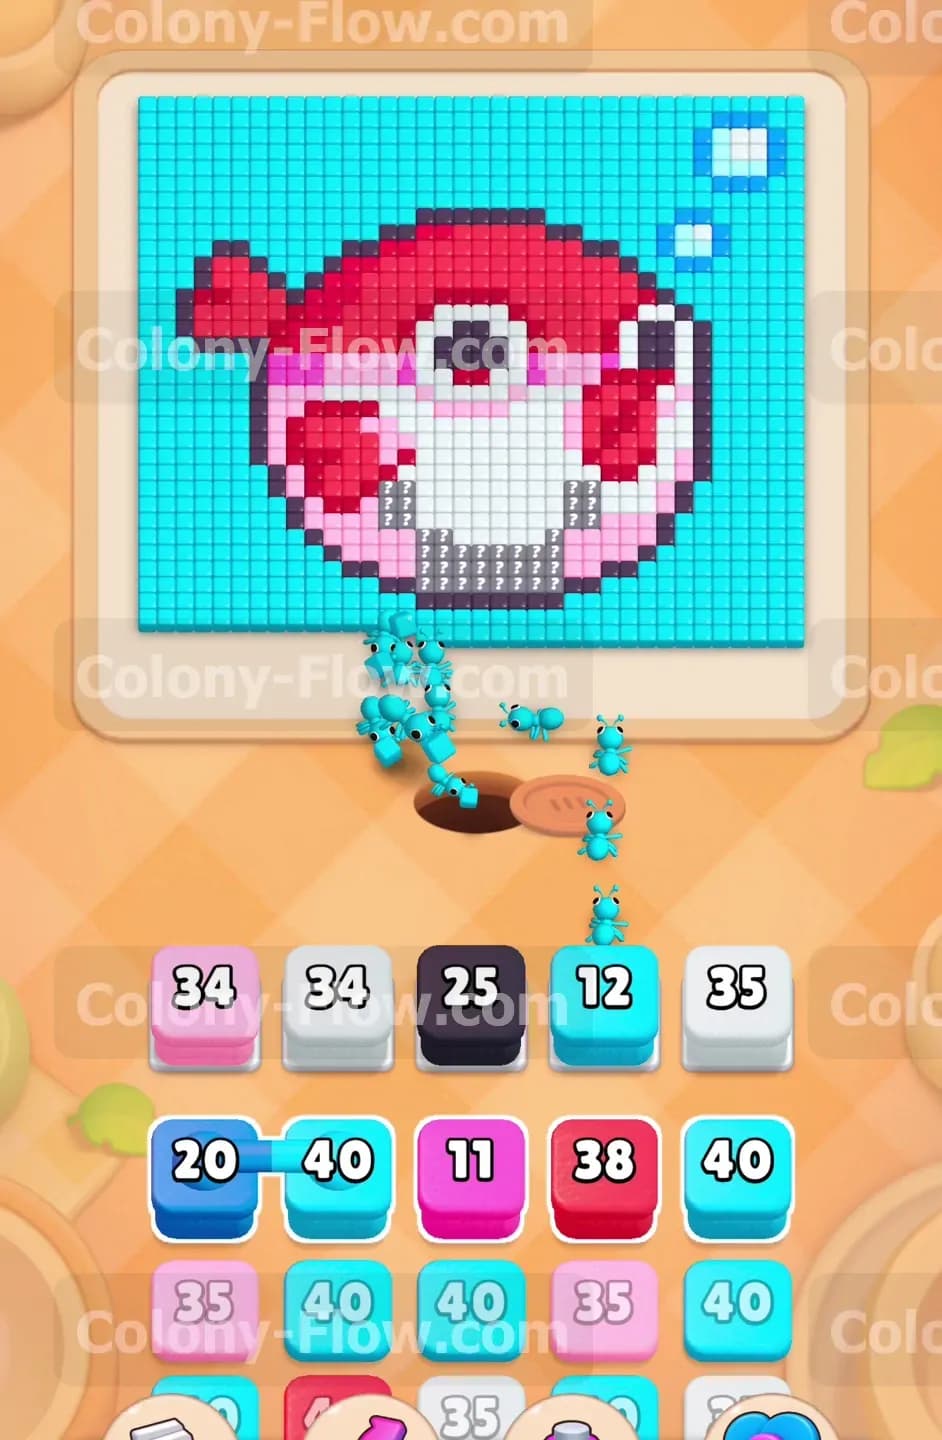
Your first move targets the light blue tiles directly below the pufferfish. Look at your tray and select the loose light blue blocks to get started. Do not touch the connected light blue boxes yet. Pulling a single light blue block sends a stream of ants out of the nest hole to eat away the bottom edge of the water background. This action exposes the lowest part of the fish. As the ants consume these tiles the number on your active block counts down steadily. Once the counter reaches zero the block disappears and frees up a space in your waiting slots. You must make sure this specific path stays active. Let the ants clear the entire bottom boundary completely before you move to the next color. This careful pacing prevents your tray from backing up with useless blocks.
Step 2: Clear the white and light gray belly section to hollow out the center
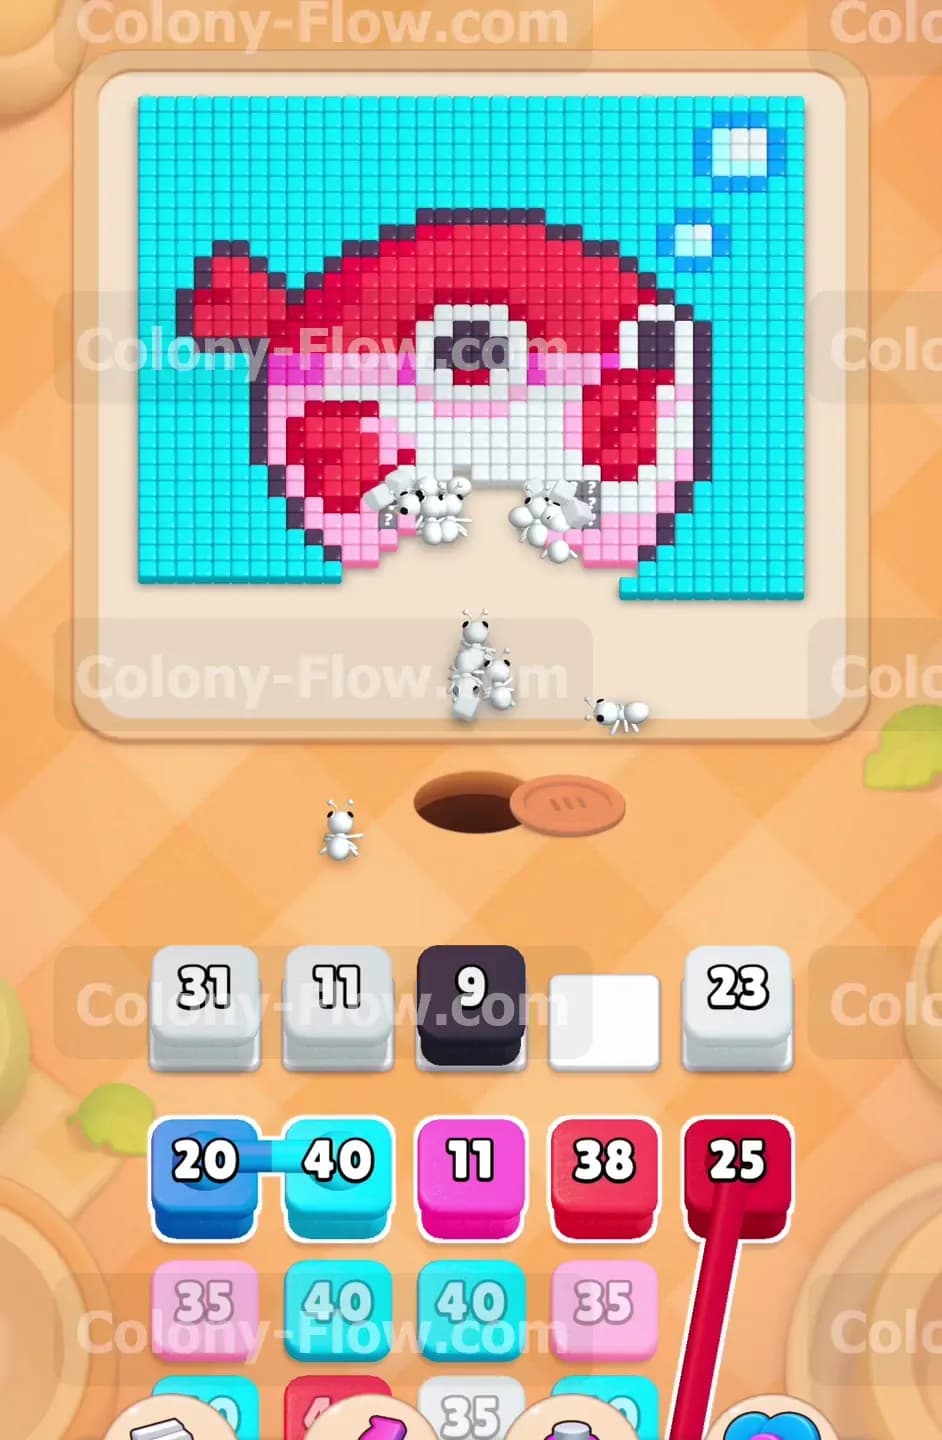
With the bottom water removed you now have a direct line to the belly of the pufferfish. Find the white and light gray blocks in your tray and tap them into your waiting slots. The ants will emerge and march straight up the middle to eat the white tiles. You will notice the white area forms the core of the lower body. Clearing it creates a massive opening right in the center of the board. Keep a close eye on your queue and only bring up enough white blocks to handle the exposed tiles. If you pull too many white blocks they will sit in your slots and block other colors from moving. Letting the white ants finish their meal reveals the inner edges of the pink sections on both the left and right sides. This central clearing is vital for your next moves.
Step 3: Deploy the pink blocks to consume the lower fins and bottom body panels
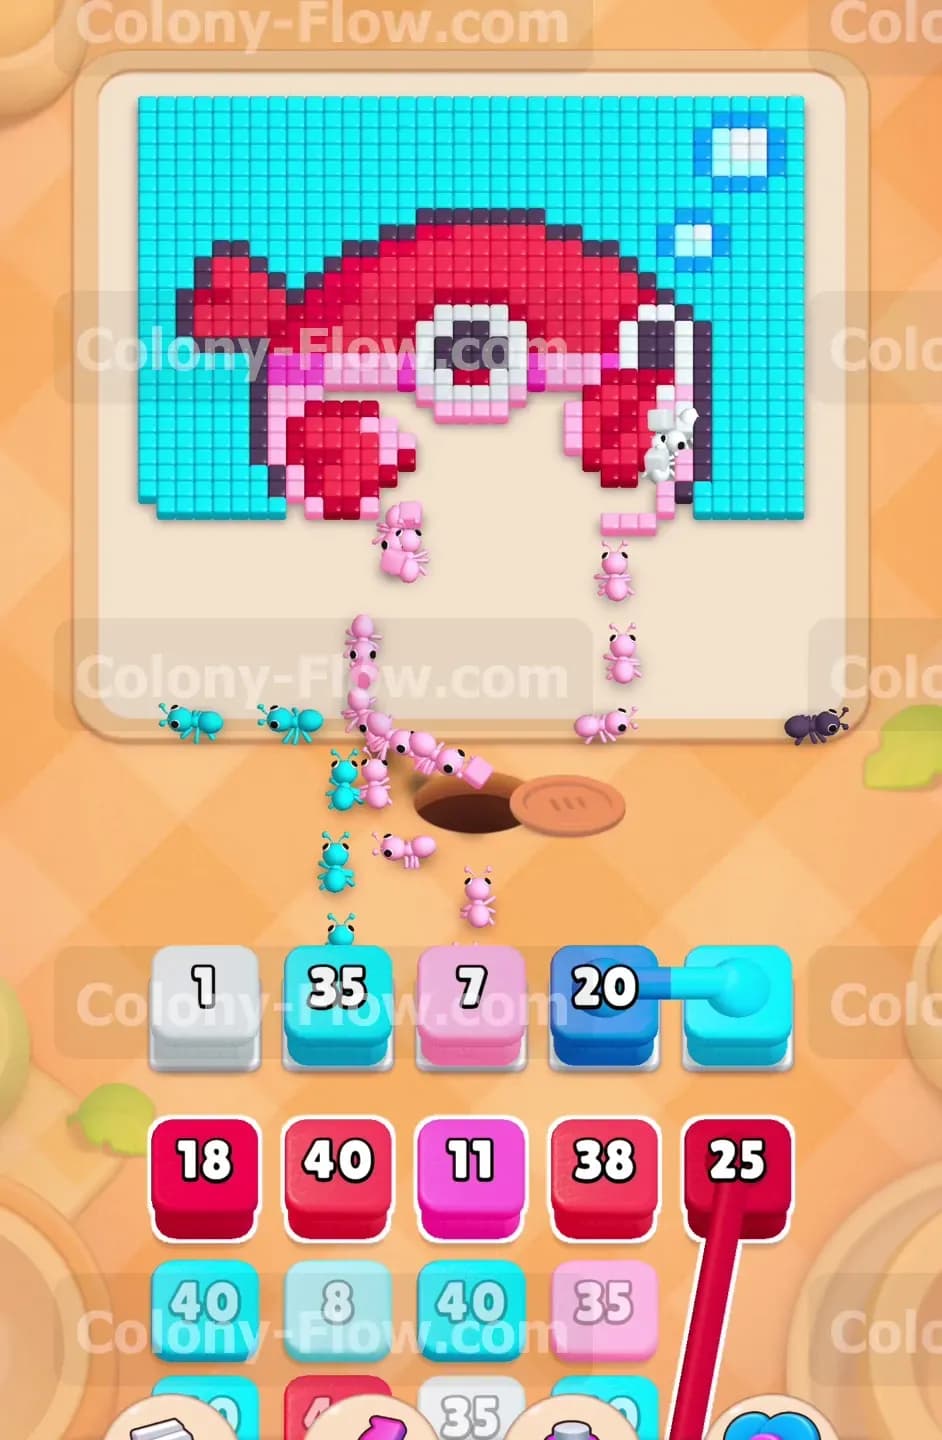
The pink tiles form the lower half of the pufferfish and its wide side fins. Now that the white belly is gone the inner edges of these pink tiles are completely exposed. Tap the pink blocks from your tray to release the pink ants. They will split off towards the left and right to consume these side sections. You have several pink blocks with high numbers in your tray. Bring them up one at a time so you do not crowd your five slots. Watch as the ants break down the pink fins completely. This process strips away the entire bottom half of the fish. It exposes the main red body and the thick dark outline that surrounds the character. You want to make sure every pink block finishes counting down and clears out of your queue before proceeding.
Step 4: Use the connected light blue boxes to clear the outer water sides
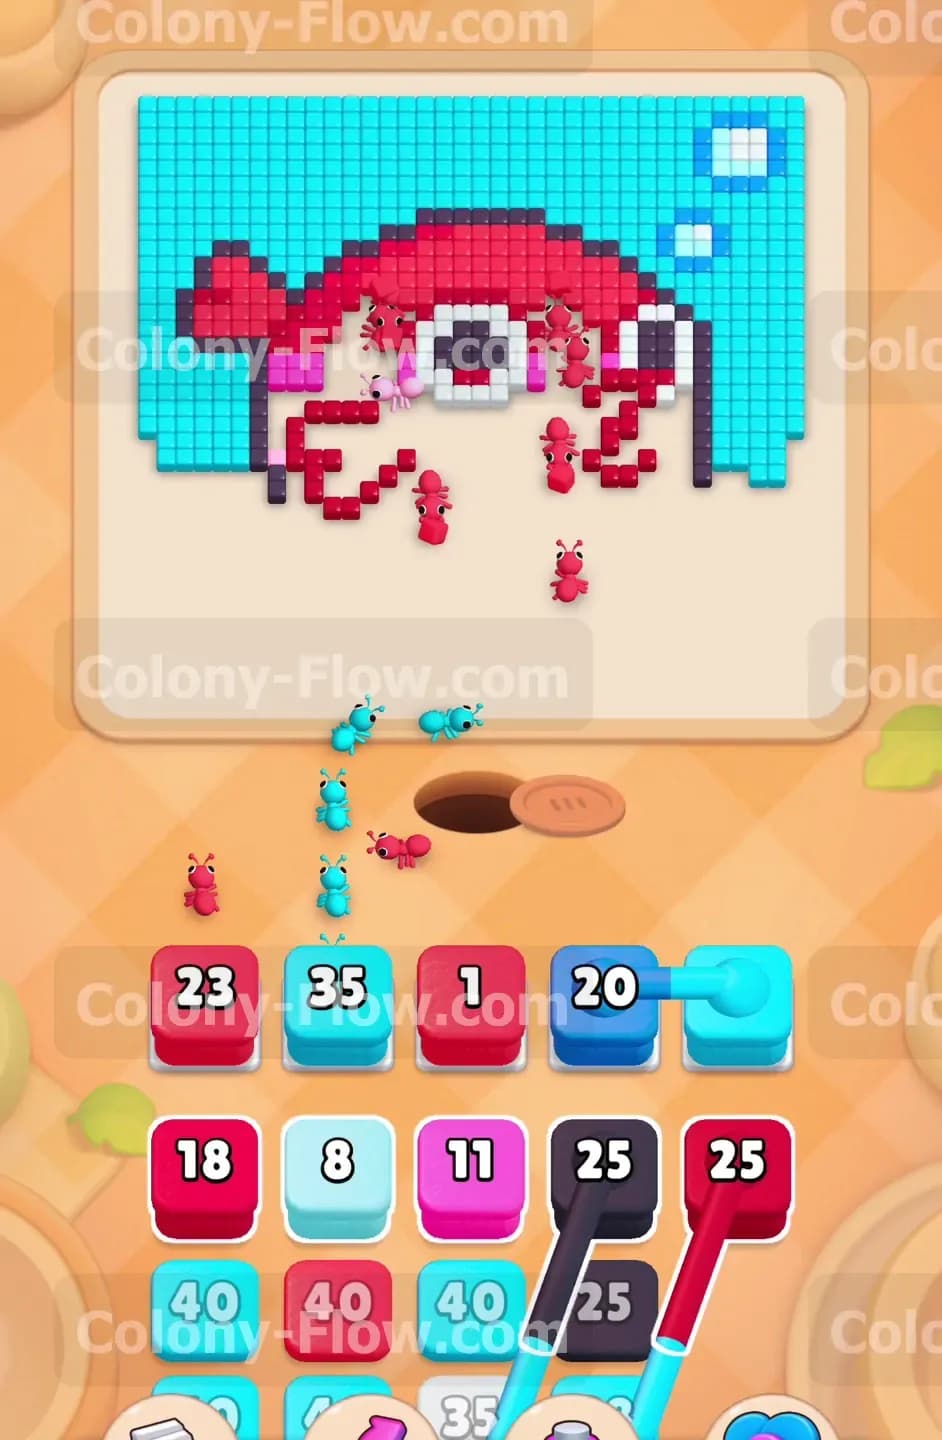
This is the perfect time to handle the connected light blue boxes in your tray. The left and right sides of the light blue water background are now wide open because the lower fish body is gone. Tap the connected blocks to move them into your waiting slots. Because they are linked together they will take up two spots at once. The light blue ants will swarm the outer side areas and work their way up the edges of the board. Since the paths are completely clear the numbers on these connected blocks will drop rapidly. Managing this step correctly ensures the connected blocks disappear quickly and return your waiting slots to full capacity. If you had pulled these linked blocks earlier they would have jammed your tray and caused an immediate loss.
Step 5: Release the red ants to eat the main upper body of the fish
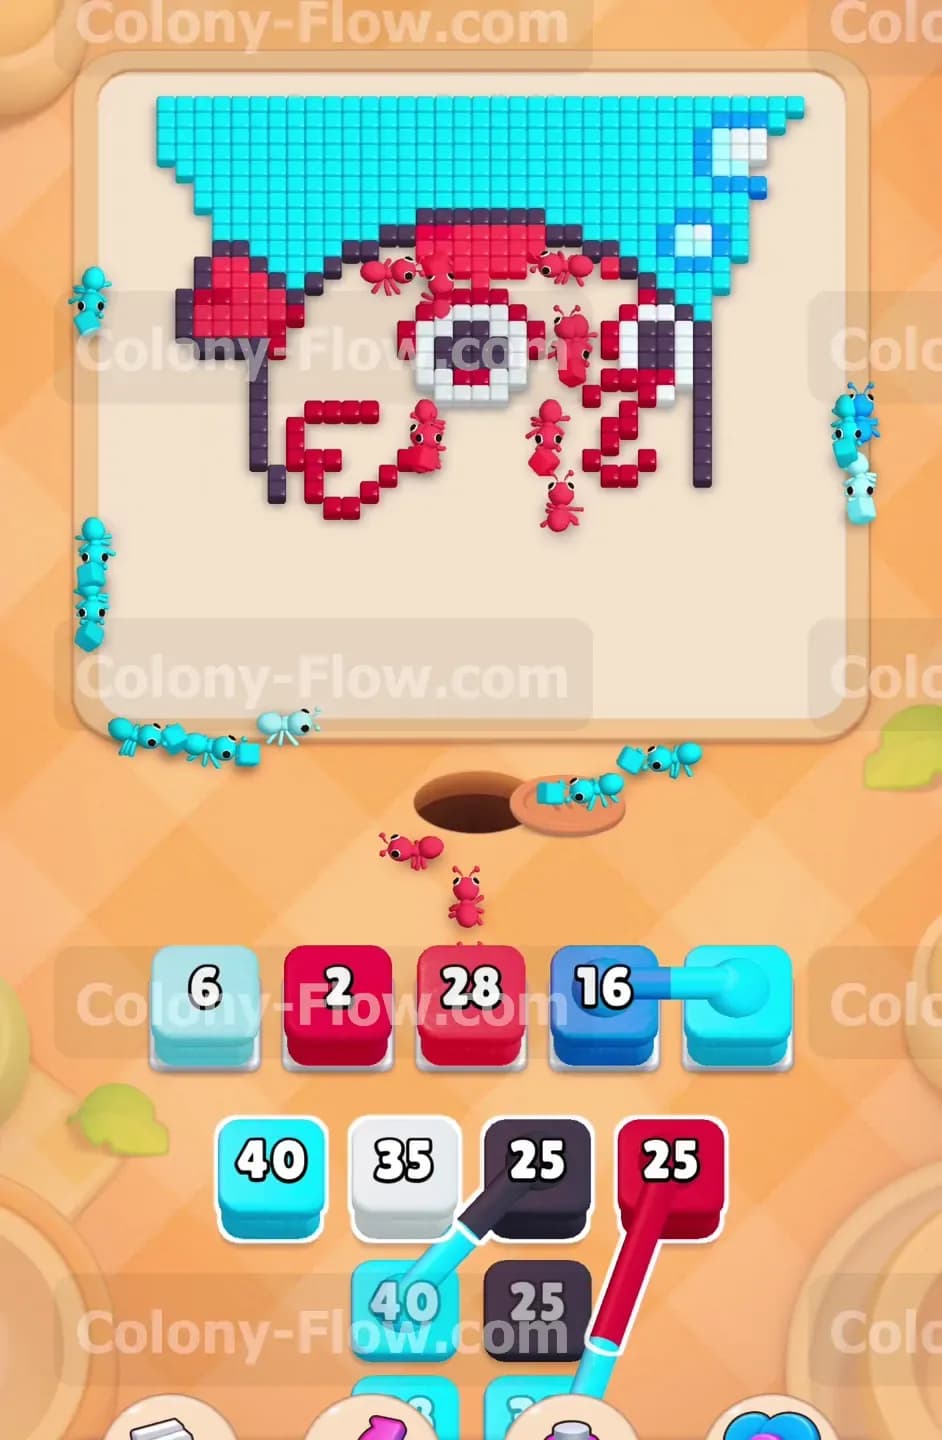
The massive top half of the pufferfish consists entirely of bright red tiles. You have several large red blocks waiting down in your tray. Tap them into the queue to send the red ants upward into the center of the board. They will flood the main body of the fish and eat away the large red pixel block. You want to keep the flow steady so bring up the red blocks in sequence rather than all at once. Do not pull the dark blocks just yet. Let the red ants do their job and consume the entire upper section. The huge red area means the blocks will count down fast as long as you keep the paths open. As they finish you will see only the dark outline the eyes and the top corner bubbles remaining on the board.
Step 6: Clear the dark outlines and the eyes to erase the fish shape
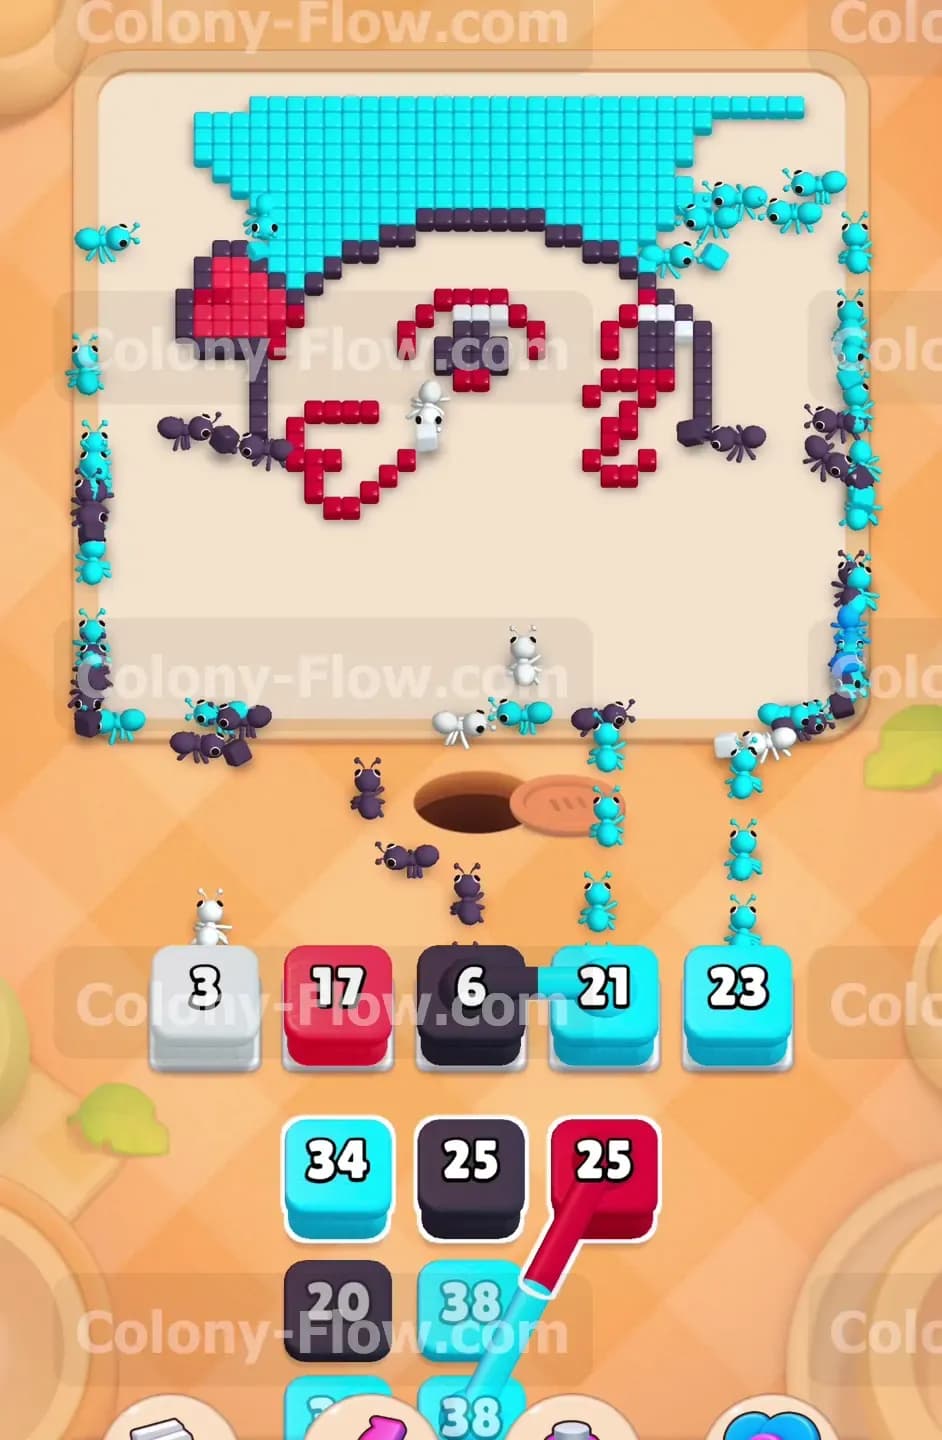
The shape of the pufferfish is defined by a thick border of dark tiles. You also have a dark center for the eye. Tap the black blocks in your tray to release the dark ants. They will climb up and trace the outline of where the fish used to be. The dark tiles are spread out in a thin curved line so it takes a moment for the ants to travel around the entire shape. Keep your remaining tray slots open for the final few blocks. You only need a few black blocks to handle these scattered outline pieces. The dark ants will finish off the outline and the eye leaving only the top background remaining. You are very close to finishing the level at this point.
Step 7: Finish the remaining background water and floating bubbles to complete the level
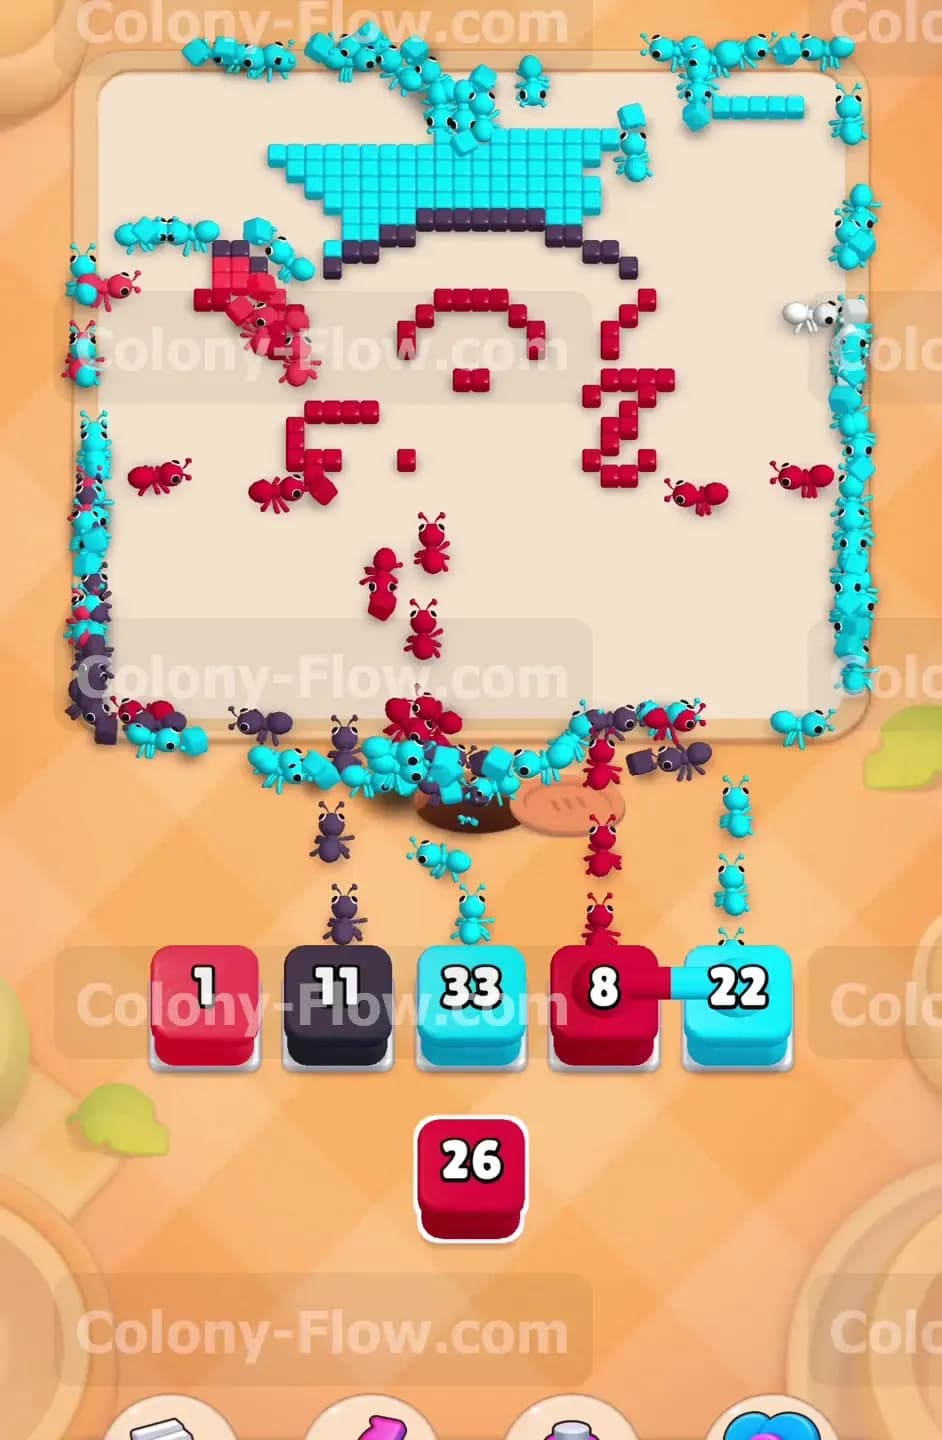
The last pieces on the board are the top light blue water tiles and the small white bubbles in the upper right corner. Tap your remaining light blue blocks to send out the final wave of light blue ants. They will cover the top section of the board and eat the rest of the water. If you have a small white block left for the bubbles pull it now. The ants will clean up the very last scattered pixels. You do not have to worry about tray space anymore because the board is wide open and the ants will consume everything instantly. Once the final tile disappears the board is completely clear and you win the level. Your careful planning kept the tray open the entire time.
Final Thought
Level 515 looks intimidating at first glance because of those tricky connected blocks but it flows perfectly if you work strictly from the bottom up. Patience is your best tool for keeping the five waiting slots clear and ensuring your ants always have a target. I found this level very satisfying once the central belly path opened up. Please watch the video above this article if any step is hard to follow in text. Seeing the ants move in real time makes the strategy completely clear and helps you time your block pulls perfectly. Good luck clearing the pufferfish.