Colony Flow Level 282 Walkthrough Solution & Guides | How to solve Colony Flow 282

Guide By Liam Stone
Updated on July 15, 2026
You can watch the video above to see Level 282 solved from the very first move.
Video doesn't match your screen?
Game updates frequently scramble layouts! Try our AI Screenshot Solver first to find your exact board instantly, or report broken guides to our team.
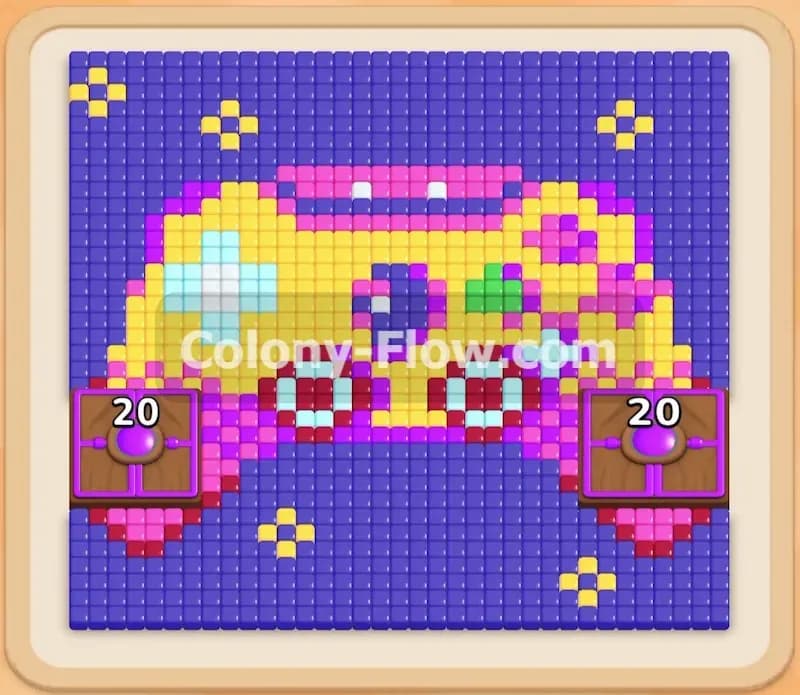
Colony Flow Level 282 presents a fun retro video game controller made of colorful pixels. I always enjoy levels where the pixel art is distinct because it makes tracking the colors much easier. This board requires careful block management to prevent your waiting slots from jamming while your ants clear out the thick layers of pixels.
Colony Flow Level 282 Overview
What You Are Working With
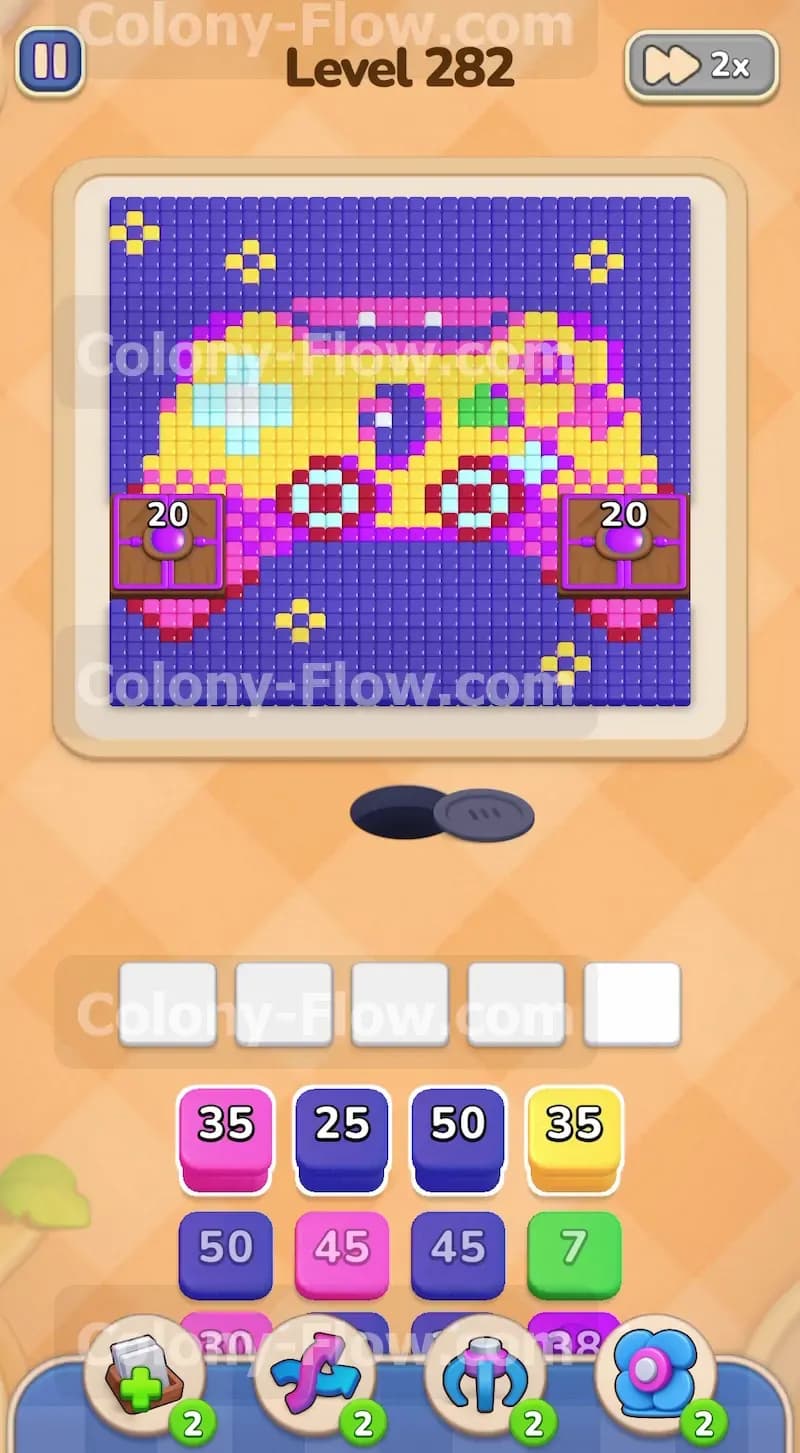
The main feature on the board is a large pixel art game controller set against a massive dark blue background. The controller itself is highly detailed. You have a bright yellow main body with a pink lower border. Two dark red circular shapes sit near the bottom center. A light blue cross shape is positioned on the left side. On the right side you will see a small green section. Two large purple structures with the number twenty sit on the bottom left and bottom right of the controller. I really love the attention to detail in this pixel art because it mimics a classic gaming console perfectly.
Your tray at the bottom holds all the colored numbered blocks you need to feed your colony. You have dark blue blocks for the background along with yellow pink dark red light blue green and purple blocks for the controller details. You also have a gray Hidden Box sitting in the tray. This block displays a question mark and hides its true color until you clear the blocks blocking it from moving. Your waiting area holds exactly five slots.
What It Takes to Clear Level 282 Board
To beat this level you need to completely remove every pixel and special structure from the board. Your ants will stream out of the nest hole at the bottom and follow open paths to reach matching colors. You win when the picture is entirely gone and all ants finish their work. The main obstacle is the waiting slot limit. If you pull five blocks into the slots and none of them match an open accessible color on the board your ants will stop moving. The slots will jam and you will fail the level. You must constantly monitor the board and only pull blocks that have a clear path to their matching pixels. You have to treat the slot area like a tight traffic intersection. If you let cars enter without an exit route everything comes to a dead halt. Managing that flow is the absolute key to success here.
Colony Flow Level 282 Step by Step Solution
Step 1: Open the bottom edges by starting with the dark blue background.
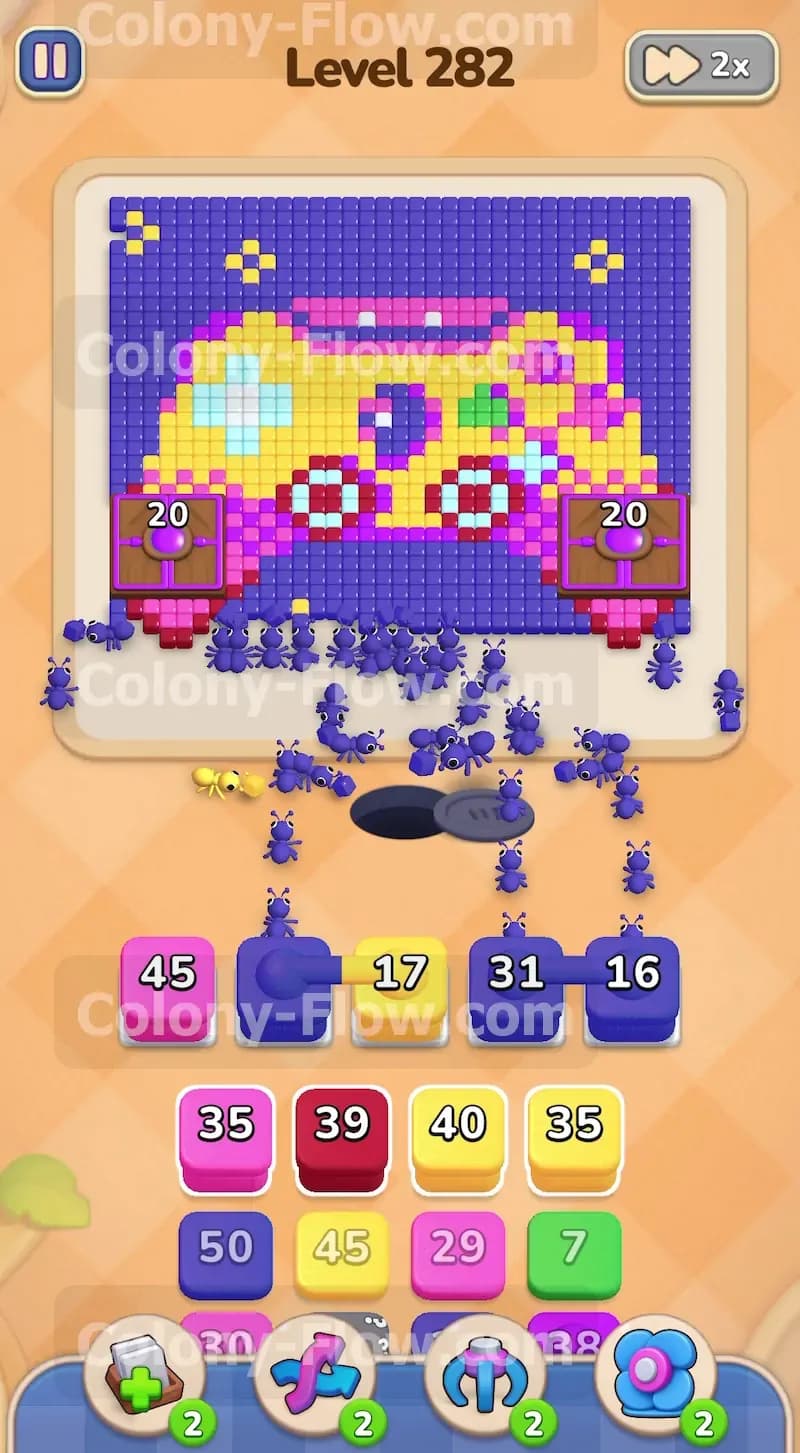
The entire controller is surrounded by a thick dark blue background. The dark blue pixels reach all the way down to the nest hole area. This means dark blue is the only color your ants can initially access. Pull a dark blue block from the tray into your waiting slots. The ants will immediately pour out and start eating away the bottom corners of the background. Let this block run for a moment to carve out a wider path. Do not pull any other colors yet because they will just sit in your slots and take up valuable space. You need those empty slots ready for the next immediate colors. Pushing the dark blue back creates the necessary room for your colony to spread out and find new targets.
Step 2: Bring in pink and yellow blocks to attack the bottom border.
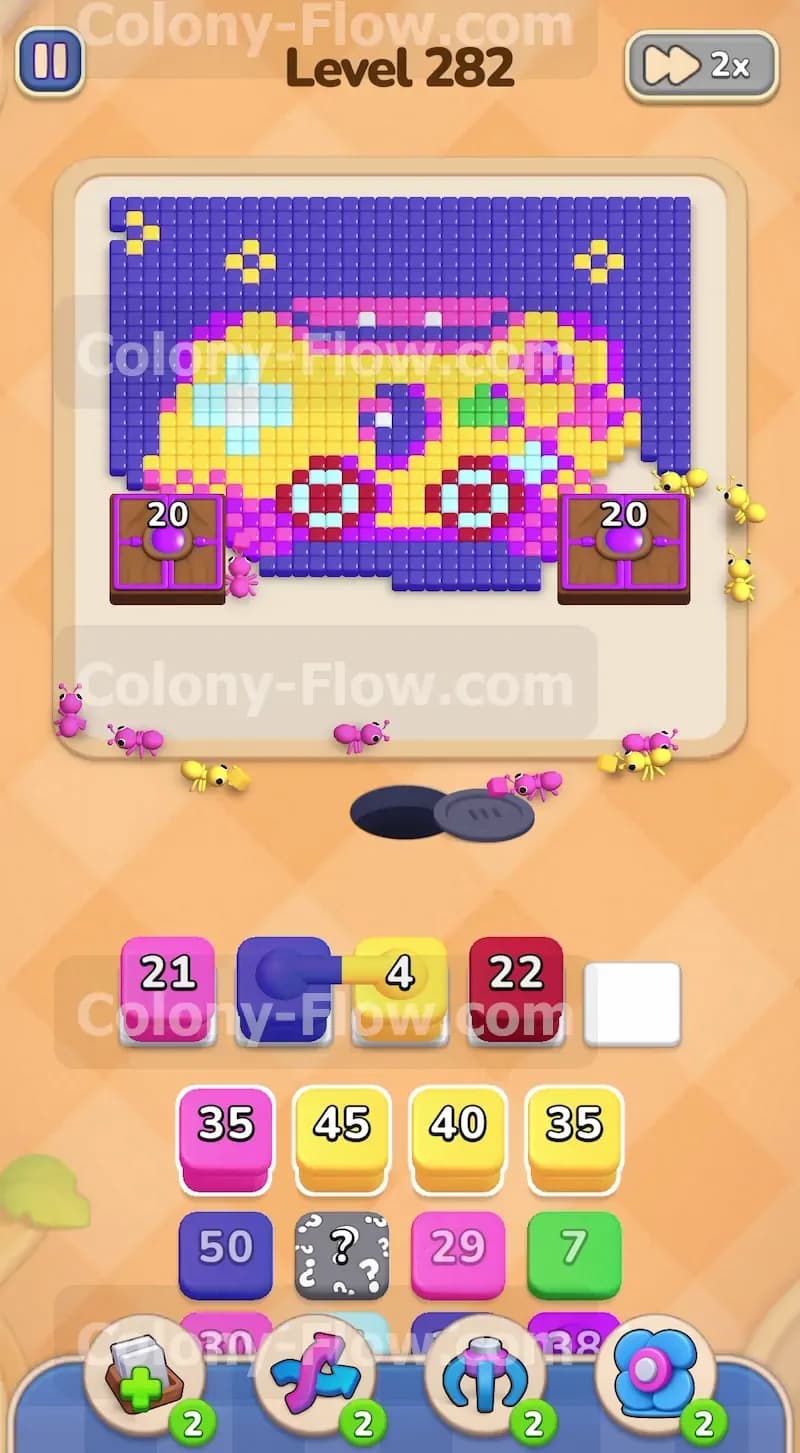
Once the dark blue ants clear the lowest sections of the background they expose the bottom edge of the controller. This bottom edge consists mostly of pink and yellow pixels. Now you have valid targets for new colors. Pull a pink block and a yellow block into your active slots. Your colony will send out pink and yellow ants to chew through the lower boundary of the controller. Always keep an eye on your remaining slot space. You want to keep the dark blue blocks cycling through as well so the background continues to recede alongside the controller border. The pink border specifically is very thin and runs along the entire bottom curve. The yellow pixels sit right above that pink border. Bringing both colors out at the same time allows your colony to work on two different layers simultaneously.
Step 3: Target the dark red circular shapes in the center.
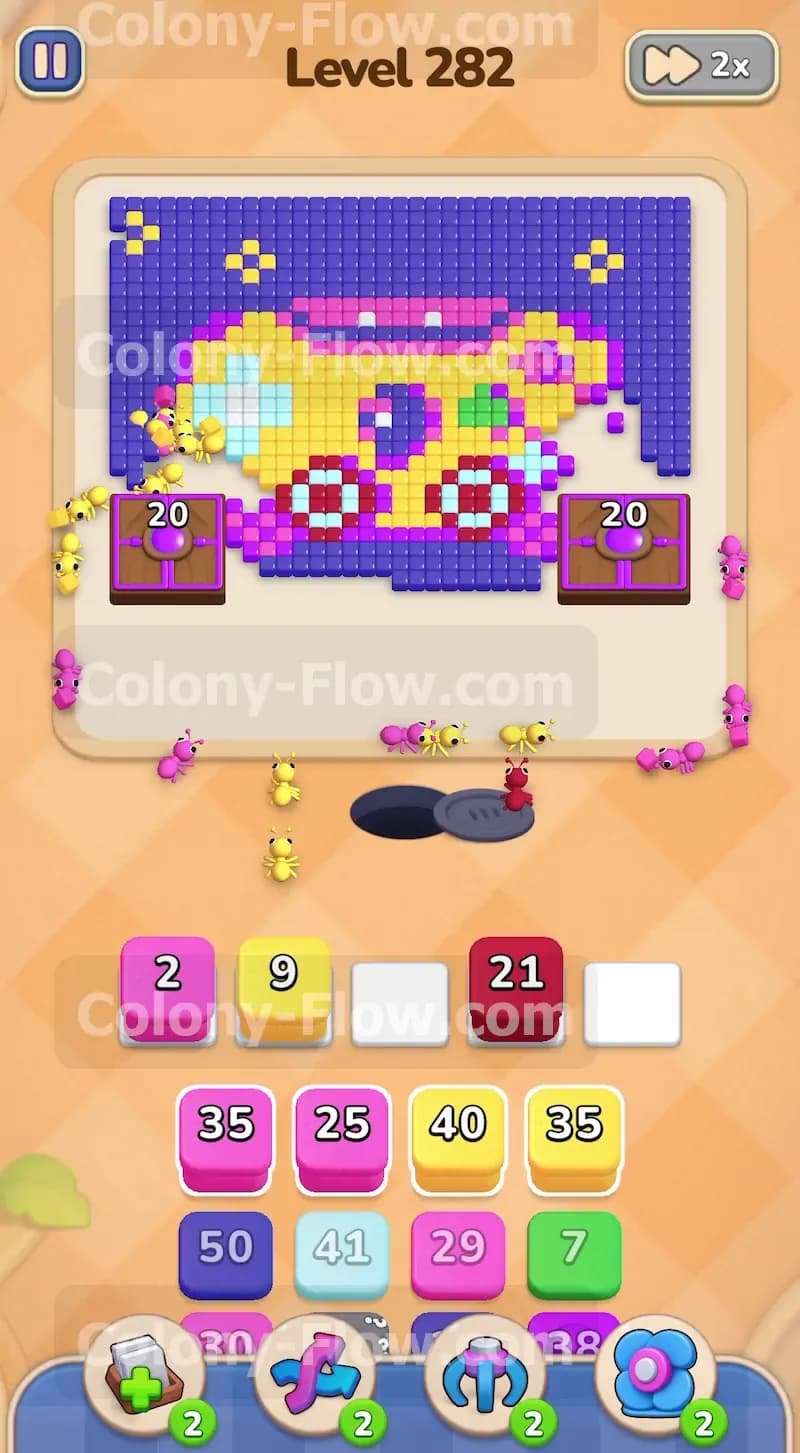
As the pink and yellow border disappears the ants open a path up the middle of the controller. This exposes two dark red circular details. Look at your tray and locate a dark red block. Pull it into the waiting area. The red ants will rush up the newly cleared central path and begin dismantling those circular shapes. This is a crucial phase because clearing the center splits the board and gives your ants better access to the left and right sides of the controller. The red blocks in your tray usually hold high numbers so they will pump out a lot of ants. Just let them do their job and keep the surrounding areas clear.
Step 4: Reveal and utilize the gray Hidden Box in your tray.
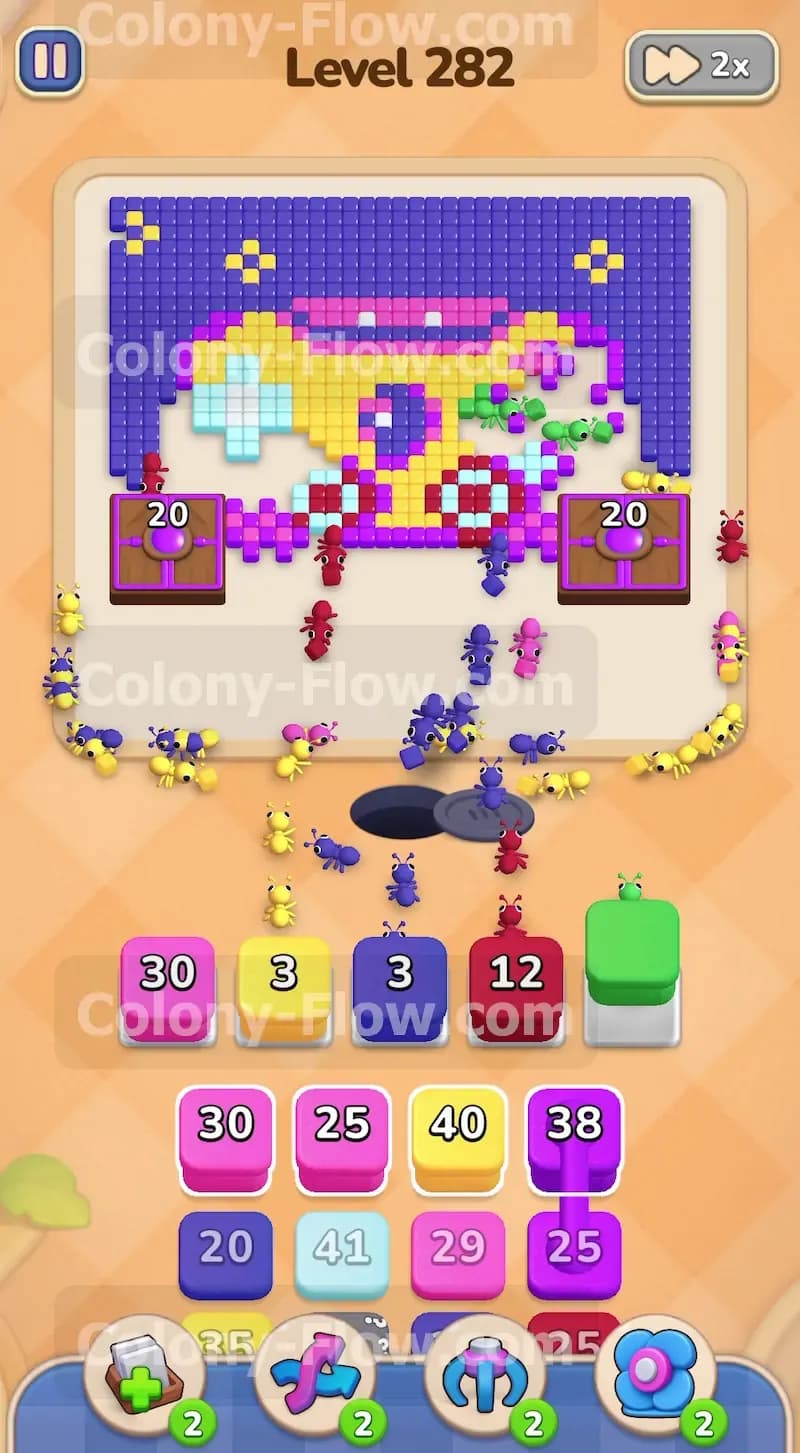
While you manage the active colors you need to pay attention to the tray organization. There is a gray Hidden Box with a question mark buried near the middle of the stack. You must pull the blocks above it to give it a valid path to move. Once you clear the blocking tiles the Hidden Box will reveal its true color. In my playthrough this box turned out to be a necessary color to keep the flow moving. Pull it into the active slots as soon as you have an open target for that color on the board. Getting the Hidden Box out of the way also unlocks the blocks sitting underneath it. This specific hidden box mechanism adds an extra layer of strategy because you cannot plan for its exact color until the last second. Keep one slot empty when you are about to unlock it so you are prepared for whatever color it needs to be.
Step 5: Clear the light blue cross and the green section.
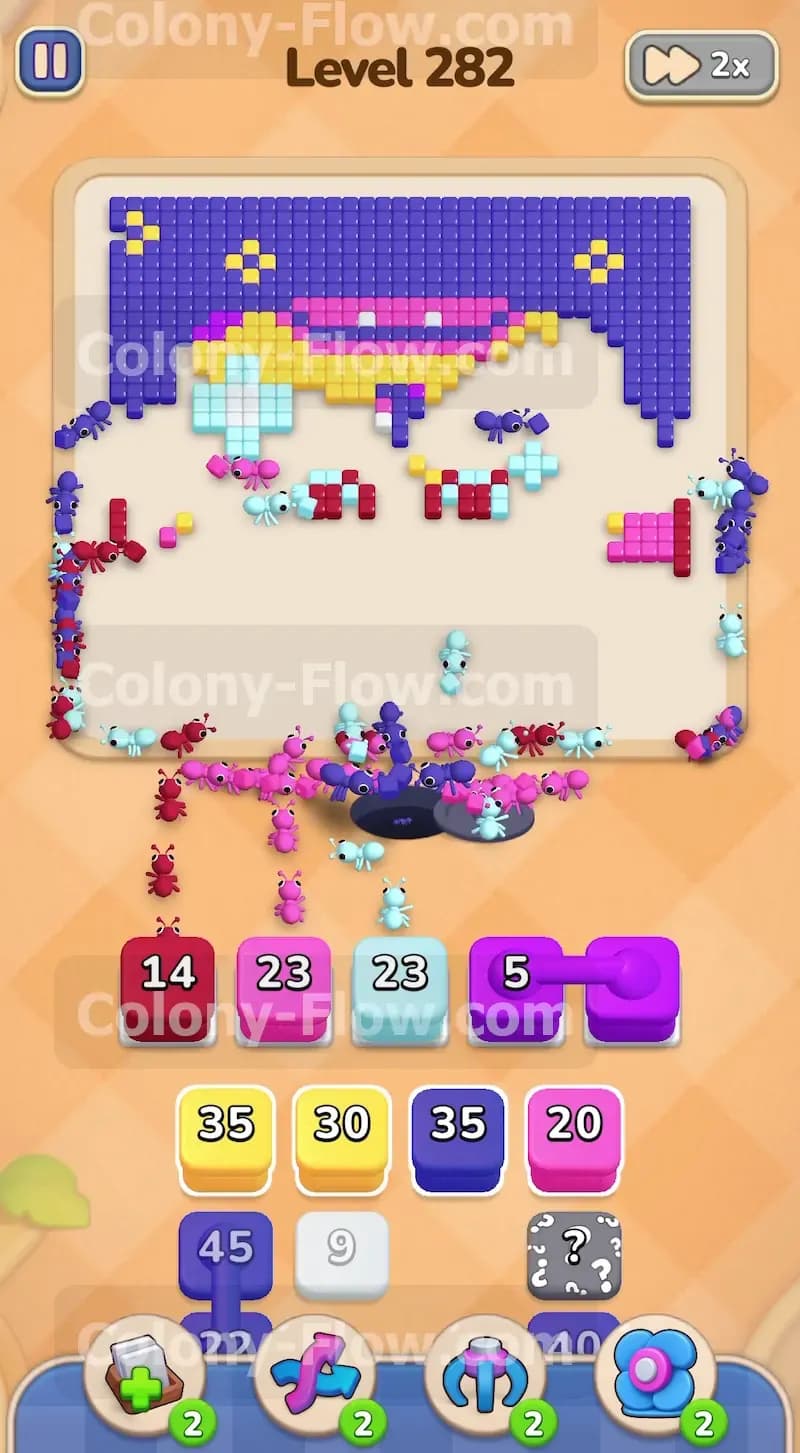
With the central red shapes gone your ants can reach higher up the sides. On the left side of the controller you will find a distinct light blue cross pattern. On the right side there are green pixels. Locate the light blue block and the green block in your tray. Pull them into your slots when you have two empty spaces. The light blue ants will tackle the cross shape and clear a massive chunk of the left side. The green ants will quickly sweep away the small green detail on the right. Making these moves significantly shrinks the remaining solid mass of the controller. The green section is relatively small compared to the light blue cross so the green block will finish its job quickly. Once the green block empties out that slot becomes available again for your next major move.
Step 6: Dispatch purple ants to destroy the large purple structures.
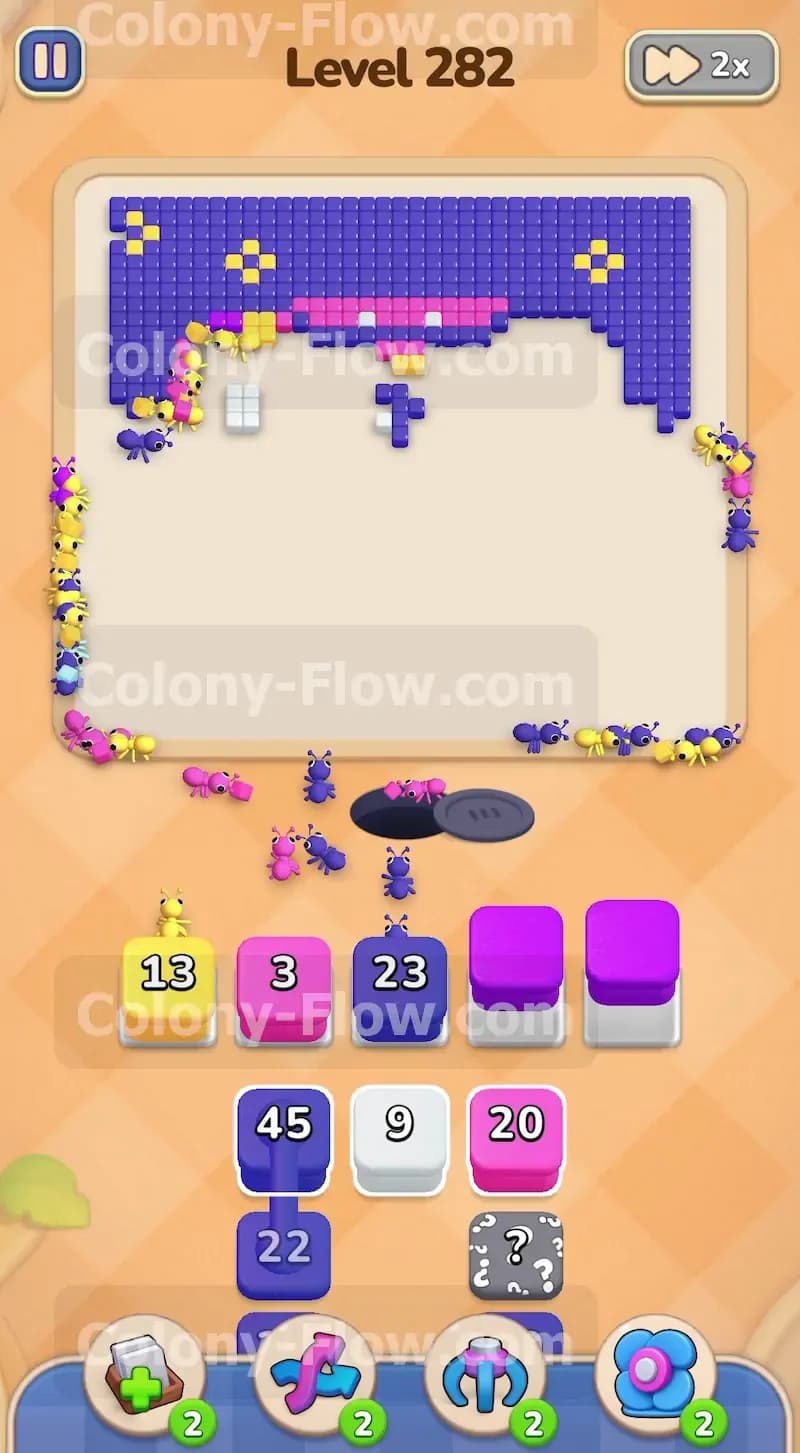
Now you must deal with the two large purple structures sitting on the lower left and lower right of the controller area. These structures demand twenty ants each. Find the purple blocks in your tray and bring them into the active slots. The purple ants will march up and begin breaking down these large obstacles. Since these take a lot of ants to clear the purple blocks will sit in your slots for a while. You must be extremely careful not to fill your remaining three slots with colors that cannot reach the board. Keep pulling dark blue or yellow blocks only if those paths are completely open. The number twenty on these purple boxes indicates they need a lot of concentrated effort. Allowing the purple blocks to occupy two slots while keeping three slots cycling fresh colors is the safest way to handle this phase.
Step 7: Swarm the main yellow body of the controller.
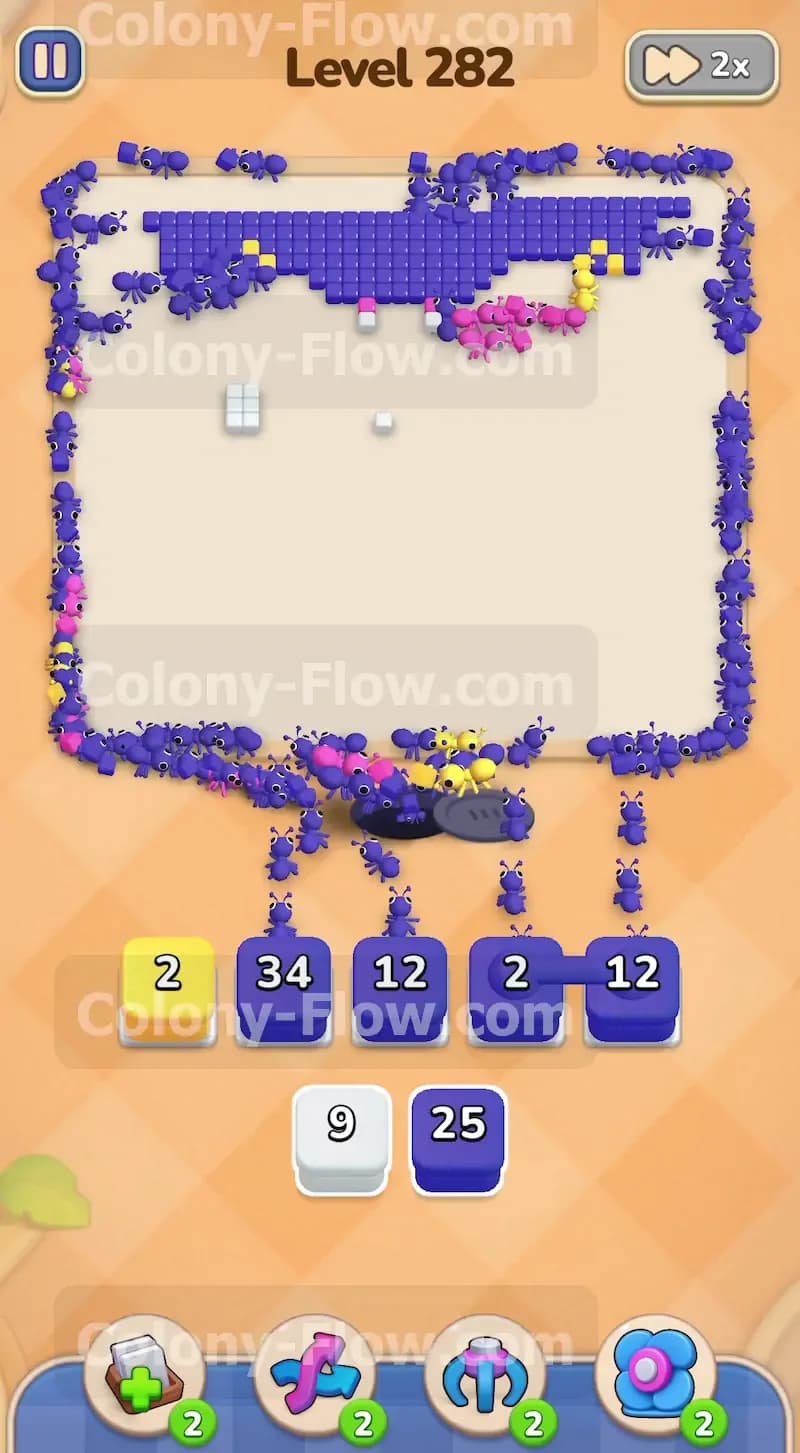
After the purple structures fall and the side details vanish you are left with the large yellow core of the controller. This is the bulk of the puzzle. Start feeding your yellow blocks into the slots one after another. The yellow ants will swarm the center of the board in huge numbers. Let them work their way through the thick block of yellow pixels. Make sure to pull another yellow block exactly when the previous one empties out. This maintains a steady stream of ants and prevents the clearing process from stalling. The yellow section is very dense and takes a substantial amount of time to clear. You will notice the yellow ants spreading out wide across the middle of the board. Keep a close eye on the tray numbers and prepare your next move as the yellow pixel count drops.
Step 8: Wipe out the remaining dark blue border to finish the board.
Once the yellow core is completely gone the only thing left on the board is the top and side border of the dark blue background. Your tray should now contain mostly dark blue blocks. Pull them all into your waiting slots. The colony will send a massive wave of dark blue ants to wrap around the edges of the board. They will eat up the final pixels starting from the sides and meeting at the top center. Watch as the last few ants clear the remaining bits of blue and empty the board completely. The final clearing animation is always incredibly satisfying to watch. You will see the entire frame shrink down until the board is totally blank and you receive your victory screen.
Final Thought
This level requires patience and a strict adherence to slot management. The large purple structures and the thick yellow core can easily tempt you into pulling too many blocks at once. Just remember to always verify that a color has an open path before you commit it to your limited waiting slots. If you find any of these movements confusing you should definitely watch the video above this article to see exactly how the timing works.