Colony Flow Level 497 Walkthrough Solution & Guides | How to solve Colony Flow 497

Guide By Liam Stone
Updated on July 30, 2026
The video above has the full walkthrough for Level 497, so use it if you'd rather skip the article.
Video doesn't match your screen?
Game updates frequently scramble layouts! Try our AI Screenshot Solver first to find your exact board instantly, or report broken guides to our team.
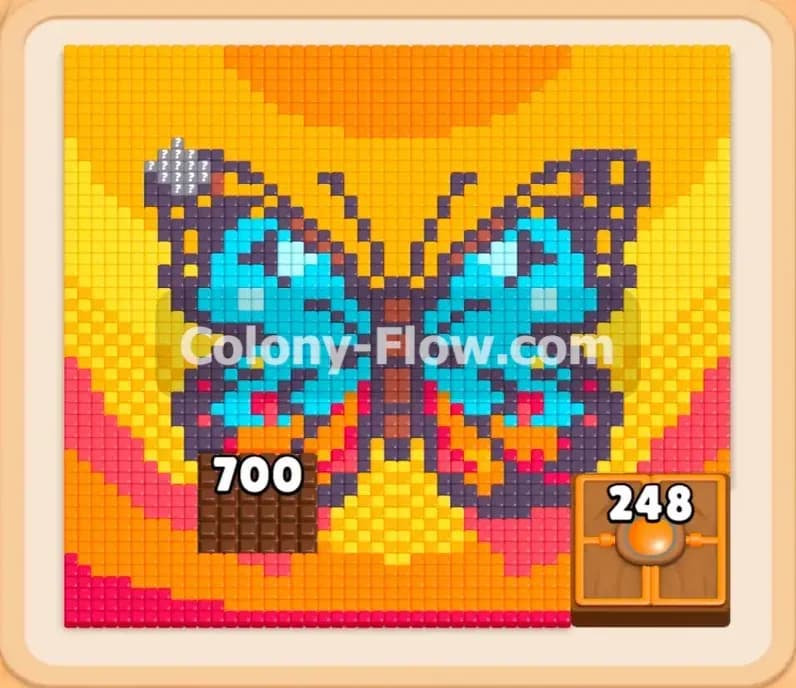
Welcome to Colony Flow Level 497. This specific puzzle features a bright and beautiful pixel art butterfly that you need to uncover and clear. I played this level quite a few times to figure out the perfect order for the blocks. You will need a solid strategy to manage the busy tray below the board. I will show you the exact moves you need to solve this colorful challenge.
Colony Flow Level 497 Overview
What You Are Working With
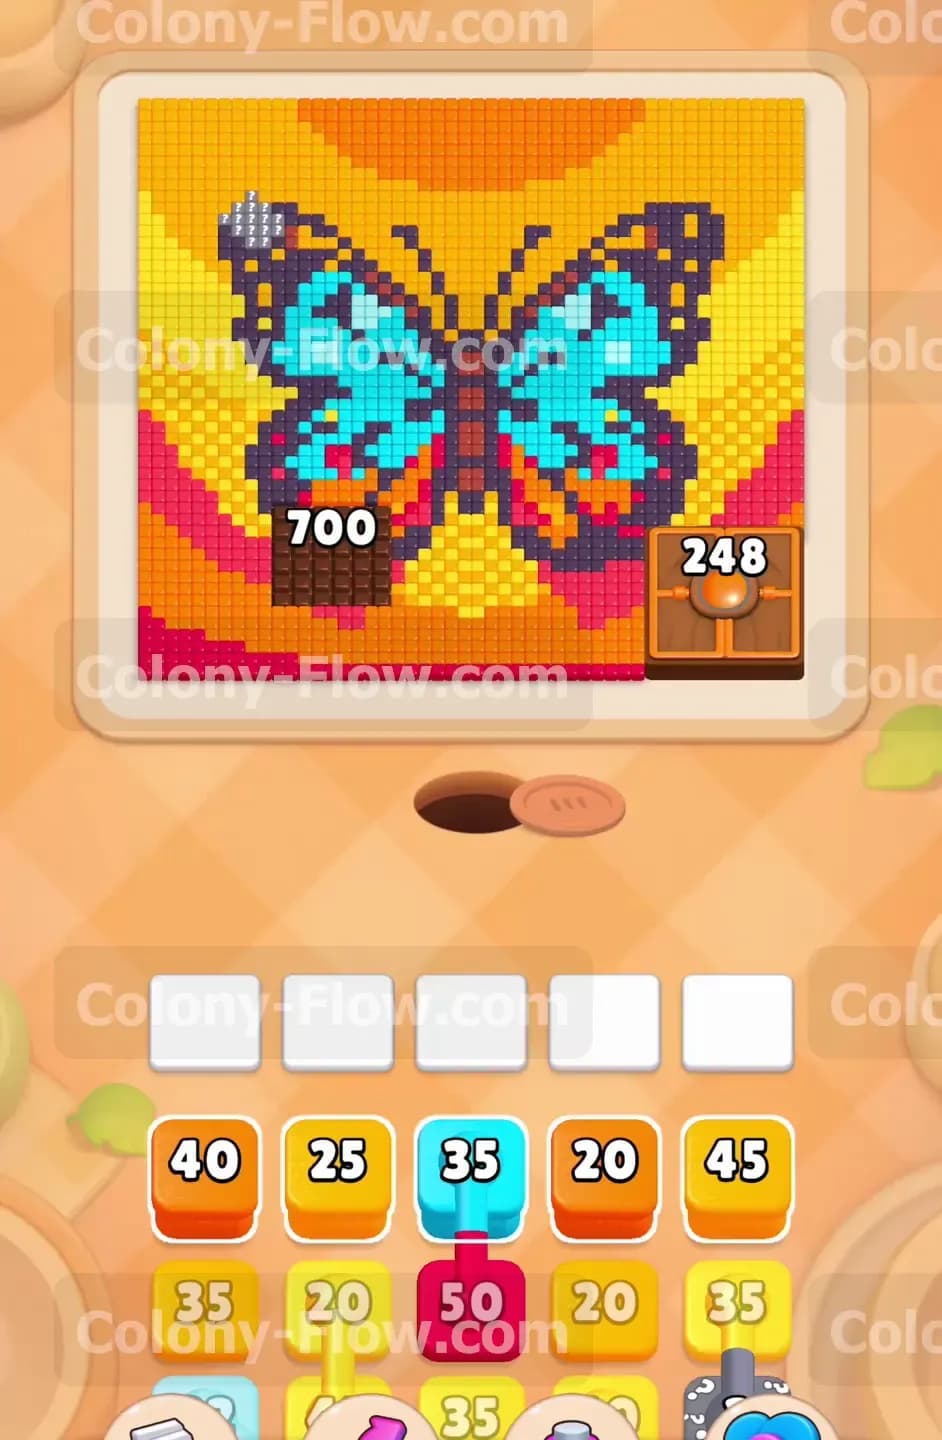
The game board displays a massive butterfly made of cyan, dark blue, red, orange, and yellow tiles. You will immediately notice huge numerical values on the background sections. These large areas require a lot of ants to clear completely. Down in your tray you have a very crowded mix of blocks. You will see single colored blocks with high numbers. You will also see connected boxes linked together by thick pink lines. You must play these connected boxes as a single group. Finally you will spot hidden boxes marked with question marks in the lower rows. These hidden boxes keep their true colors a secret until you move them up to the active area.
What It Takes to Clear Level 497 Board
You win this level by matching all the colored tiles on the board with the exact corresponding blocks from your tray. You must keep the ants flowing in a continuous stream out of the nest hole. Your most critical task involves managing the five empty waiting slots above the tray. If you pull the wrong colors and fill all five waiting slots while no ants can reach their target the board jams. A jammed board means you instantly lose the level. You must anticipate the connected boxes taking up multiple slots at the exact same time. You also need to plan for the hidden boxes revealing unexpected colors. Always verify that an open path exists on the board before you touch a block in the tray.
Colony Flow Level 497 Step by Step Solution
Step 1: Focus on the large yellow sections first to open up the main pathways.
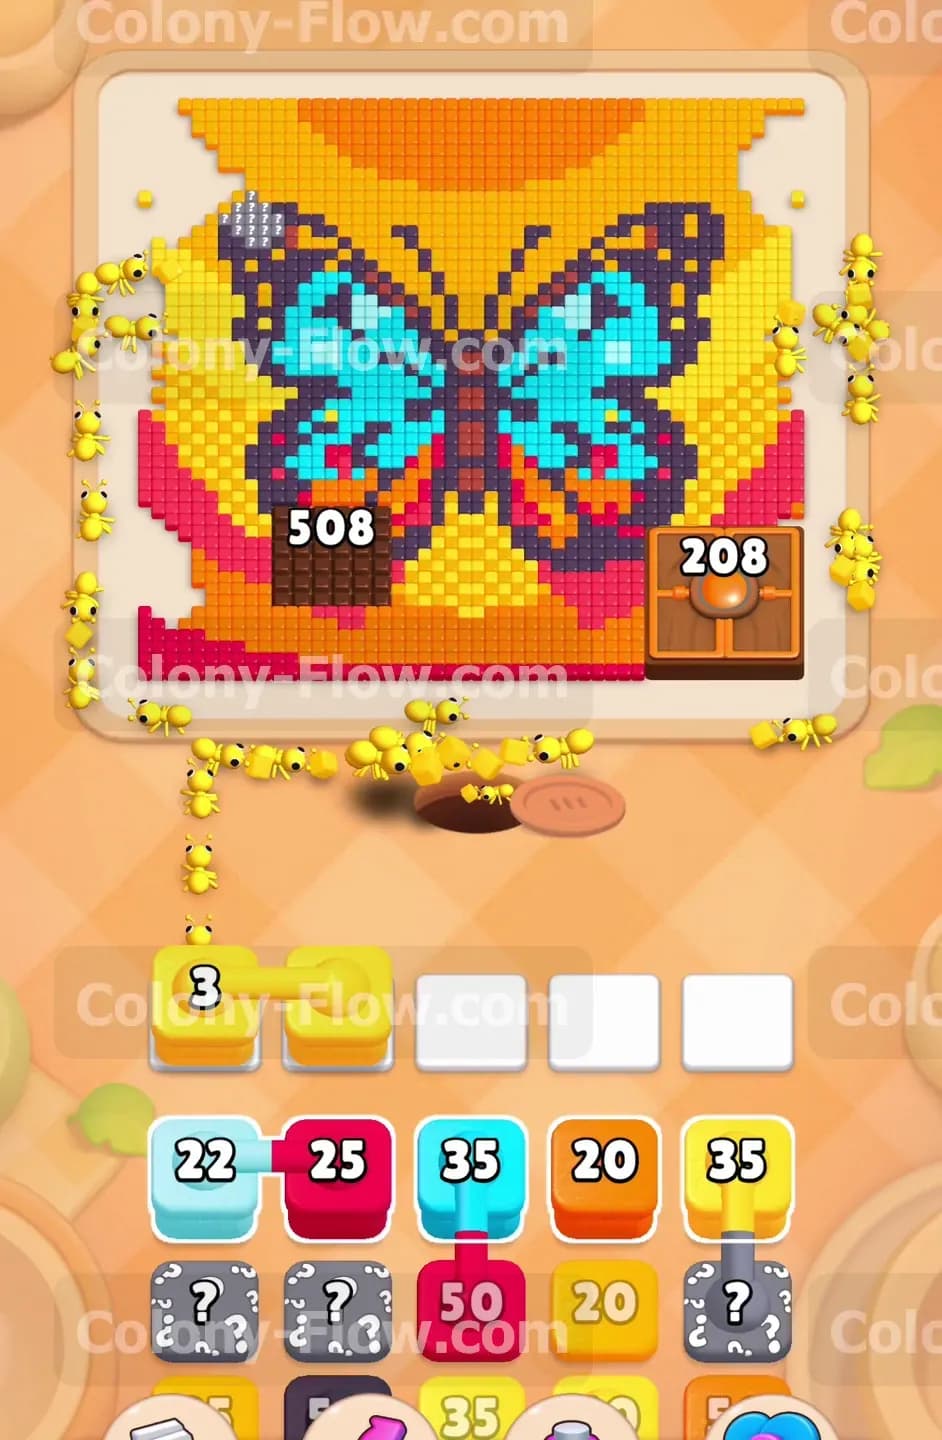
Begin your level by targeting the large yellow background areas on the extreme left and right sides of the board. You need to carve out a wide path into the main butterfly picture. Pull the yellow blocks with values of twenty five and forty five up into your waiting slots. The yellow ants will pour out of the nest hole and start marching toward the outer edges. Watch the massive numbers on the yellow sections drop rapidly as the ants do their work. Keep a close eye on your waiting slots during this opening phase. You should only pull another yellow block when you know the yellow path remains completely open. This steady approach prevents an early jam and gives you plenty of room to maneuver.
Step 2: Introduce orange blocks to clear the secondary background layers.
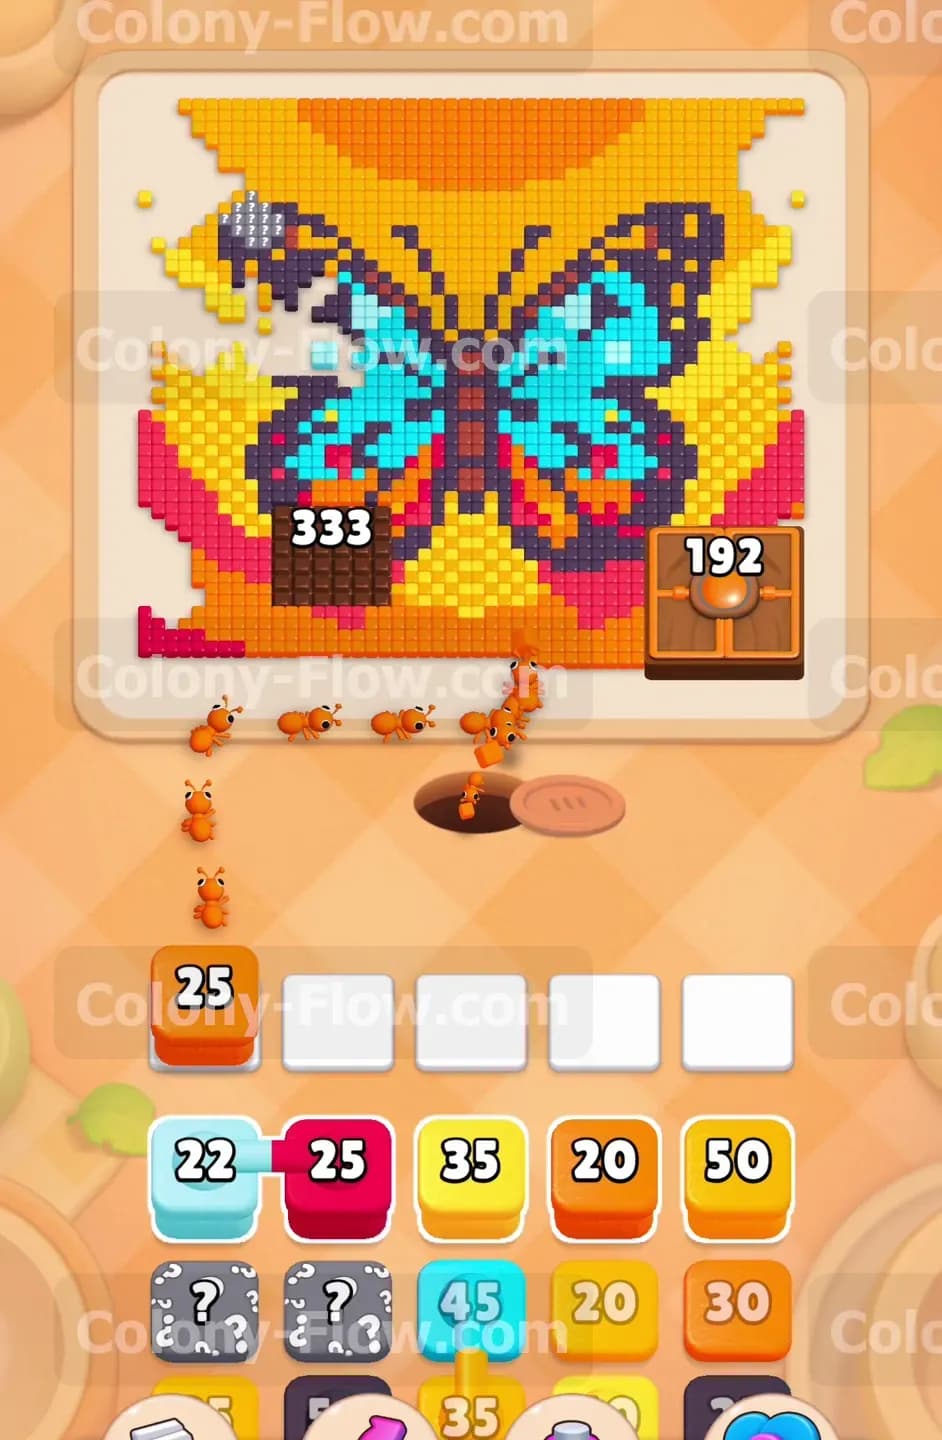
Once the yellow areas start shrinking you will notice orange tiles becoming fully accessible. These orange sections frame the bottom and top of the butterfly wings. Pull the orange blocks up into your waiting slots next. The orange ants will stream out and target the background areas surrounding the lower wings. This action opens up more vital pathways toward the center of the board. Exposing the outer edges of the butterfly wings is critical for your next sequence of moves. The orange and yellow ants will work simultaneously for a short time. Allow the ants to clear these colors completely before you move on to the more complex blocks waiting in your tray.
Step 3: Play your first set of connected boxes very carefully.
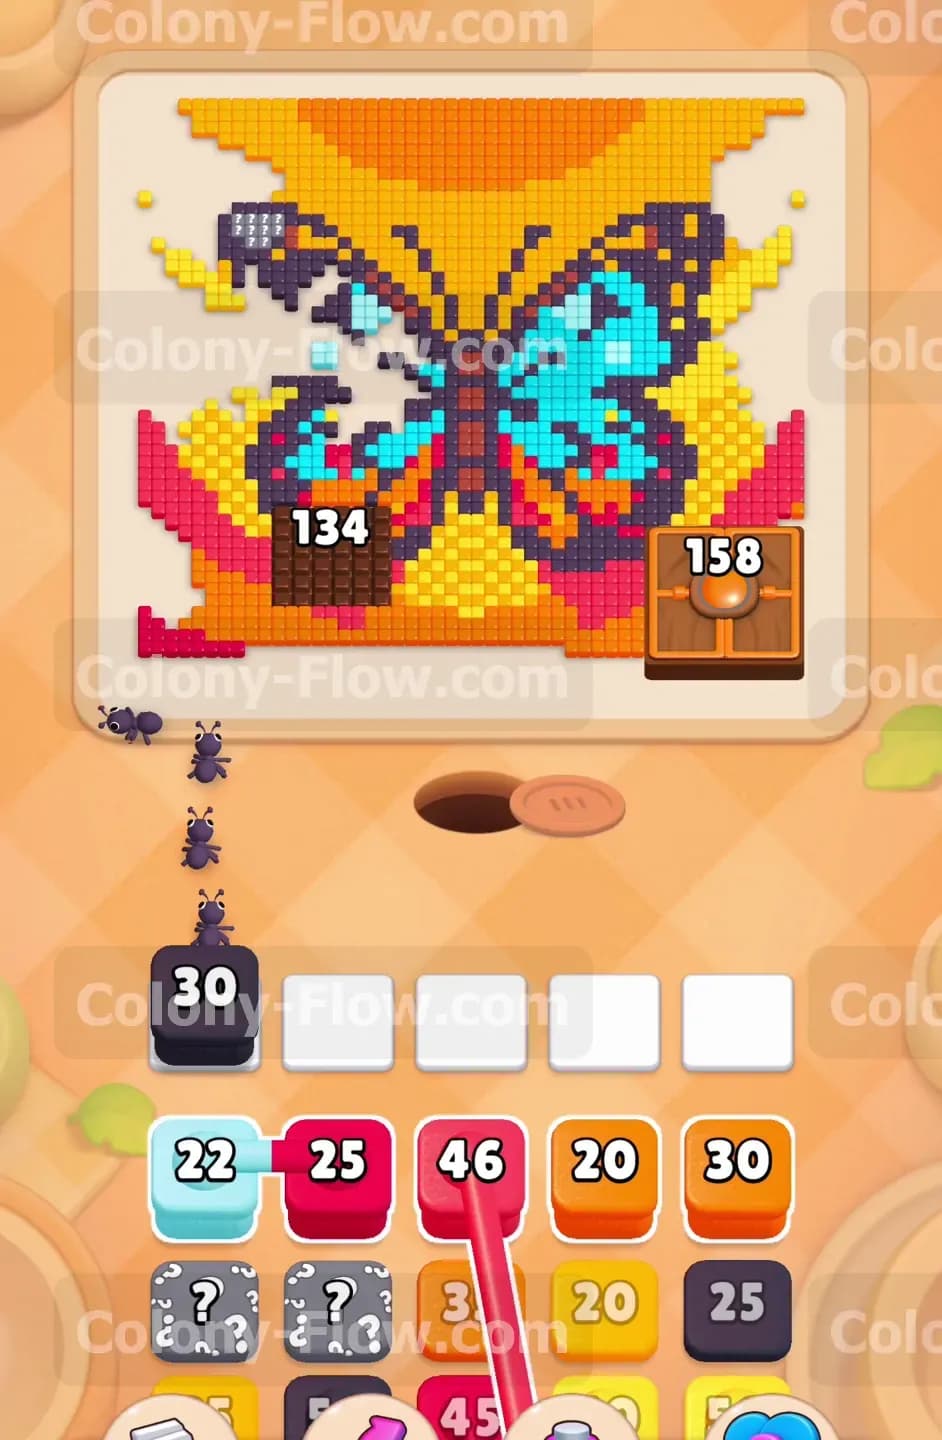
Look at your tray and you will notice blocks linked together by thick pink lines. The game calls these connected boxes. When you pull one part of a connected box into a waiting slot the attached box comes right along with it. This mechanic instantly consumes two of your five precious slots. Make absolutely sure you have open paths for both colors before you commit to this move. Pull the connected yellow and red blocks into the active area now. The yellow and red ants will divide their attention and march toward their separate targets. Managing connected boxes requires patience because they restrict your available space. Let the ants finish their routes to free up those slots again.
Step 4: Reveal the hidden boxes safely when you have empty slots.
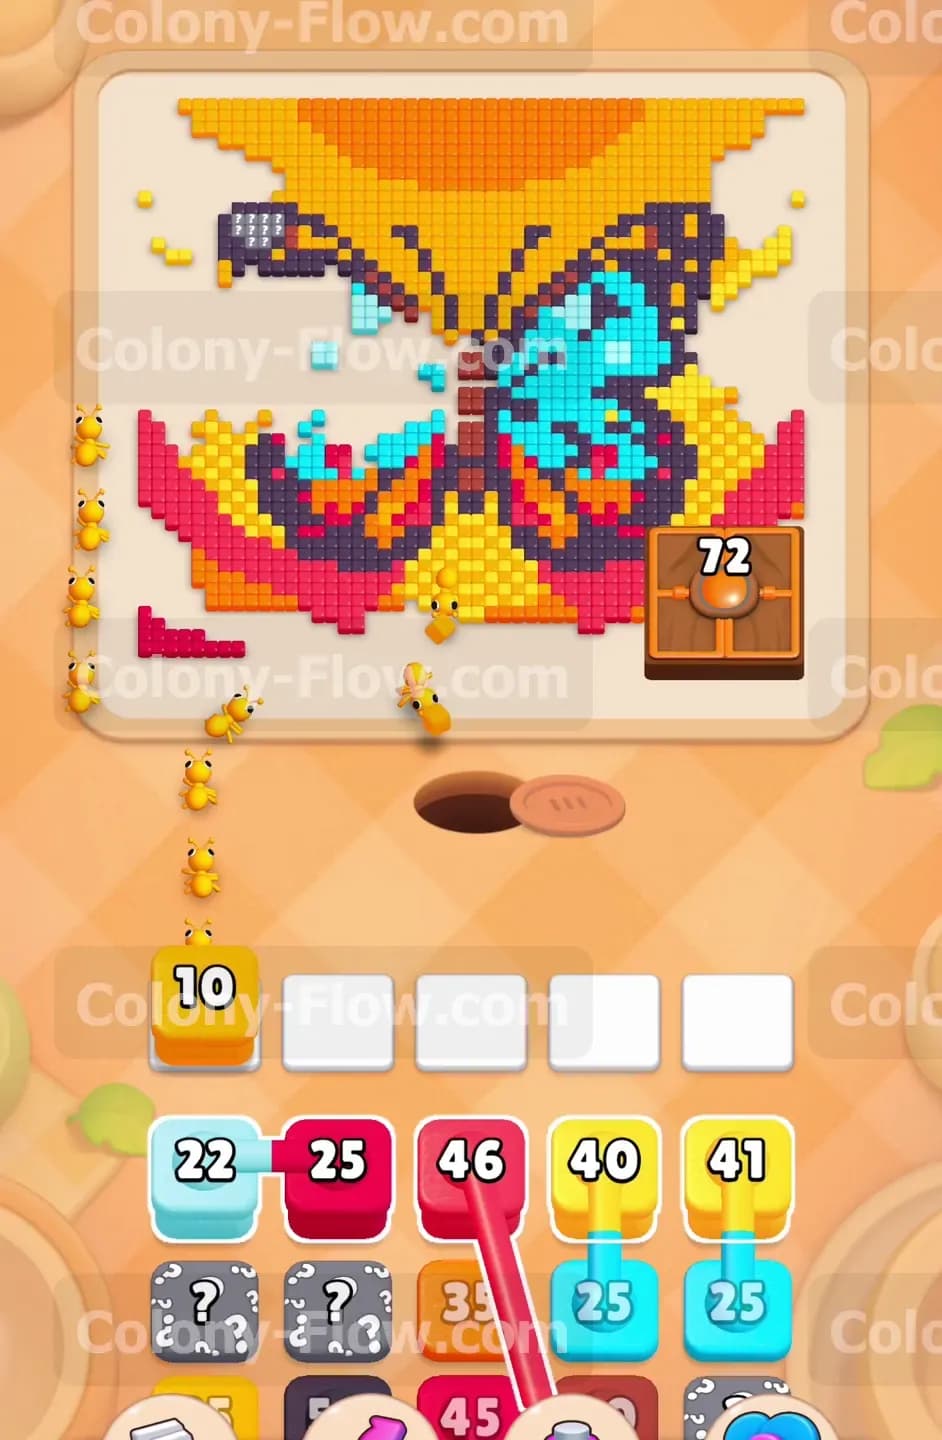
Clearing the top row of your tray exposes the hidden boxes sitting in the rows below. These specific boxes display a large question mark and hide their true color from you. You take a calculated risk when you move them to the waiting slots. Always ensure you have at least three completely empty slots before pulling any hidden box. When you pull it the box flips over and reveals its actual color. It might turn out to be cyan or it might be red. If the path for that newly revealed color happens to be blocked the box will sit dead in your slot. This creates a dangerous bottleneck that can easily end your game early. Pull the hidden boxes one by one to maintain absolute control over the board.
Step 5: Target the dark blue butterfly outlines to break the barriers.
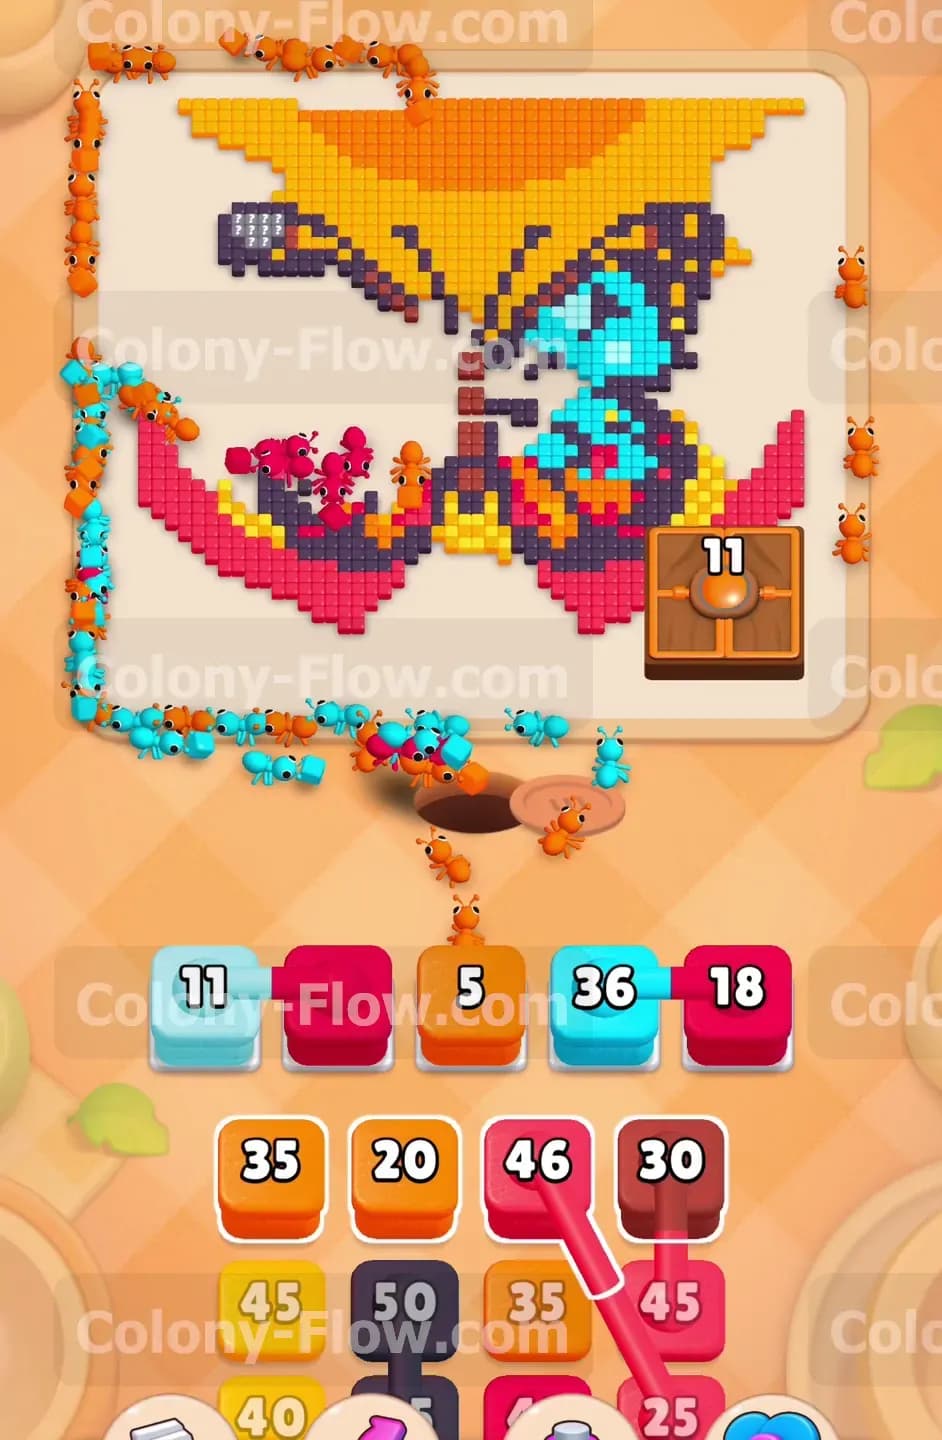
The dark blue tiles form the thick bold outline of the entire butterfly shape. These tiles act as a solid barrier blocking the colorful inner wing sections. Pull the dark blue blocks from your tray into the waiting slots. The dark blue ants will march out and systematically dismantle the wing borders. Breaking these borders is essential for reaching the cyan and red tiles trapped inside. The dark blue numbers in your tray are quite high so the ants will flow for a very long time. Watch the shape of the butterfly change as the heavy outlines vanish. This step transitions you from clearing the background to attacking the main subject of the puzzle.
Step 6: Deploy cyan blocks for the massive inner wing sections.
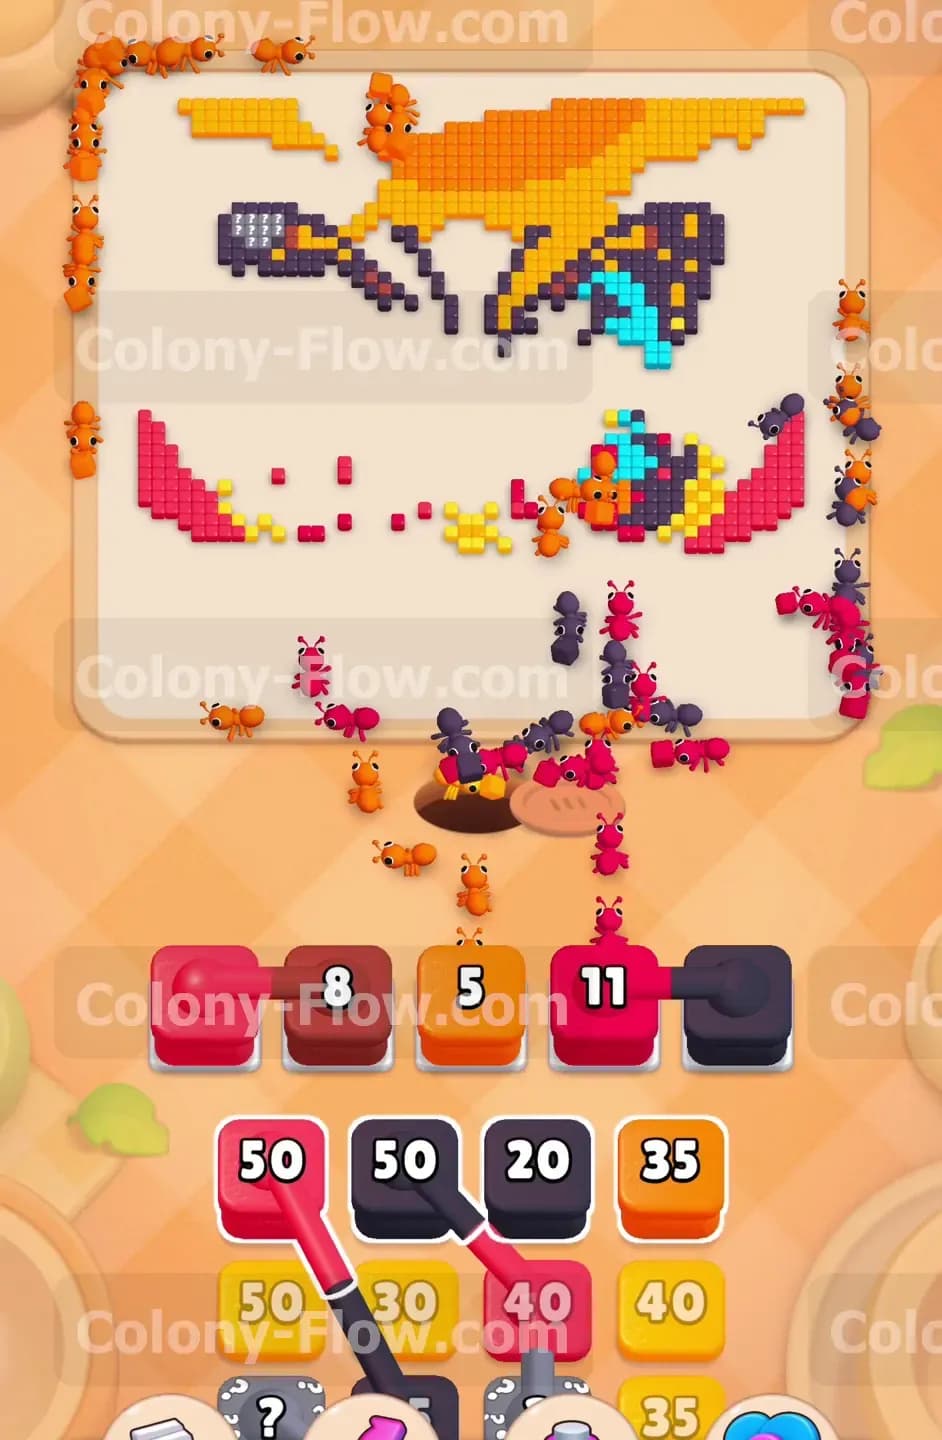
With the dark blue borders broken you finally have direct access to the bright cyan wing sections. Pull the high value cyan blocks into your waiting slots right now. A massive swarm of cyan ants will cover the board and rapidly eat away the bright blue wing interiors. Your tray will start looking much emptier at this specific stage of the game. Keep matching cyan blocks until the main wing bodies completely disappear from the screen. The cyan sections hold very large numbers so you will need multiple blocks to finish the job. Ensure the ants have a clear run straight to the wings so they do not block other colors trying to exit the nest hole.
Step 7: Clear the complex red wing accents using connected blocks.
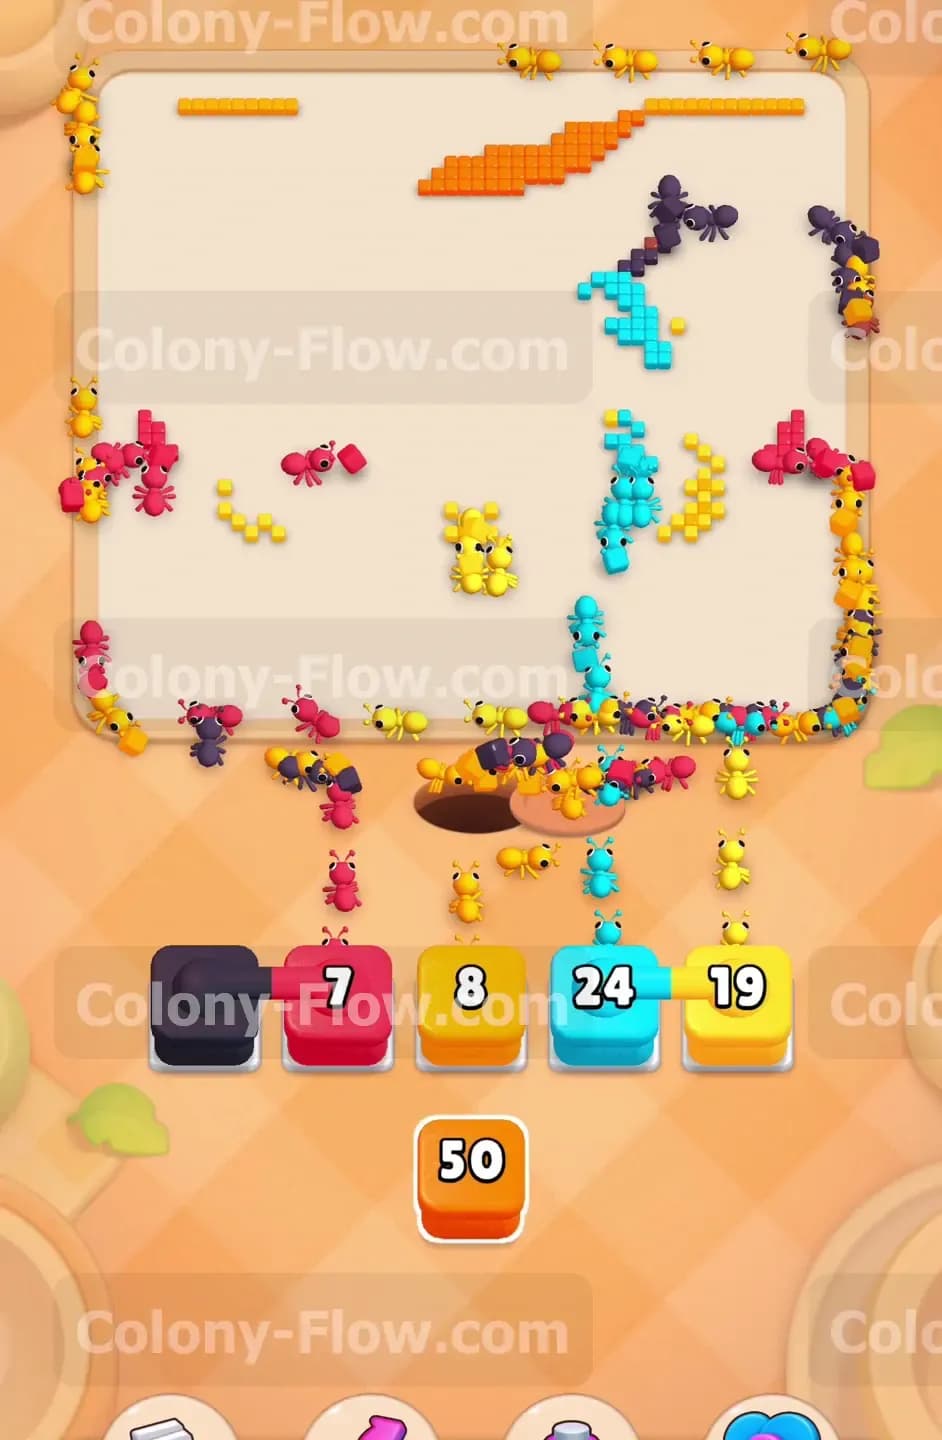
The butterfly features intricate red patterns embedded deep inside the cyan wings. Some of these red tiles require the heavy connected red blocks resting near the bottom of your tray. Pull these remaining red blocks into play carefully. The red ants will sweep through the delicate patterns and clear the remaining red spots. Your waiting slots should remain mostly empty during this phase because the paths are wide open across the entire board. You have plenty of room for the ants to maneuver around each other. Just watch the numbers count down and enjoy the satisfying visual of the red sections disappearing.
Step 8: Clean up the final scattered pieces to finish the puzzle.
The board now holds only a few stray tiles of various colors scattered around the edges. You will see tiny isolated patches of yellow, orange, and dark blue left behind. Look closely at your nearly empty tray and pull the exact colors you need for these final targets. The remaining ants will quickly mop up these last few pieces. The entire picture vanishes completely leaving a blank board behind. You successfully managed the slots handled the hidden boxes and cleared the connected blocks. The victory screen appears and you finish the puzzle.
Final Thought
This puzzle tests your ability to plan ahead and keep your waiting slots clear. Take your time with the hidden boxes and always verify your paths before you pull a block. Please watch the video above this article if any step is hard to follow in text. Good luck with the next puzzle.