Colony Flow Level 134 Walkthrough Solution & Guides | How to solve Colony Flow 134

Guide By Liam Stone
Updated on July 11, 2026
If you'd rather see it than read it, the video above walks through Level 134 from start to finish.
Video doesn't match your screen?
Game updates frequently scramble layouts! Try our AI Screenshot Solver first to find your exact board instantly, or report broken guides to our team.
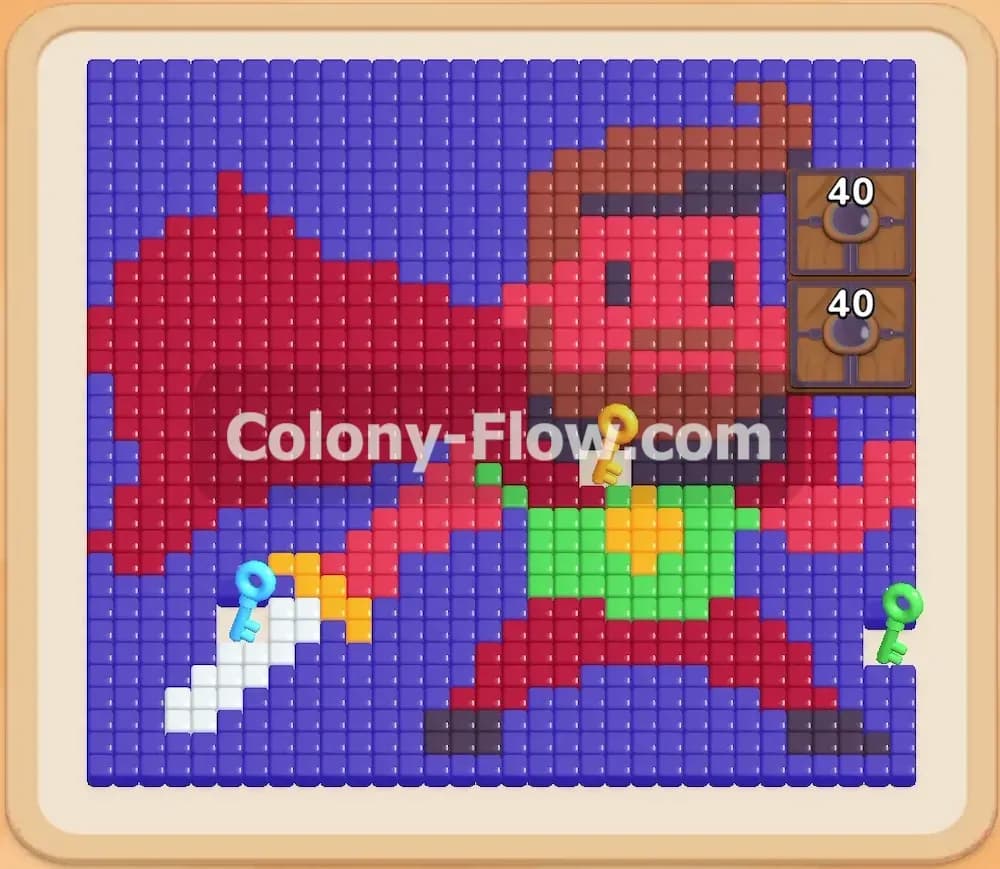
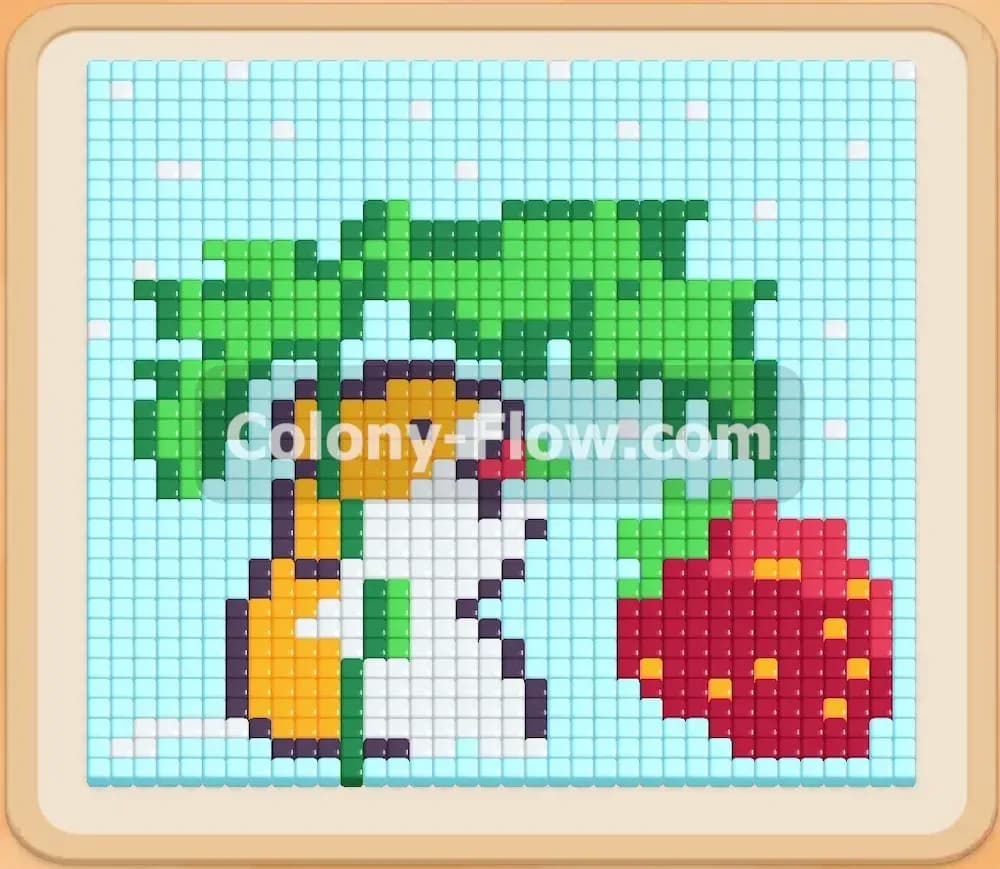
Welcome to another puzzle guide. Colony Flow Level 134 features a highly detailed pixel art picture of a cute hamster holding a giant green leaf umbrella next to a bright red strawberry. I play every single level myself to find the safest route through the board and I am here to share my exact strategy with you. The rules of this game require careful planning because your space is extremely limited. You only have five waiting slots at the bottom of your screen to hold your colored blocks. If you fill all five slots and the ants have nowhere to go you instantly lose the level. We will completely avoid that frustrating scenario by keeping our pathways open and feeding the colony exactly what they need.
Colony Flow Level 134 Overview
What You Are Working With
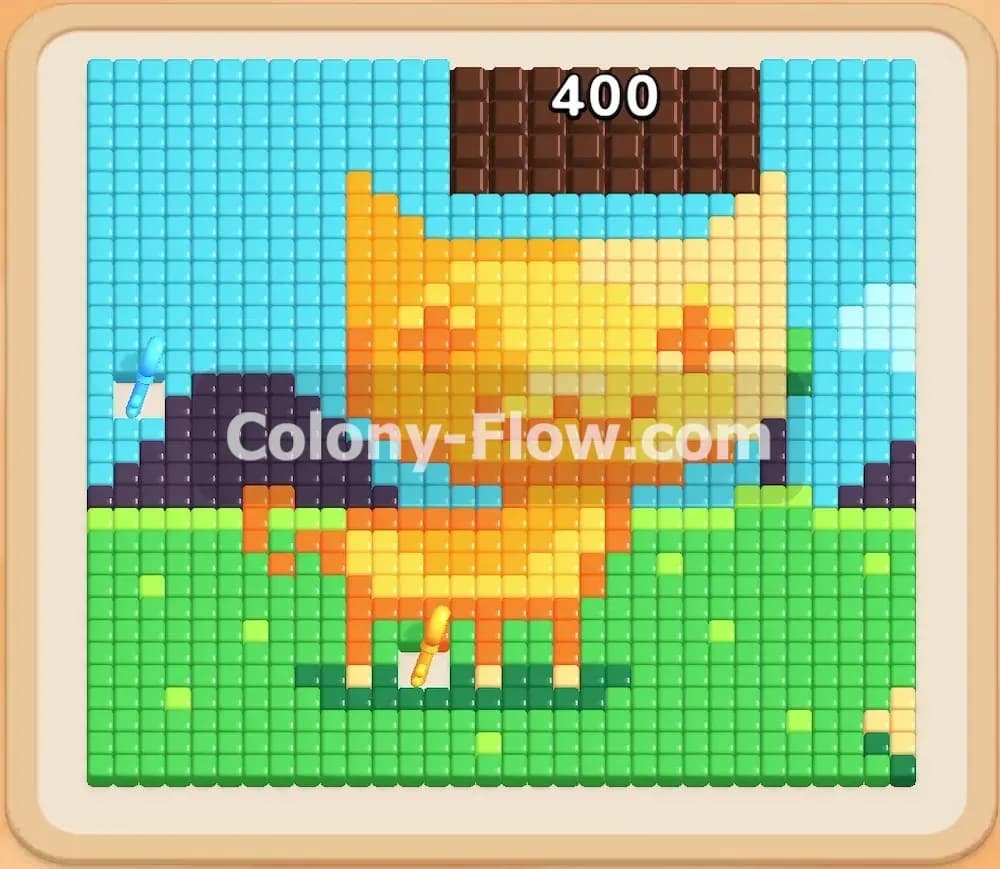
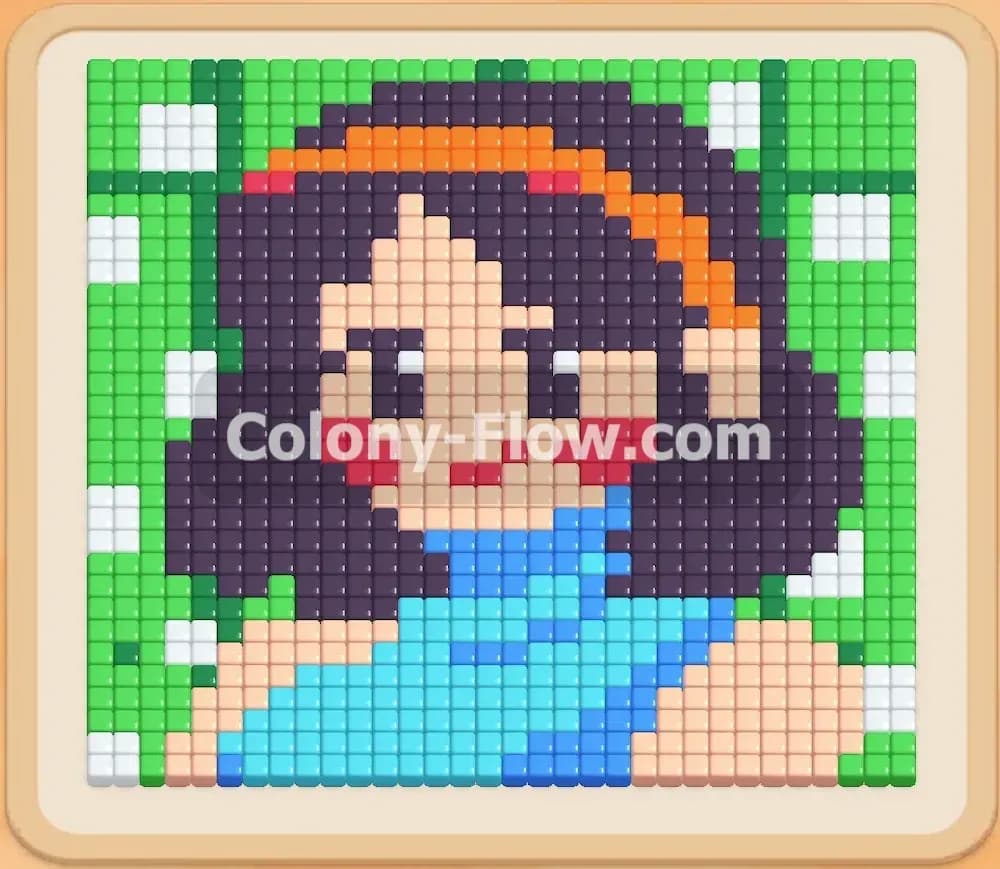
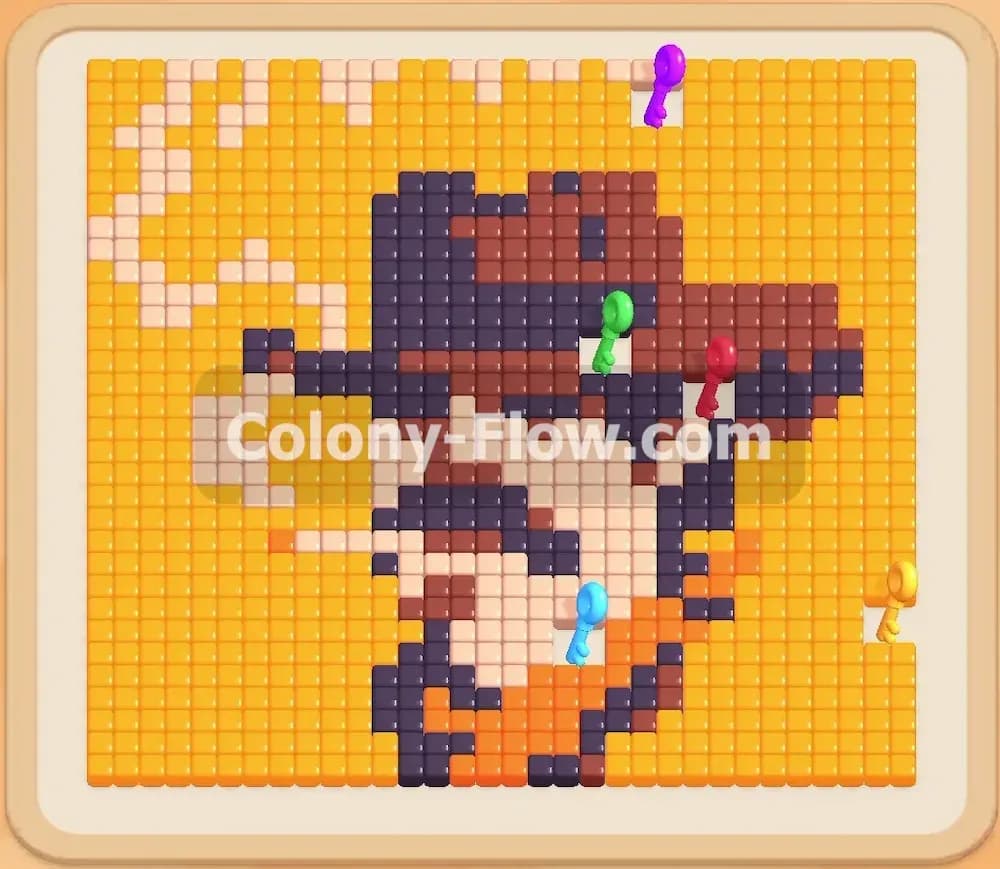
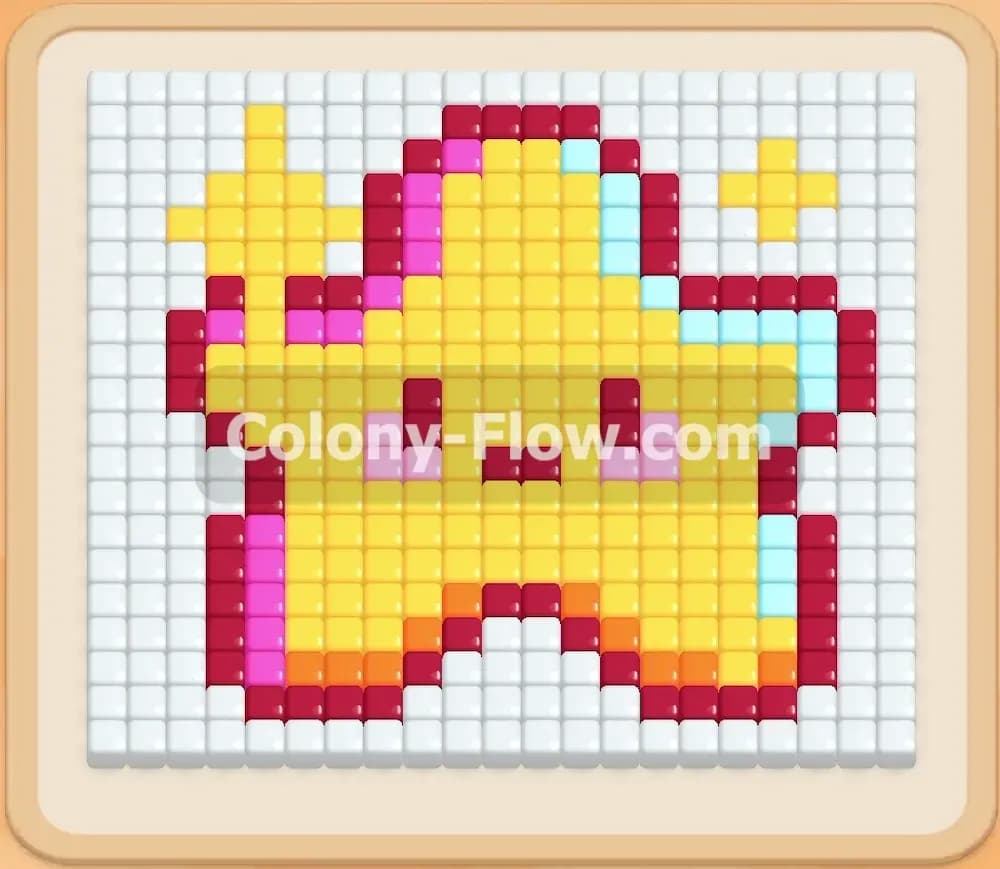
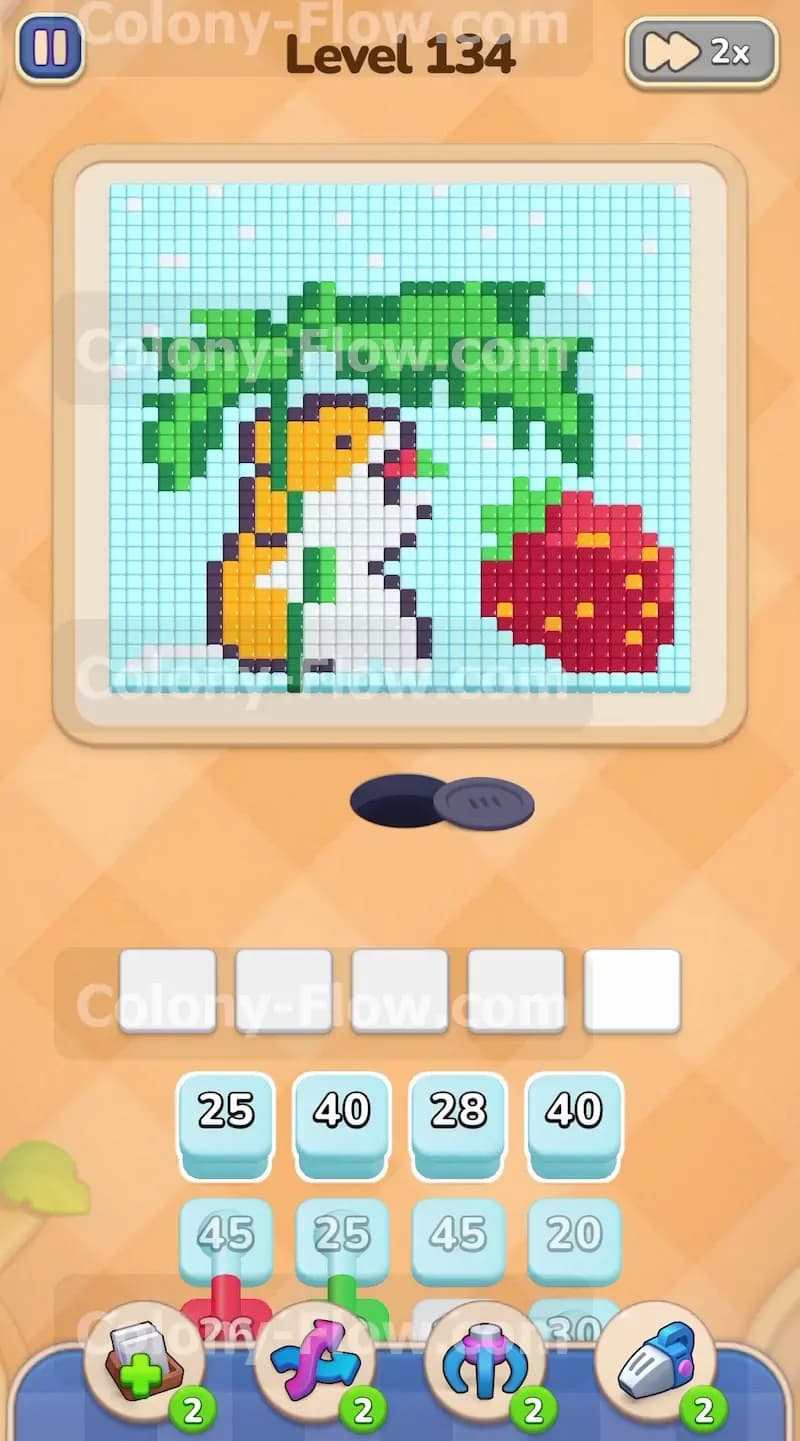
The picture at the top of your screen contains a massive light blue background that surrounds the entire scene. In the center you have the green leaf umbrella stretching across the board. The hamster is made up of orange and white tiles with a thin dark grey outline holding the shape together. The strawberry on the right side uses red and dark red tiles with a few tiny yellow seeds scattered around. Your tray at the bottom holds all the colored numbered blocks you need to clear these tiles. Many of the blocks in your tray are connected boxes. These blocks are linked together by thick lines and they move as a group when you tap them. You must manage these connected groups carefully so they do not jam your waiting slots.
What It Takes to Clear Level 134 Board
Clearing this board requires a systematic approach from the outside moving inward. You cannot reach the white belly of the hamster or the dark red shadows of the strawberry until you peel away the outer layers. The massive light blue sky blocks almost everything at the beginning. You have to send your ants to eat away those outer boundary tiles first. Once the outer edges vanish the inner colors become exposed. The biggest challenge is making sure you never trap a color in your waiting slots. You must always verify that an open path exists on the board before you pull a block from the tray. If you keep the ants actively chewing on the picture your slots will empty out and you will win the level smoothly.
Colony Flow Level 134 Step by Step Solution
Step 1: Open the outer light blue background to get the ants moving.
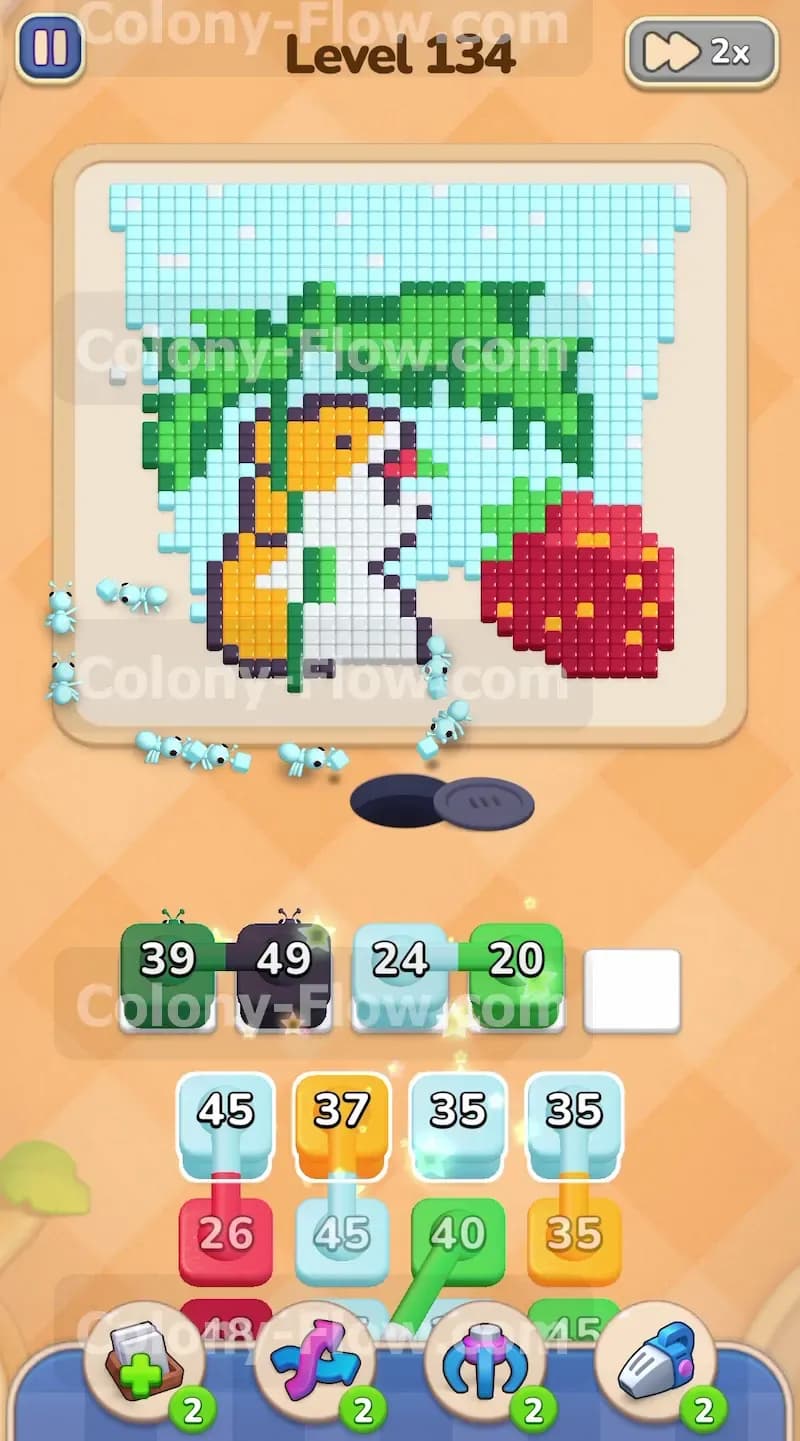
You need to get your colony working right away so you do not waste any time. Tap the large light blue blocks in your tray that are not trapped behind other connected chains. The ants will stream out of the nest hole and begin marching up the far left and right sides of the board to eat the sky tiles. You want to pull at least two light blue blocks into your waiting area to keep a steady flow of bugs moving. Watch the numbers on the blocks count down as the ants consume the tiles. Keeping the light blue path active is your primary goal right now because it clears massive amounts of space around the central image.
Step 2: Attack the green leaf canopy and the dark grey hamster outline.
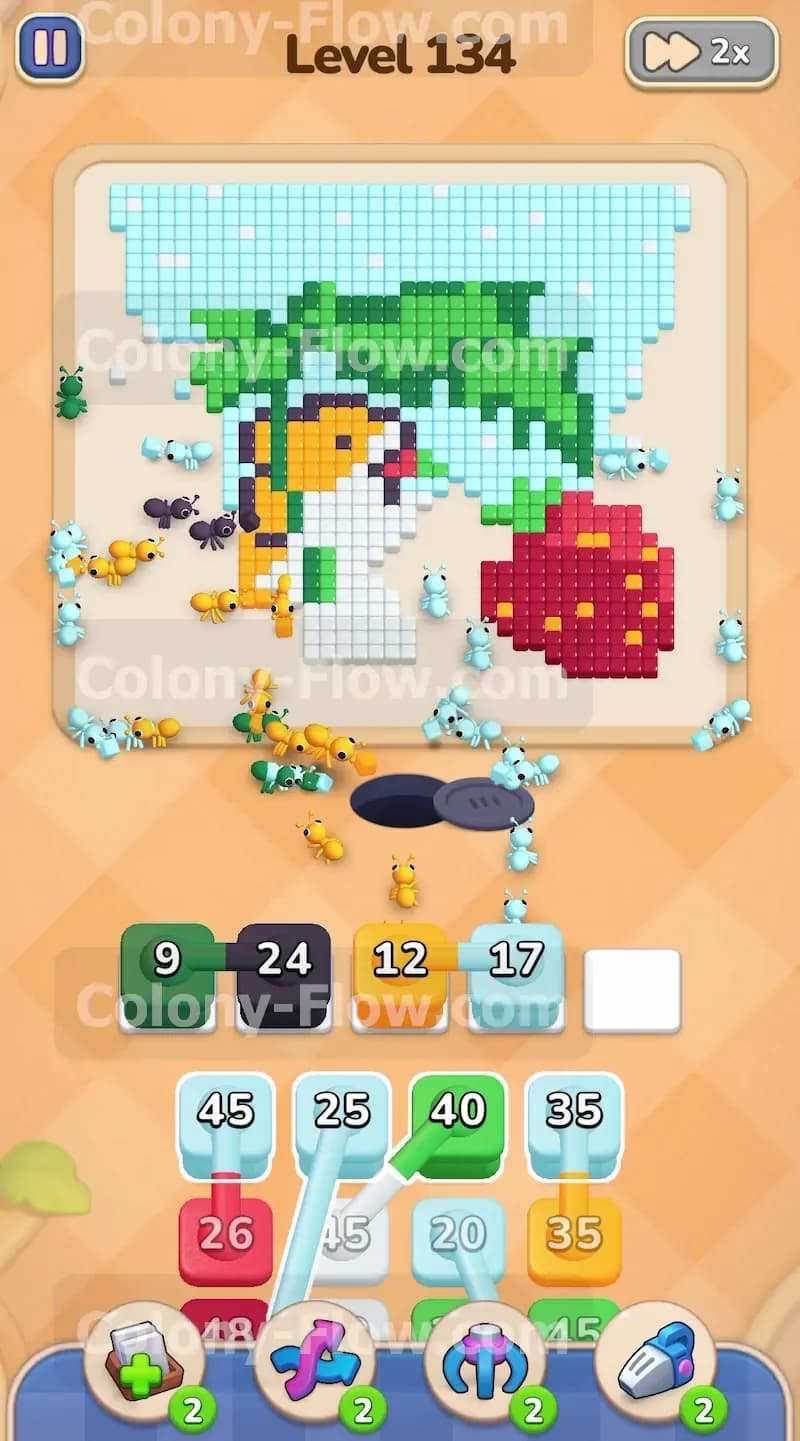
As the light blue ants clear the sides of the board the edges of the green leaf and the dark grey outline become fully exposed. Pull a green block and a dark grey block into your open waiting slots. The ants will split up and head toward their matching colors. The green ants will begin chewing on the outer tips of the leaf umbrella. The dark grey ants will trace the edge of the hamster body and remove the boundary lines. You will have three different colors active in your waiting slots at this moment. This is perfectly safe as long as the numbers on all the blocks are actively dropping.
Step 3: Clear the bright orange hamster fur as the outline disappears.
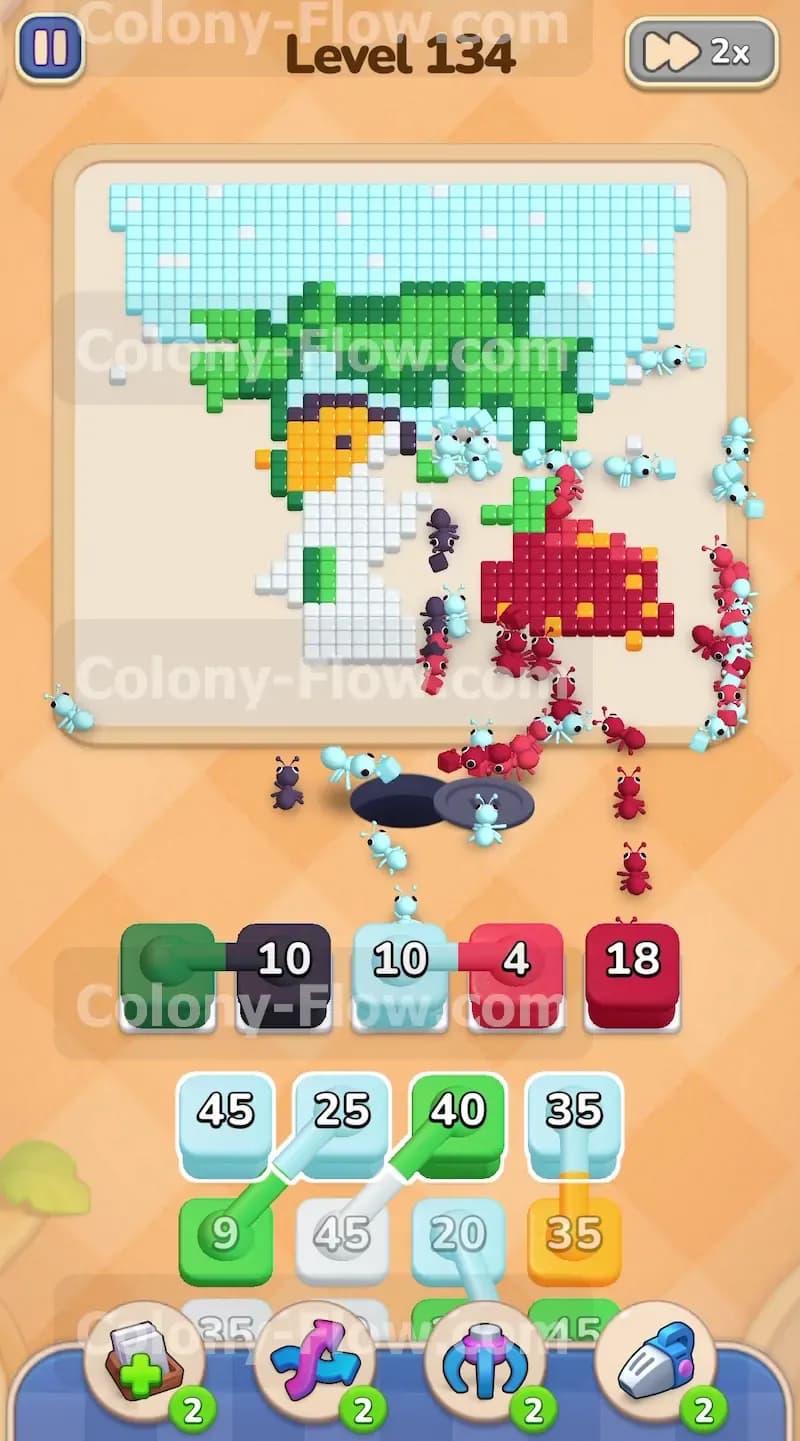
With the dark grey outline gone the orange tiles of the hamster are completely open to attack. Look in your tray for the loose orange blocks or a connected chain that starts with an orange block. Tap the orange block to send a fresh wave of ants into the center of the picture. They will start devouring the head and back of the hamster. You should still have green blocks active in your slots clearing the massive leaf above the hamster. Keeping the green path and the orange path busy at the same time ensures your waiting area stays fluid. Never pull a new block until you see an empty space open up in your tray.
Step 4: Bring in the red blocks to dissolve the main body of the strawberry.
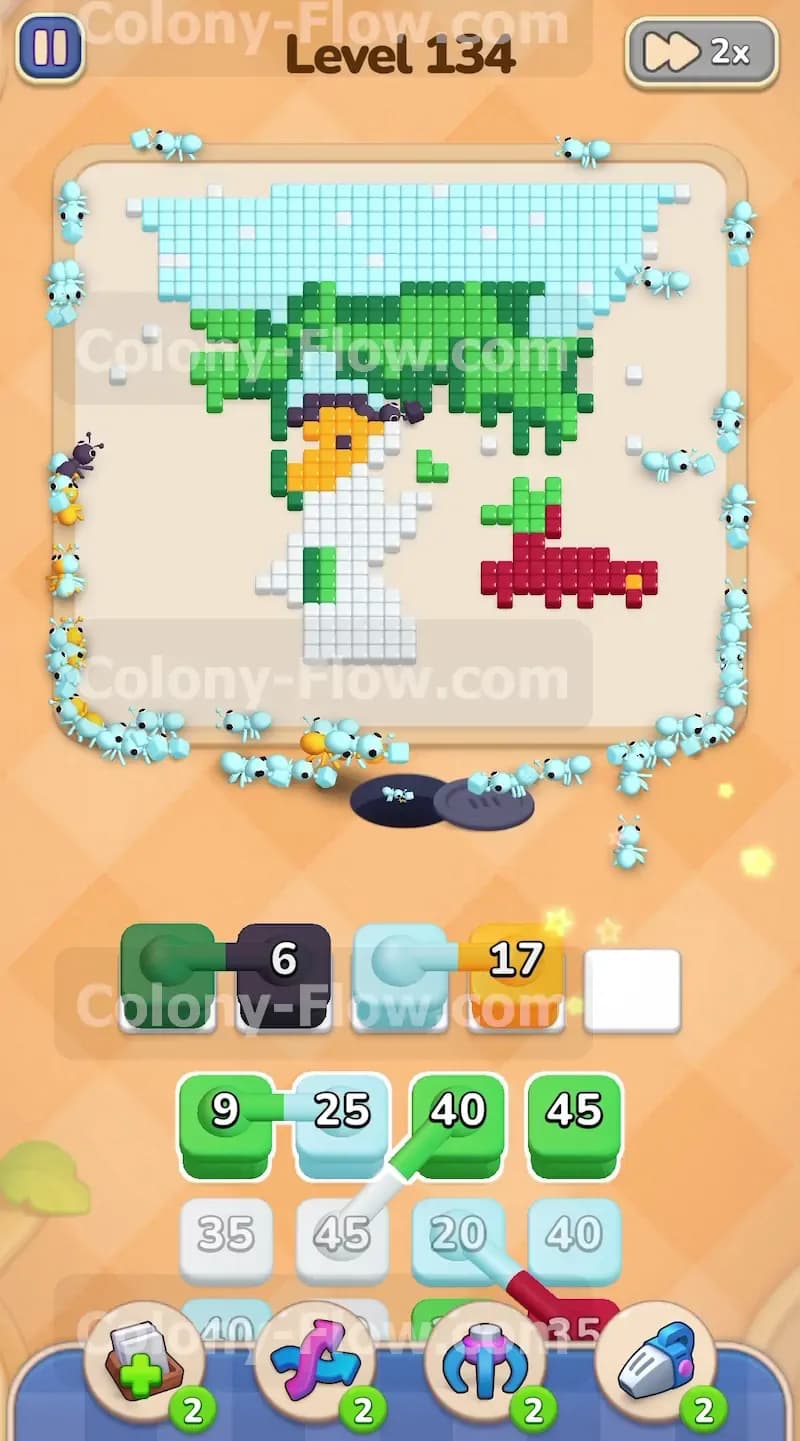
The right side of the board is now mostly clear of the light blue sky and the red strawberry is ready for your ants. Tap a bright red block from your tray and watch the bugs swarm the fruit. The strawberry contains a large cluster of tiles so the red numbers in your waiting slots will drop very rapidly. The ants work fast when the tiles are grouped closely together. You might also notice a few yellow tiles for the strawberry seeds and the hamster cheek. Pull the small yellow blocks into your slots now since they only take a few ants to clear. They will vanish almost instantly and give you your slot back.
Step 5: Manage the connected dark red boxes to clear the fruit shadow.
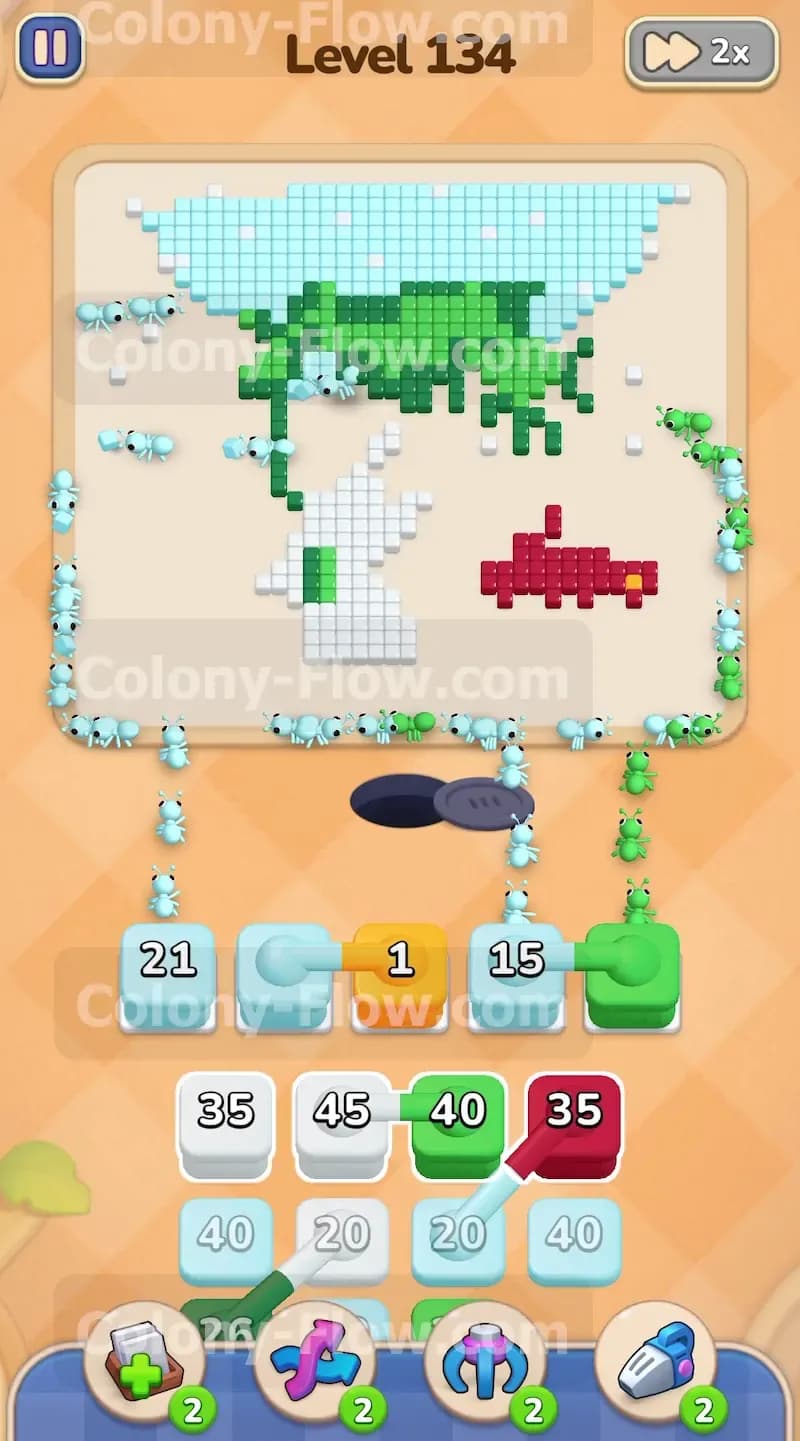
The bottom edge of the strawberry features dark red tiles that create a shadow effect. In your tray you will find a dark red block that is part of a connected chain. You must ensure you have enough empty waiting slots before you pull this chain. Wait until your red and orange blocks finish their work and vanish from the slots. Once you have the space tap the connected dark red group. The ants will rush the bottom of the strawberry and eat the shadowed tiles. Because you waited for the path to open the block will not get stuck in your tray and the ants will clear it effortlessly.
Step 6: Flood the board with ants to clear the white hamster belly.
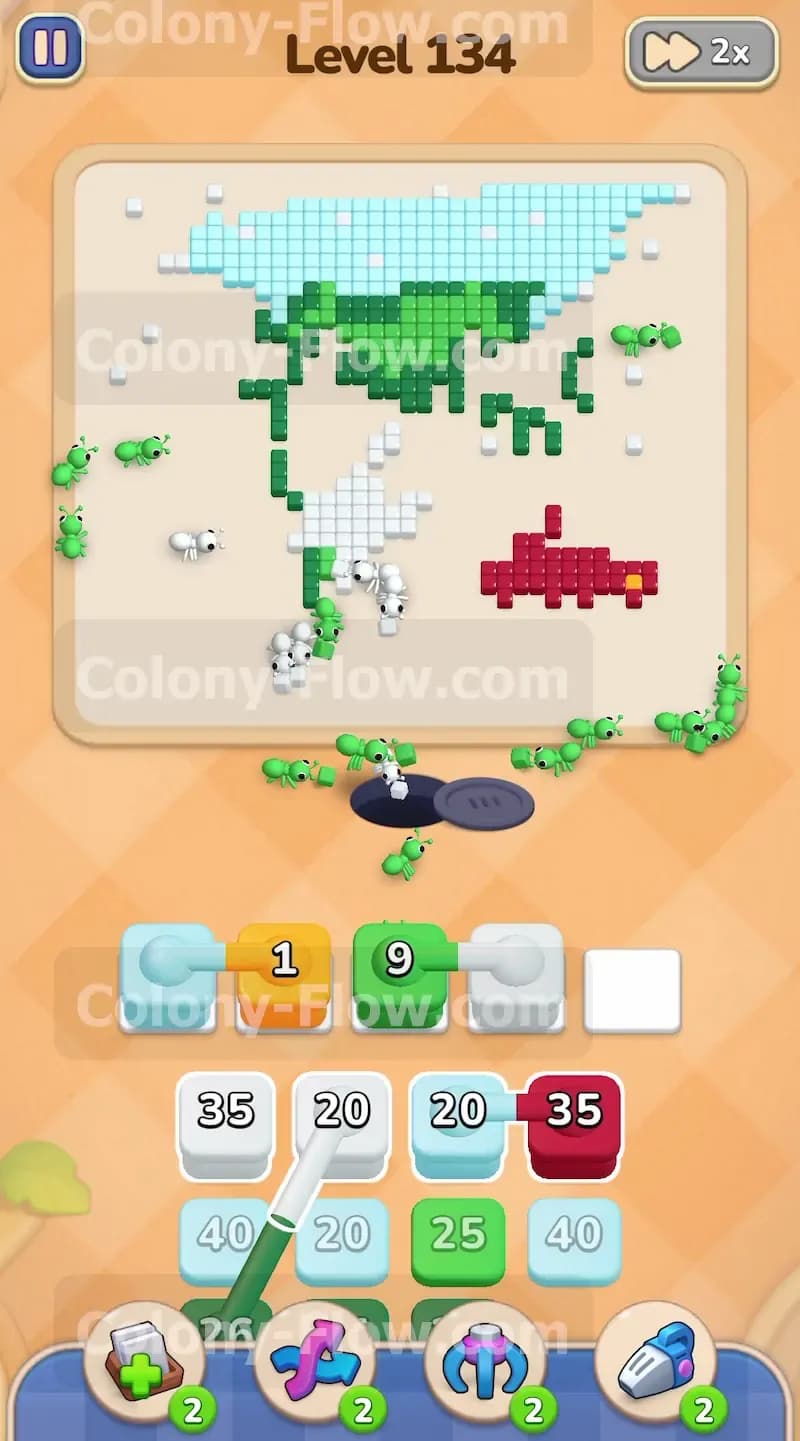
The entire center of the picture is now exposed and all that remains of the hamster is a large dense block of white tiles. Your tray will have several high numbered white blocks waiting for you. Tap these white blocks to release a massive colony of ants directly into the middle of the board. The white tiles are packed tightly together which allows the ants to clear them out incredibly fast. You can pull multiple white blocks at the same time to speed up the process. Just keep an eye on your slots and make sure the numbers keep dropping toward zero.
Step 7: Peel away the final stubborn green leaf tiles.
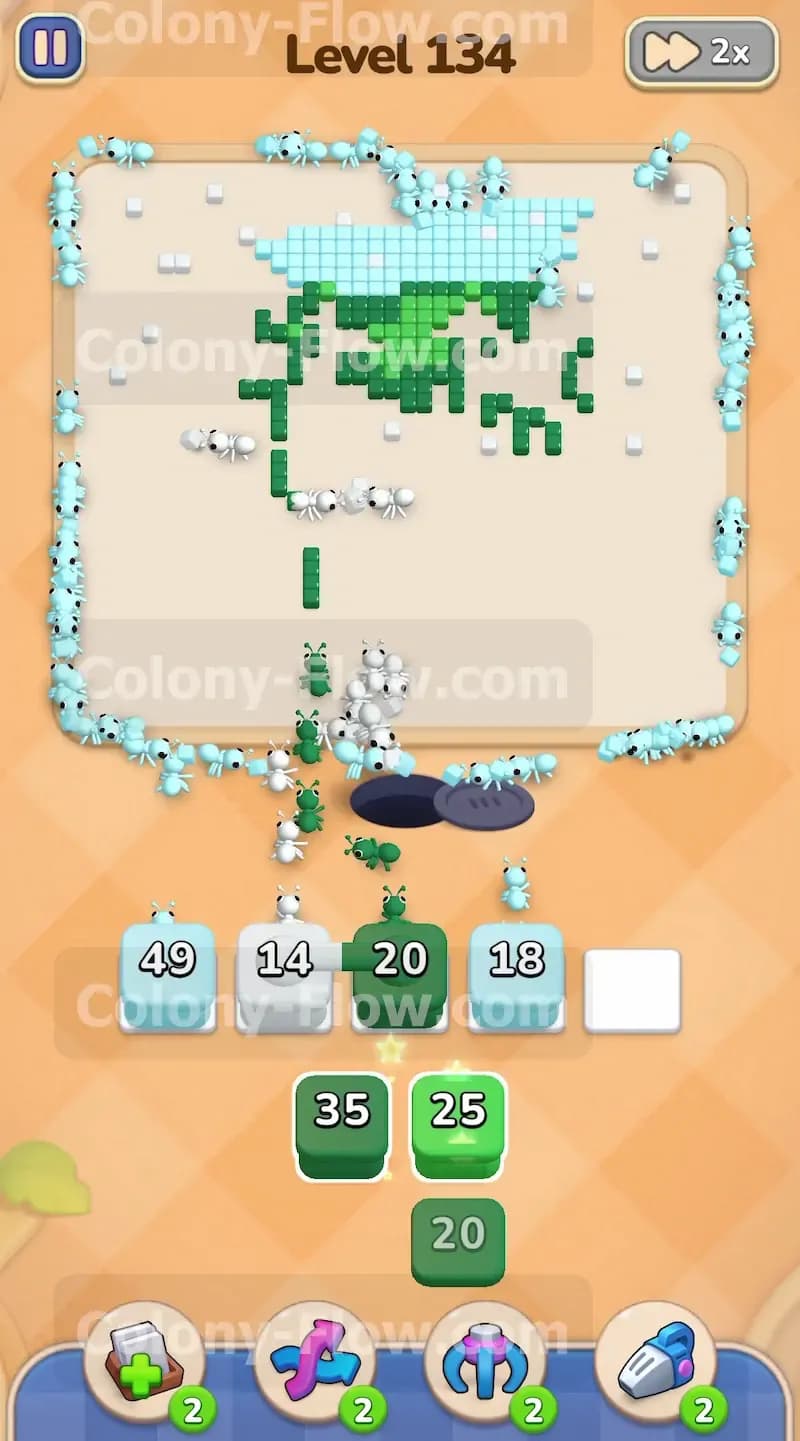
While the white ants are busy on the hamster belly you need to finish off the umbrella. The green leaf stretches far across the top of the board and requires several blocks to completely remove. Look for any remaining green blocks in your tray and pull them into your open slots. The ants will climb all the way to the top of the stem and clear the last remaining canopy tiles. This step requires a bit of patience as the ants have to travel a long distance from the nest hole to reach the top of the picture. Just let them march and watch the green numbers tick down.
Step 8: Clean up the absolute final edges of the light blue sky.
You are now at the very end of the puzzle and only a thin border of light blue sky remains at the top edge of the board. Your tray will only contain a few massive light blue blocks. Tap the final blocks to send your colony on their longest journey yet. The ants will form a long single file line wrapping around the empty space to reach those distant edge tiles. You have plenty of empty waiting slots now so there is zero risk of losing the game. Sit back and watch the ants finish their meal. The last tile will vanish and the board will be completely clean.
Final Thought
Beating this board requires you to carefully balance the outer background tiles with the detailed inner picture. You always have to respect the five waiting slots and never pull a block unless you know the ants have an open road to travel. Managing the connected boxes correctly will keep your tray moving smoothly from start to finish. If you find any of these movements confusing in text form please scroll up and watch the video gameplay above this article to see exactly how I executed every single move.