Colony Flow Level 72 Walkthrough Solution & Guides | How to solve Colony Flow 72

Guide By Liam Stone
Updated on July 11, 2026
Skip the article and watch the video above instead. It covers every move you need for Level 72.
Video doesn't match your screen?
Game updates frequently scramble layouts! Try our AI Screenshot Solver first to find your exact board instantly, or report broken guides to our team.
Welcome to Colony Flow Level 72. This level presents a massive question mark design that perfectly represents the challenge ahead. You start completely locked out of the main puzzle board by a giant barrier. I play every single level myself to find the best route through the chaos. Here is my exact method to clear the board and keep your waiting slots completely empty.
Colony Flow Level 72 Overview
What You Are Working With
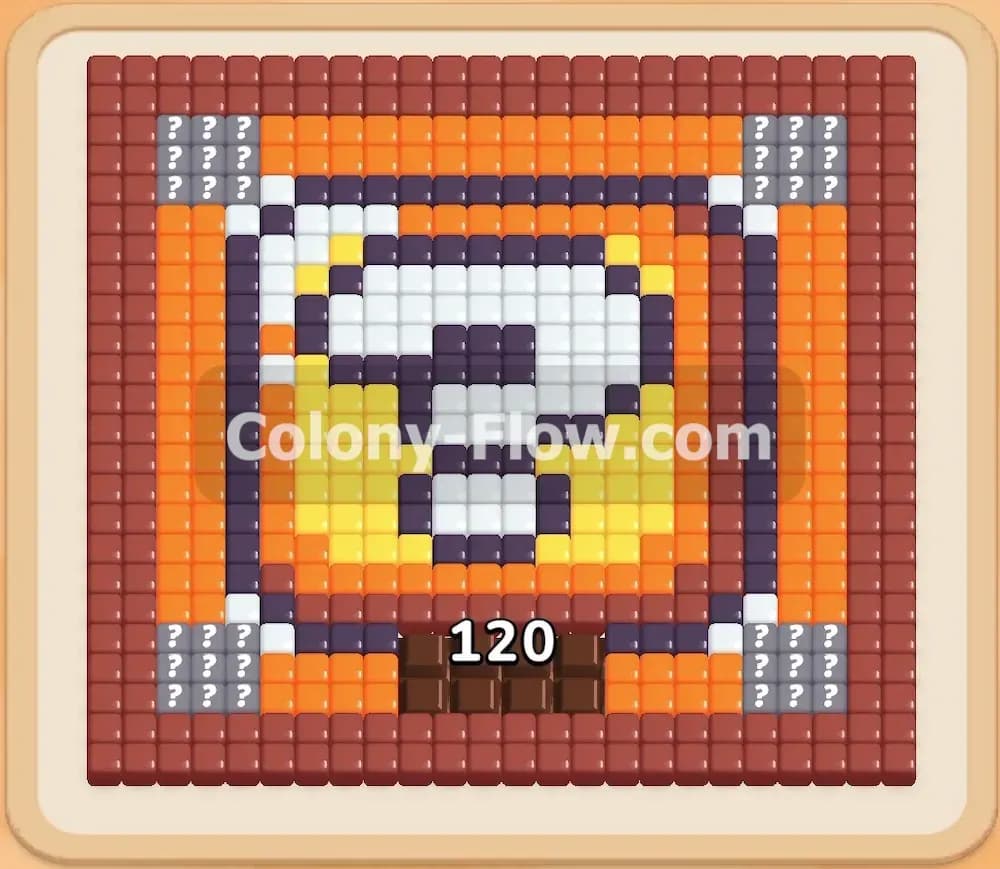
The board features a giant white question mark bordered in thick black tiles. Surrounding this central shape are two thick rings of bright orange and pale yellow tiles. Everything is boxed inside a heavy brown outer wall that frames the entire screen. You also have special tiles to manage before you can even touch the main shape. Right at the bottom center sits a Hungry Door with a massive 120 unit requirement printed on the front. You also have grey Hidden Food tiles sitting in the corners of the board. These Hidden Food tiles remain totally locked and greyed out until you clear the regular tiles directly touching them. Your tray provides high capacity blocks holding up to 26 ants at a time.
What It Takes to Clear Level 72 Board
You must first sacrifice 120 units of ants into the Hungry Door to blast it open. The door blocks the only path onto the board so you have no choice but to feed it. Once the door falls the bottom path opens up. You then systematically chew through the brown border and the central white question mark. The ultimate goal is managing your tray drops so the five waiting slots never overflow while you send ants across the sprawling upper board.
Colony Flow Level 72 Step by Step Solution
Step 1: Start feeding the door to open the main entrance.
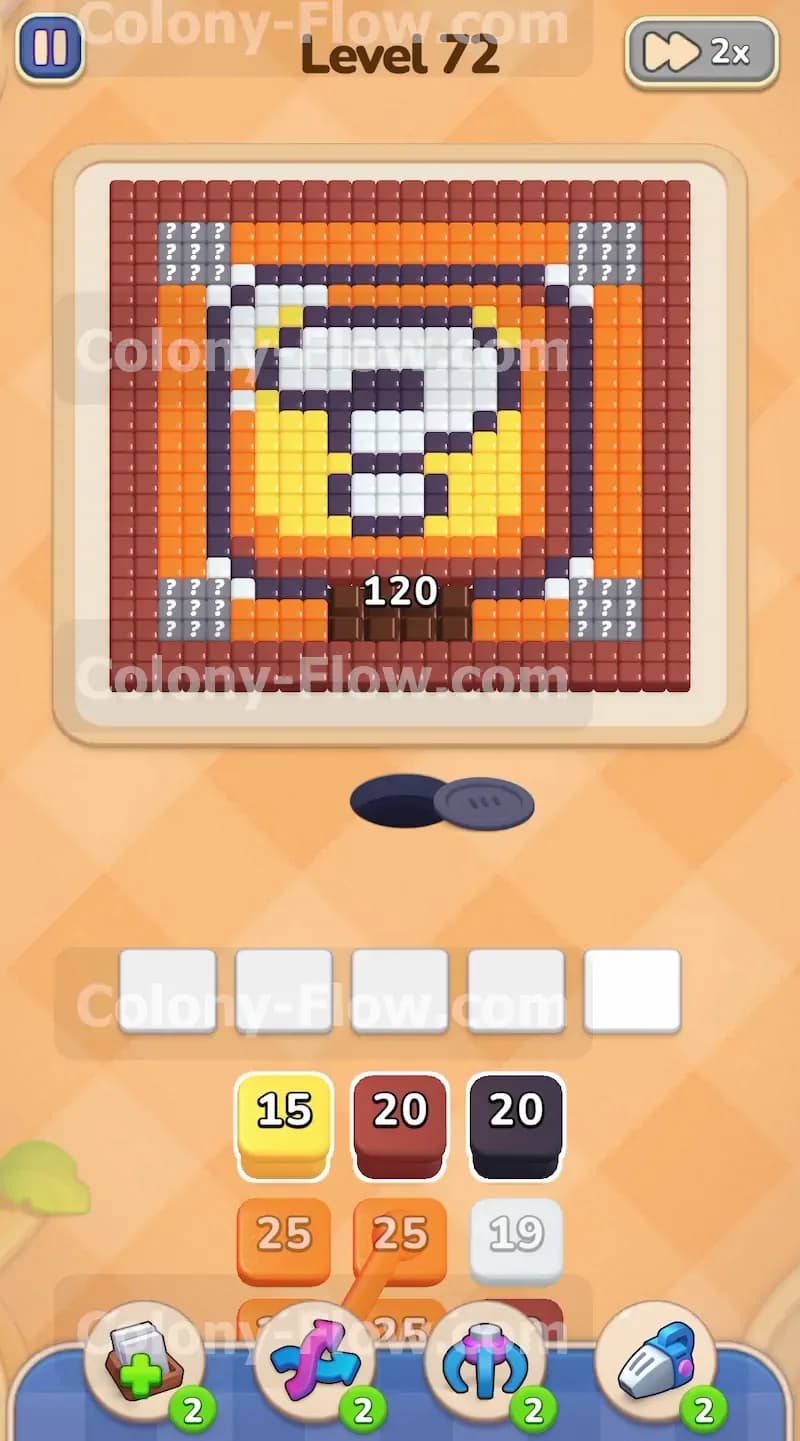
Start your assault on the Hungry Door right away. The door blocks the only path onto the board and demands 120 units of food before it opens. Tap the brown block holding 20 ants and the black block holding 20 ants from the top row of your tray. The door accepts any color of ant you send. The brown and black ants will march straight up and dive into the door. Watch the giant number drop from 120 down to 80. Do not tap any other blocks yet. You must give these first two blocks time to empty out so your five waiting slots stay clear.
Step 2: Add more blocks to break the door down further.
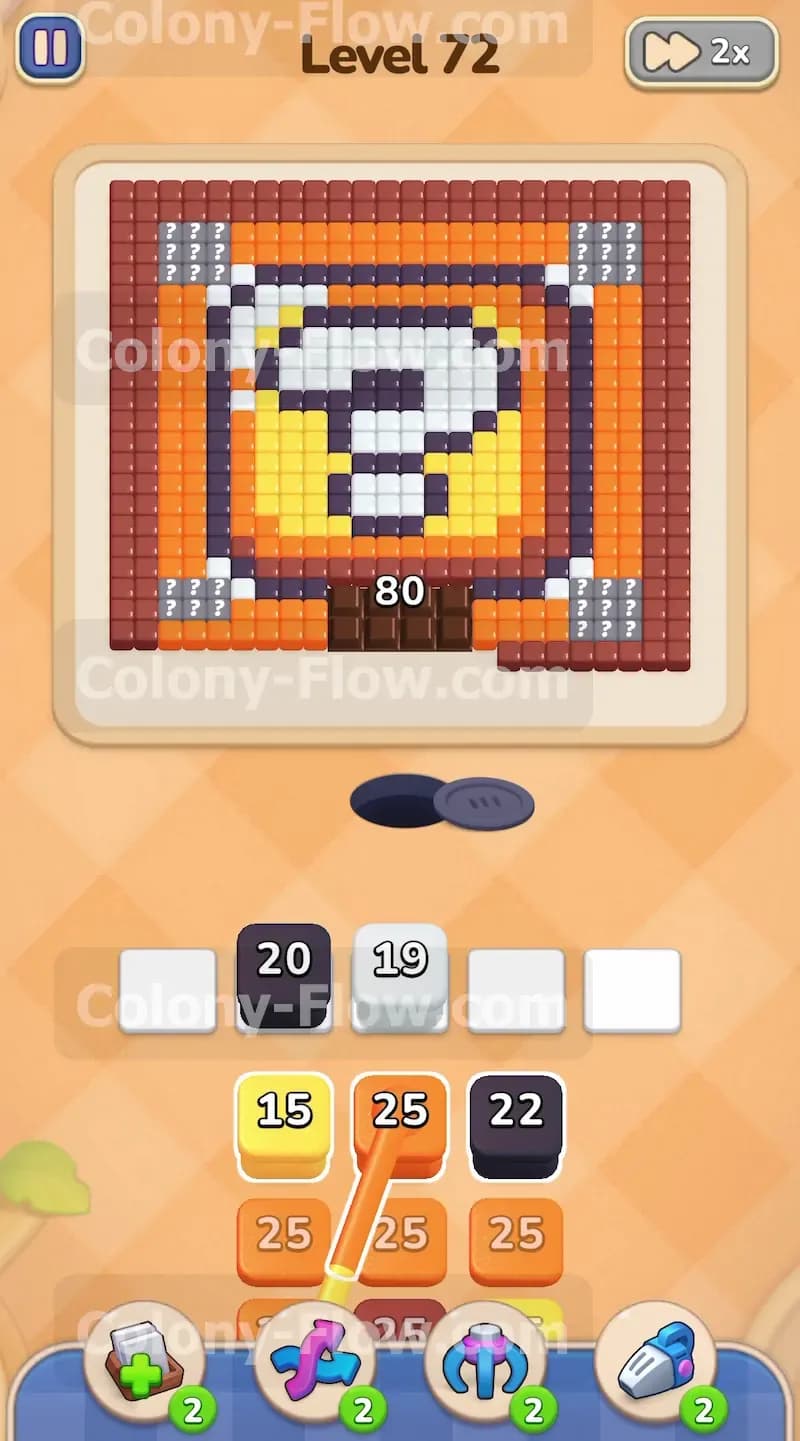
Keep feeding the Hungry Door to break it down further. Tap the orange block holding 25 ants and the white block holding 19 ants. The orange and white ants will stream into the door and drop the counter down rapidly. Pacing your taps is the absolute secret to surviving this opening phase. If you tap too many blocks at once they will stack up in your waiting slots. Since the door can only process ants at a set speed an overfilled tray will cause an instant loss. Wait for the orange block to completely empty before moving forward.
Step 3: Destroy the door and enter the main board.
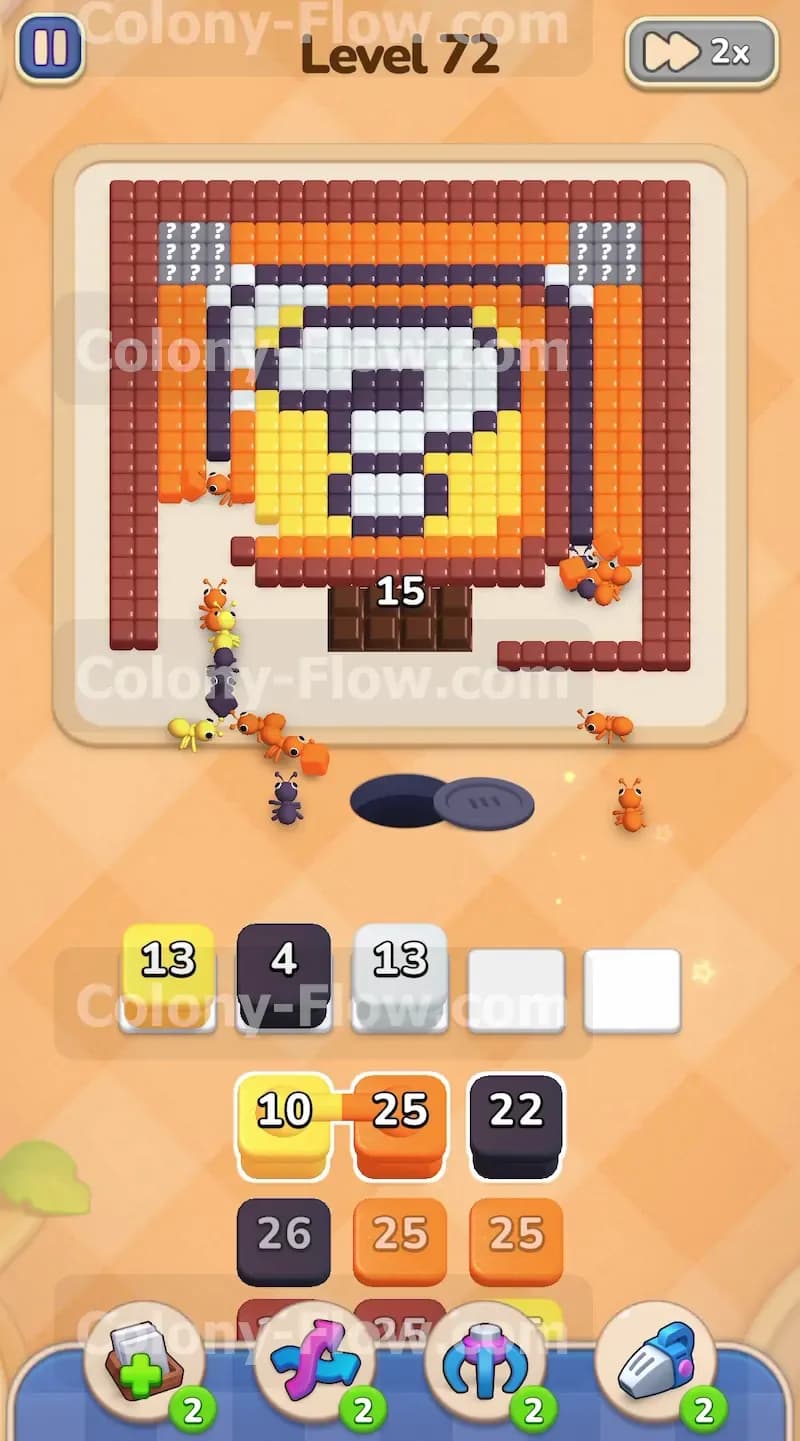
Deliver the final blow to the Hungry Door. Tap a yellow block holding 15 ants and another black block to finish off the remaining number. The door will consume the last few required ants and vanish completely from the board. You finally have access to the main puzzle. The disappearance of the door exposes the bottom center section of the thick brown border. It also opens a path straight up into the bottom stem of the white question mark. Your available paths just multiplied and you can start matching actual colors.
Step 4: Start eating the bottom brown border.
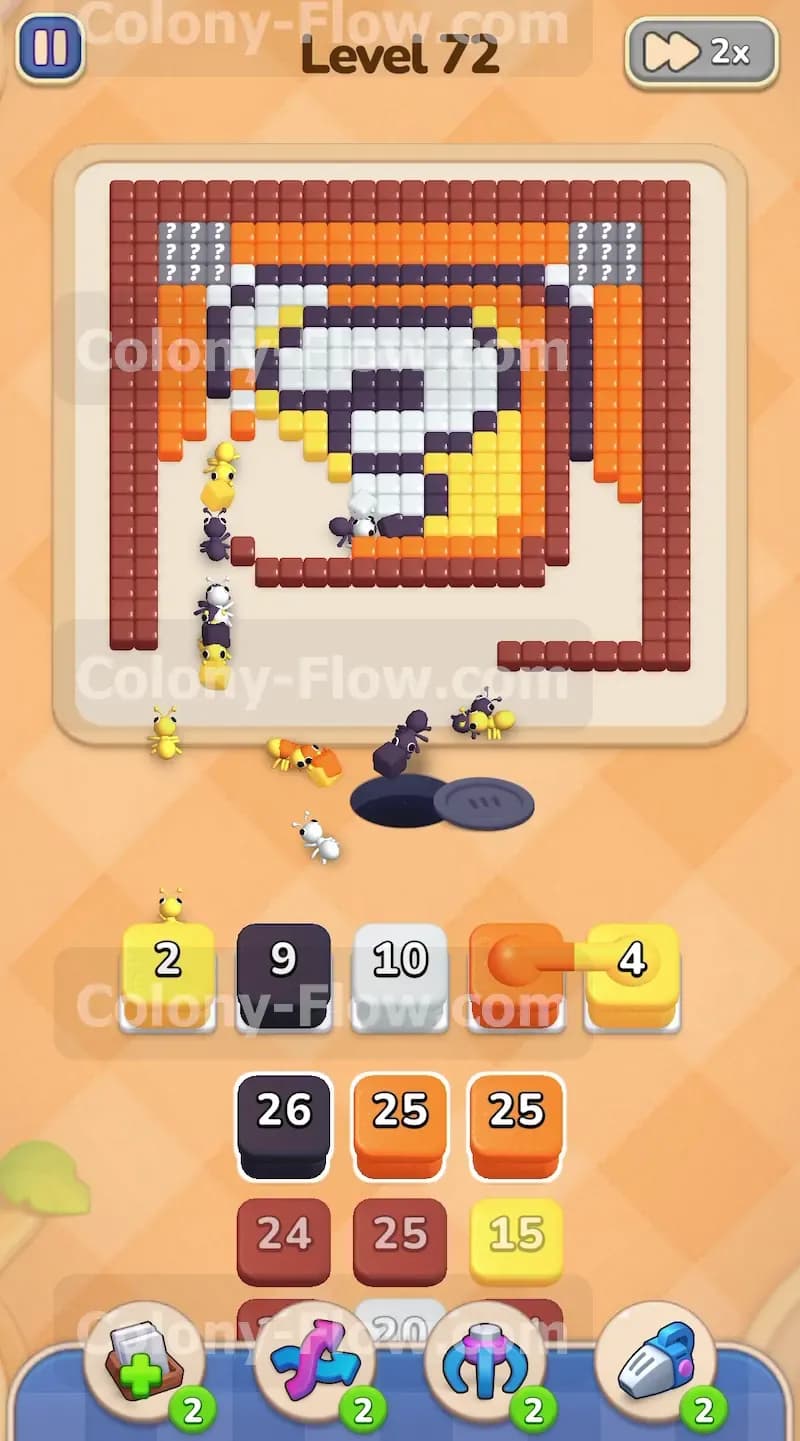
Begin clearing the bottom brown outer border. Tap the next brown block in your tray to send ants to the left and right sides of the newly opened entrance. The brown ants will split up and start chewing their way toward the bottom left and bottom right corners of the board. Keep an eye on your waiting slots as you make these moves. You want the brown ants to steadily chew through the border without jamming up the queue at the bottom of your screen. Opening up the left and right sides will give you much more room to maneuver as you dig deeper into the puzzle. The extra space prevents your future blocks from piling up.
Step 5: Send white ants to clear the question mark stem.
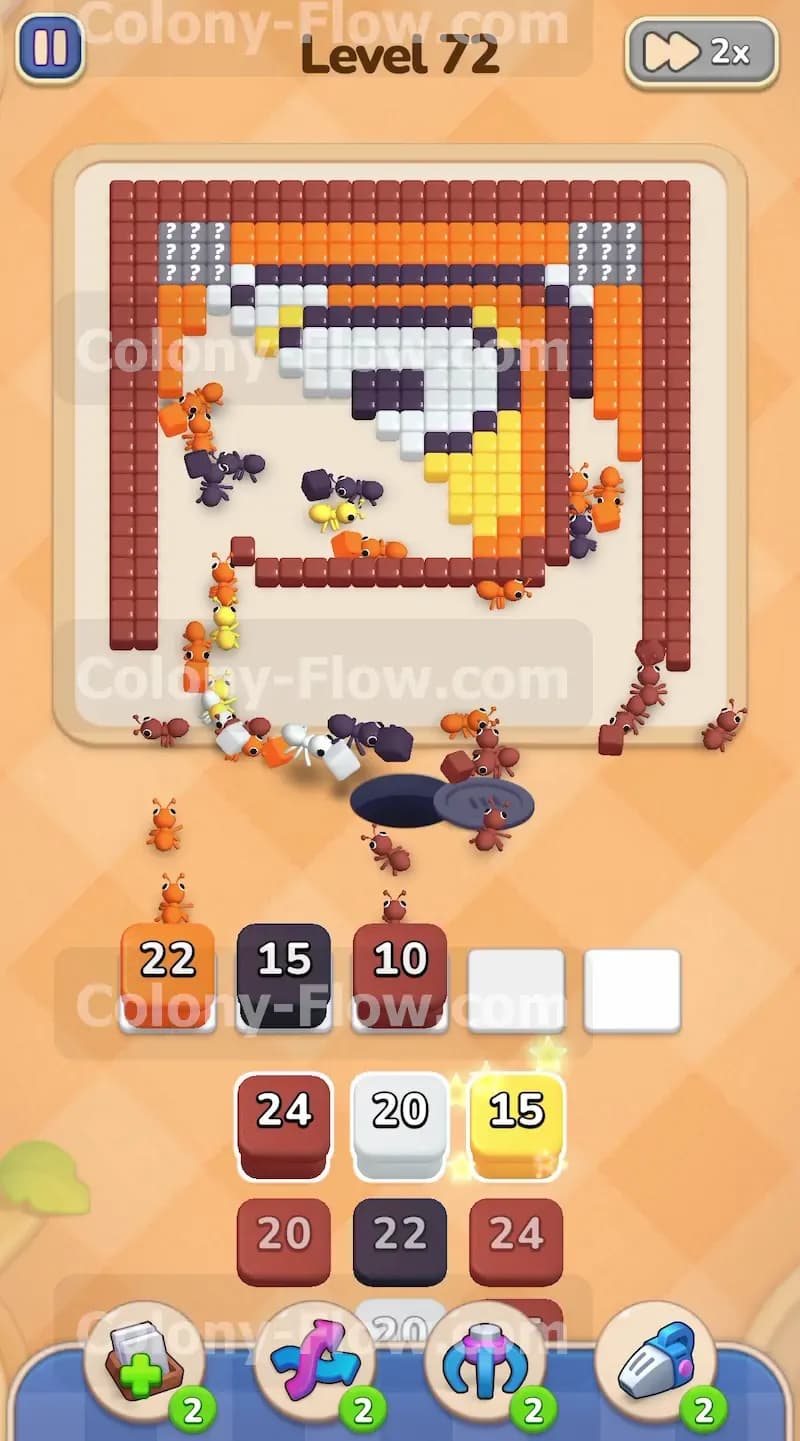
Send white ants up the middle to clear the question mark stem. With the brown ants busy on the sides tap a white block holding 16 ants. These white ants will march straight up the center channel and start eating the bottom tiles of the question mark. You now have two active zones on the board. The brown border is clearing horizontally and the white stem is clearing vertically. This dual action keeps your tray flowing smoothly. You never want to focus entirely on one single path because that leads directly to a clogged waiting slot.
Step 6: Reveal the hidden food tiles in the bottom corners.
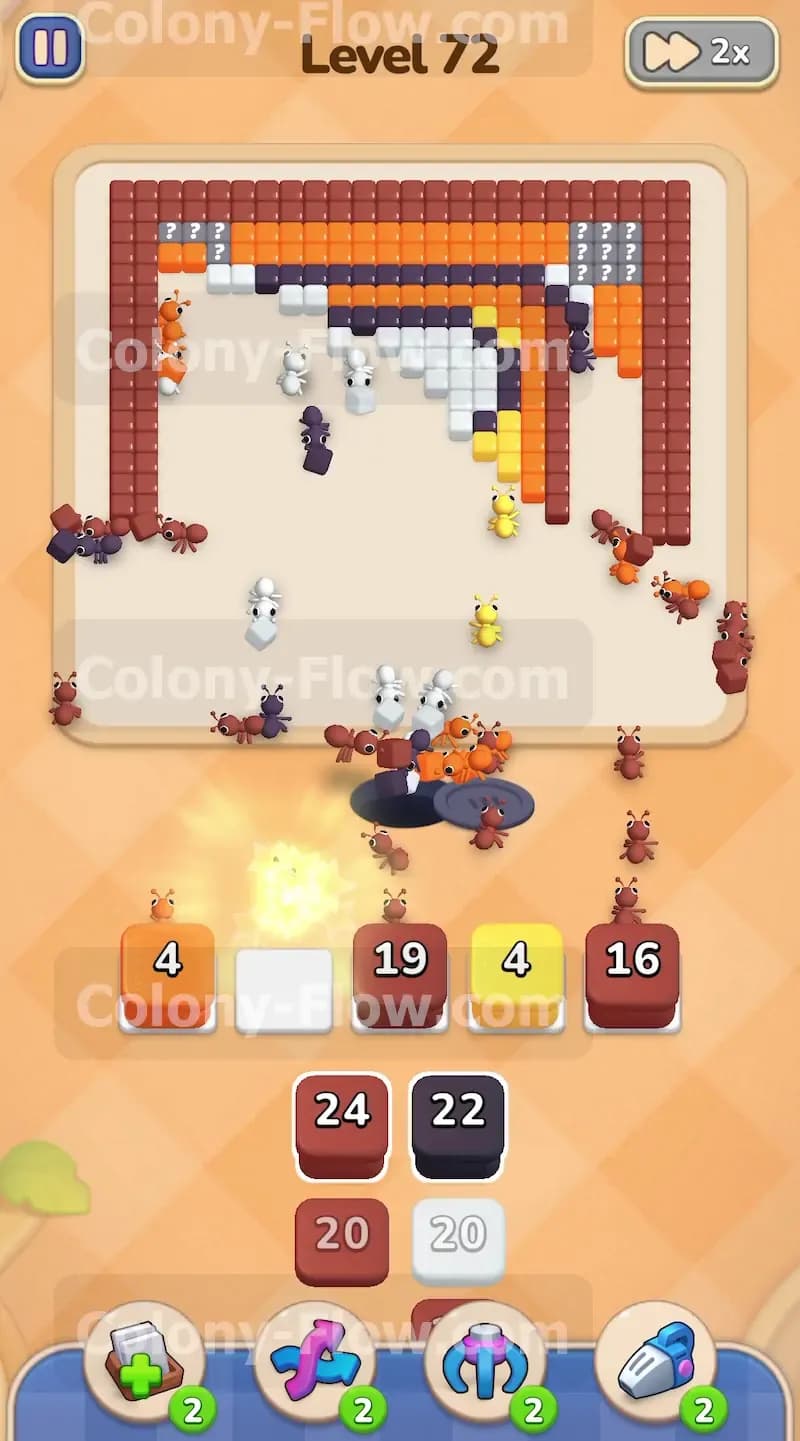
Unlock the hidden food tiles in the bottom corners. As your brown ants reach the very edges of the bottom row they will clear the tiles adjacent to the grey hidden food blocks. Those grey blocks will suddenly flip over and reveal their true colors. Send down the exact matching color blocks from your tray to clear these newly exposed corner pieces. Clearing the corners is mandatory because it opens the vertical paths up the left and right sides of the heavy brown border. Make sure the corners are totally empty before sending more brown blocks.
Step 7: Move up the black outline around the center shape.
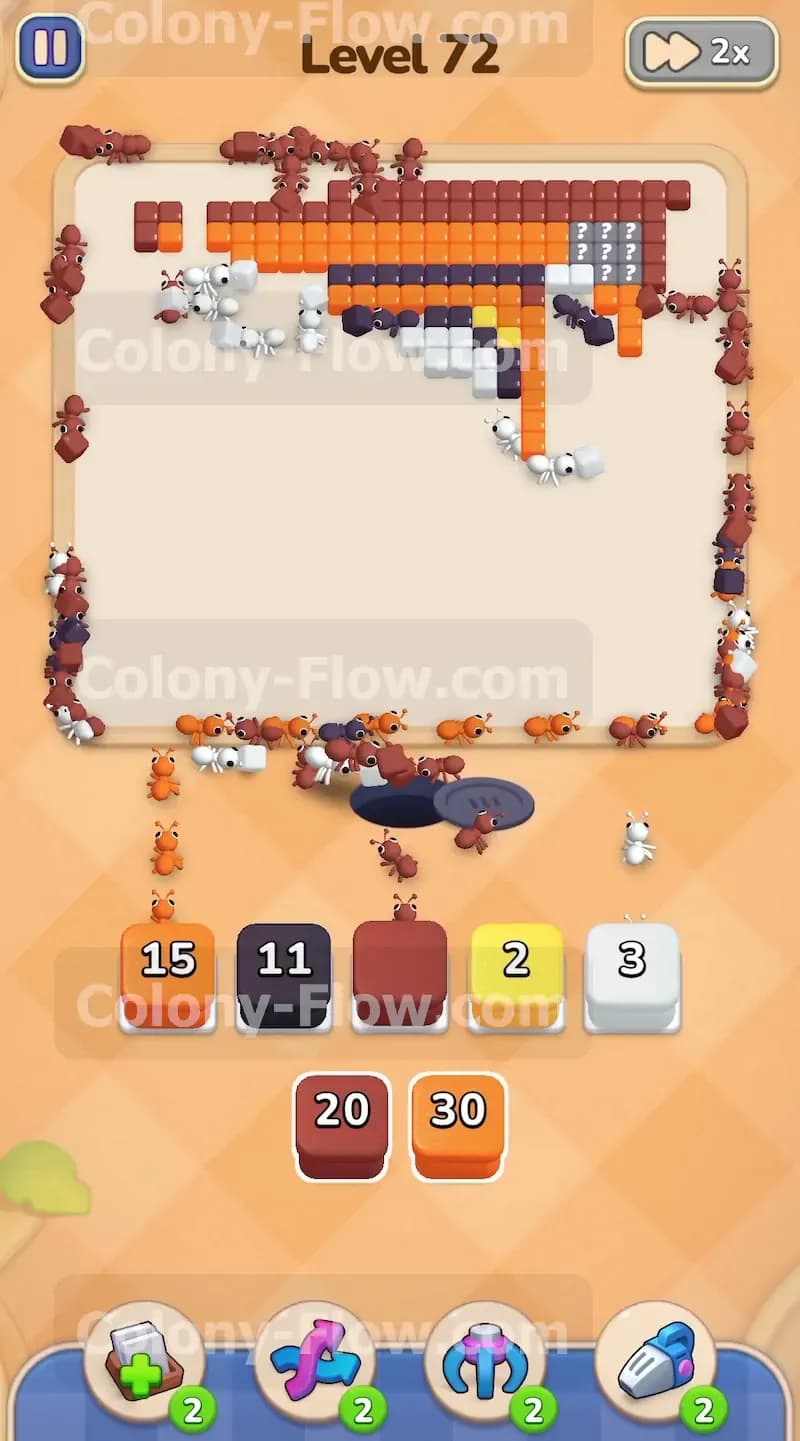
Start working on the black outline. The white ants moving up the center have now exposed the thick black boundary surrounding the question mark. Tap a black block holding 26 ants from your tray. The black ants will stream up the middle and split around the sides of the white shape. At this stage you are managing three separate flows of ants across the board. You have brown ants moving up the outer walls, white ants hollowing out the center, and black ants clearing the inner boundary. Balance your taps between these three colors to maintain a steady rhythm. Keeping all three paths active is the absolute best way to keep your waiting slots empty.
Step 8: Drive the brown ants up the outer walls.
Drive the brown ants up the left and right outer walls. Tap another massive brown block holding 25 ants. Since the bottom corners are fully clear these ants will travel all the way to the outer edges and begin marching straight up toward the top corners. The outer border is very long and requires a massive volume of ants to clear. Pulling a large brown block early keeps the tray moving and prevents the high number blocks from blocking the colors you need underneath. Just verify the vertical paths are fully open before you make the tap.
Step 9: Unleash the orange ants into the inner rings.
Release the orange ants into the inner rings. The black ants have cleared enough space to expose the thick orange ring surrounding the question mark. Tap the orange block holding 25 ants. The orange ants will flood into the middle of the board and begin sweeping around the circular curves of the design. You must be careful here. The curves create natural choke points. If you send too many orange ants at once they will bottleneck in the center and force your newer blocks to sit idle in the waiting slots.
Step 10: Deploy the yellow ants to clear the final ring.
Deploy the yellow ants to clear the final ring. With the orange ring shrinking the inner yellow ring becomes accessible. Tap the yellow block holding 15 ants. These ants will march up the center and start eating away the yellow tiles nestled tightly against the black outline. At this point your board looks chaotic with brown, white, black, orange, and yellow ants all working simultaneously. This is exactly what you want. Having multiple active colors ensures that no single block sits in a waiting slot for too long.
Step 11: Clear the top corners and finish the puzzle.
Reveal the upper hidden food tiles and finish the question mark. As the white and black ants push into the top section of the central shape they will trigger the last batch of hidden food tiles. These grey tiles will flip and show their colors. Match them quickly to keep the top area clear. Send your final white blocks to consume the top curve of the question mark. Pull your last brown block to finish the top edge of the outer border. Watch the board empty out completely as the final ants finish their meals and secure your victory.
Final Thought
You have conquered the massive door and completely dismantled the question mark. Balancing the five different colors in the late stages of this puzzle takes patience and careful tray management. I hope my breakdown helps you avoid the dreaded waiting slot trap. If you find any specific sequence hard to follow in text I encourage you to watch the video above this article to see exactly how the timing plays out in motion.