Colony Flow Level 334 Walkthrough Solution & Guides | How to solve Colony Flow 334

Guide By Liam Stone
Updated on July 17, 2026
The video above has the full walkthrough for Level 334, so use it if you'd rather skip the article.
Video doesn't match your screen?
Game updates frequently scramble layouts! Try our AI Screenshot Solver first to find your exact board instantly, or report broken guides to our team.
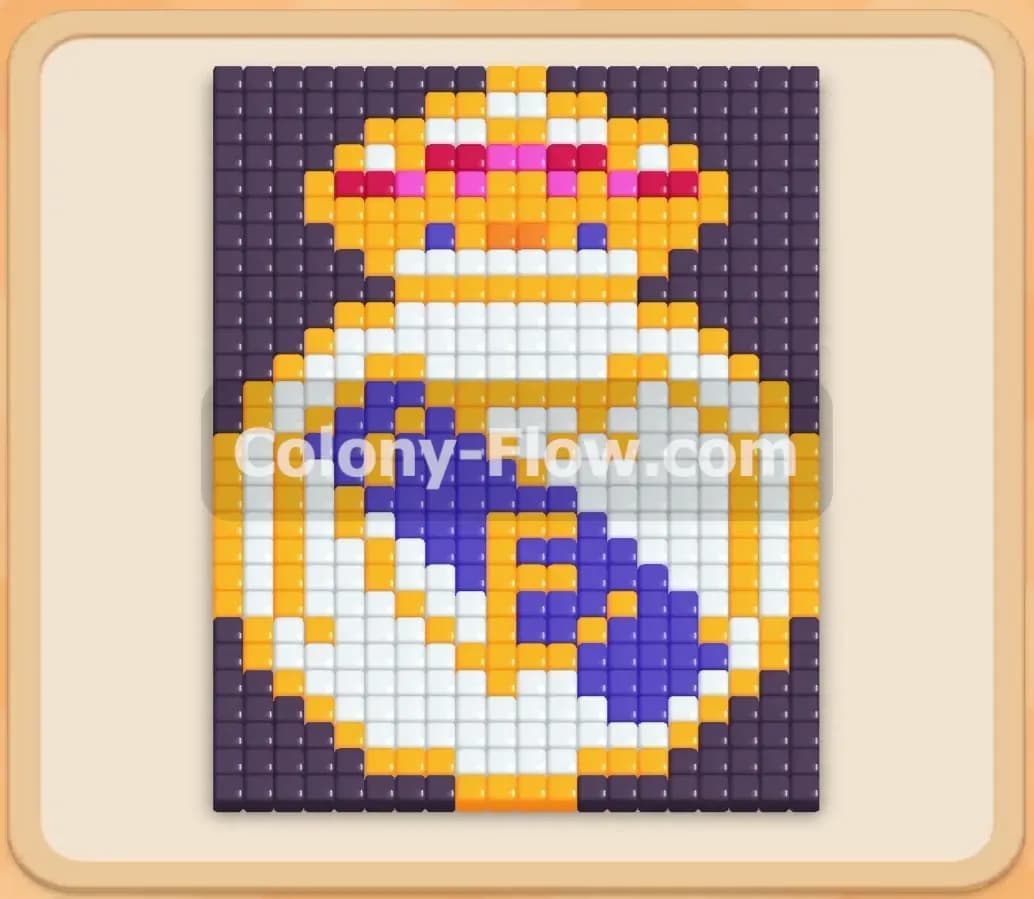
Colony Flow Level 334 presents a large pixel art crest that looks like a famous soccer team logo. You will command your ants to dismantle this massive structure piece by piece. The board starts fully filled and your waiting slots can jam quickly if you pull the wrong colors. You must carefully manage your tray to keep the ants moving and the board completely open.
Colony Flow Level 334 Overview
What You Are Working With
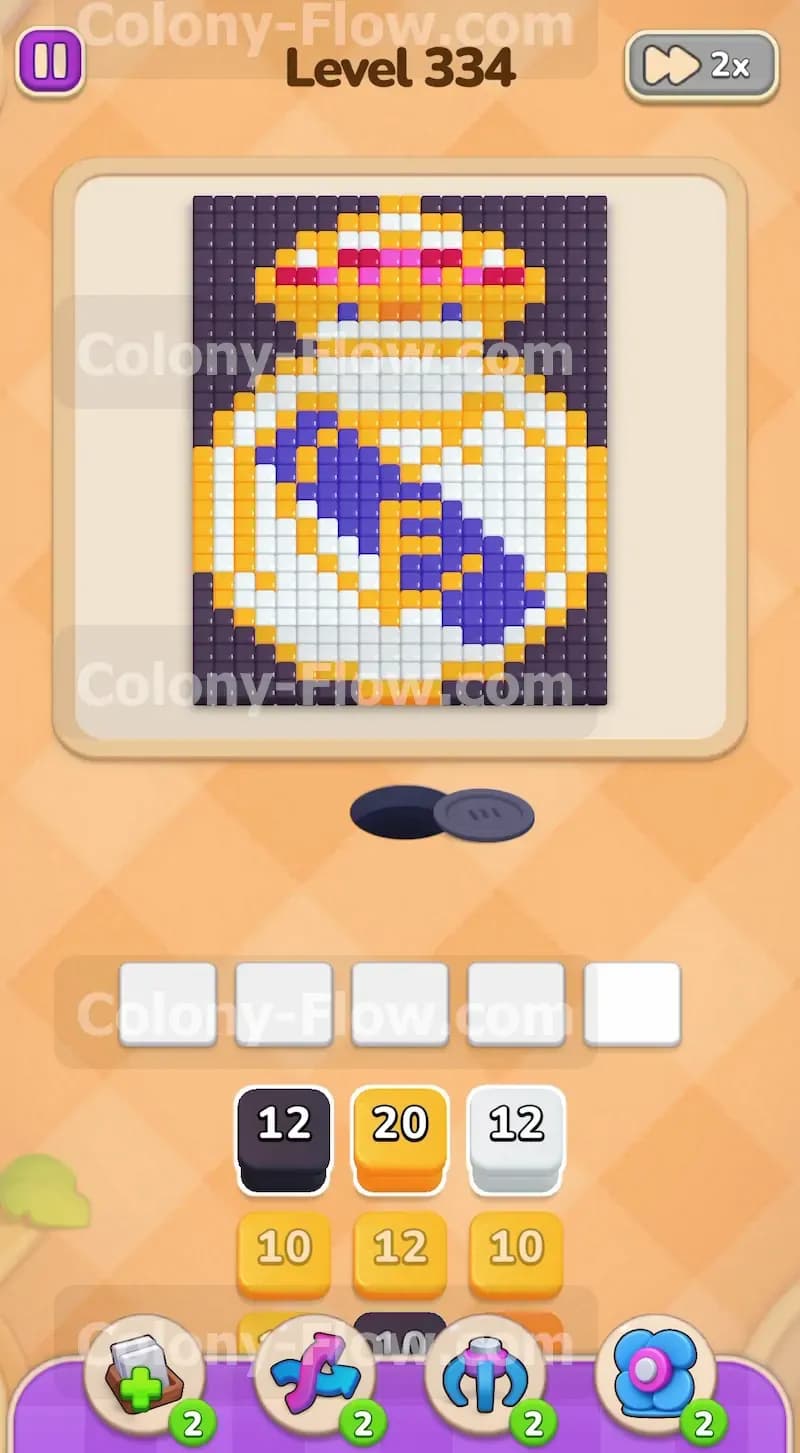
The picture is a large shield and crown design. It features a thick black outline that seals in the white center. Inside the white center you will see a diagonal blue sash and various yellow and orange accent details. The top section looks like a crown decorated with pink and red gems. Your tray contains standard numbered blocks in black, orange, white, blue, yellow, and pink. You will also deal with connected boxes in this level. These are two or more boxes linked together by a thick line in your tray. When you pull a connected group into your waiting slots, all linked blocks move together and take up multiple spaces. You must clear them as a group by providing an open path for the ants to reach every color in the link.
What It Takes to Clear Level 334 Board
You win Level 334 by eating away the entire crest from the outside in. The black outer border acts as a barrier protecting the inner white and blue sections. You need to pull the large black blocks first to remove this outer wall. Once the black border falls, the ants can reach the orange trim and the massive white background. The middle portion of the game requires balancing white blocks with the blue sash tiles. You will have to juggle connected blocks in your five waiting slots while maintaining a steady flow of ants. The final challenge is the top crown section which holds unique colors like pink and red. You must keep at least one active block in play at all times so your five waiting slots never completely fill up and stall your progress.
Colony Flow Level 334 Step by Step Solution
Step 1: Clear the outer black outline to open the board.
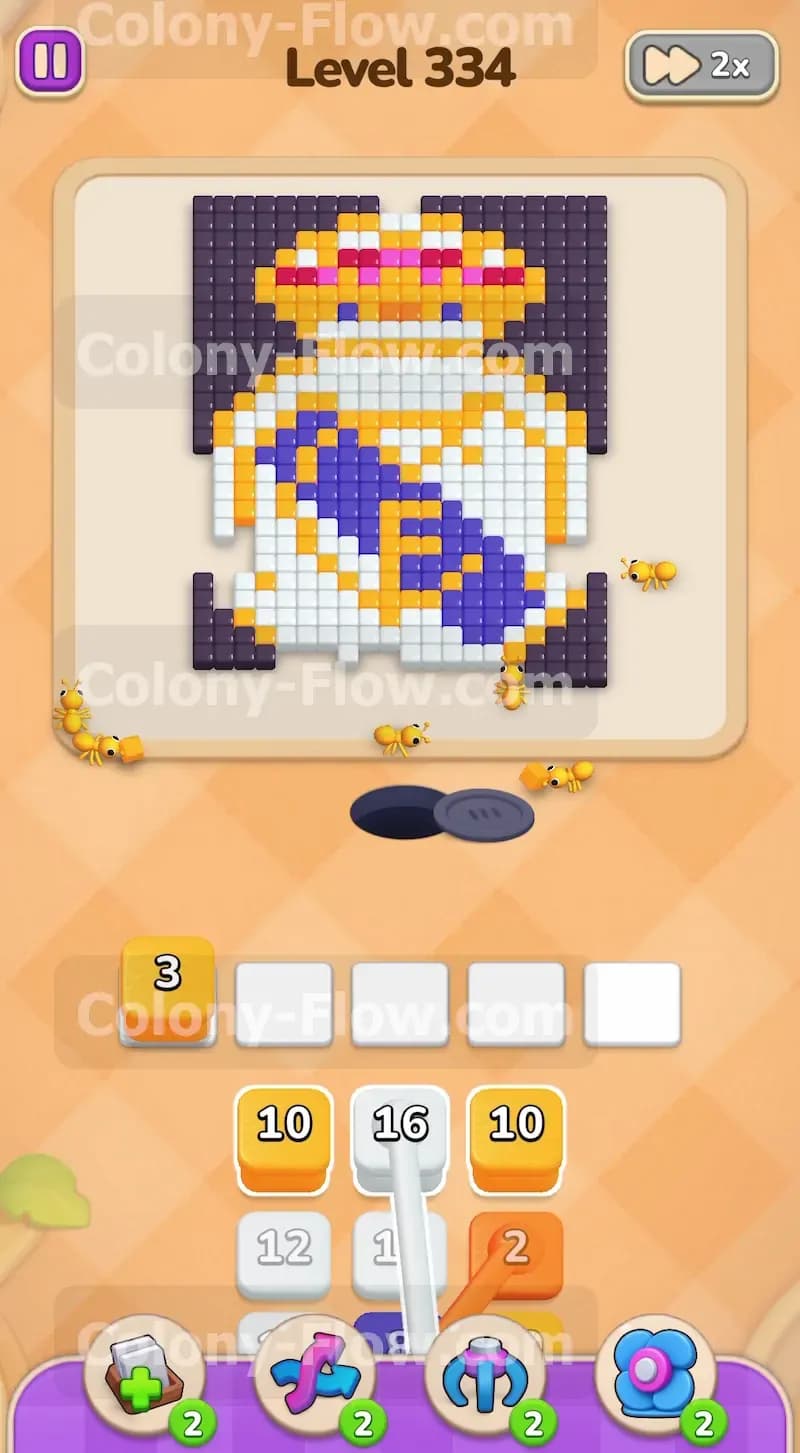
You begin the level facing a solid black border that wraps around the entire crest shape. Your ants cannot reach the interior white or blue tiles until this wall falls. Look at your starting tray and pull the black block into your first waiting slot. The ants will immediately pour out of the nest and march toward the bottom edge of the black outline. As the number on the black block counts down, the ants will consume the bottom and side border tiles. This action creates multiple open paths into the center of the design. You must prioritize this black border before touching any of the orange or white blocks in your tray.
Step 2: Remove the lower orange border pieces.
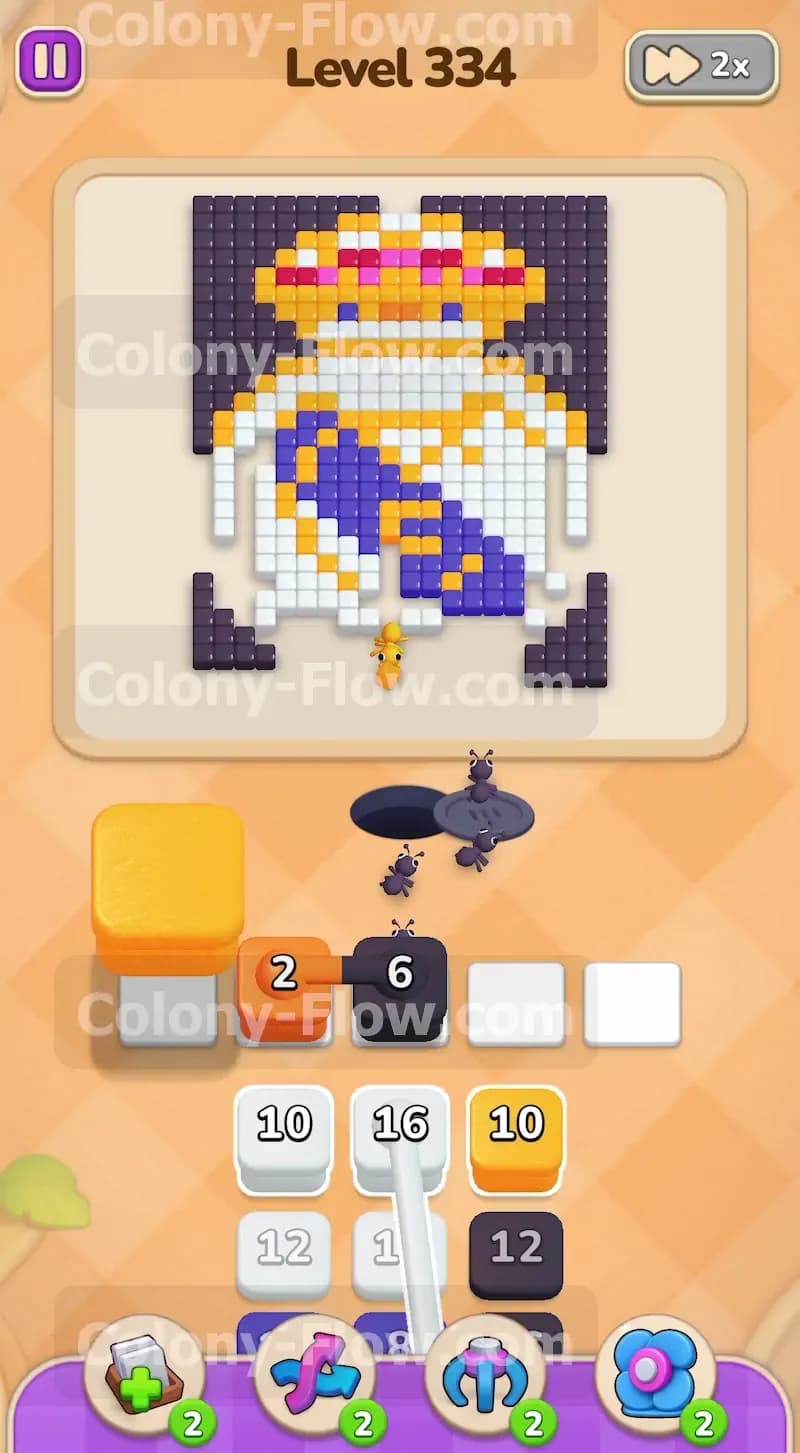
With the bottom black border gone, the yellow and orange trim of the shield is now fully exposed. Your tray is full of large orange numbered blocks. Pull an orange block into your waiting slots to send the colony after the bottom trim. The ants will split up and attack the orange tiles on both the left and right sides of the shield. Watch the numbers decrease as the tiles disappear. If your first orange block runs out before the lower trim is fully clear, pull another orange block to keep the momentum going. This opens up a wide entry point into the massive white interior of the shield.
Step 3: Start clearing the main white body.
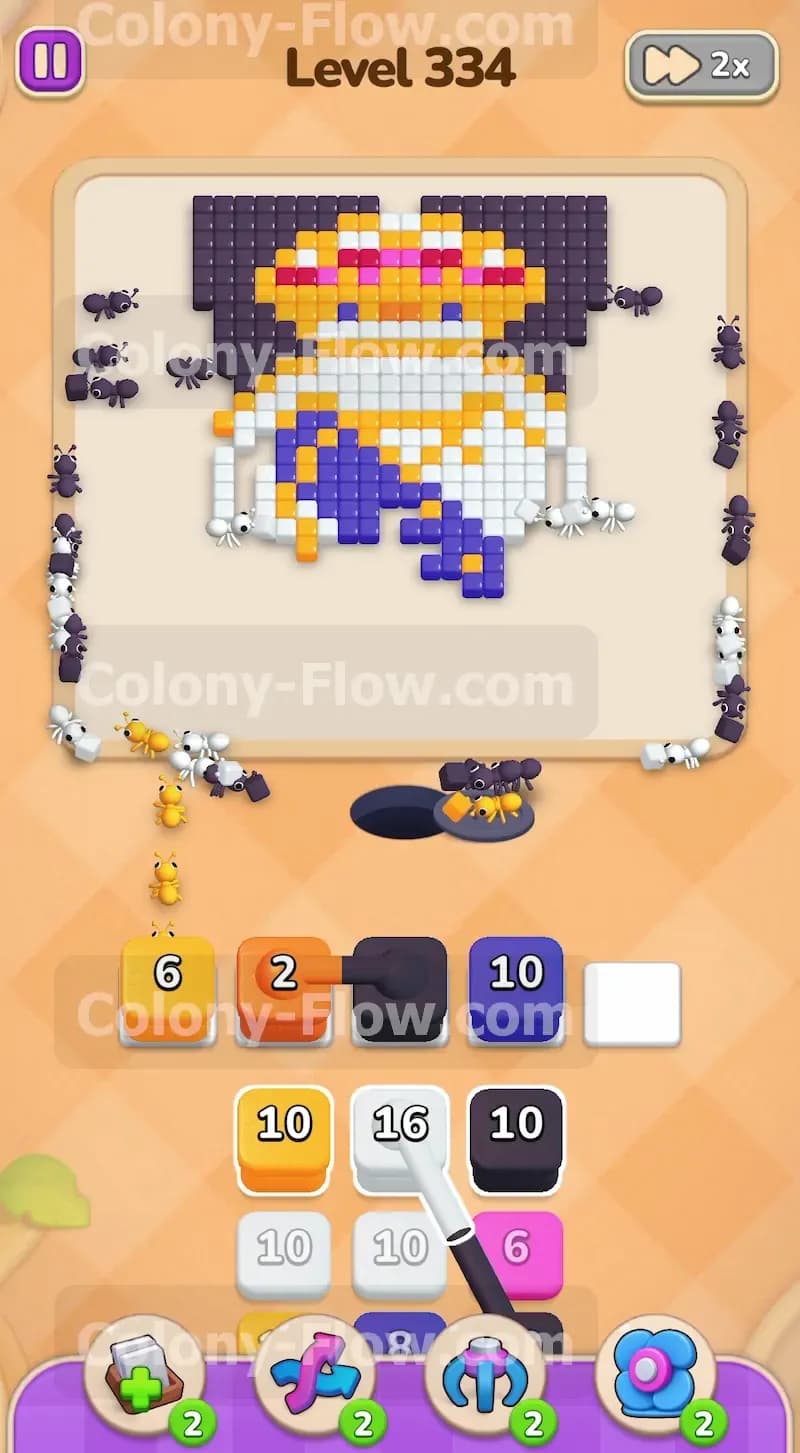
The large white background of the shield makes up the majority of the board. Now that the bottom is open, you have direct access to these white tiles. Pull a large white block from your tray into an empty waiting slot. The ants will stream inside the shield and begin devouring the white tiles around the blue sash. You want to focus heavily on the white tiles right now because they block access to the upper sections of the crest. Keep an eye on your waiting slots. You should have plenty of space right now so do not hesitate to pull a second white block if the first one finishes and there are still exposed white tiles at the bottom.
Step 4: Manage the first set of connected boxes.
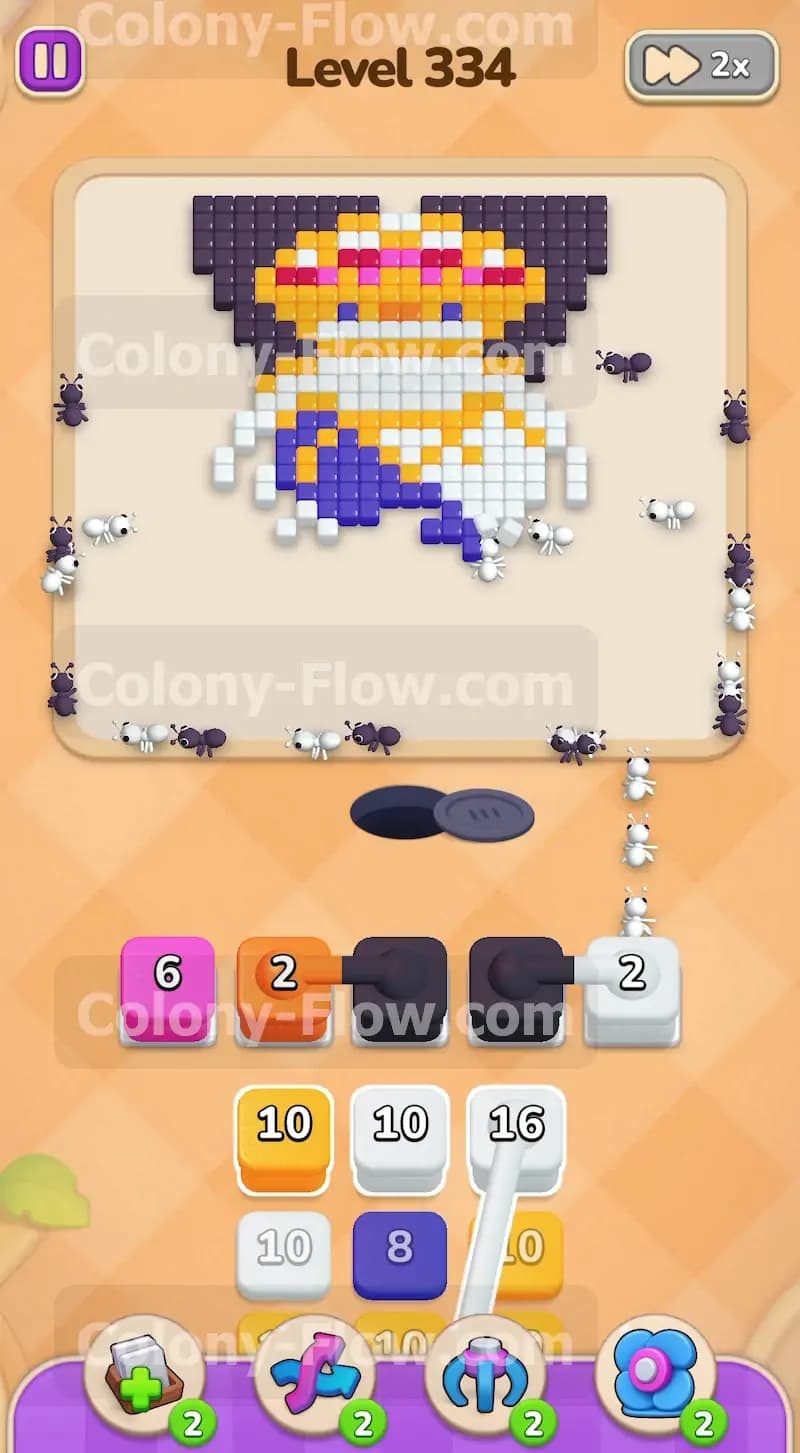
As you clear the tray, you will uncover connected boxes. These are blocks linked together by a dark line. You will see an orange block linked to a black block. When you pull one, both blocks move into your waiting slots and occupy two of your five spaces. You must be very careful here. Before you pull this connected pair, verify that the ants have an open path to both an orange tile and a black tile on the board. If only one color is accessible, the other block will sit in your waiting slots and take up space. Pull the linked orange and black blocks now. The ants will consume the remaining black border pieces on the sides and the orange trim simultaneously. This ensures the connected blocks clear out quickly without jamming your slots.
Step 5: Attack the blue diagonal sash.
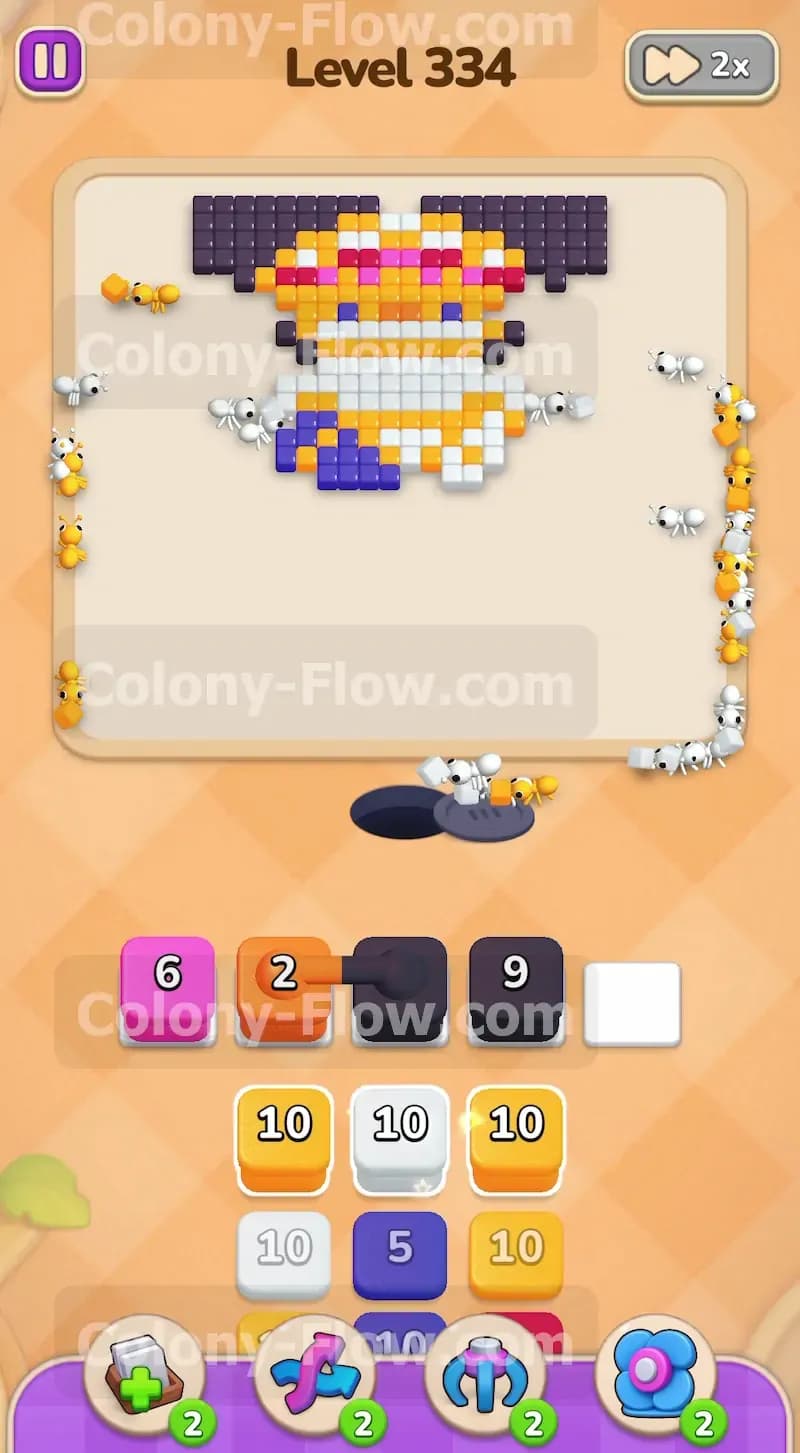
The ants have eaten enough of the white background to expose the blue diagonal sash in the middle of the shield. Your tray will now display blue blocks alongside white and orange ones. Pull a blue block into a waiting slot to send a stream of ants toward the center. The sash is thick and requires a large number of ants to clear. Let the ants work on the blue tiles while you prepare your next move. You can pull another white block at the same time if you have an open waiting slot. Mixing white and blue blocks here creates a massive swarm of ants that rapidly tears down the center of the shield.
Step 6: Clear the upper white sections of the shield.
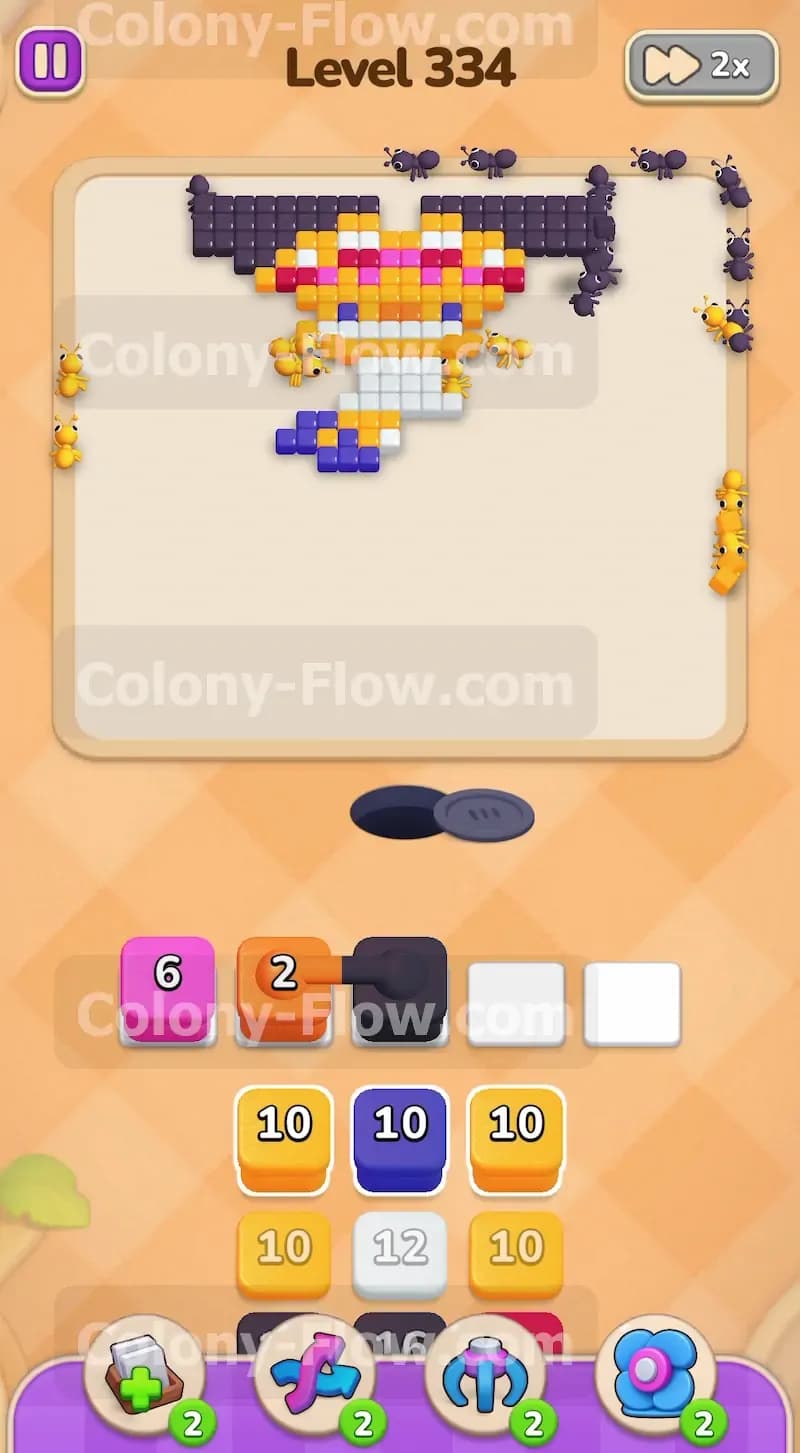
The bottom half of the board is completely gone by now. The ants need to move up toward the crown. Pull the remaining large white blocks from your tray to clear the upper white background of the shield. This action removes the final barrier between the main shield and the top crown structure. Ensure you do not pull too many blocks at once. You only have five waiting slots. If you pull colors that are buried under the white tiles, they will sit idle and risk a dead end. Stick to the white blocks until the white interior is fully removed.
Step 7: Handle the complex connected boxes.
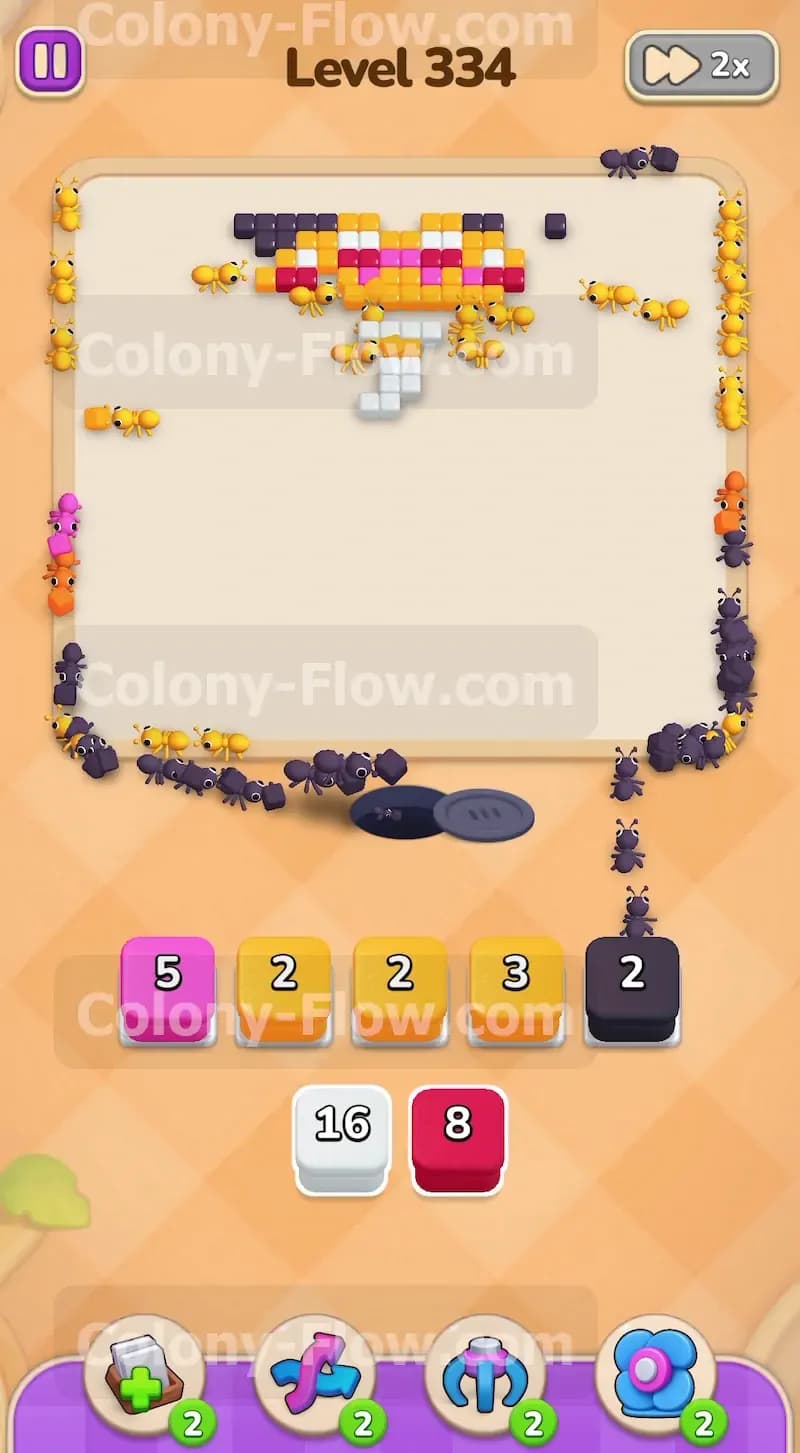
You will encounter another set of connected boxes in your tray. This time you will see a black block linked to another black block and an orange block. You must approach this group with extreme caution. Check the board to confirm that the upper black outline and the upper orange details are exposed. Once you are sure both colors are ready to be eaten, pull the linked group into your waiting slots. The ants will divide their efforts between the upper black border and the orange trim just below the crown. Keeping the board active prevents these linked blocks from clogging your limited slot space.
Step 8: Begin dismantling the top crown.
Only the top crown section remains on the board. This area contains a mix of yellow, orange, and pink tiles. Look at your tray and locate the pink blocks. Pull a pink block to target the pink gem details embedded in the crown. At the same time, pull a yellow block to clear the main golden structure of the crown. The ants will march all the way to the top of the screen to reach these tiles. Because the distance is longer, it takes a moment for the blocks to start counting down. Be patient and do not flood your waiting slots with extra blocks while the ants make their long journey.
Step 9: Clean up the final red and white details.
The crown is almost entirely gone. You will see a few remaining tiles including some red gem pieces at the very top. Your tray will reveal the final red and white blocks needed to finish the level. Pull the red block into your available waiting slot. The ants will consume the last red tiles decorating the crown. Finally, pull the remaining white block to clear the tiny white details scattered near the top edges. Watch as the ants finish their meal and the last pixel vanishes from the board. Your waiting slots remain clear and you successfully complete the puzzle.
Final Thought
This puzzle requires constant attention to your limited slot space and a steady hand when dealing with linked blocks. Always prioritize the outer layers before attempting to reach the inner details. If you find yourself getting stuck or your waiting slots fill up too fast, please watch the video above this article. The visual guide will help you understand the exact timing needed to keep the ants moving perfectly.