Colony Flow Level 744 Walkthrough Solution & Guides | How to solve Colony Flow 744

Guide By Liam Stone
Updated on August 8, 2026
Skip ahead to the video above if you want to see Level 744 solved without reading the full article.

Video doesn't match your screen?
Game updates frequently scramble layouts! Try our AI Screenshot Solver first to find your exact board instantly, or report broken guides to our team.
Welcome to Colony Flow Level 744. I played this level from start to finish to map out the exact sequence you need to clear the board without jamming your slots. You face a beautiful pixel art unicorn surrounded by a massive field of background tiles. The sheer volume of tiles on the board can look overwhelming at first glance. I will walk you through every phase of the solution so you can guide your ants to victory smoothly.
Colony Flow Level 744 Overview
What You Are Working With
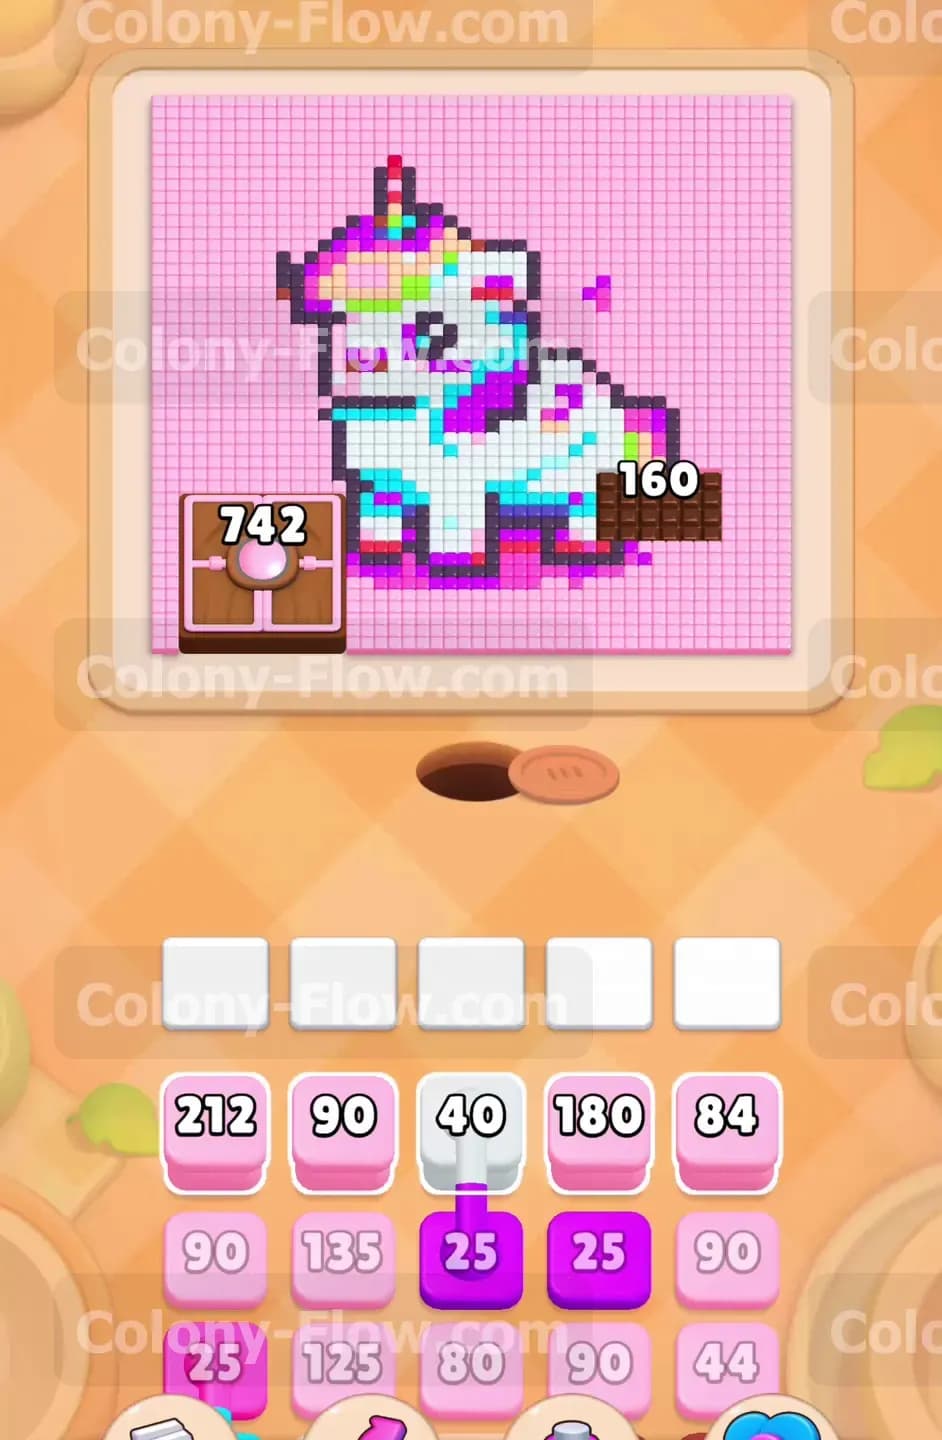
The board features a large pixel art unicorn sitting right in the center of the screen. The unicorn itself is made of white, cyan, purple, red, green, yellow, and black tiles. However, this entire character is buried inside a gigantic block of light pink background tiles. These light pink tiles wrap all the way to the edges of the board. The nest hole sits at the very bottom center of the screen. Your ants will stream out of this hole constantly. At the bottom of your screen is the tray holding your numbered colored blocks. You have exactly five waiting slots to hold these blocks.
You will also encounter connected boxes in this level. These appear in your tray as two or more blocks linked together by a thick line. When you pull one of these blocks, the entire connected group moves into your waiting slots at the same time. You must factor this in when managing your space. If you only have one empty slot and try to pull a connected pair, you will create a massive problem for your board flow.
What It Takes to Clear Level 744 Board
Winning this level requires clearing every single pixel art tile from the board. You achieve this by matching the colored blocks in your tray to the exposed food tiles on the board. The main danger here is the five waiting slots. If you pull colors that the ants cannot currently reach, those blocks will sit in your slots and take up space. If you fill all five slots and your active ants have no valid paths to match those colors, the board will dead end and you lose.
To beat Level 744, you must clear the entire light pink background first. Only then can your ants reach the actual unicorn. You will dismantle the unicorn from the bottom hooves all the way up to the tip of the horn. You must constantly monitor your available slot space especially when the connected boxes begin appearing in your tray.
Colony Flow Level 744 Step by Step Solution
Step 1: Flood the board with light pink blocks to clear the massive background.
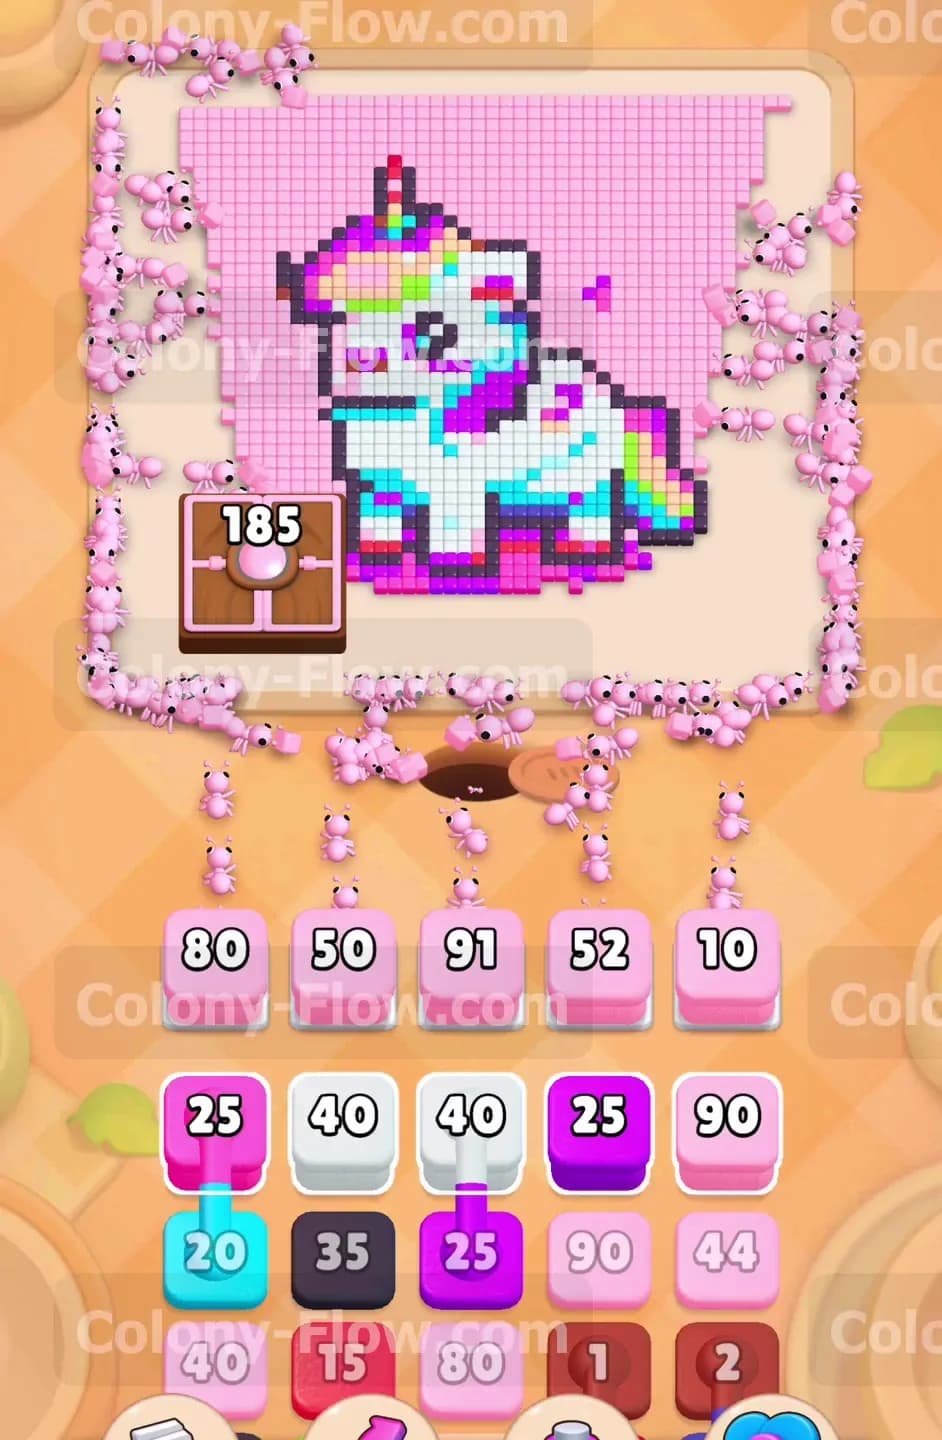
When the level begins you are entirely blocked from reaching the unicorn. The only open paths lead directly into the giant sea of light pink background tiles. Your starting tray gives you massive numbered blocks including a light pink 212, a light pink 90, a light pink 40, and a light pink 180. Pull these light pink blocks into your waiting slots immediately. The ants will surge out of the central hole and split in all directions to chew away the vast outer edges of the picture. Do not pull any other colors right now. You want every single ant focusing on reducing this huge border. If you tap a different color too early, it will simply sit in your waiting slots and block your flow. Keep feeding the board with light pink blocks until the ants carve a complete path around the edges of the unicorn.
Step 2: Begin clearing the hooves and lower legs of the unicorn.
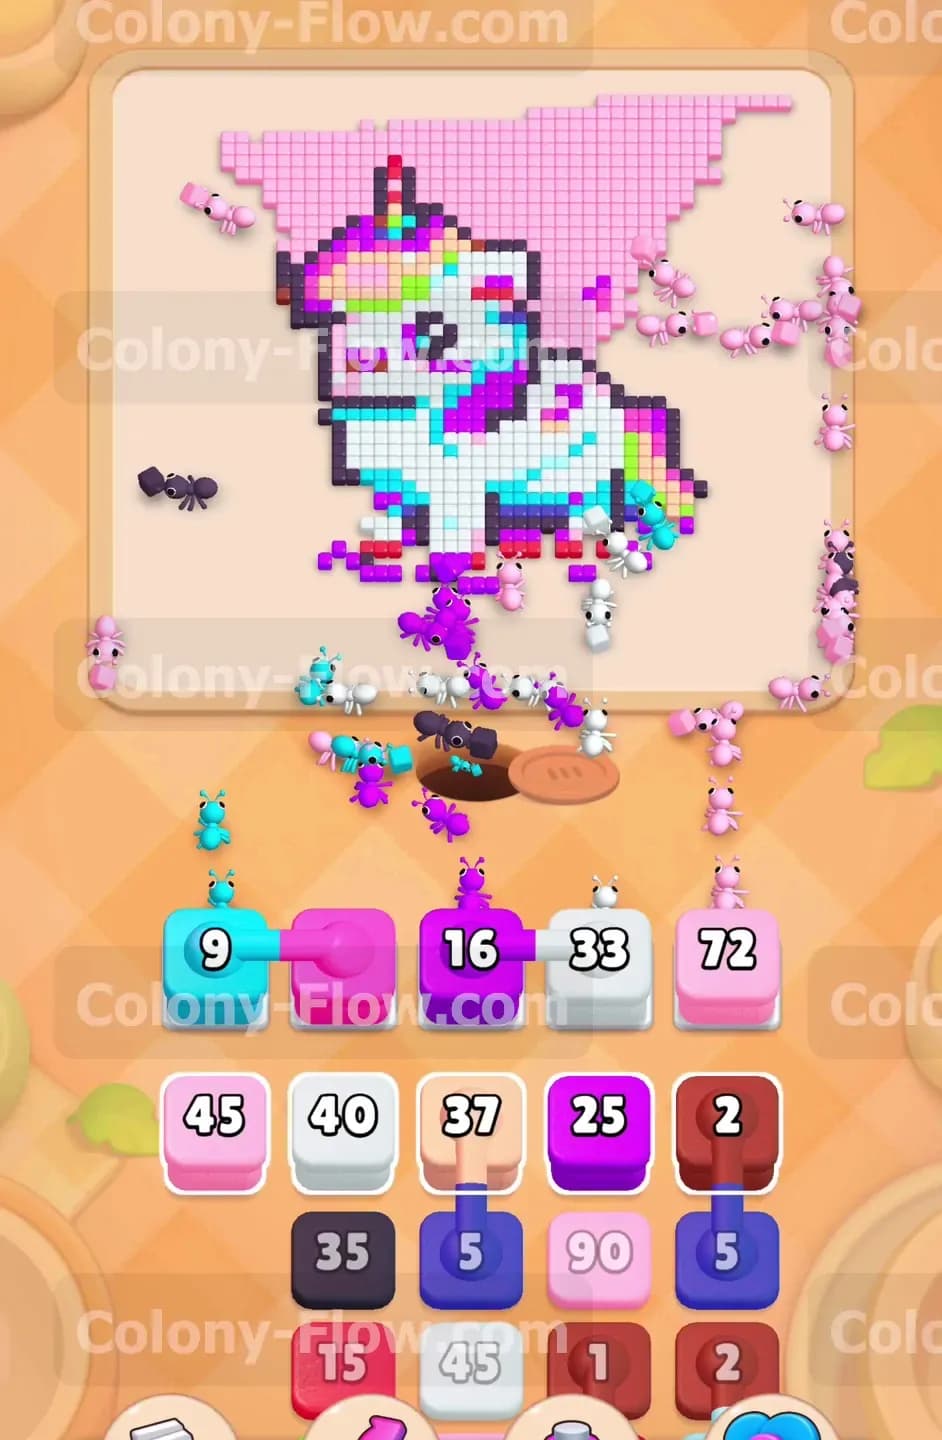
Once the giant light pink background starts fading away, your ants will finally touch the bottom edge of the character. The hooves and lower legs consist of cyan, purple, and black outline tiles. Look at your tray and pull the cyan 20 and the purple 25 blocks. The ants will march up the middle path and start eating the bottom feet of the unicorn. You will also see a black 35 block become available. Pull it down into an empty slot so the ants can start chipping away at the thick black borders around the feet. Always leave at least two waiting slots empty during this phase. Leaving empty slots ensures you have room to react if the ants uncover a new color requirement quickly.
Step 3: Guide the ants into the white body and manage your first connected boxes.
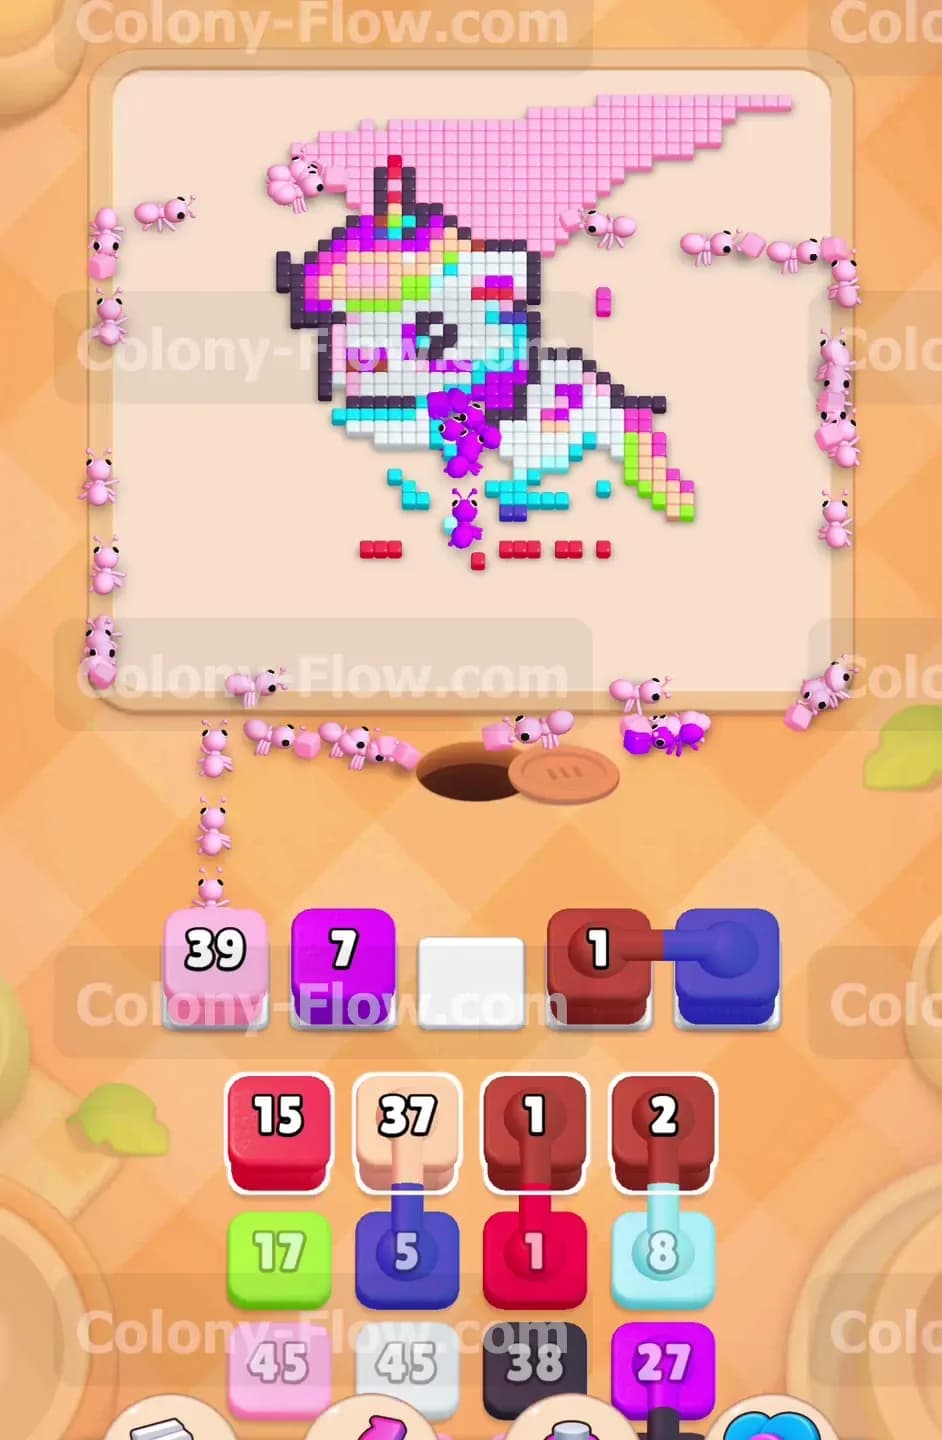
As the legs disappear, the large white body of the unicorn opens up. Your tray will supply a white 33 and a white 40 block. Pull these to let the ants flood into the center of the board. Around this time you will also see the connected boxes appear in your tray. You might see a blue block linked directly to a cyan block. You must have at least two empty waiting slots before you tap these connected boxes. If you pull them safely, the ants will distribute the numbers perfectly between the inner body shadows and the remaining leg details. Always clear out your single colored blocks first to make room for these larger connected groups.
Step 4: Chew through the colorful mane and the lower head area.
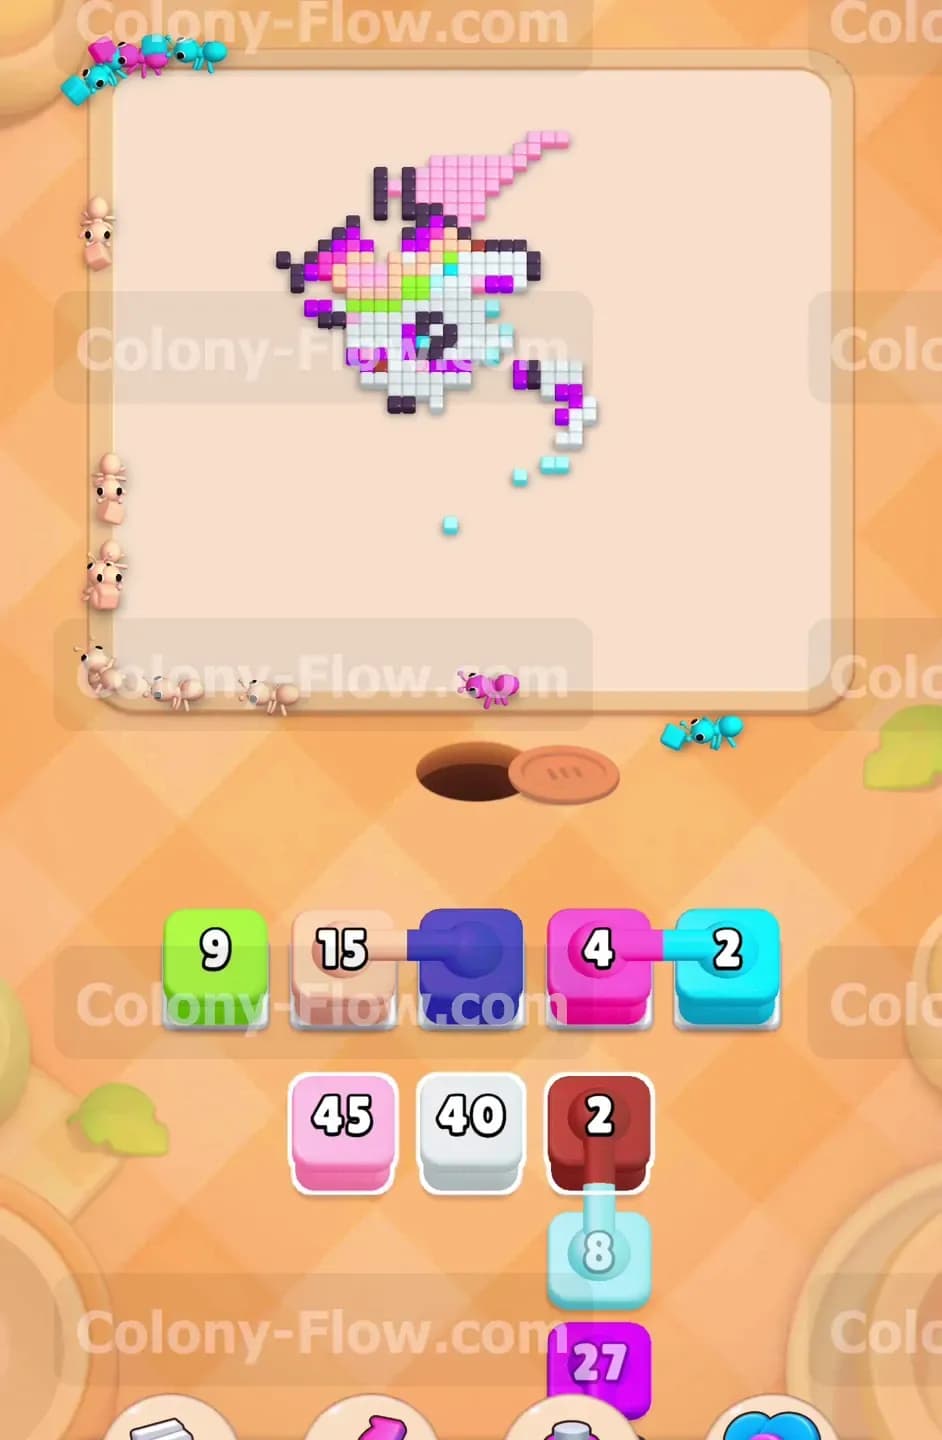
With the main body mostly cleared away, your ants will push upward into the mane and the neck. The mane contains a mix of red, green, and pink tiles. You will notice a red 15, a green 17, and a couple of small brown blocks in your tray. Pull the red and green blocks to clear the bright stripes in the hair. At this stage the ants have to travel much further from the nest hole to reach their targets. You will see long trails of ants winding their way up the center of the screen. Be patient and let them finish their current block before you flood the slots with new colors. Keeping a steady rhythm prevents the board from stalling.
Step 5: Dismantle the striped horn and upper ears.
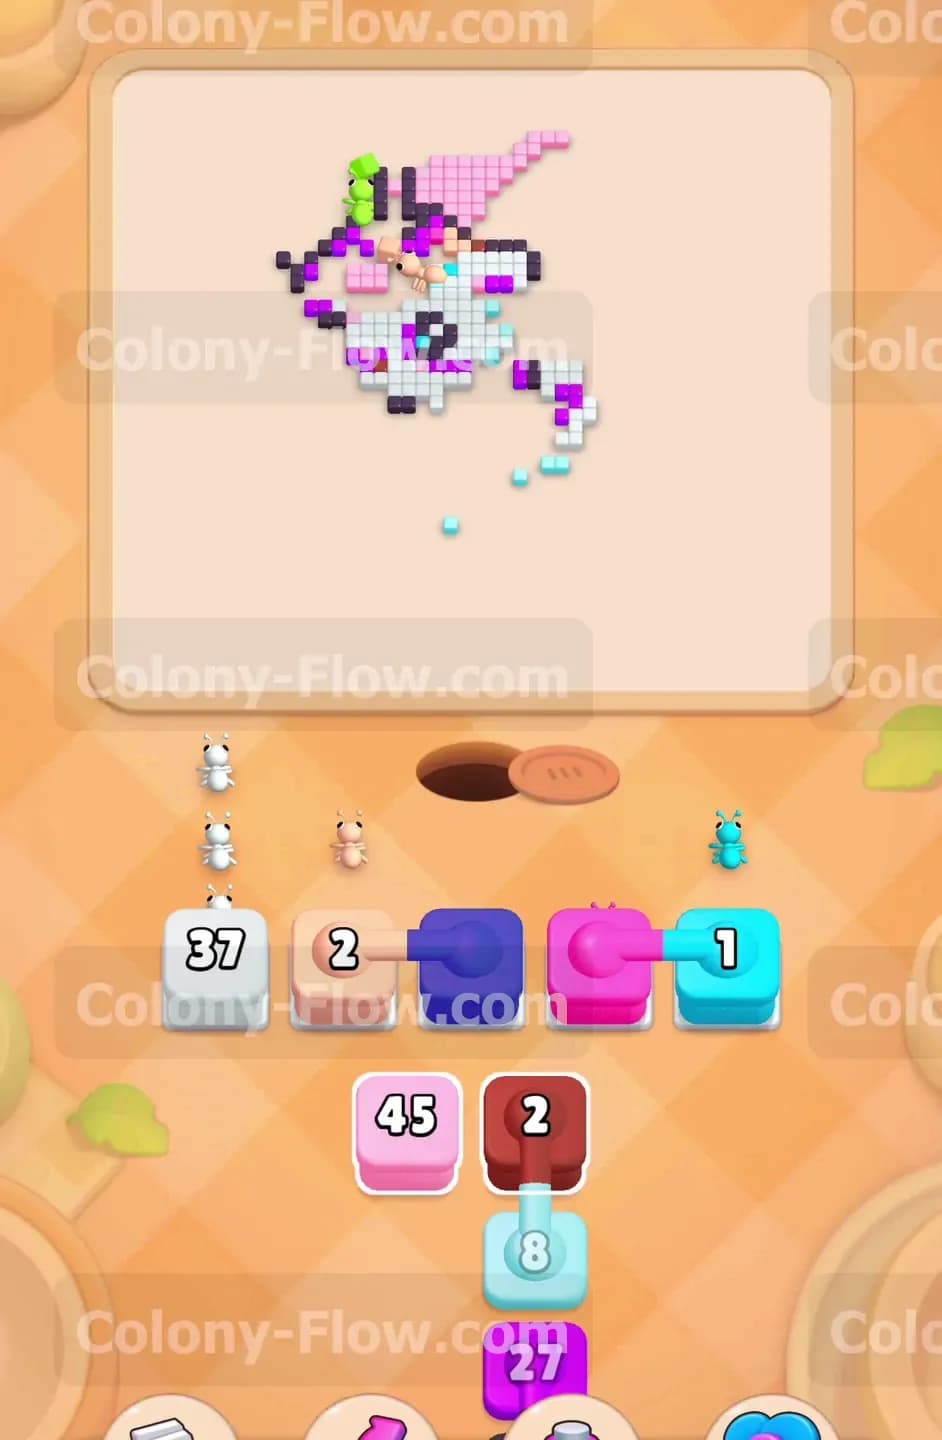
The board is now mostly empty except for the very top of the head and the tall striped horn. The horn requires small amounts of yellow, green, and cyan blocks. Your tray will offer a green 12 and a red 6 along with a white 25 for the rest of the face. Pull these carefully. The target area is extremely narrow now. Only a few ants can eat at the top tiles at the same time. This narrow path means the numbers on your blocks will count down much slower than they did at the start of the level. Do not panic and pull extra blocks. Let the ants do their work and keep your waiting slots clear of unnecessary colors.
Step 6: Clear the final black outline and the last connected pairs to win.
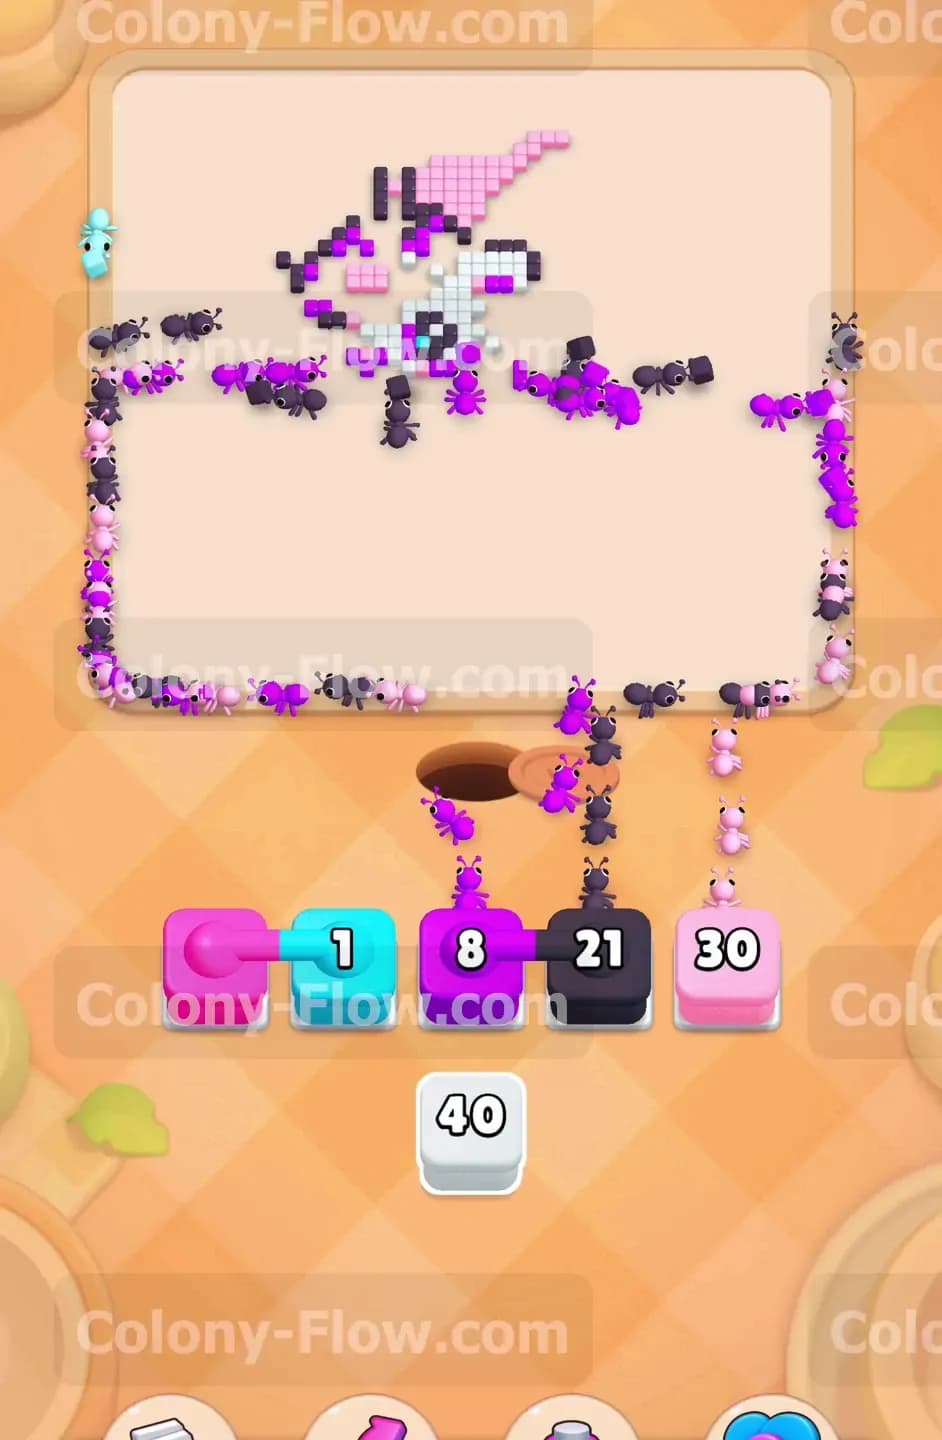
Only a tiny cluster of tiles remains at the very top of the board. You will need to pull a black 21 and a pink 30 to clear the final ear and outline pieces. You will also encounter one last set of connected boxes in the tray. Ensure you have the space, pull the connected group, and let the ants clear the remaining scattered pixels. The final black block will clear the absolute last piece of the outline. Once the final tile vanishes, the remaining ants will retreat and you win the level.
Final Thought
Patience at the start of this board guarantees your success at the end. Managing that initial giant background without clogging your slots is the only major hurdle. Just respect the space needed for the connected boxes and the rest of the puzzle flows naturally. If you get stuck on any specific section of the board, please watch the video above this article to see exactly how I managed the waiting slots in real time.