Colony Flow Level 531 Walkthrough Solution & Guides | How to solve Colony Flow 531

Guide By Liam Stone
Updated on July 30, 2026
Not in the mood to read? The video above solves Level 531 for you from beginning to end.
Video doesn't match your screen?
Game updates frequently scramble layouts! Try our AI Screenshot Solver first to find your exact board instantly, or report broken guides to our team.
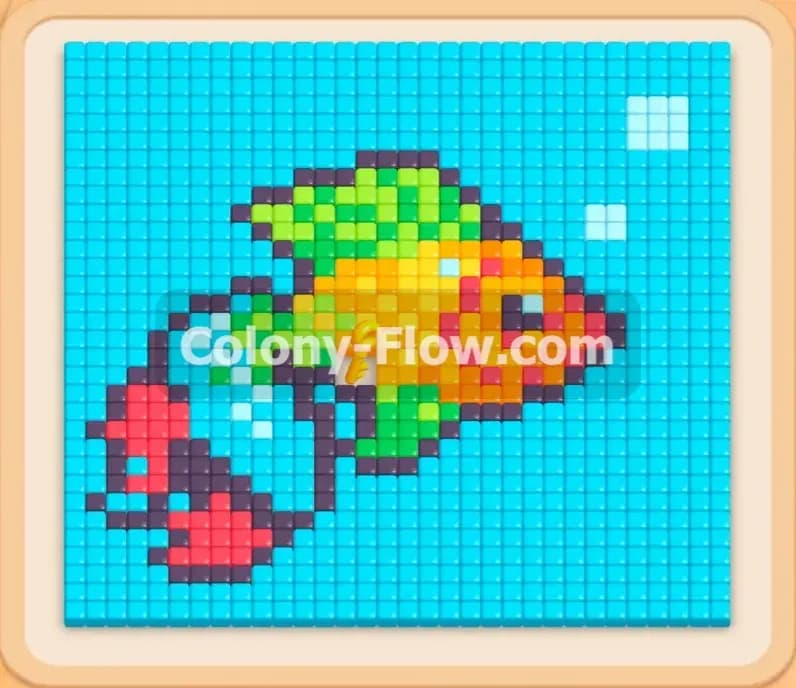
Welcome to Colony Flow Level 531. This massive puzzle features a giant blue sunfish with a white belly and dark purple fins set against a bright yellow background. You will face a busy board packed with special mechanics including a locked tray and connected boxes. I play every single level myself and write down exactly how to manage your slots and route your ants so you can clear the board without getting stuck.
Colony Flow Level 531 Overview
What You Are Working With
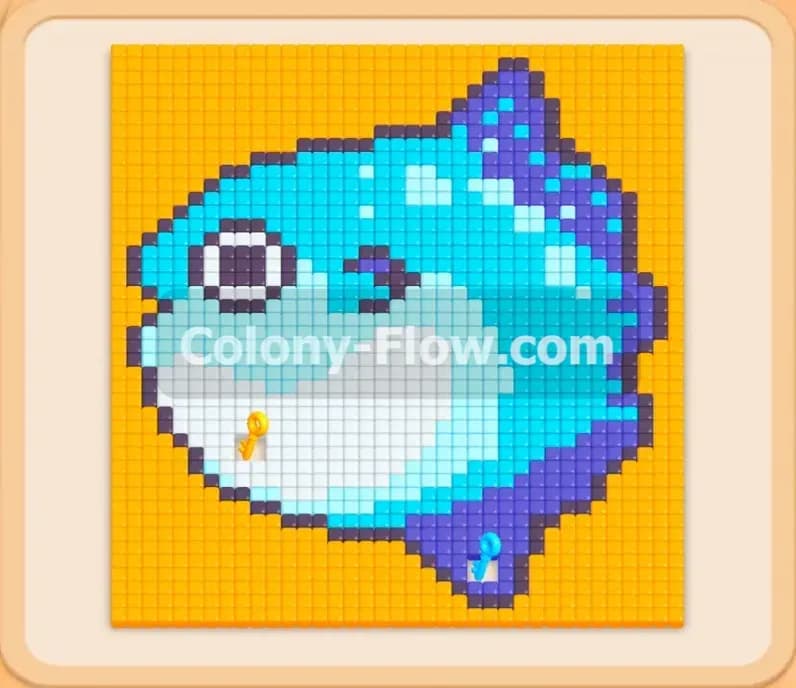
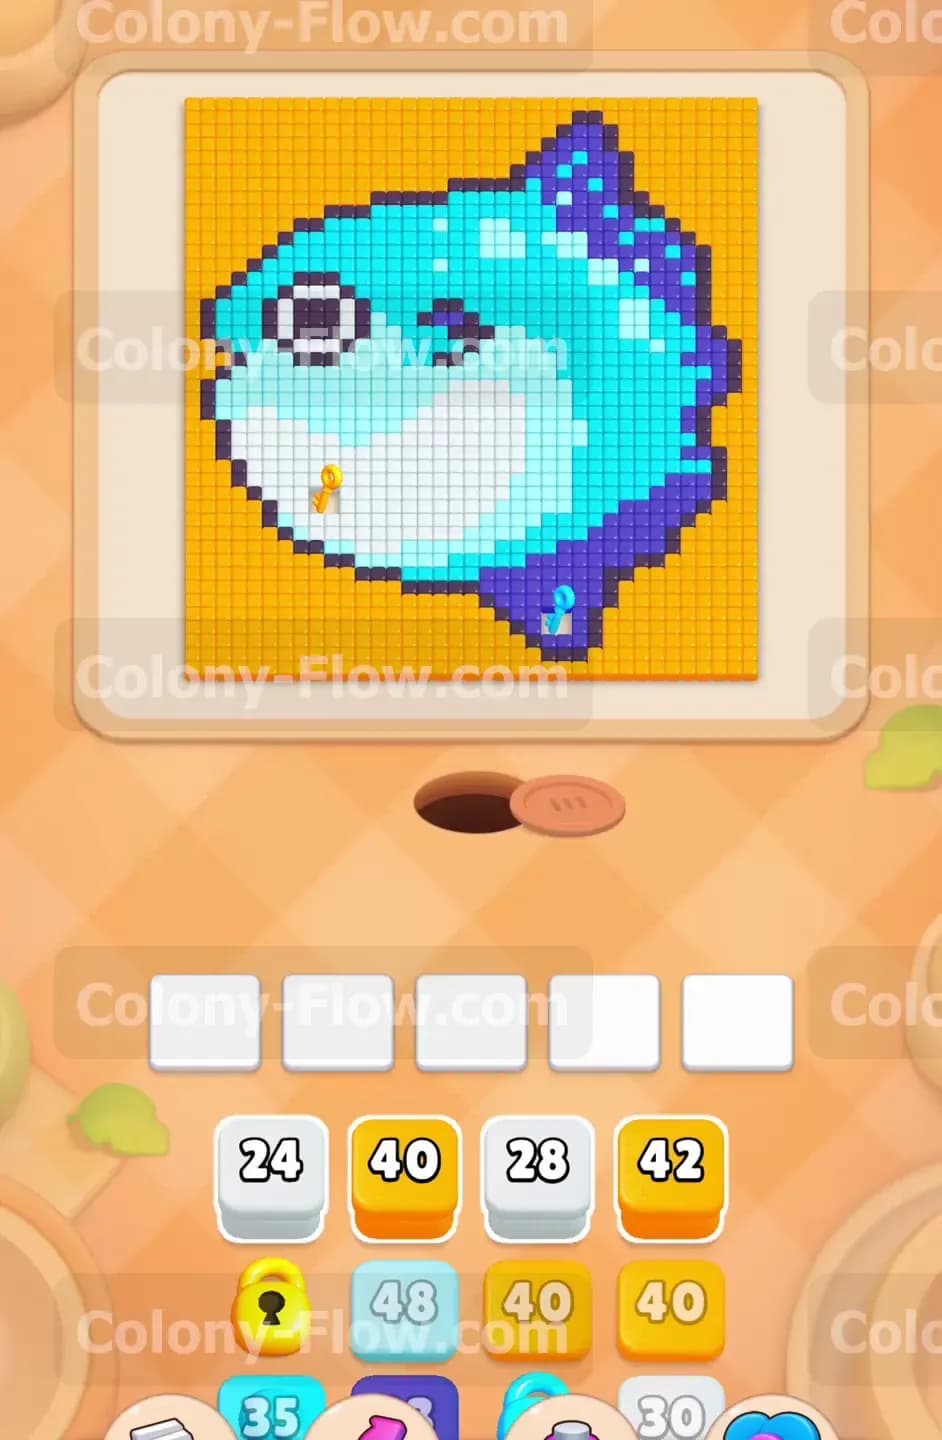
The picture takes up almost the entire screen. It shows a large sunfish with a dark purple outline a light blue and cyan body a large white belly and a single white eye with a dark pupil. Surrounding the fish is a solid yellow background square. Right in the middle of the white belly rests a small yellow key. In your tray you start with standard blocks in white yellow light blue cyan and dark purple. Some of the blocks lower down in the tray have a lock icon over them. You cannot use these locked blocks until you collect the key on the board. Deeper in the tray you will encounter connected boxes. These are blocks joined by a thick line meaning they must be pulled into the slots together.
What It Takes to Clear Level 531 Board
You start with zero access to the yellow background and no way to reach the top half of the fish. The only open paths are at the very bottom edge where the dark purple fin and some cyan body tiles meet the nest hole. To clear the board you must first chew through the bottom fin to open a path into the white belly. Reaching the yellow key is your top priority. If you load your slots with yellow blocks before getting that key you will immediately lose the game because the ants have no way to reach the yellow tiles. Once you unlock the tray you must carefully pull the connected boxes so the ants can drain both colors at once. Clearing the level means managing your five waiting slots perfectly and ensuring every block you pull has a fully open path on the board.
Colony Flow Level 531 Step by Step Solution
Step 1: Open the bottom fin to access the belly area.
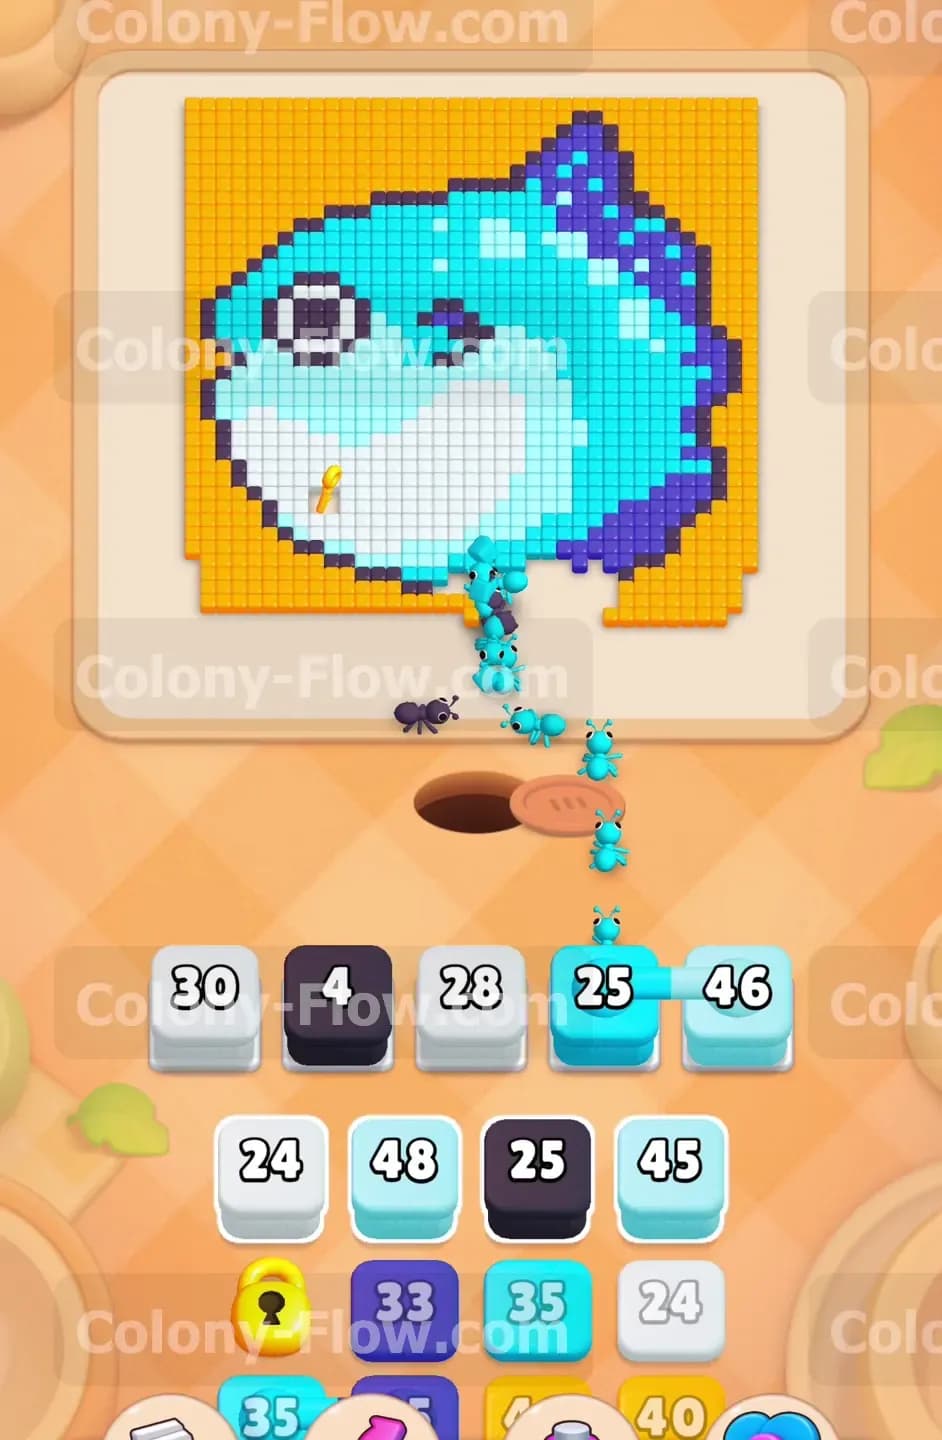
Your very first move is to attack the extreme bottom edge of the fish. Look at your tray and locate the initial dark purple 4 block and the cyan 25 block. Pull the dark purple block into your waiting slots to send ants directly up into the lower fin. The ants will swarm the dark purple outline and start breaking it down pixel by pixel. Once the fin opens up and the purple block clears pull the cyan 25 block and the light blue 46 block. The ants will rush in to eat the lower body tiles. You must clear these bottom layers completely to expose the white tiles of the belly. Keep a close eye on your five slots and do not pull any yellow blocks yet. The yellow background remains completely blocked off. Pulling a yellow block right now will clog your slots permanently and force you to restart the game.
Step 2: Push through the white tiles to reach the key.
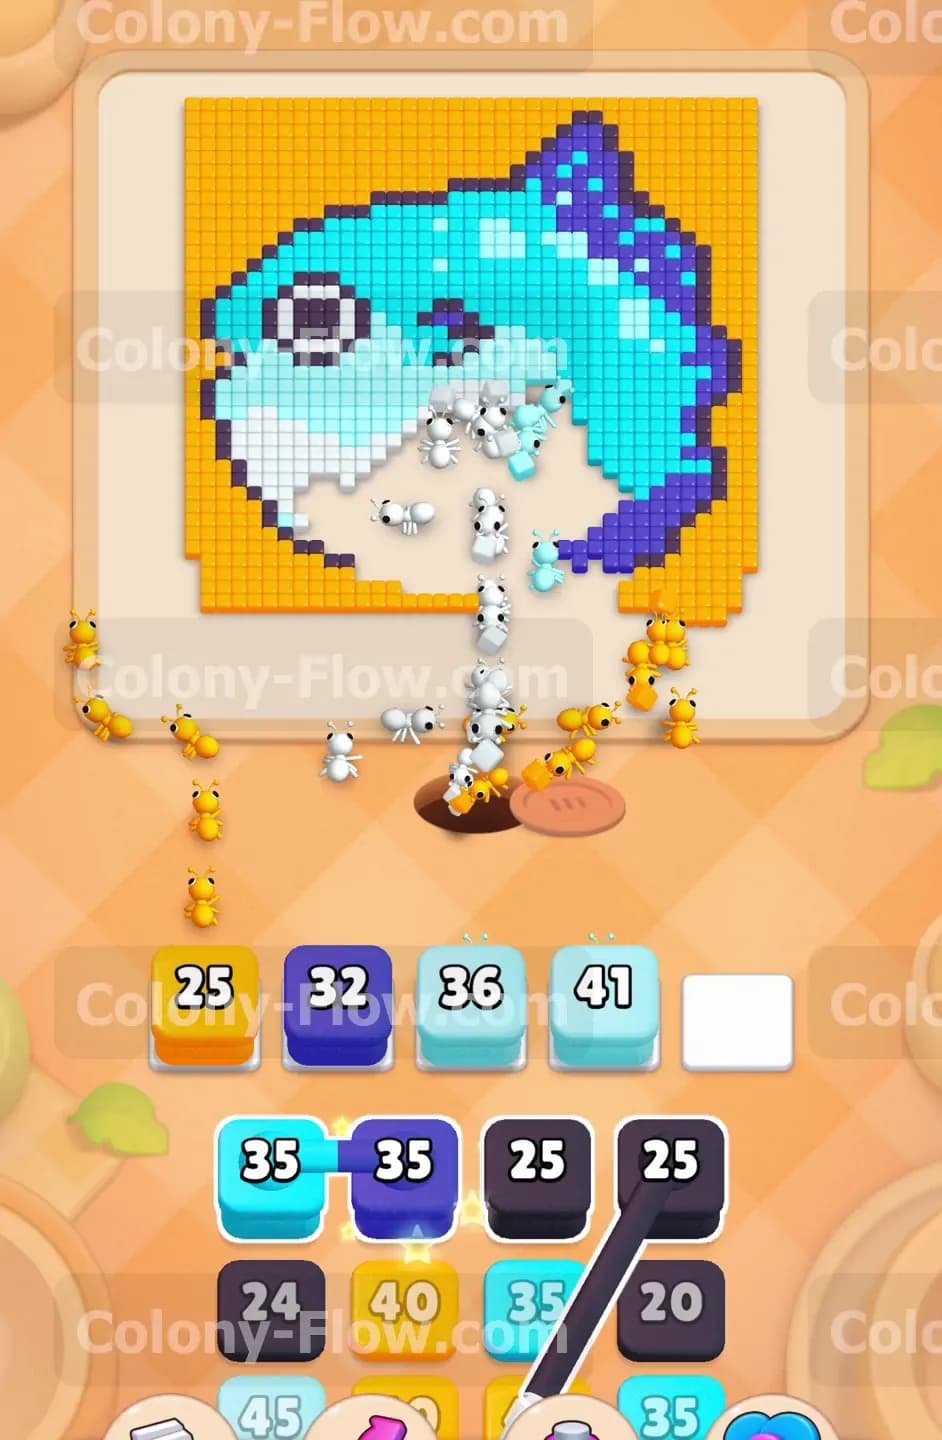
With the lower body open you now have a clear path into the white belly. The tiny yellow key rests directly on these white tiles. Pull the white 30 block and the white 28 block from your tray. The ants will stream out of the nest and march straight up the middle of the board into the white section. They will eat away the belly tile by tile creating a large hollow space inside the fish. As the white tiles disappear the ants will eventually step onto the specific tile holding the yellow key. Once they consume that tile the key flies down to your tray and unlocks the restricted blocks. This is a massive milestone for the level. You now have full access to your entire arsenal of colors and you can finally start planning your attack on the background.
Step 3: Clear the lower background and inner body.
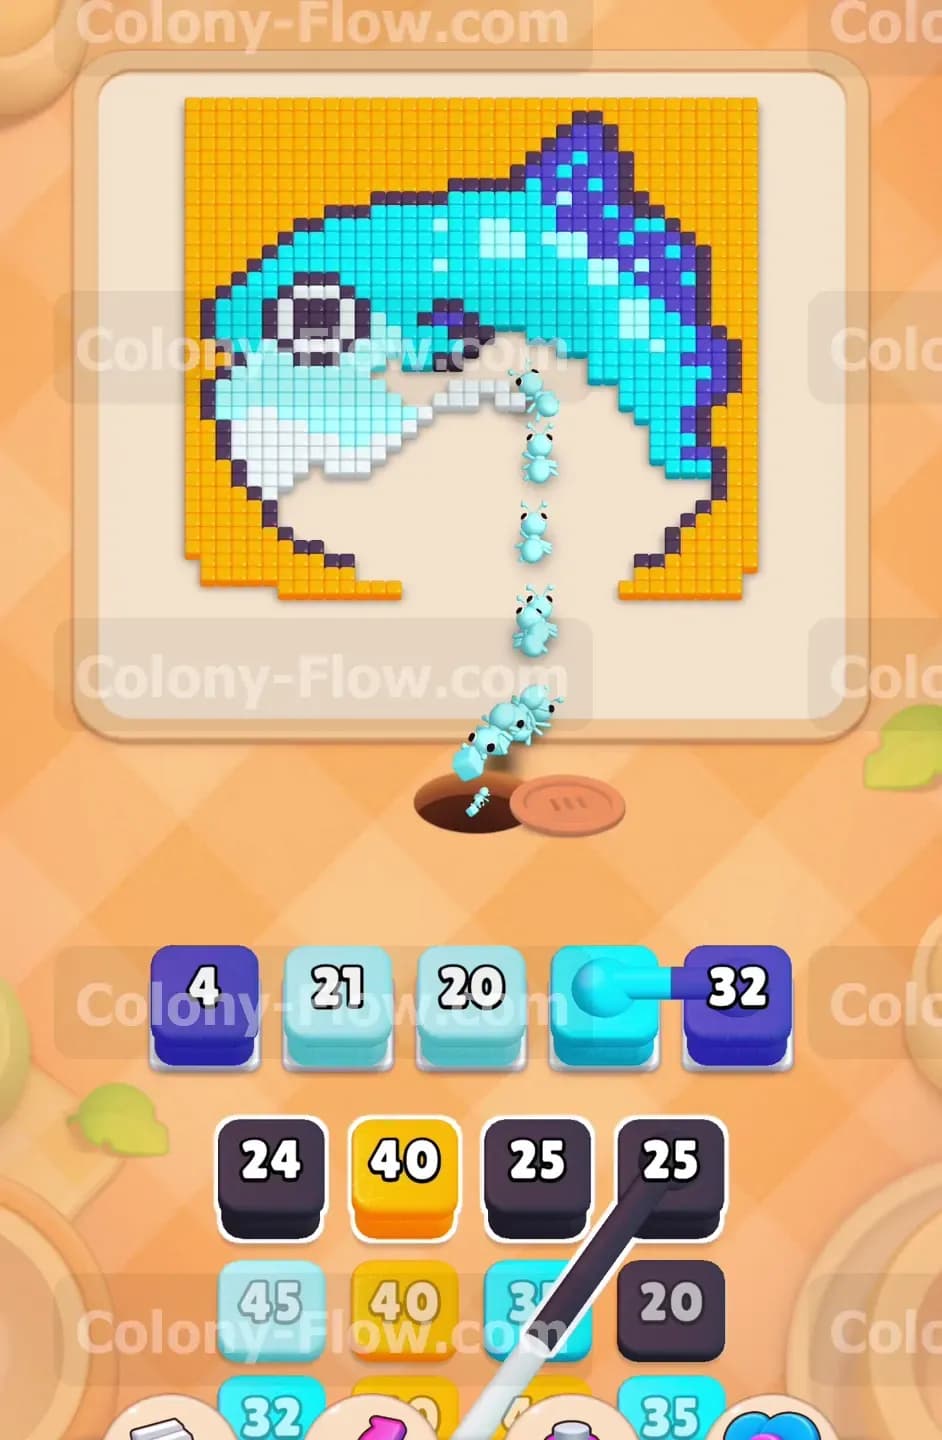
Now that you have the key the locked yellow blocks sitting in your tray are completely free to use. You also have open paths to the lower left and lower right corners of the yellow background. Pull a yellow 40 block into the slots and watch the ants split into two streams. They will march around the bottom corners and start eating the thick yellow border. While the yellow ants are busy working on the edges pull more white and light blue blocks to continue hollowing out the belly and the middle of the fish. The ants will chew through the white eye and the cyan body simultaneously. Balancing the background clearing on the outside with the internal body clearing on the inside keeps a steady flow of ants moving. This dual approach drains your waiting slots very quickly and prevents any accidental traffic jams.
Step 4: Manage the connected boxes in your tray.
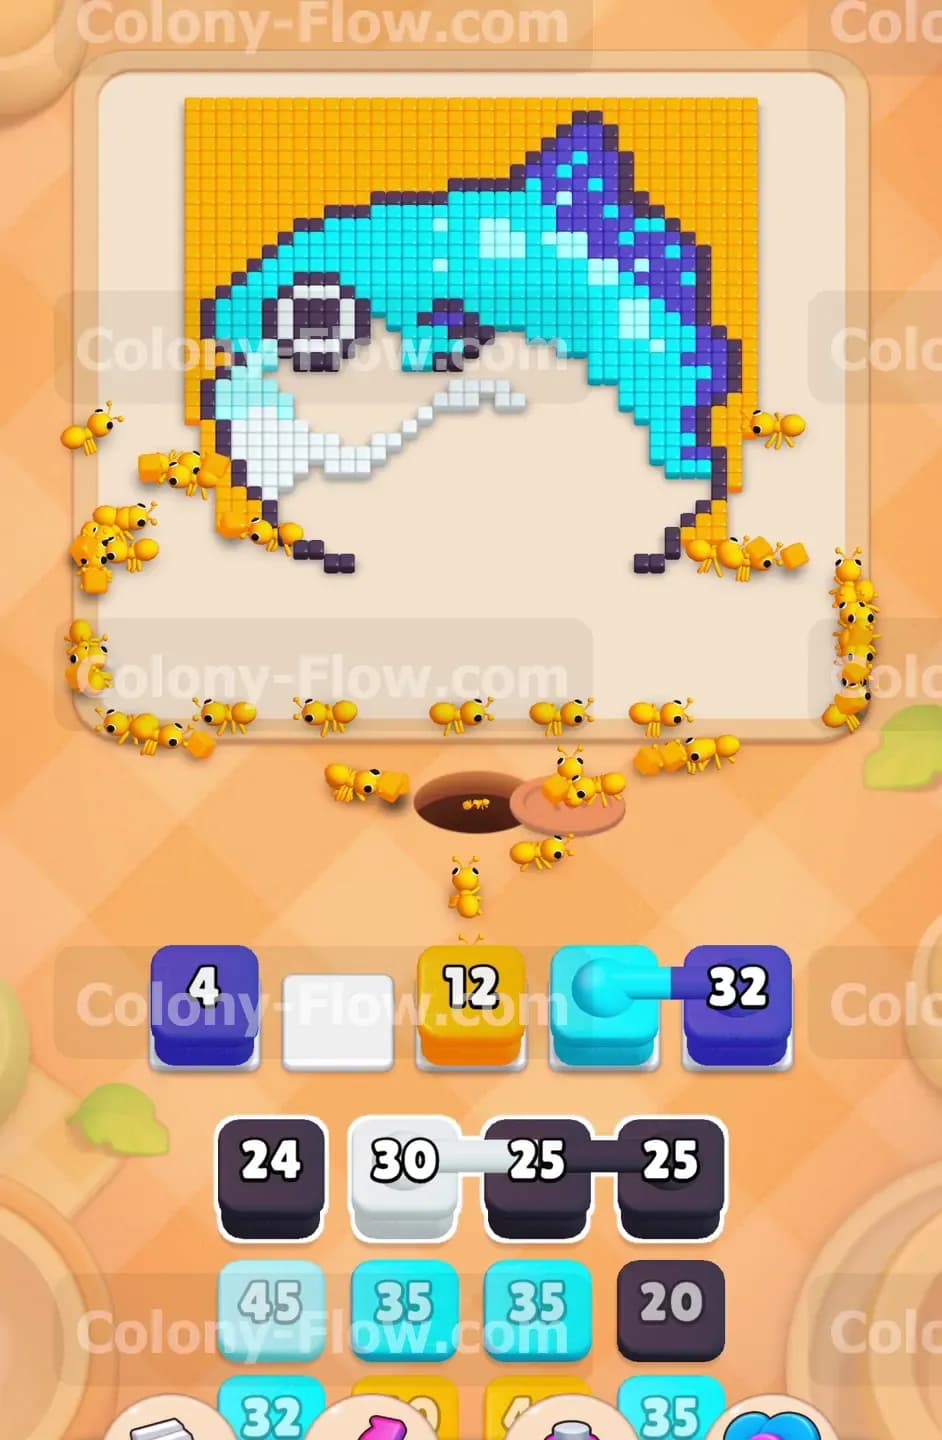
As you dig deeper into your tray you will uncover the connected boxes. You will spot a cyan 35 block joined directly to a dark purple 35 block by a solid line. Because they are connected pulling one will automatically drag both into your waiting slots. Before you pull them you must verify that the ants can reach both cyan and dark purple tiles on the board. Since you just hollowed out the middle of the fish the ants have total access to the inner cyan body and the inner edges of the dark purple outline. Go ahead and pull the connected pair into your slots. The ants will immediately swarm out and attack both colors at the exact same time. This fast double drain prevents the heavy blocks from sitting around in your slots and causing a fatal jam.
Step 5: Send ants up the left and right outer edges.
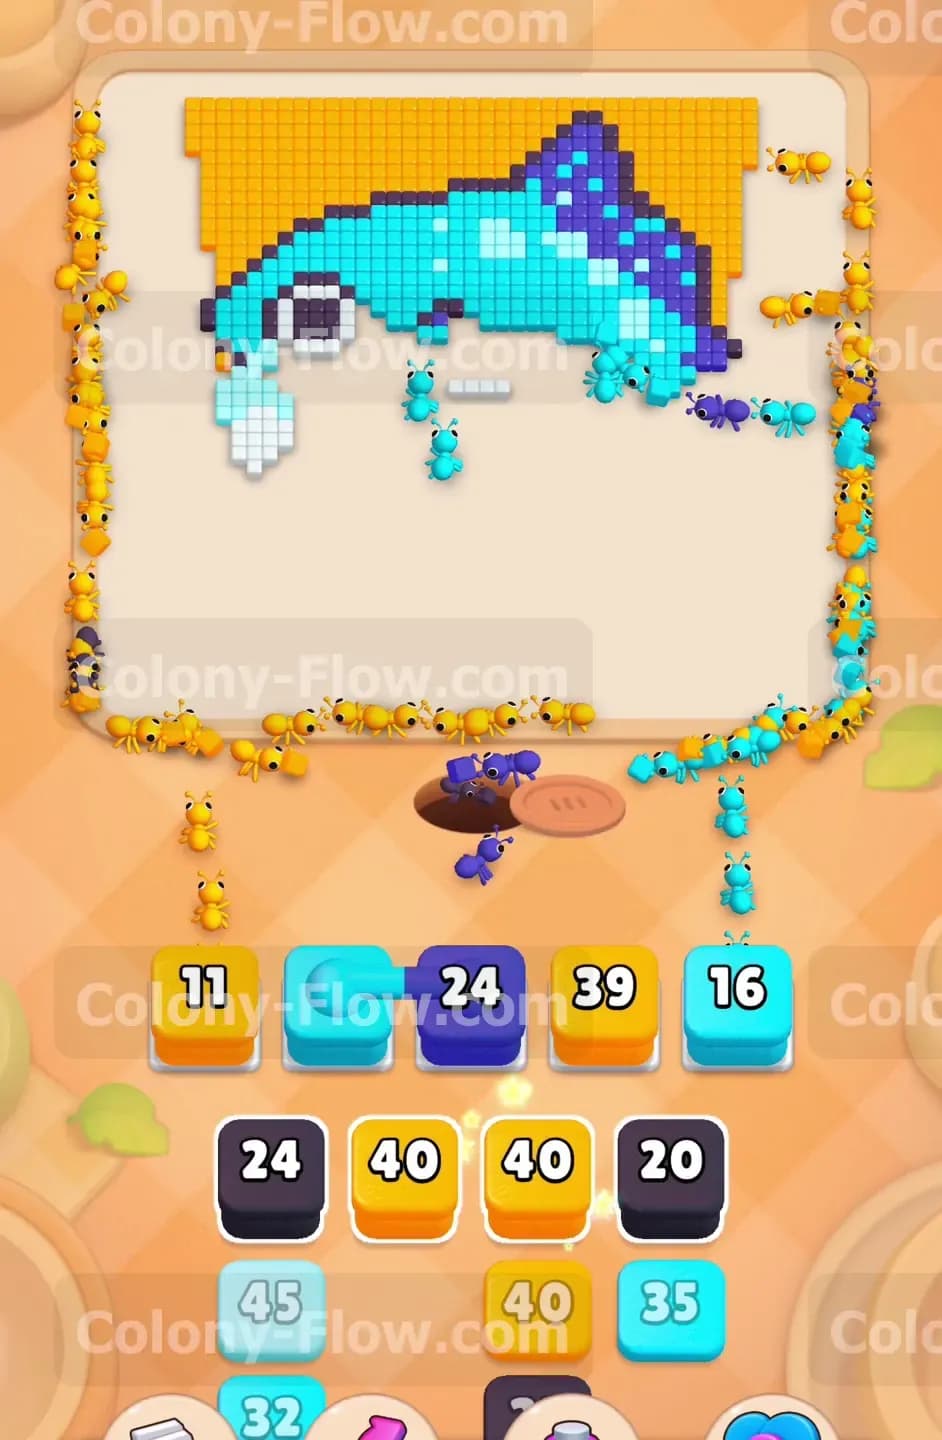
With the connected boxes cleared you can shift your focus heavily onto the yellow background. Pull the yellow 39 block and the yellow 16 block into your slots. A massive stream of yellow ants will travel all the way up the left and right sides of the board. They will eat the entire vertical yellow border leaving only the very top section intact. At the exact same time pull another dark purple 24 block. The ants will march up the sides of the fish and begin eating the large dark purple fin on the top. The board is now extremely open and the ants have to travel incredibly long distances to reach their food. This long travel time means your blocks will drain much slower so you must exercise caution and not pull too many blocks at once.
Step 6: Attack the top fin and upper background.
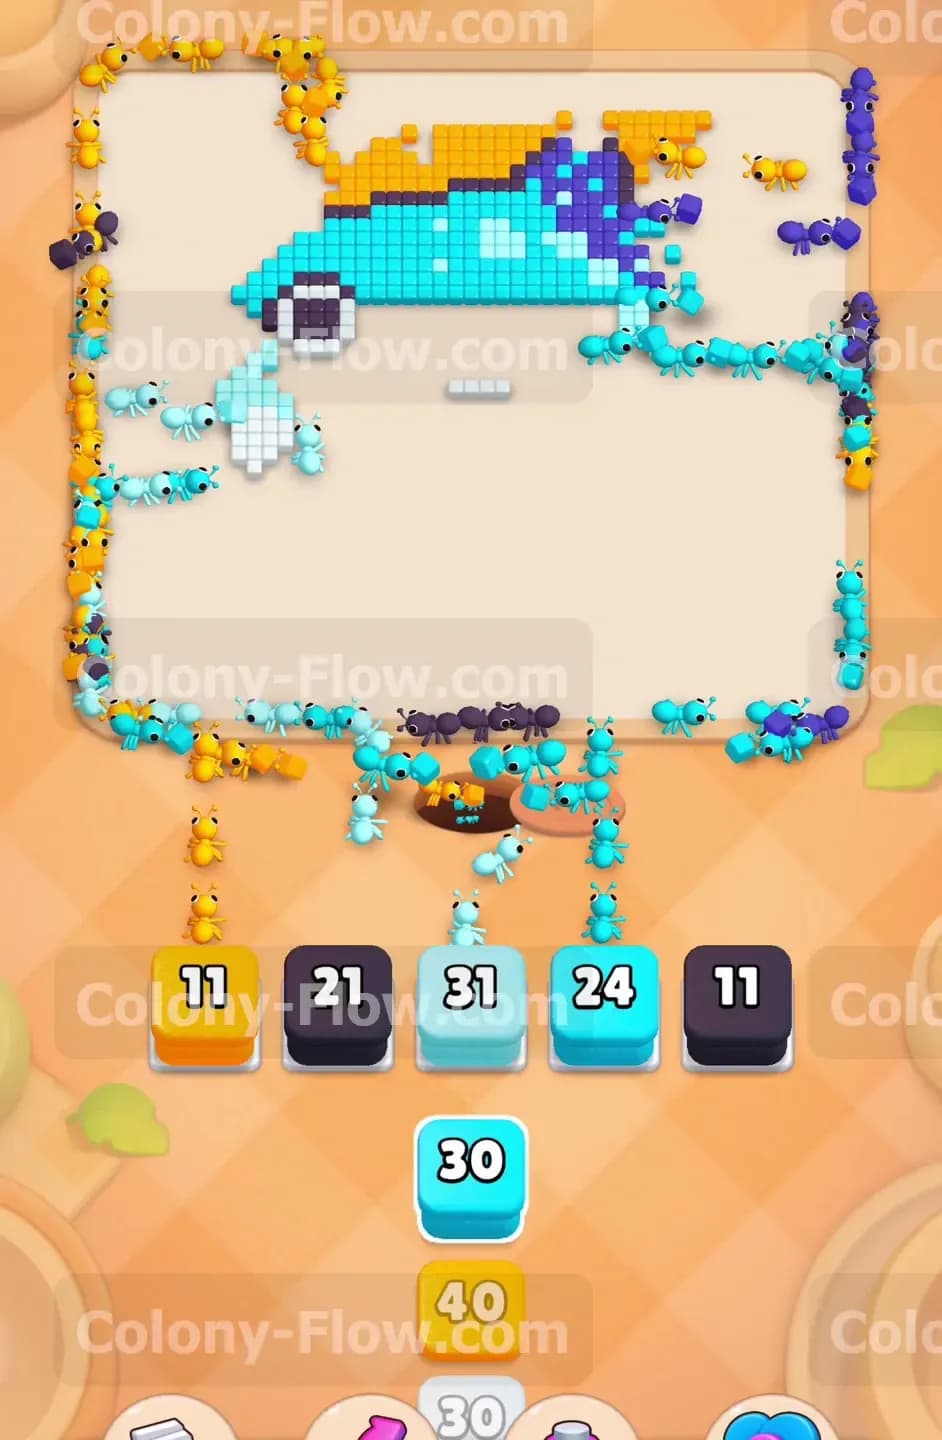
The bottom and middle areas of the board are completely empty at this point. You only have the top yellow border the top dark purple fin and a few random cyan tiles remaining. Pull a yellow 11 block to send ants to the very top edge of the background. They will march all the way around the huge empty space and devour the final yellow boundary tiles. Next pull a dark purple 21 block and a dark purple 11 block to finish off the top fin. You must be very patient during this phase. The ants take a significant amount of time to walk from the bottom nest hole to the extreme top edge. Wait for the block numbers to count down and completely clear out of your slots before you pull anything else from the tray.
Step 7: Clean up the final body sections to finish the level.
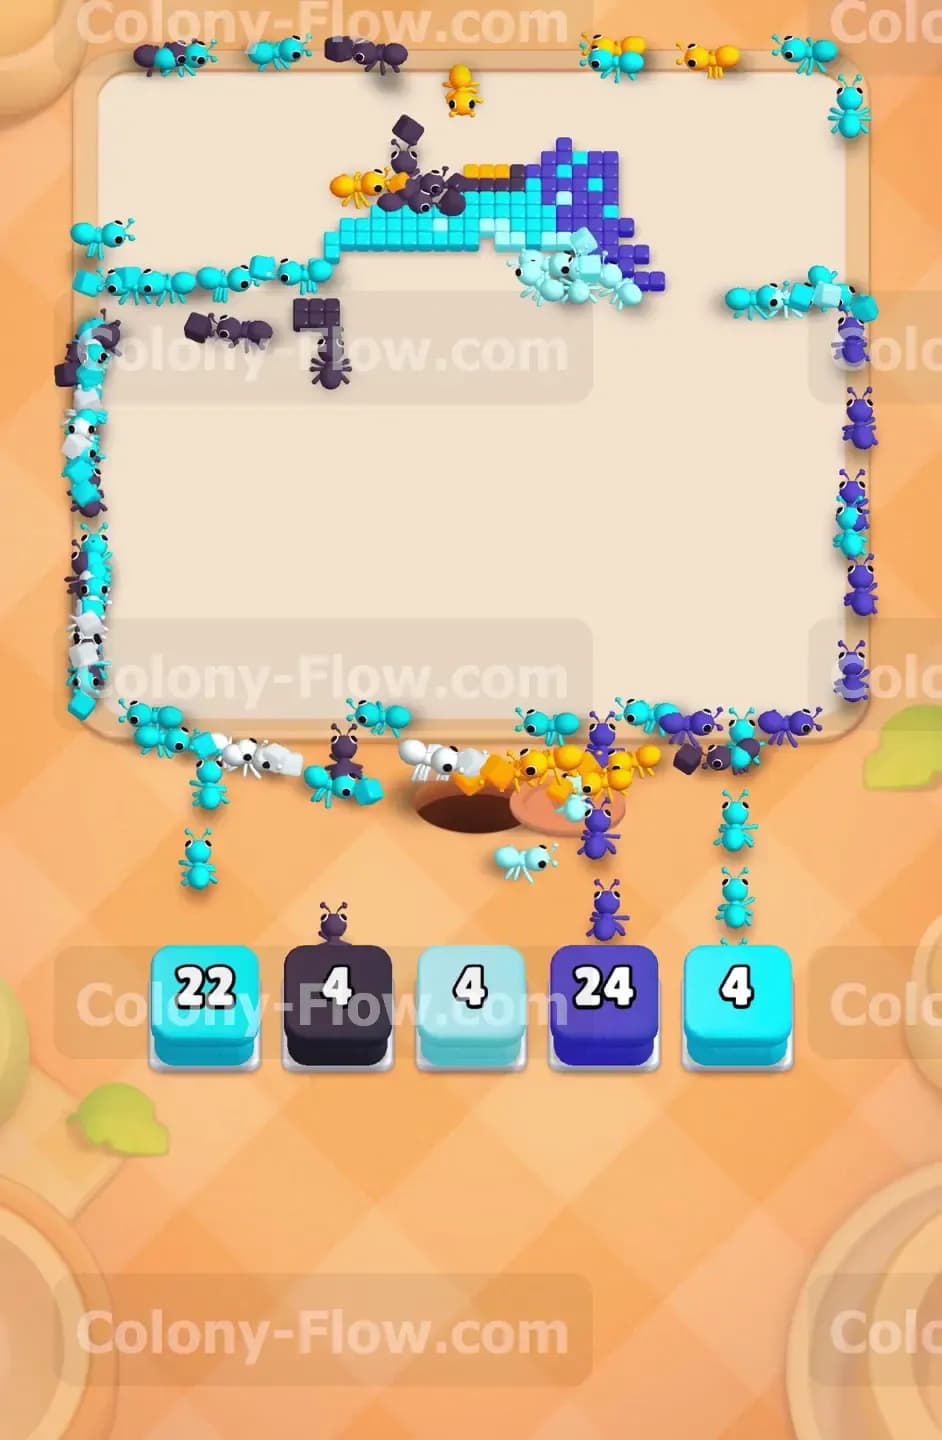
You are now looking at just a small cluster of cyan and light blue tiles near the top right area of the fish. Your tray only has a few small blocks left. Pull your remaining cyan 24 block and light blue 4 block into the waiting slots. A final wave of ants will march up the right side and swarm the last few stray pixels. Keep your hands off the tray and let the ants do their job. They will rapidly eat the remaining blue tiles and empty the board. Once the very last tile disappears the picture is completely clear and the ants will stream back down into the nest. You have successfully beaten the board and can move on to the next puzzle.
Final Thought
This level tests your patience and your ability to prioritize targets. Getting that key early is the only way to survive the massive yellow background. If you ever feel lost or struggle with the timing of the connected boxes I highly recommend watching the video above this article. Seeing the ant paths open up in real time makes the strategy much easier to understand. Good luck with the next puzzle.