Colony Flow Level 319 Walkthrough Solution & Guides | How to solve Colony Flow 319

Guide By Liam Stone
Updated on July 17, 2026
The Level 319 walkthrough plays out in full in the video above, so skip the article if that works better for you.
Video doesn't match your screen?
Game updates frequently scramble layouts! Try our AI Screenshot Solver first to find your exact board instantly, or report broken guides to our team.
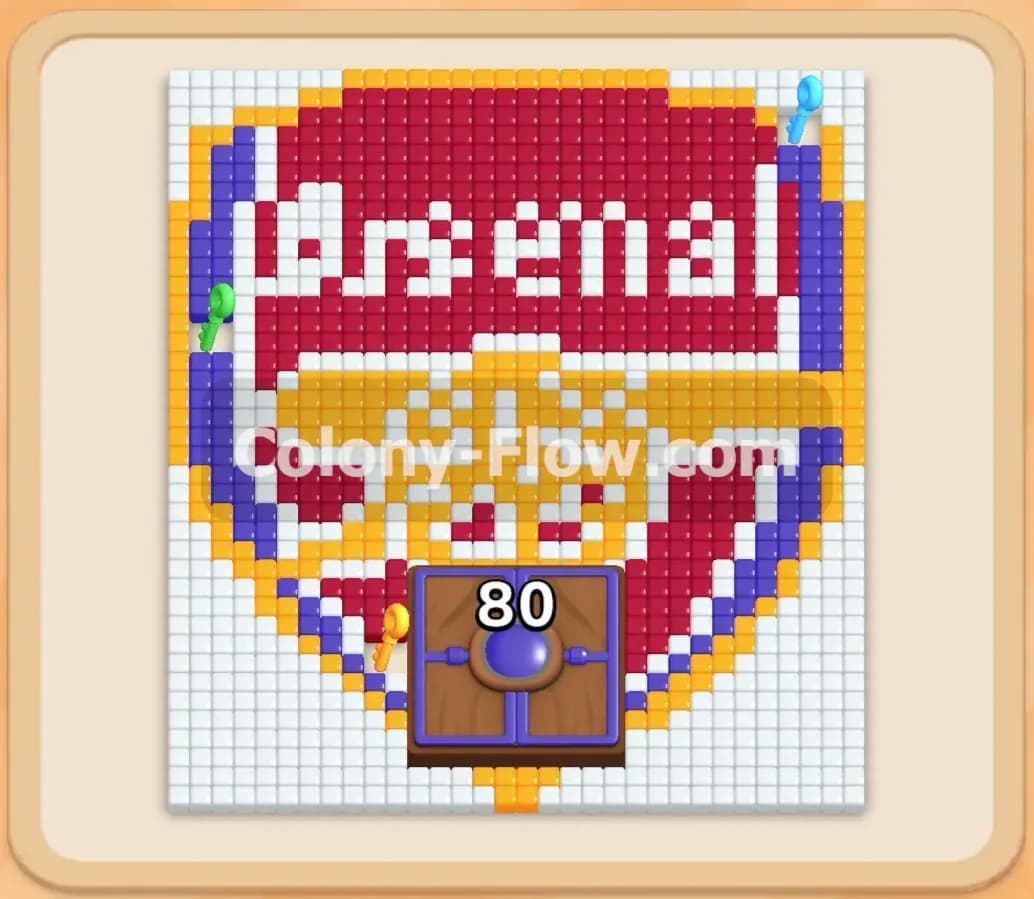
Colony Flow Level 319 drops you in front of a massive pixel art crest that takes up almost the entire screen. I play every single level to figure out the best routes and this one definitely requires careful planning to avoid filling your waiting slots. You will need to dig through thick borders and manage special keys to unlock the pieces you need to finish the puzzle.
Colony Flow Level 319 Overview
What You Are Working With
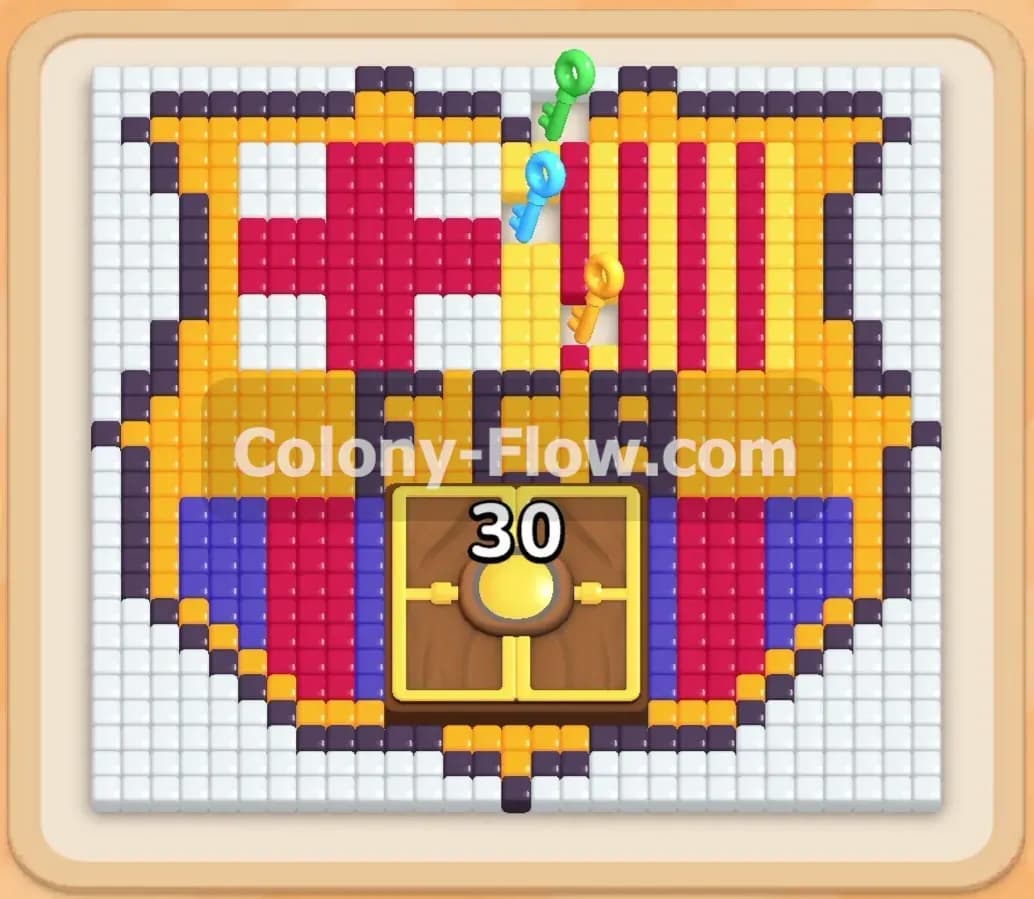
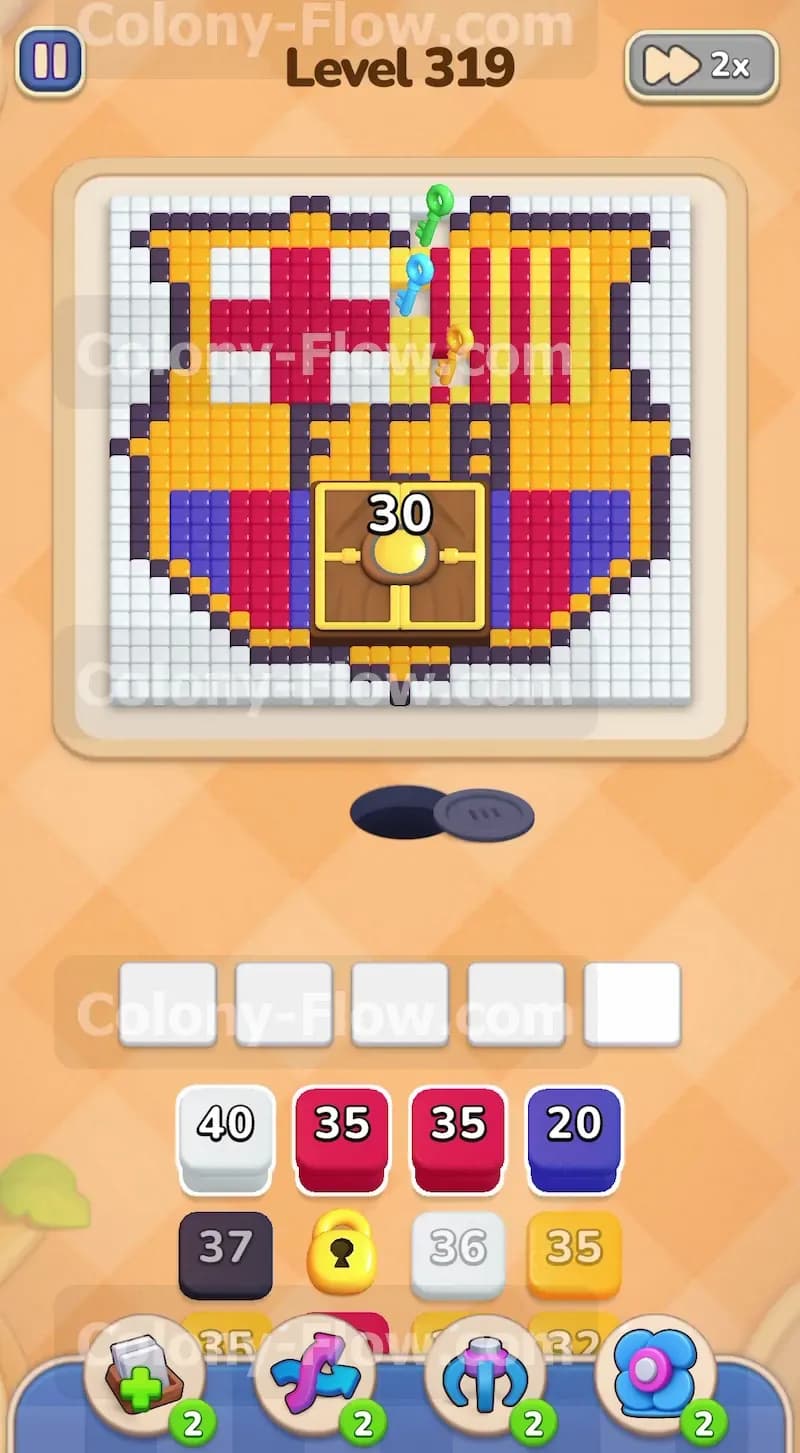
When the level starts you see a large soccer style crest dominating the board. The design features thick yellow and red vertical stripes on the right side and a red cross on the top left. A large patch of blue sits at the bottom of the crest with black letters spelling out initials across the center. A solid black outline surrounds the whole shape. A white border wraps around the very outside. Right in the middle of the board you will see a large hungry door chest with the number thirty stamped on it.
You also have lock and key mechanics in play here. If you look near the top of the crest you will spot a green key and a blue key resting on top of the tiles. Down in your tray you have multiple colored blocks holding your ants. Some of these blocks have keyholes on them which means they are locked. You cannot use those locked blocks until your ants clear a path to the matching keys on the board. The starting tray gives you a white forty block a red thirty five block and a blue twenty block among others.
What It Takes to Clear Level 319 Board
To beat this puzzle you must feed every single pixel art tile to your ant colony. The ants stream out of a nest hole at the bottom and they need an open path to reach the food. You pull blocks from the tray into your five waiting slots to send the matching colored ants onto the board. You win when the entire crest is gone and the hungry door chest opens.
The main rule to remember is that you lose if you fill all five waiting slots and no ants can move. Every move you make must keep at least one clear path open. You have to systematically peel away the outer white and black layers before you send ants into the colorful middle sections. Grabbing the green key and the blue key is mandatory to unlock the exact colors you need to finish the center.
Colony Flow Level 319 Step by Step Solution
Step 1: Clear the bottom white border and the black outline
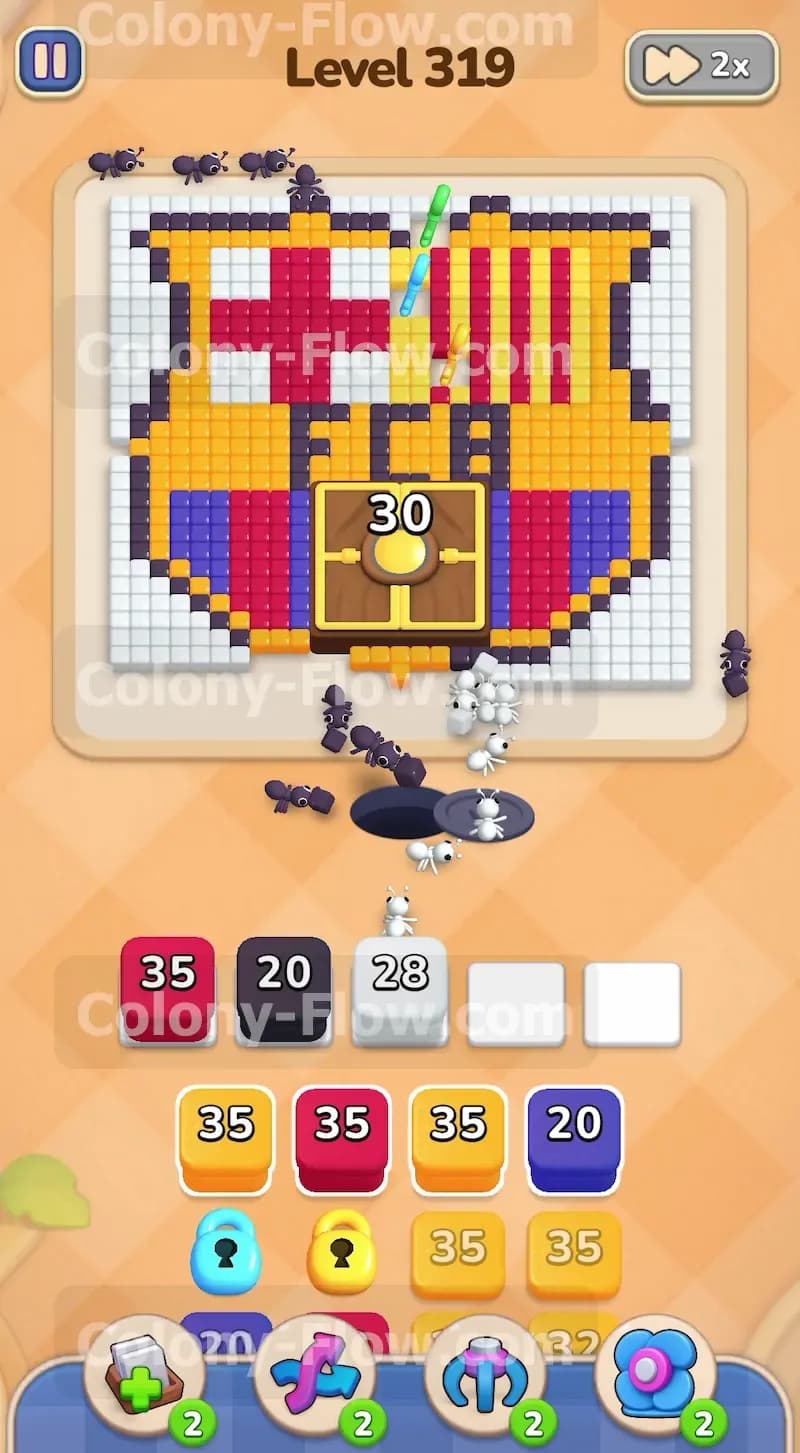
Your very first move must open up the bottom edge of the board so your ants can get inside the main design. Pull the white forty block from your tray and place it in an empty slot. The white ants will stream out and start eating the white tiles along the bottom border. Give them a moment to clear some space. Next you should pull the black thirty seven block. The black ants will follow the white ants and begin chewing away the thick black outline at the base of the crest. This removes the outer barrier and creates a wide open entry point into the colorful sections above. Keep an eye on your slots to ensure the ants do not get stuck behind each other.
Step 2: Send red and blue ants into the lower shield
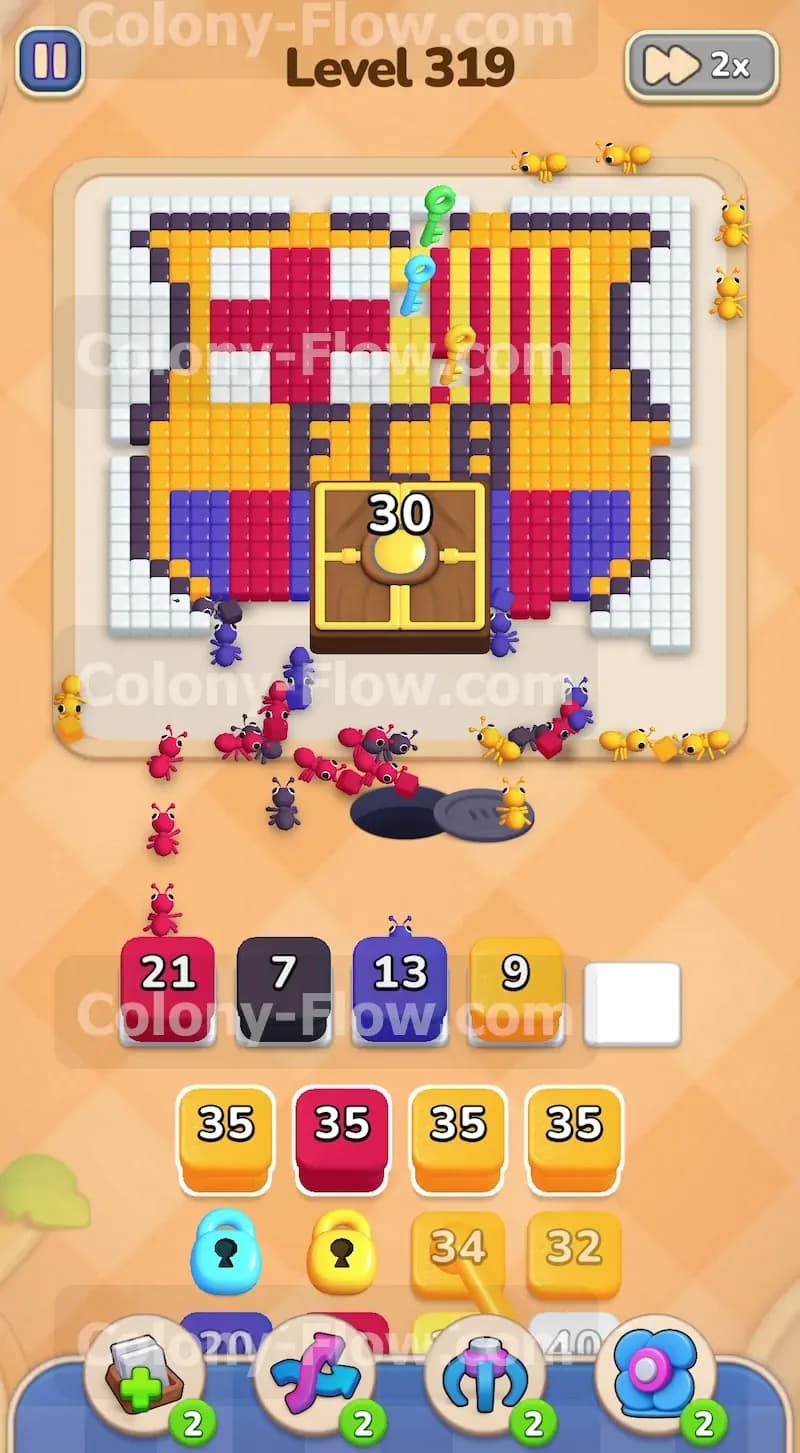
With the bottom boundary gone you now have direct access to the blue and red sections at the bottom of the crest. Pull a red thirty five block and a blue twenty block into your slots. The blue ants will immediately target the solid blue section on the bottom right and bottom left. The red ants will begin marching up into the bottom edges of the red stripes. Letting these two colors run at the same time is perfectly safe because the board is wide enough at the bottom to support multiple active paths. This clears a massive chunk of tiles and opens up fresh blocks in your tray for the next phase.
Step 3: Work up the sides with yellow blocks
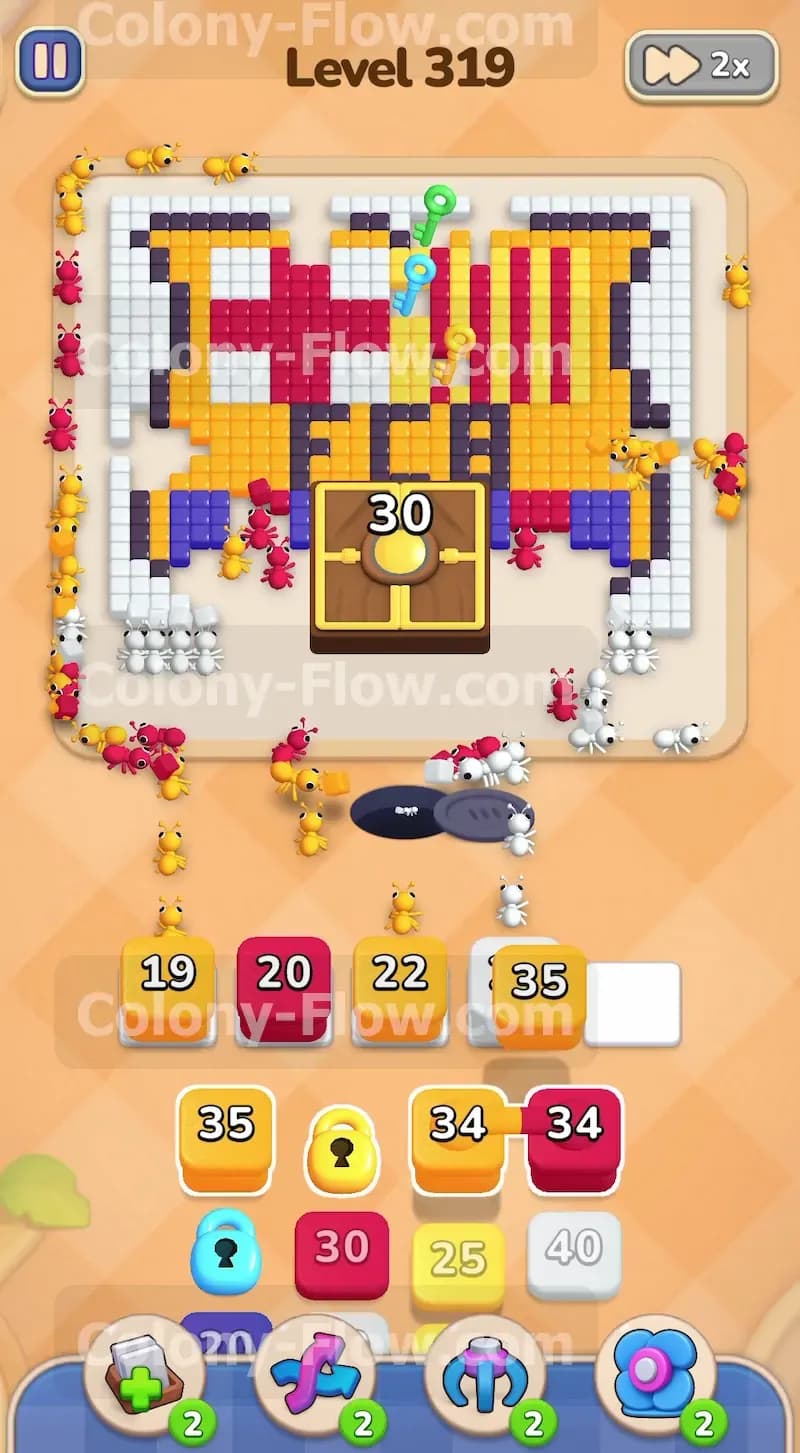
The next logical target is the thick yellow area framing the sides. Pull a yellow thirty five block from your tray. The yellow ants will wrap around the cleared bottom section and start eating their way up the vertical stripes on both the left and right sides. You will also see another black block become available. Pull that black block to keep chipping away at the outer black outline moving up the sides of the shape. Keeping the outer edges clear prevents your ants from getting bottlenecked in the center. Wait for the numbers on these blocks to drop completely to zero before you pull anything else to keep your slots clear and safe.
Step 4: Grab the green key at the top of the board
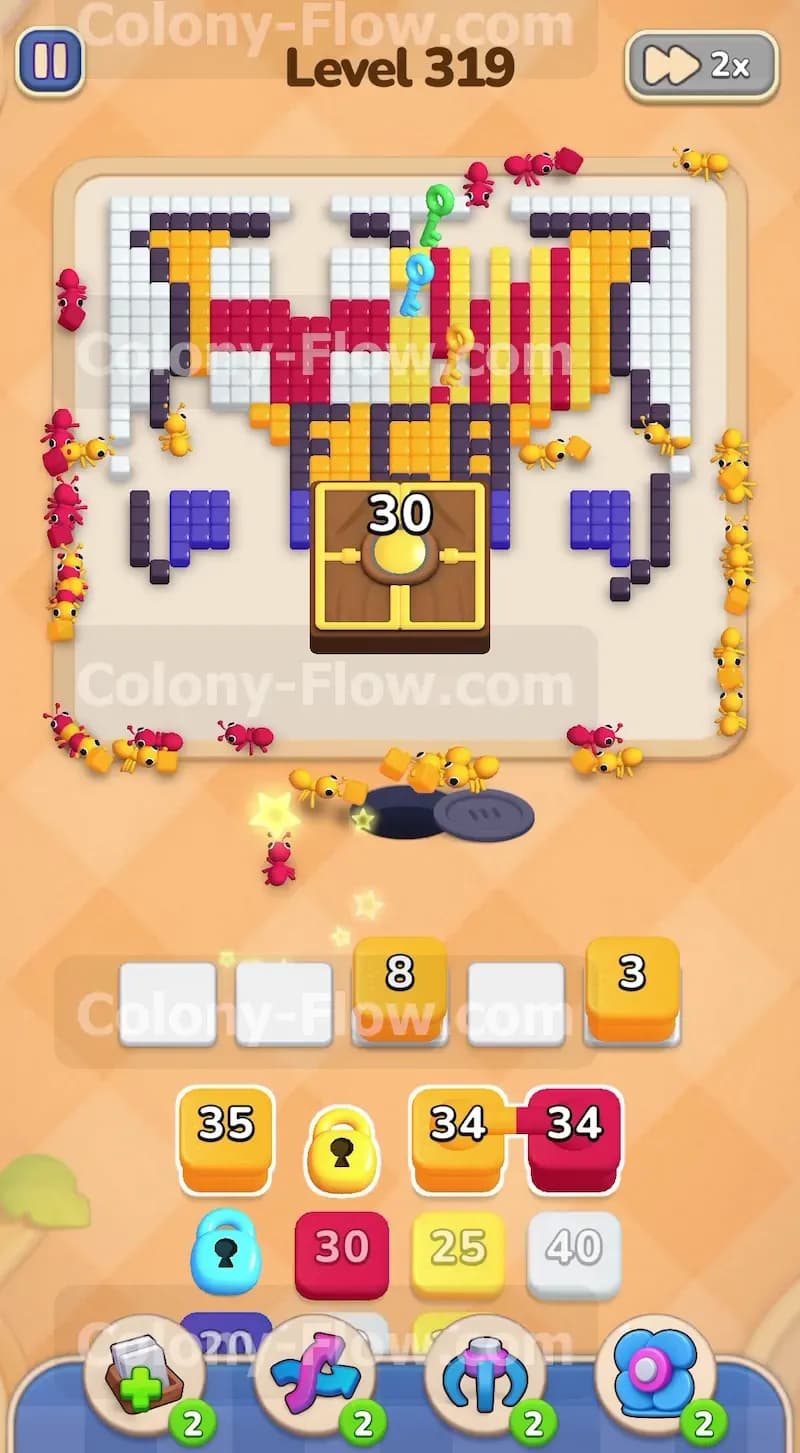
You now have a clear vertical path up the yellow and red stripes on the right side. Pull another red block and a yellow block to push your ants all the way to the top of the design. As the ants consume the highest tiles in the stripes they will reach the green key resting near the top center. Collecting this green key instantly removes the lock from the yellow keyhole block sitting in your tray. This gives you access to a fresh yellow thirty block that you desperately need for the remaining middle section. Moving step by step up the side is the only way to get this key without clogging your waiting slots.
Step 5: Attack the central thirty hungry door chest
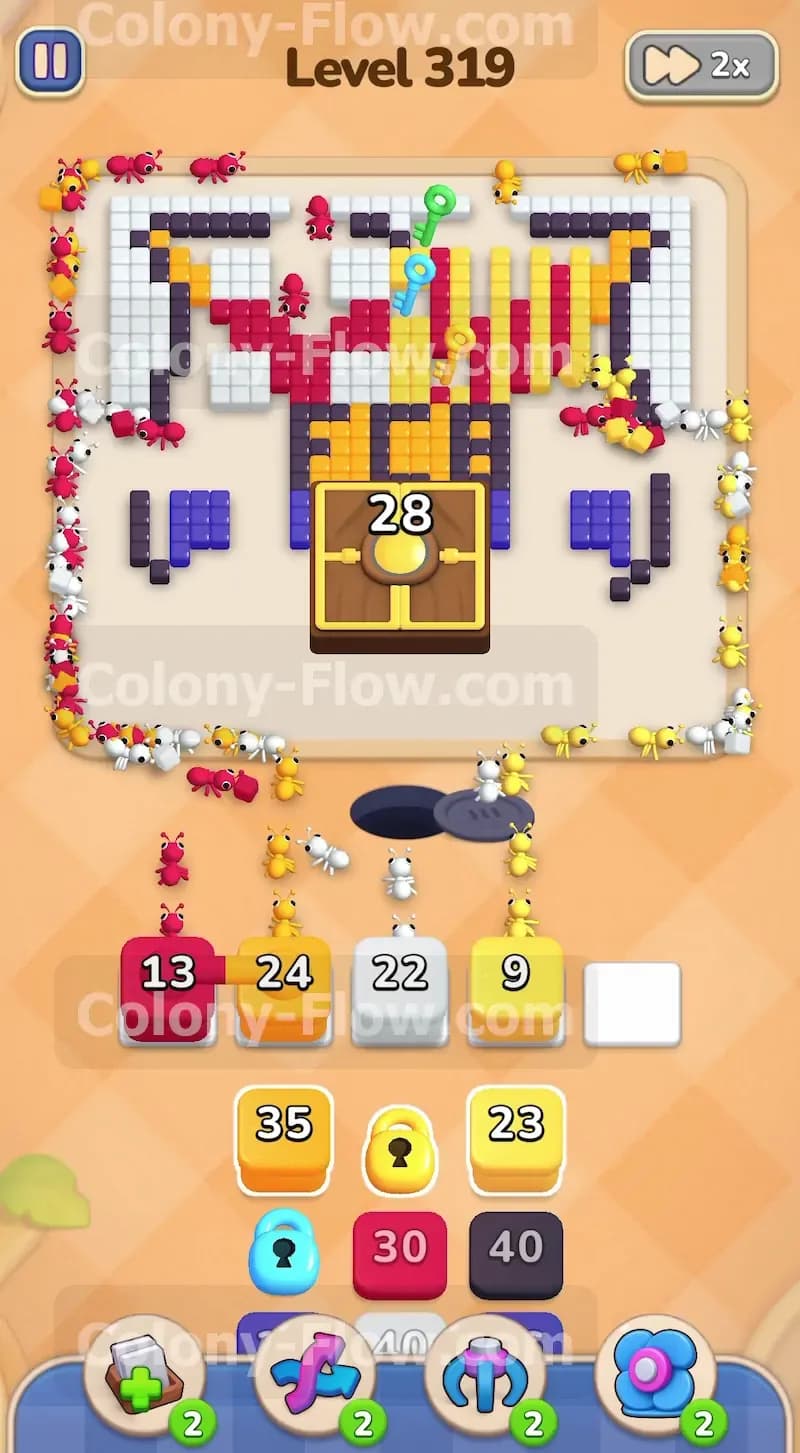
Now that you have your new yellow block unlocked you can focus on the middle of the board. The hungry door chest sitting in the center requires thirty hits to open. Pull the newly unlocked yellow thirty block and pair it with a red thirty five block. The red ants will chew through the red cross design in the top left corner. Meanwhile the yellow ants will swarm the central area and start throwing themselves at the hungry door chest. You will see the number on the chest count down from thirty as the ants hit it. You must let this process play out and avoid pulling unrelated colors while the chest absorbs the hits.
Step 6: Collect the blue key to unlock the final tray block
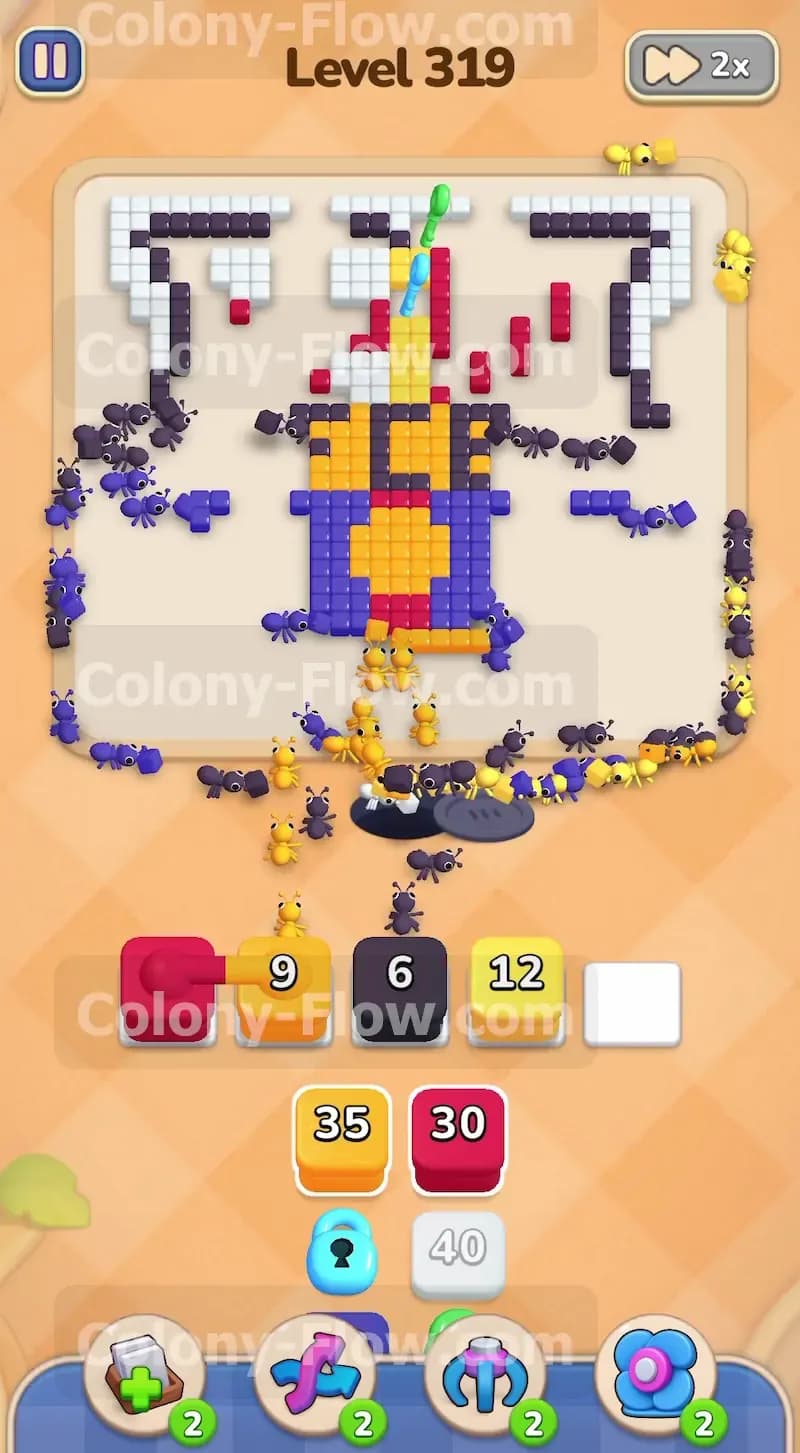
While the chest is taking hits you need to prepare for the final cleanup. Look at the top right side of the board where the blue key is still resting on the remaining white and black border tiles. Pull a white block and a black block from your tray to send ants up that right side. The ants will eat the final border pieces and grab the blue key for you. Once you secure the blue key the blue locked block in your tray finally opens up. You now have all the tools required to finish the level and your waiting slots should still have plenty of open space.
Step 7: Clear the remaining center tiles and letters
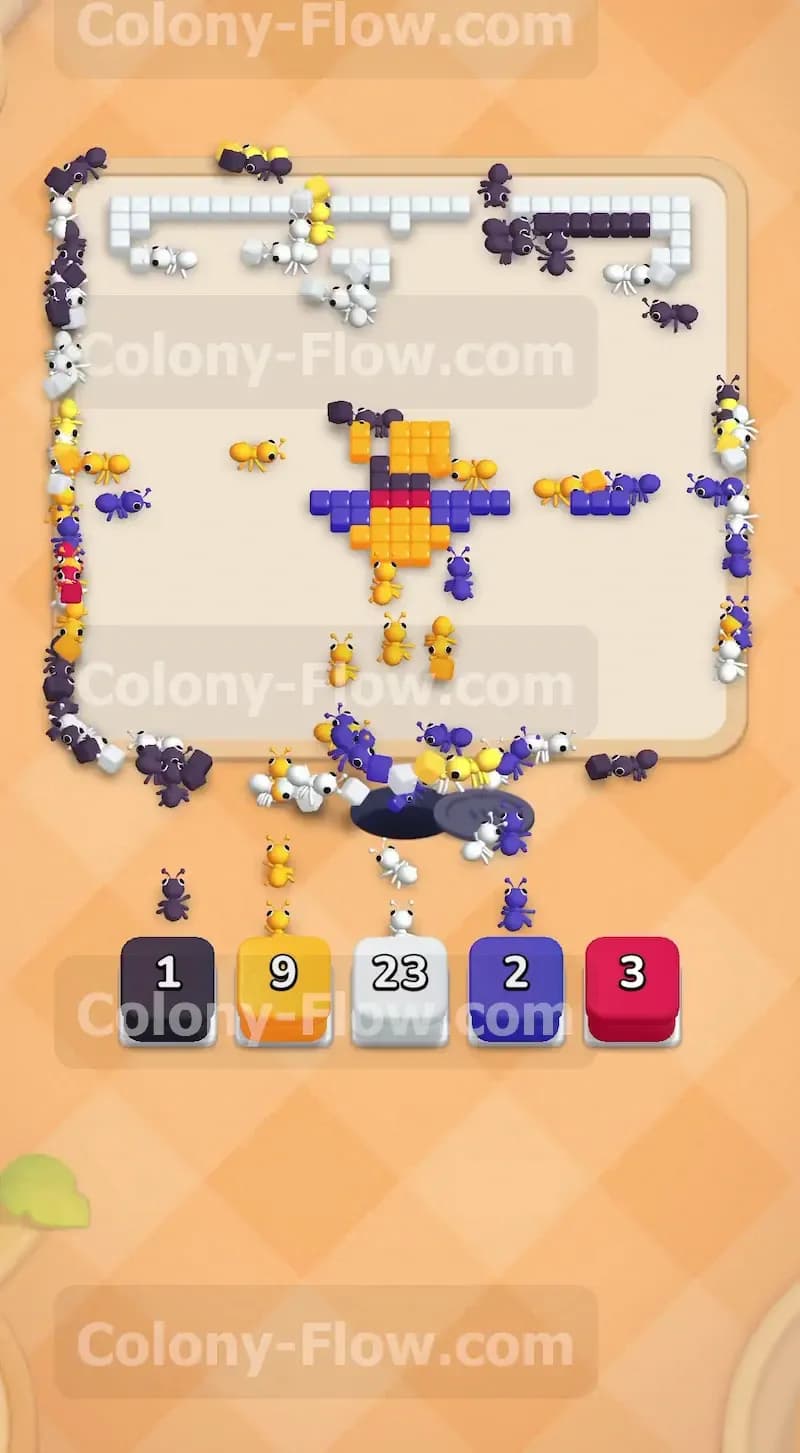
The hungry door chest should be gone by now which exposes the black initials in the center and the last remaining blue tiles. Pull the freshly unlocked blue block from your tray. The blue ants will rush the center and clean up the blue background sections surrounding the letters. You can also pull any remaining red or yellow blocks to finish the very last pieces of the cross and the stripes. The board will look very empty at this point but you must still be careful not to pull the wrong color and trap an ant in your slots.
Step 8: Finish the last black tiles to complete the board
Your tray will now only have a few small blocks left. Your final target is the group of black tiles making up the initials in the center of the crest. Pull your final black block into the tray. The black ants will march straight to the middle and consume the letters. As the last black tile disappears the ants will walk off the board. The screen will show a fully cleared space and the victory screen will appear. You have successfully navigated the locked blocks and kept your waiting slots clear the whole time.
Final Thought
Level 319 tests your ability to plan ahead and target specific sections of the board to collect keys. Peeling the outer layers first is the only way to reach those top keys without causing a total traffic jam in your tray. I highly recommend taking your time and letting each wave of ants finish before you pull the next block. Watch the video above this article if any step is hard to follow in text and you will see exactly how the paths open up.