Colony Flow Level 392 Walkthrough Solution & Guides | How to solve Colony Flow 392

Guide By Liam Stone
Updated on July 19, 2026
The full Level 392 solution plays out in the video above, no reading required.
Video doesn't match your screen?
Game updates frequently scramble layouts! Try our AI Screenshot Solver first to find your exact board instantly, or report broken guides to our team.
Welcome to Colony Flow Level 392. This puzzle presents a massive pixel art challenge with a huge obstacle right from the start. You need careful planning and perfect slot management to dismantle a giant barrier without locking up your tray. I play every level myself and I will walk you through exactly how I clear this board to keep the ants moving perfectly.
Colony Flow Level 392 Overview
What You Are Working With
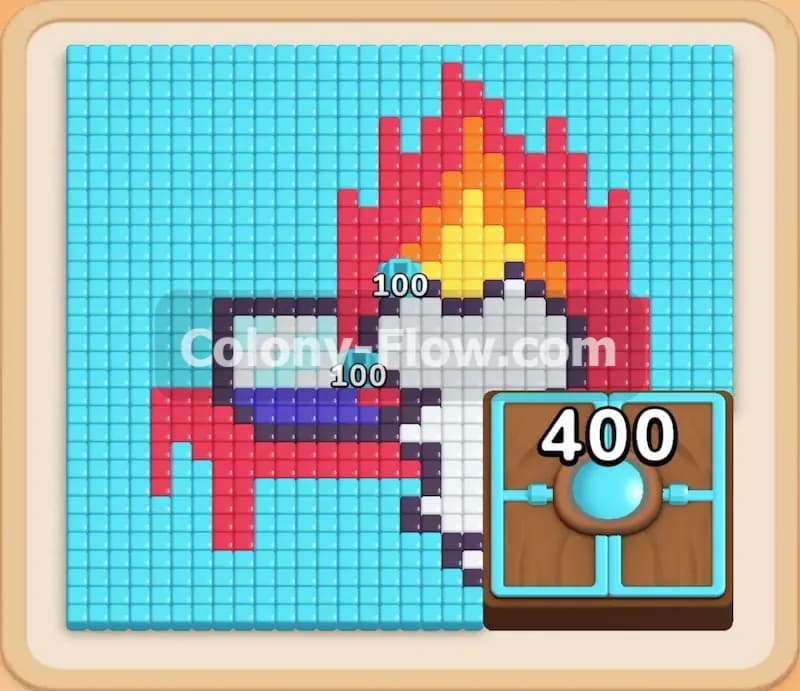
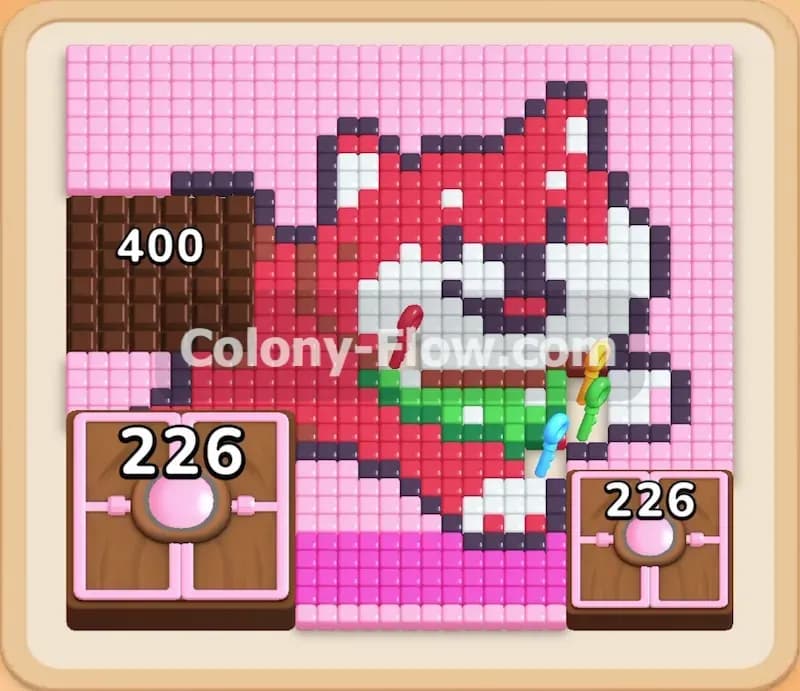
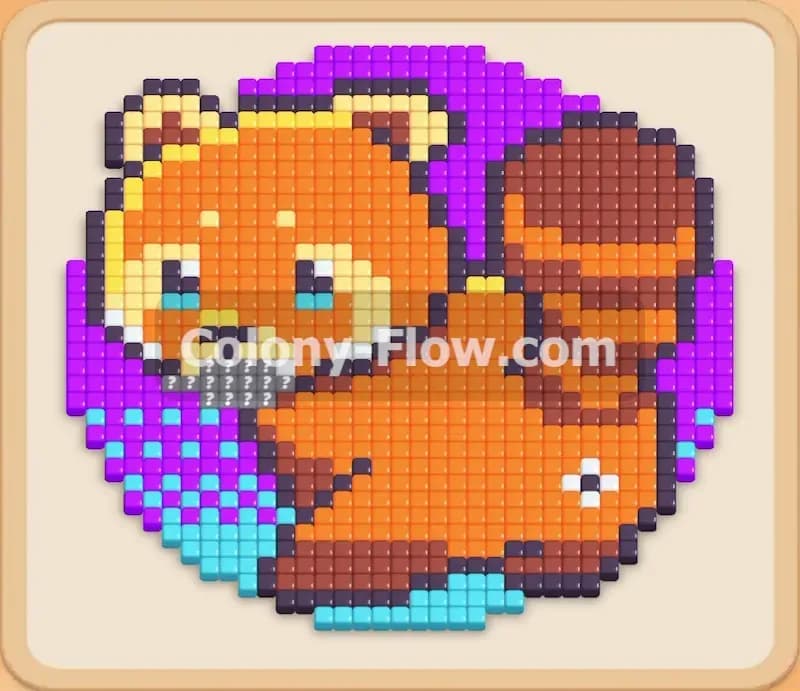
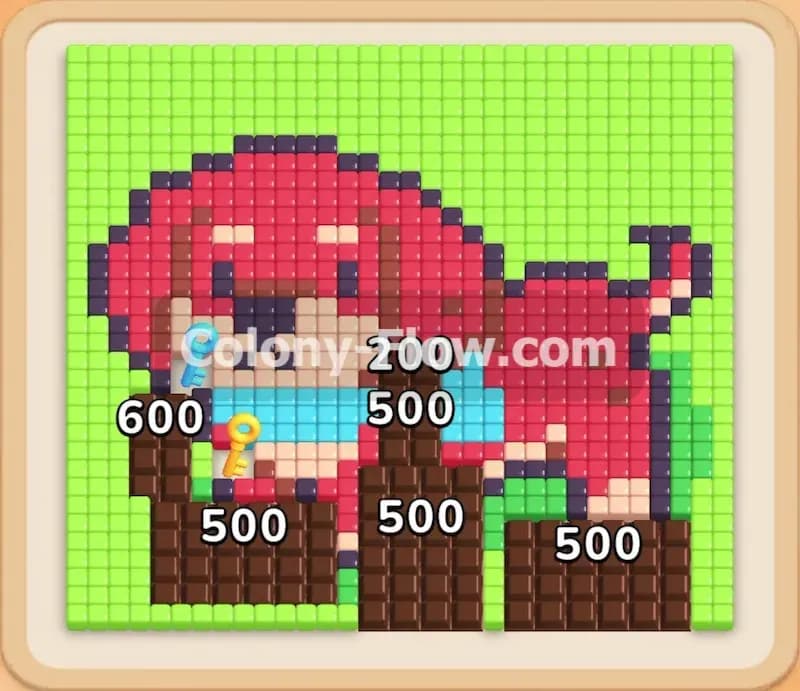
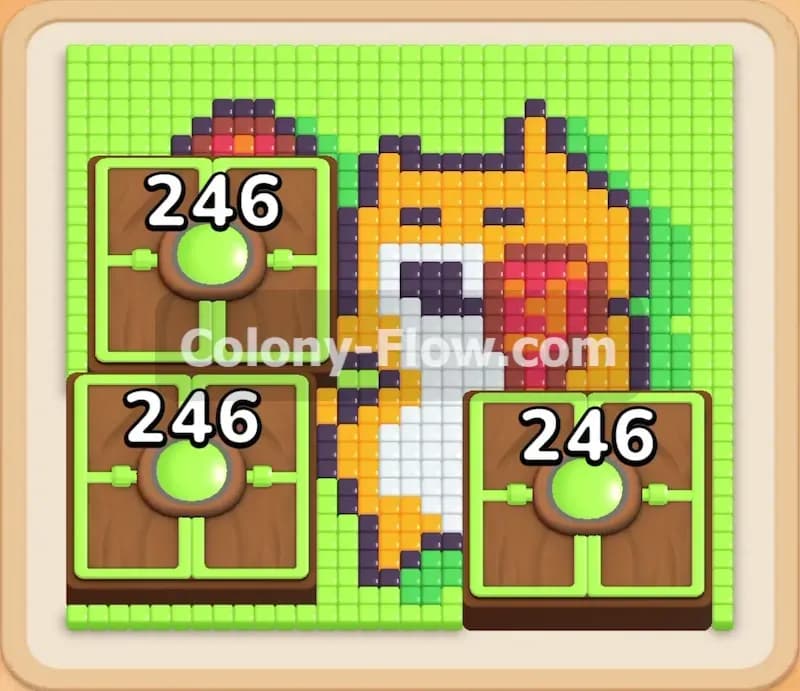
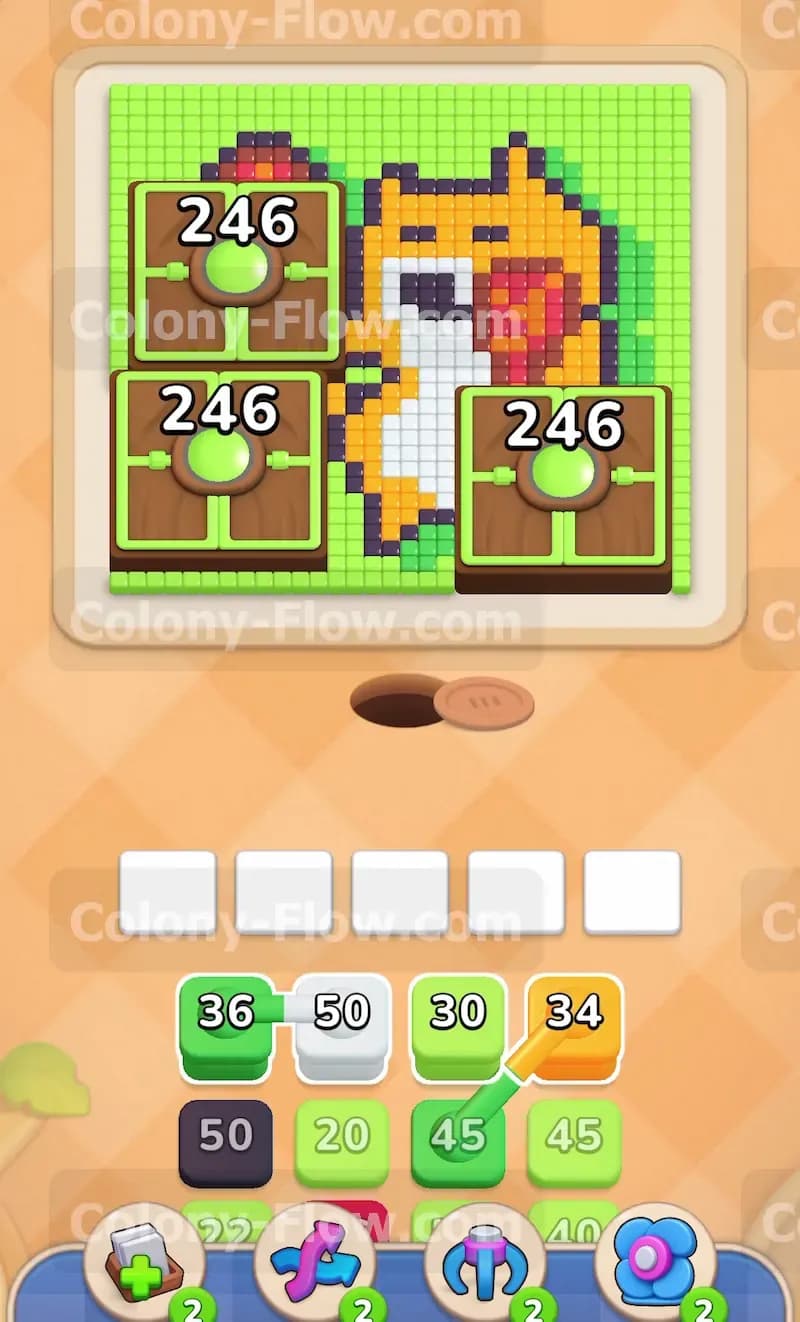
The pixel art depicts a cute squirrel with an orange body and a white belly holding a dark red object. This character sits on a large light green background. However a huge portion of the left side is completely hidden by three large wooden Connected Boxes. These boxes display a massive starting count of 246. The tray at the bottom offers a steady supply of light green, orange, white, and dark grey numbered blocks. Some of these blocks are connected together in the tray meaning you must pull them as a pair.
What It Takes to Clear Level 392 Board
To succeed here you must break down the Connected Boxes first and foremost. The boxes block a massive hidden red heart and a huge chunk of the light green background tiles. By sending light green ants to hit the boxes you wear down the 246 count and eventually reveal the hidden area. The core rule of the game is that you lose if your five waiting slots fill up and no ants can move to clean the board. After the boxes break you must carefully balance pulling red, orange, and dark grey blocks so the ants clear the newly revealed heart and the squirrel without ever causing a dead end in your waiting slots.
Colony Flow Level 392 Step by Step Solution
Step 1: Start chipping away at the massive connected boxes and outer edges
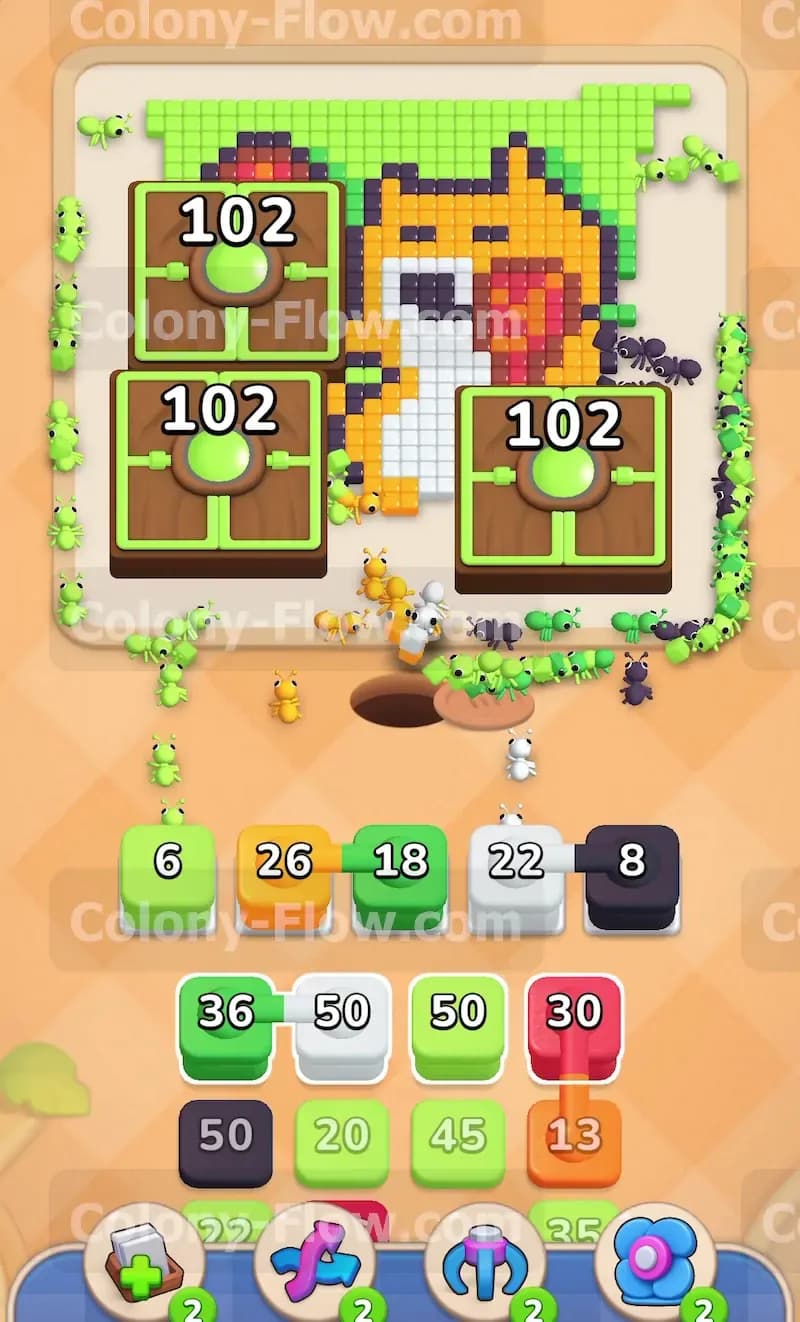
Begin by targeting the available colors around the giant wooden boxes. The board shows the right half of a squirrel with an orange body and a white belly surrounded by a light green background. Pull the light green block that is physically tied to the white block in your bottom tray. The light green ants immediately pour out of the hole at the bottom and start eating the background tiles while also hitting the three connected boxes. The boxes require light green ants to lower their massive countdown of 246. The white ants head straight for the squirrel belly and start clearing those pixels. Add an orange block to the slots so the orange ants can work on the squirrel fur. You must keep the light green flowing because those boxes act as a huge solid wall blocking the entire left side of the board. If you fill your five waiting slots with colors that are completely hidden behind that wall your ants will stop moving. A stopped ant colony means a jammed tray and you will fail the level right away.
Step 2: Keep feeding light green ants to break down the wooden obstacle
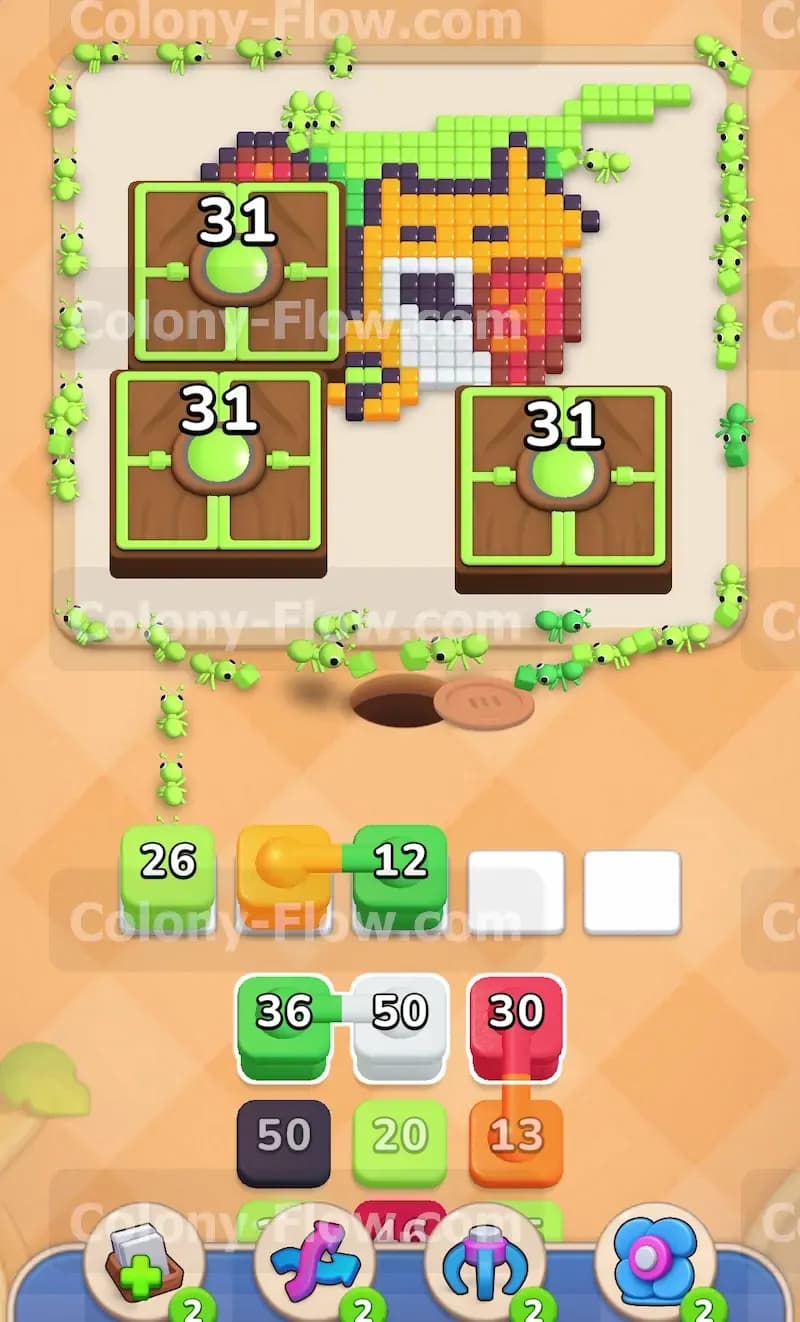
The connected boxes share their countdown and you need to drop them from their starting number all the way down to zero. Pull more light green blocks from your tray to keep the heavy pressure on the boxes. As the box number drops near 100 bring up a dark grey block to clear some of the dark outline around the squirrel body. You also need to manage the orange blocks carefully. Pull the next orange block into your slots to continue clearing the top right area of the squirrel head and back. The key here is pure balance and observation. You want most of your slots actively working on the squirrel and the exposed background so you never end up with five jammed blocks. Every time a slot empties check the main board to see which color currently has an open path. Light green remains your absolute safest bet until the wooden boxes are completely gone from the screen.
Step 3: Destroy the connected boxes to reveal the hidden heart
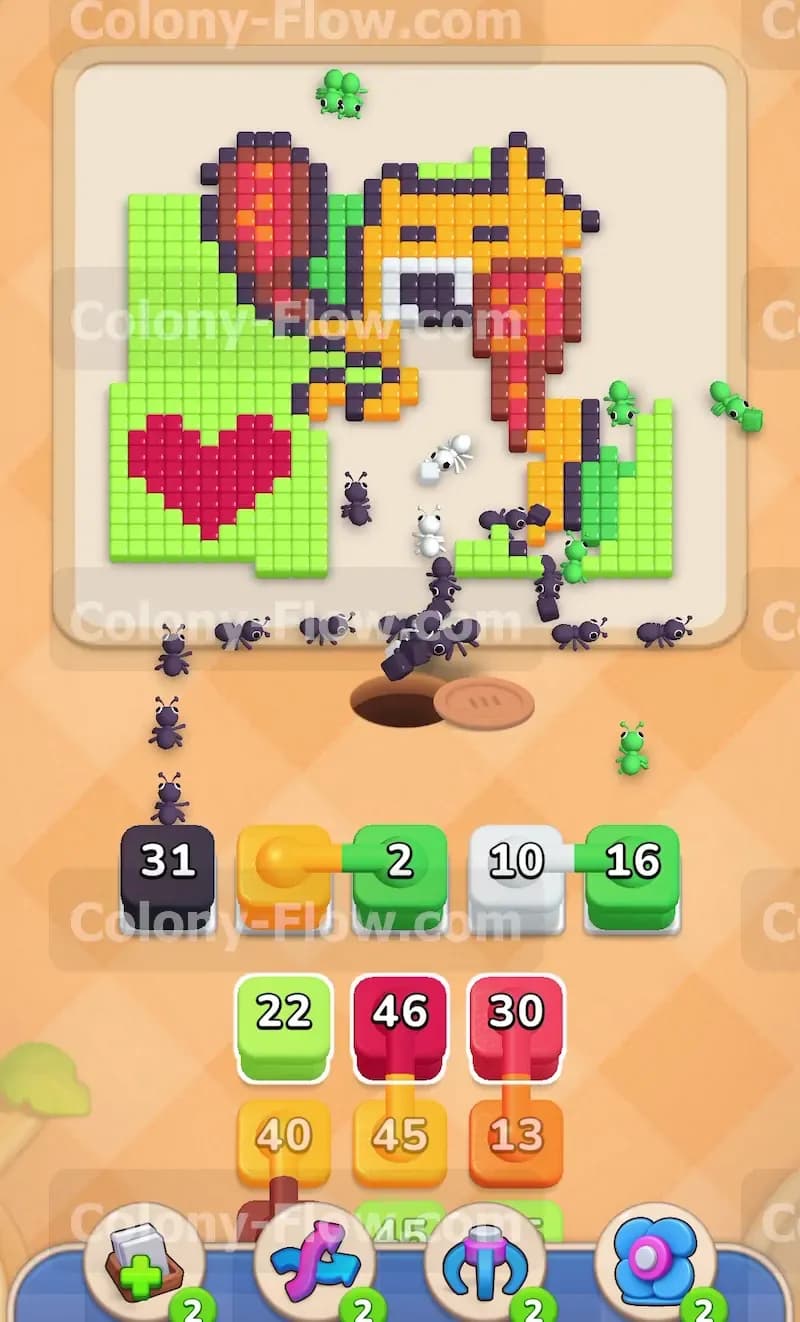
Once the boxes take their final hits they vanish completely from the board. This massive change opens up your available targets. A gigantic red heart appears on the left side along with the rest of the light green background. The squirrel is now fully visible and you can clearly see a dark red object in its hands. Now that the red heart is fully open you can finally pull red blocks from the tray without fear of jamming. Grab a large red block and let the ants flood the left side of the board to chew on the heart. Bring up another light green block to clean up the newly exposed background tiles surrounding the heart. Keep feeding white and dark grey blocks into the slots to finish the squirrel belly and its dark outline. Your five slots have plenty of safe options now but you still need to avoid pulling the dark red blocks until the orange fur around the held object is properly cleared away.
Step 4: Manage the connected tray blocks to clear the squirrel body
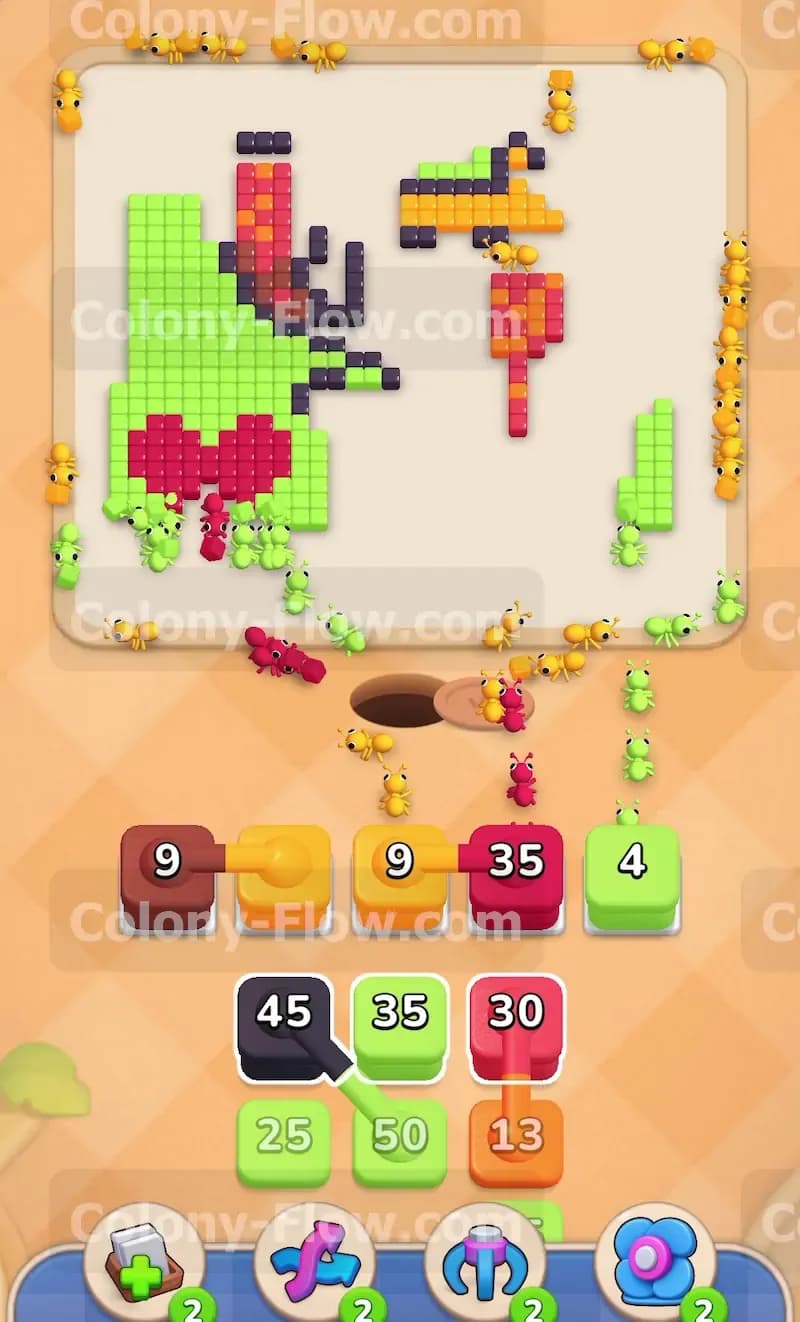
Your tray will soon present a dark grey block physically tied to a light green block. Pulling this specific pair brings both colors into your waiting slots at the exact same time. The dark grey ants will hunt down the remaining black pixels around the squirrel tail and ears. The light green ants will finish off the large green area near the bottom of the heart. Bring up another large red block to keep chipping away at the massive heart shape on the left. Add a dark red block to the slots so ants can finally start eating the object the squirrel holds. Since you have multiple colors flowing at once the different colored ants will snake around each other smoothly on their way to their targets. Just watch your slot count constantly. Never pull a connected pair from the tray if you only have one empty slot because that will jam your system and cause a loss. Always ensure you have room for both colors to sit and deploy.
Step 5: Clean up the red heart and the squirrel tail
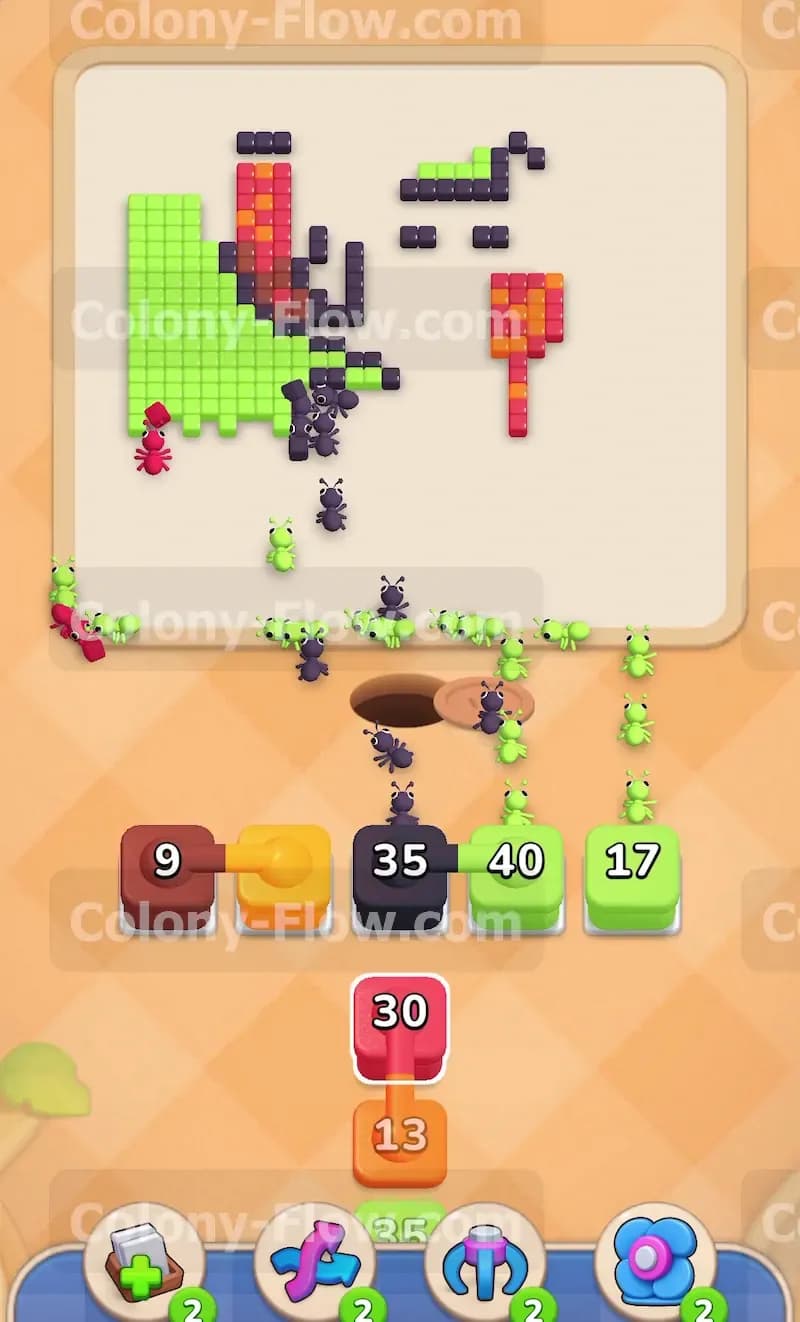
The board is looking much cleaner now with the main body of the squirrel gone and the giant heart mostly eaten away. Pull an orange block to send ants up to the top right to tackle the squirrel tail. Bring up another dark red block to finish the small object in the squirrel hands. Grab the next dark grey block from the tray to clear the very last outline pixels scattered around the edges. At this late stage your available paths are getting very narrow and specific. The ants have to travel much further from the bottom hole to reach the top corners of the screen. Keep your pulls highly deliberate. Look at the remaining red tiles on the left and pull the exact numbered red block needed to clear them. If you pull a color that has no tiles left on the board that block will sit dead in your slot forever. Avoid dead blocks at all costs to keep your remaining slots open for the final few moves.
Step 6: Clear the final scattered tiles to win the level
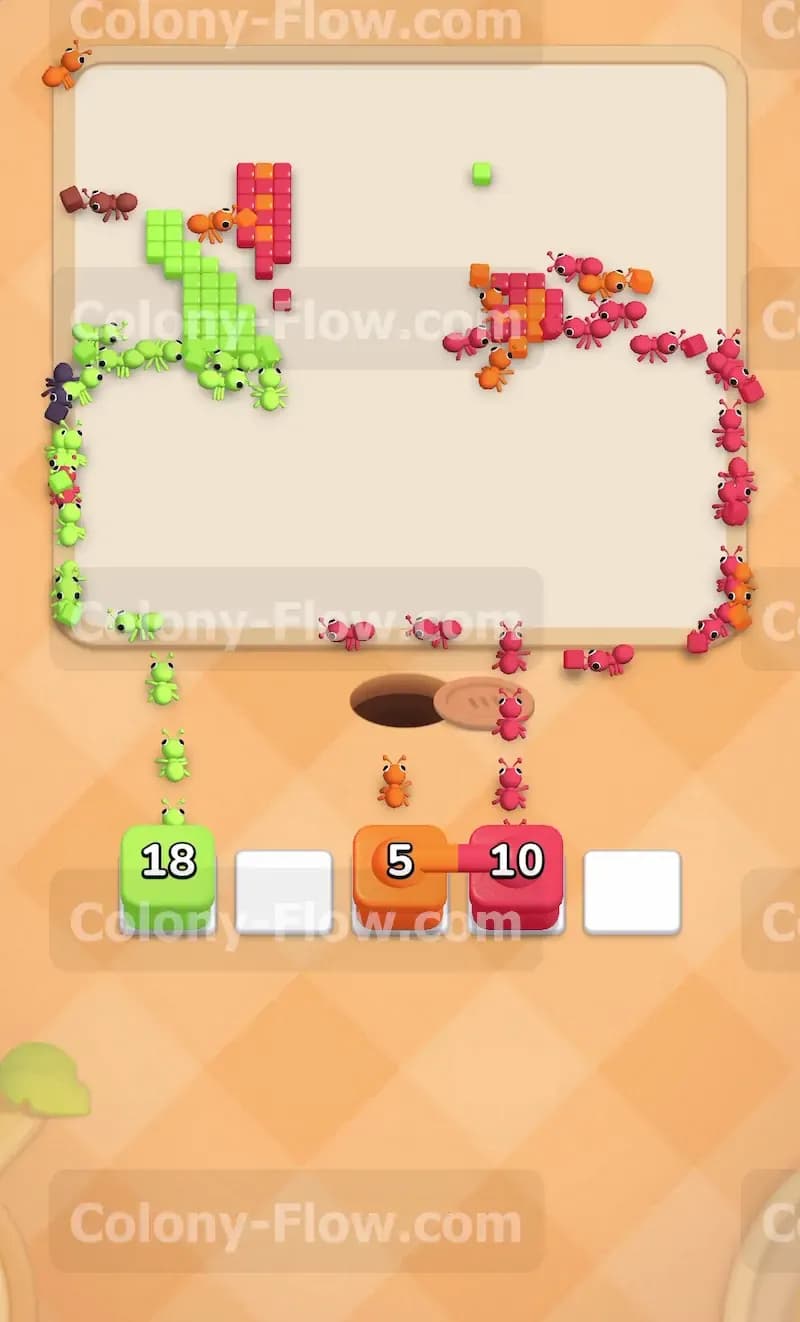
Only a few disconnected patches of pixels remain on the screen to finish the puzzle. You will see a small cluster of light green on the far left edge and a few orange and red pixels scattered on the far right. Look at your tray and pull the final light green block. The ants will march all the way up the left side and clear that last section of background. Pull the last orange block and the last red block. The orange ants will finish the very tip of the squirrel tail while the red ants clean up the last tiny piece of the held object. Because you managed your five waiting slots perfectly throughout the entire level these final blocks will clear out easily without any bottlenecks. The ants eat the very last tile and the board is completely empty for the win.
Final Thought
You successfully navigated a massive blocking obstacle to clear the board. Beating this level comes down to patience and feeding the right colors to slowly break the giant connected boxes. If you find any of these moves tricky to follow in text please watch the video above this article to see exactly how the ants path around the board.