Colony Flow Level 21 Walkthrough Solution & Guides | How to solve Colony Flow 21

Guide By Liam Stone
Updated on July 10, 2026
The video above solves Level 21 in real time, so skip the article if watching works better for you.
Video doesn't match your screen?
Game updates frequently scramble layouts! Try our AI Screenshot Solver first to find your exact board instantly, or report broken guides to our team.
Colony Flow Level 21 brings a classic pixel art soccer ball to the board and asks you to carefully dismantle it tile by tile. This level tests your patience with some massive connected block chains and sneaky hidden boxes buried in the back of the tray. I found that careful slot management is the absolute key to winning this one without jamming up your moves.
Colony Flow Level 21 Overview
What You Are Working With
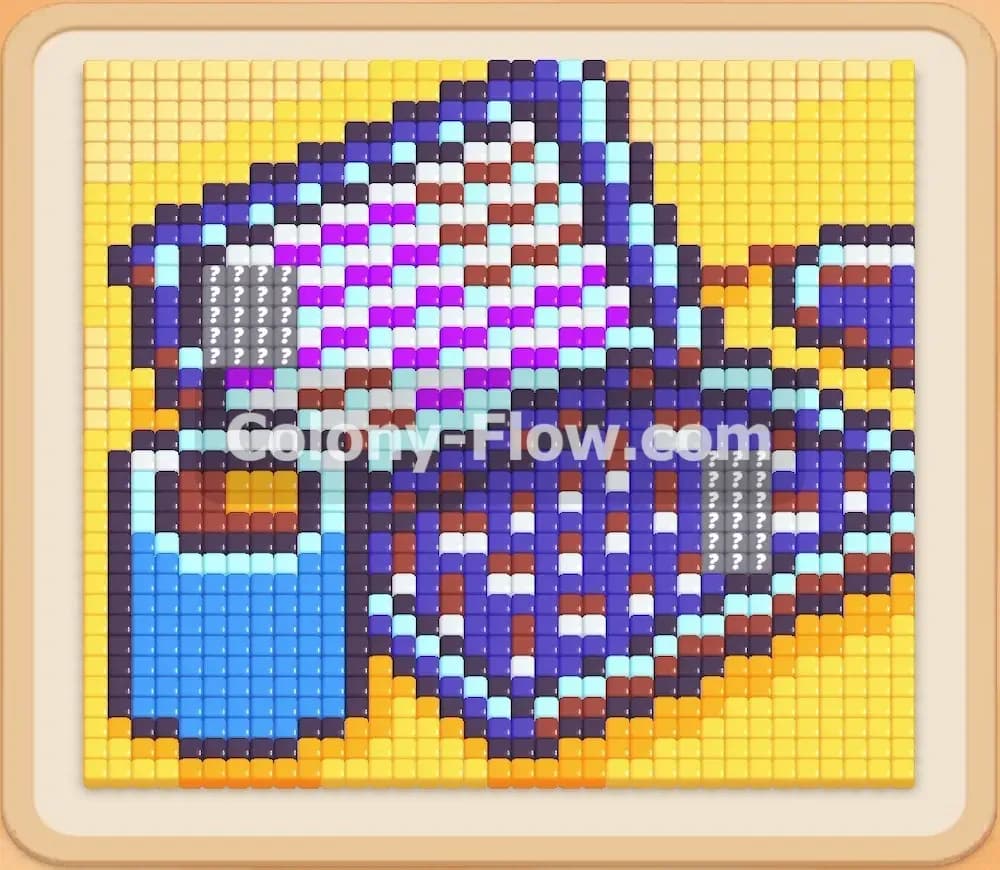
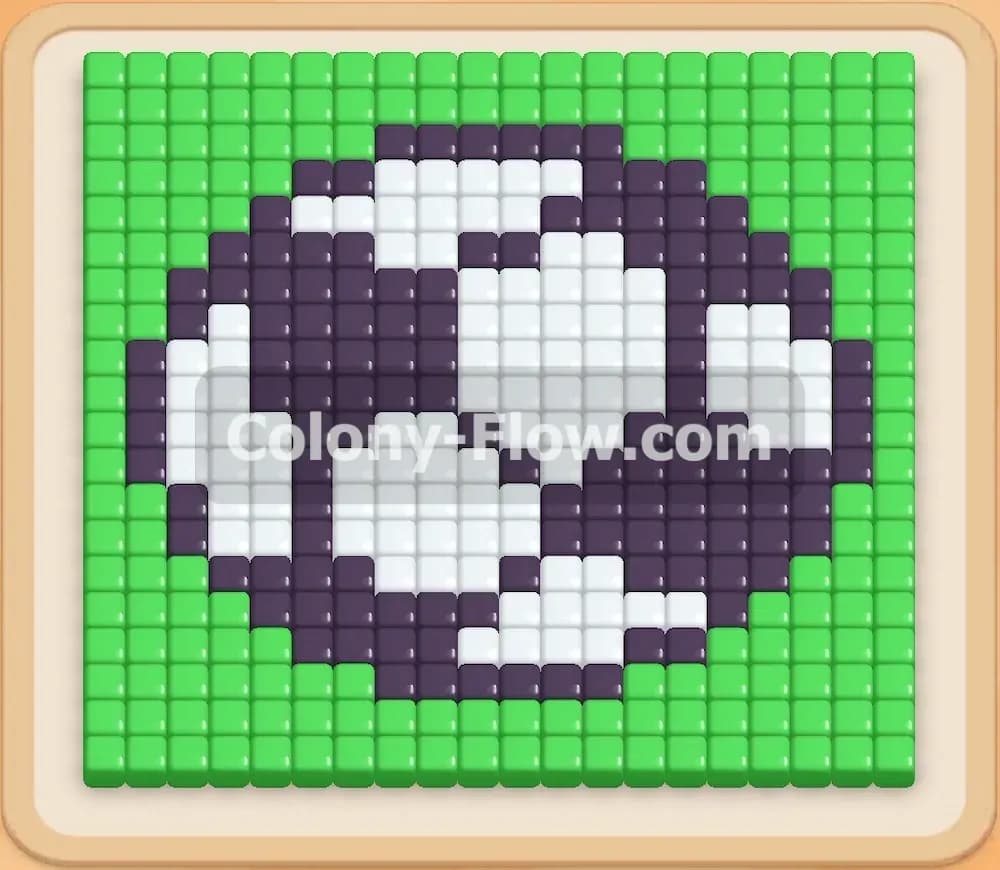
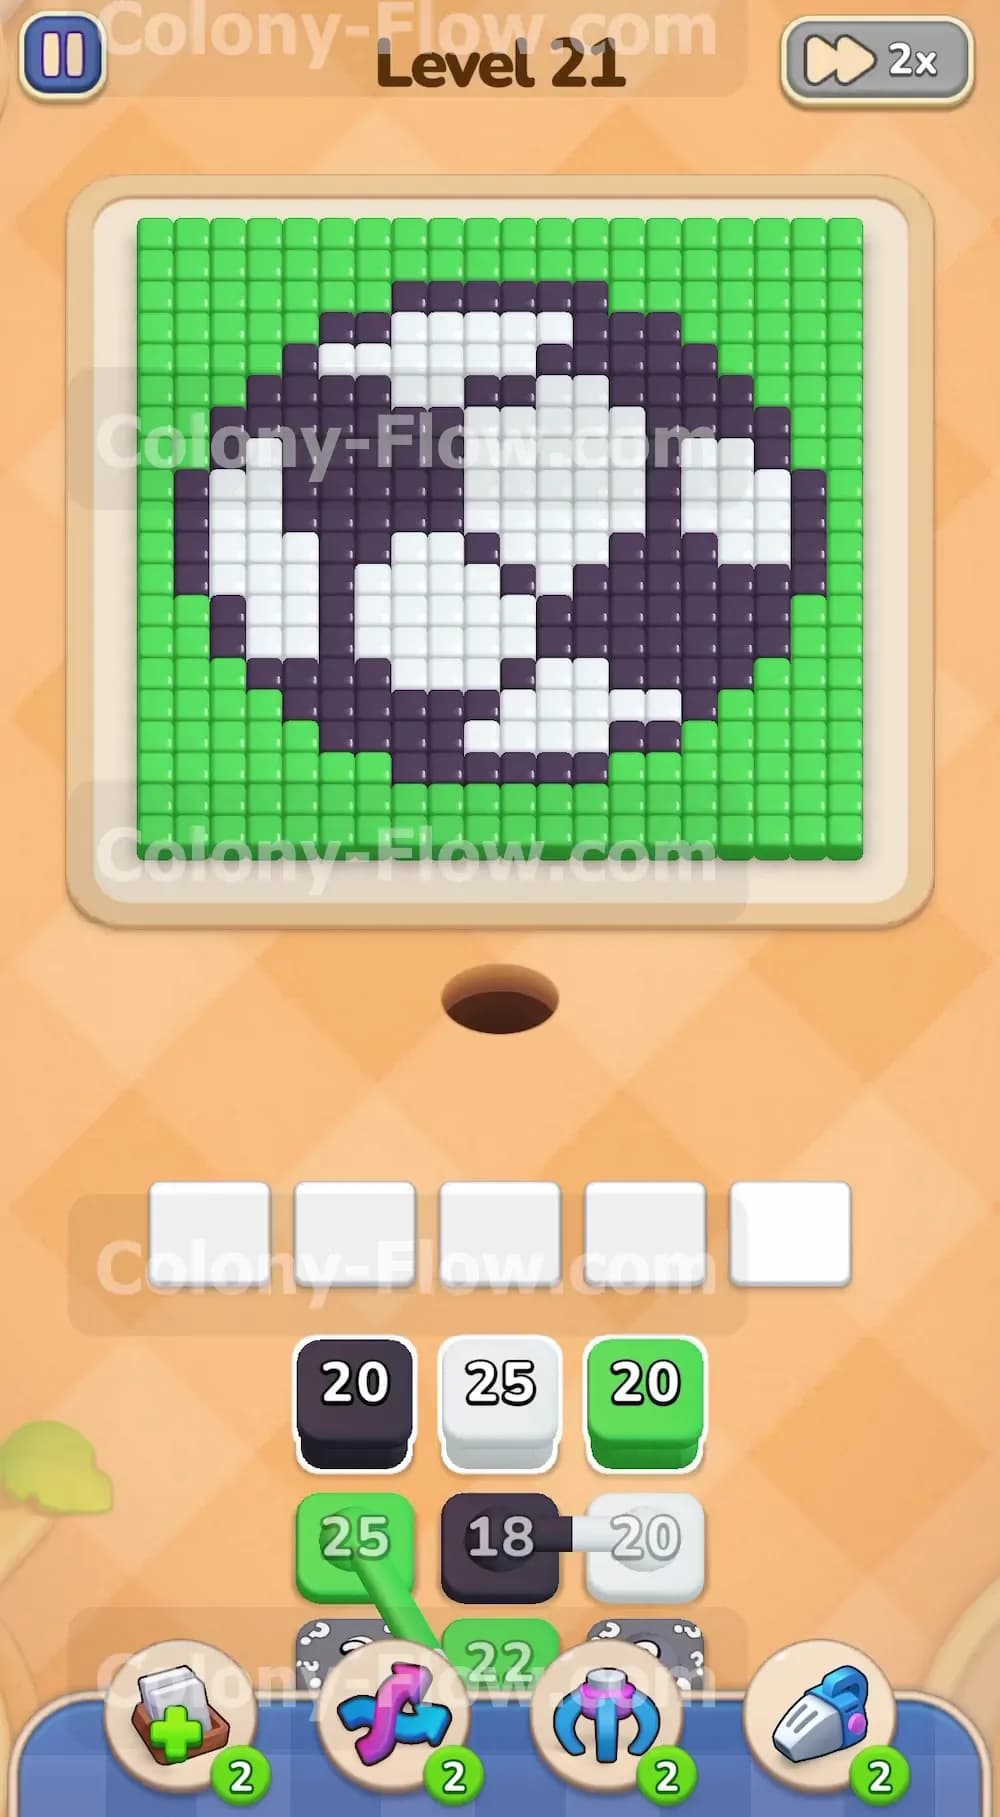
The board features a large soccer ball design resting on a solid green grass background. The ball itself is made up of interlocking black and white geometric patches. Down in the tray you will find a dense mix of green white and black numbered blocks. Many of these blocks are connected together in chains which means they must be pulled into your active slots as a single unyielding group. You will also notice several hidden boxes entirely covered with question marks sitting in the back rows. These mystery boxes will not reveal their true colors until you clear the regular blocks sitting right in front of them. You have a lot of different moving elements to juggle at the same time and the board starts off completely sealed.
What It Takes to Clear Level 21 Board
Winning this level requires you to direct your ant colony to eat every single colored tile on the screen until the pixel art picture completely disappears. You do this by dragging the colored blocks from your tray into the active slots to match the exposed tiles on the board. The central rule you must respect at all times is managing your five waiting slots at the bottom of the screen. Every block you pull takes up a slot while the ants chip away at the numbers. If you pull a color that the ants cannot physically reach that block will sit there forever and clog up your system. If you fill all five slots with blocked colors your board will dead end and you lose the level immediately. You must carefully carve a clear path from the bottom edge of the screen straight up into the center of the soccer ball to keep your slots flowing freely.
Colony Flow Level 21 Step by Step Solution
Step 1: Start with a green block to carve out the bottom edge of the grass.
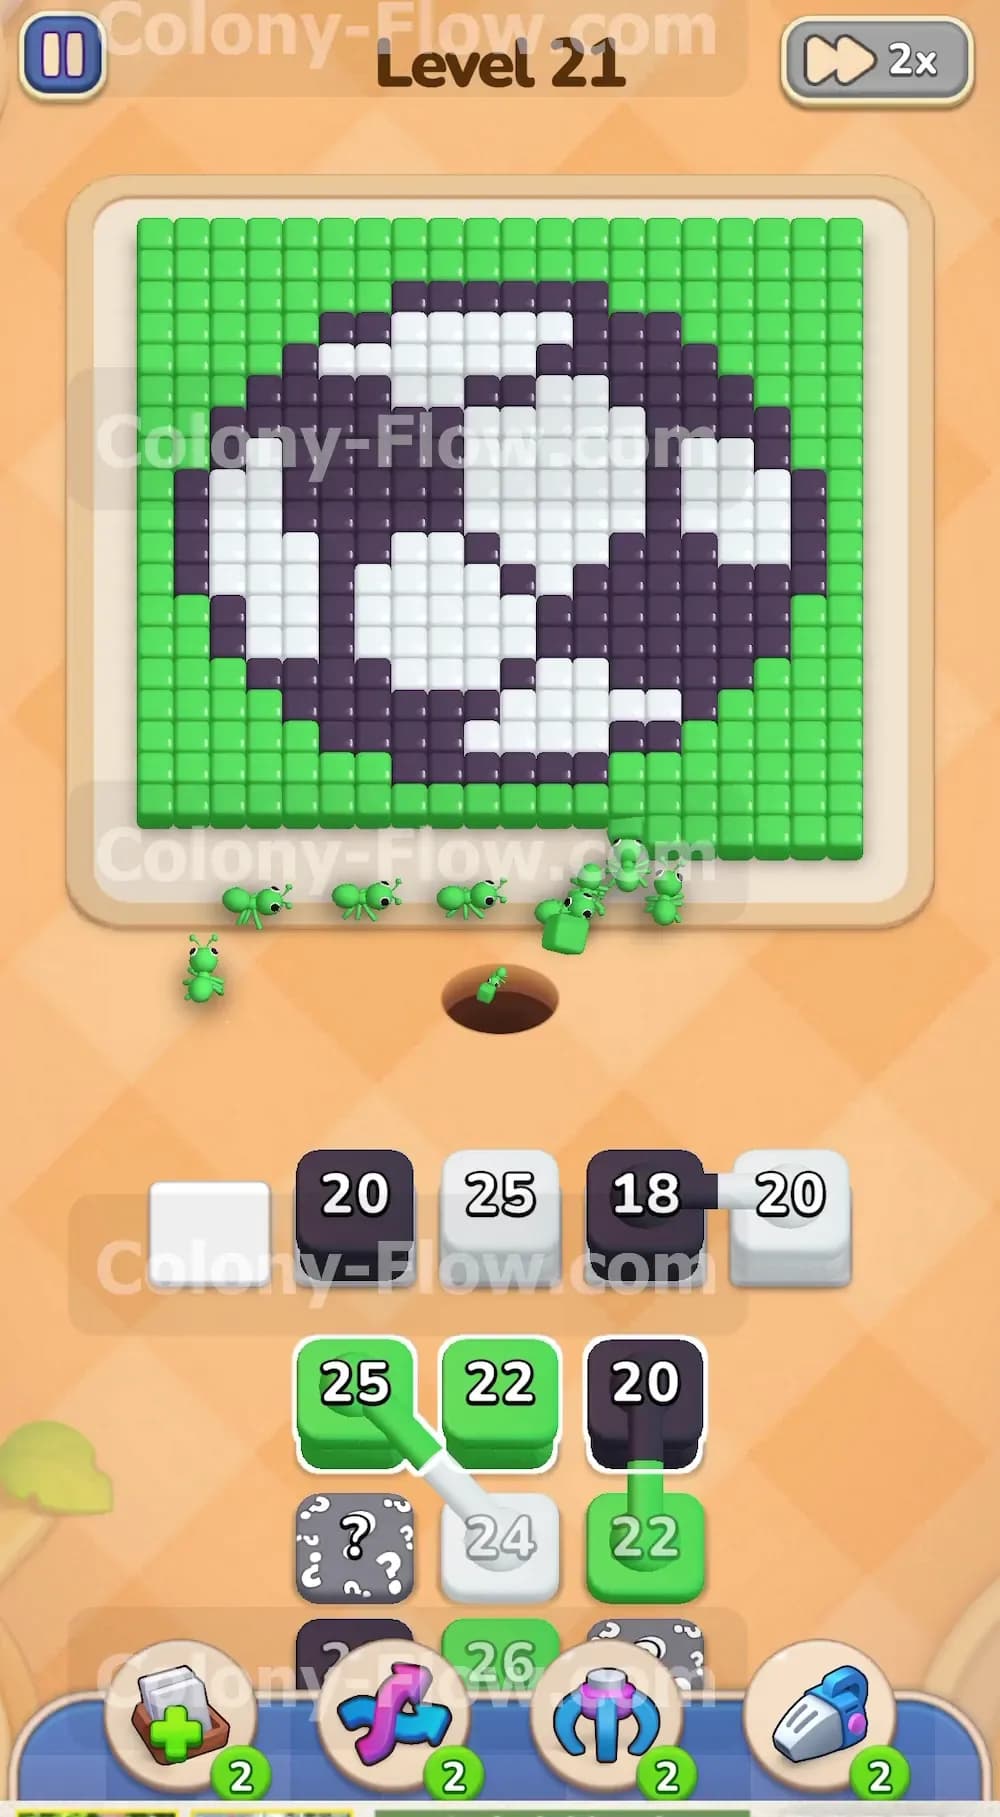
You start the level facing a solid wall of green background tiles so your first move is very straightforward. Grab a green block from the tray and pull it up into your active slots. This sends a large group of ants straight out of the nest hole to attack the bottom left section of the green tiles. Watch the numbers on the block tick down as each ant grabs a single tile and carries it away. Keep an eye on your waiting slots because you only have five spaces available. Do not pull any black or white blocks yet because the ants cannot reach the soccer ball until the bottom edge of the grass is completely gone.
Step 2: Pull the first black and white blocks to open the lower ball patches.
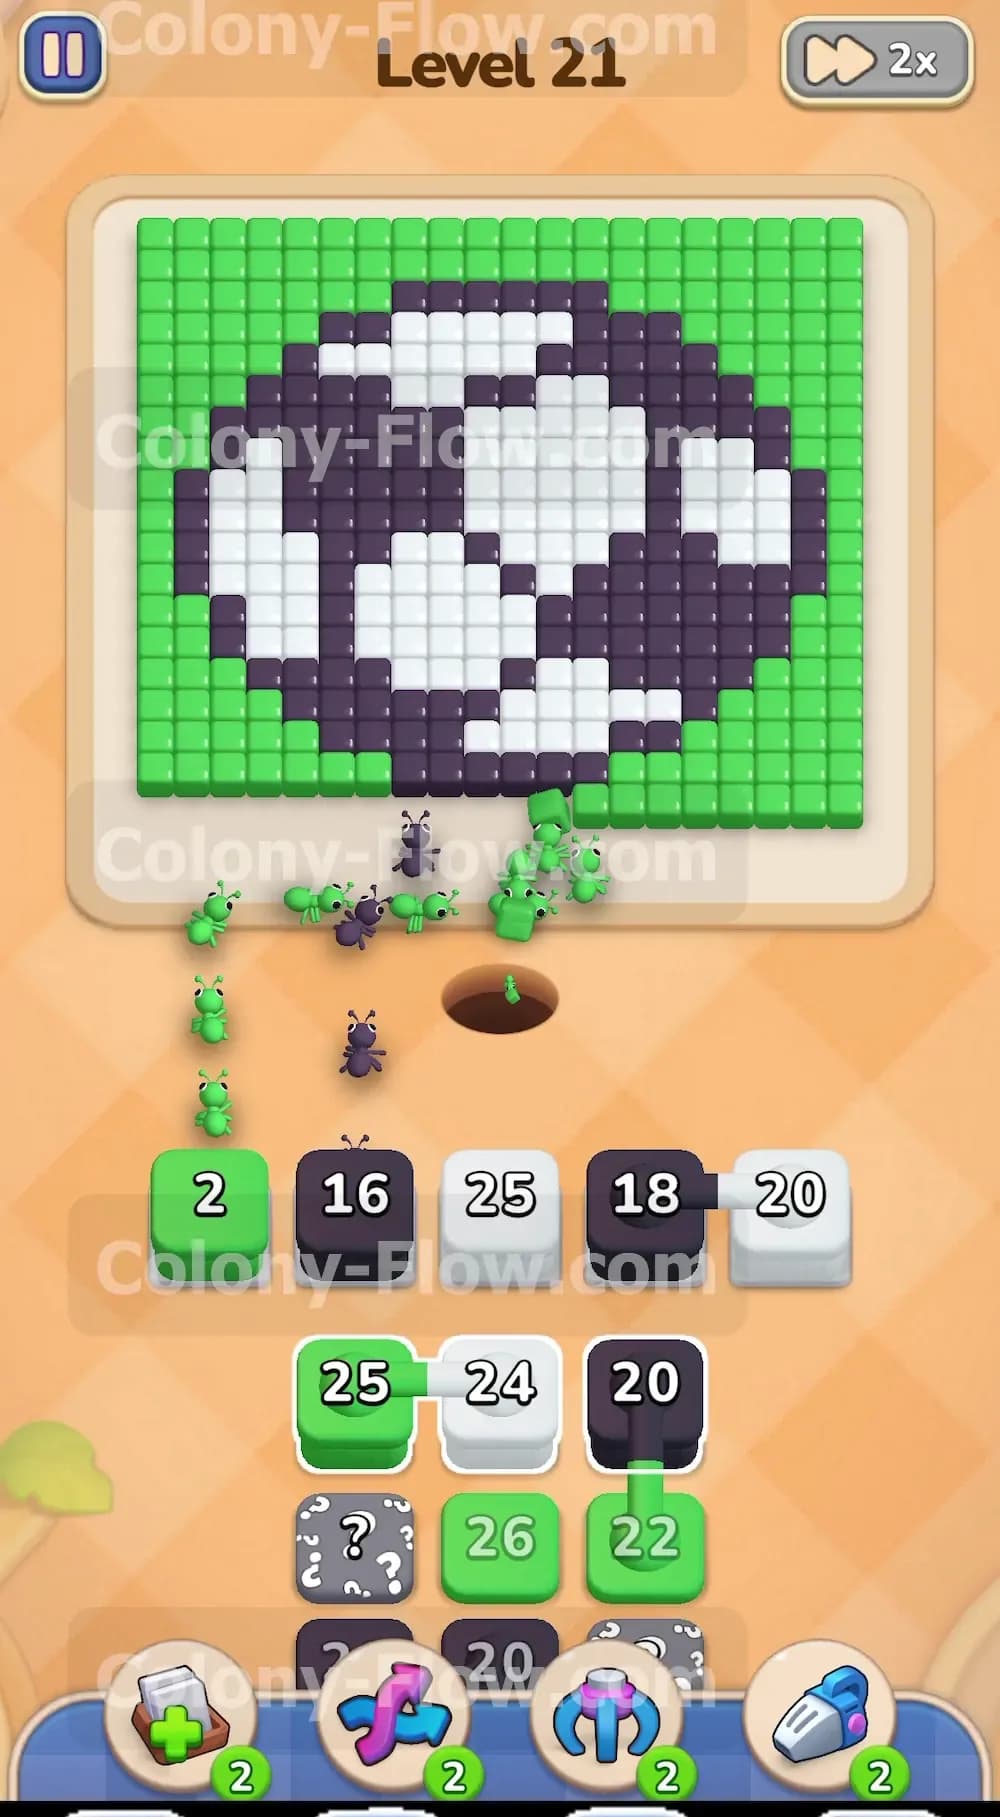
Once the ants clear enough green tiles to expose the bottom edge of the soccer ball you can start pulling the other colors. You will see multiple blocks waiting in the tray including a black twenty and a white twenty five. Pulling these blocks fills up your waiting slots very quickly. You might have four out of your five slots filled at this exact point. This is the most dangerous moment in the early game. You must keep that fifth slot completely empty. If you pull a wrong color by accident the ants will not have a path to reach it and your board will completely dead end. Just let the ants do their work and watch them swarm the lower patches.
Step 3: Monitor the numbers as the ants hollow out the bottom center.
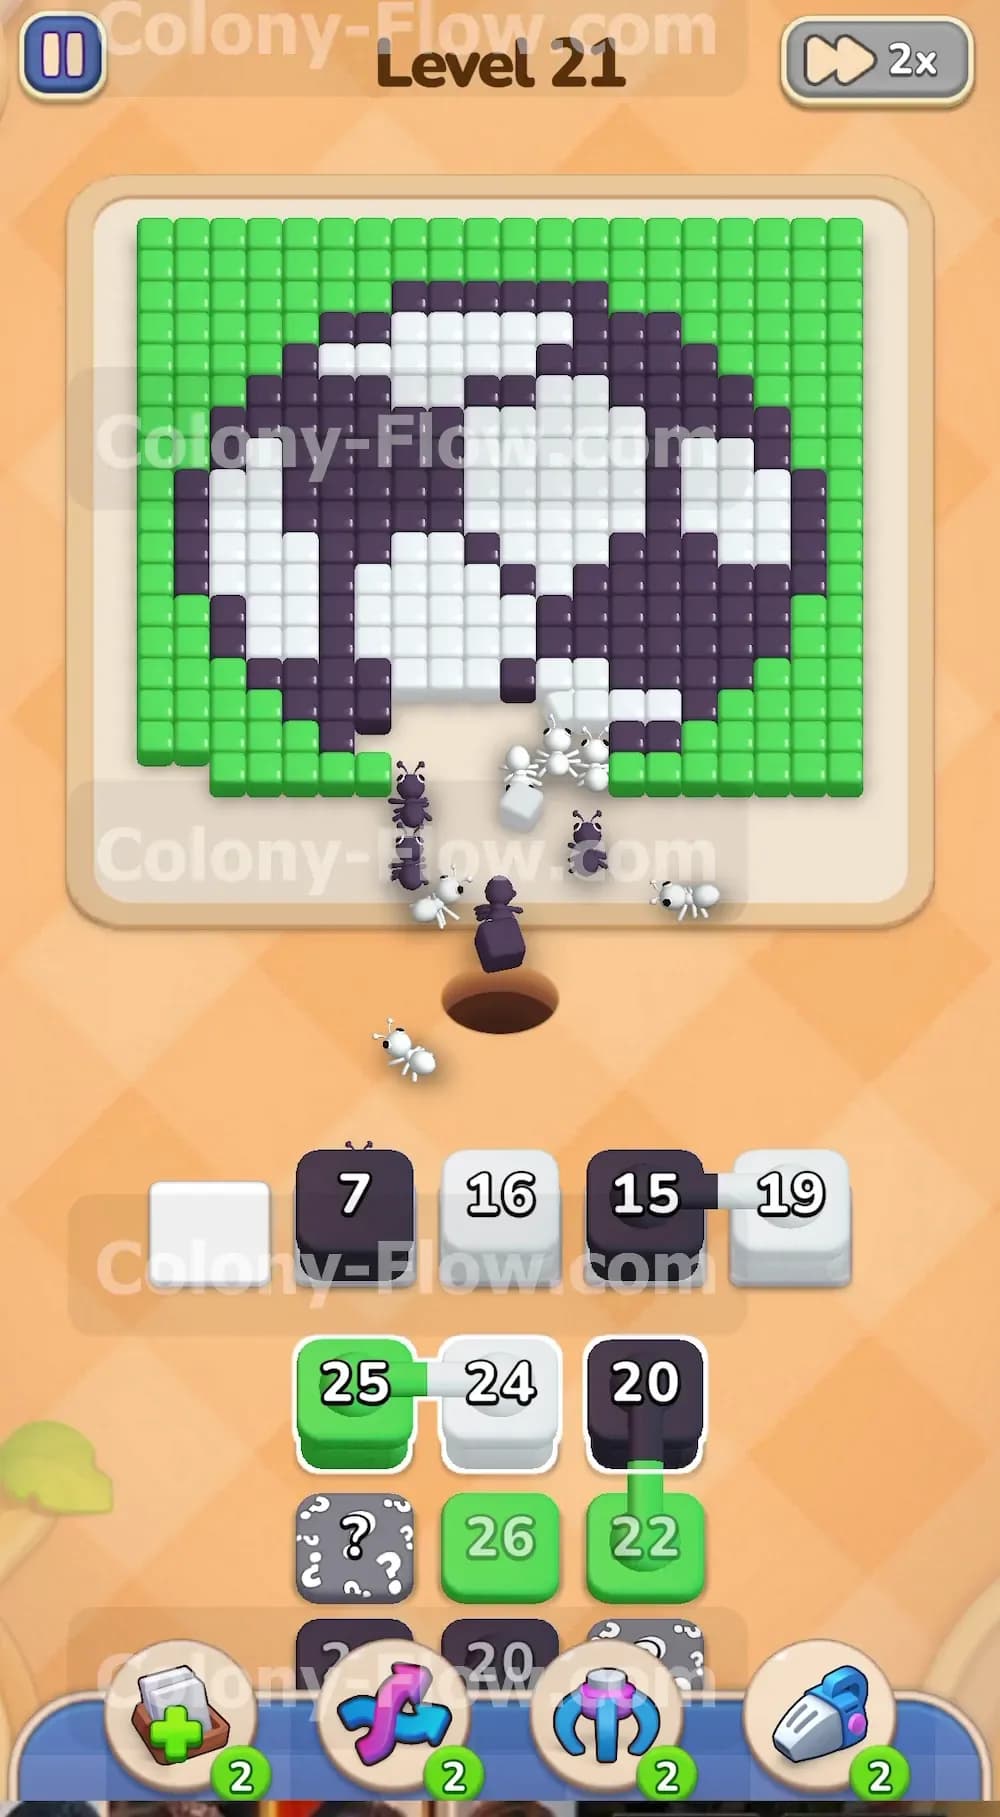
The ants will now chew a massive hole right into the bottom center of the ball design. The green grass background is completely severed in half creating an isolated left side and an isolated right side. Your slot management requires patience right now as the numbers on your white and black blocks slowly drop. The ants balance their time between the white pentagons and the black pentagons. You do not need to pull any new blocks for a few moments. Simply observe the pathing of the ants to ensure they always have open tiles to eat and wait for your active slots to naturally empty out.
Step 4: Bring up another green block to eat the right side background tiles.
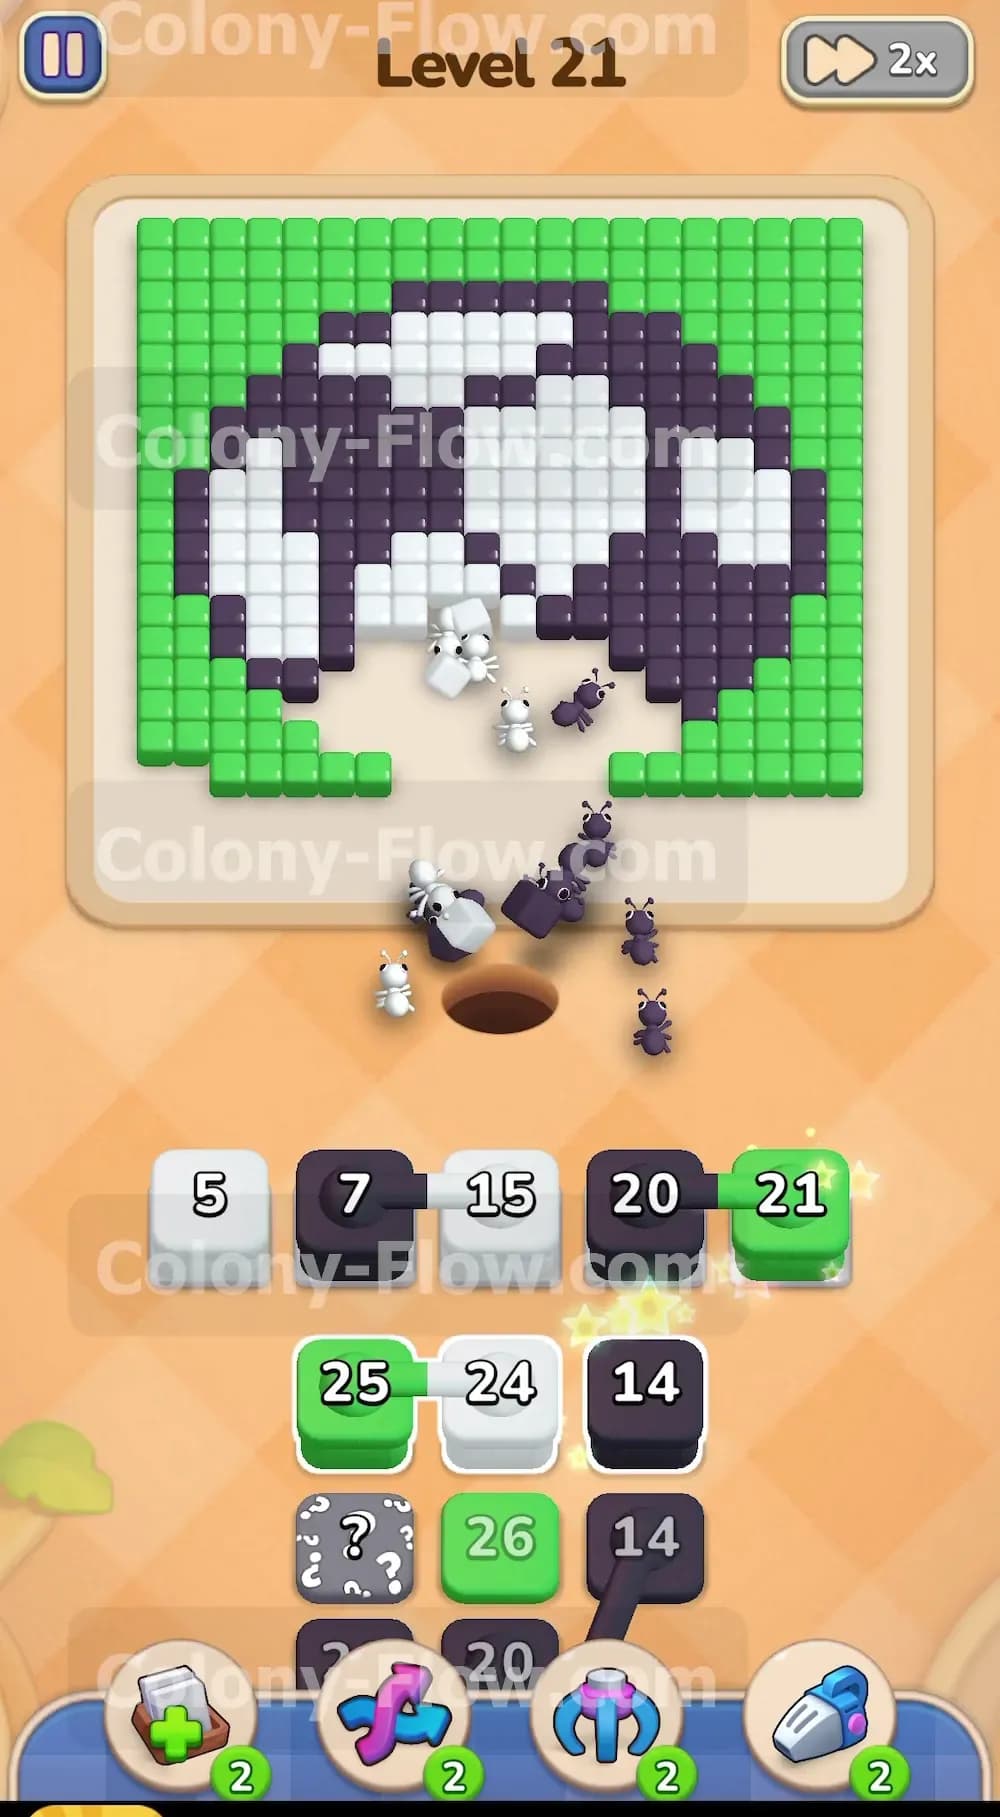
You need to address the remaining lower grass to keep opening up the overall board. Reach down into the tray and select a green block with a value of twenty one. The ants will march straight up the screen take a sharp right turn and begin dismantling the green tiles on that side. Meanwhile your white and black blocks from the previous step are still active in the slots. The ants will divide their attention between the ball patches and the new green section. Your slots will slowly empty out as the blocks finally hit zero and vanish from the tray.
Step 5: Use the large connected block chain to clear the middle of the board.
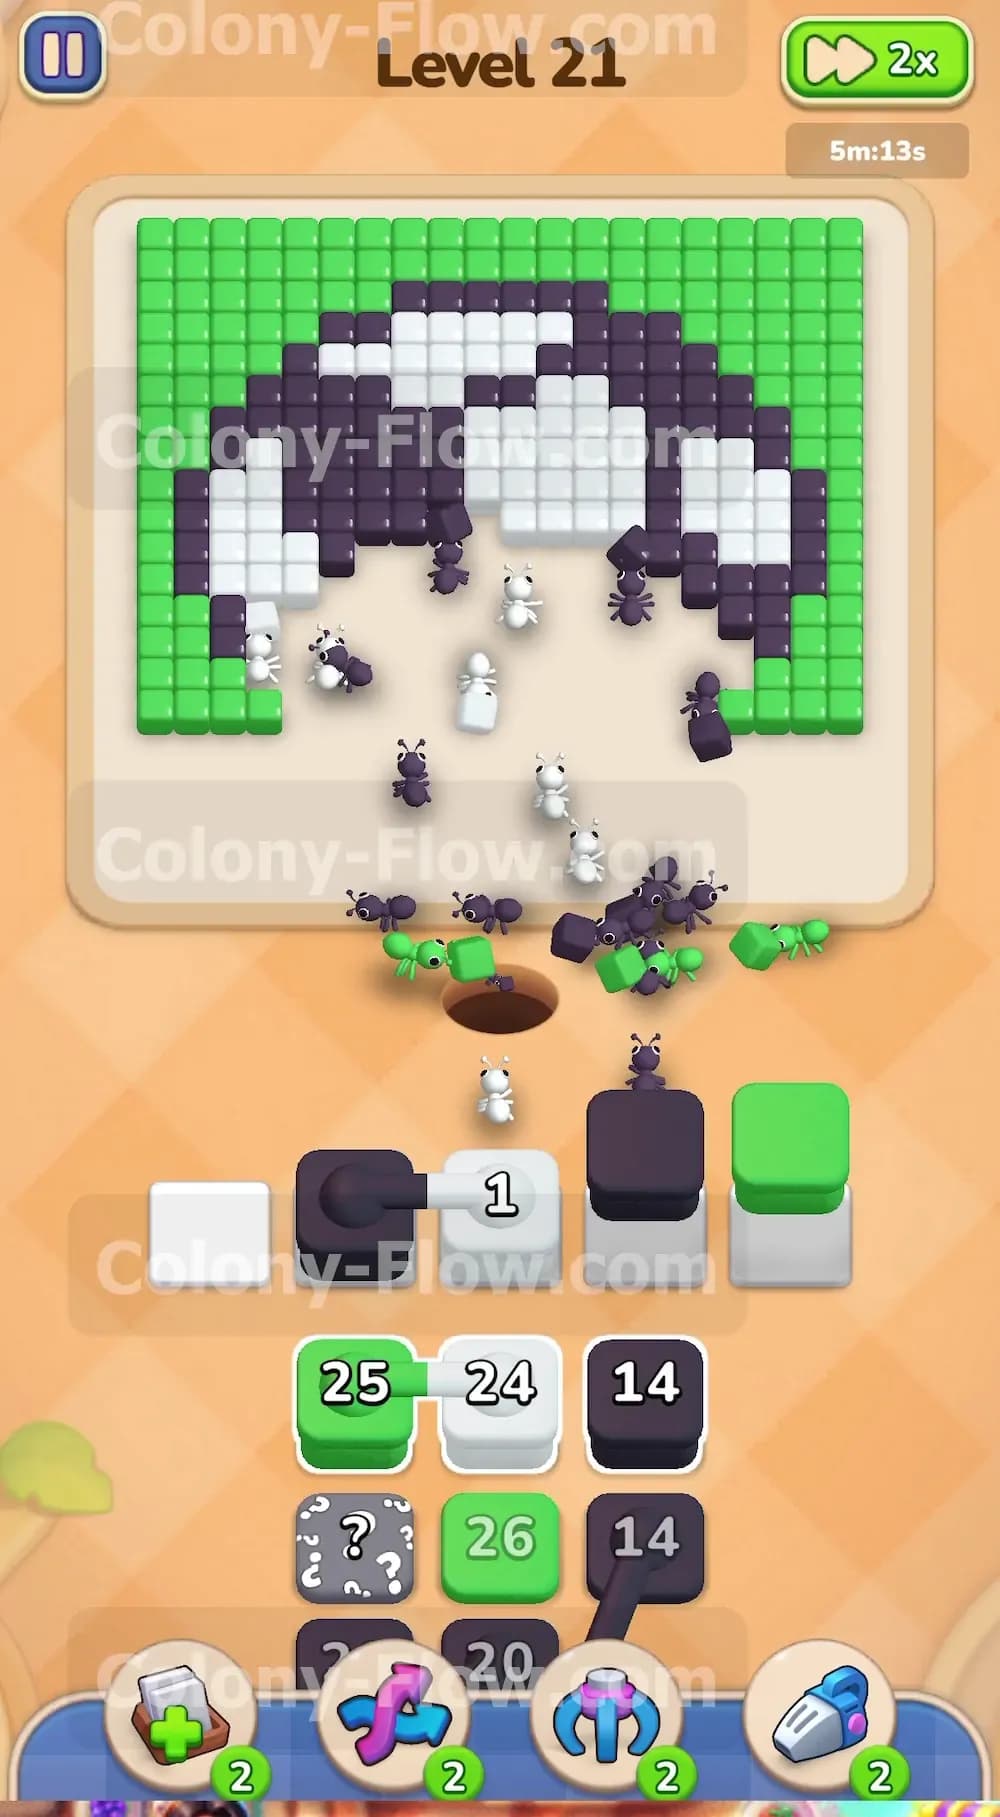
This brings us to a major connected block chain waiting in the middle of the tray. You will spot a green twenty five a white twenty four and a black fourteen all linked together by a thick solid line. You cannot pull just one of them out of the group. Touching any block in this chain drags all three of them up into your waiting area. This instantly consumes three of your five available spaces. You only survive this risky move because the board is wide open right now. The ants have clear paths to reach the upper green background the white sections and the black sections simultaneously. They sprint across the empty bottom half of the screen and attack the middle of the board as a massive coordinated swarm.
Step 6: Clear the hidden boxes as they reveal their colors in the tray.
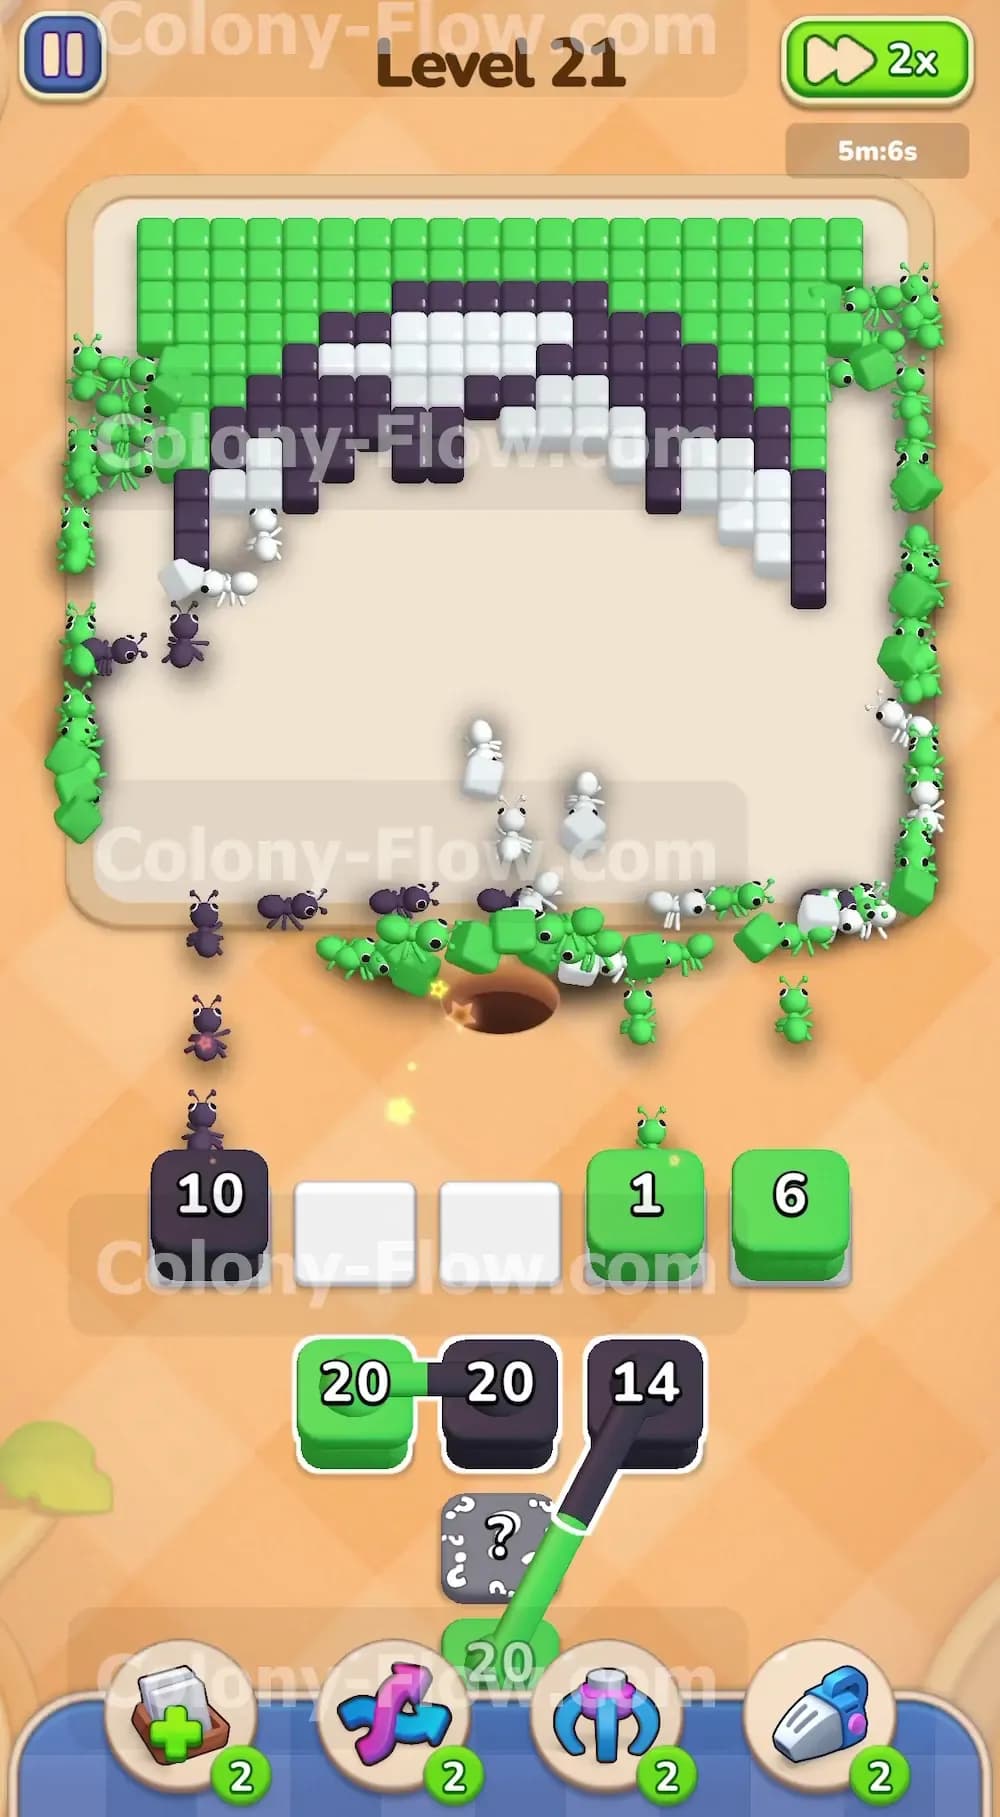
Clearing away the front rows of the tray finally unveils the hidden boxes lurking in the back. These special tiles are completely covered with question marks and they refuse to reveal their color until you clear the path sitting directly in front of them. Once those connected chains vanish the hidden boxes flip over to show black and green blocks. This mechanic adds a layer of suspense because you cannot plan for these exact colors ahead of time. Bring a newly revealed black block up into your active slots to target the upper dark patches of the soccer ball. The ants rush straight up the center of the board to grab those black tiles. Your slot management is very safe here because you have plenty of open spaces.
Step 7: Unleash a massive ant swarm to consume the upper green background arc.
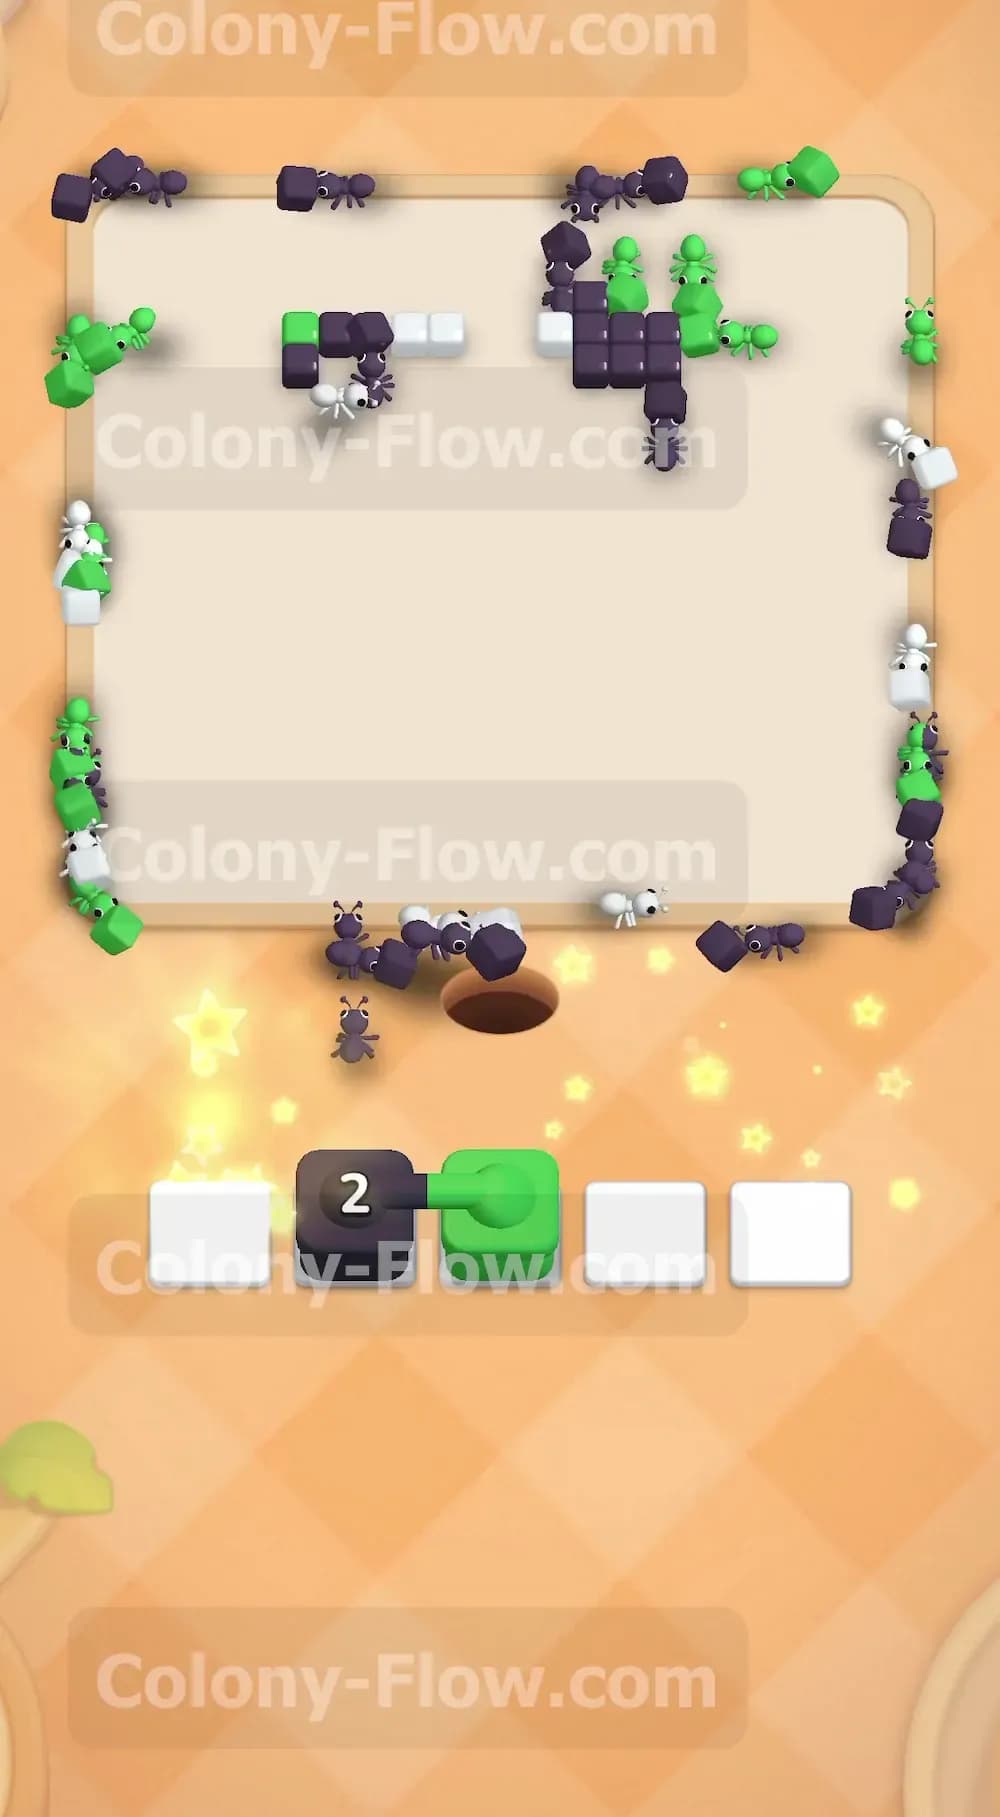
The central soccer ball is nearly gone now leaving behind a thick arching canopy of green tiles across the very top of the board. You need to pull a fresh green block from the tray to tackle this massive remaining roof. Dragging this green block up triggers an incredible visual event on the screen. A gigantic swarm of ants floods out of the nest hole at the bottom and runs all the way up the empty play area. They hit the top and fan out evenly along the entire green curve. They eat the green background from the outer edges pulling it down on both the left and right sides at the exact same time. The numbers on your green block will tick down extremely fast.
Step 8: Play the final black blocks to finish the very top of the design.
You are now in the home stretch with only a few stray patches of the soccer ball remaining at the very top edge. Your tray only has a couple of low numbered black and white blocks left to play. Pull them up into your slots to command your final cleanup crew. The ants have a totally clear run straight up the middle of the screen. They sprint to the top and snatch away the final black and white tiles. Your slot management is perfectly safe here because there is absolutely nothing left to block the paths. Watch the last block hit zero and the final few ants will scurry off the board to secure your victory.
Final Thought
Level 21 teaches you exactly how to handle massive connected chains without ruining your entire run. Taking your time and letting the ants clear a massive central path makes the late game a complete breeze. If you find yourself getting stuck on how to handle those connected chains or the hidden boxes just watch the video above this article to see my exact timing in action.