Colony Flow Level 1164 Walkthrough Solution & Guides | How to solve Colony Flow 1164

Guide By Liam Stone
Updated on August 12, 2026
Reading not your style? The video above shows exactly how to beat Level 1164.
Video doesn't match your screen?
Game updates frequently scramble layouts! Try our AI Screenshot Solver first to find your exact board instantly, or report broken guides to our team.
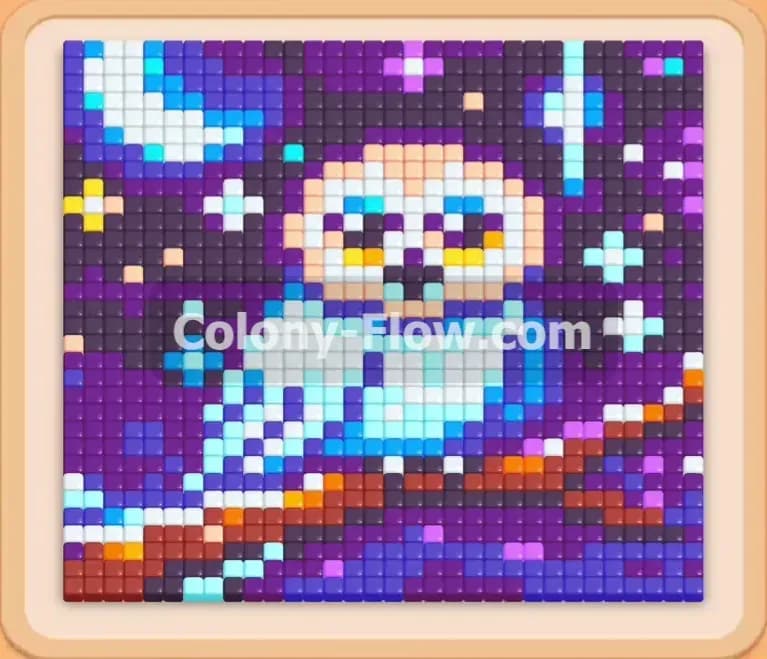
Welcome back to another puzzle guide. Today we are tackling Colony Flow Level 1164. This board presents a beautiful pixel art picture of an owl perched on a branch at night. You will need careful tray management to peel away the dark sky before reaching the colorful bird in the center.
Colony Flow Level 1164 Overview
What You Are Working With
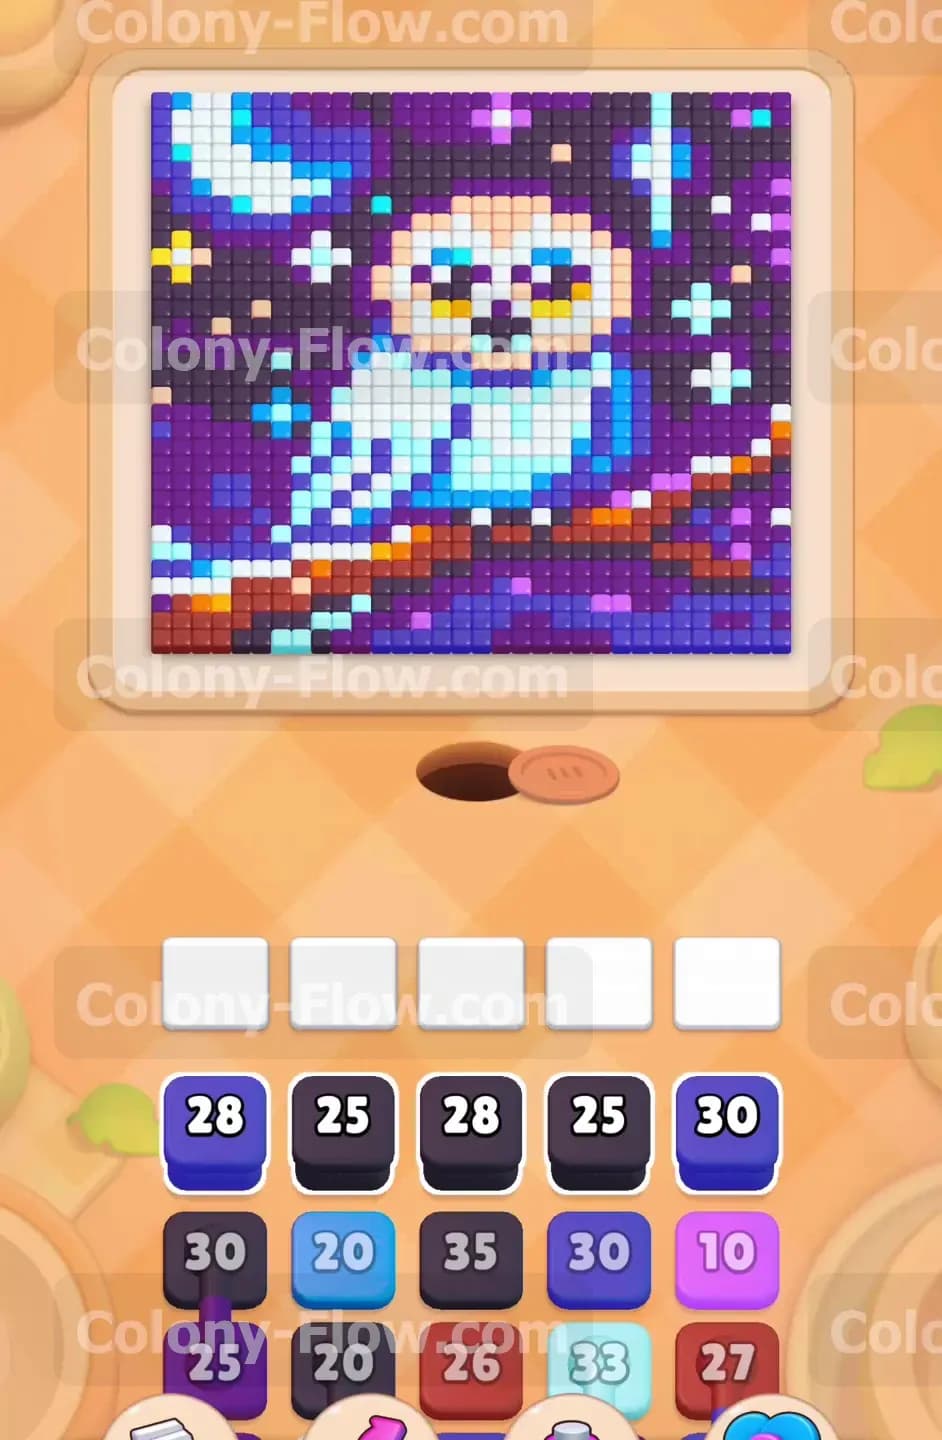
The board features a highly detailed pixel art design. You see a large owl with light blue wings and a white belly resting on a brown branch. Around the owl is a night sky made of black and dark blue tiles mixed with purple shading and bright white stars. A yellow crescent moon sits in the upper left corner. The bottom tray holds a massive stack of colored blocks with large numbers. You have dark blue blocks with values near thirty and black blocks with similar high counts. The waiting area has exactly five empty slots. You must route your ants carefully so these five slots never lock up completely.
What It Takes to Clear Level 1164 Board
Winning this stage requires an outside in approach. The ants spawn from the central nest hole at the bottom edge. They need a direct open path to reach any food tile. The outer border consists entirely of dark blue and black tiles. You cannot reach the yellow moon or the light blue owl until you strip away that thick outer layer of the night sky. Your main objective is to feed the dark blue and black blocks into the waiting slots first. Once the ants eat the edges away they create multiple pathways into the center of the board. You win when every single pixel art tile is gone and your tray is empty.
Colony Flow Level 1164 Step by Step Solution
Step 1: Clear the outer dark blue sky border completely
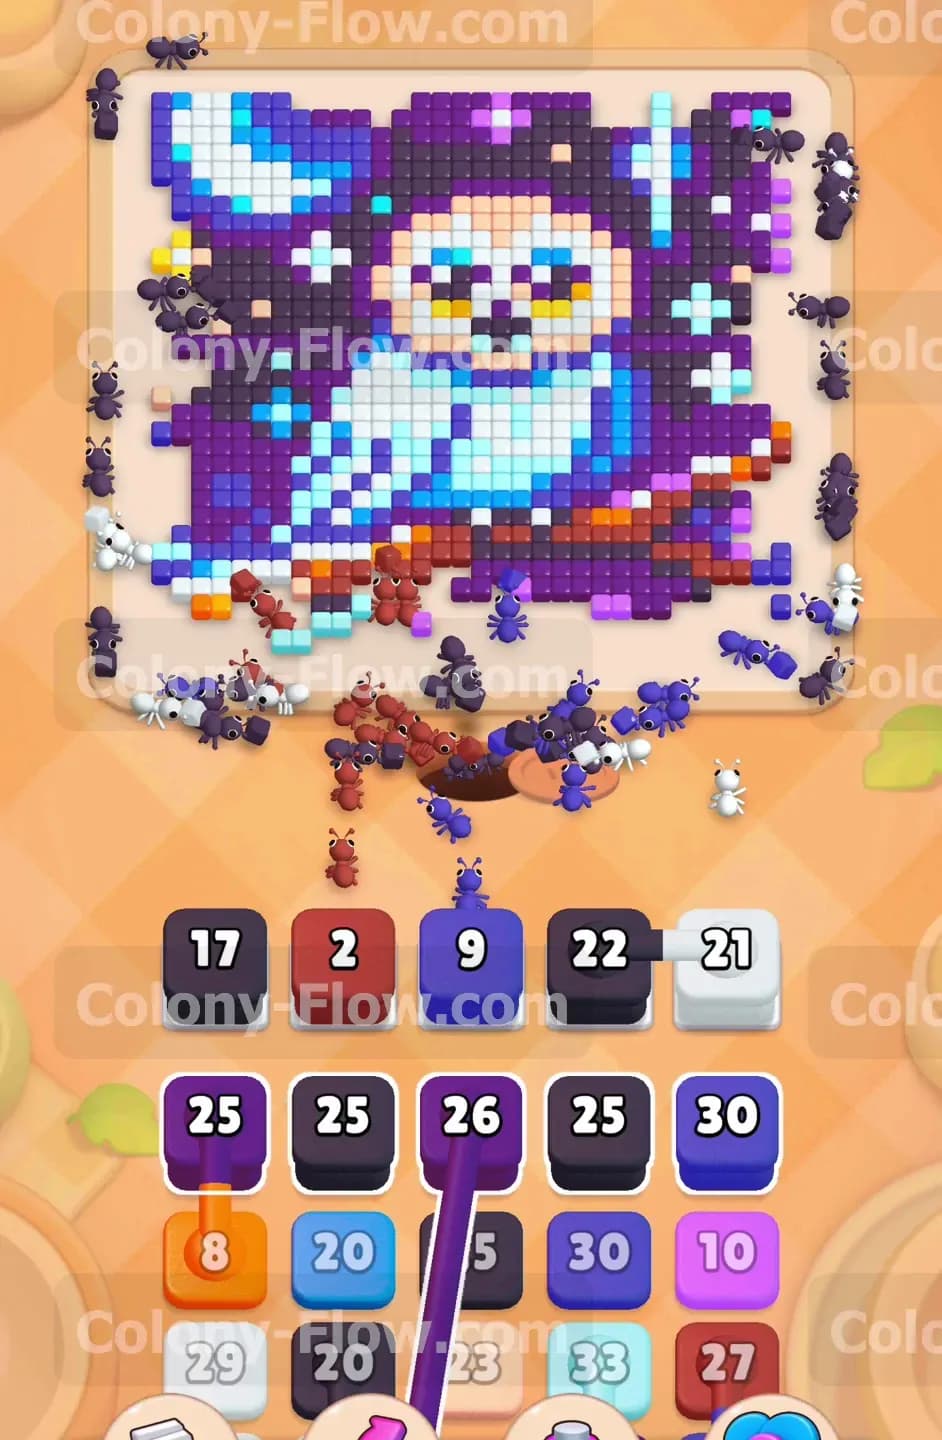
Start by looking at the very edge of the picture. A thick line of dark blue tiles frames the entire scene and touches the far boundaries of the playing space. You must tap the dark blue blocks in your tray to send them up to the five waiting slots. Since these blocks carry high numbers like twenty eight and thirty they will sustain your ant colony for a long time. The ants will stream out of the central hole and immediately latch onto the bottom edge of the dark blue border. Watch them march up the left and right sides of the board simultaneously. They will eat away the frame and rapidly expose the black tiles underneath. Make sure you only load one or two dark blue blocks at a time. Managing your tray capacity keeps your slots open for the next necessary color and prevents an early loss.
Step 2: Activate the black sky blocks to open the background
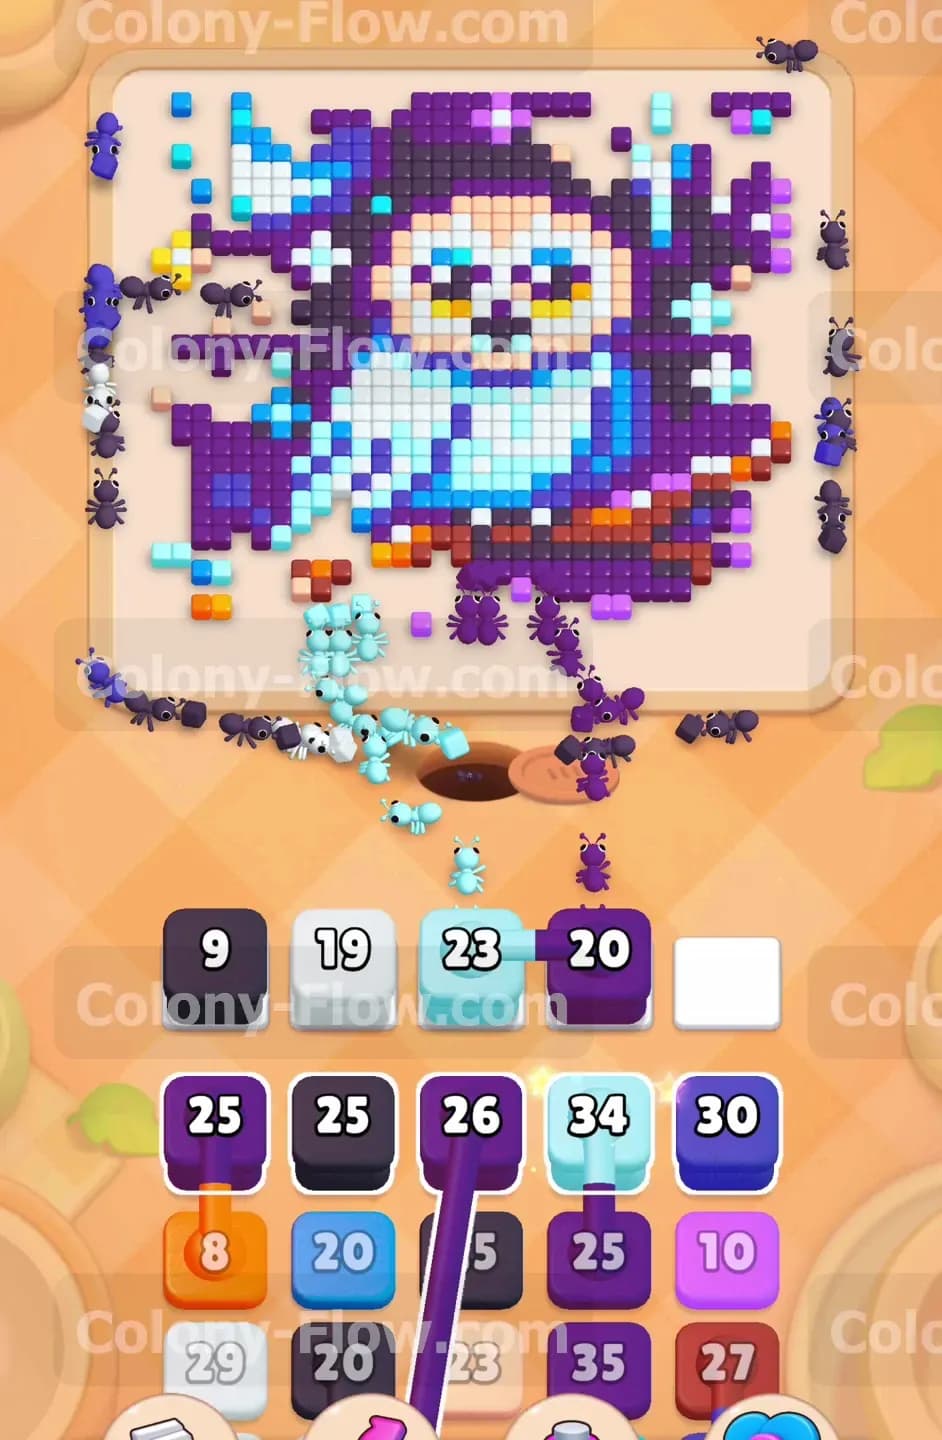
Once the dark blue frame begins to dissolve you gain access to the massive black sections of the night sky. Tap a black block from your tray and move it into an open waiting slot. The black tiles sit right inside the dark blue frame and also fill the tight spaces between the white stars. Your ants will now divide their attention across multiple targets. Some will continue finishing the dark blue border while others swarm the newly exposed black sections. This dual assault rapidly opens up the top half of the puzzle. Keep a close eye on your five waiting slots. If you fill all the slots with colors that cannot be reached you will automatically lose the game. Always ensure the ants are actively eating both the dark blue and black tiles before you pull anything else from the tray.
Step 3: Pull the brown block to dismantle the tree branch
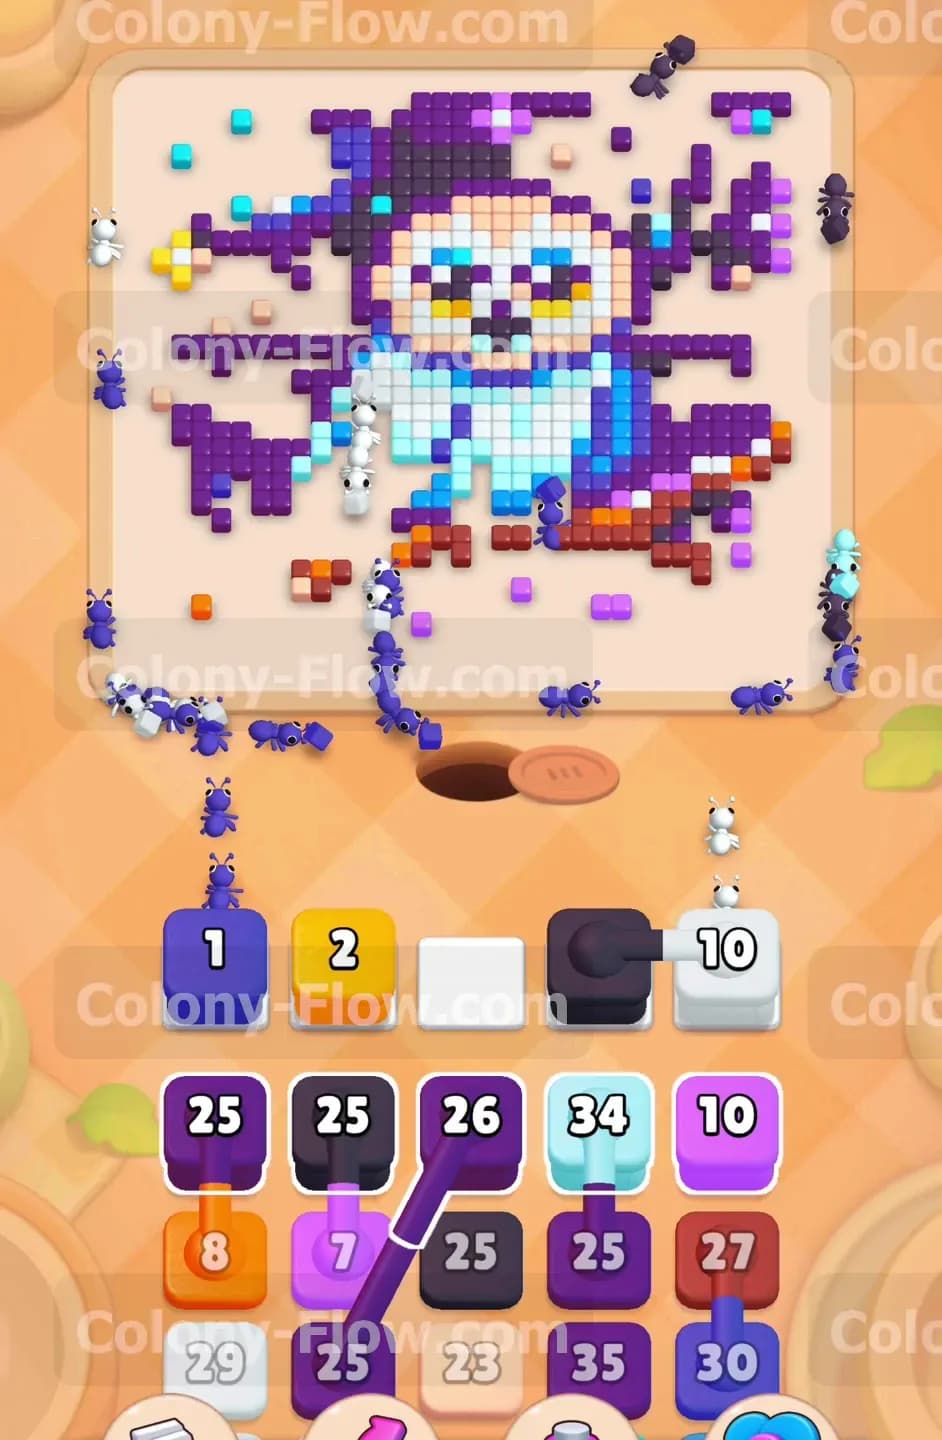
The bottom section of the picture features a thick brown branch supporting the heavy owl. The ants actually have direct access to this branch right from the very beginning but clearing the sky first is a safer strategy. Now is the perfect time to tap a brown block. Send it into the active waiting slots and watch a new stream of ants head straight for the bottom right and bottom left corners. The brown branch breaks apart very quickly because it sits so close to the nest hole. Clearing this branch is a highly crucial move. It completely exposes the lower tail feathers of the owl and gives your insect colony a straight vertical path right into the center of the picture. Keeping these center lanes open speeds up the entire board significantly.
Step 4: Deploy white blocks to gather the scattered stars
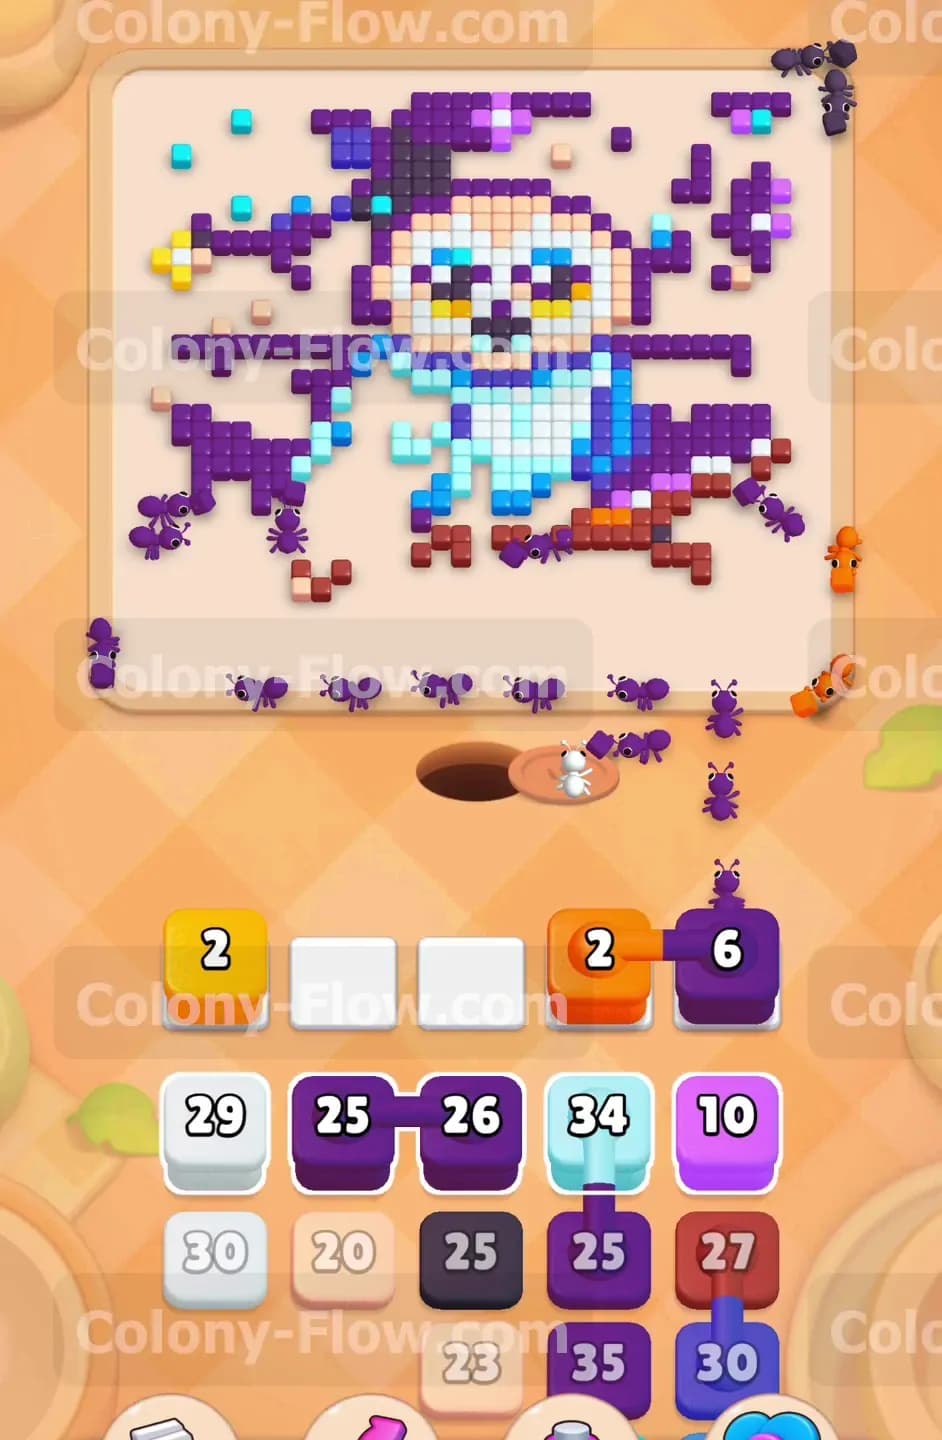
Look at the background sky again. You will clearly notice scattered clusters of white tiles representing shining stars. You also see a bright white crescent shape forming the inner curve of the yellow moon. Tap a white block with a number around twenty one and place it in your tray. Your ants will crawl through the newly opened spaces where the black and dark blue tiles used to reside. They will strictly target these isolated white star clusters. Clearing the stars removes the last stubborn obstacles in the upper sky region. This specific step requires extra patience because the ants must travel all the way across empty board space to reach these remote tiles at the top. Let the numbers tick down slowly and wait until the white blocks completely leave the waiting slots.
Step 5: Use purple blocks to shape the inner background
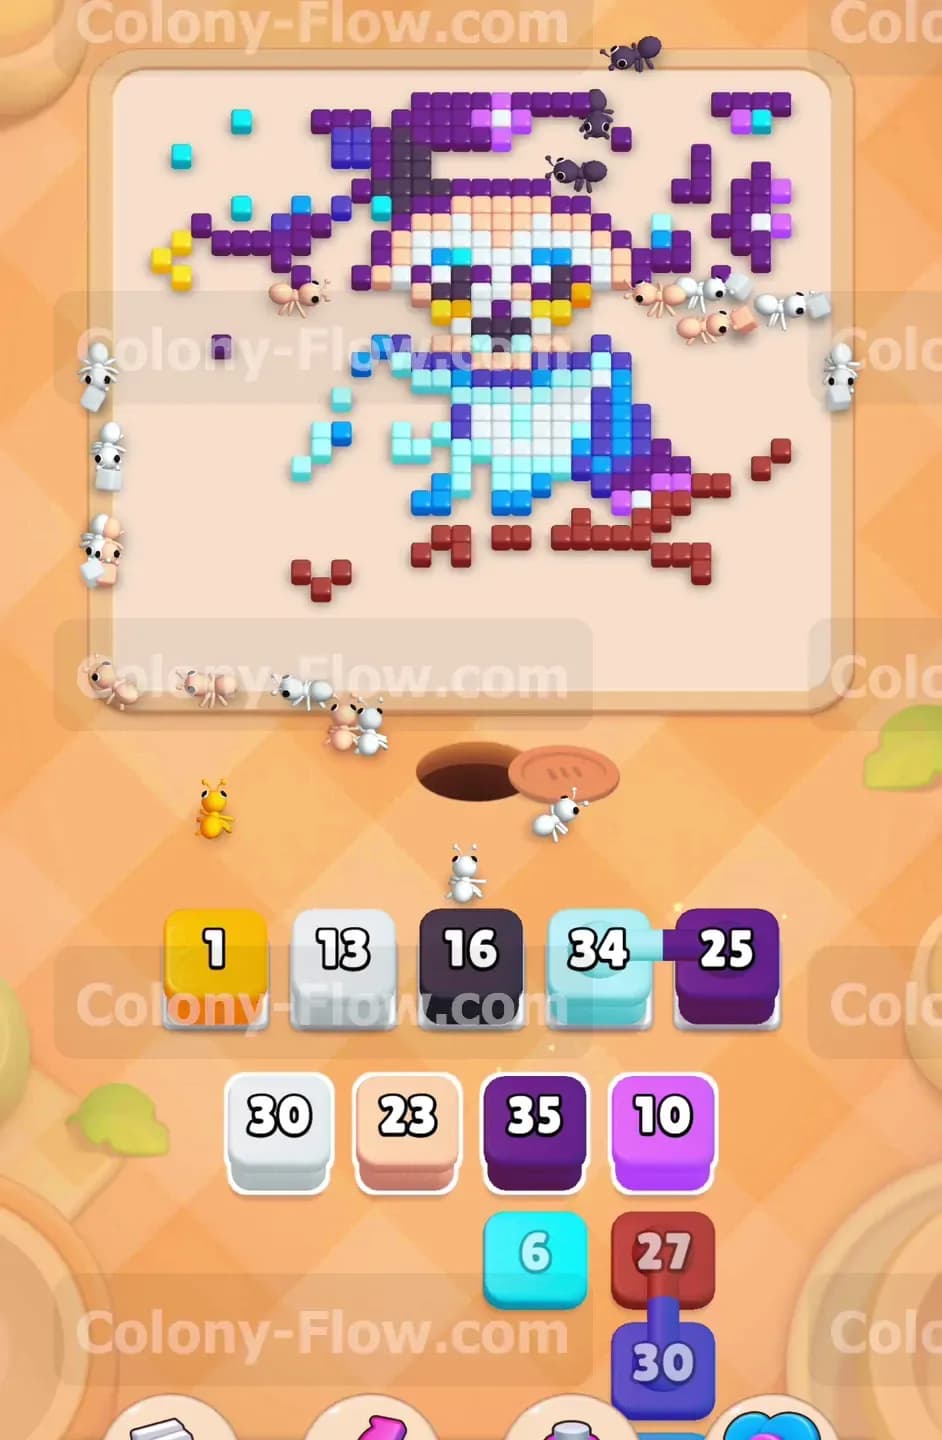
A distinct layer of purple tiles surrounds the owl and separates the bird from the black sky. This purple aura acts as a protective shell around the main subject of the artwork. Tap a high value purple block and add it to your active lineup. You will notice large numbers like twenty five and twenty six printed on these purple blocks. The ants will surround the owl from all sides and start nibbling away the thick purple outline. This coordinated action perfectly defines the shape of the bird. You absolutely must clear this purple layer to give your ants direct access to the light blue wings and the yellow facial features inside. Keep your slots managed well and never pull a color that remains buried deep inside the owl body.
Step 6: Transition your focus to the light blue owl feathers
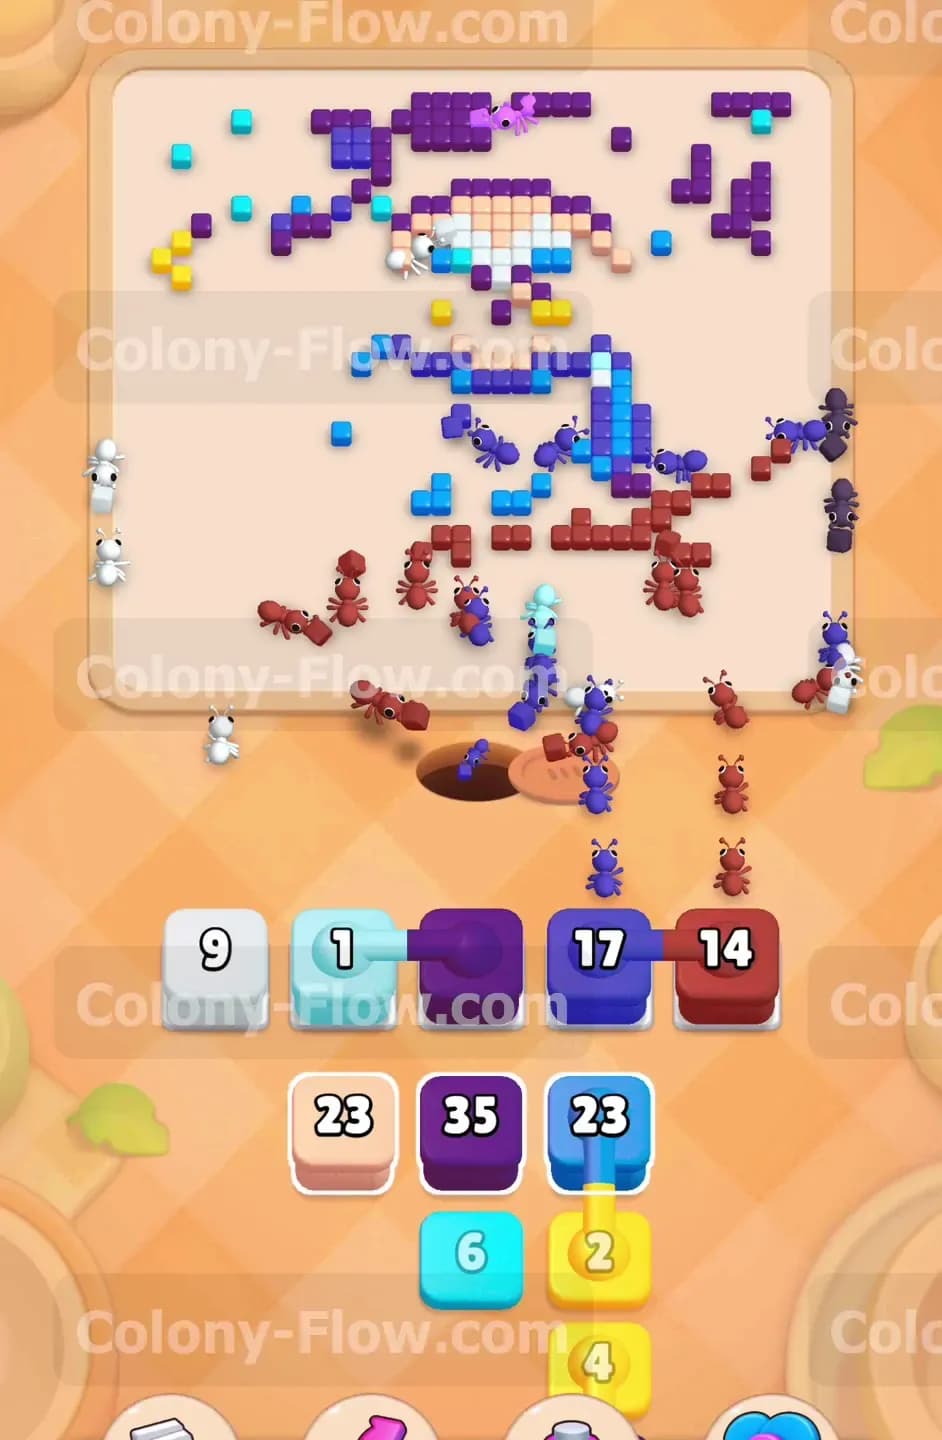
Now the entire outer background is virtually gone. The board consists mostly of the massive owl itself. Tap a light blue block from the tray to begin the next phase. These blocks handle the broad wings and the outer body feathers of the bird. The ants will rush the center of the board and start dismantling the wings from the outside edges moving steadily inward. You will see large numbers drop rapidly as the massive swarm consumes the light blue pixels. This is a very satisfying phase of the puzzle. The pathways are completely wide open so the ants move with incredible speed and efficiency. You just need to keep feeding them light blue blocks until the expansive wings disappear completely from the screen.
Step 7: Activate the white blocks for the owl belly and face
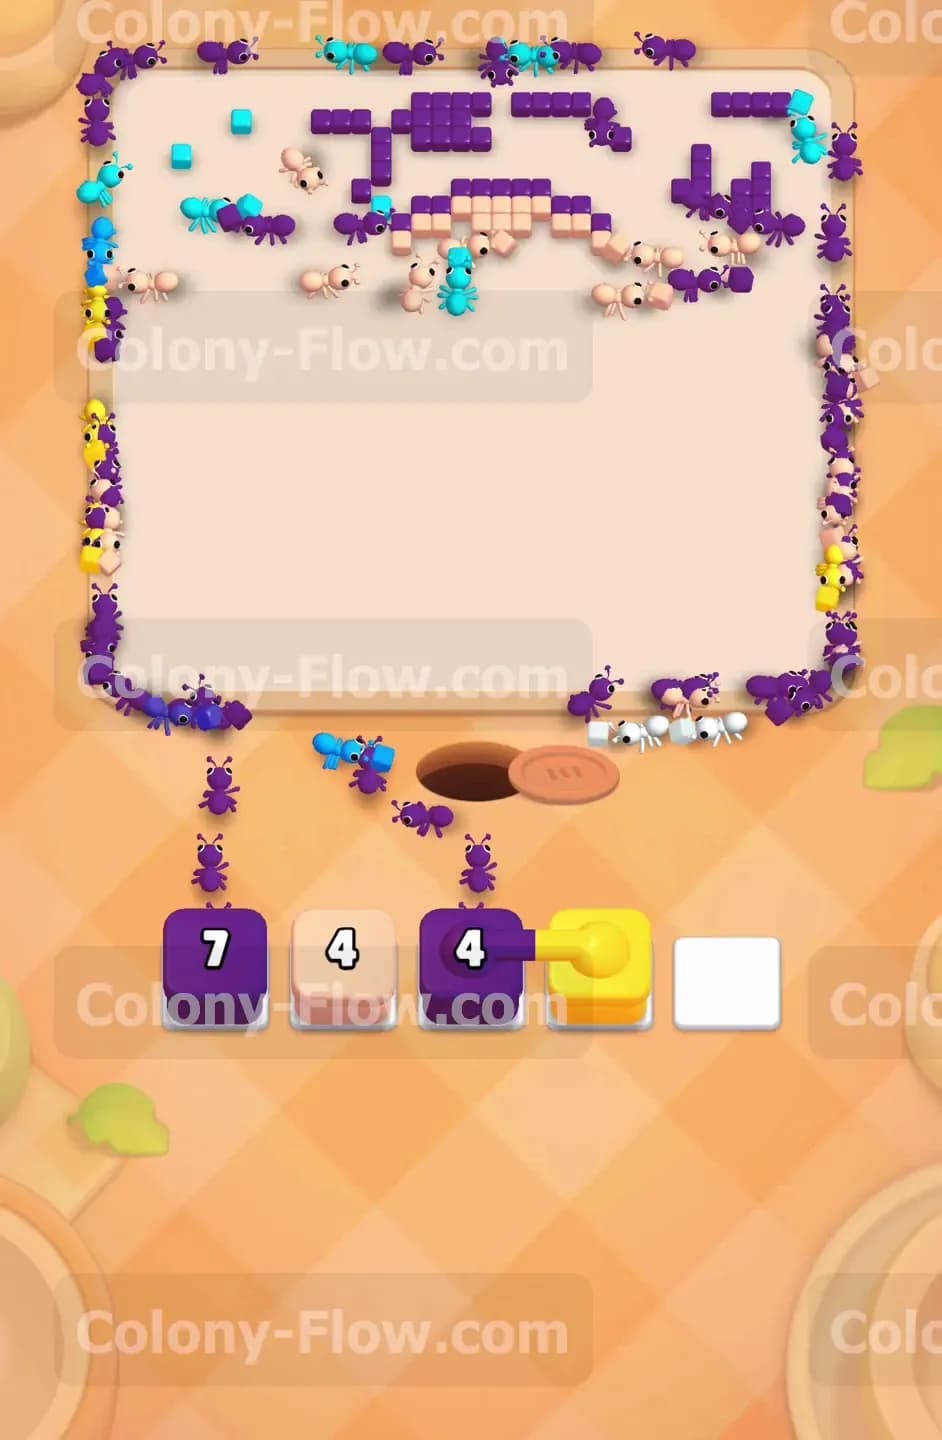
The inner core of the owl is made entirely of white tiles. This section includes the fluffy belly and the intricate decorative patterns around the eyes. Since you previously used white blocks to clear the stars you already know exactly how they work. Tap another white block from the bottom tray and bring it up to the waiting area. The ants will dive right into the dead center of the remaining picture. They will hollow out the belly region and separate the delicate facial features from each other. By executing this move you perfectly isolate the final brightly colored tiles. Make absolutely sure you do not accidentally pull the yellow or orange blocks too early. Wait until the white tiles are mostly gone before advancing to the final steps.
Step 8: Target the yellow eyes and orange beak
Only the absolute smallest details remain on the board right now. You can clearly see the large yellow eyes and the tiny orange beak right in the center of the face. Tap the yellow blocks and the orange blocks to bring them into the empty waiting slots. These particular blocks have very small numbers because there are very few of these colored tiles left. The ants will sweep in and quickly devour the glowing eyes and the sharp beak. You might also have a few yellow tiles left over from the moon up in the top left corner. The ants will intelligently split up and grab the moon tiles at the exact same time. The board is now extremely empty and your hard earned victory is only a few brief moves away.
Step 9: Clean up the final scattered fragments around the board
You will inevitably have a few random scattered tiles left over from your previous colors. Maybe a single purple tile or a couple of dark blue edge pieces remain stuck on the screen. Look at your remaining tray blocks and tap the corresponding colors for whatever is left on the empty board. These final blocks will always have very low numbers on them. Send them straight into your waiting slots and let the ants do their final cleanup work. The swarm will run rapidly around the far edges and pick off the isolated stragglers. Watch the final block count down all the way to zero. The ants will carry the absolute last remaining food tiles down into the nest hole. The board will wipe clean and you will complete the stage successfully.
Final Thought
Managing your five waiting slots perfectly is the true secret to mastering this puzzle game. You must always think exactly one step ahead to prevent a total gridlock situation. Take your time and peel away the puzzle from the outer edges before you rush the fragile center. If you find yourself struggling with a specific tricky section of the board please watch the video above this article. The visual footage will show you exactly how the ants move and which hidden paths open up first. Good luck and enjoy feeding your busy colony.