Colony Flow Level 558 Walkthrough Solution & Guides | How to solve Colony Flow 558

Guide By Liam Stone
Updated on August 1, 2026
You'll find the complete Level 558 walkthrough in the video above if reading isn't what you're after.
Video doesn't match your screen?
Game updates frequently scramble layouts! Try our AI Screenshot Solver first to find your exact board instantly, or report broken guides to our team.
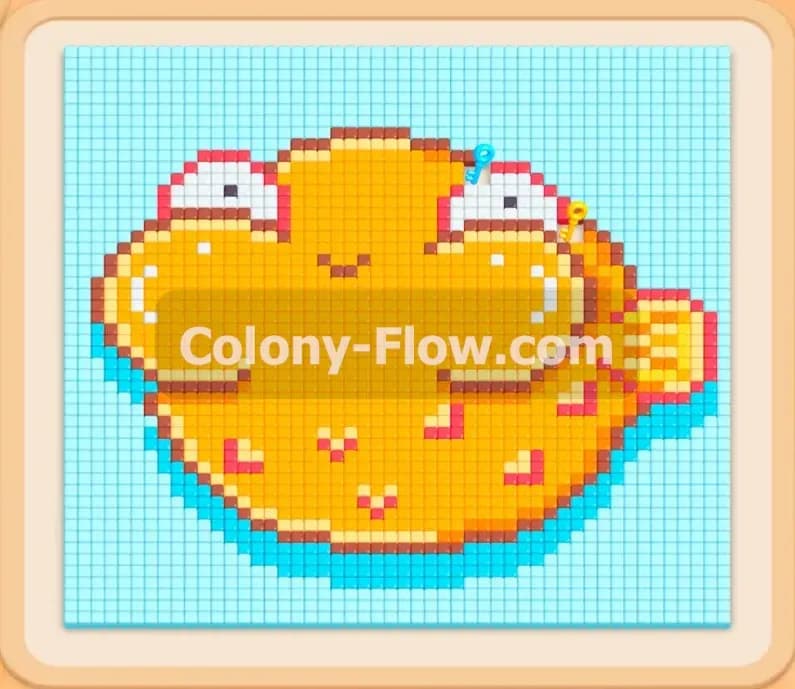
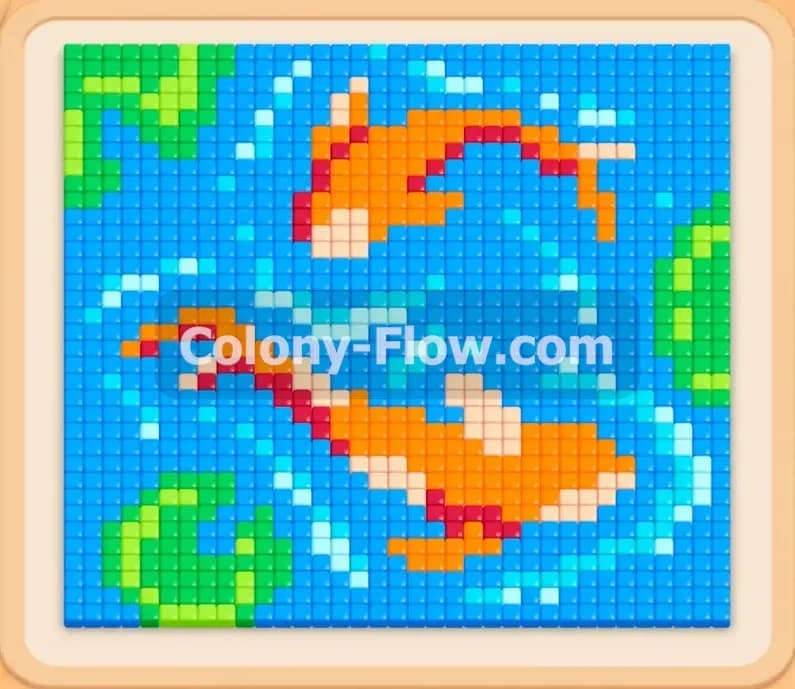
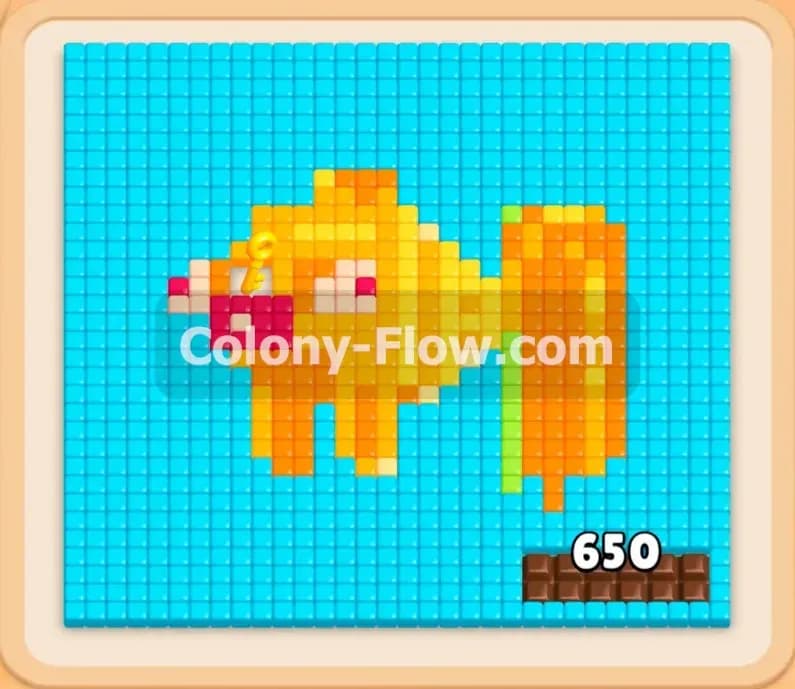
Colony Flow Level 558 drops you into a massive aquatic scene featuring a bright yellow and orange goldfish swimming in a vast sea of blue water tiles. You face a heavily blocked board right from the start with a locked section on the fish and a massive chocolate barrier in the corner. You need to manage your block tray carefully to avoid filling all five of your waiting slots and failing the stage. Your success depends entirely on releasing the right colors at the exact right moment to keep the ant swarm moving continuously.
Colony Flow Level 558 Overview
What You Are Working With
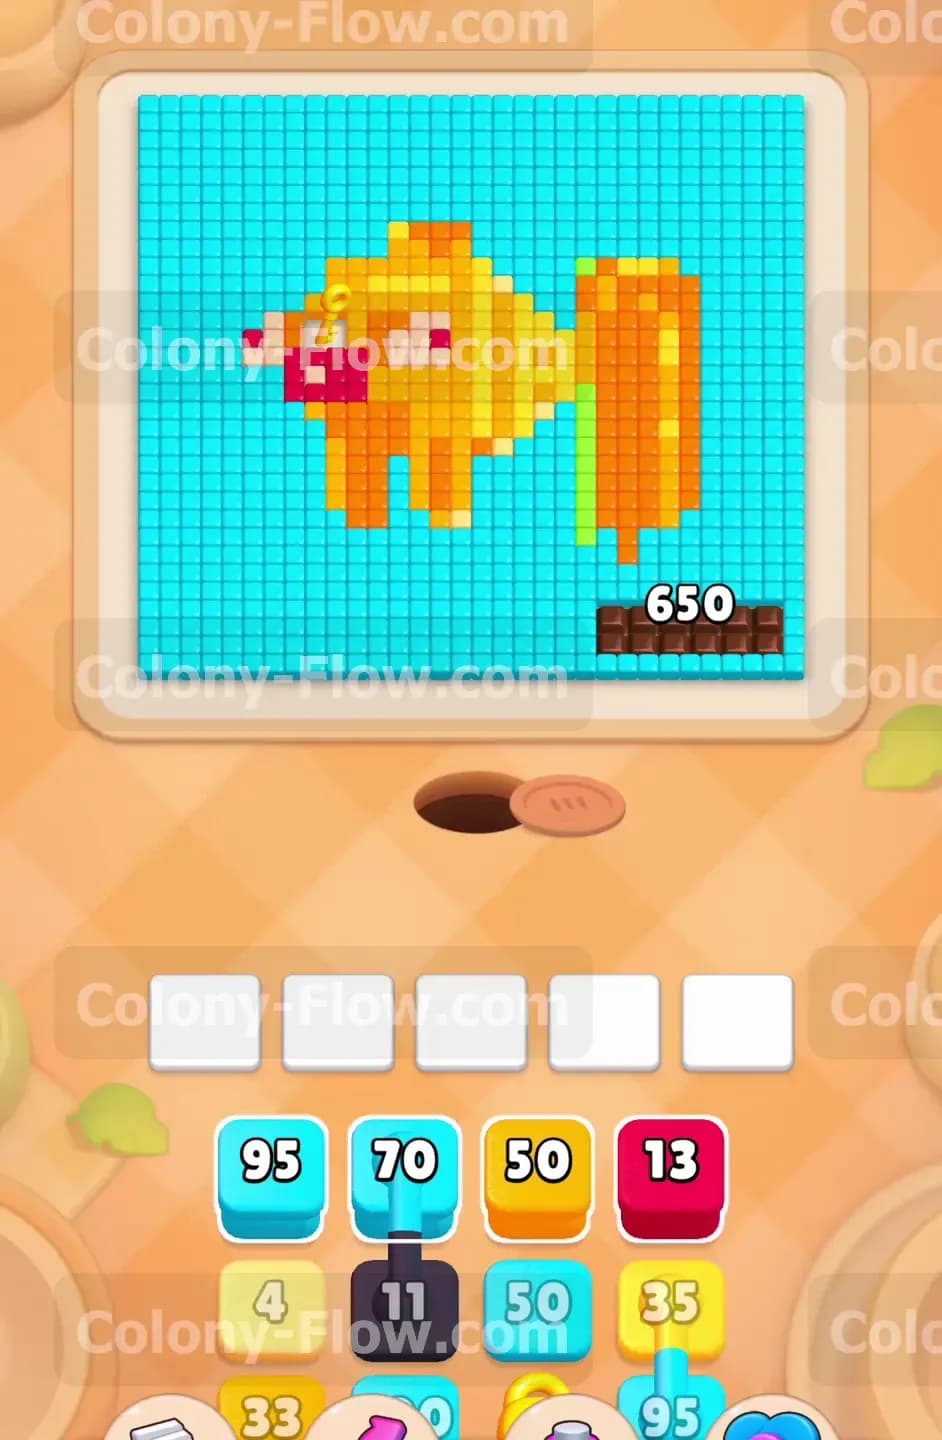
The pixel art picture for this stage forms a large goldfish made of bright yellow and orange food tiles. A sea of blue water tiles surrounds the fish on all sides. A red lock sits directly on the mouth of the goldfish. The red key you need to collect is located just above the lock. A giant brown chocolate block rests in the bottom right corner of the picture. This chocolate barrier displays a very high number that drops as your colony clears the adjacent tiles.
Down in your tray you have a steady supply of cyan blocks to handle the water along with yellow and orange blocks for the fish. You will also encounter a red block for the key. The tray contains a few special elements to complicate your progress. You will see connected boxes where a black block links permanently to a cyan block. A hidden box also waits near the bottom of your tray. This gray box keeps its true color a secret until you clear the blocks above it.
What It Takes to Clear Level 558 Board
To win this stage you must direct your colony to eat every single blue water tile and every part of the goldfish. You have exactly five waiting slots at the bottom of the screen. If you pull too many blocks into these slots and the ants have no open paths to reach their matching food tiles you lose the level instantly. Clearing the board means you successfully balance pulling new blocks with keeping the board open so your ants never hit a dead end. You clear the blue water to expose the fish and then you eat the fish to melt the chocolate barrier.
Colony Flow Level 558 Step by Step Solution
Step 1: Release the first large cyan blocks to clear out the outer blue water
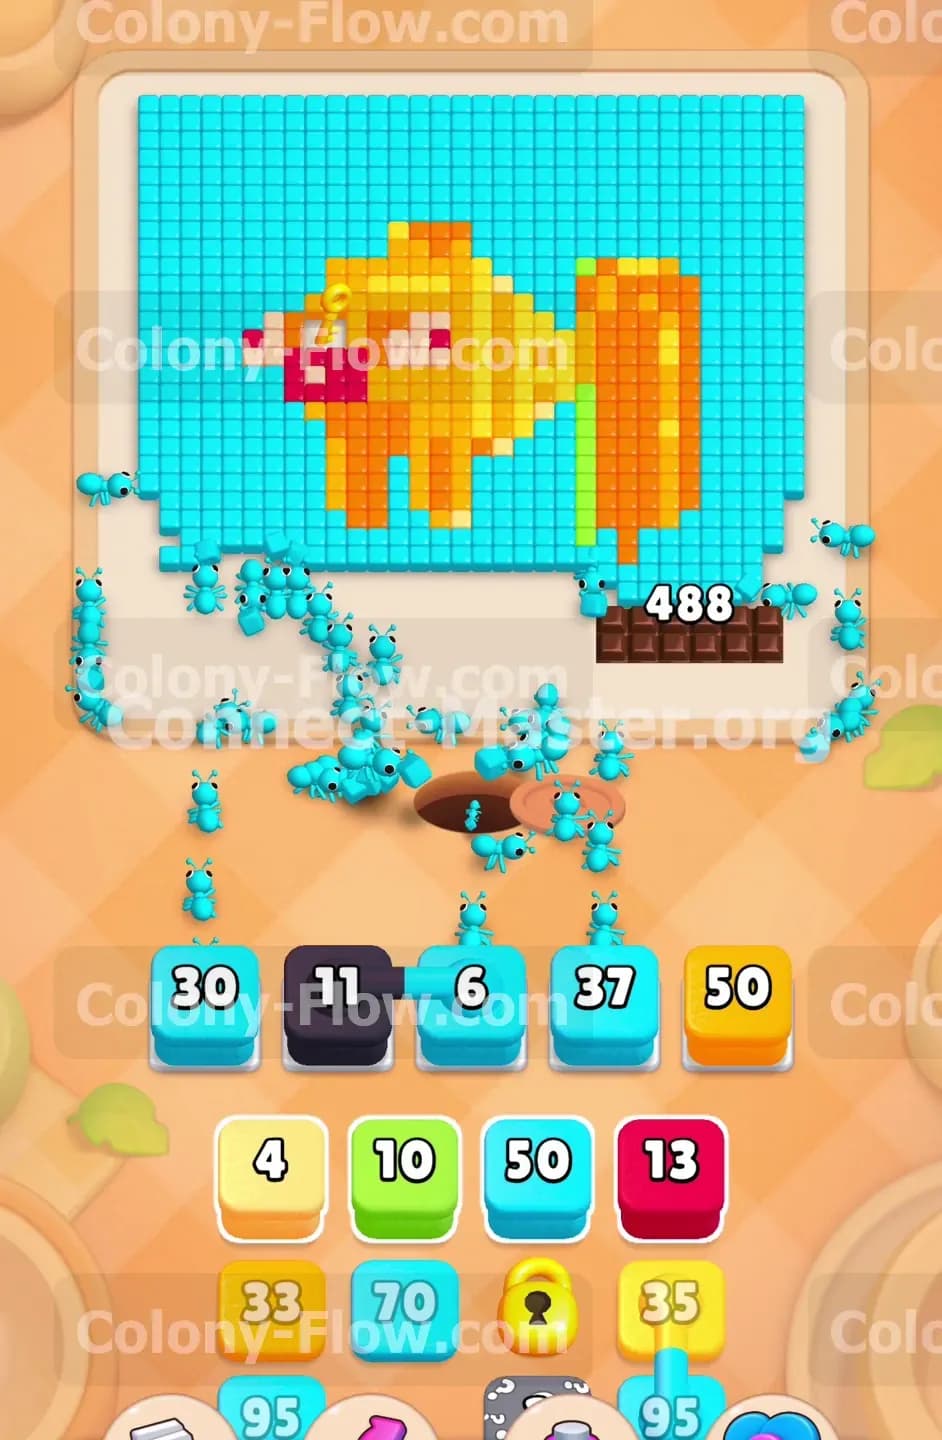
You begin the level by pulling the large cyan blocks from the top row of your tray into your waiting slots. The cyan ants march out of the nest hole and immediately target the blue water tiles covering the bottom edge of the board. Letting these first cyan ants do their work opens up a wide path toward the goldfish and the chocolate barrier. You must allow these large numbers to count down before you pull anything else. If you flood your active slots with other colors right now the ants will block each other and jam the board. Keeping your slots mostly empty ensures the cyan ants have a clear path to carve out the bottom layer of water.
Step 2: Deploy the red block to collect the key and unlock the fish
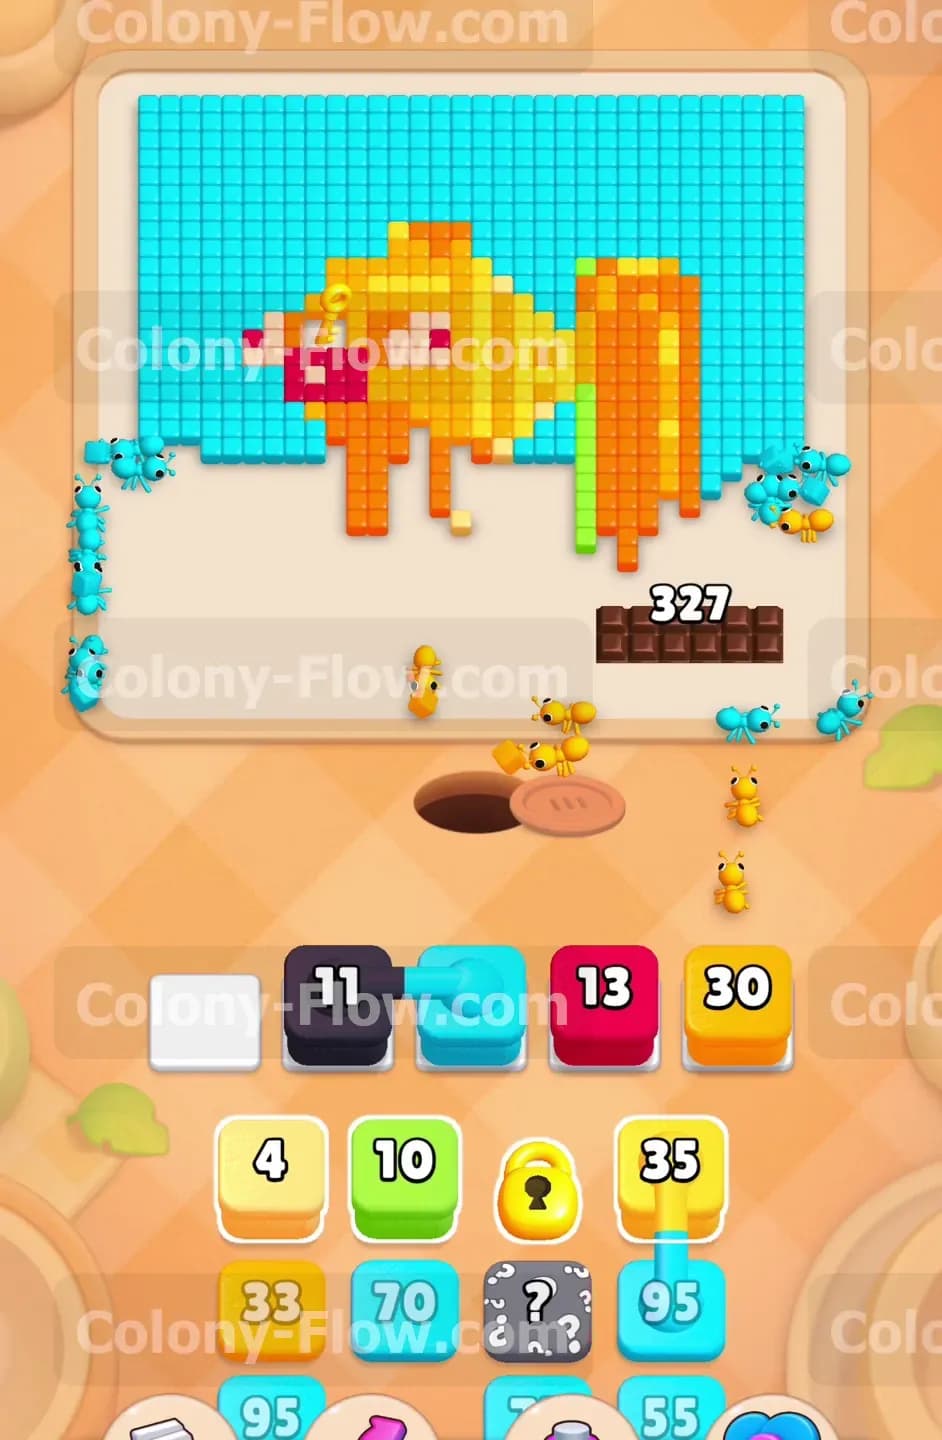
Once the cyan ants clear a small opening near the front of the fish you will pull the red block into your active tray. The red ants stream out and head straight for the red key resting near the mouth of the goldfish. Collecting this key instantly shatters the red lock blocking the face of the fish. This action is mandatory before you can start eating the front half of the yellow and orange tiles. You need to keep at least one cyan block active alongside the red block so the rest of the swarm continues clearing water. This guarantees your waiting slots never fill up completely while the red ants make their long walk to the key.
Step 3: Maneuver the connected boxes into the active tray slots
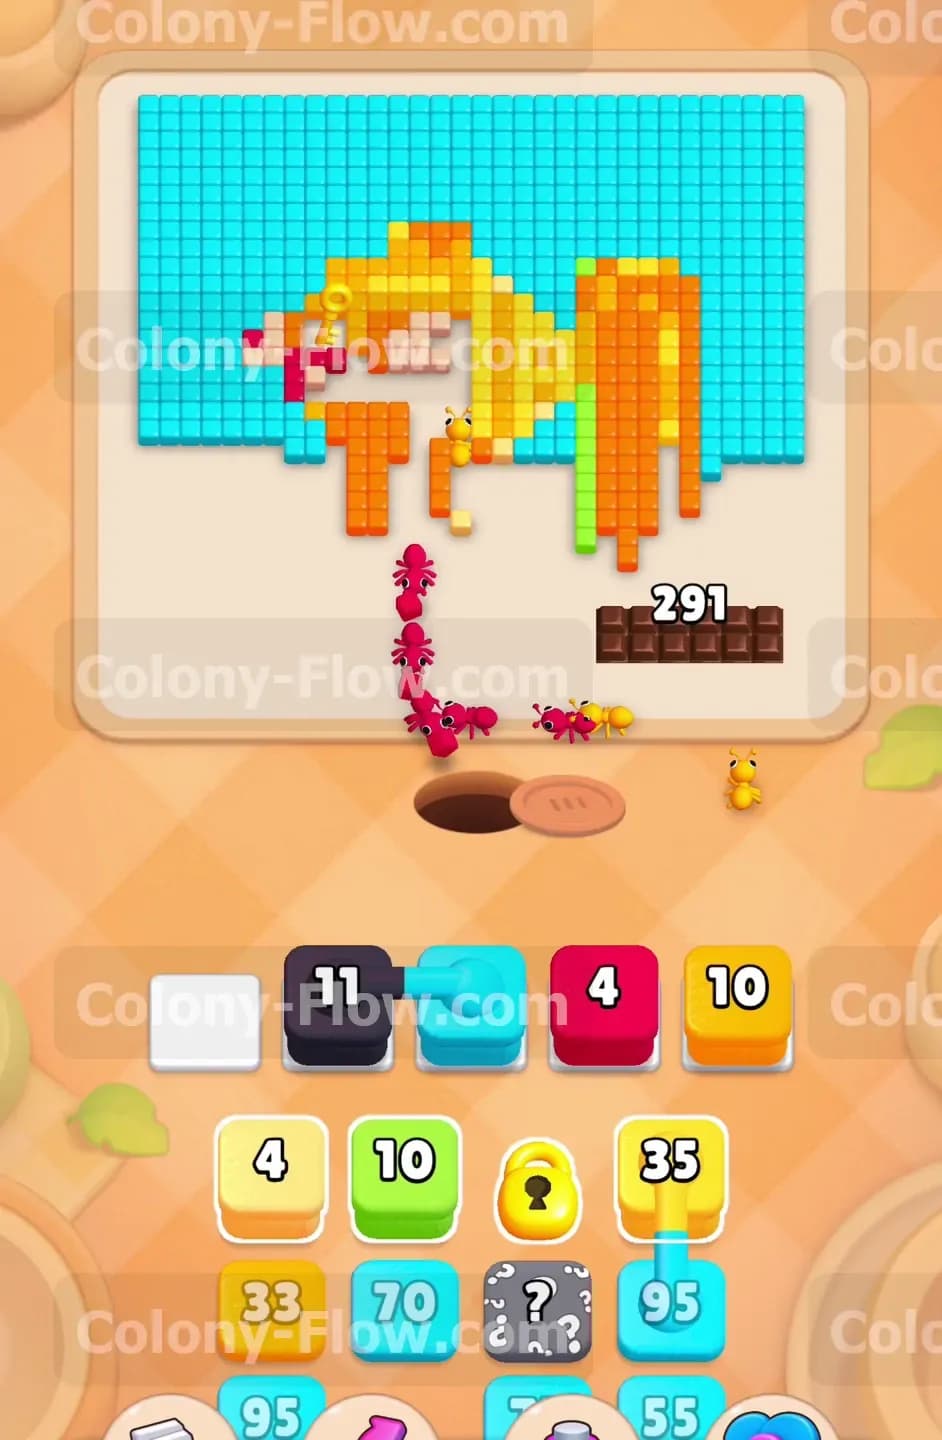
You will soon reach the connected boxes in your tray where a black block is firmly attached to a cyan block. Pulling this pair means you instantly take up two of your five precious waiting slots. The cyan block will send out ants to continue eating the blue water. The black block has no matching tiles on the board so it simply sits in your active slot taking up space. You will operate with only three usable slots for a large portion of the level. You must be extremely careful not to pull three unplayable colors into your remaining open slots. Always make sure you have a valid open path for a cyan or yellow block before you commit it to the tray.
Step 4: Send the yellow and orange ants to devour the goldfish body
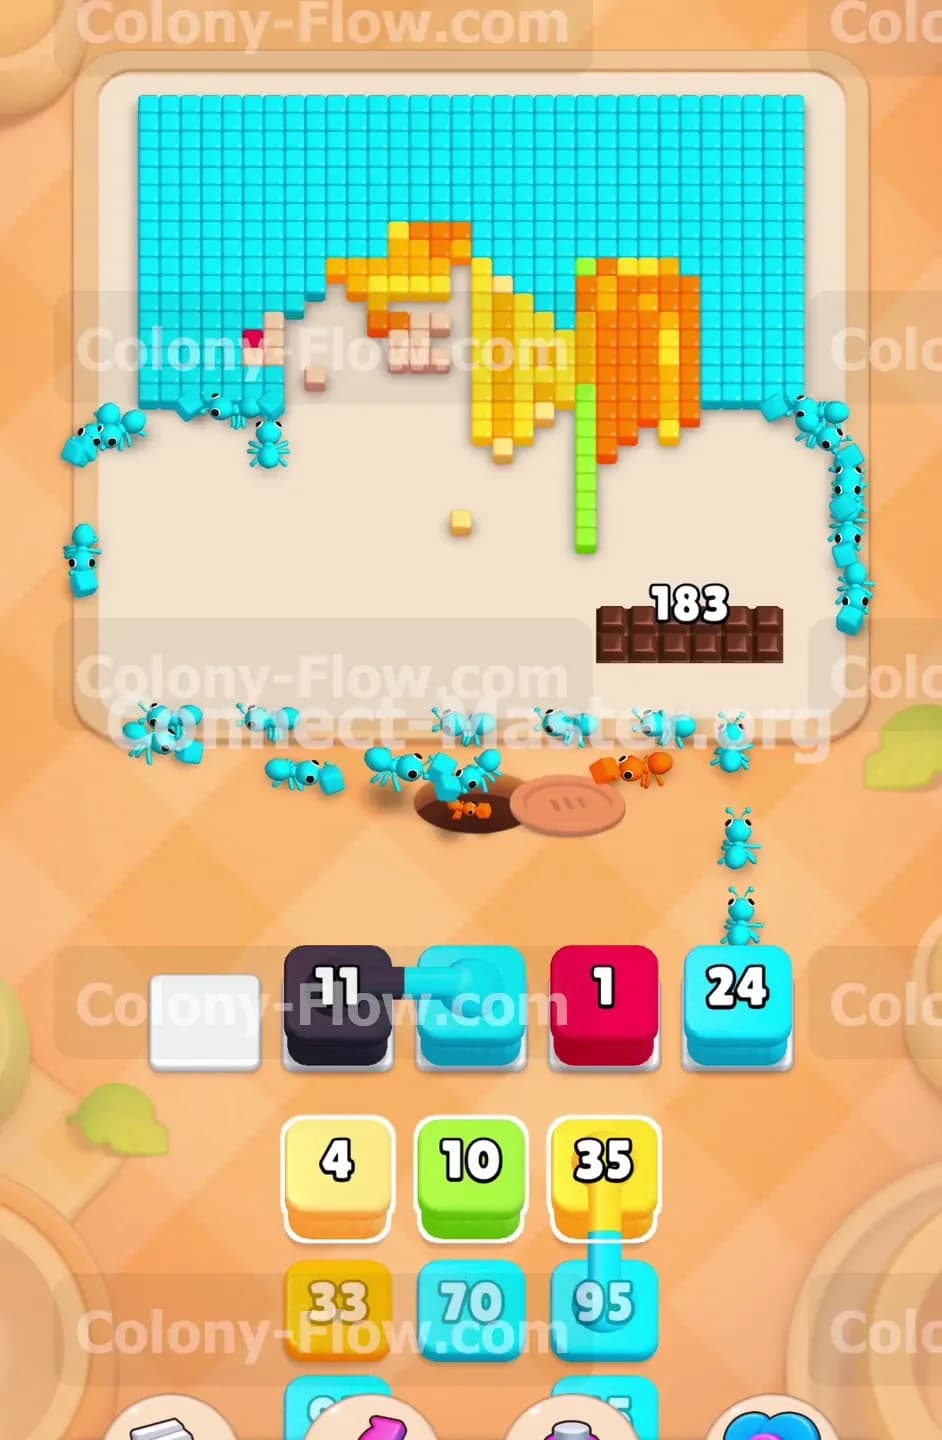
With the red lock gone and the blue water receding you now have direct access to the goldfish. Pull the bright yellow and orange blocks into your available tray slots. The yellow and orange ants will rush the board and begin dismantling the top and front edges of the fish. You will notice the massive brown chocolate block at the bottom right taking damage as these fish tiles disappear. The chocolate barrier shrinks automatically as you clear the surrounding picture. You maintain board flow by alternating between a yellow block and a cyan block. This strategy guarantees you always have at least one active color finding a valid path on the board.
Step 5: Chip away at the massive chocolate barrier
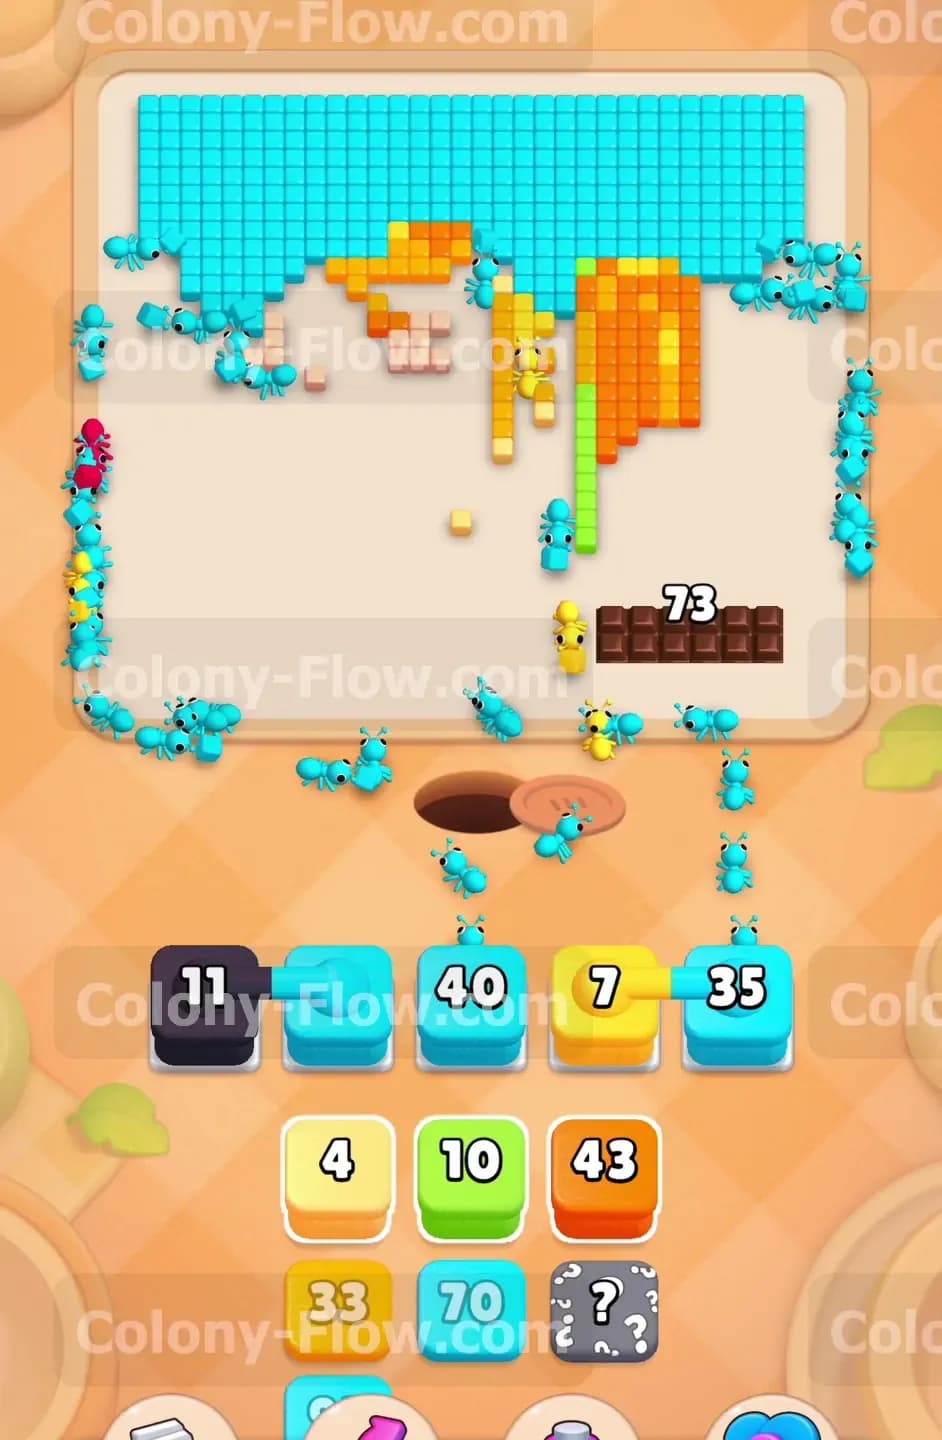
You do not need a specific brown block to destroy the giant chocolate block in the corner. You just need to keep feeding your colony the colors that surround it. Pull the remaining large cyan blocks and orange blocks into your tray to target the back half of the fish and the deep water. As the ants consume the blue and orange tiles touching the chocolate the high number on the brown barrier drops rapidly. You must watch your five waiting slots closely during this phase. If you pull a color that only exists behind the chocolate before the chocolate melts your ants will dead end and you will lose. Only pull blocks that match fully exposed food tiles.
Step 6: Reveal the hidden box in the lower tray rows
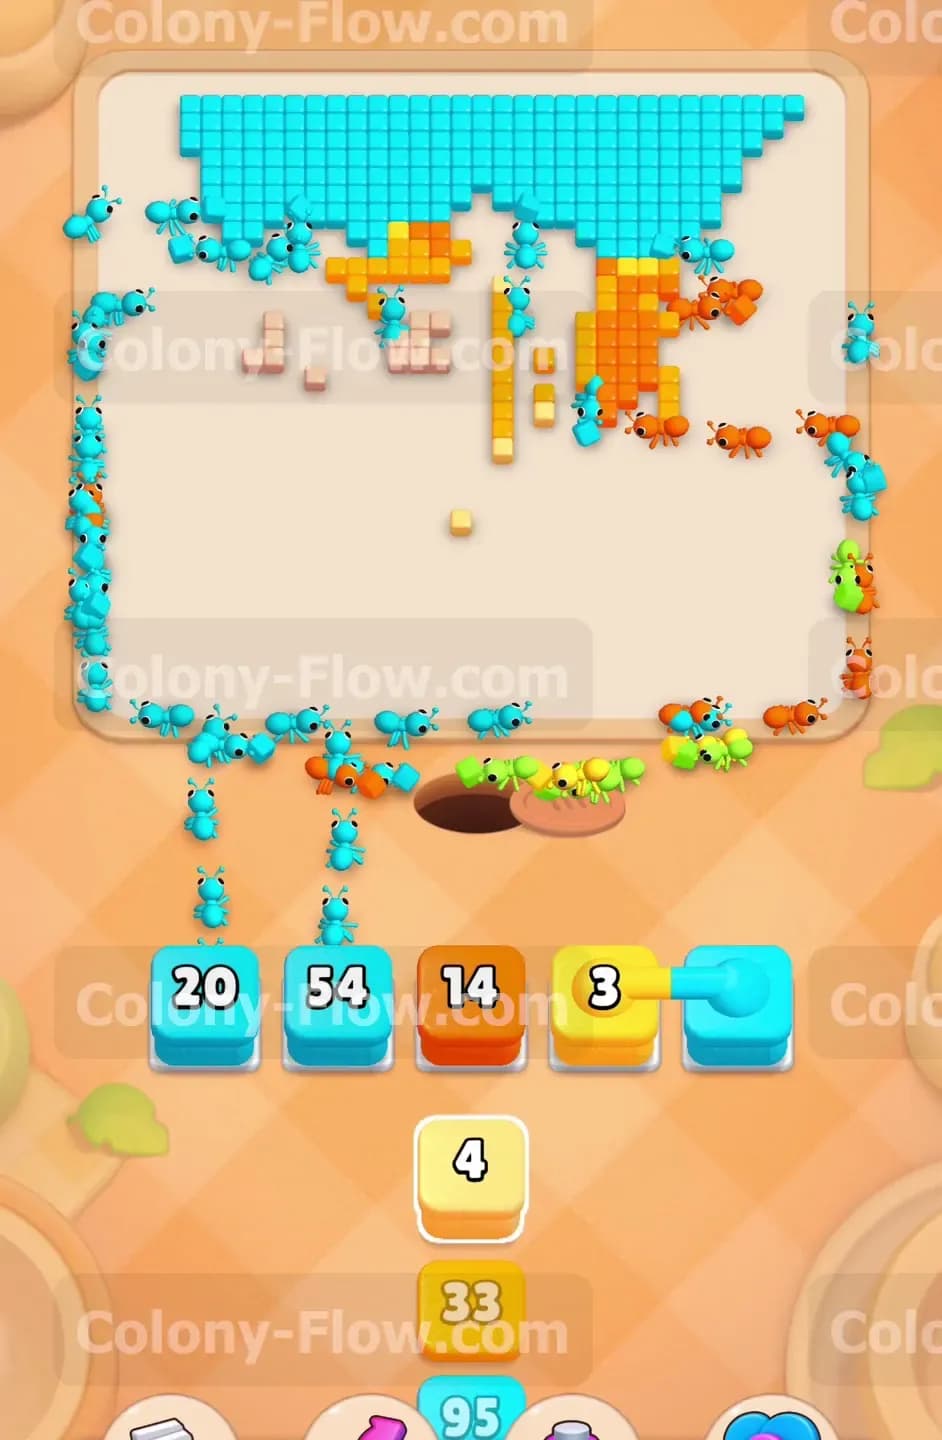
As you empty the middle rows of your block tray the gray hidden box becomes the next available move. You cannot see what color this box holds while it wears its question mark. You must pull it up into your active slots to force it to reveal its true color. Make absolutely sure you have two empty slots available before you pull the hidden box. If the hidden box turns into a color that currently has no open path on the board it will sit there and occupy a slot. Having a spare slot allows you to pull a playable color to rescue the board from a jam. The box will usually reveal itself as cyan or yellow to match the remaining tiles.
Step 7: Clear the remaining pink and cyan tiles to finish the board
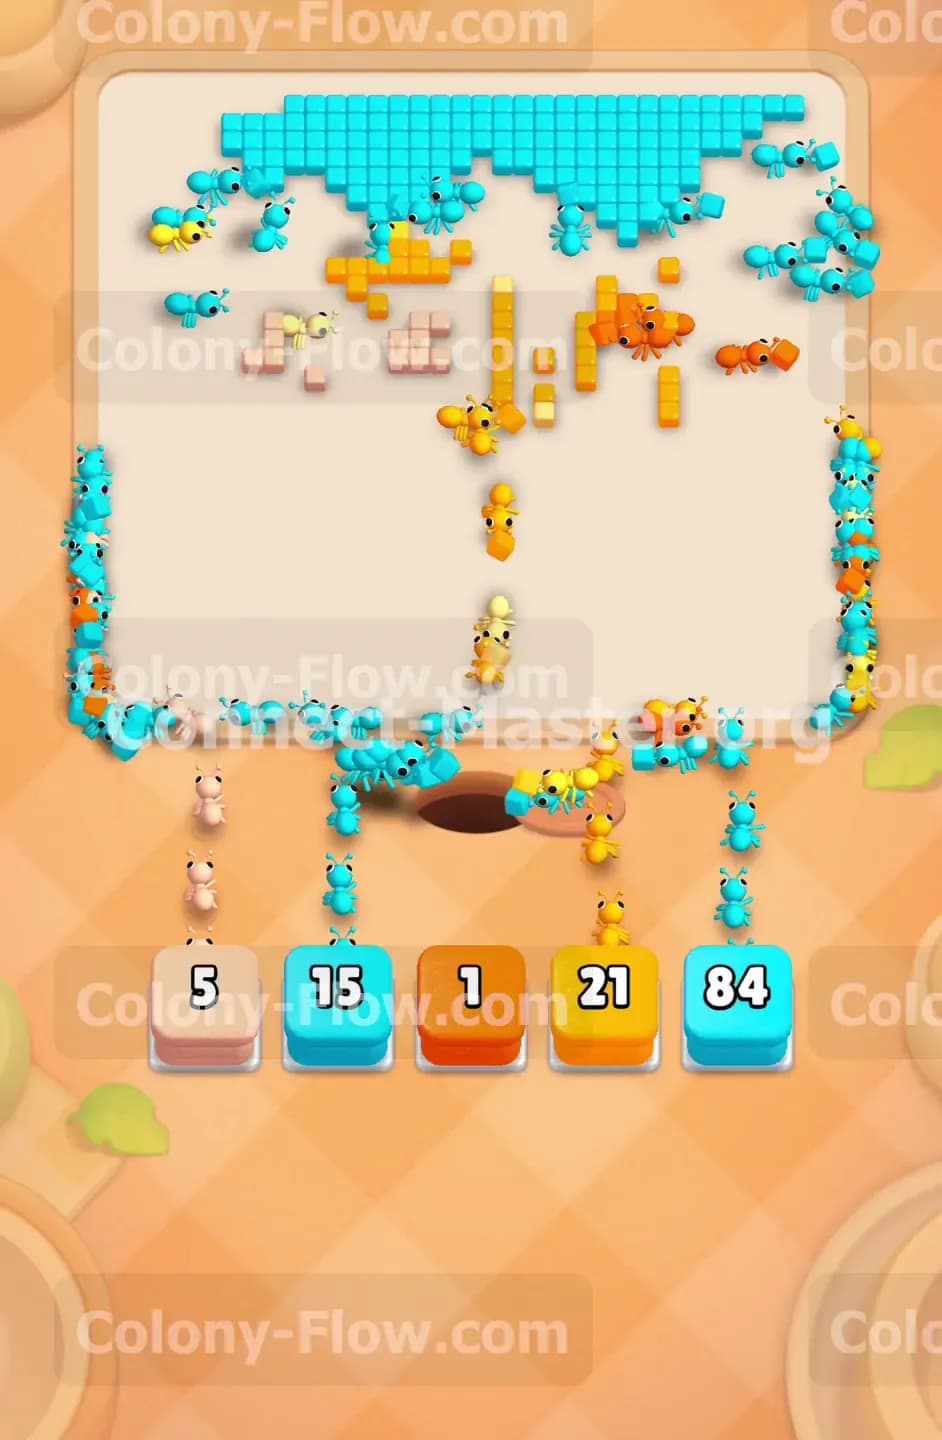
The final section of the picture consists of a few stray pink tiles on the belly of the fish and the last corner of blue water. The black block from your connected boxes will finally leave your tray as the board nears completion. Pull the final pink blocks and the last cyan blocks into your waiting slots. The pink ants will clean up the last pieces of the fish while the cyan ants consume the final drops of water. You just need to wait patiently for the ants to walk across the empty board to reach these last few tiles. Do not pull all your final blocks at the exact same time just in case the paths bottleneck near the edges.
Final Thought
Level 558 demands very strict management of your five waiting slots because the connected black block severely limits your space. You win by methodically clearing the blue water first and letting the chocolate barrier melt naturally as you eat the fish. Take your time with the hidden box and always verify your ants have a clear walking path before pulling a new color. Watch the video above this article if you want to see exactly how to time the connected boxes and unlock the fish without jamming your tray.