Colony Flow Level 487 Walkthrough Solution & Guides | How to solve Colony Flow 487

Guide By Liam Stone
Updated on July 30, 2026
Not in the mood to read? The video above solves Level 487 for you from beginning to end.
Video doesn't match your screen?
Game updates frequently scramble layouts! Try our AI Screenshot Solver first to find your exact board instantly, or report broken guides to our team.
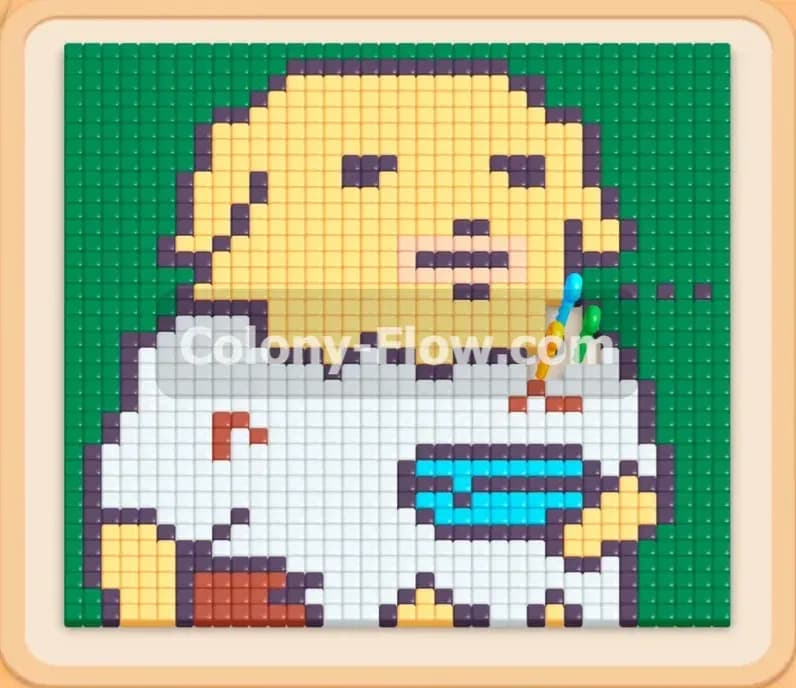
Welcome to Colony Flow Level 487. This puzzle presents a fun picture but a challenging layout. You face a yellow dog wearing a white shirt holding a light blue bowl set against a large green background. The tray is packed with high number blocks hidden boxes and locks that will test your planning skills. If you rush and pull the wrong colors you will fill your waiting slots and lose the level. I play every level myself and I will show you exactly how to navigate this board without getting stuck.
Colony Flow Level 487 Overview
What You Are Working With
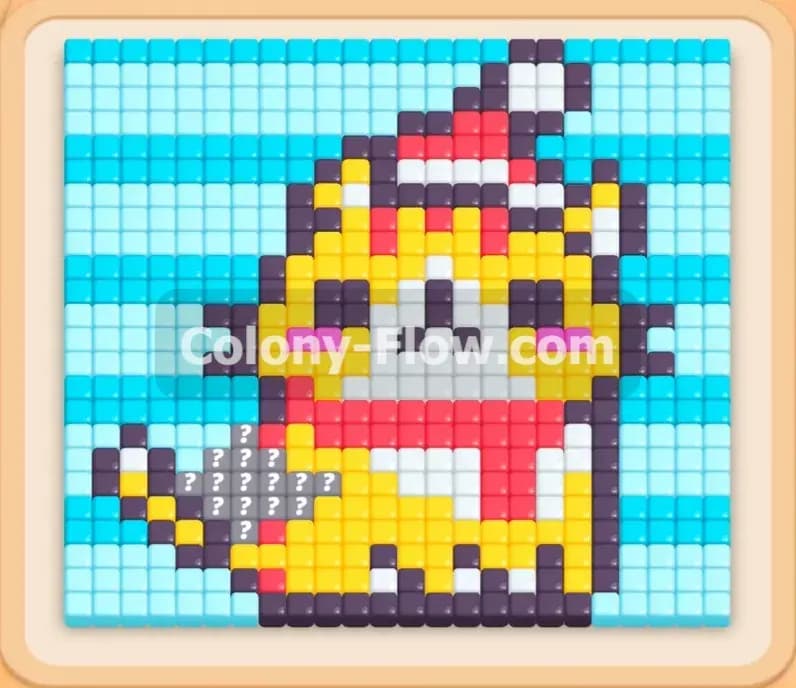
The picture at the top of the screen is a pixel art dog. The dog is yellow with black outlines for the face and ears. It wears a large white shirt with a few dark red details at the bottom edge. In its hands the dog holds a light blue bowl with small colored strings or straws sticking out. The entire background behind the dog is made of solid green tiles.
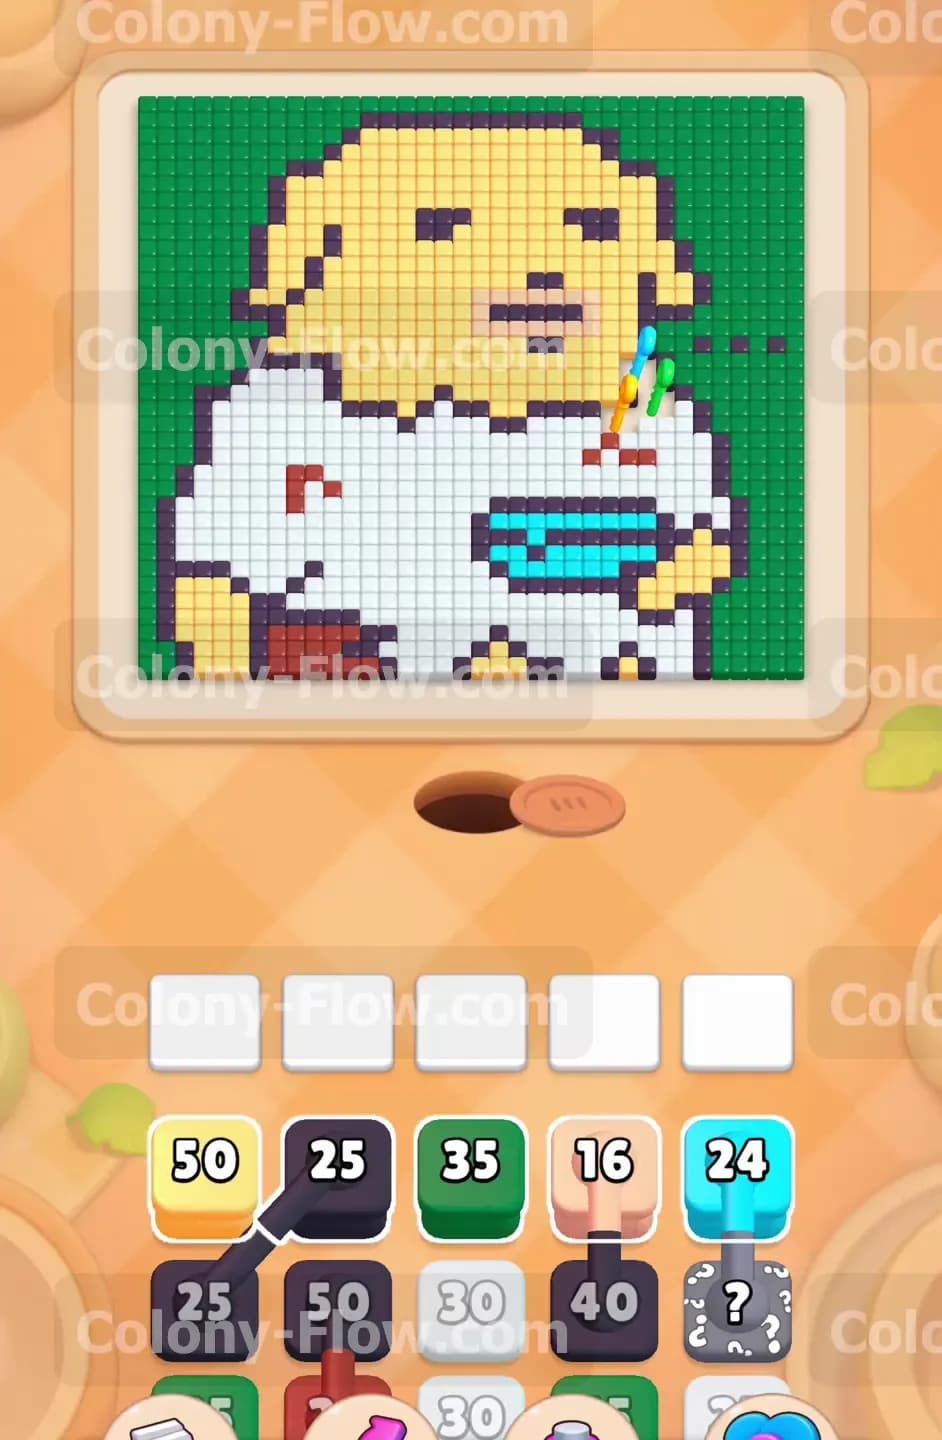
Down in the tray you have a complex mix of blocks. There are standard colored blocks with high numbers like fifty and sixty five. You will also encounter hidden boxes marked with a question mark. These hide their true color until you expose them. The tray also contains locked blocks in yellow green and light blue. You must collect keys by clearing specific tiles on the board to unlock them. Finally there is a black connected box. Connected boxes take up space in your slots and only activate when all parts have a valid path.
What It Takes to Clear Level 487 Board
To win this level you must clear every single tile from the picture. The ants emerge from the nest hole and need a clear path to reach the food tiles. Your main obstacle is the limited space in the five waiting slots. If you pull five blocks and none of the ants can reach their matching tiles the slots jam and you lose.
Clearing this board requires a bottom up approach. You must clear the white shirt and the light blue bowl first. This opens the side paths so your green ants can reach the large background. You then clear the background to expose the top of the dog head. From there you work down through the yellow tiles and finally clear the black outlines. Managing the hidden boxes and unlocking the locks at the right time will keep your slots open and the ants moving.
Colony Flow Level 487 Step by Step Solution
Step 1: Open the bottom paths with white and light blue blocks
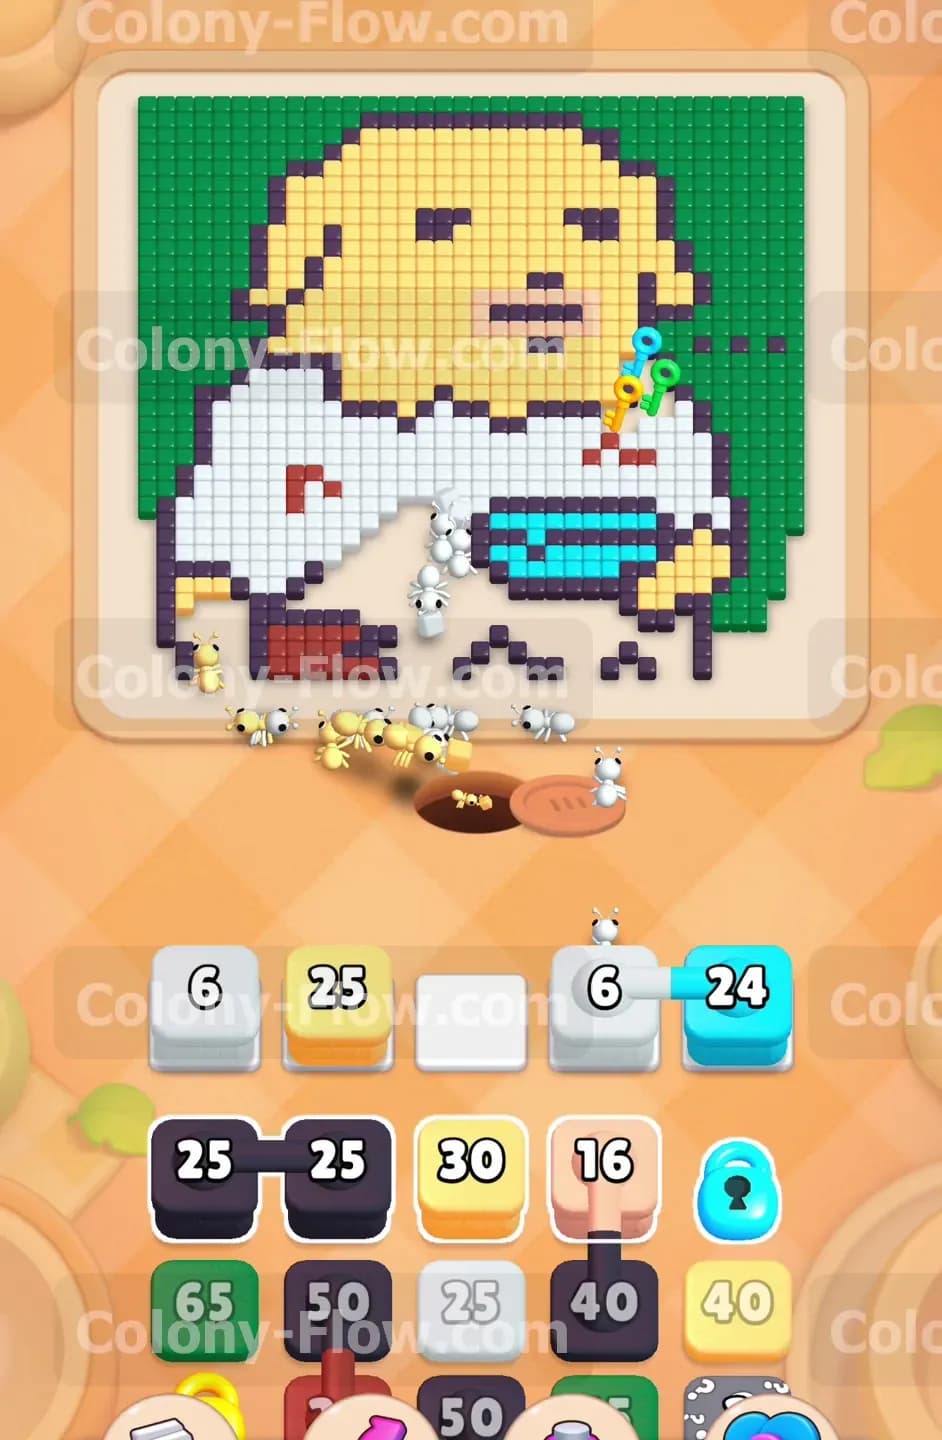
The first priority is creating open routes on the left and right sides of the picture. Start by selecting the white block and the light blue block from the top row of the tray. The ants stream out of the nest and head straight for the white shirt and the light blue bowl. The numbers on these blocks will count down as the ants consume the tiles. You also pull a black block and a yellow block to get things moving. The white ants carve a path through the bottom middle of the shirt. The light blue ants clear the bowl. This action is critical because it removes the barrier between the nest and the outer edges of the green background. Always ensure the ants have a direct line to their colors before you pull a block.
Step 2: Bring in more white and yellow blocks to expand the opening
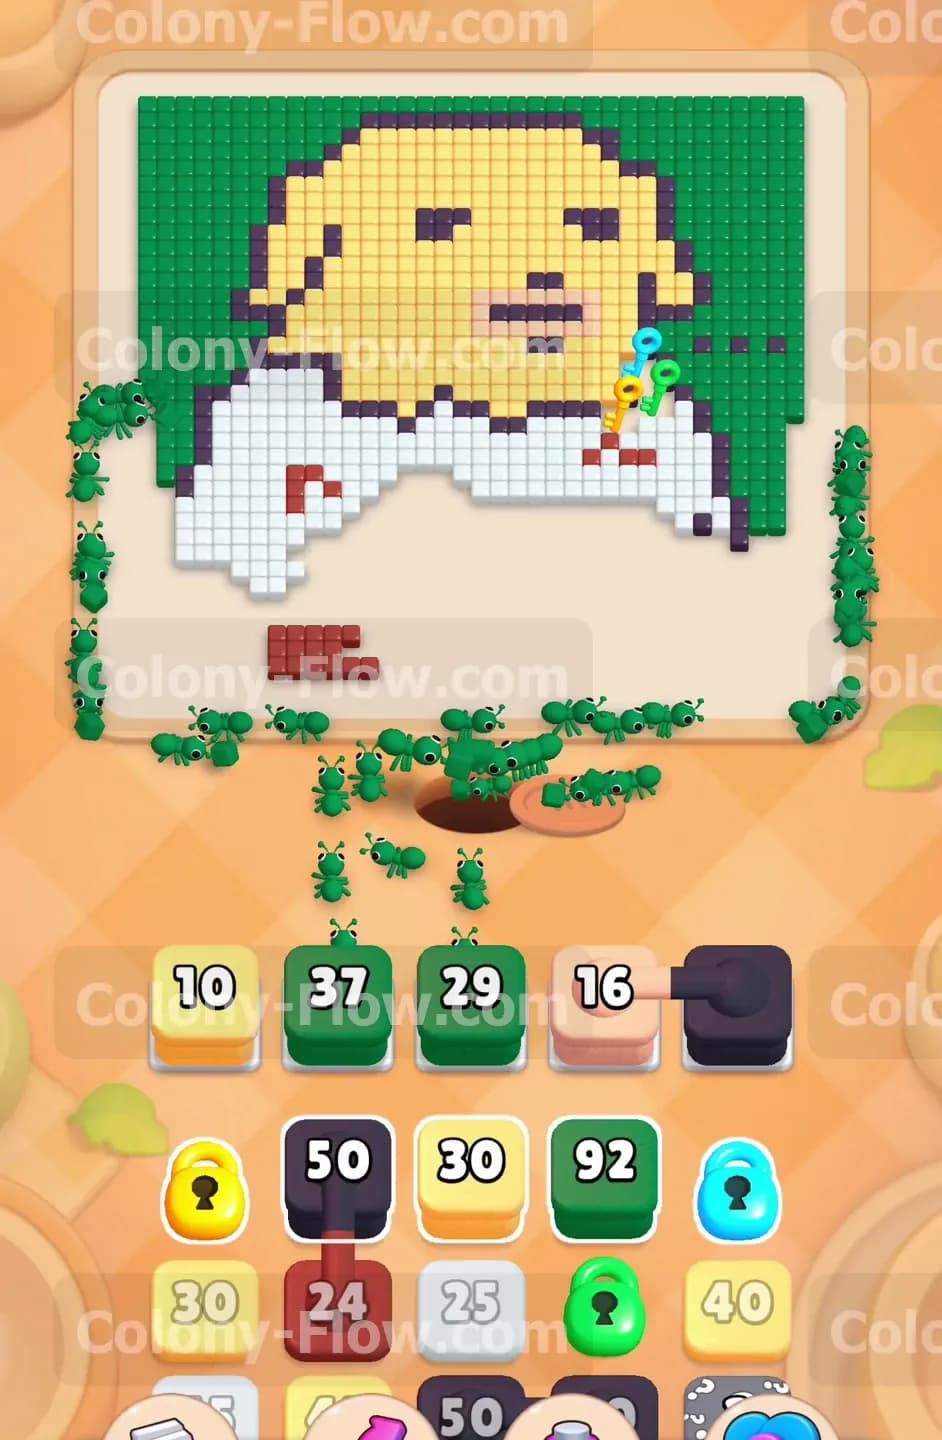
With the bowl mostly gone you need to keep clearing the shirt and start on the dog head. Pull another white block to continue clearing the shirt. Then bring up a yellow block from the tray. The yellow ants will travel up through the gap you just made and begin eating the bottom edge of the yellow dog head. Your waiting slots will now hold a mix of white yellow and light blue blocks. Watch the numbers decrease as the ants work. The white block number drops to six as the shirt gets smaller. You will also see a light blue lock and a yellow lock appear in the tray. Ignore the locks for now and focus on keeping the active blocks working. This steady progress keeps your slots from jamming.
Step 3: Deploy the first green blocks for the background
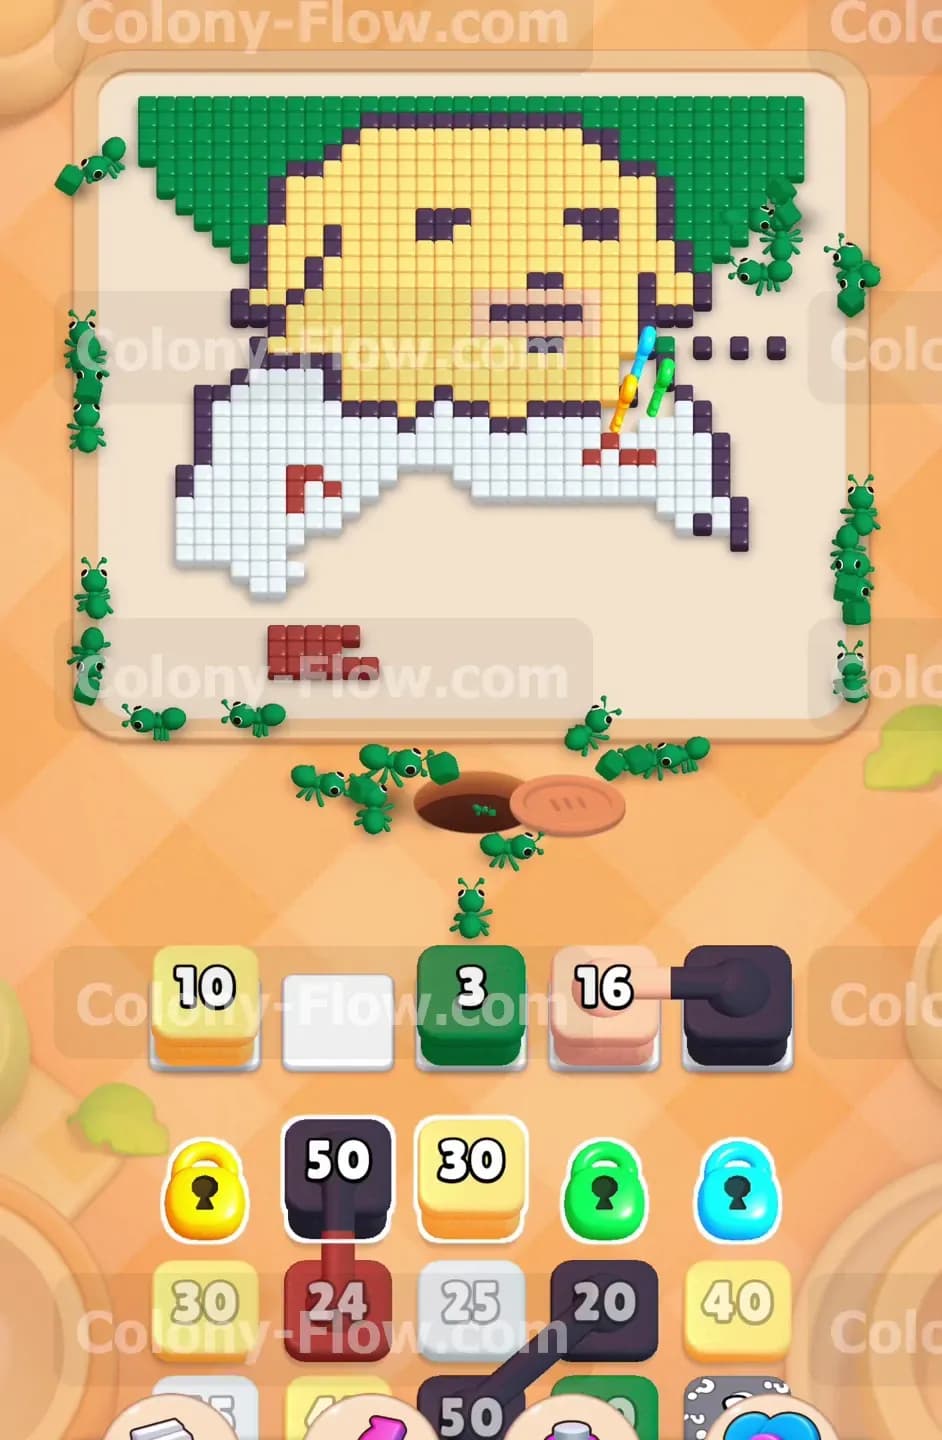
Now that the side paths are clear you can start on the massive green background. Select a large green block from the tray. The green ants will split up and rush up both sides of the dog to attack the green tiles. The green background is huge so the green block will take time to count down. You might pull a green block with a value of sixty five or more. While the green ants work pull a peach block and the black connected box into the waiting slots. The black connected box will sit there waiting for the black outlines to become accessible. You must be very careful here. You only have five slots. With the green block working and the connected box waiting you have less room for error. Only pull blocks that have an immediate path.
Step 4: Feed more green blocks and manage the locks
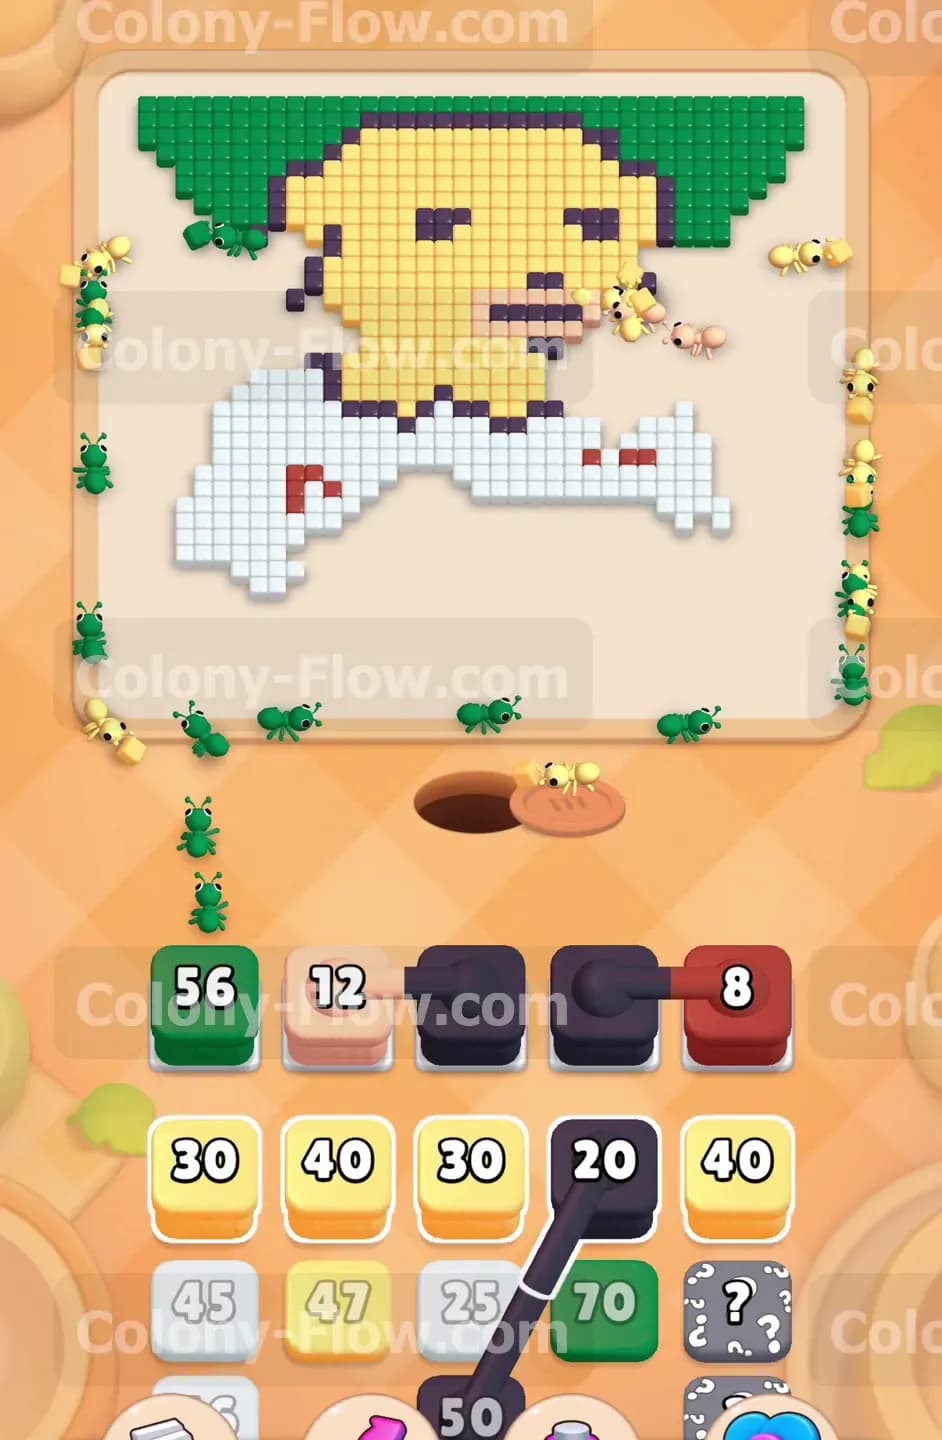
The green ants need constant reinforcements to clear the entire background. As one green block empties pull another one from the tray. You will see green blocks with numbers like thirty seven and twenty nine working simultaneously. The green ants chew through the large blocks of color at the top left and top right corners of the picture. The green space shrinks gradually. Meanwhile you will collect keys from the cleared tiles. These keys float down and unlock the yellow lock and the light blue lock sitting in the tray. Do not pull the newly unlocked blocks right away. You must wait until their specific paths on the board are completely clear and ready. You might also pull a dark red block to clear the small brick like details at the bottom of the white shirt. The key to surviving this step is absolute balance. You must keep the green ants flowing to reduce the background without overwhelming your limited waiting slots. If a green block gets stuck at a low number you must wait patiently for the other colored ants to clear a new path for it. Rushing will only lead to a jammed board.
Step 5: Swarm the yellow dog head
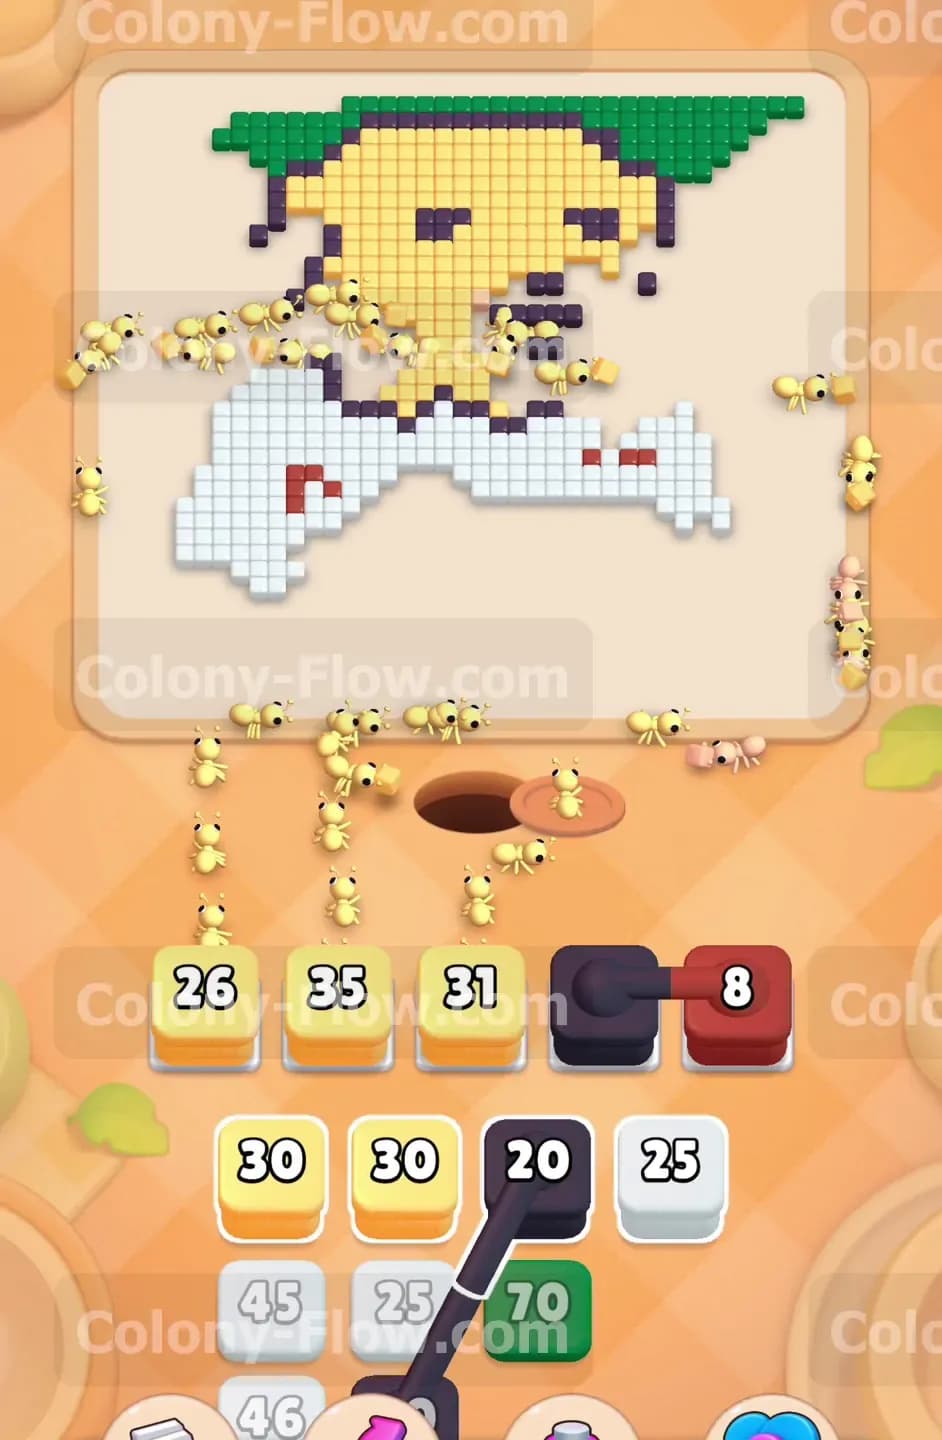
Once the green background is significantly reduced you turn your full attention to the dog head. Pull several yellow blocks from the tray. You have blocks with values of thirty forty and twenty six. The yellow ants flood the upper part of the board and rapidly consume the dog face. Your waiting slots will fill with yellow blocks. This is safe because the entire top of the board is now exposed yellow tiles. The yellow blocks will count down quickly. You still have the black connected box sitting in a slot along with a dark red block. Keep an eye on the hidden box in the tray. It has a question mark and will reveal its color soon. Just keep feeding yellow blocks until the majority of the head disappears.
Step 6: Clear the remaining white shirt and dark red details
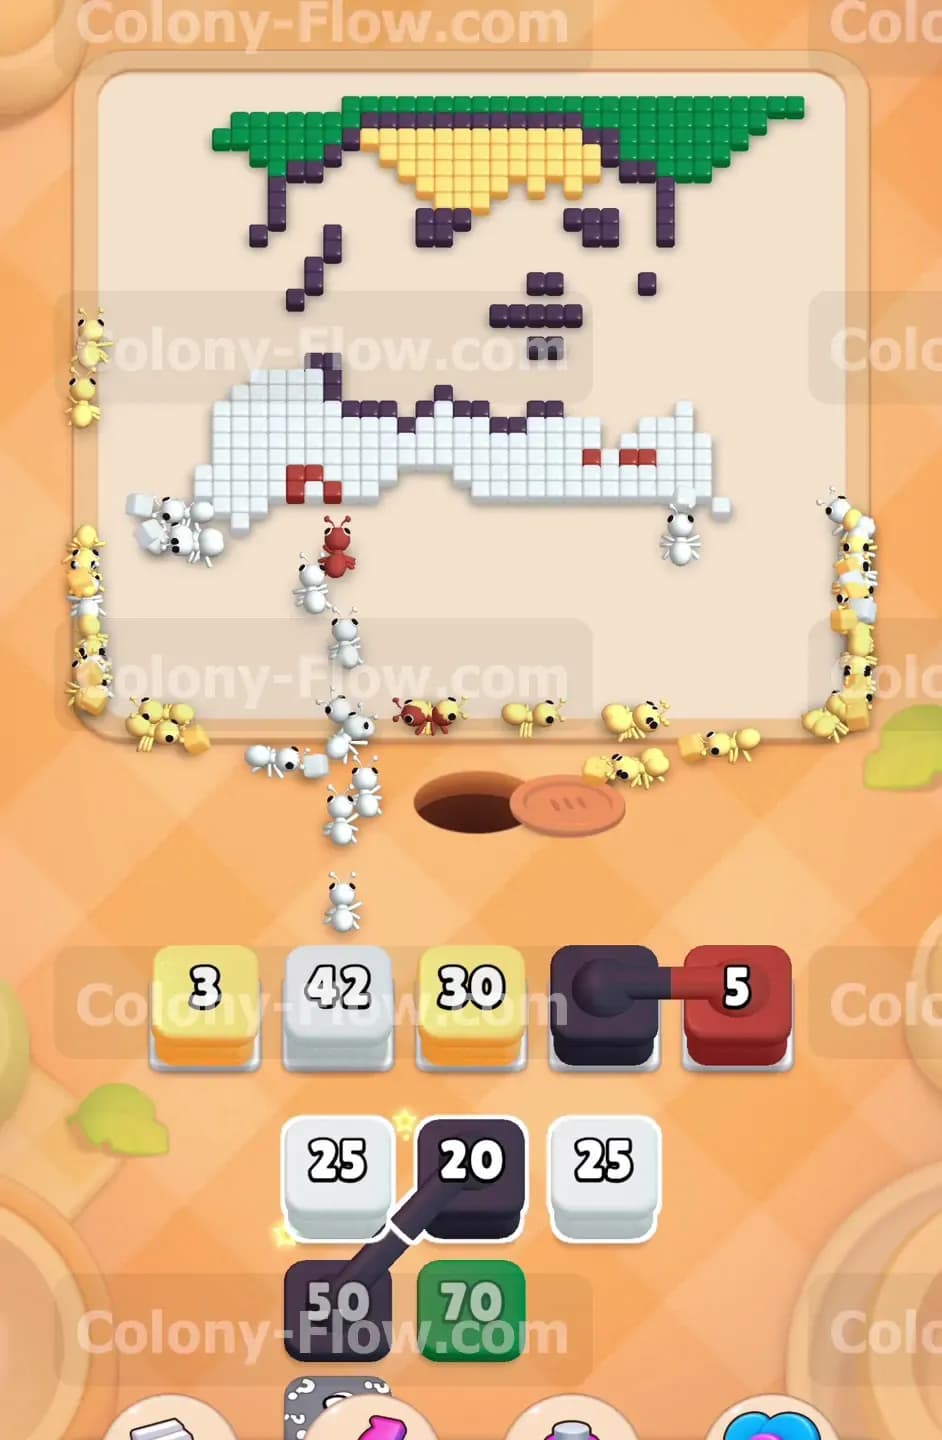
The top of the board is mostly empty now. It is time to direct your focus back to the bottom section and finish the white shirt. Pull the remaining white blocks from the tray. You will see white blocks with high numbers like forty five and forty two. The white ants surge out of the nest hole and march into the large remaining pieces of the white shirt. You also pull a dark red block to clear the very last few colored details near the bottom left corner. The white ants rapidly eat through the bulk of the shirt making the whole bottom area disappear. At this point you will also see a large green block with a value of seventy appear in the tray. Pull it up so the green ants can run up the sides and finish the last scattered remnants of the green background near the very top edges. Your board will start looking very bare. You are left with only scattered black outlines and a few isolated patches of white and yellow color. Managing the tray order here ensures a smooth transition to the final cleanup phase.
Step 7: Finish the black outlines and complete the level
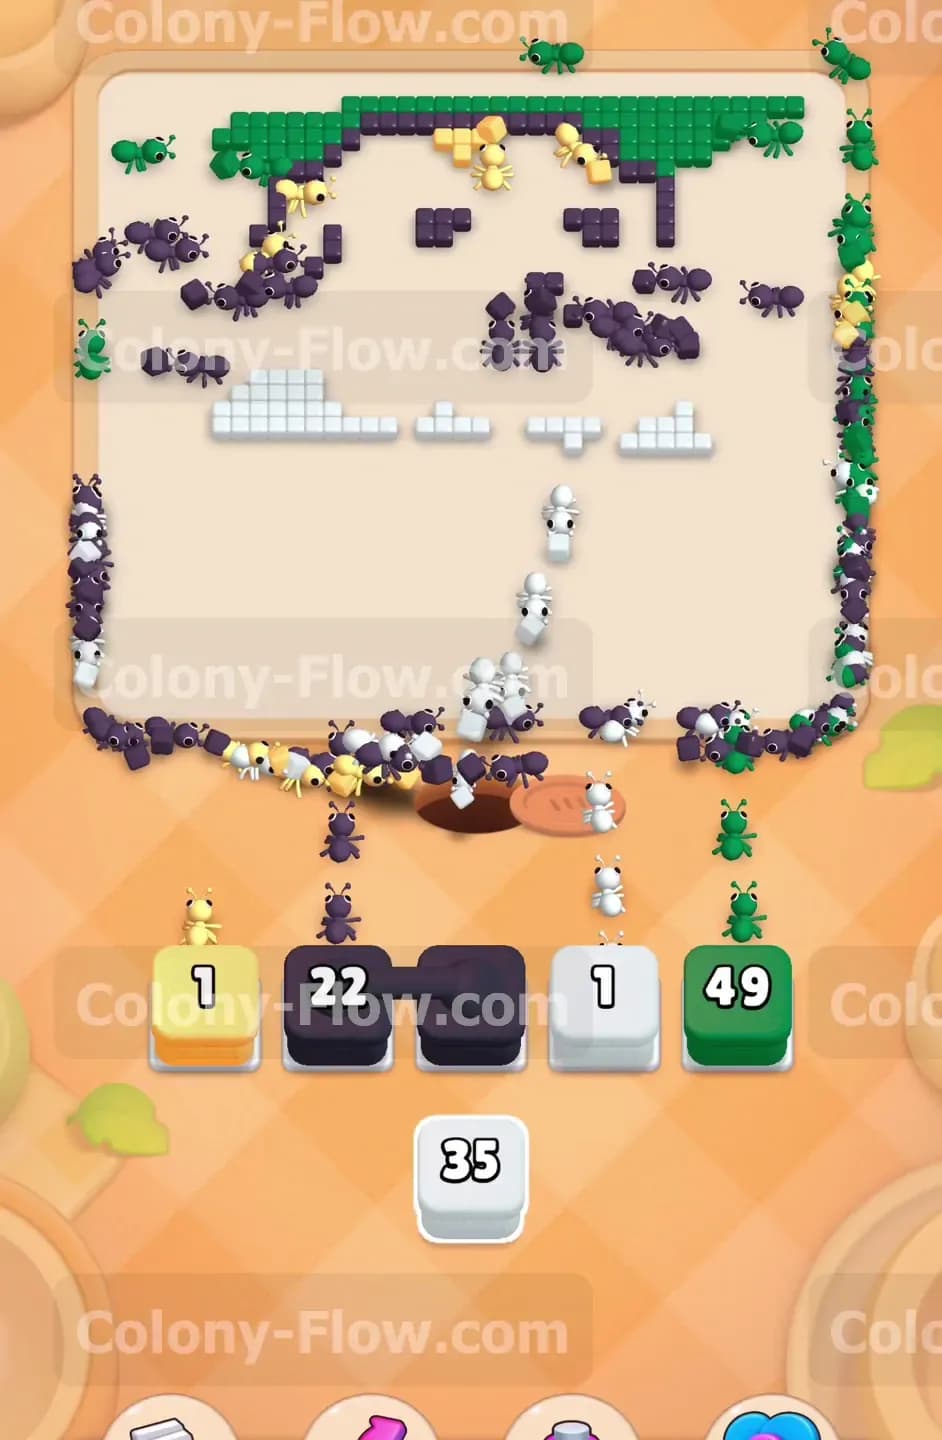
The final phase is all about cleanup. The black outlines of the dog face and the shirt edges are now fully exposed. This means the black connected box in your waiting slot finally has a valid path. The connected box activates and the black ants swarm the board. They clear the eyes the mouth and the borders. You pull the last few blocks from the tray including a final white block and a black block. The numbers on all blocks drop to single digits. The black ants finish the facial features. The white ants consume the very last piece of the shirt. The green ants grab the final green tile in the corner. When the last tile disappears the picture is fully cleared and you win the level.
Final Thought
Colony Flow Level 487 requires a lot of patience and careful management of your waiting slots. By clearing the bottom first and opening paths to the background you prevent your blocks from getting stuck. The black connected box can be a nuisance if you pull it too early but saving it for the end makes the final cleanup easy. If you find any part of this written guide hard to follow please watch the video above this article. Seeing the ants move in real time can really help you grasp the right order of moves. Keep your paths open and you will conquer this level.