Colony Flow Level 547 Walkthrough Solution & Guides | How to solve Colony Flow 547

Guide By Liam Stone
Updated on August 1, 2026
Want to skip the reading and watch instead? The video walkthrough for Level 547 is right above this article.
Video doesn't match your screen?
Game updates frequently scramble layouts! Try our AI Screenshot Solver first to find your exact board instantly, or report broken guides to our team.
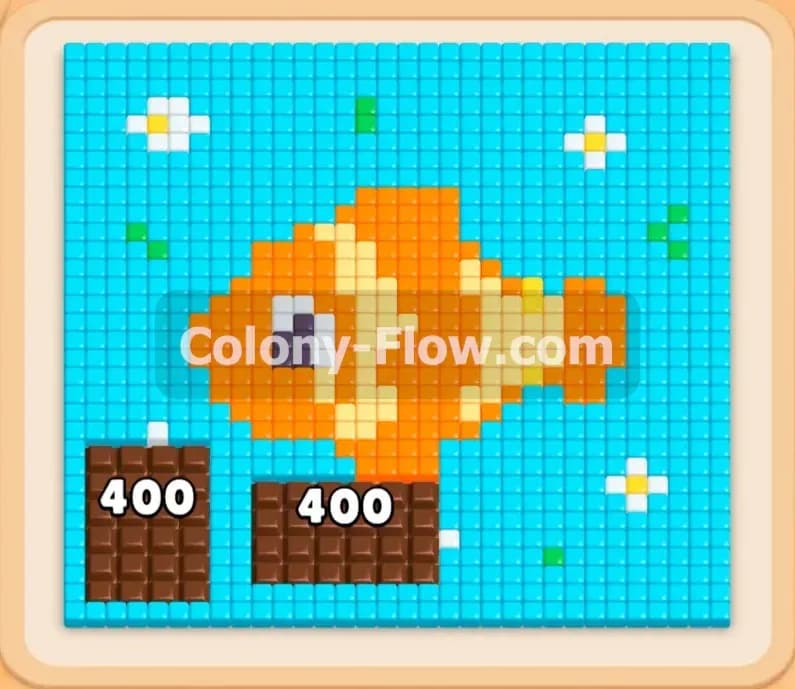
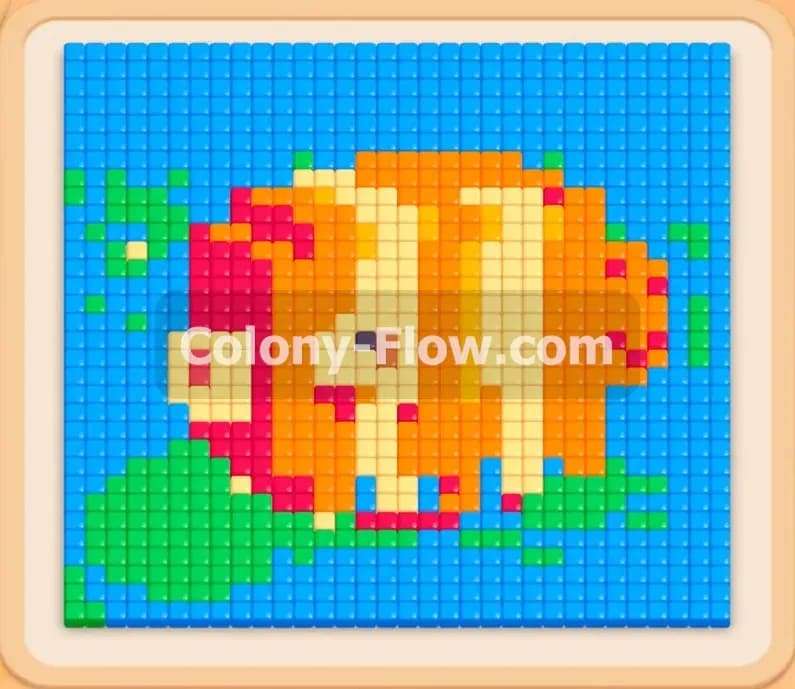
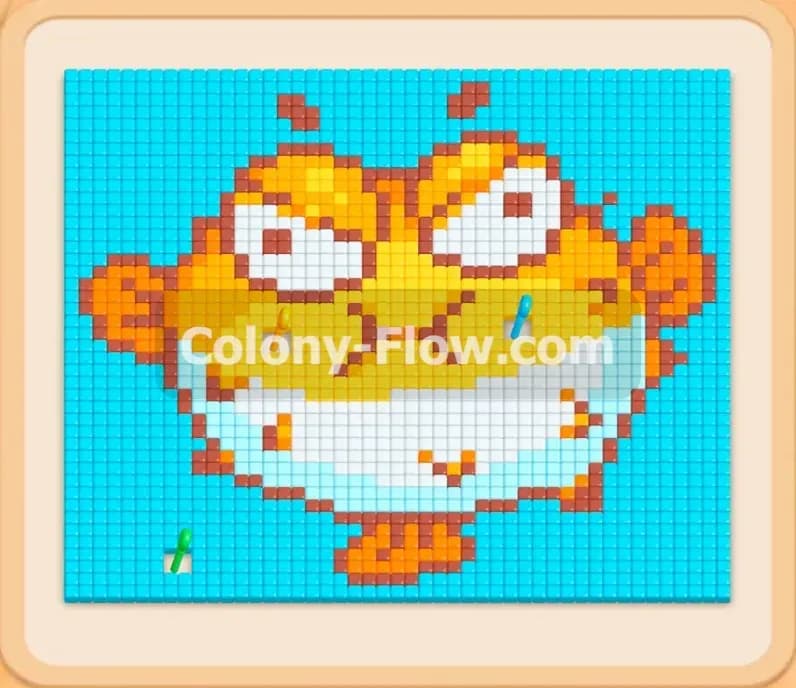
Colony Flow Level 547 presents a massive pixel art pufferfish on a light blue background. You need to manage a busy tray while keeping the ants moving. I found this board requires careful timing to avoid clogging your waiting slots. Follow my moves below to beat this board on your first try.
Colony Flow Level 547 Overview
What You Are Working With
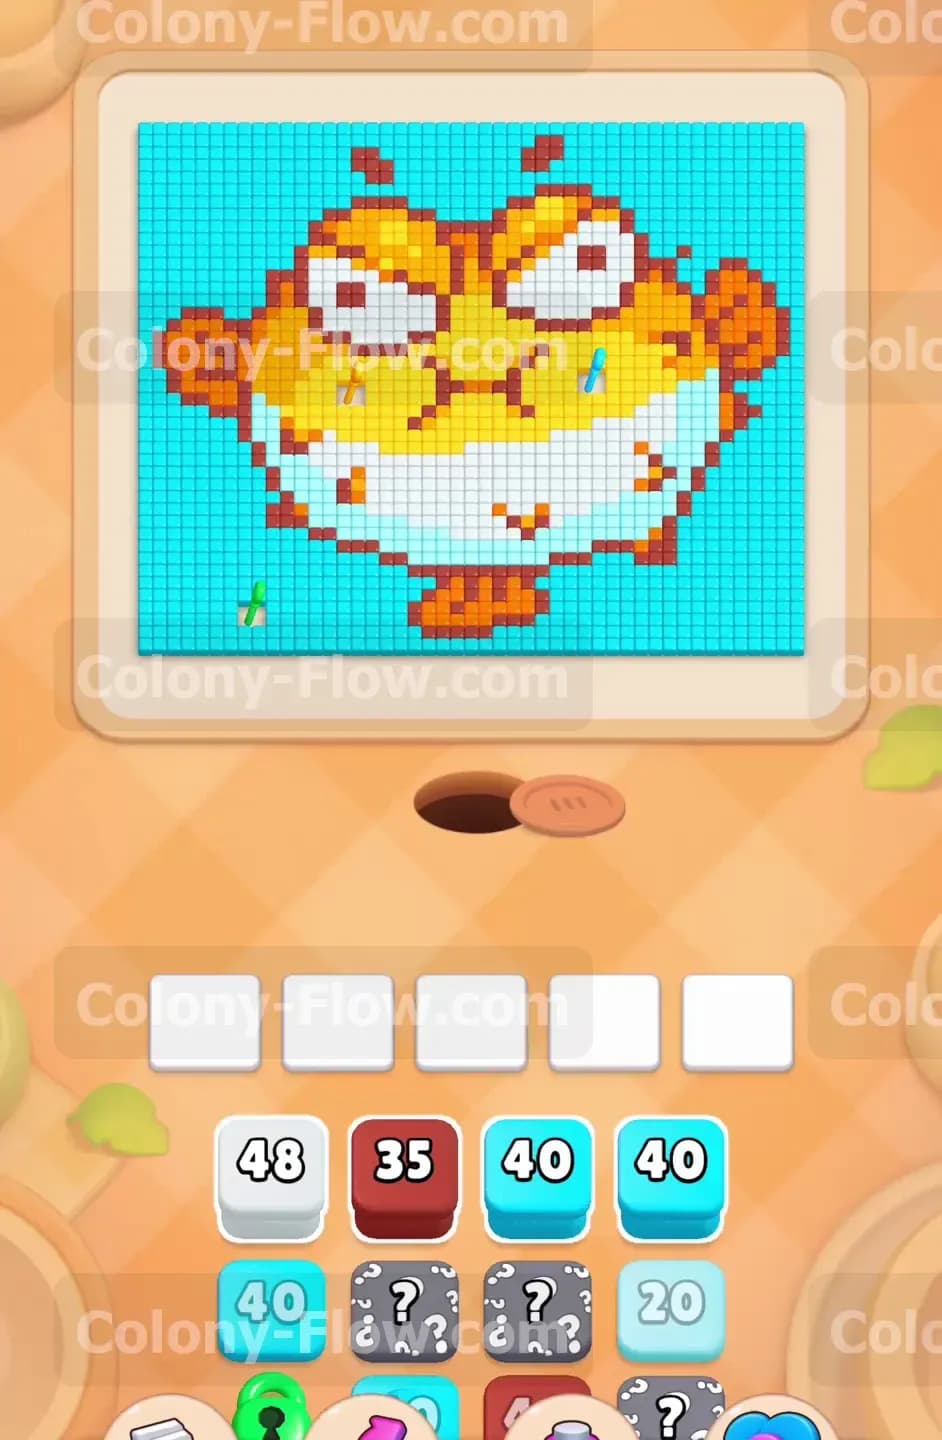
The main picture features an angry pufferfish made of yellow orange white and dark red tiles. A large field of light blue tiles surrounds the fish character. Your tray starts packed with high number blocks. You will see light blue dark red and white blocks right away. Hidden boxes sit in the second row waiting to reveal their colors once they move up. Later you will encounter connected boxes that link two colors together in a single pull. You also face the lock and key mechanic where you must collect keys from the board to open locked yellow blocks in your tray. The pathing starts tight at the bottom but opens up rapidly.
What It Takes to Clear Level 547 Board
Winning requires you to eat every single colored tile on the screen. The ants pour out from the central hole and search for an open path to a matching tile. You must pull blocks from the tray into the five waiting slots to give the ants their orders. If you fill all five slots with colors that have no open path to the picture the board dead ends. You lose immediately if the ants cannot reach the colors you select. Success means opening paths clearing the outer edges and saving enough tray space for the complex connected boxes and locked blocks near the end. You must always plan one move ahead.
Colony Flow Level 547 Step by Step Solution
Step 1: Focus on the light blue background and white underbelly.
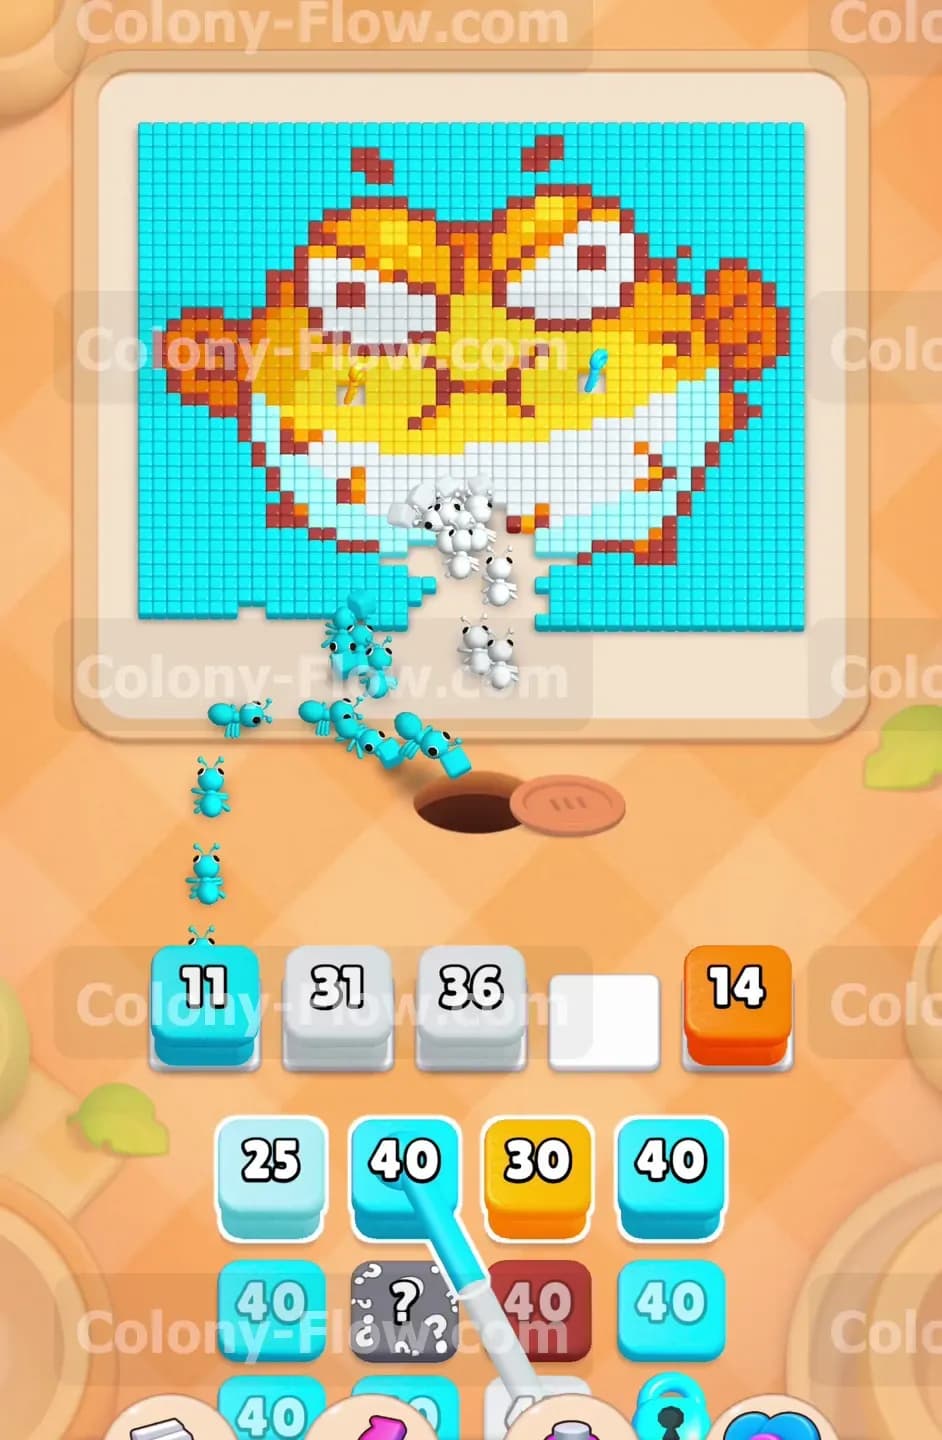
Start your attack by pulling the light blue and white blocks from the top of the tray. The light blue tiles make up the massive ocean background around the pufferfish. Select a light blue 40 block to send a huge wave of ants toward the outer edges. Follow up with a white 31 block to start clearing the lower belly of the fish. These moves create wide open paths on both sides of the board. The hidden boxes in your tray will shift upward as you clear the top row. Keep feeding light blue blocks into the waiting slots to prevent a traffic jam. Your goal here is to carve out enough space so the ants can reach the colored fins and inner body later. The ants move quickly when the path is short so keep those slots active.
Step 2: Bring in the dark red and orange blocks to target the fins.
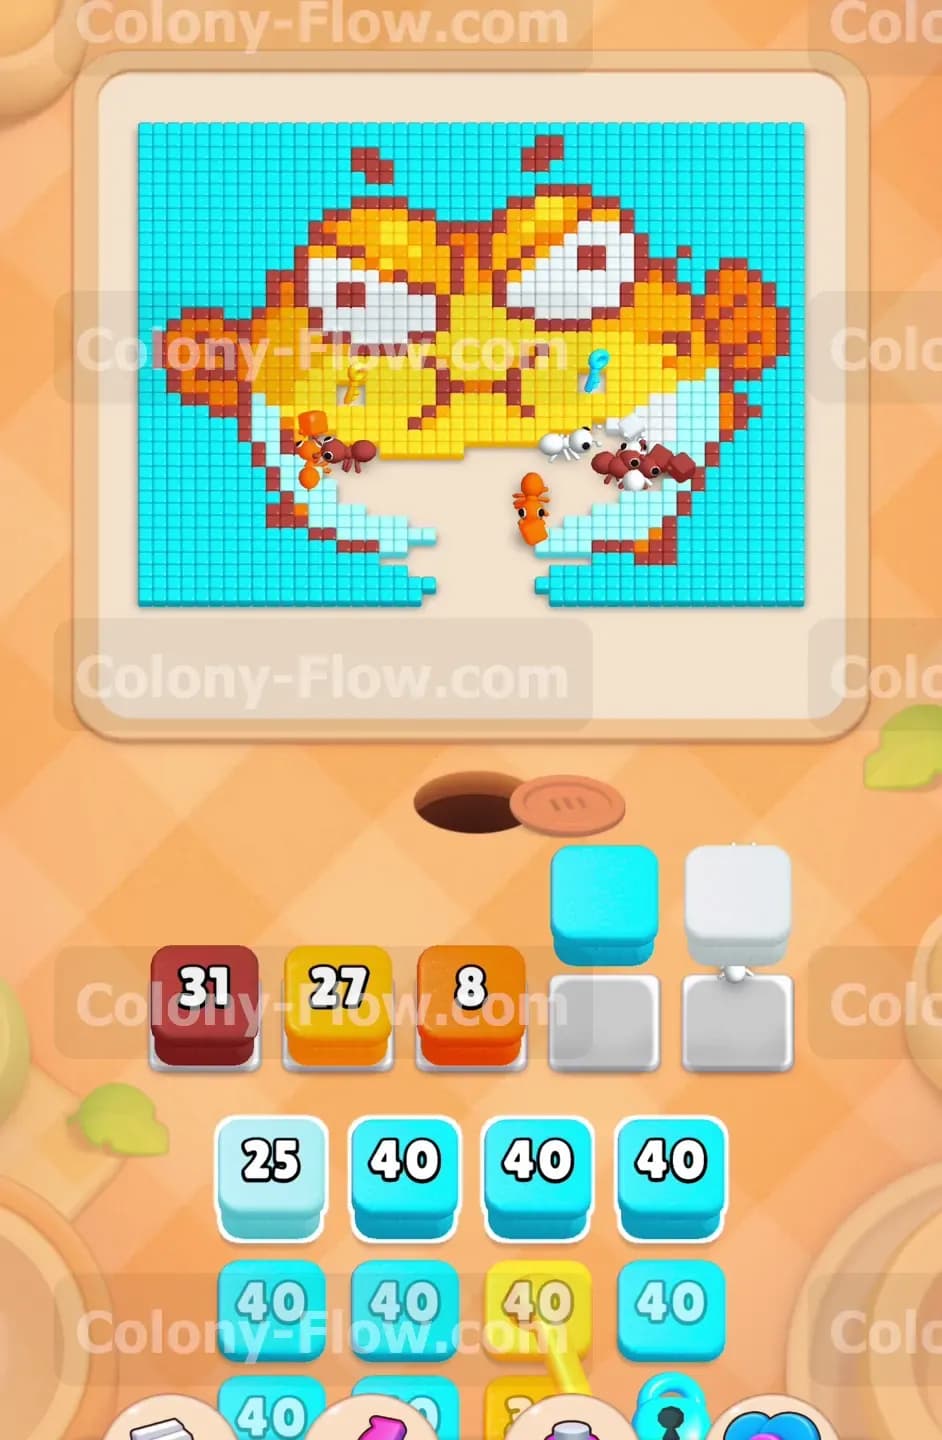
Now you need to clear the outer details of the fish to expose the main yellow body. Pull a dark red 35 block into a waiting slot. The ants will march toward the dark red outlines and fin details. Grab an orange 14 block to handle the spots and lower fin sections. A pair of connected boxes will appear in your tray featuring light blue and white blocks joined together. Pull these connected boxes only when you see clear paths for both colors on the board. The ants will split up to eat the remaining white belly tiles and the lower left background. This keeps your waiting slots cycling smoothly without stalling your progress. You never want a connected box taking up a slot if only one of its colors can move.
Step 3: Collect the first key to unlock your trapped yellow blocks.
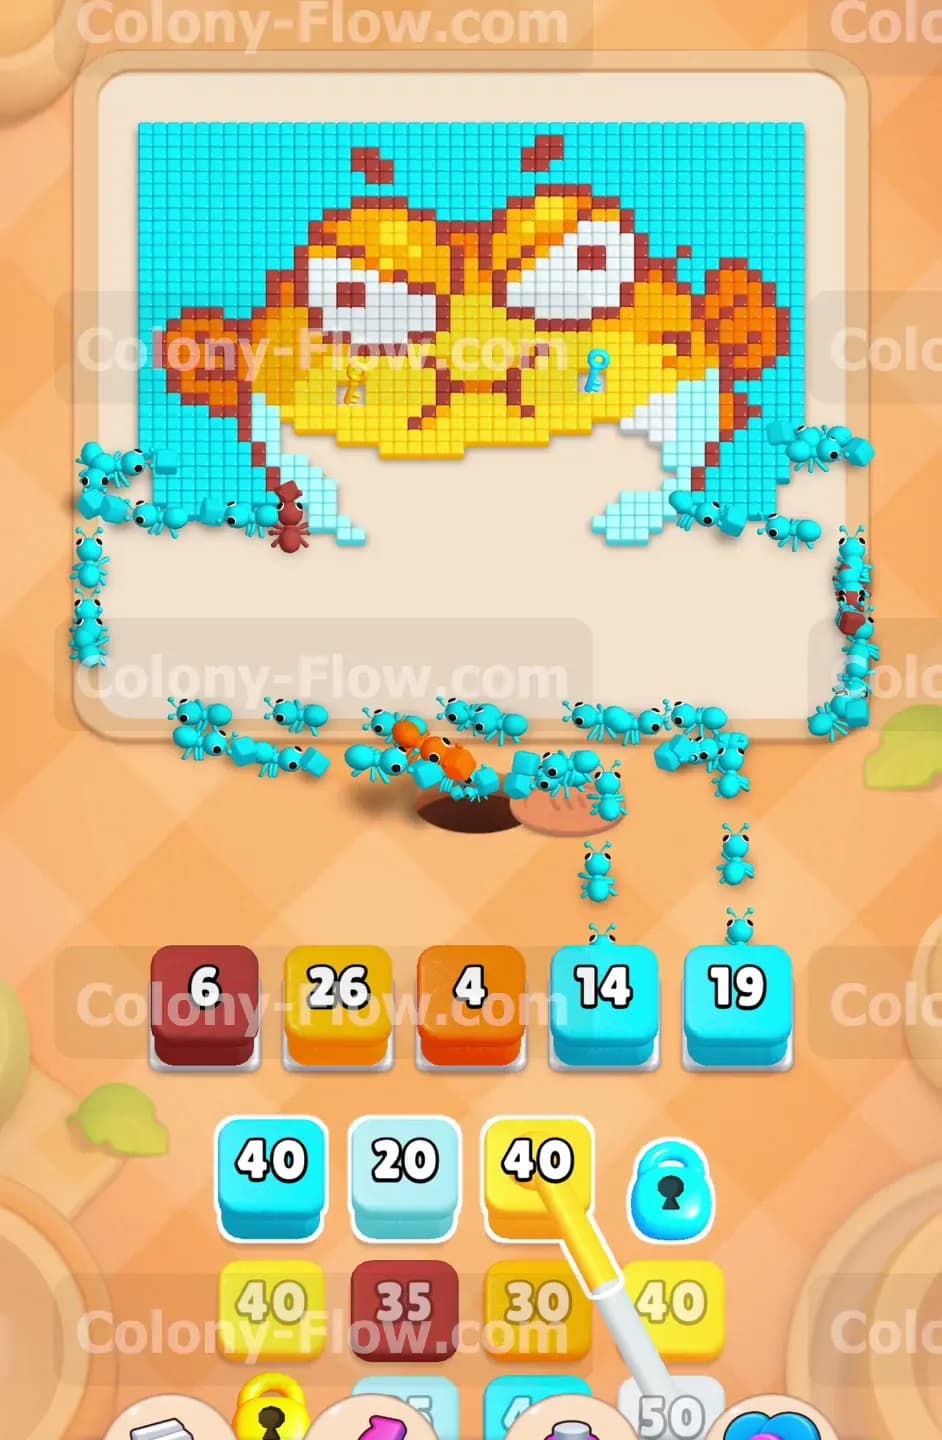
The middle phase of the board introduces the lock and key mechanic. You will notice a key sitting on a light blue tile near the edge of the fish. Select a light blue 40 block to send ants directly to that specific tile. Once the ants consume the tile the key flies down to your tray and unlocks a yellow 40 block. This is a crucial moment because the fish is almost entirely yellow. Do not pull any locked blocks until the key fully opens them. Keep using your active dark red and orange blocks to clear away the surrounding obstacles. This ensures the ants have a direct route to the massive yellow center once you unleash the yellow blocks. Gathering these keys early prevents tray blockages later.
Step 4: Unleash the yellow blocks to devour the main fish body.
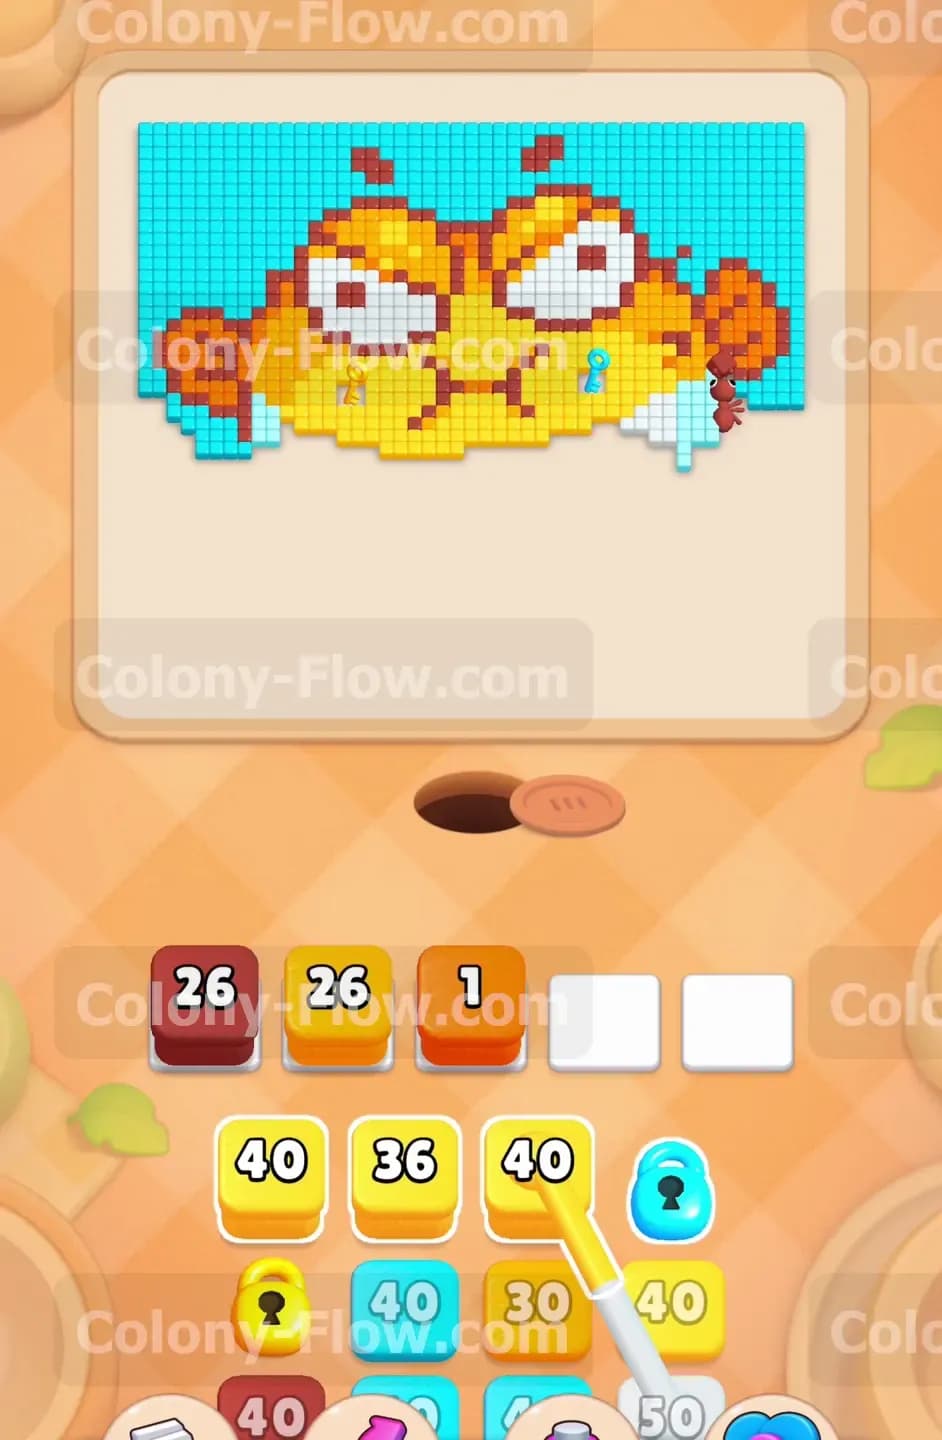
With your yellow blocks unlocked it is time to consume the pufferfish. Pull the newly opened yellow 40 block into your waiting slots. A massive swarm of ants will rush the center of the board to eat the yellow face and body tiles. Another key sits on a yellow tile right in the middle of the fish head. As the ants clear the surrounding yellow tiles they will grab this second key. That key flies down to unlock another yellow block in your lower tray. Keep feeding yellow blocks into the slots while mixing in an occasional dark red block to handle the angry eyebrows and inner outlines. Managing this balance prevents the five slots from filling up with unusable colors while the ants chew through the bulky center.
Step 5: Deploy the connected yellow and white boxes for the eyes.
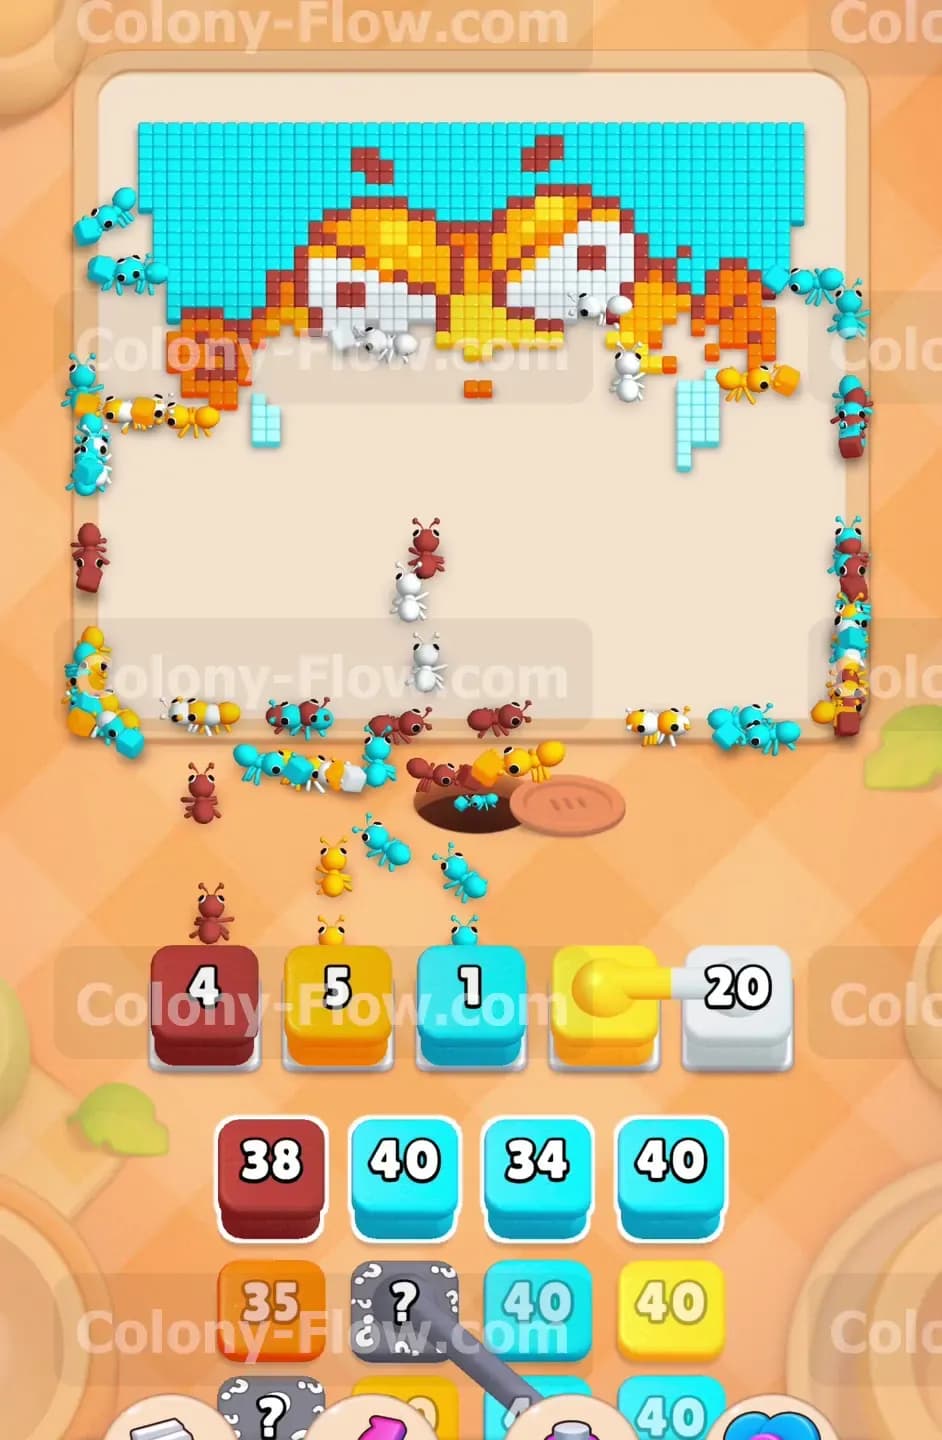
The fish eyes consist of large white and yellow sections. A connected block showing a yellow 20 and a white 20 will slide into your active tray. Pull this connected block to send ants straight for the eyes. Because you already cleared the lower body the ants have a fast and direct path to the top of the board. You also need to pull a dark red 4 block to finish the upper eyebrow details. Hidden boxes in your tray will reveal themselves as light blue blocks. Pull a light blue 34 block to start clearing the remaining ocean background above the fish. Always check that the ants have a valid path before pulling these large numbers so you avoid a fatal dead end.
Step 6: Clear the upper fins with the connected light blue and orange blocks.
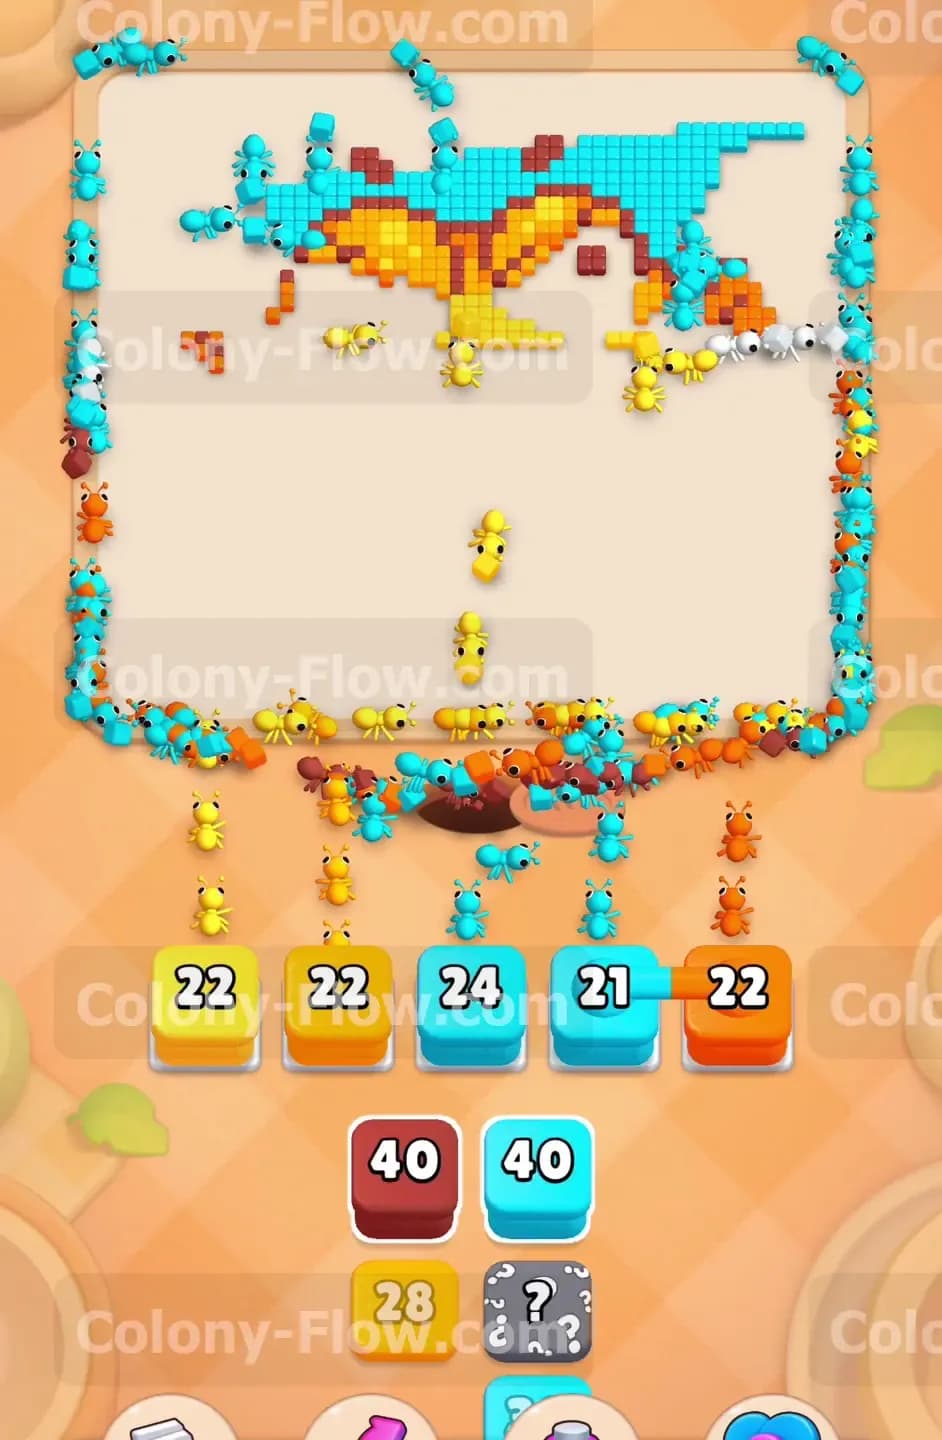
You are now in the final stretch with only the top fins and upper background remaining. A new connected box appears in your tray linking a light blue 21 block and an orange 22 block. Pull this connected pair into a waiting slot. The ants will simultaneously eat the top orange fin and the surrounding blue water. Pull a yellow 22 block to clear the remaining bits of the forehead. The board gets very narrow here so the ants take longer to travel from the nest to the top edge. Be patient and let the numbers count down before you fill the rest of your waiting slots. You want to leave at least two slots empty to avoid a late stage mistake.
Step 7: Clean up the final straggling tiles at the top edge.
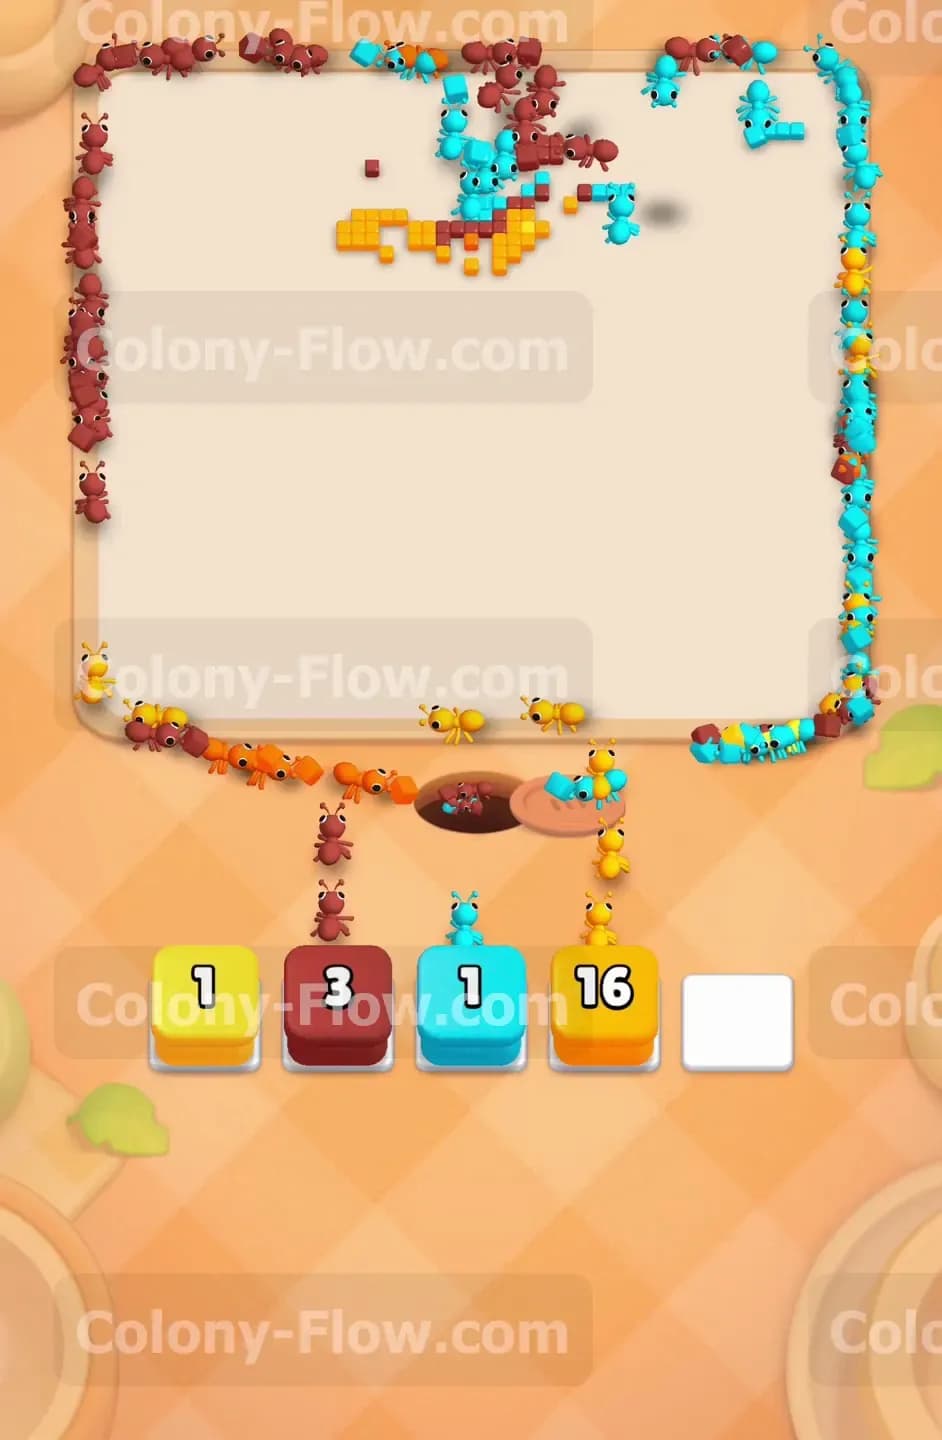
Only a tiny cluster of tiles remains at the very top of the screen. You have a dark red 3 block a yellow 1 block and a light blue 16 block left in your tray. Pull the dark red 3 block to finish the last piece of the top fin outline. Send the yellow 1 block to grab the final spot on the forehead. Finally pull the light blue 16 block to consume the last background tiles in the upper right corner. The ants will swarm the top edge and finish the board. Watch the final pieces vanish as the screen clears completely to give you the victory. You will see the final blocks disappear from your tray as the ants return home.
Final Thought
This board tests your ability to juggle special tray mechanics while maintaining open paths. The connected boxes and locked blocks will ruin your run if you pull them at the wrong time. Please watch the video above this article if any specific step gives you trouble.