Colony Flow Level 301 Walkthrough Solution & Guides | How to solve Colony Flow 301

Guide By Liam Stone
Updated on July 16, 2026
If skimming isn't enough, watch the video above for the full Level 301 walkthrough.
Video doesn't match your screen?
Game updates frequently scramble layouts! Try our AI Screenshot Solver first to find your exact board instantly, or report broken guides to our team.
Welcome to Colony Flow Level 301. This puzzle presents a large pixel art star floating in a bright sky and it requires some very careful tray management to beat. You need to handle a mix of high number blocks and a couple of tricky special mechanics to keep your ants moving. The board looks intimidating at first glance because the sky background is massive. Taking it one color at a time and watching your waiting slots makes the entire process very manageable. I played through this level myself and found the exact sequence to keep your waiting area completely clear of dead ends.
Colony Flow Level 301 Overview
What You Are Working With
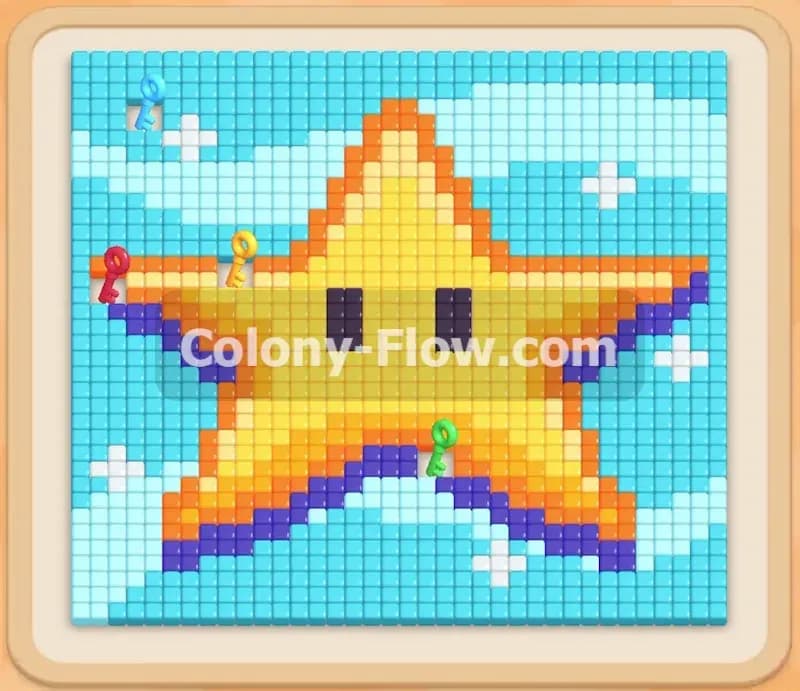
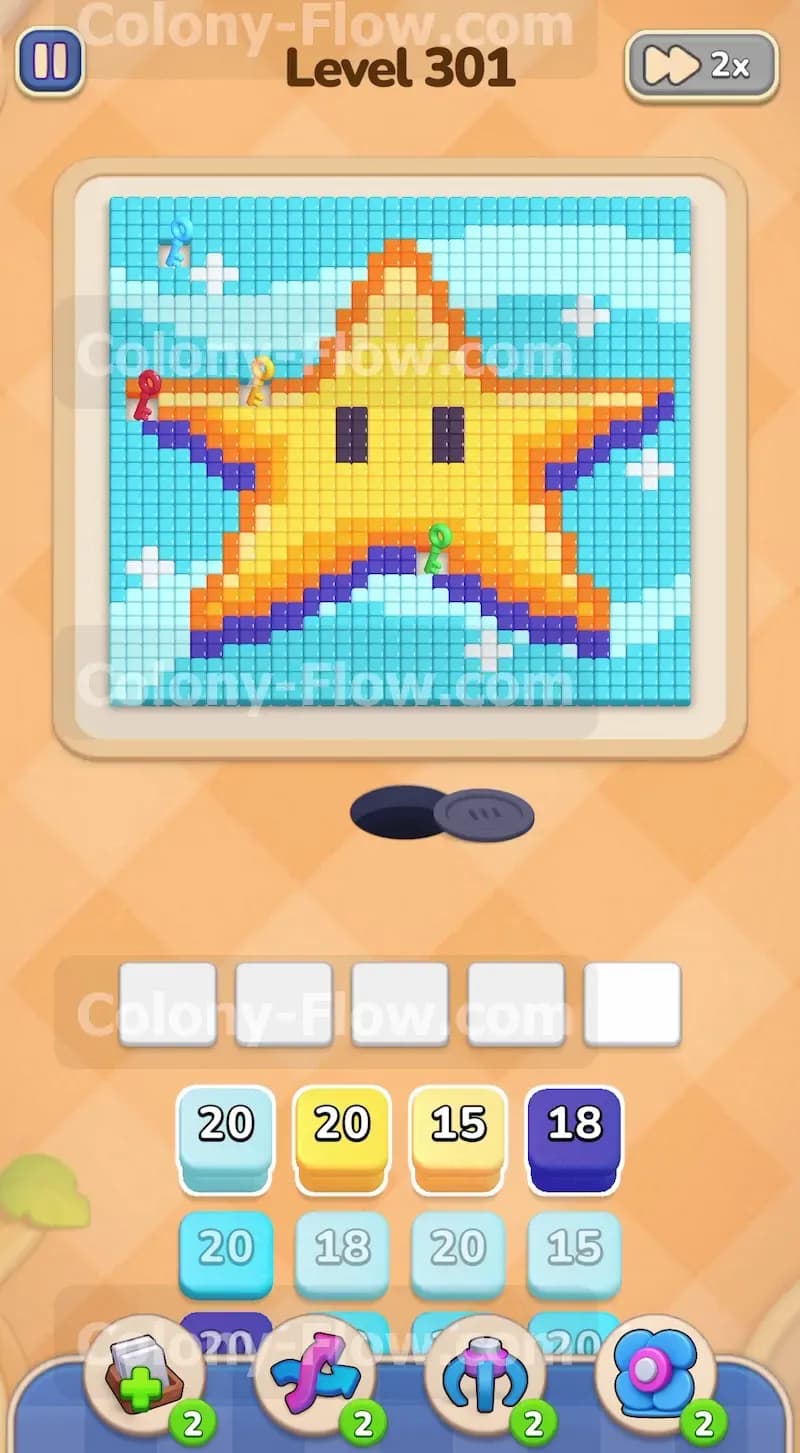
The picture for this level is a bright yellow star character with a thick orange outline and two small black eyes. The star casts a dark blue shadow underneath its bottom points. The entire background is filled with light blue sky tiles and a few scattered white clouds. The tray at the bottom holds the numbered blocks you need to feed the ants. You will encounter two major special mechanics on this board. First you will see Connected Boxes in the tray where a light blue block is physically joined to an orange block. Second you will face a Lock and Key situation. A yellow block in your tray is secured with a padlock and you must collect the colored keys resting on the board to open it.
What It Takes to Clear Level 301 Board
Winning this level means clearing every single pixel art tile from the board so the colony can finish eating. You do this by pulling colored blocks from the tray into your five waiting slots. The ants stream out of the nest and consume tiles matching the color of the active block. The main challenge is managing those five slots. If you fill all five slots with blocks that have no open path to their matching tiles the ants stop moving. When no ants can move and the slots are full you lose the game immediately. You must plan your pulls so at least one path remains open at all times.
Colony Flow Level 301 Step by Step Solution
Step 1: Target the outer clouds and shadow to open initial paths
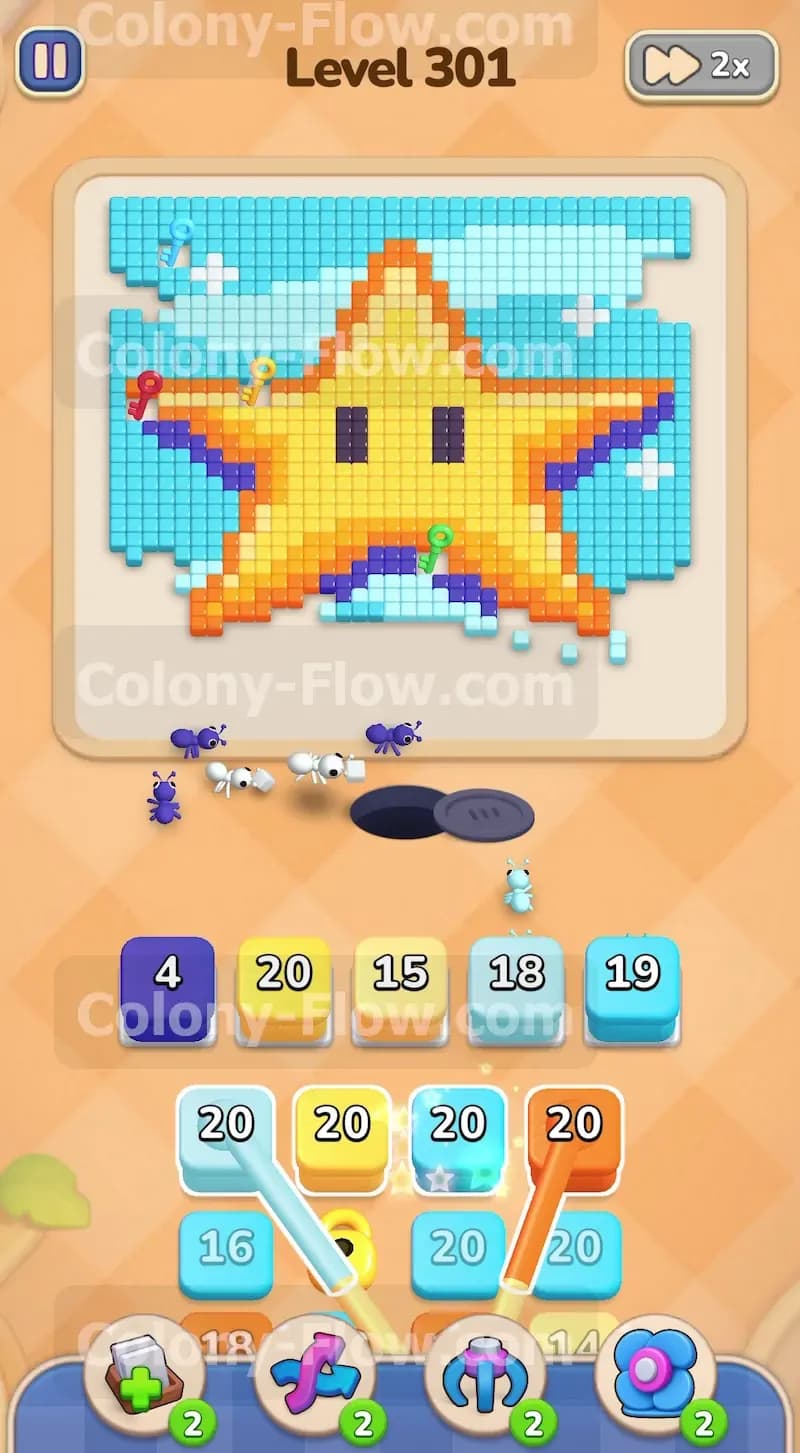
Your very first move is to open up multiple routes for the colony so you do not jam your waiting slots early. Pull the dark blue four block and the white eighteen block from the tray. The ants will immediately rush out to eat the small white clouds and the edges of the dark blue shadow underneath the star. Pull a yellow twenty block and a yellow fifteen block right after. You want to get the ants chewing on the outer points of the yellow star right away. Creating these initial paths gives you breathing room for the more difficult mechanics coming up next.
Step 2: Deploy the connected blocks to tackle the massive sky
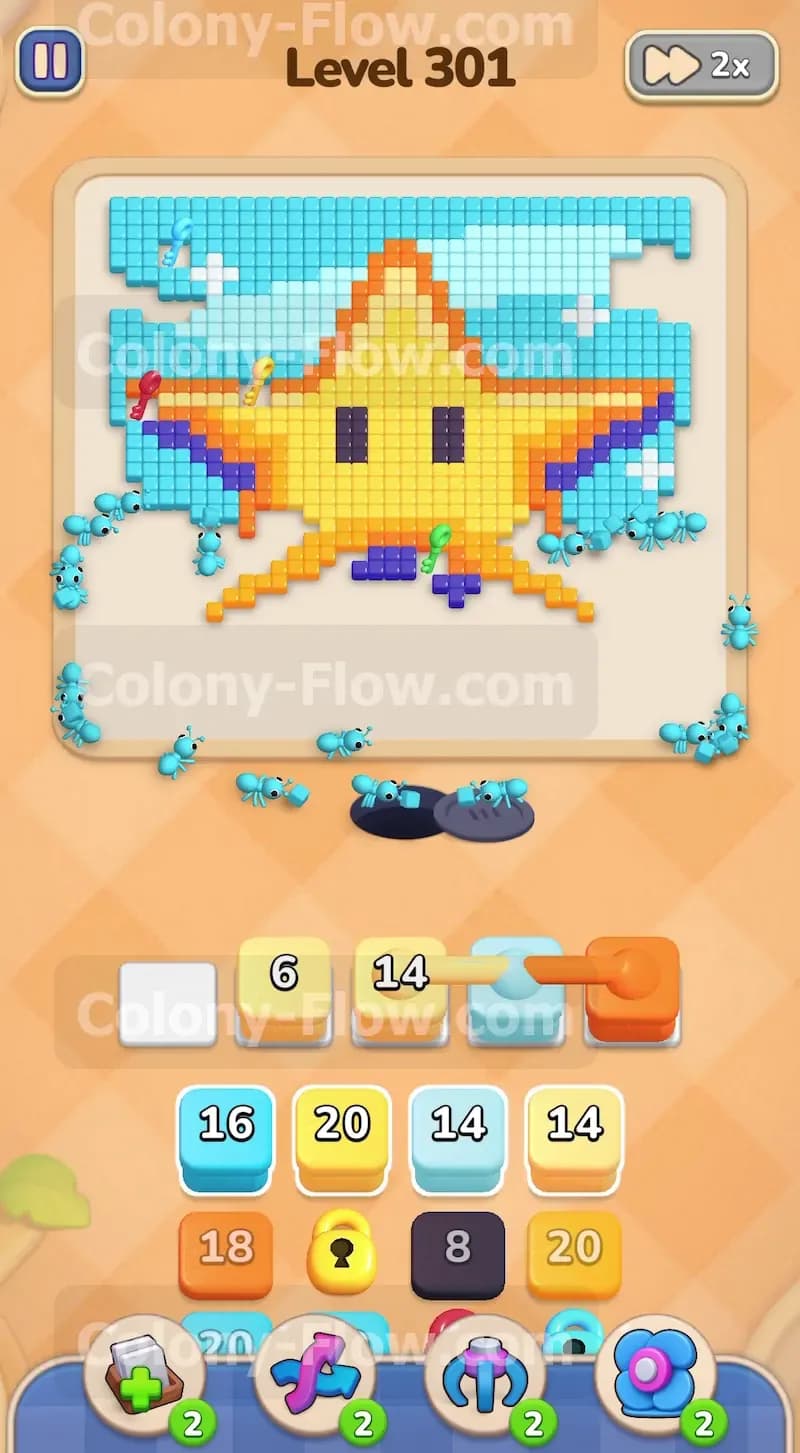
You will soon see a connected pair of blocks in your tray featuring a light blue twenty and an orange twenty. Pulling this joined pair is mandatory to clear the background but it introduces a major hazard. Both blocks drop into your waiting slots at the same time. The light blue ants will immediately flood the board and start chewing through the huge sky area. The orange ants have absolutely nowhere to go because the orange star outline is blocked by the sky. That orange block will sit dead in your waiting slot and paralyze that space. You now only have four usable slots remaining. You must be extremely precise with your next moves to avoid a total jam.
Step 3: Manage your remaining slots while clearing the background
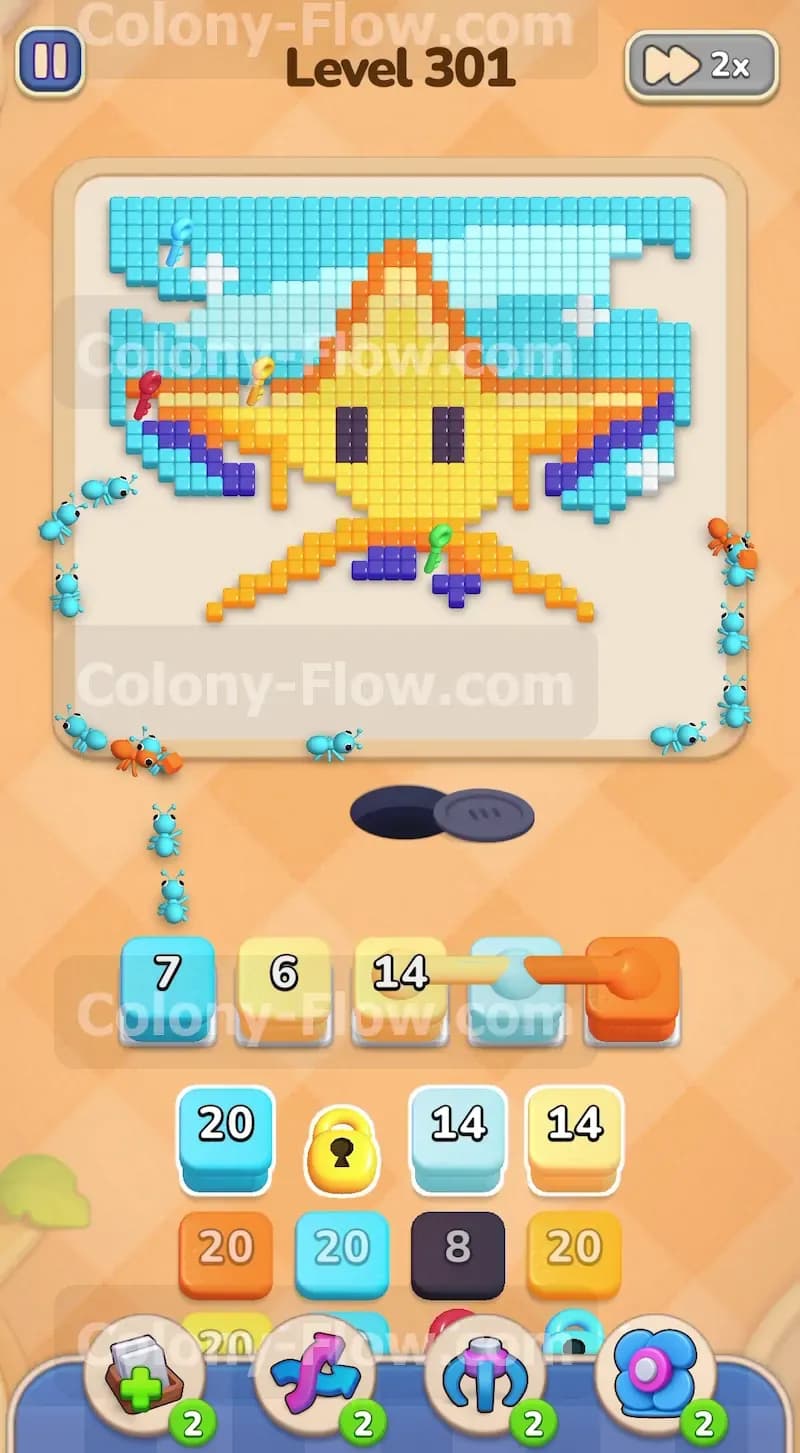
With one slot permanently taken by the orange block you must focus entirely on colors with wide open paths. Pull the next light blue nineteen block to keep the momentum going on the sky. The board is flooded with light blue ants right now and you want to let them work. Pull the light blue sixteen and fourteen blocks as they appear in the tray. Never pull a color unless you physically see an open route for those ants to travel. Keeping the light blue blocks flowing ensures your limited waiting slots empty out as fast as you fill them.
Step 4: Collect the scattered keys to unlock your tray
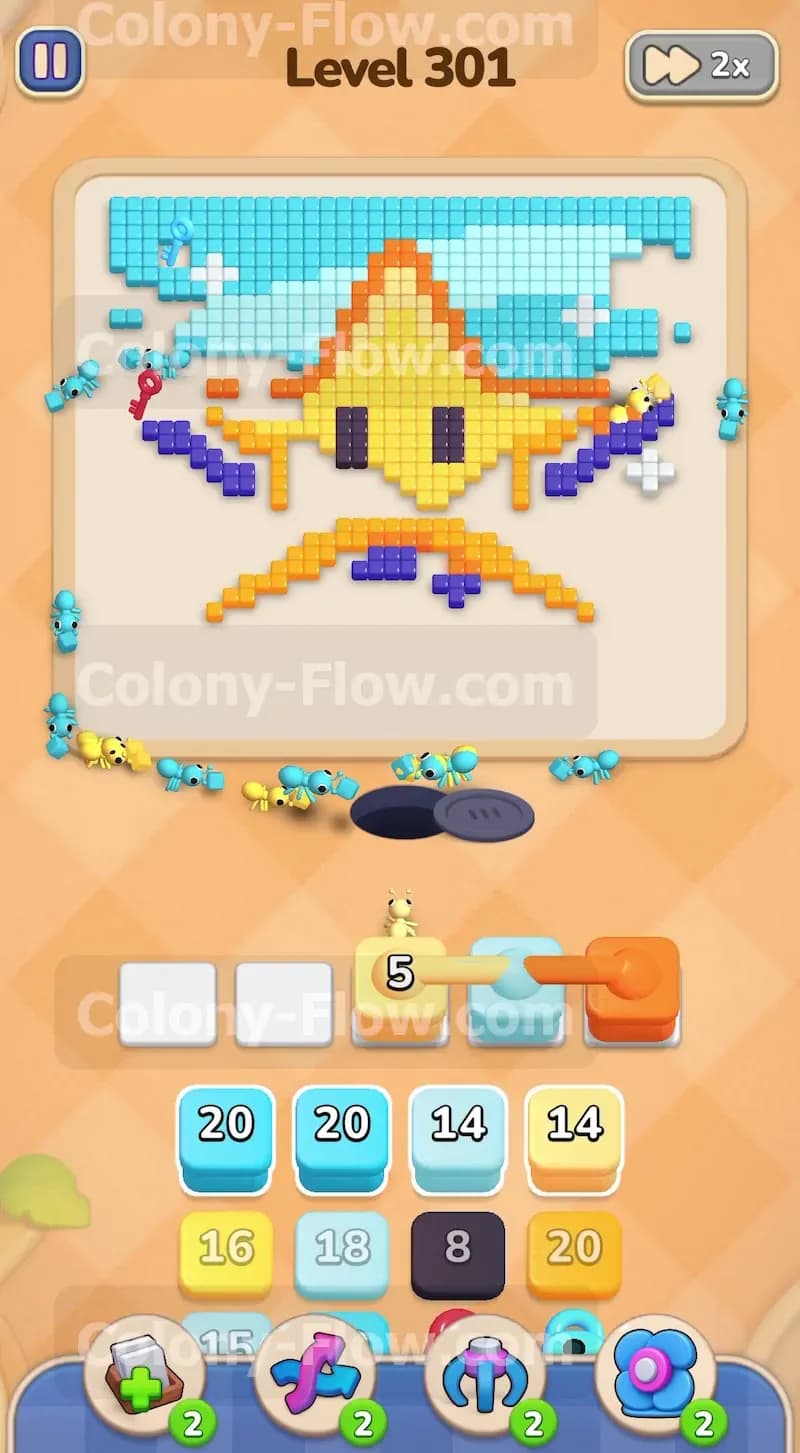
While managing your sky clearing operation you need to keep an eye on the keys resting on the board. You have a locked yellow block in your tray that you desperately need for the star body. The keys to open it are located on the left side of the star and near the top left corner of the sky. You collect these by clearing the tiles touching them. Keep feeding light blue blocks to your ants. As they erase the sky background they naturally reach the keys. Watch as the ants clear the adjacent tiles and send the keys flying down to your tray. Collecting the final key shatters the padlock on the yellow block and frees up your next moves.
Step 5: Erase the dark blue shadow beneath the star
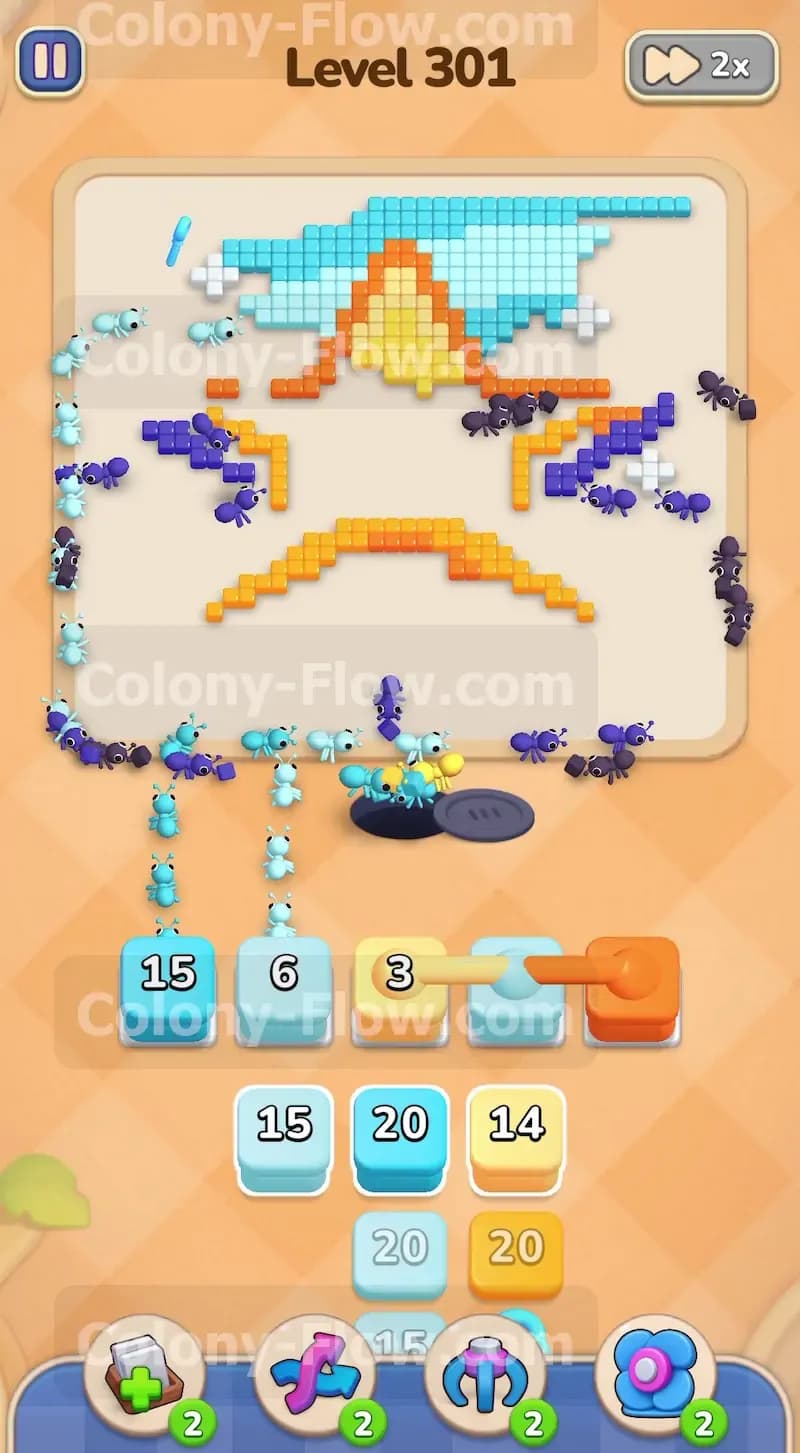
With the sky getting thinner and the padlock gone you have room to attack the bottom section of the board. Pull the dark blue eight block into a waiting slot. The dark blue ants will stream out and finish eating the remaining shadow under the bottom legs of the star. This frees up crucial space in the lower half of the screen and gives your ants a shorter travel distance to their targets. You still have that connected orange block taking up space so every successful clearance keeps you safe from a dead end.
Step 6: Route the orange ants to clear the star outline
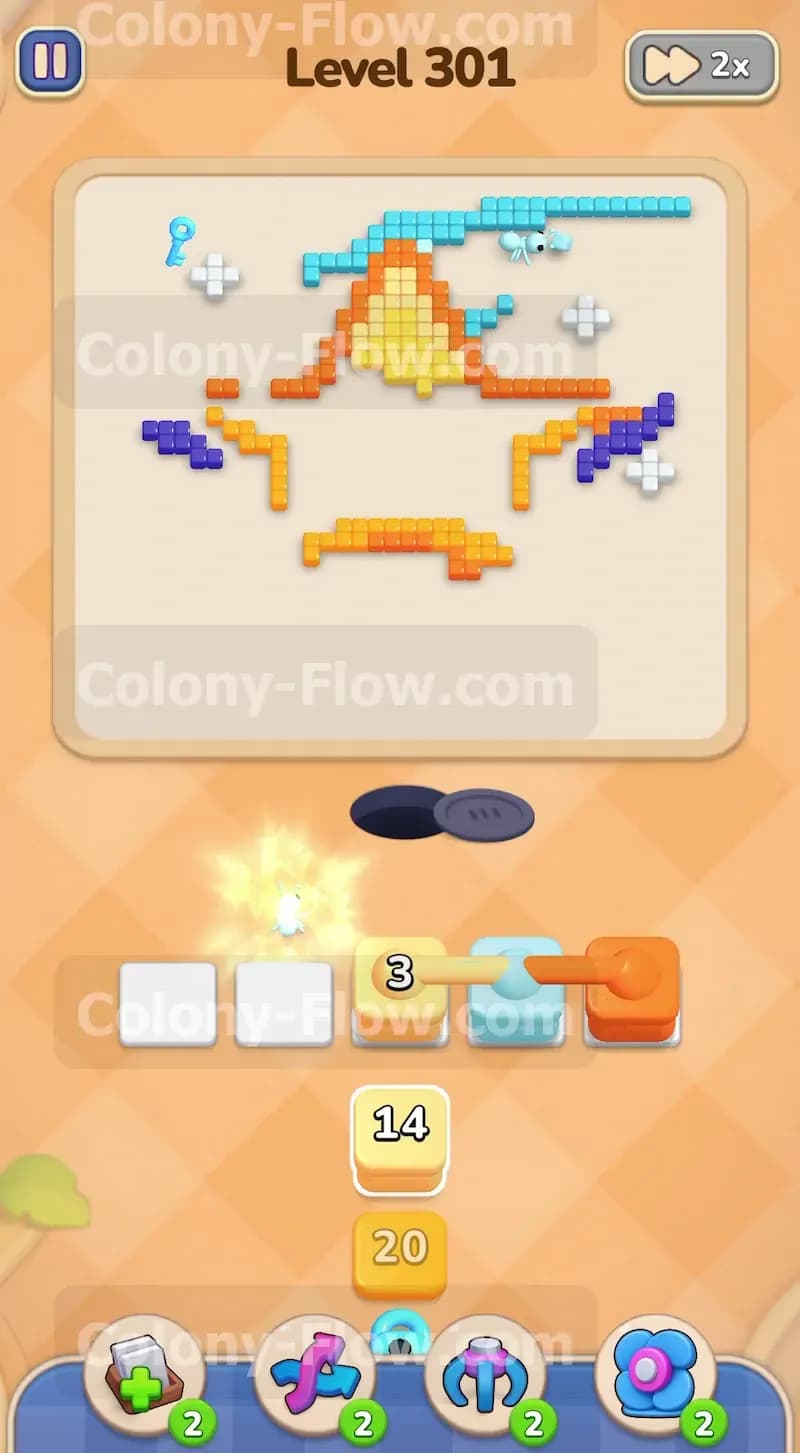
Your patience with that stuck orange block finally pays off. As the surrounding sky and shadow disappear the outer edges of the star become completely exposed. The orange twenty block sitting in your waiting slot finally finds a path and activates on its own. A massive swarm of orange ants rushes out and begins eating the entire thick border around the star. Pull an additional orange ten block from the tray to help them finish the job faster. The border vanishes rapidly and frees up your locked waiting slot. You should also pull the black eight block now to clear the two small eyes in the center of the face.
Step 7: Polish off the remaining yellow star body
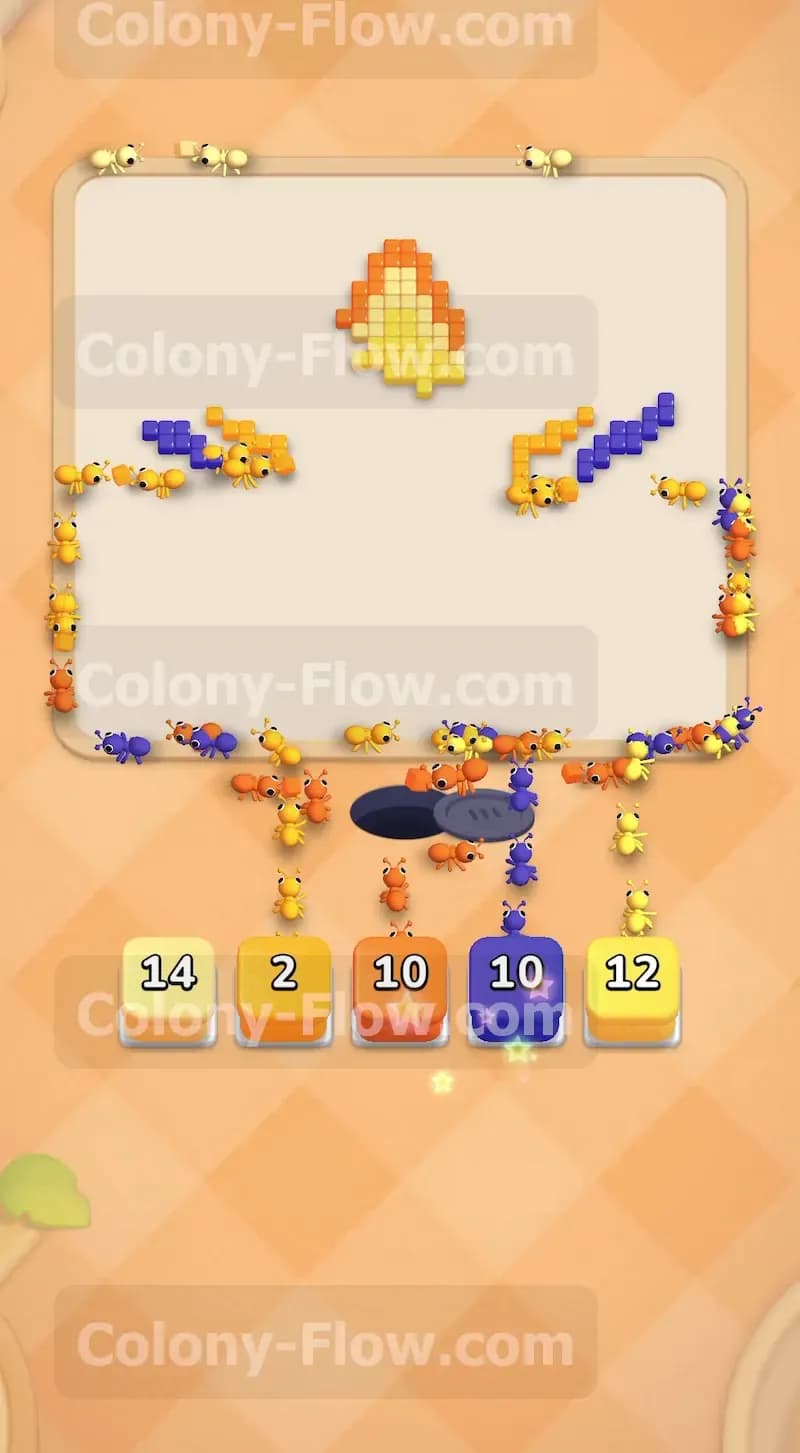
The final phase requires cleaning up the main yellow body of the character. Your tray is now full of accessible yellow blocks and your waiting slots are completely free. Pull the unlocked yellow blocks like the fourteen and the twelve. The yellow swarm overtakes the center of the board. There is zero risk of a dead right now because the entire shape is exposed. Every slot you fill will immediately empty as the ants find their targets. Pull the final few orange and dark blue blocks to catch the last scattered pixels. The last wave of yellow ants finishes the center body and beats the level.
Final Thought
Handling connected blocks requires you to accept a temporary dead block while focusing all your attention on keeping the other slots moving. Clear the blocker tiles steadily and let the board open naturally to collect your keys. If you struggle with the exact timing of the pulls or need to see how the keys fly off the board I highly recommend watching the gameplay video above this article.