Colony Flow Level 353 Walkthrough Solution & Guides | How to solve Colony Flow 353

Guide By Liam Stone
Updated on July 18, 2026
Skip the article and watch the video above instead. It covers every move you need for Level 353.
Video doesn't match your screen?
Game updates frequently scramble layouts! Try our AI Screenshot Solver first to find your exact board instantly, or report broken guides to our team.
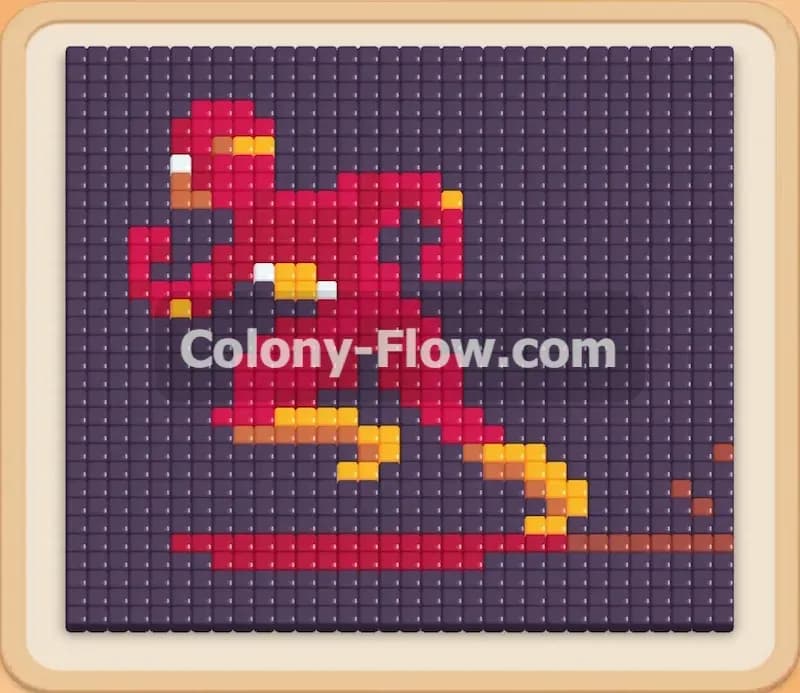
Colony Flow Level 353 presents a massive pixel art challenge featuring a red running figure set against a solid dark background. I have played and beaten this board myself to show you exactly how to manage your block tray without jamming your waiting slots. The colors are layered thickly and one wrong pull will leave your ants with nowhere to go. You must carefully carve a path through the dark exterior to reach the bright center. This guide will walk you through every phase of the board so you can keep your colony moving without a single traffic jam.
Colony Flow Level 353 Overview
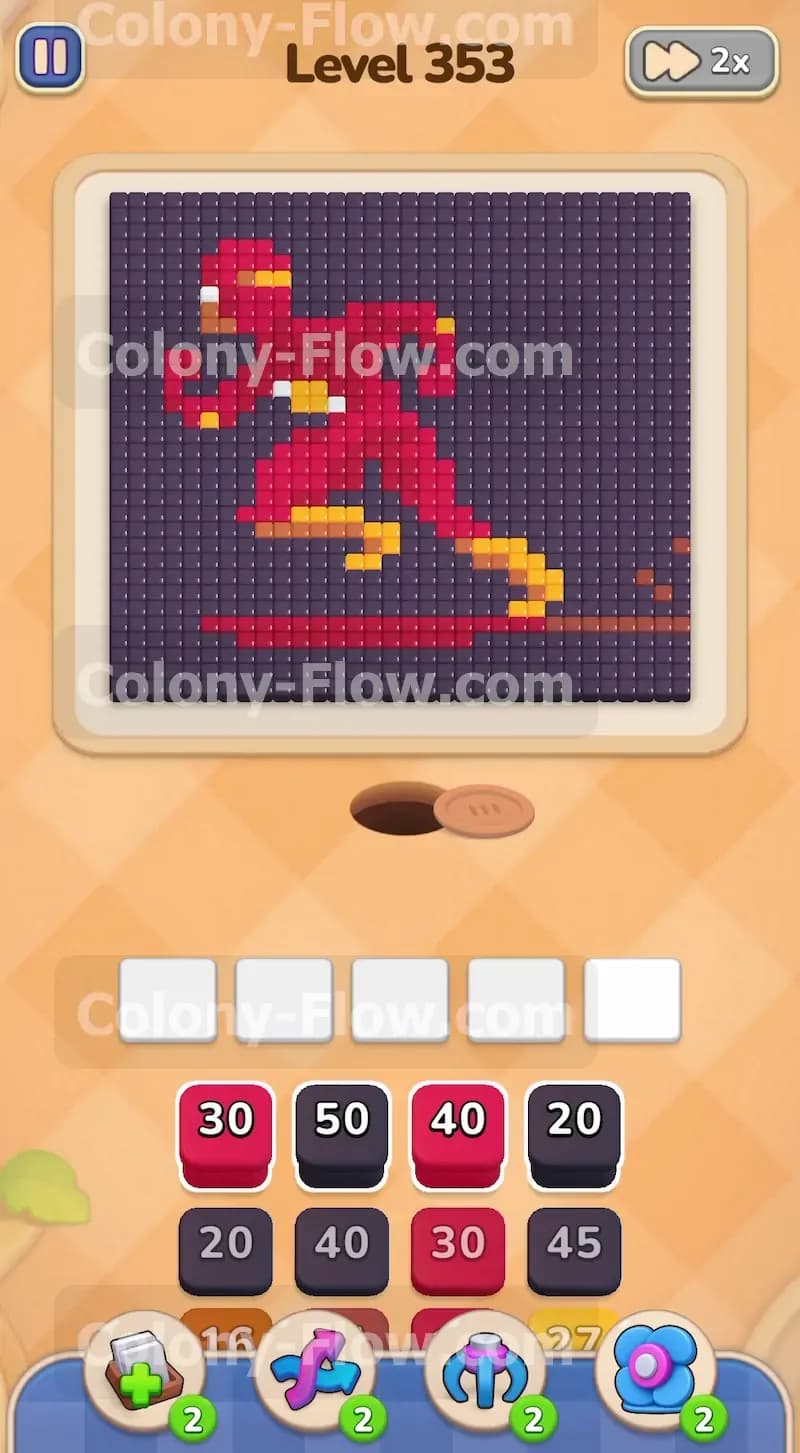
What You Are Working With
The picture at the top of your screen displays a classic speedster character in a dynamic running pose. The main body of the figure consists of bright red tiles. Vivid yellow tiles form accents on the chest and boots. A small white and brown section defines the face area. A solid red flat line sits entirely separate from the runner near the very bottom of the picture. The entire character and the red line are fully encased in a massive shell of dark navy and black tiles. Your block tray at the bottom holds tall stacks of red, black, yellow, and brown numbered squares. You have exactly five waiting slots above the tray to hold your active blocks. You will lose the level instantly if you fill all five slots with blocks that cannot find an open path to their matching color on the board. This specific level does not contain any hidden boxes, locks, key mechanics, or chocolate covers. The challenge comes entirely from the sheer volume of tiles and the tight outer shell blocking the center colors. You rely purely on fundamental pathing and smart tray management.
What It Takes to Clear Level 353 Board
Clearing this board requires a very systematic peeling process. You cannot reach the red runner or the yellow details until you eat away the heavy dark border surrounding them. You win the board when your ants consume every single tile and return to the nest. The primary danger here is pulling a red or yellow block entirely too early. If you bring up a red block before the ants breach the dark outer shell, that red block will sit uselessly in your waiting slot. The number on that block will not drop because no red ants can reach the red tiles. If you repeat that mistake and pull more unusable colors, your five slots will jam and the level will end. You must maintain a steady flow of dark blocks to carve the initial paths and only deploy the brighter colors when their matching tiles become exposed. The numbers on the blocks in your tray perfectly match the total number of tiles on the board. You will not have any leftover blocks or leftover tiles at the end of the run.
Colony Flow Level 353 Step by Step Solution
Step 1: Open the bottom edge of the dark background to create initial space.
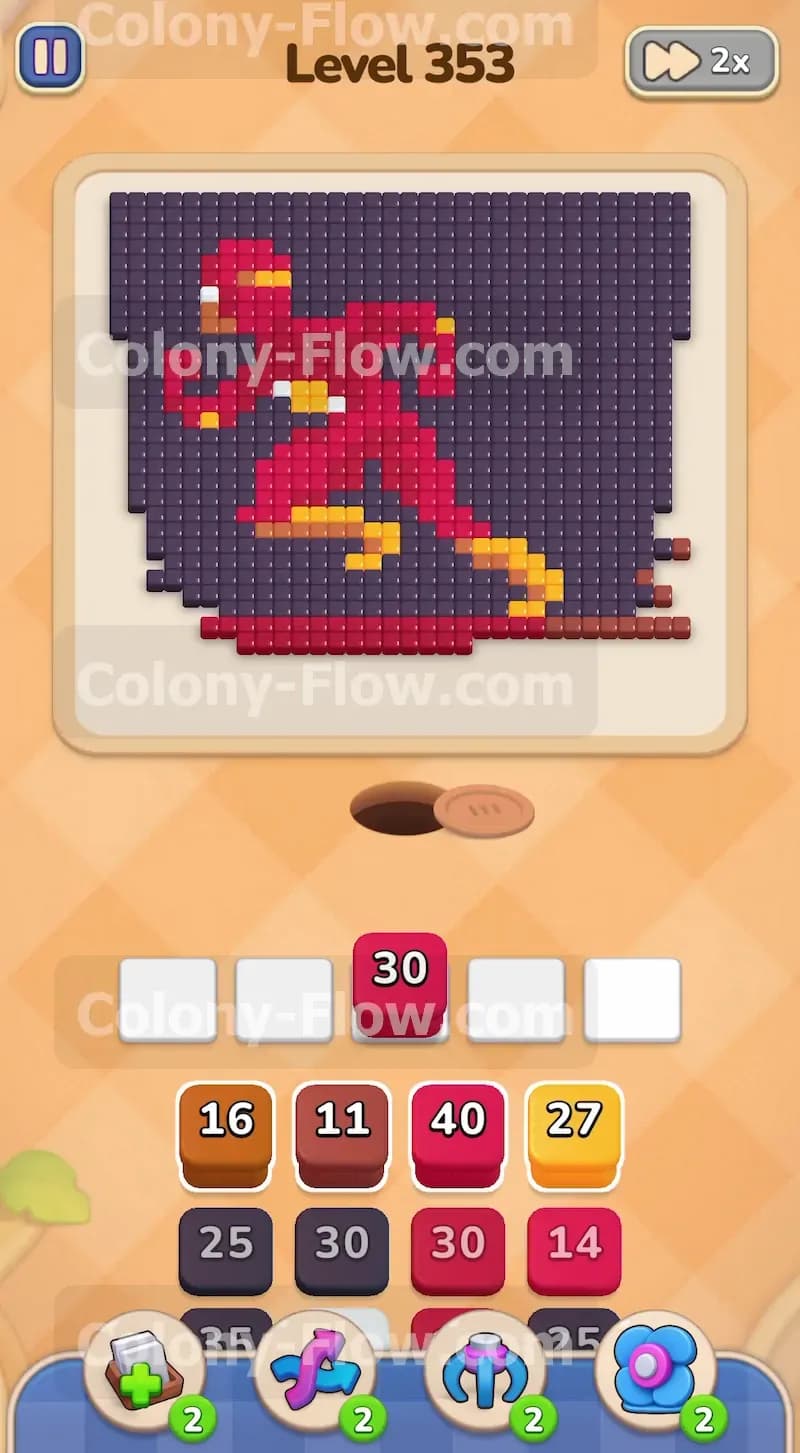
Your first moves dictate the entire flow and success of the board. The dark background completely blocks the main red figure and the isolated red line. You must look at your tray and select the high number black blocks first. Tap the black blocks to move them from the tray into your waiting slots. The black ants will stream out of the nest hole and march straight up to the lowest edge of the dark background. They will begin chewing away the bottom border to open up the board. Keep your eyes on the remaining dark blocks in the tray. As the first black blocks count down to zero and disappear from your slots, tap another black block to replace them. Do not touch the red or yellow blocks under any circumstances at this stage. You need a wide opening at the bottom to allow multiple streams of ants to work at once without crowding the paths.
Step 2: Clear the bottom red line to drain red blocks from your tray.
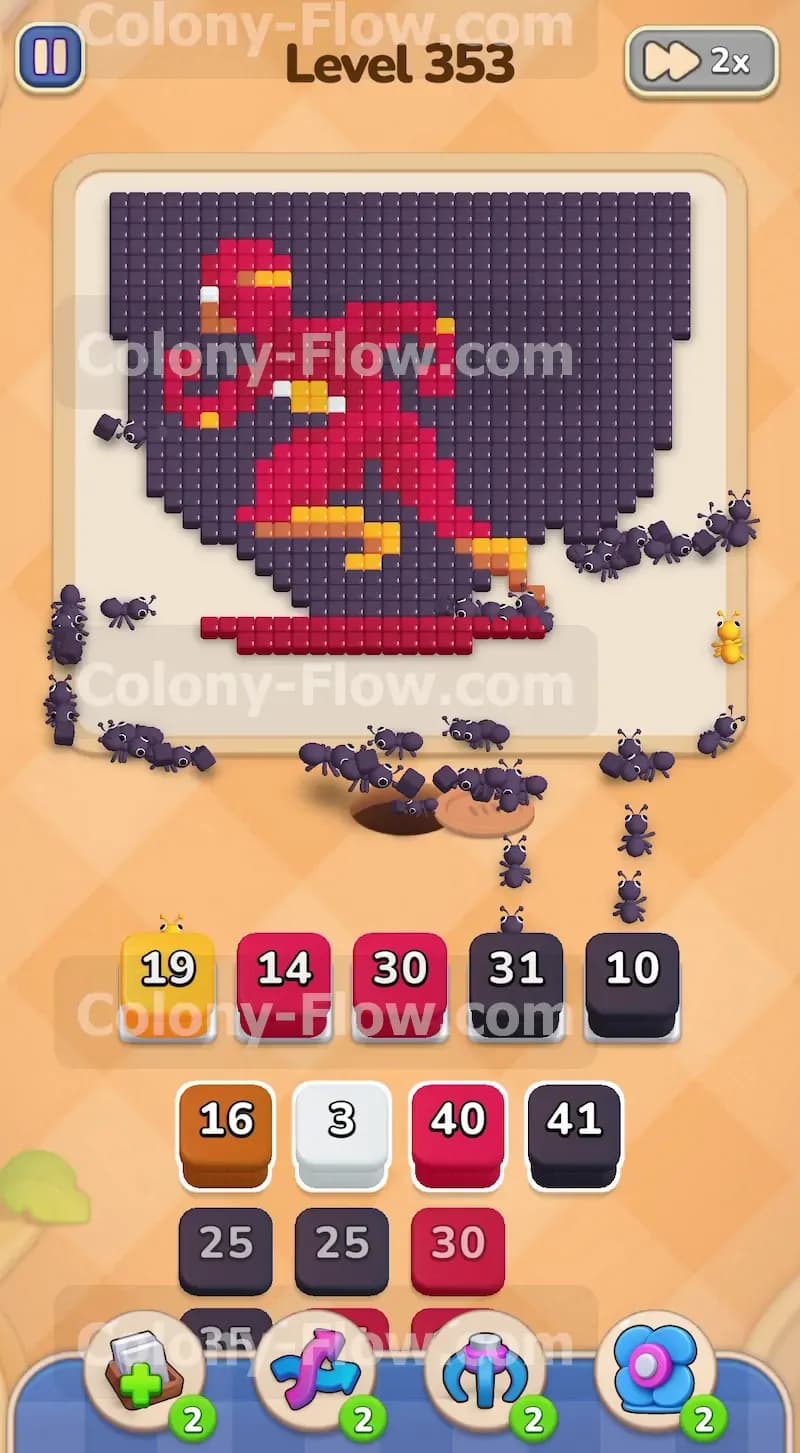
Once the black ants clear the lowest layers of the dark background, they will expose the flat red line sitting just below the running figure. Now you have a perfectly safe path for your red blocks. Find a red block in your tray and tap it into a waiting slot. Red ants will deploy from the nest and target that bottom line. You want to run a black block and a red block at the exact same time. The red ants will eat the flat line while the black ants continue clearing the dark space around the feet of the runner above them. Every time an ant grabs a tile, the number on your active block drops by one. When the number reaches zero, the block disappears and gives you back a precious waiting slot. This dual pathing keeps your tray moving rapidly and prevents any single color from clogging your waiting slots. Keep watching the numbers on your active blocks and replace them with matching colors as they empty. The red line acts as a great pressure release to get early red blocks out of your way.
Step 3: Attack the yellow boots and the lower legs of the runner.
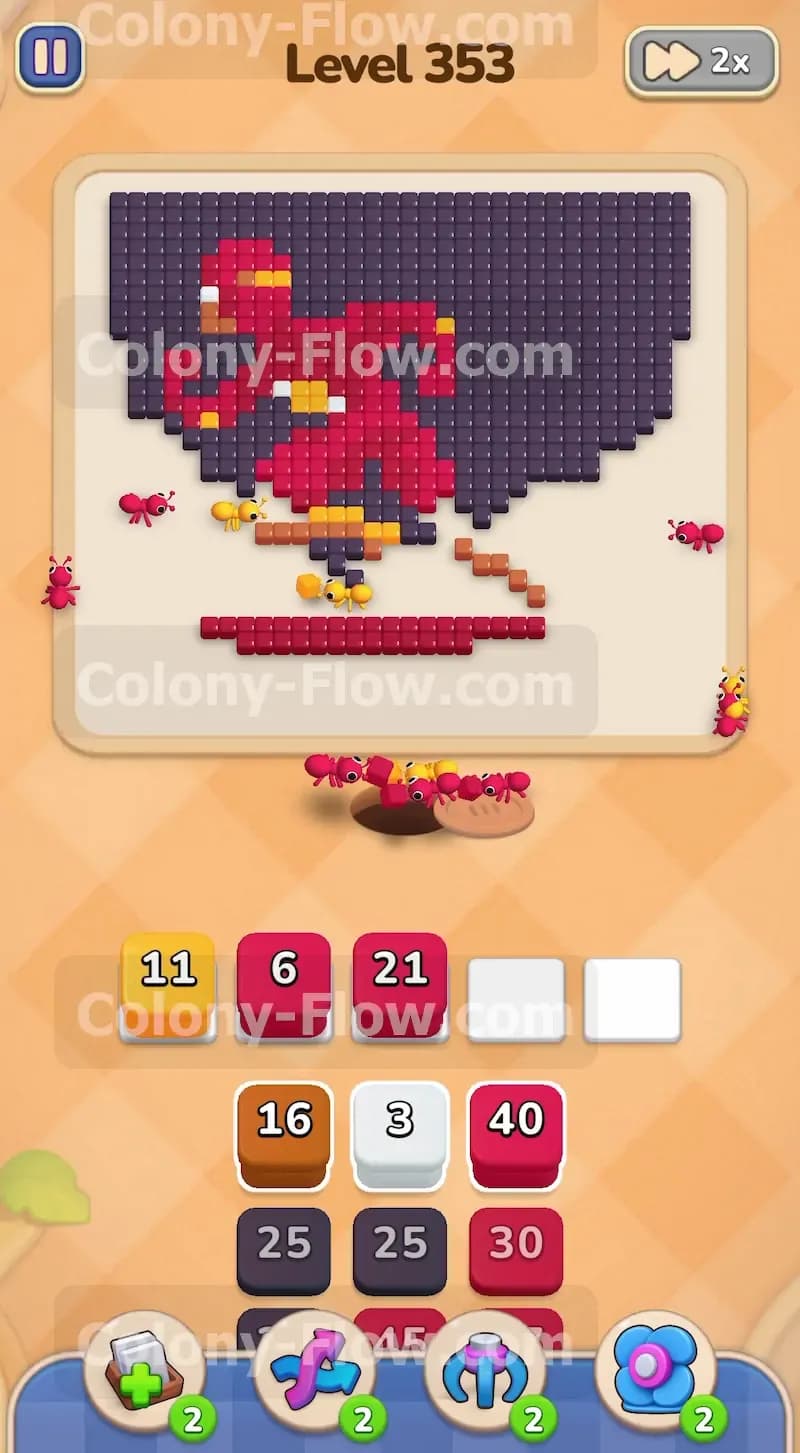
The black ants will soon reach the feet of the character and expose new colors. The boots contain small clusters of yellow tiles. As soon as the dark tiles pull back enough to reveal these yellow boots, you can safely bring a yellow block into your slots. Tap a yellow block and watch the yellow ants race toward the feet. Around this same time, the bottom red line will finish disappearing completely. You can now direct your red ants to the exposed lower legs of the runner. You will have three different colors active on the board at once. Black ants will work up the left and right sides of the background. Red ants will eat the legs and lower torso. Yellow ants will consume the boots. This phase represents the busiest part of the level. You must replace blocks quickly to keep all three streams moving.
Step 4: Carve a path up the left and right sides of the background.
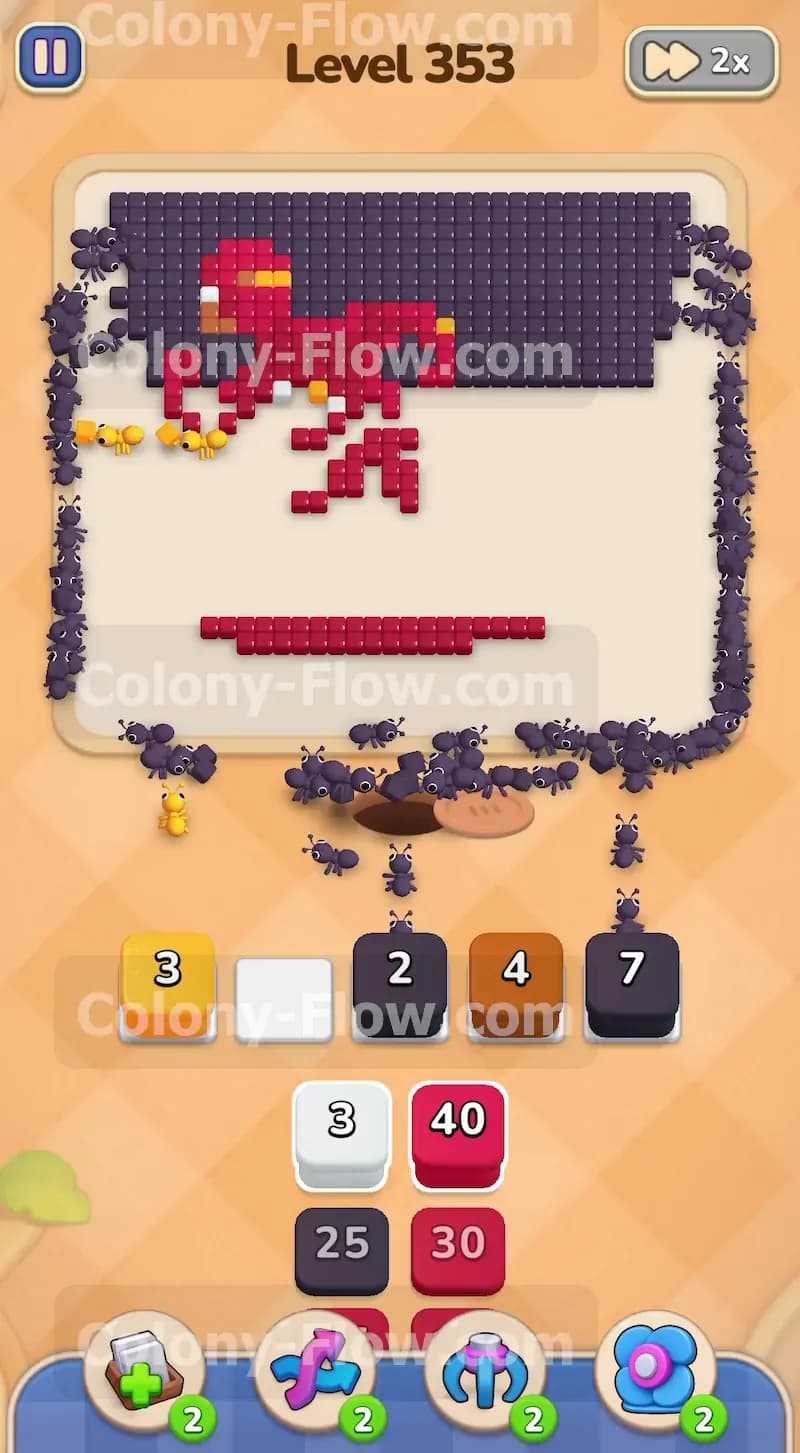
The center of the board will get crowded as the ants push upward. You need to keep the black ants moving up the extreme left and right borders of the picture. Tap the large black blocks from your tray to send fresh waves of black ants around the outside of the red figure. The dark background is incredibly thick on the sides and requires a huge amount of ants to clear. You will need multiple large numbered black blocks to chew through this perimeter. If you neglect the black blocks right now, you will hit a massive wall later when you need to reach the top of the head. Maintain at least one or two black blocks in your waiting slots at all times. The black ants will march in two distinct columns up the left and right edges while your red ants handle the middle. You must constantly scan the board to see where the ants are moving next to anticipate your next block pull.
Step 5: Consume the chest area and the yellow lightning details.
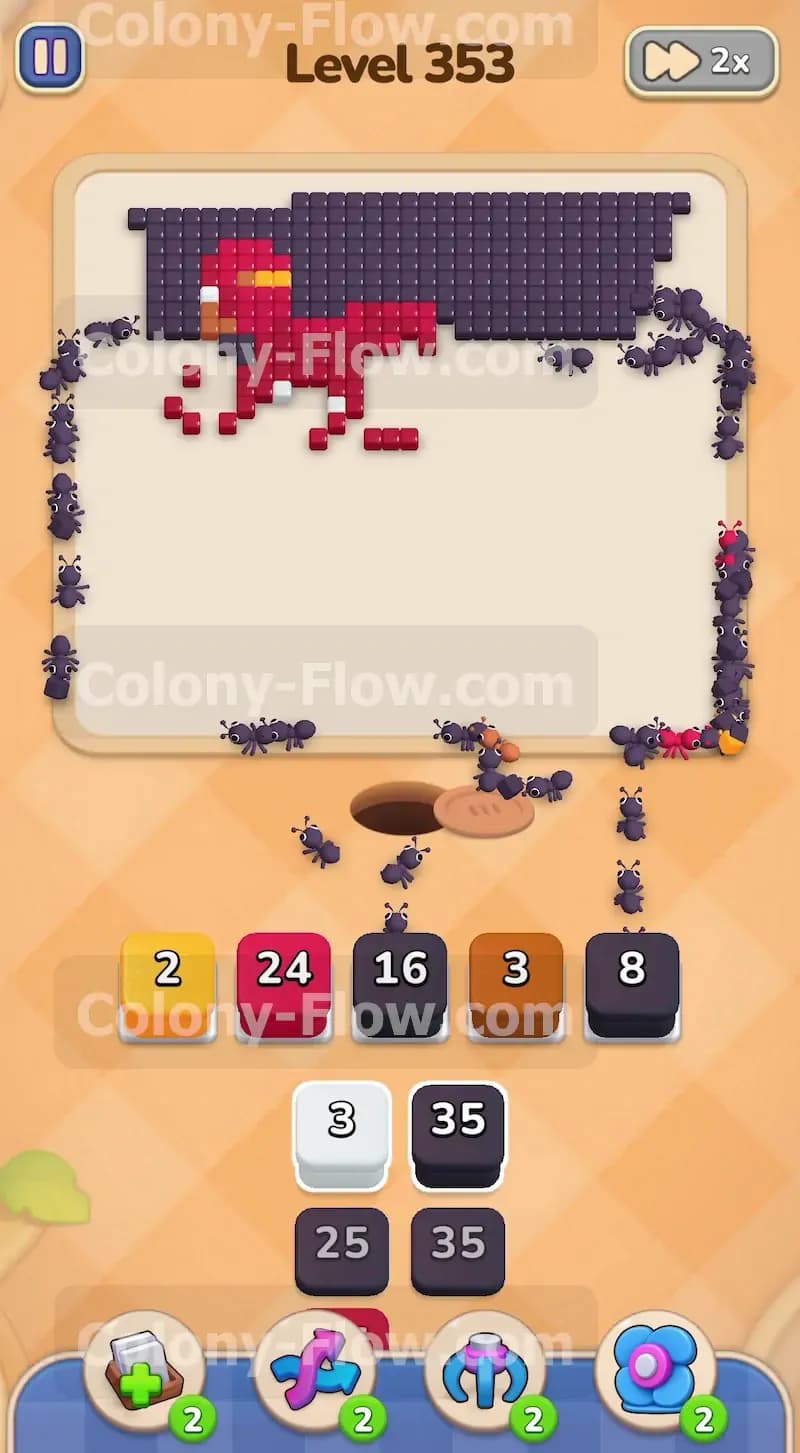
The red ants will finish the legs and move directly up into the main torso of the figure. The chest contains more yellow tiles forming a distinct lightning bolt pattern. Bring up your remaining yellow blocks to clear these center details the moment the red ants expose them. The red blocks in your tray will be highly active during this phase. Tap the high number red blocks and let the red ants flood the chest and the extending arms of the runner. You will see some brown blocks in your tray designed for the subtle shading around the face and body. Wait until the red ants clear the bulk of the chest before you pull any brown blocks into your slots. You always want to guarantee an open path before committing a slot to a new color. The arms extend outward to the sides and will naturally clear as the red ants expand their reach outward.
Step 6: Push through the upper background and clear the head.
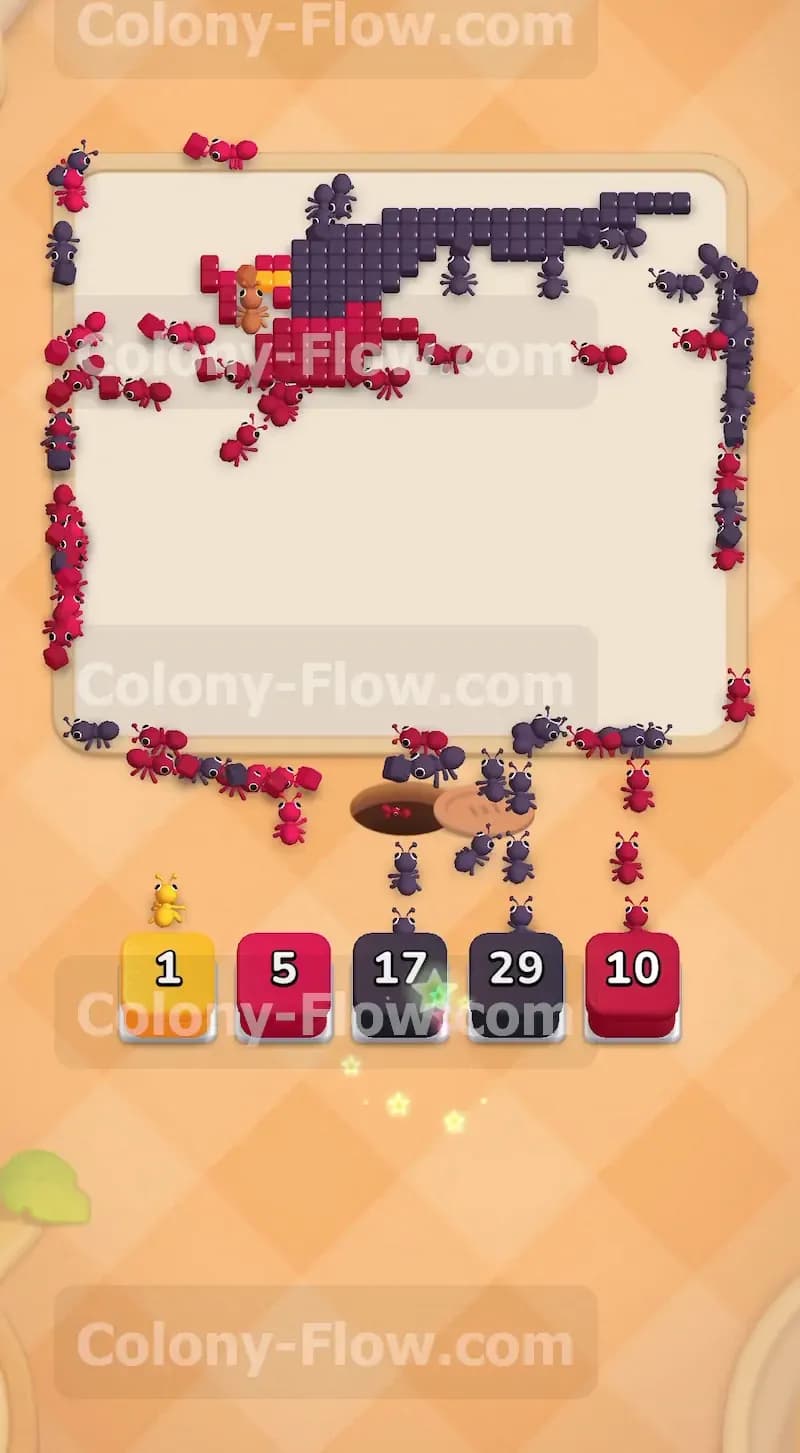
Only the very top section of the board remains at this point. The black ants will converge on the upper left and upper right corners of the dark background. The red ants will move into the head of the runner. Pull the final black and red blocks from your tray to feed this final push. The numbers on these remaining blocks will perfectly match the remaining tiles on the board. The red ants will eat the top of the head and the black ants will consume the final dark squares in the extreme upper corners. Your waiting slots will easily handle these last few blocks because all paths to the top are now wide open. Watch the final waves of ants carry the last few tiles back to the nest hole to completely finish the board.
Final Thought
You have successfully guided your colony through a massive amount of tiles to beat this board. The key to winning this level is absolute patience at the very beginning and steady dual pathing in the middle stages. You must respect the dark outer shell and clear it first before rushing the bright center colors. If you struggle to find the right timing for your yellow or red blocks, please watch the video above this article. The visual guide will show you the exact moment the paths open up and keep you from jamming your tray.