Colony Flow Level 153 Walkthrough Solution & Guides | How to solve Colony Flow 153

Guide By Liam Stone
Updated on July 12, 2026
The video above shows you how to clear Level 153 without needing to read a single step below.
Video doesn't match your screen?
Game updates frequently scramble layouts! Try our AI Screenshot Solver first to find your exact board instantly, or report broken guides to our team.
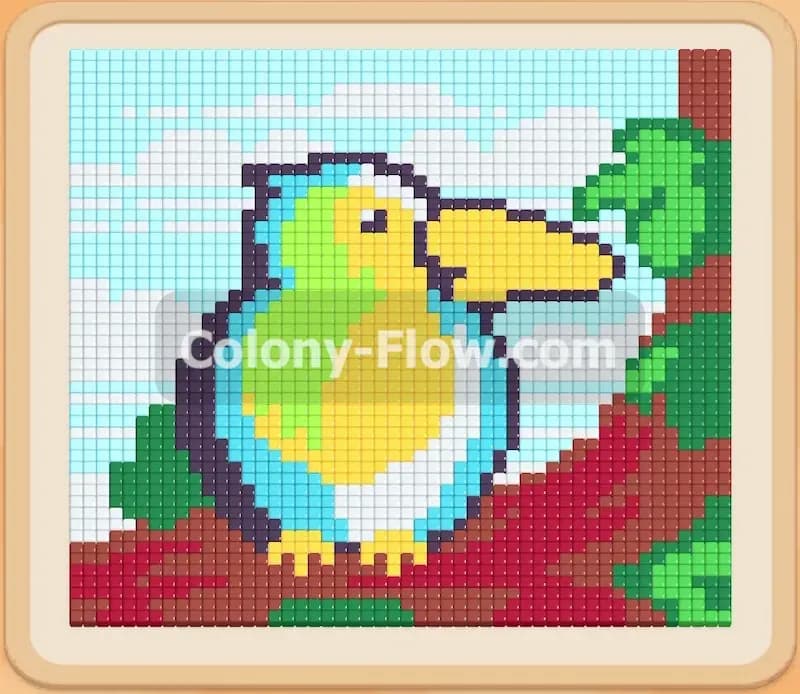
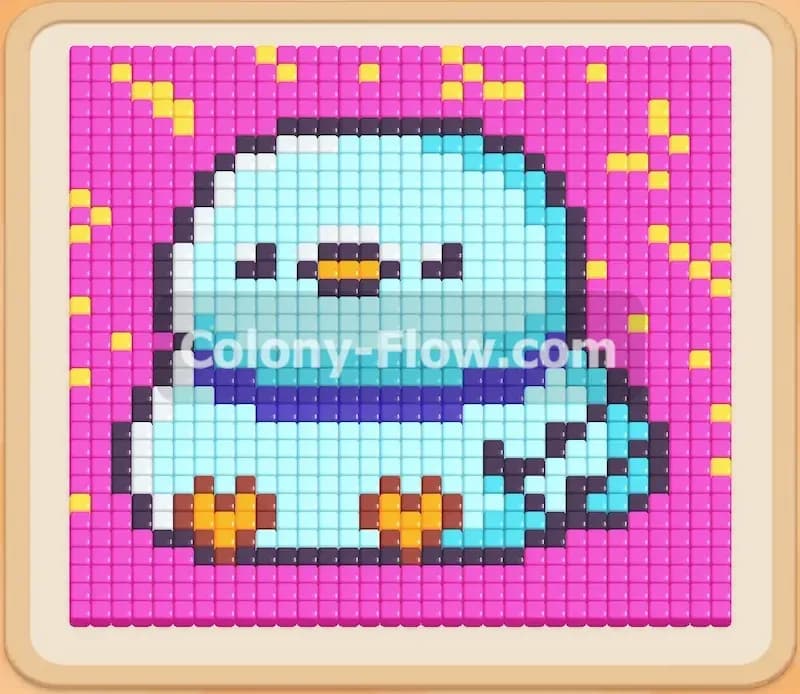
Welcome to Colony Flow Level 153. You face a giant pixel art bird surrounded by a massive pink background in this puzzle. I found this stage tricky because the large solid color blocks tempt you to pull too many tiles at once. You must control your tray pulls and manage your waiting slots to survive. I will walk you through exactly how I clear this board from start to finish.
Colony Flow Level 153 Overview
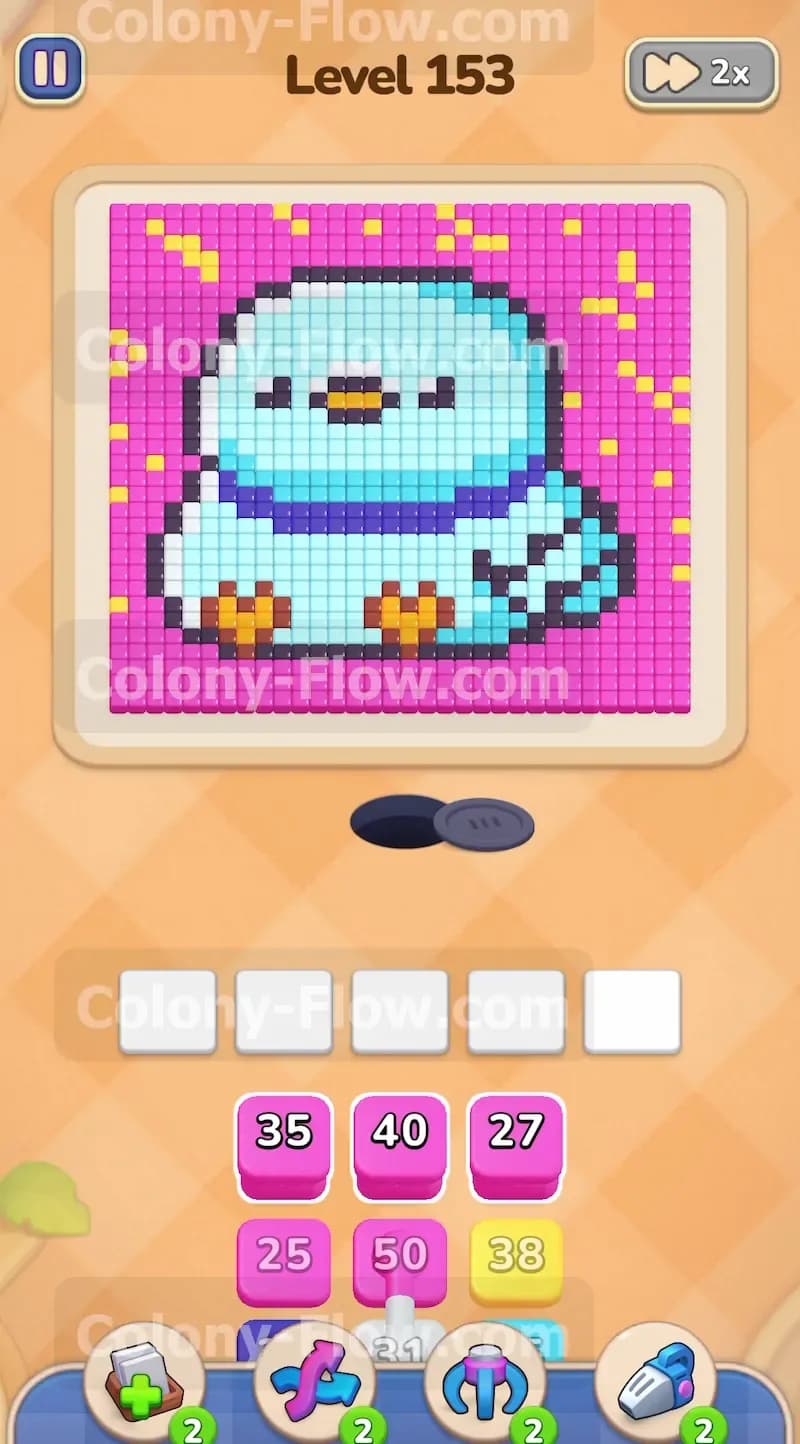
What You Are Working With
The board features a light blue bird character with a dark blue and black outline. The bird has orange and brown feet at the bottom. A huge pink background covers most of the screen and includes scattered yellow star shapes. The block tray holds standard numbered blocks along with a special connected box set that links a pink block to a white block. These connected boxes are dangerous because they tie up a slot in your tray until both colors completely finish their jobs. You will see numbers ranging from small digits up to massive blocks like 50 in your tray.
What It Takes to Clear Level 153 Board
You win the level when every single pixel art tile is gone and your ants return to the nest. The main threat is the five waiting slots at the bottom of your screen. If you fill all five slots with blocks that have no open path to their matching color the game ends immediately. You must carve a path from the outside edges inward. You will clear the outer pink layers first to expose the dark blue outlines. Opening the outlines lets you reach the inner white highlights and the light blue body. Every move must serve the goal of keeping at least one active color working so your waiting slots never jam.
Colony Flow Level 153 Step by Step Solution
Step 1: Attack the massive pink background to open initial paths.
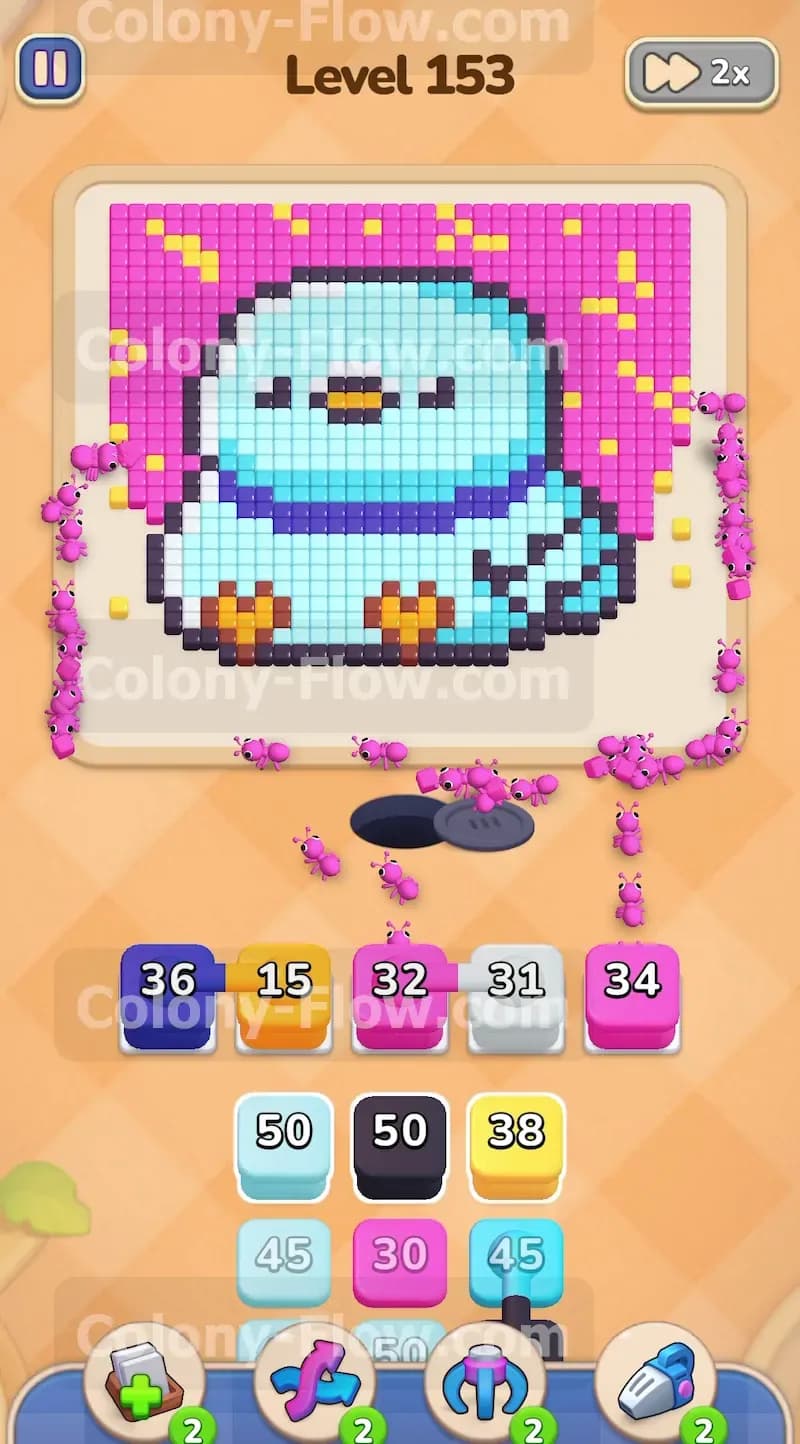
You start the level facing a solid wall of pink background tiles. Your very first moves must target this pink wall to open up the board. Look at the top rows of your block tray and pull the pink numbered blocks into your waiting slots. You will see blocks with numbers like 35 and 40 right away. When you tap them the pink ants will stream out of the nest hole at the bottom. They will travel around the outer edges of the picture because the inner tiles are completely blocked. They will start eating away the pink perimeter tile by tile. You will need to pull a few dark blue and orange blocks out of the way to reach more pink blocks deeper down in the tray. Keep those dark blue and orange blocks sitting safely in your waiting slots for now. Just make sure you do not pull five blocked colors at once. If you let your tray fill up with dark blue and orange before the pink path opens you will lose the level right here.
Step 2: Manage the connected box set without jamming your slots.
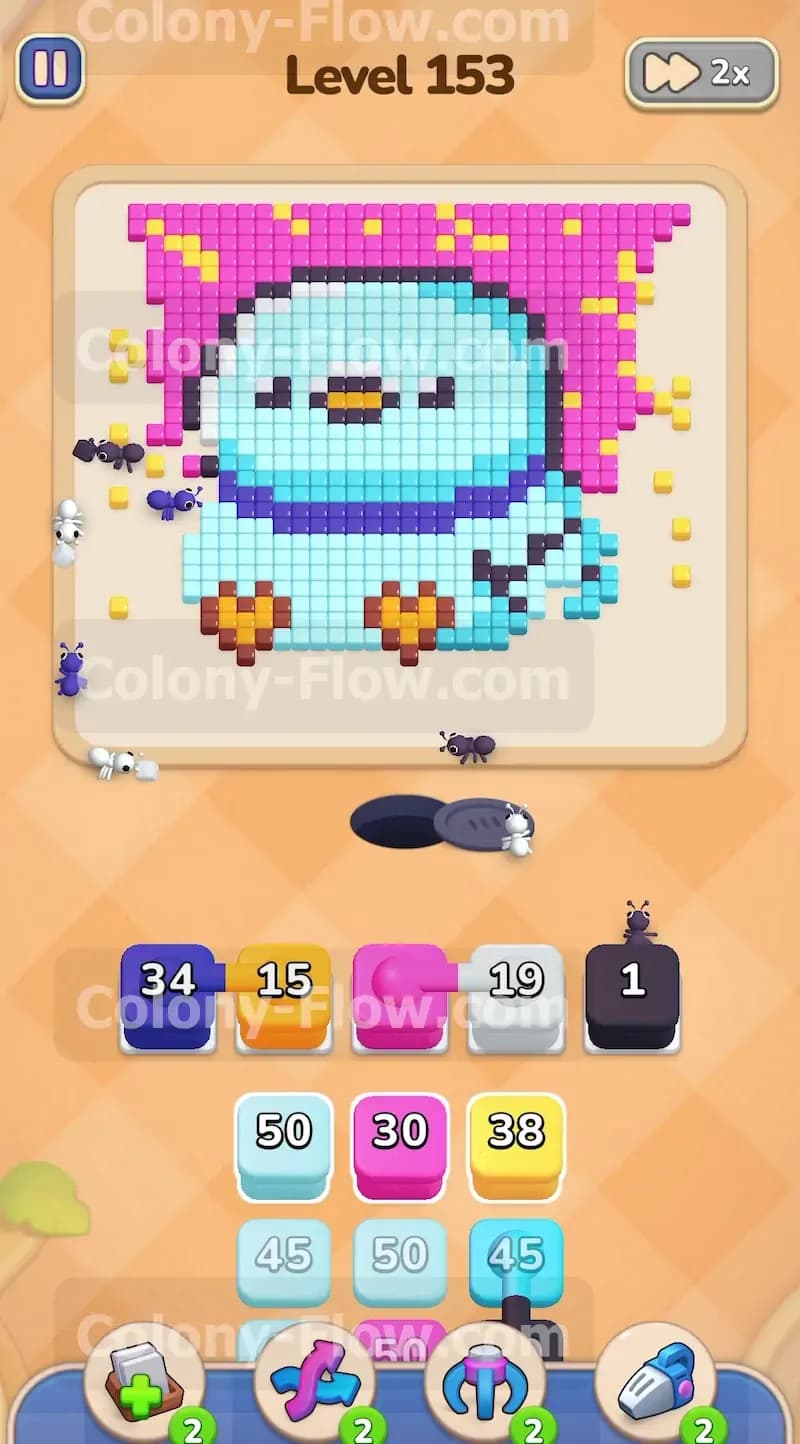
As you dig deeper into the tray you will uncover a pair of connected boxes linking pink and white colors. Pulling this connected set is absolutely mandatory to get the pink ants working on the background. When you pull it into your waiting slots the pink half activates and sends ants to eat the pink tiles. The white half sits idle in your tray because the white tiles on the board are trapped inside the bird shape. This connected block effectively reduces your available waiting slots from five down to four. You must be incredibly careful with your remaining tray space while this white block waits for an open path. Every subsequent pull carries more risk. You must only tap blocks that have an immediate clear path to their matching colors on the board.
Step 3: Clear the dark blue outlines to access the inner bird details.
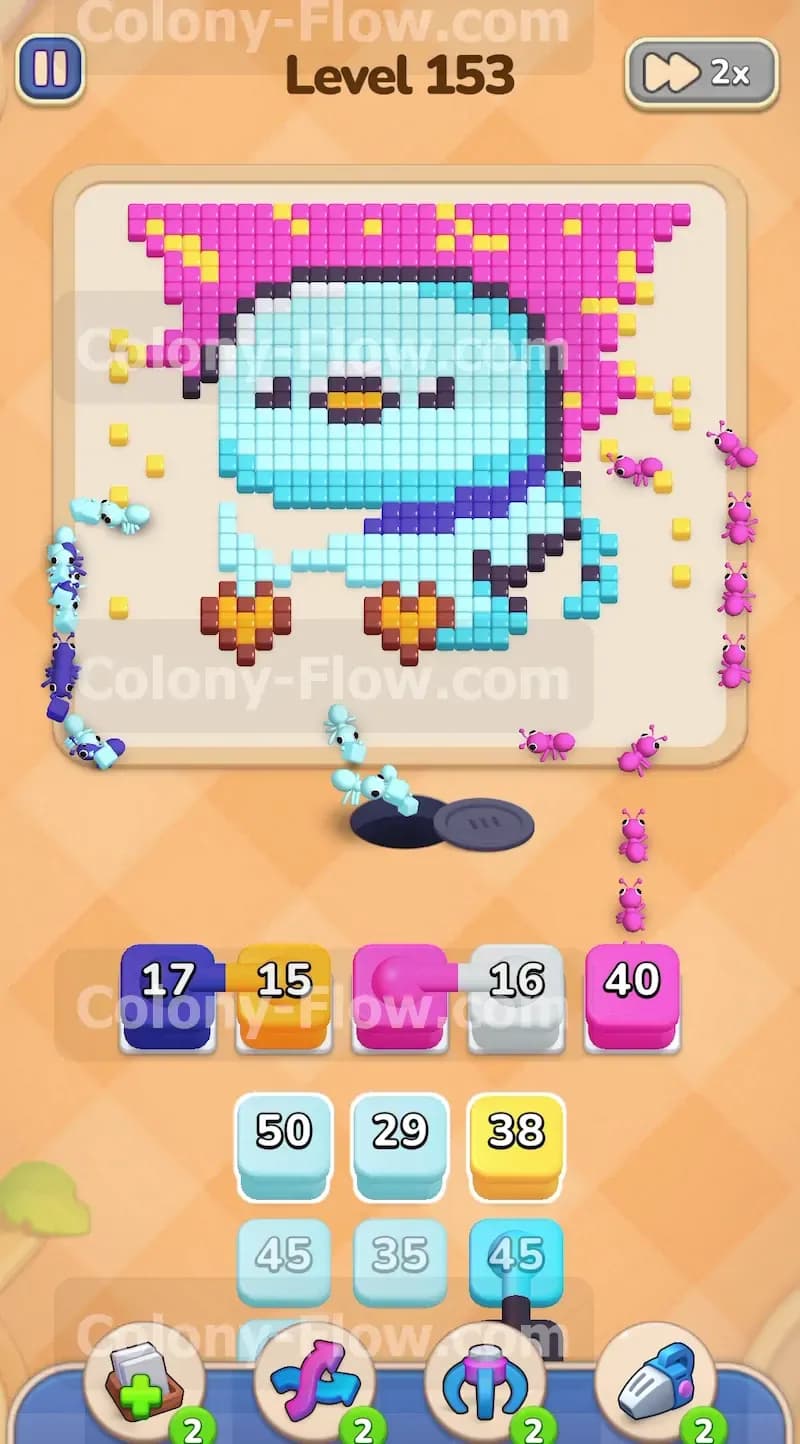
The pink ants will eventually clear enough background to expose the dark blue outline of the bird. You already have a dark blue block sitting in your waiting slot from your earlier tray pulls. The moment the first dark blue tile becomes unblocked the dark blue ants will automatically wake up and start marching toward the exposed border tiles. This is a huge relief because it frees up crucial space in your waiting area. Watch the dark blue ants carve away the outer shape of the bird. Keep feeding them dark blue blocks as they appear in your tray to maintain their momentum. You need this dark blue wall gone to reach the colors inside. Do not get distracted by other colors until you establish a solid breach in this dark blue border.
Step 4: Activate the white block to free up your trapped slot.
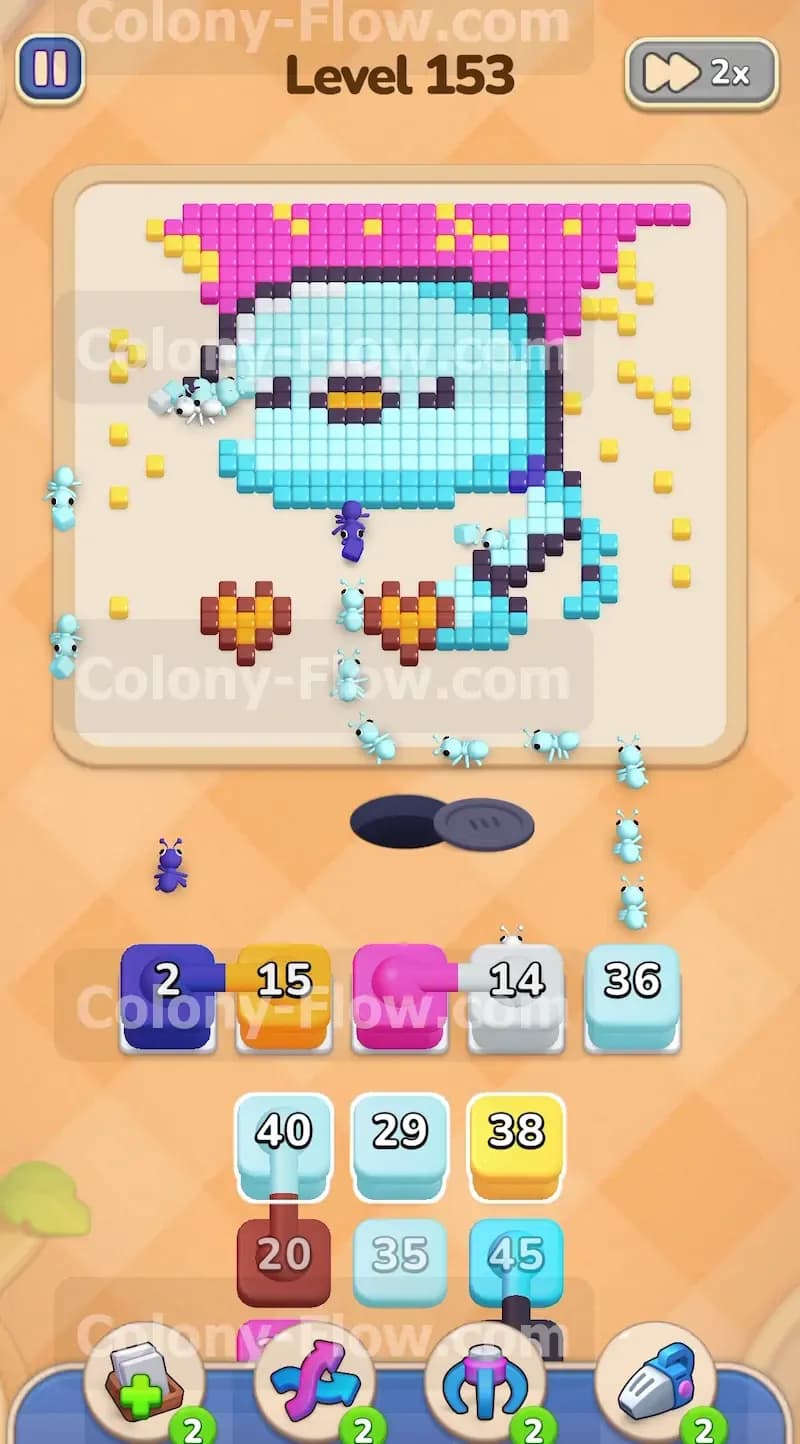
Once the dark blue outline breaks apart the white inner highlights on the bird become completely accessible. The white half of your connected box finally has an open path. The white ants will stream out of the nest and start eating the white inner tiles. This process slowly ticks down the number on the white block. You need this number to hit zero so the connected box completely disappears from your waiting slot. Prioritize clearing any dark blue or black tiles that block the white sections to speed up this process. Freeing up that trapped slot is your main priority at this stage of the game. Having all five slots back gives you the breathing room you need to tackle the rest of the board.
Step 5: Send the light blue ants to consume the main body tiles.
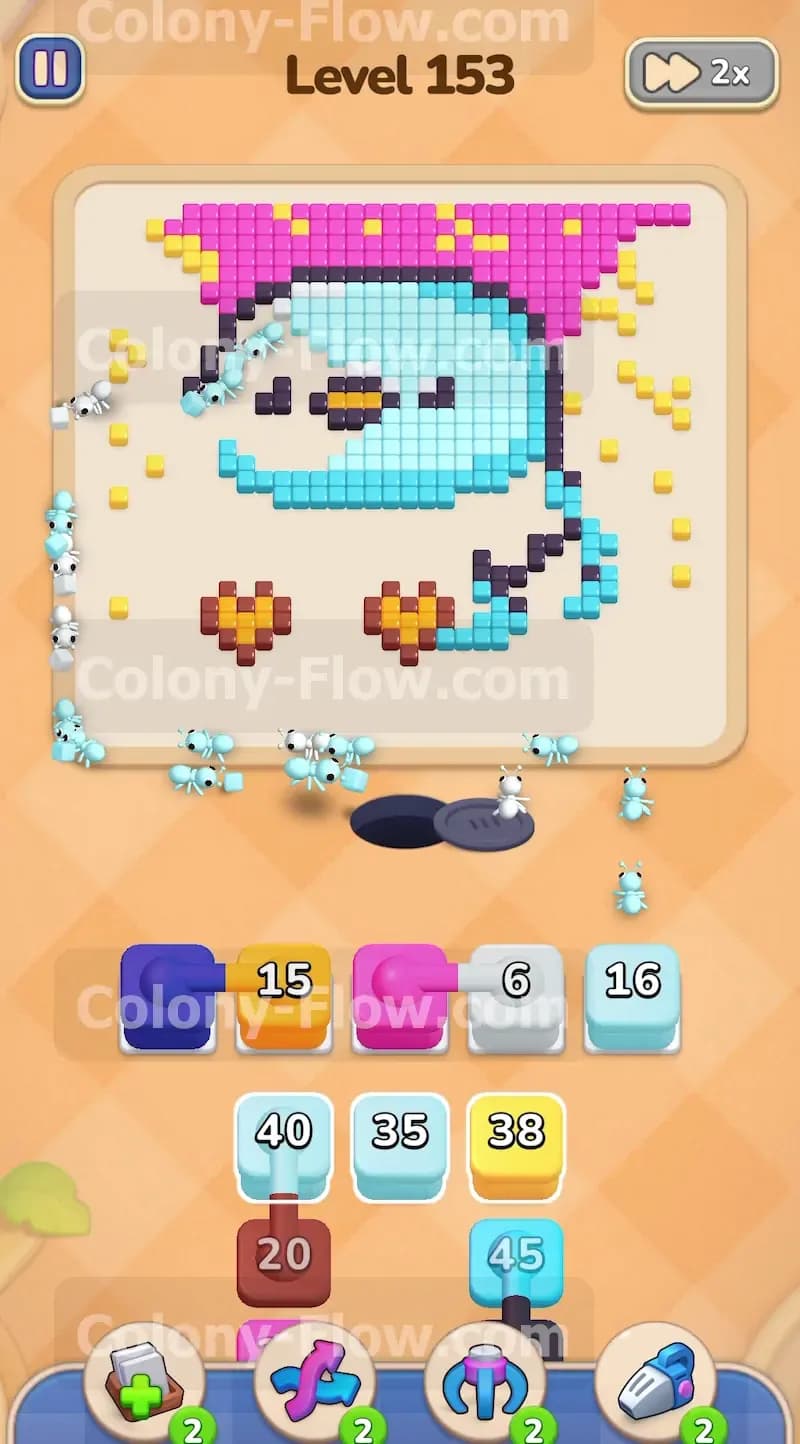
You now have a wide open path to the main body of the bird. The body consists of dozens of light blue tiles tightly packed together. Pull the large light blue blocks from the tray to begin clearing this massive section. You will see high numbers like 50 and 45 on these blocks. Send these massive colonies of light blue ants onto the board. They will spread out across the bird shape and consume the tiles rapidly. This part is incredibly satisfying because the board empties out very quickly. You will see your available space open up as the light blue ants finish their work and free up your waiting slots. Keep supplying light blue blocks whenever a slot opens up to keep the swarm moving continuously.
Step 6: Clear the orange and brown feet at the bottom.
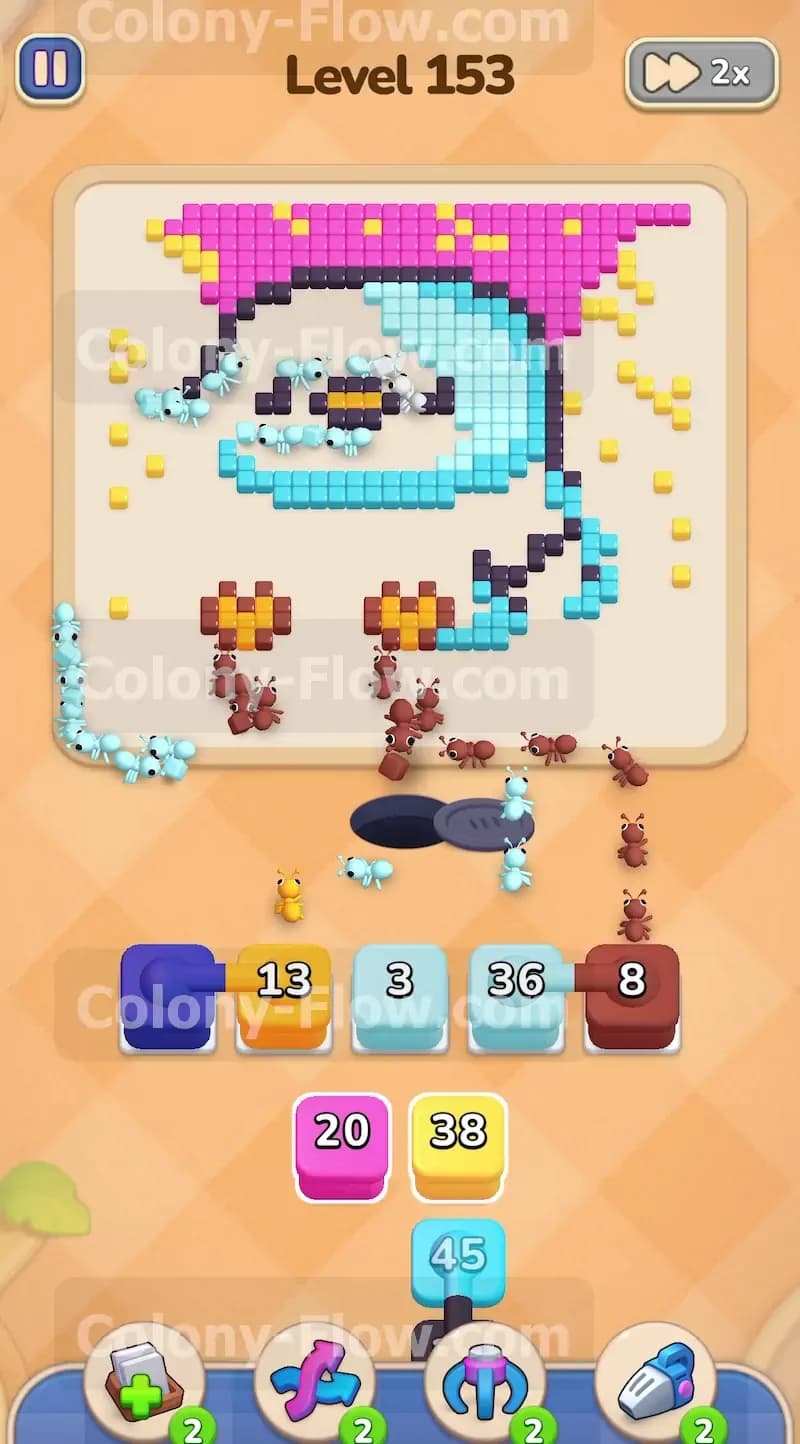
While the light blue ants are busy eating the main body you must focus on the smaller details at the bottom of the picture. The bird has distinct feet made of orange and brown tiles. Pull the orange blocks you saved in your tray earlier and send the orange ants to the outer edges of the feet. Once the orange sections clear out the inner brown tiles become exposed. Bring out the brown blocks from the tray. You will see numbers like 20 on these brown blocks. The brown ants will sweep in and finish off the feet. Clearing these small sections frees up even more slots for your final push toward the end of the level. Make sure you clear the feet before pulling any unrelated colors.
Step 7: Clean up the yellow scattered sprinkles in the background.
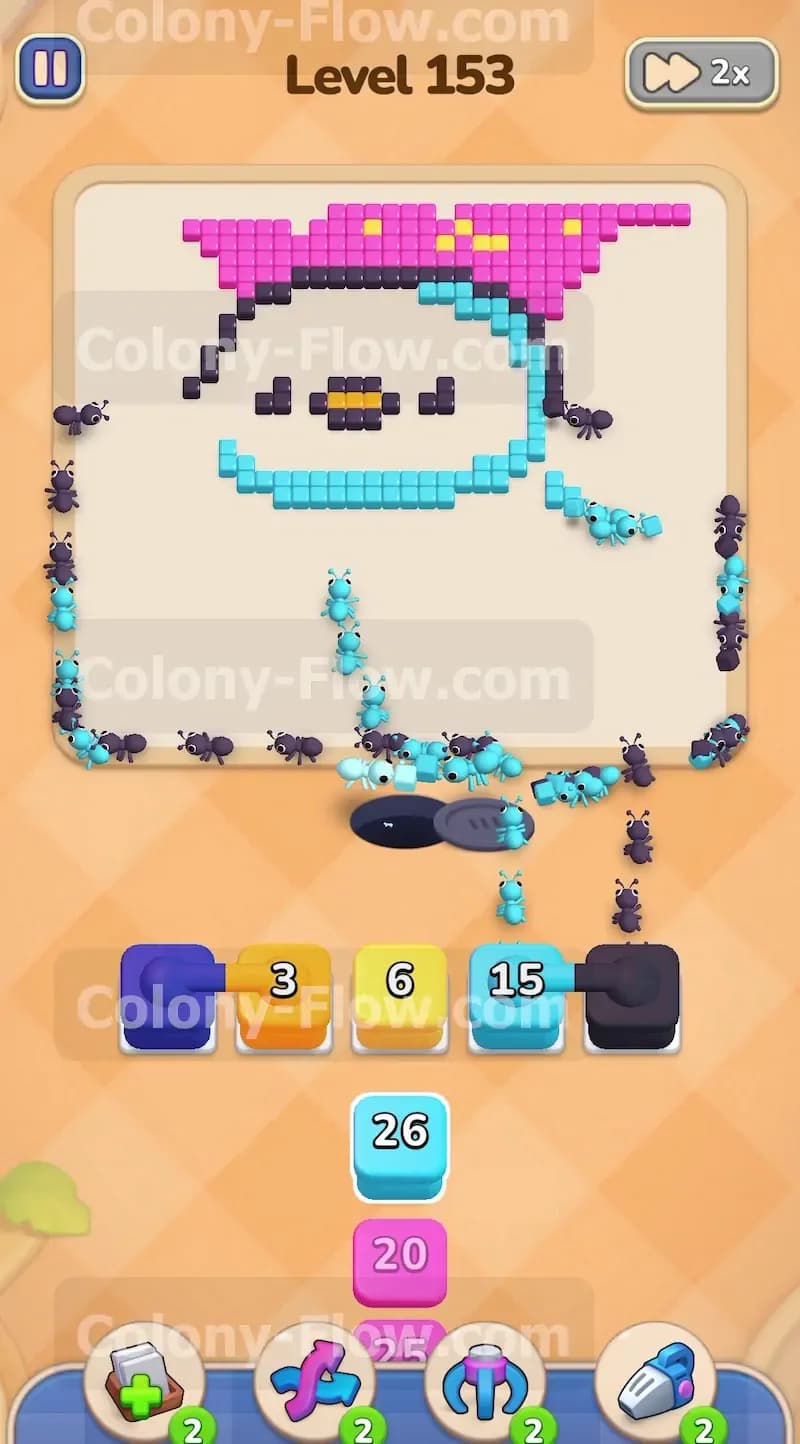
The board is mostly empty at this point in the level. You will see scattered yellow sprinkles left over in the pink background area. Pull the yellow blocks from your tray to clear out these sprinkles. The yellow ants will run around the board targeting these isolated small shapes. You also need to pull the final pink blocks from the bottom of the tray to finish off any remaining background pieces near the top corners. The paths are completely wide open now so you do not have to worry about jamming your waiting slots. Just match the colors and let the ants do their job. Watch the numbers count down as the last few background elements disappear from the screen.
Step 8: Make the final block pulls to finish the remaining tiles.
There are a few stubborn dark blue and light blue tiles left on the right side of the board. You need to pull the very last blocks from your tray to address them. Send the remaining dark blue ants to finish off the broken outline. Then send the final light blue ants to consume the last few body tiles. Keep a close eye on the tray to make sure no hidden blocks remain. Once the final numbers hit zero the last ants will return to the nest hole. The picture is completely clear. You successfully managed your tray and beat the level without hitting a dead end. The board will flash and the victory screen will appear.
Final Thought
This puzzle tests your patience and your ability to plan your tray pulls ahead of time. You have to respect the connected boxes and never pull too many useless colors at once. I hope this walkthrough helps you conquer the board with ease. Please watch the video above this article if any step is hard to follow in text.