Colony Flow Level 212 Walkthrough Solution & Guides | How to solve Colony Flow 212

Guide By Liam Stone
Updated on July 13, 2026
Skip ahead to the video above if you want to see Level 212 solved without reading the full article.
Video doesn't match your screen?
Game updates frequently scramble layouts! Try our AI Screenshot Solver first to find your exact board instantly, or report broken guides to our team.
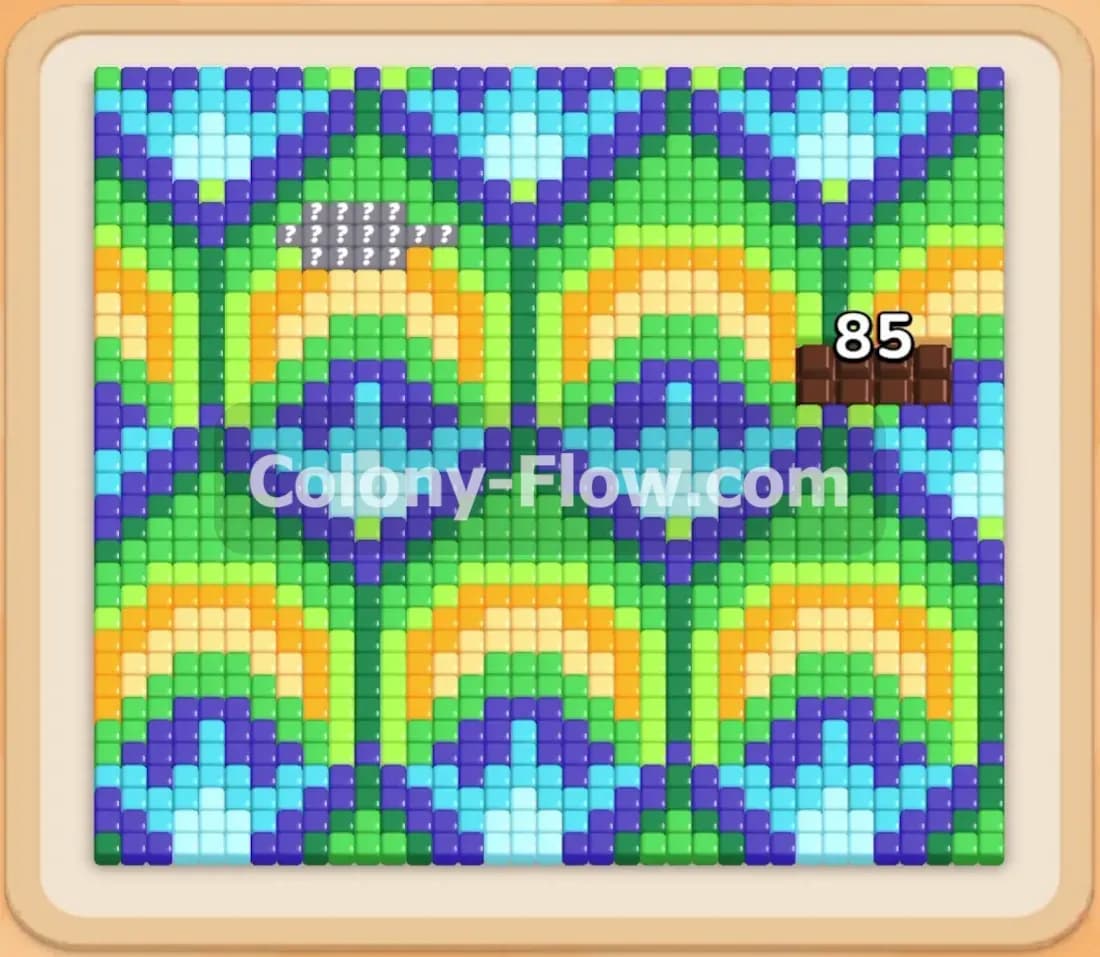
Welcome to Colony Flow Level 212. This level features a beautiful swirly rainbow pattern that covers most of the board. You need to guide your ant colony to eat every single food tile to win. The challenge comes from managing locked tray blocks while keeping your five waiting slots from jamming. I play every level to find the safest route and this one requires a very specific opening sequence.
Colony Flow Level 212 Overview
What You Are Working With
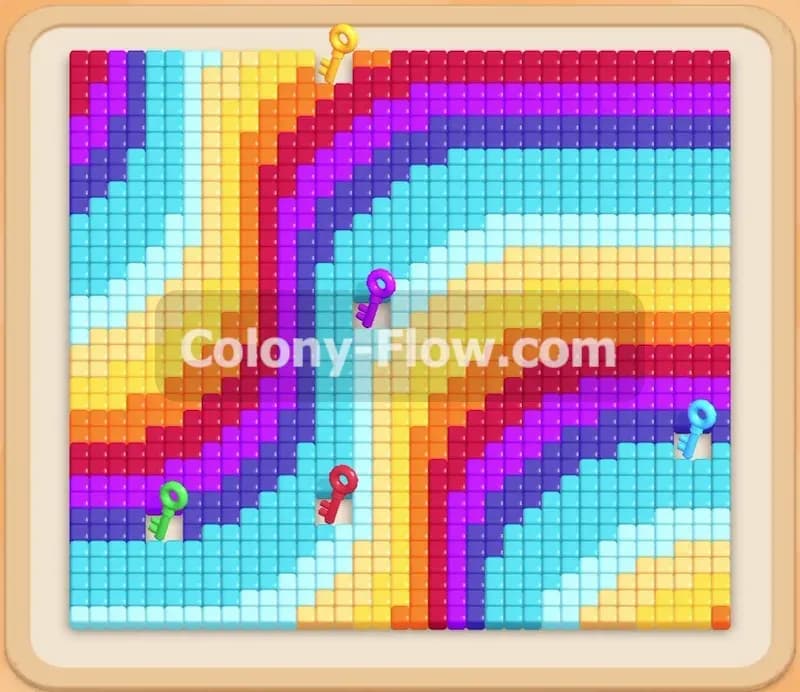
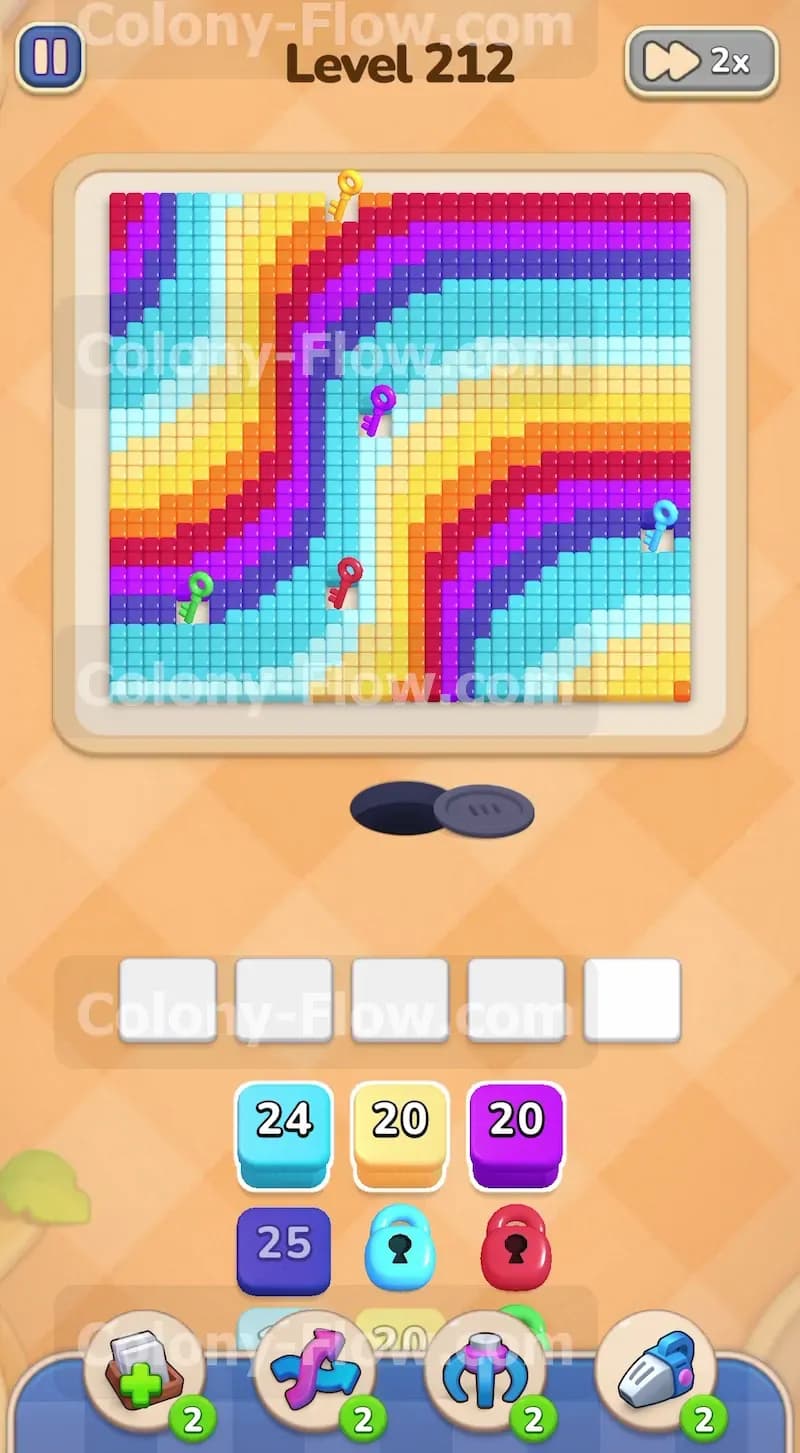
The board displays a thick wavy pattern made of light blue yellow purple red dark blue and orange food tiles. Scattered throughout these colored bands are several key items. You will see a green key near the bottom left a red key near the bottom middle a light blue key on the right a purple key right in the center and a yellow key near the top. Down in your tray you have numbered blocks matching these colors. However some of the blocks have colorful locks on them. You cannot pull a locked block into your waiting slots until your ants eat the food tiles holding the matching key on the board above.
What It Takes to Clear Level 212 Board
Winning requires a careful sequence of moves. You must clear the outer bands of the rainbow swirl first to reach the keys hidden inside. Gathering a key removes the lock from the corresponding block in your tray. You win when your ants consume the last piece of food and the picture vanishes entirely. The main danger is filling all five waiting slots with blocks that have no open path to the right color. If you fill the slots and the ants stop moving you lose the level immediately.
Colony Flow Level 212 Step by Step Solution
Step 1: Start by targeting the outer bands of the swirl
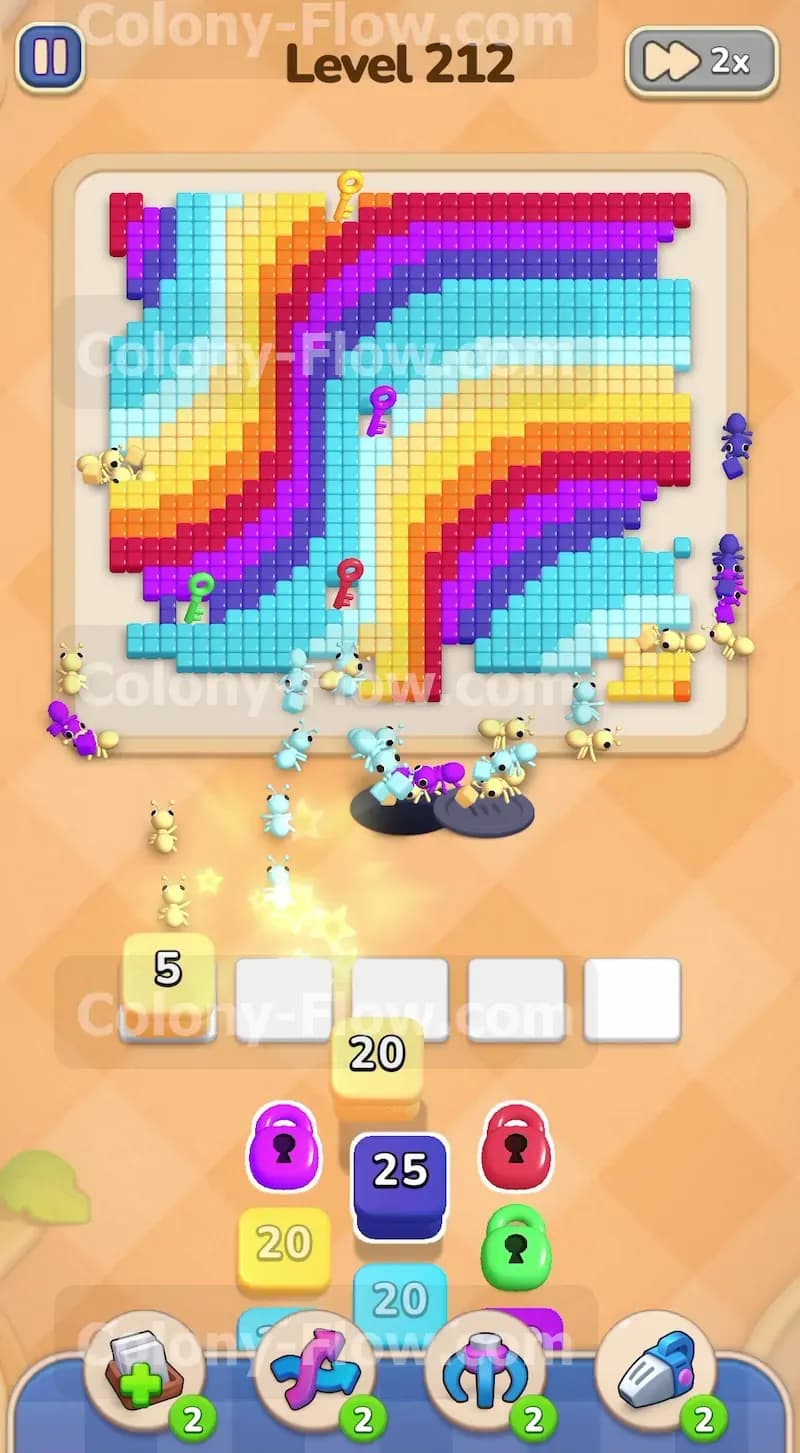
You begin with a full tray of blocks sitting at the bottom of your screen. Look closely at the available colors. You will see light blue yellow and purple blocks ready to use. Do not pull everything at once. Your best starting move is to pull the light blue block with the number twenty four into your first waiting slot. Immediately follow that by pulling the yellow block with the number twenty into the second slot. The ants will stream out of the dark nest hole in a continuous line. They will split into two massive groups. One group heads toward the bottom right corner of the board to start eating the light blue food tiles. The other group marches straight toward the bottom left corner to munch on the yellow food tiles. This targeted action creates open paths on the outer edges of the rainbow pattern. You must keep your remaining three waiting slots completely empty for now. Filling them early is exactly how you trap yourself. You want to ensure you have total flexibility as the shape of the board changes.
Step 2: Bring the first purple block into play
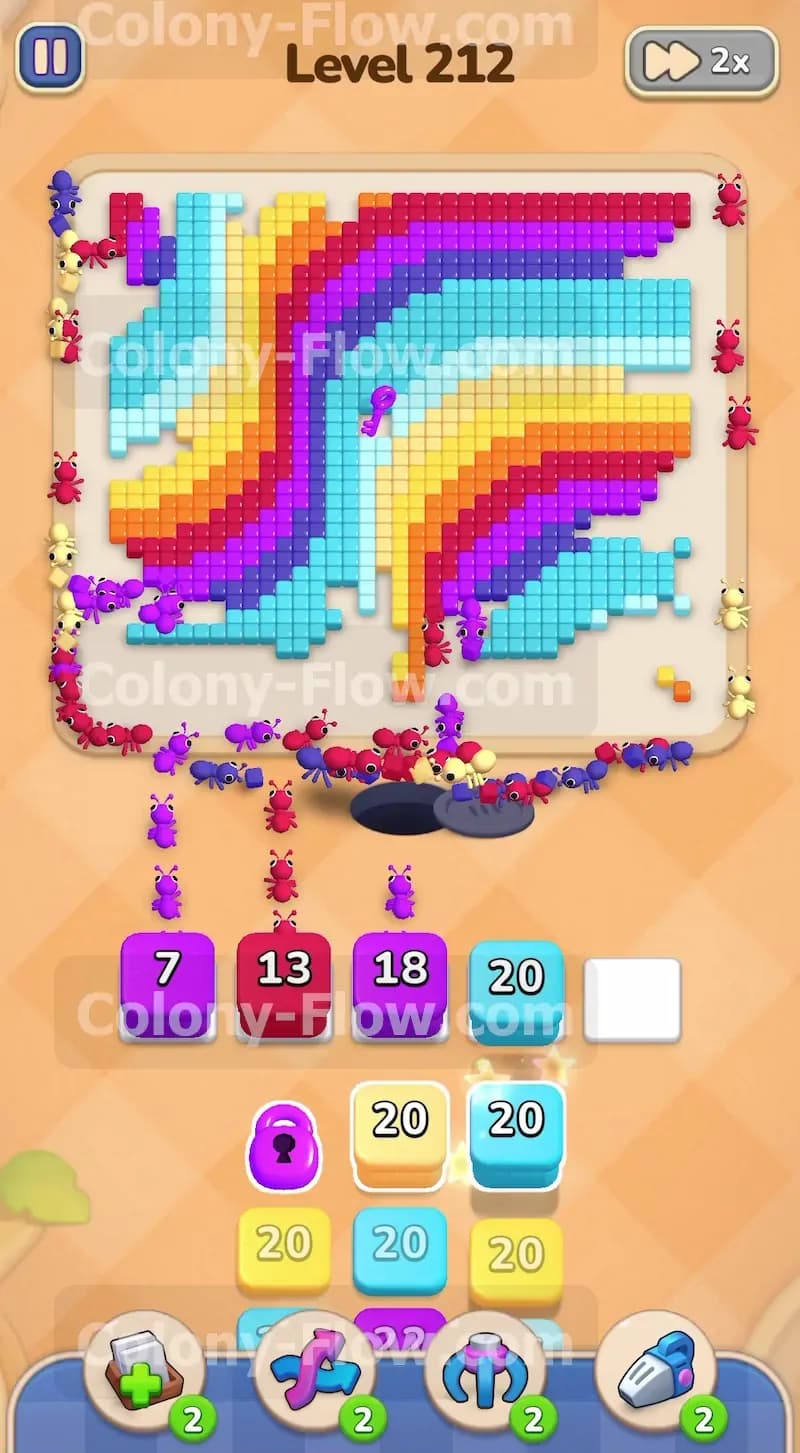
Wait for the numbers on your first two blocks to drop significantly. Once the light blue and yellow numbers start counting down you can safely pull the first purple block into your third open slot. It carries the number twenty. The ants will immediately find a valid path to the purple band resting on the left side of the board. Letting these three colors work at the exact same time strips away the bottom and left edges of the large swirl. Watch the numbers on your blocks drop with every single bite the ants take. The yellow block will soon reach five then zero and disappear completely from your tray. This frees up a valuable waiting slot. Keeping a close eye on the countdown numbers is the only way you avoid a fatal jam. You always want at least one or two empty slots ready for the next move.
Step 3: Collect the green key and the red key
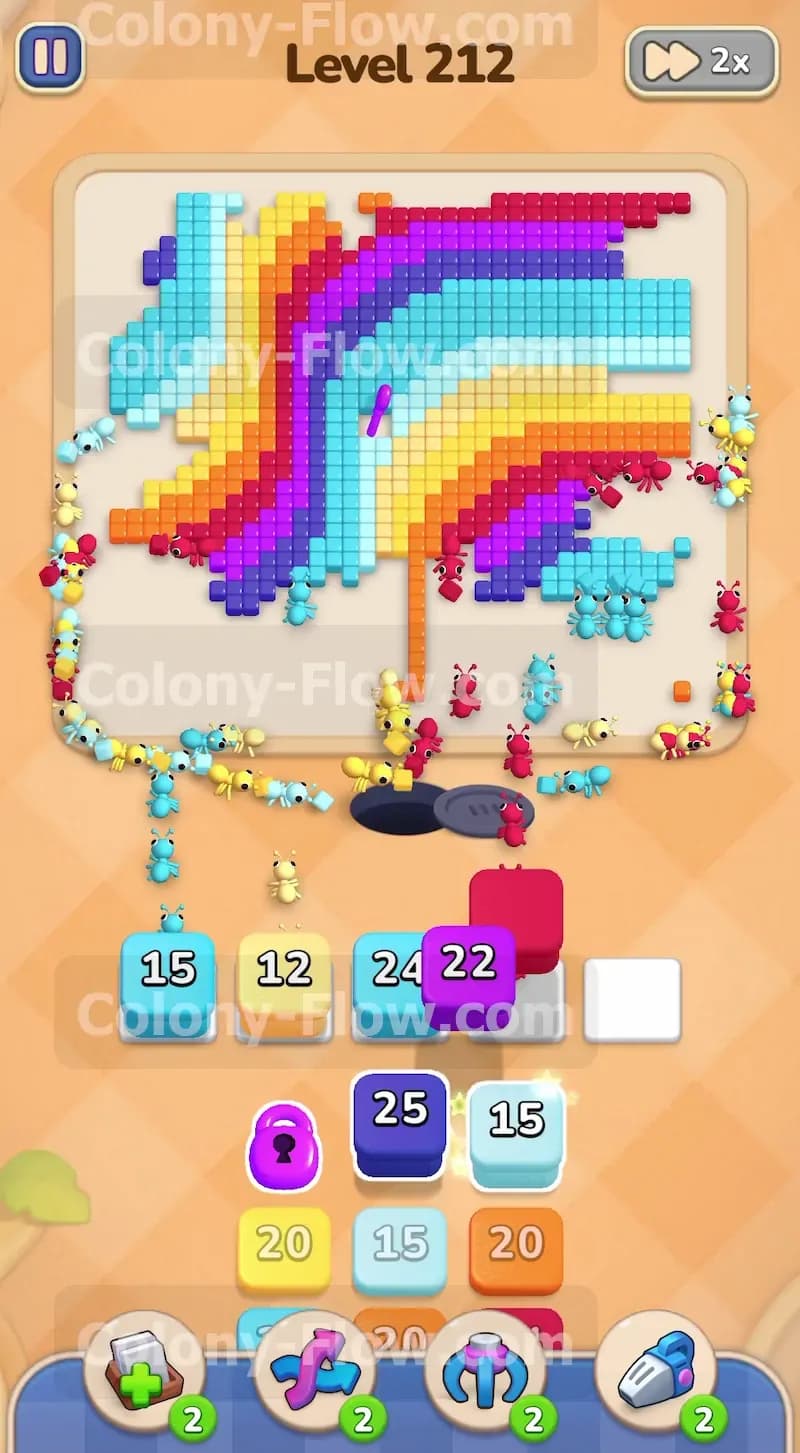
As the ants clear the bottom left yellow tiles they will expose and grab the bright green key. This action instantly shatters the green lock resting on a block down in your tray. Shortly after that the ants eating the light blue and purple sections will uncover the red key near the bottom middle area of the screen. When they grab that red key the red lock in your tray breaks open wide. You now have access to fresh colors and new numbers. Pull a newly unlocked red block into your waiting area. The red band sits deeper inside the swirl surrounded by other colors. Because the outer layers are gone the ants will charge straight in and start breaking down the red food tiles. The paths are clear and your slots are completely safe.
Step 4: Manage the middle layers of the board
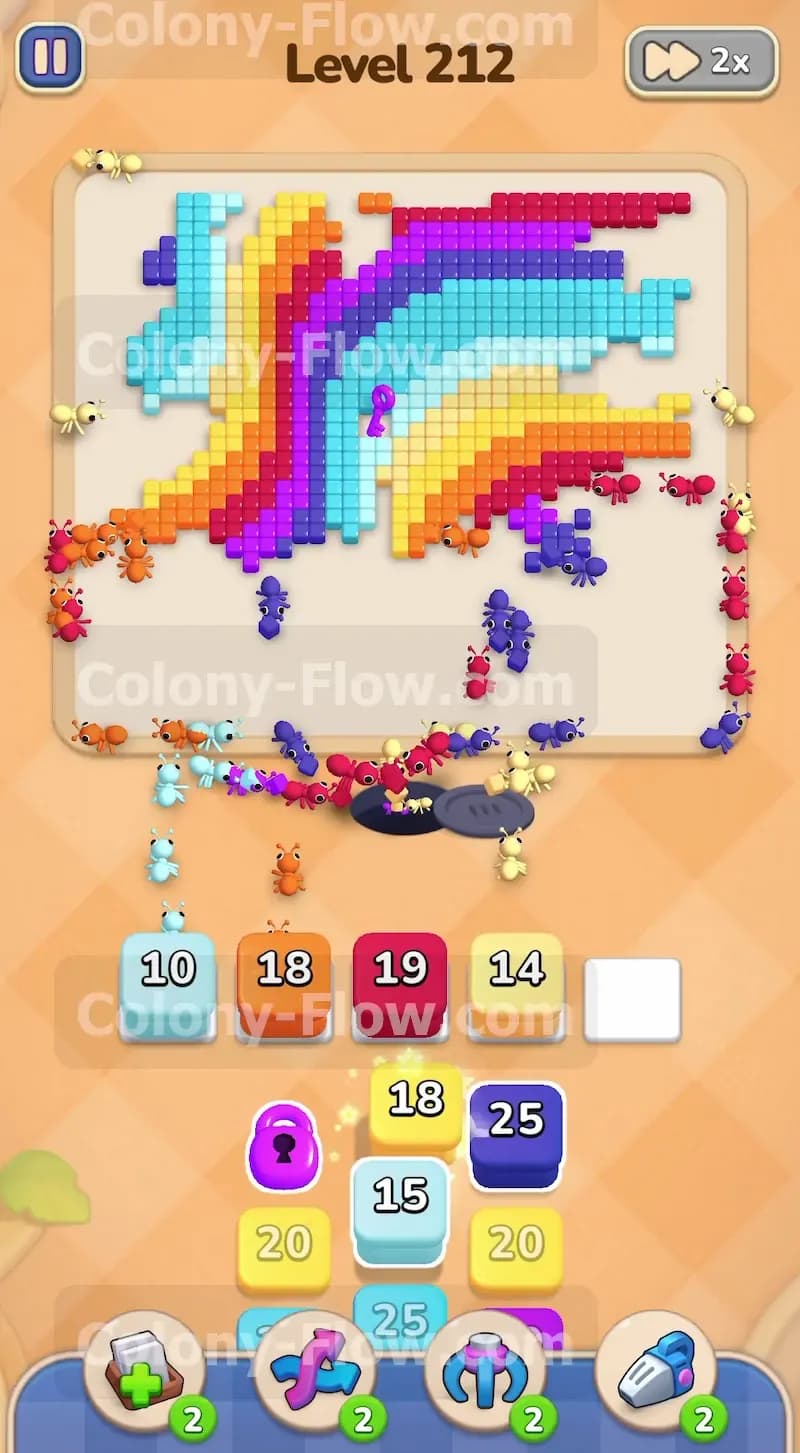
Your tray now offers a steady mix of light blue yellow and red blocks. Pull another light blue block and a yellow block into your open slots to keep the momentum going strong. You will notice the ants carving very deep channels into the center of the rainbow pattern. The entire bottom half of the board becomes totally empty space. The thick dark blue band is still untouched because you have not needed to pull a dark blue block yet. Hold off on pulling dark blue right now. Let the ants finish eating the red and yellow sections first. If you pull dark blue too early you risk clogging your waiting slots with blocks that have no clear path to their target colors. Patience here keeps your colony moving smoothly.
Step 5: Reach the center to grab the purple key
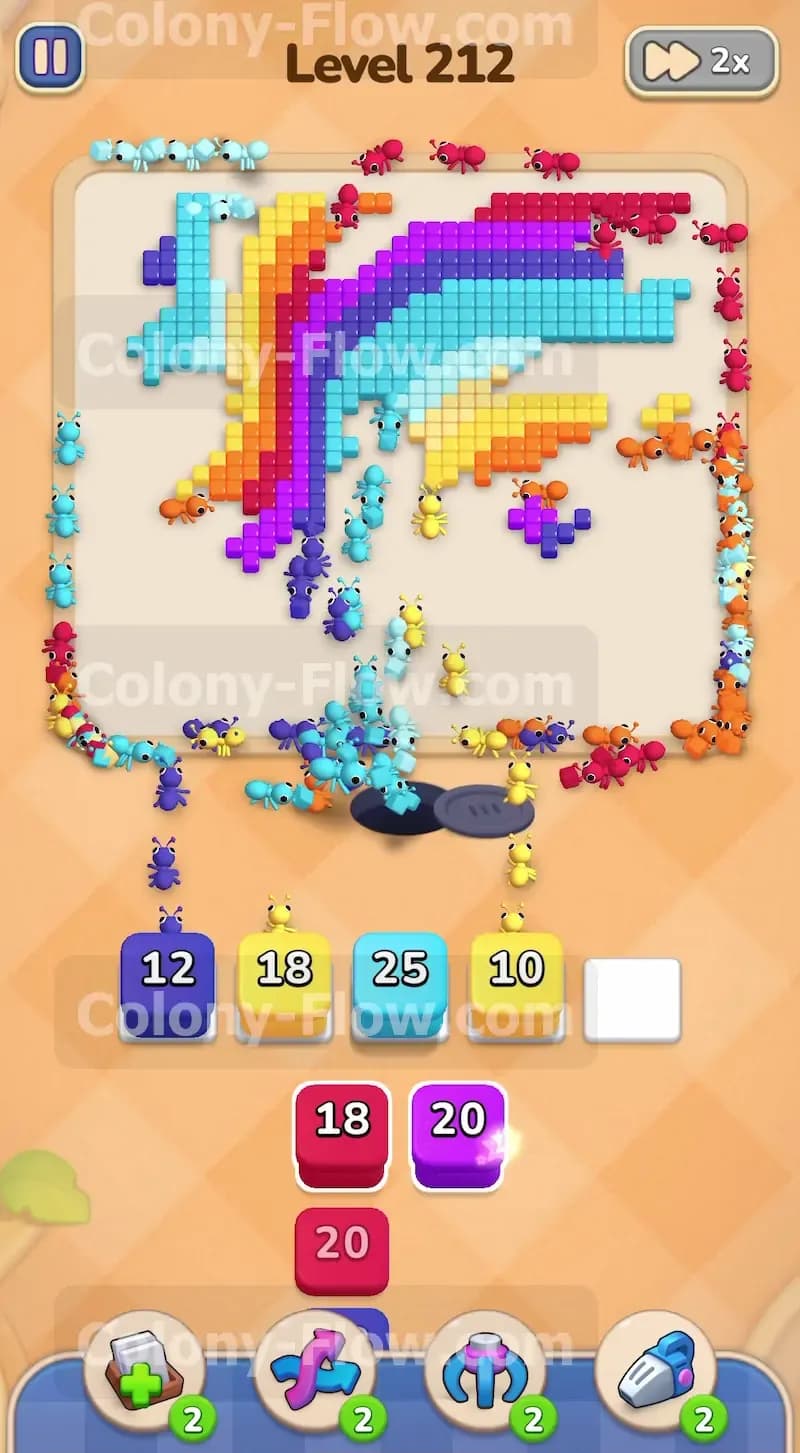
The red band acts as a solid barrier protecting the middle of the board. As your red block counts down to zero the ants will eat away the last protective red tiles. This clears a direct and open path to the purple key sitting right in the center of the remaining tiles. Gathering the purple key unlocks the purple block waiting in your tray. Pull that newly freed purple block up immediately. The inner purple band is very thick and requires a massive amount of ant power to clear entirely. The number on the purple block is high so it will sit in your slot for quite a while. That is perfectly fine because you managed your space well. The ants will swarm the middle and hollow out the core of the picture.
Step 6: Introduce the orange blocks to clear the top left
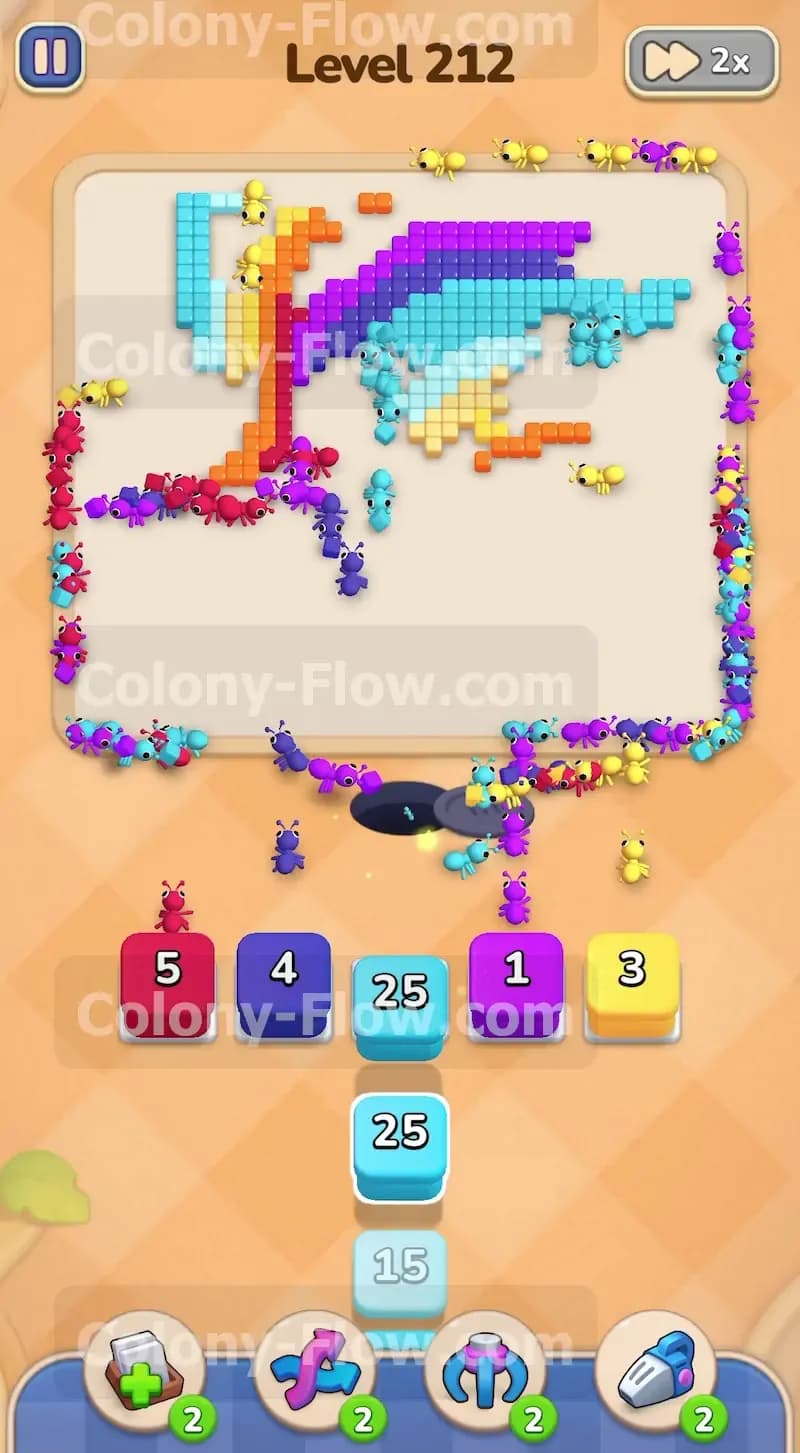
With the bottom and center paths wide open you can shift your full attention to the top half of the board. Pull an orange block from your tray into a free slot. The orange band curves all the way around the left side and over the top of the swirl. The ants will march all the way up the left side of the screen to start eating the orange food tiles. Keep feeding them orange blocks as they become available in the tray. You will also see another light blue key near the right side of the swirl. Make sure you keep a light blue block active in your slots so the ants can march over and grab that specific key. Unlocking the final tray blocks ensures you never run out of moves or get stuck near the end.
Step 7: Break down the dark blue core
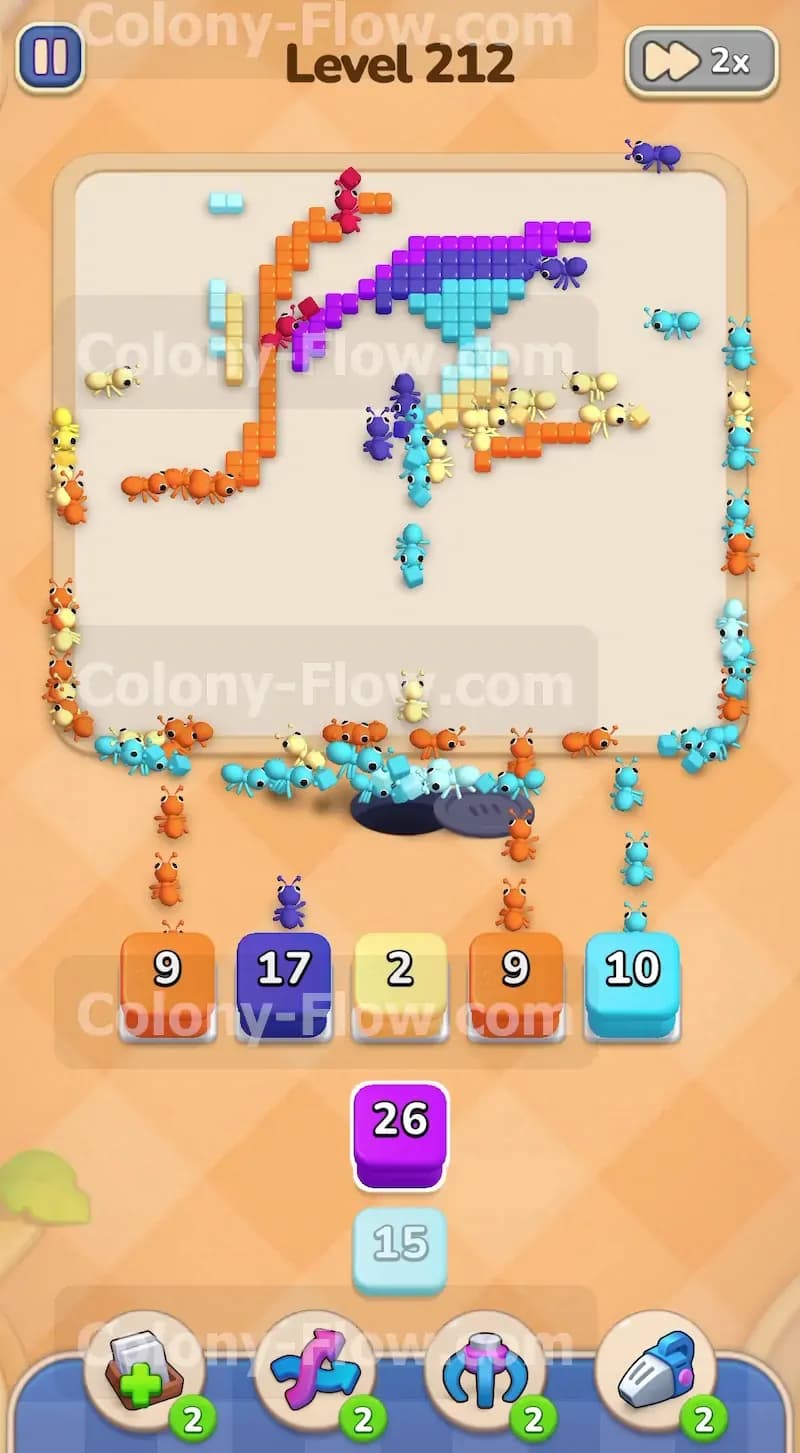
Now it is finally time to tackle the thick dark blue section. Pull a dark blue block into an empty waiting slot. By this point the board is wide open and spacious. The ants have long straight paths to the remaining chunks of food. The dark blue band is very large so you will need to pull multiple dark blue blocks over the next few moves. Alternate carefully between dark blue and orange blocks. Watch your five slots closely. Never pull a dark blue block if you already have two sitting in the waiting area. Give the ants plenty of time to process the food and lower the block numbers. Managing the flow of ants keeps the board completely clear of traffic jams.
Step 8: Clear the final top right section
The board is now mostly empty except for a few scattered patches of light blue dark blue and orange at the very top right. Pull the remaining blocks from your tray to finish the job. You will need one last light blue block and one last dark blue block. The ants will swarm the final tiles in a huge wave. The numbers will count down to zero and the last blocks will vanish from your slots. Gathering the top yellow key along the way opens the very last options in your tray. The complete picture vanishes from the screen and you win the level.
Final Thought
Beating this board feels amazing once you understand the rhythm of the locks and keys. Take your time and never rush pulling blocks into your waiting area. If any part of this written guide feels tricky to picture in your head just watch the video above this article. Seeing the ants clear the paths in real time makes the whole strategy crystal clear.