Colony Flow Level 463 Walkthrough Solution & Guides | How to solve Colony Flow 463

Guide By Liam Stone
Updated on July 29, 2026
The article below goes step by step through Level 463, but the video above shows the same thing faster.
Video doesn't match your screen?
Game updates frequently scramble layouts! Try our AI Screenshot Solver first to find your exact board instantly, or report broken guides to our team.
Colony Flow Level 463 presents you with a beautiful butterfly picture that features a massive obstacle right from the start. You play this level by carefully managing a giant hungry door that covers the entire left side of the insect. I beat this board by keeping the right wing completely active while slowly chipping away at that heavy door requirement.
Colony Flow Level 463 Overview
What You Are Working With
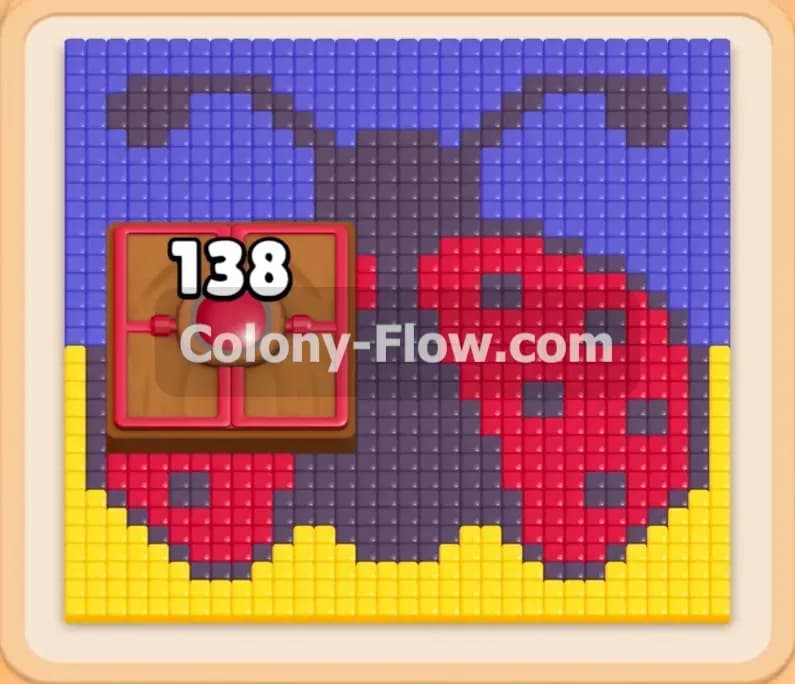
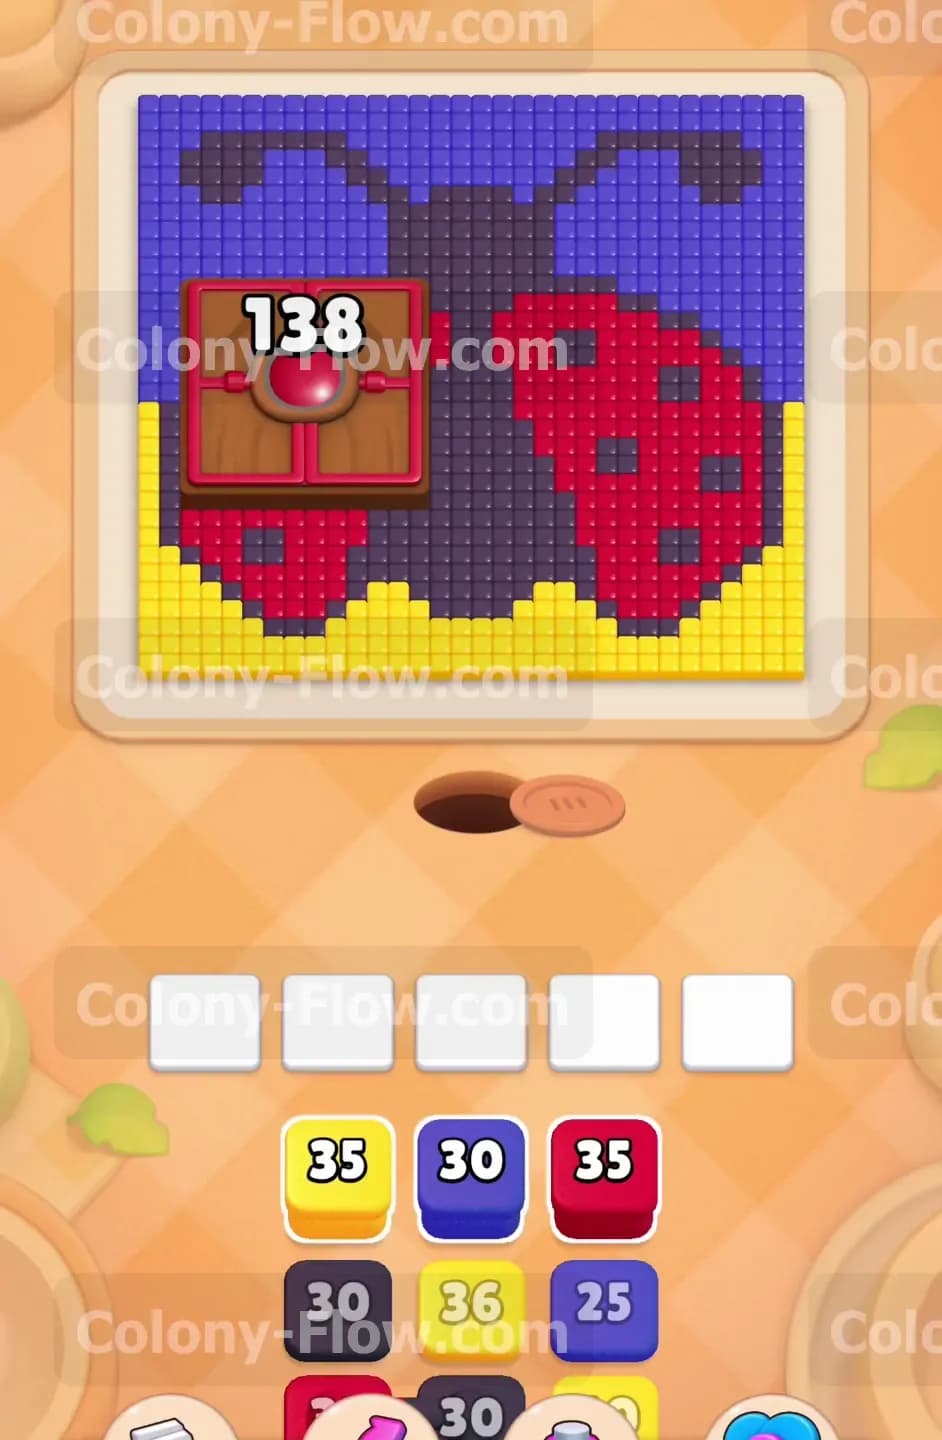
The picture is a large butterfly with a dark body, blue upper wings, and red lower wings dotted with dark spots. A bright yellow border runs along the entire bottom edge of the wings. The most dominant feature on this board is the enormous hungry door sitting squarely over the left wing. This door demands a massive amount of food before it opens. Down in your tray, you have a mix of yellow, red, blue, and black numbered blocks. You will also encounter a set of connected blocks midway through the stack.
What It Takes to Clear Level 463 Board
The rule of five waiting slots governs everything you do here. You pull blocks from the tray to send ants up to the board. If the ants cannot reach their matching color, the block sits in one of your five waiting slots. If you fill all five slots with blocked colors, your game ends immediately. You must feed exactly 138 pieces of food to the accessible parts of the board to unlock that hungry door. Your survival depends on clearing the right wing perfectly so your waiting slots never jam while you wait for the left wing to open. You win when every pixel is gone and your ants leave the screen.
Colony Flow Level 463 Step by Step Solution
Step 1: Clear the yellow border along the bottom edge to create your initial open paths
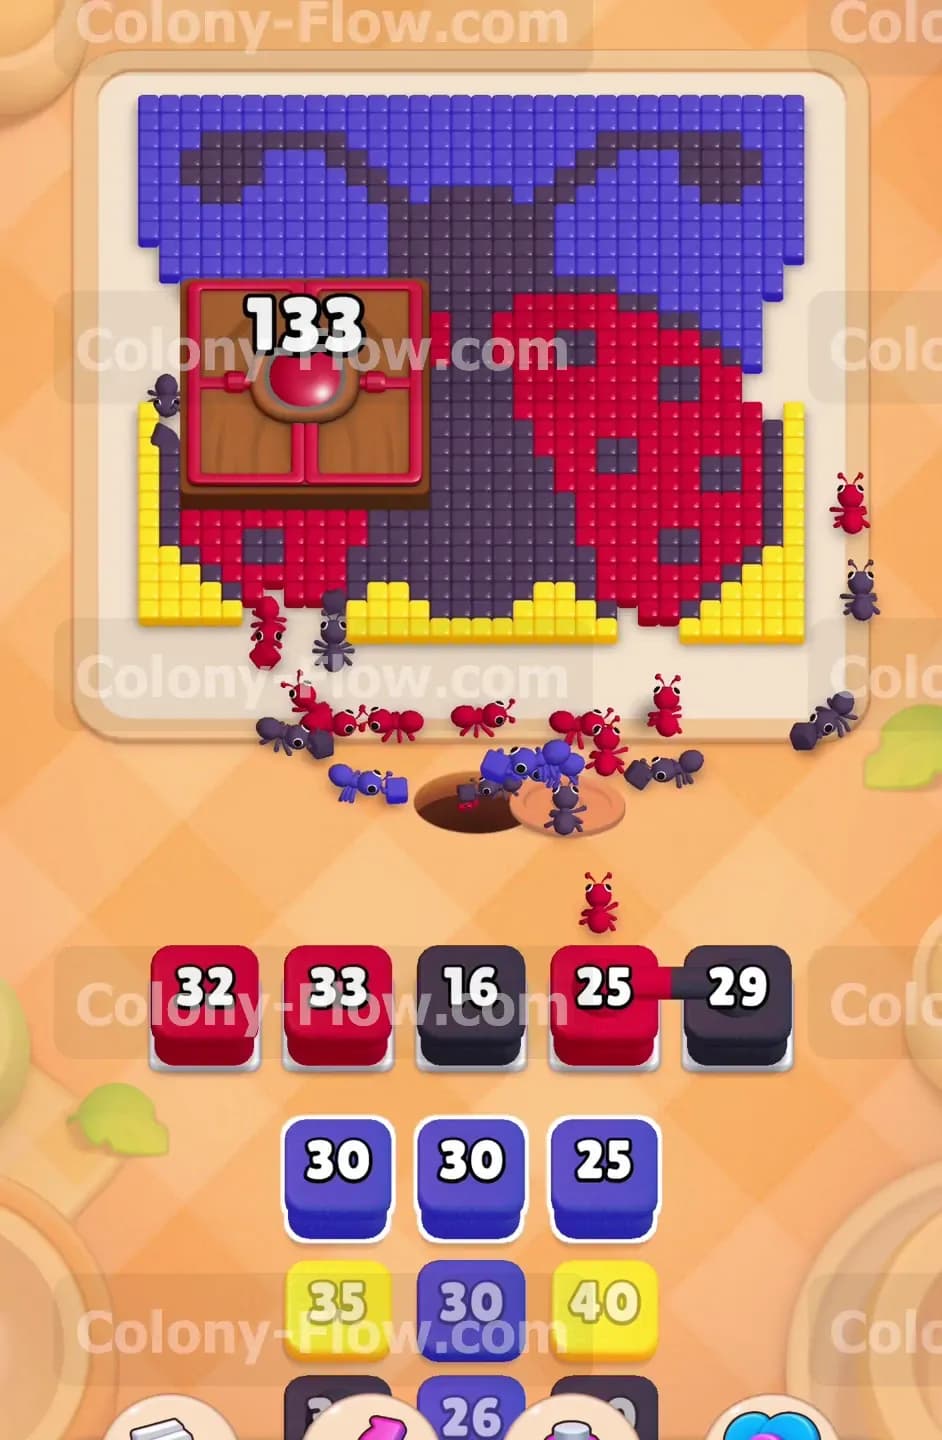
The game begins with a thick yellow border hugging the bottom edge of the butterfly wings. The giant hungry door blocks the entire left wing completely. You need to start your game by targeting this yellow fringe. Pull the yellow blocks from your tray to send your first wave of ants up from the nest. These ants will march out and start eating the yellow tiles on the bottom right and the bottom left. Every yellow tile they consume subtracts a point from the hungry door counter. Pulling yellow first is mandatory because it provides a wide open path right out of the central nest hole. Watch the numbers on your yellow blocks very closely. You only want to pull enough yellow blocks to clear that bottom edge. If you pull too many yellow blocks, the extra numbers will get stuck in your waiting slots and threaten your progress early on. Once the yellow is gone, you have a clear approach to the main wings.
Step 2: Balance the red and black blocks to consume the lower right wing
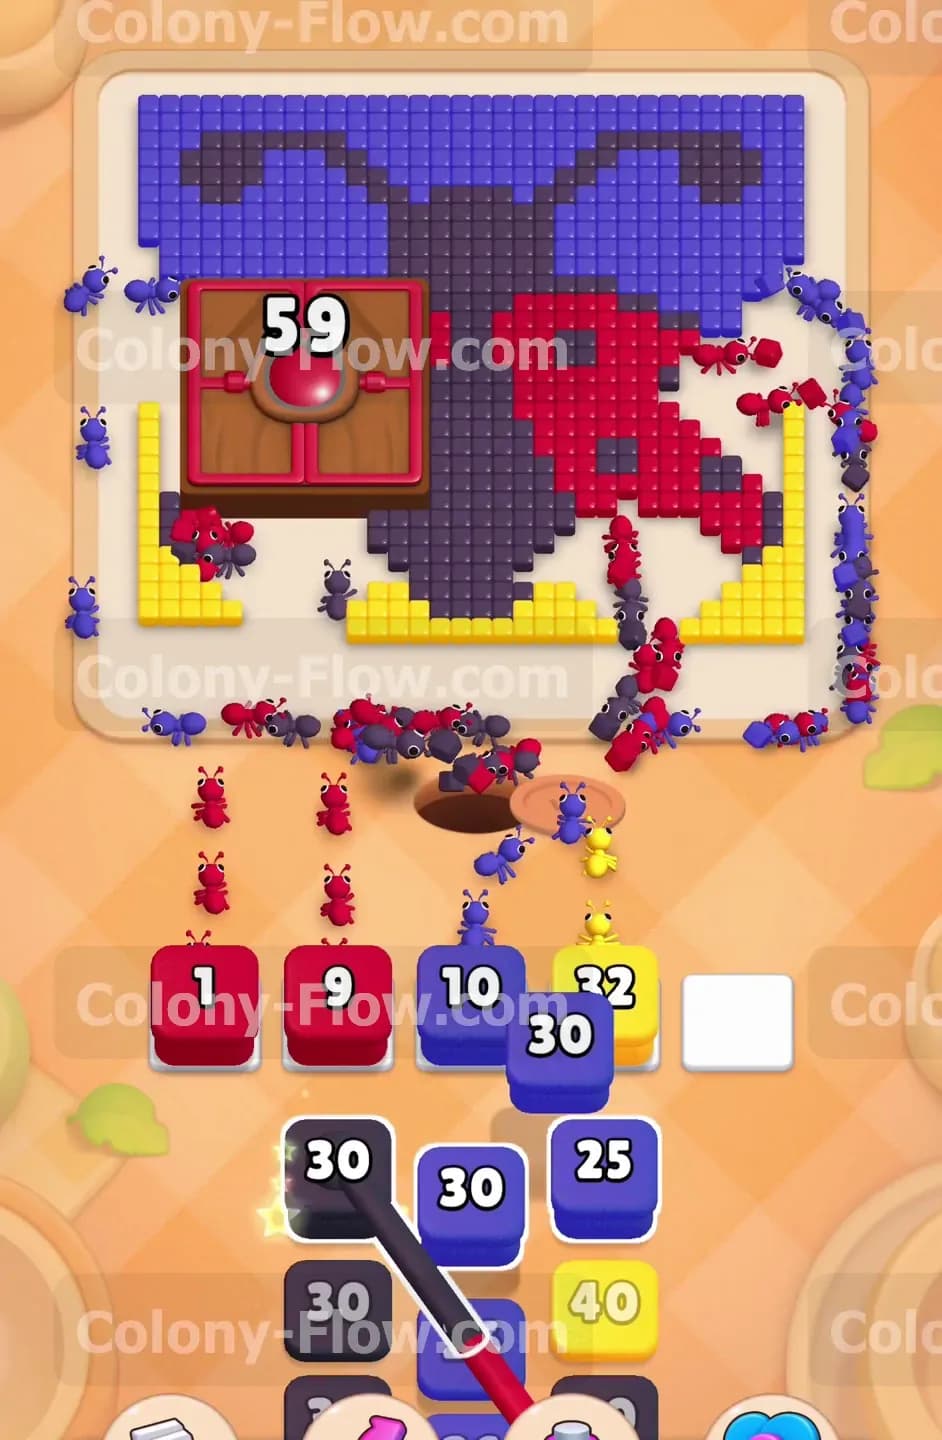
With the yellow border cleared out, the red lower right wing and the dark central body sections become fully accessible. You must shift your focus entirely to the red and black blocks sitting in your tray. Pull these blocks to send ants swarming up the right side of the butterfly picture. Every red and black pixel they eat lowers the hungry door counter even further. The red lower wing features dark spots mixed directly into the pattern. You must balance your actions by pulling red blocks and black blocks together so the ants clear the whole area evenly. Do not pull any blue blocks during this phase. The blue sections sit much higher up on the upper wing. If you pull blue blocks right now, they will definitely jam your waiting slots because the ants absolutely cannot reach the blue tiles through the solid wall of red tiles. Keep your focus locked on the red and black sections to maintain a steady flow of ants.
Step 3: Attack the blue upper right wing once the red tiles clear out
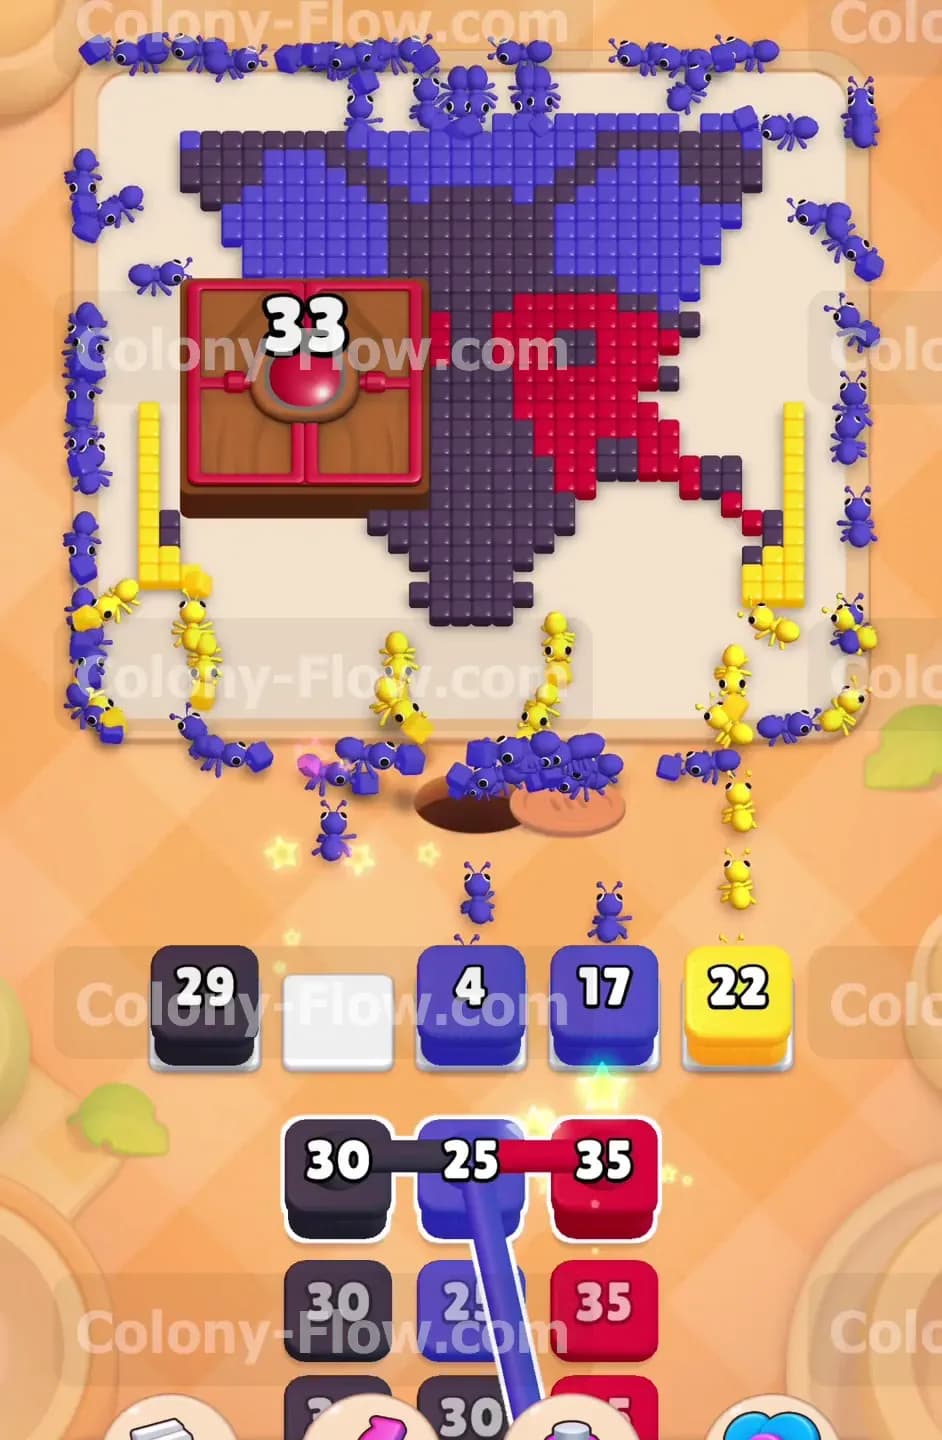
Your ants will eventually eat through enough of the red lower right wing to expose the blue upper right wing. The exact moment you see a clear path to the blue pixels, you should start pulling blue blocks from your tray. The hungry door counter on the left side is getting much lower now. You need to keep feeding the board continuously to finish opening that heavy door. Send your ants to consume the right side blue wing completely. You want to clear the entire right half of the butterfly while that door sits stubbornly closed on the left side. Keep a very close eye on your tray and your five waiting slots during this transition. Always make sure you have at least one active color moving freely on the board. If the ants stop moving, you are in danger of filling your slots and losing the level.
Step 4: Pull the connected tray blocks only when both colors have clear paths
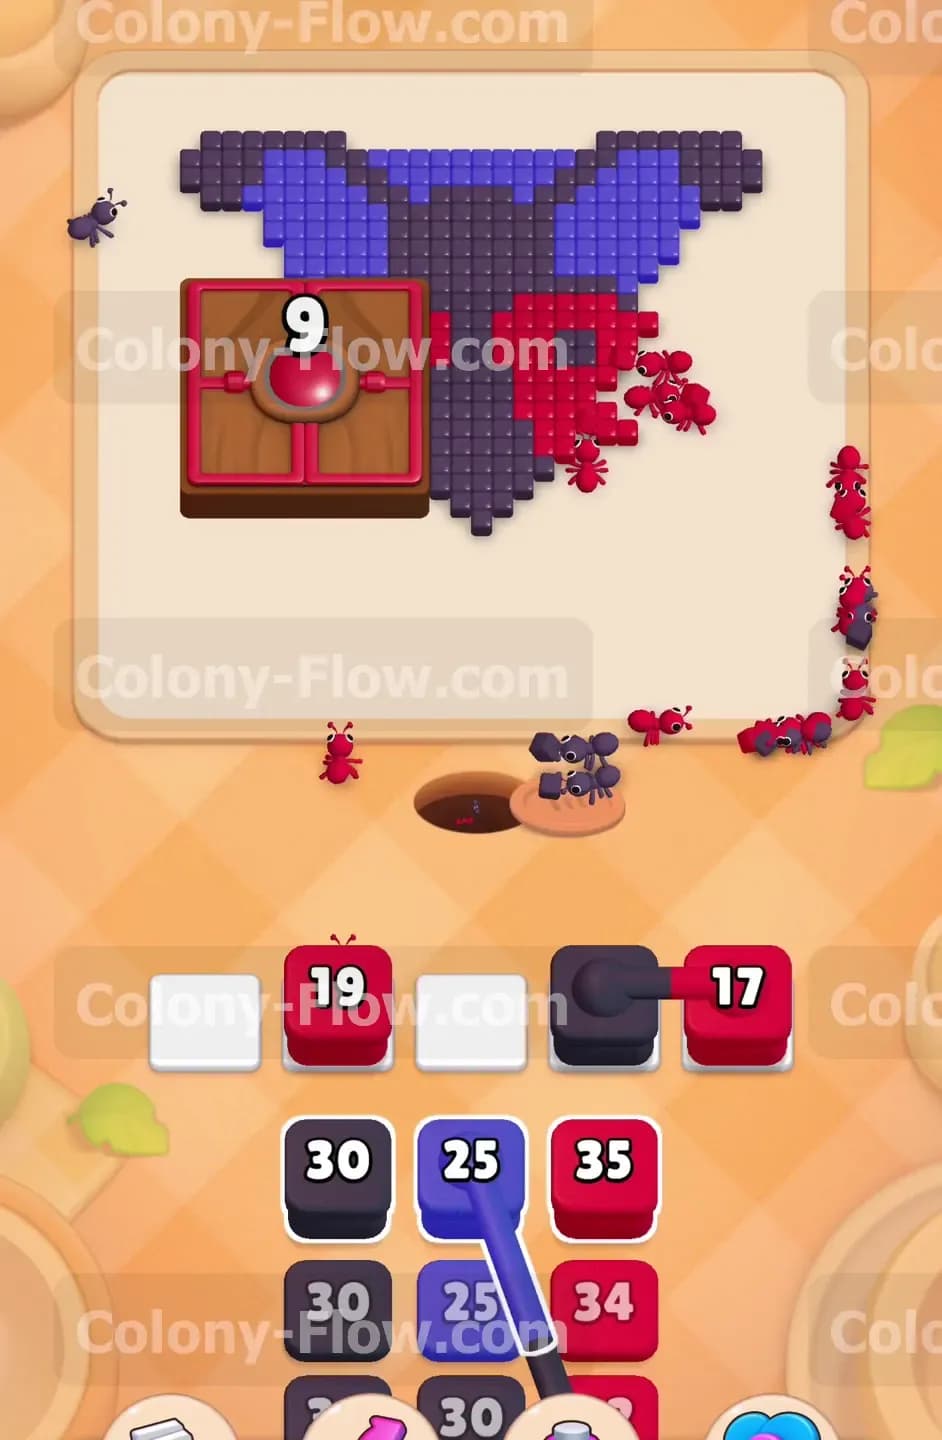
Deep into your tray stack, you will find a special set of connected blocks. A black block and a red block are linked together with a thick line. You must pull these connected blocks as a single pair. This represents a very dangerous moment in your level progression. If you pull this linked pair when only one color has an open path, the other color will sit dead in your waiting slots and block new moves. You must wait patiently until your ants have clear access to both black body pixels and red wing pixels at the exact same time. When you verify open paths for both black and red, pull the connected blocks up to your slots. The ants will stream out of the nest and eat both colors simultaneously. This dual action keeps your waiting slots perfectly clear and drops the hungry door counter by a significant chunk.
Step 5: Feed the final pixels on the right side to pop the hungry door open
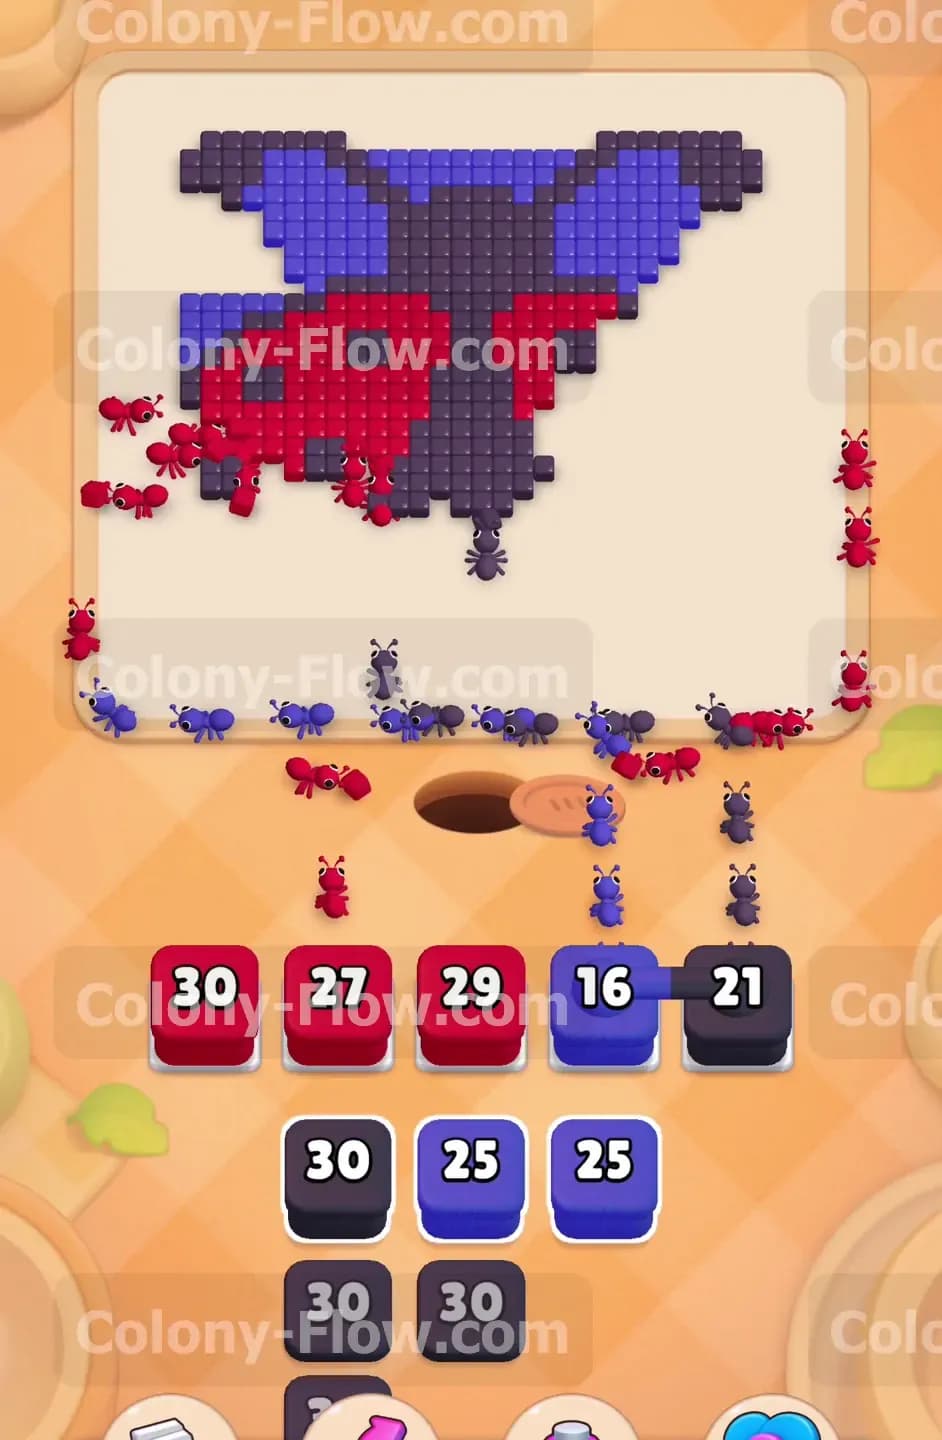
The hungry door counter will soon reach single digits. You only have a few more pixels to clear on the right side before the door finally breaks. Look closely at the remaining pixels on the right wing and the central body area. Pull the exact colors you need from the tray to feed those last few spots. This requires pulling a small numbered red block or a small numbered black block from your stack. The ants will march up the board and eat those final required pieces. The hungry door will finally vanish from the screen completely. The entire left wing of the butterfly is now fully exposed and ready for your ants to consume. You have successfully survived the most dangerous and restricted part of the board.
Step 6: Flood the newly opened left wing with massive waves of red and black ants
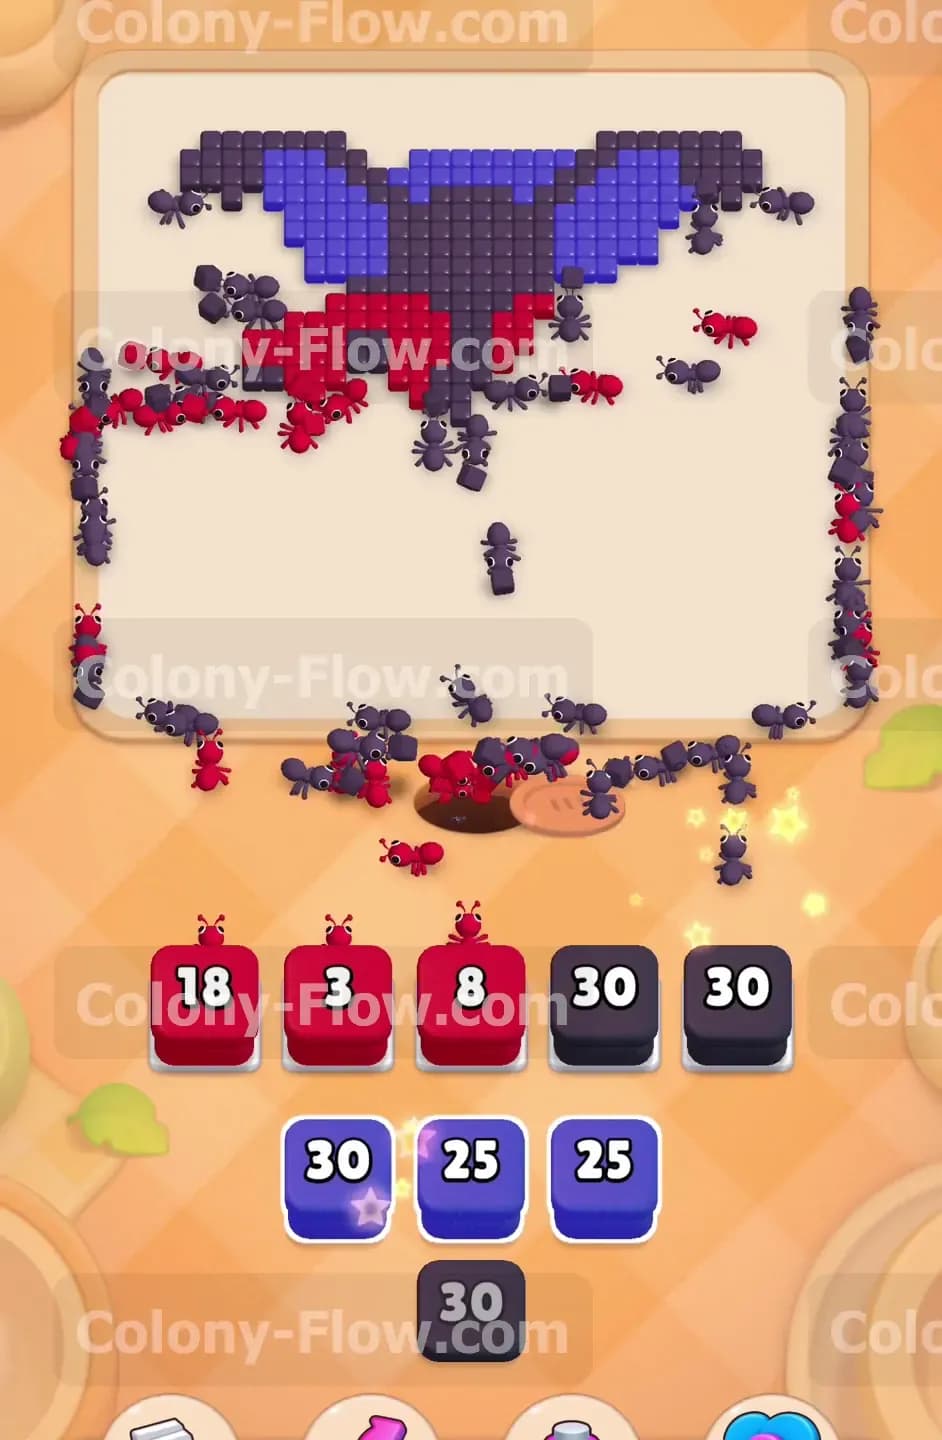
The revealed left wing displays a huge section of red pixels with black spots. This perfectly matches the right side pattern you already cleared. Your tray will now be full of large red and black blocks. Pull these heavy blocks immediately to take advantage of the newly opened space. Your waiting slots are completely safe now because the whole left side is wide open and hungry for ants. The ants will rush the left wing in huge numbers. Let them clear out the bulk of the red lower wing and the remaining black body sections near the center. You can confidently pull multiple blocks at once here to speed up the clearing process. Just make sure the block colors match the exposed pixels on the lower half of the left wing.
Step 7: Clear the final blue wing tips and the top of the butterfly head
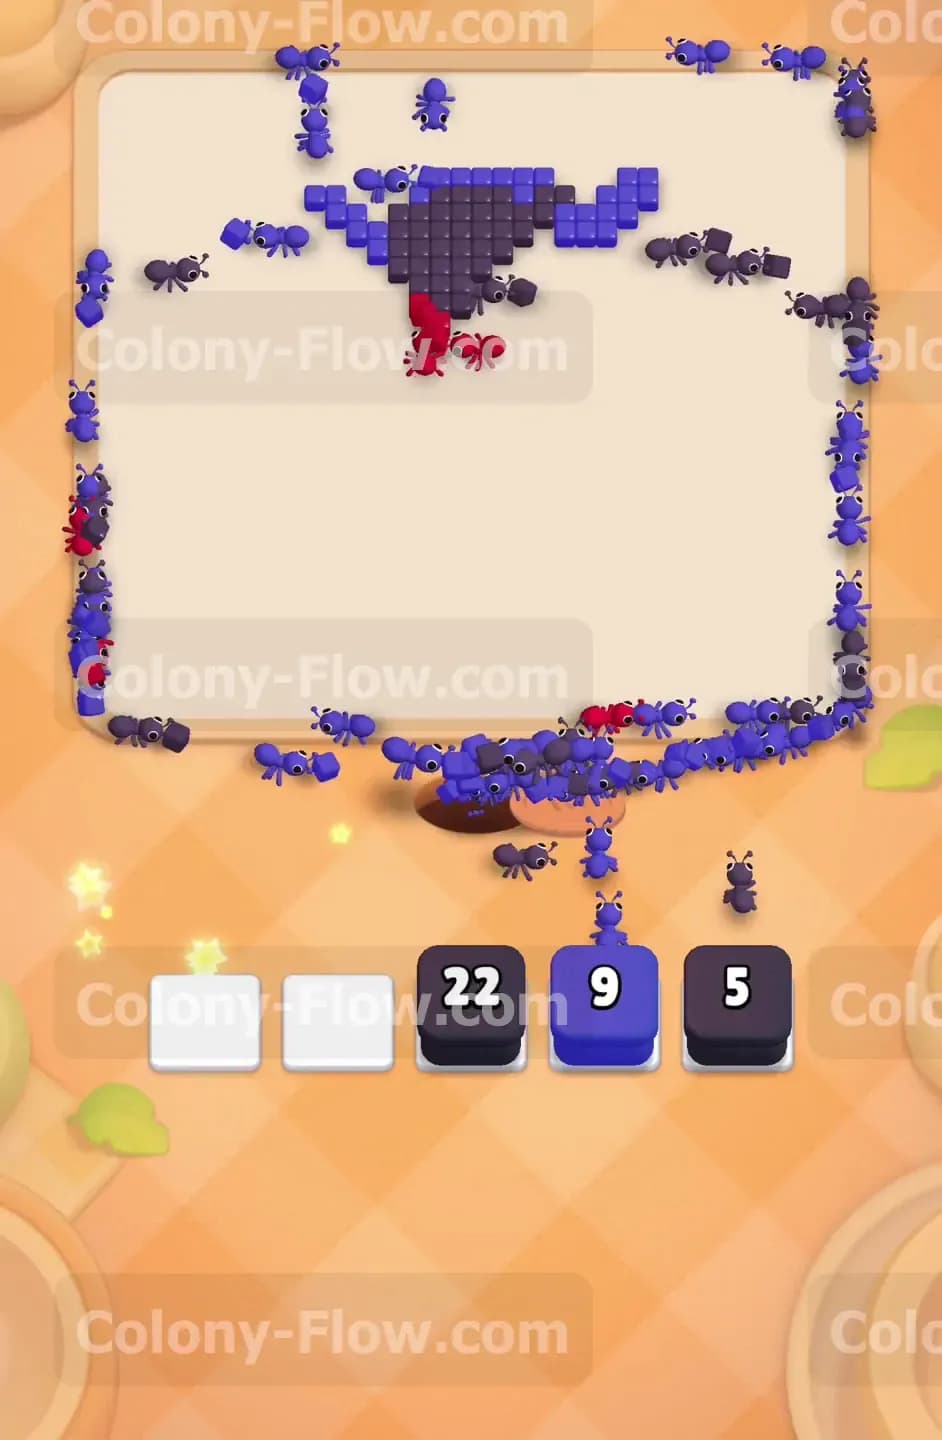
The final stage of the board leaves only the blue top sections of the left wing and the very top black pixels of the butterfly head. Your tray will only have blue blocks and black blocks remaining at this point. Pull the blue blocks to send ants straight to the high wing tips. Pull the final black blocks to send ants to clear the head and antennae. The paths are direct and completely open from the nest hole to the top of the board. You simply need to match the last remaining tray colors to finish the picture. The board clears completely and you win the level.
Final Thought
Managing the giant hungry door makes this board a really fun challenge. You just have to be patient and keep your ants working steadily on the right side until the left side finally opens up. If any of these steps are hard to follow in text, please watch the video above this article to see exactly how I clear the paths.