Colony Flow Level 1197 Walkthrough Solution & Guides | How to solve Colony Flow 1197

Guide By Liam Stone
Updated on August 12, 2026
The written guide below covers Level 1197 in depth, but you can watch the video above for the same solution.
Video doesn't match your screen?
Game updates frequently scramble layouts! Try our AI Screenshot Solver first to find your exact board instantly, or report broken guides to our team.
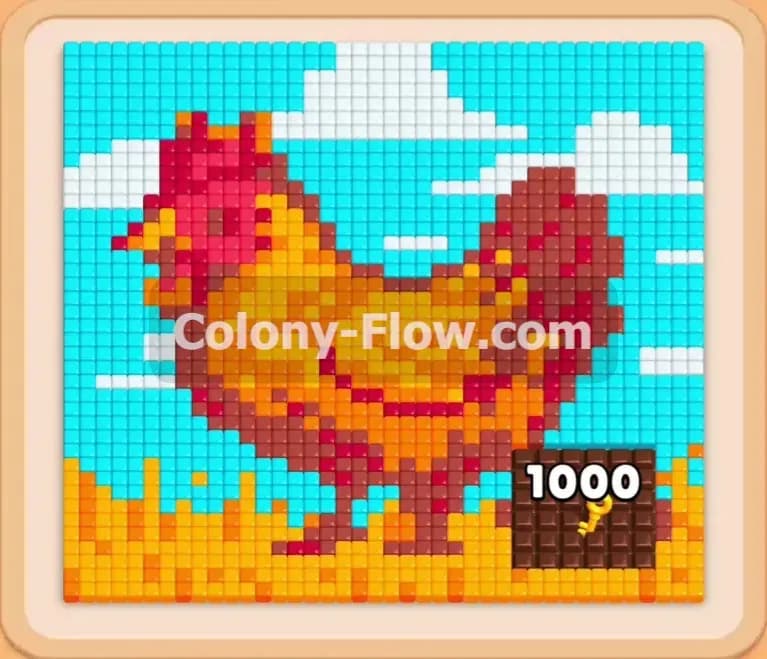
Colony Flow Level 1197 drops you into a beautiful farm scene with a giant chicken standing in a field. You have to clear out the blue sky, white clouds, and the detailed bird while managing several tricky mechanics. This board requires careful planning because of linked blocks and a massive piece of chocolate covering the bottom corner. I am going to walk you through my exact process for breaking down this puzzle without getting stuck.
Colony Flow Level 1197 Overview
What You Are Working With
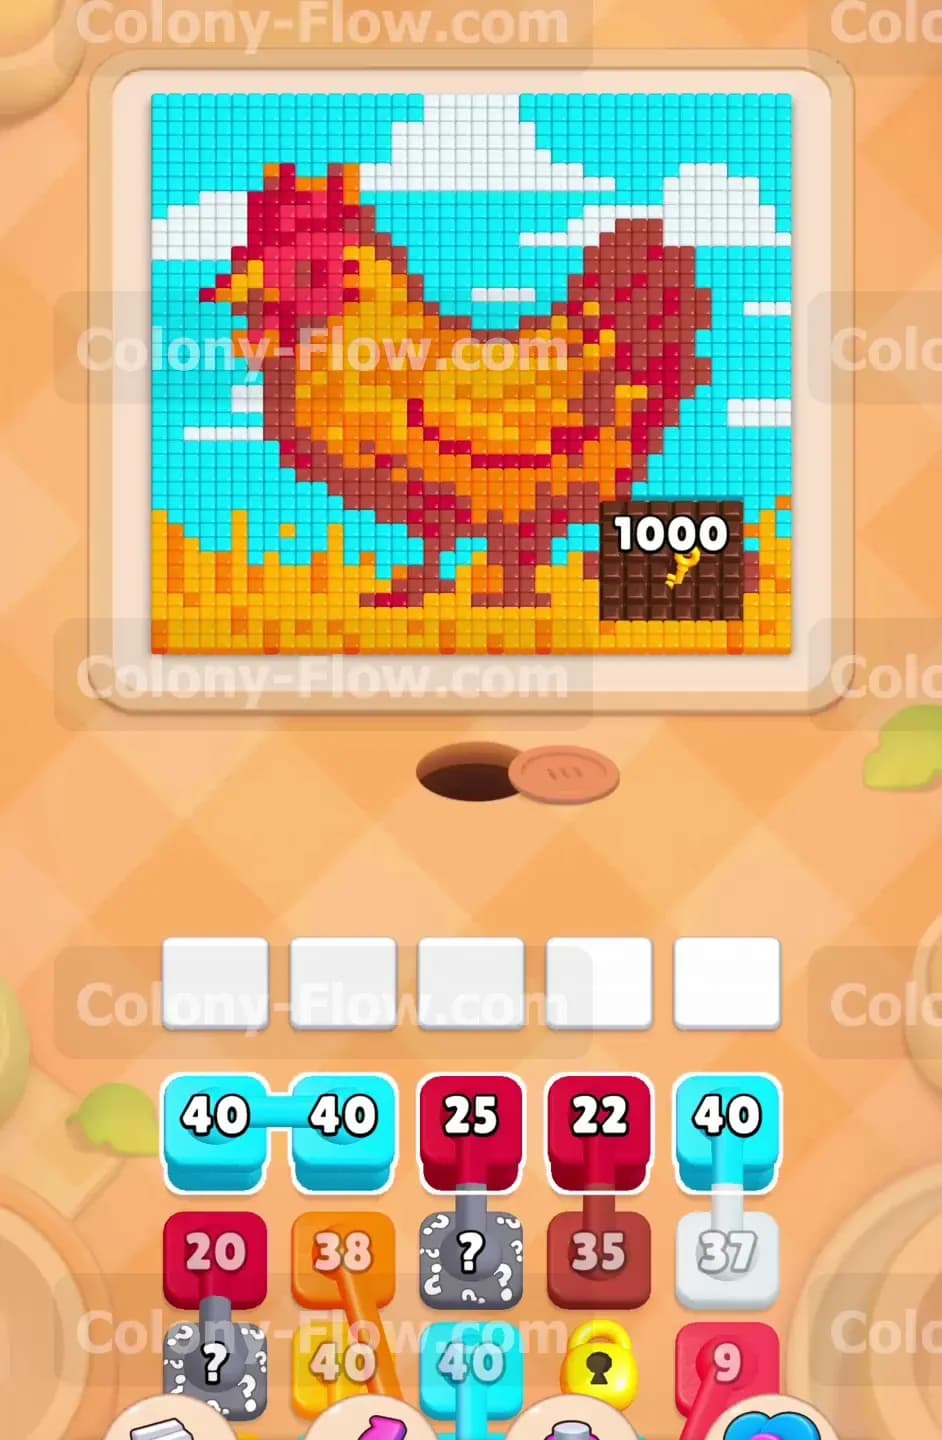
The picture features a bright blue sky filled with white clouds at the top. The center is dominated by a large chicken made of red, brown, orange, and yellow tiles. Below the chicken is a yellow and orange field that grounds the entire image. A large chocolate blocker sits on the bottom right side of the picture. This massive piece of chocolate hides the food tiles underneath and prevents your ants from accessing that area. Your tray at the bottom of the screen contains several special elements that you have to handle correctly. You will see connected boxes linked together by a line that must move into the waiting slots as a group. You will also encounter hidden boxes marked with question marks that keep their color a total secret until they are ready to move. Later in the level, a locked block appears in your tray and a hungry door reveals itself right on the board. Each of these special mechanics requires a different strategy.
What It Takes to Clear Level 1197 Board
To win this level, you must completely clear every single tile in the picture so the entire image disappears. The primary challenge is constantly managing your five empty waiting slots. If you pull too many blocks and fill all five slots without an open path for the ants to reach their matching color, you instantly lose the level. You need to carefully strip away the sky and clouds to reach the upper sections of the chicken. Then you must work your way down around the chocolate blocker to weaken and break it. Finally you have to unlock the locked tray block and satisfy the hungry door to clean up the very last remaining tiles. Every decision you make must keep the ants moving and ensure your waiting slots stay clear for the next move.
Colony Flow Level 1197 Step by Step Solution
Step 1: Clear the outer sky and clouds to open the top of the board.
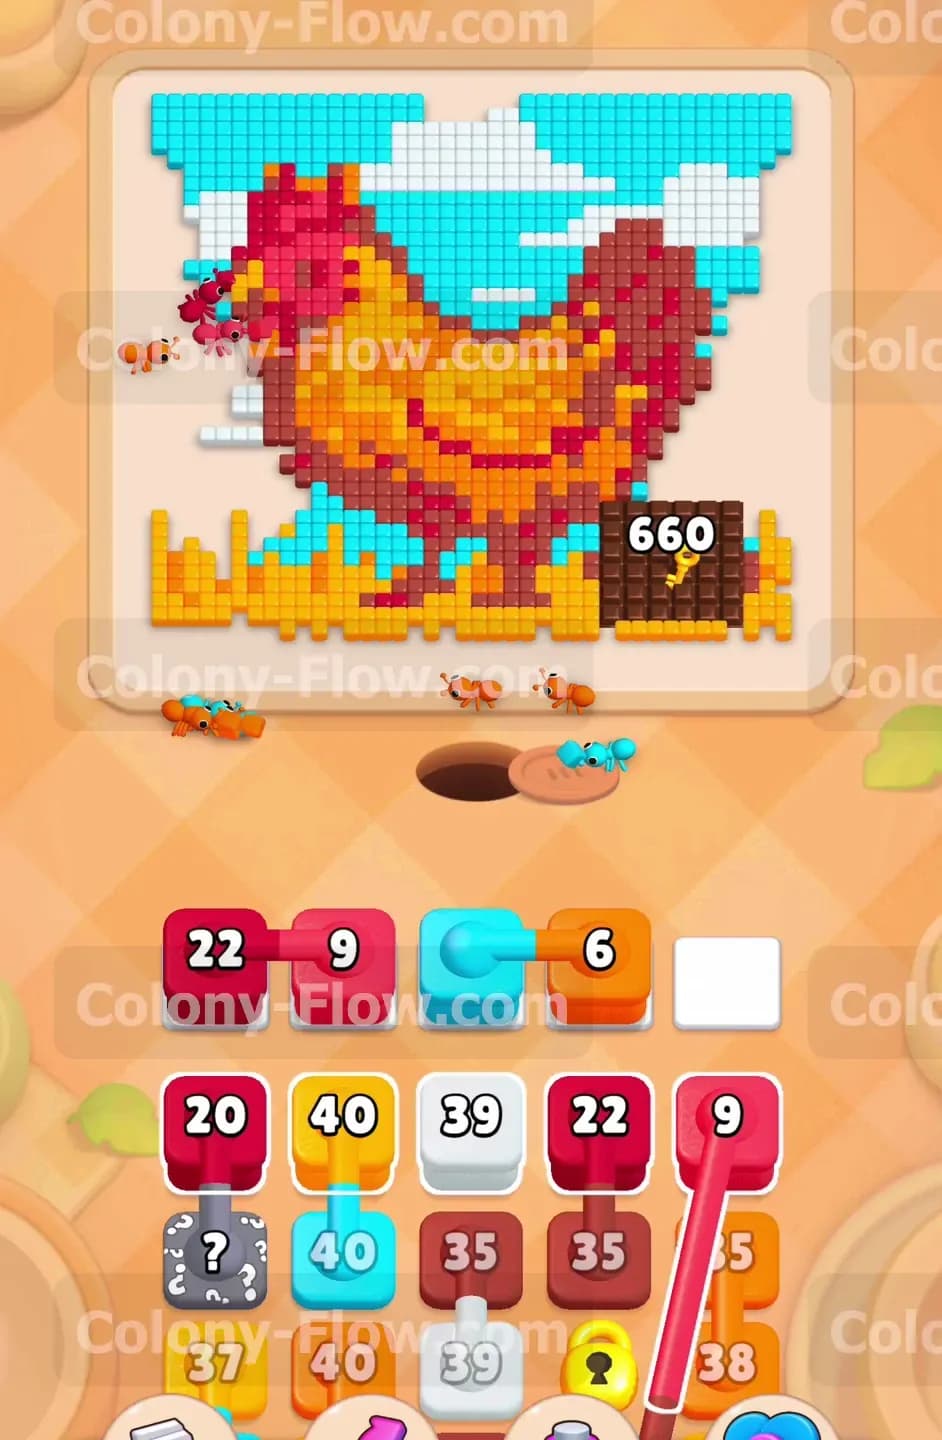
Your absolute first priority is to open up the top section of the board by targeting the bright blue sky and the fluffy white clouds. The tray starts with connected light blue boxes right at the front. You must pull these light blue blocks into your waiting slots to send ants marching toward the sky. Because they are connected, they take up multiple spaces in your slots all at once. You must be certain that the ants have immediate and unobstructed access to the sky tiles so these blocks empty quickly. Once the ants begin clearing the blue tiles, you can pull the white blocks to start eating away at the clouds. This creates a much wider opening for the ants to travel further down the board toward the chicken. Keep a close eye on your slot capacity and never pull a new color until the current connected boxes are mostly depleted.
Step 2: Attack the red comb and wattles to expose the main body.
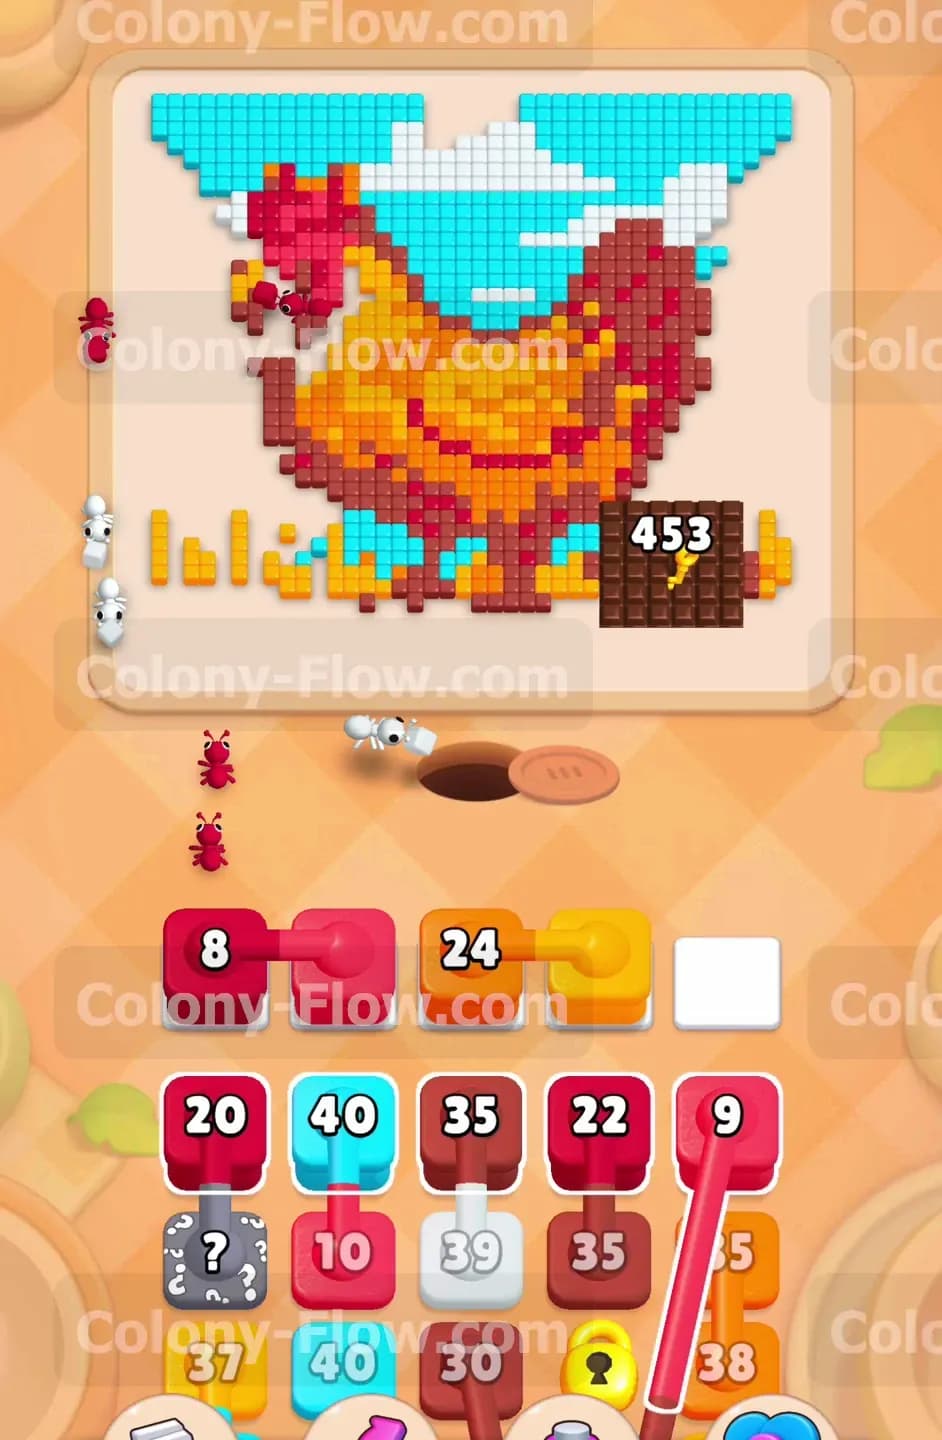
With the upper sky opening up, the ants can now reach the top of the chicken structure. The chicken has a bright red comb and matching wattles near its head. You need to pull the dark red and bright red blocks from your tray to target these areas. Send the ants upward to clear these red tiles. This action peels back the top layer of the bird and exposes the dark brown outline underneath. Taking care of the red tiles early prevents you from getting stuck later when you need to focus entirely on the main body. Watch the numbers on your red blocks decrease. As they count down and disappear entirely, your waiting slots free up for the next crucial moves in your strategy.
Step 3: Reveal and manage the hidden boxes to prevent slot jams.
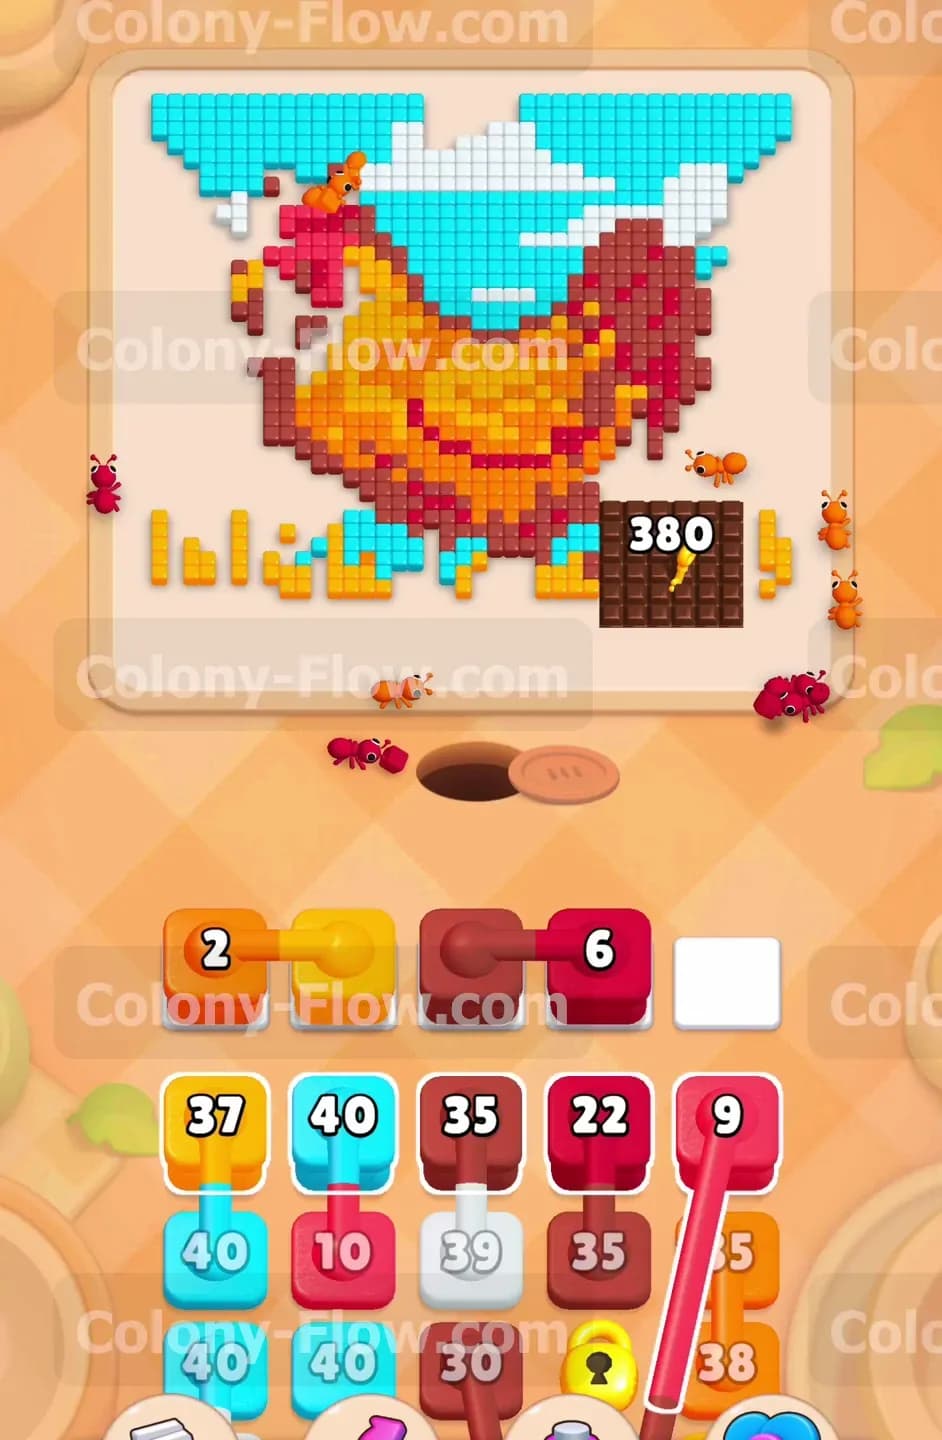
As you pull blocks from the front of the tray, hidden boxes marked with question marks slide forward into the active row. These hidden boxes are extremely dangerous because you do not know what color they hold until they activate. You must ensure you have at least two completely empty waiting slots before allowing a hidden box to move up. Once it reveals its hidden color, you must quickly pull a matching block or an entirely different color to keep the board flowing properly. Treat these hidden boxes with extreme caution throughout the level. If a hidden box reveals a color that does not have an open path on the board, it will sit dead in your slot and create a dangerous bottleneck. Always clear a wide variety of paths before engaging with any of the hidden boxes.
Step 4: Chip away at the surrounding tiles to break the chocolate blocker.
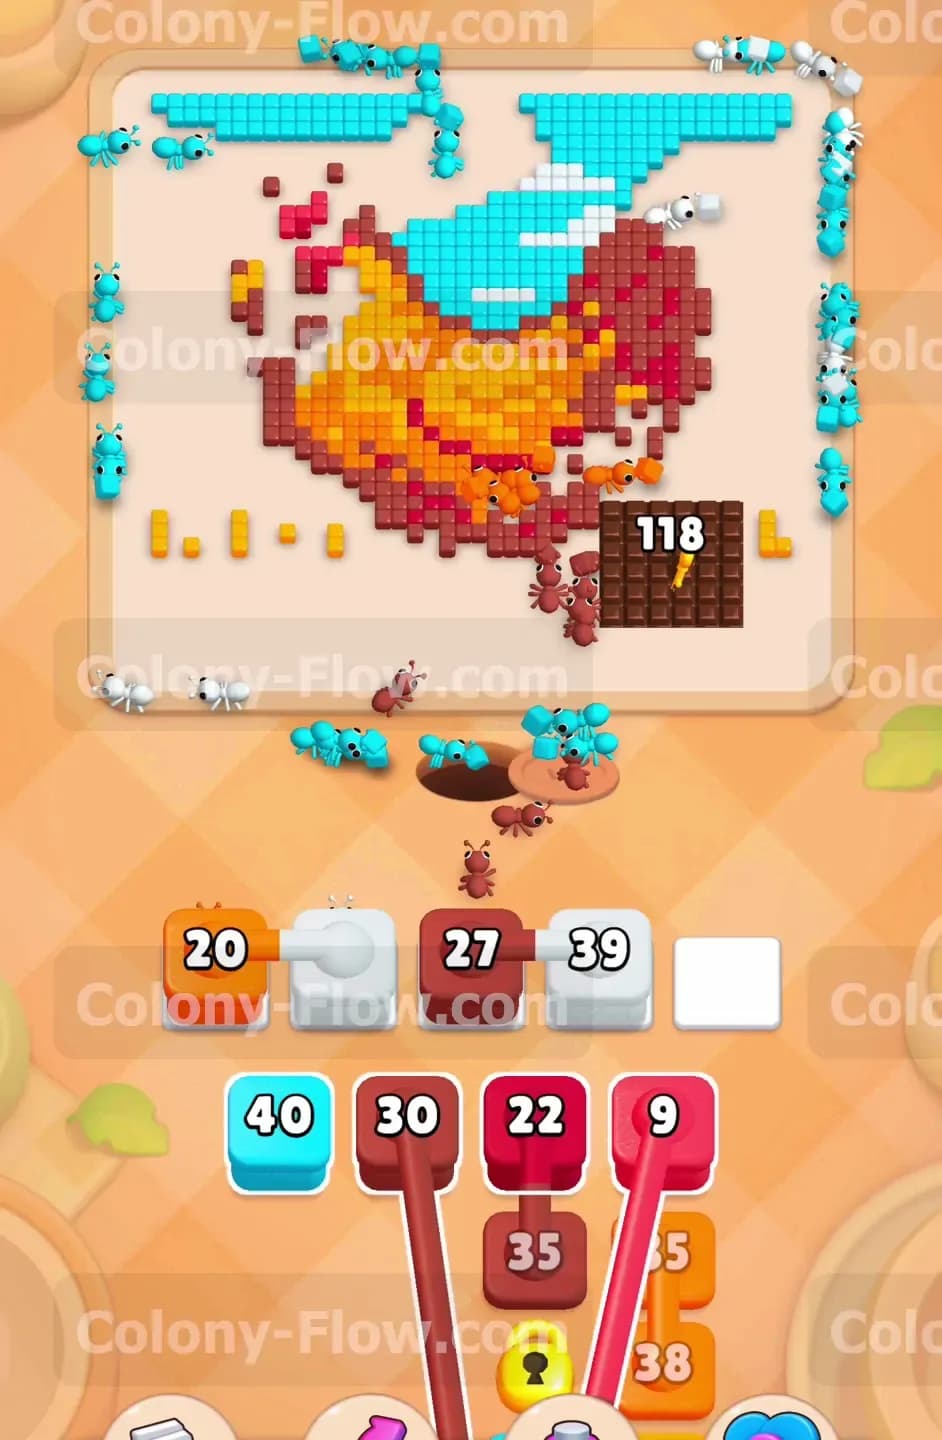
The large chocolate blocker sitting in the bottom corner is a massive obstacle that you cannot ignore. It covers a significant portion of the yellow field and blocks all access to the bottom right side of the chicken. You must send ants to clear the food tiles adjacent to the chocolate. Every single time ants eat nearby tiles, the chocolate weakens and its number drops. Pull the yellow and orange blocks from your tray to clear the field on the left side and around the chocolate edges. You have to maintain a steady stream of ants constantly working on the edges of the chocolate blocker. It takes plenty of time and many consecutive moves to fully break it apart. Do not ignore the chocolate or you will find yourself with absolutely no way to access the hidden tiles beneath it near the end of the level.
Step 5: Dismantle the brown and orange tiles forming the chicken body.
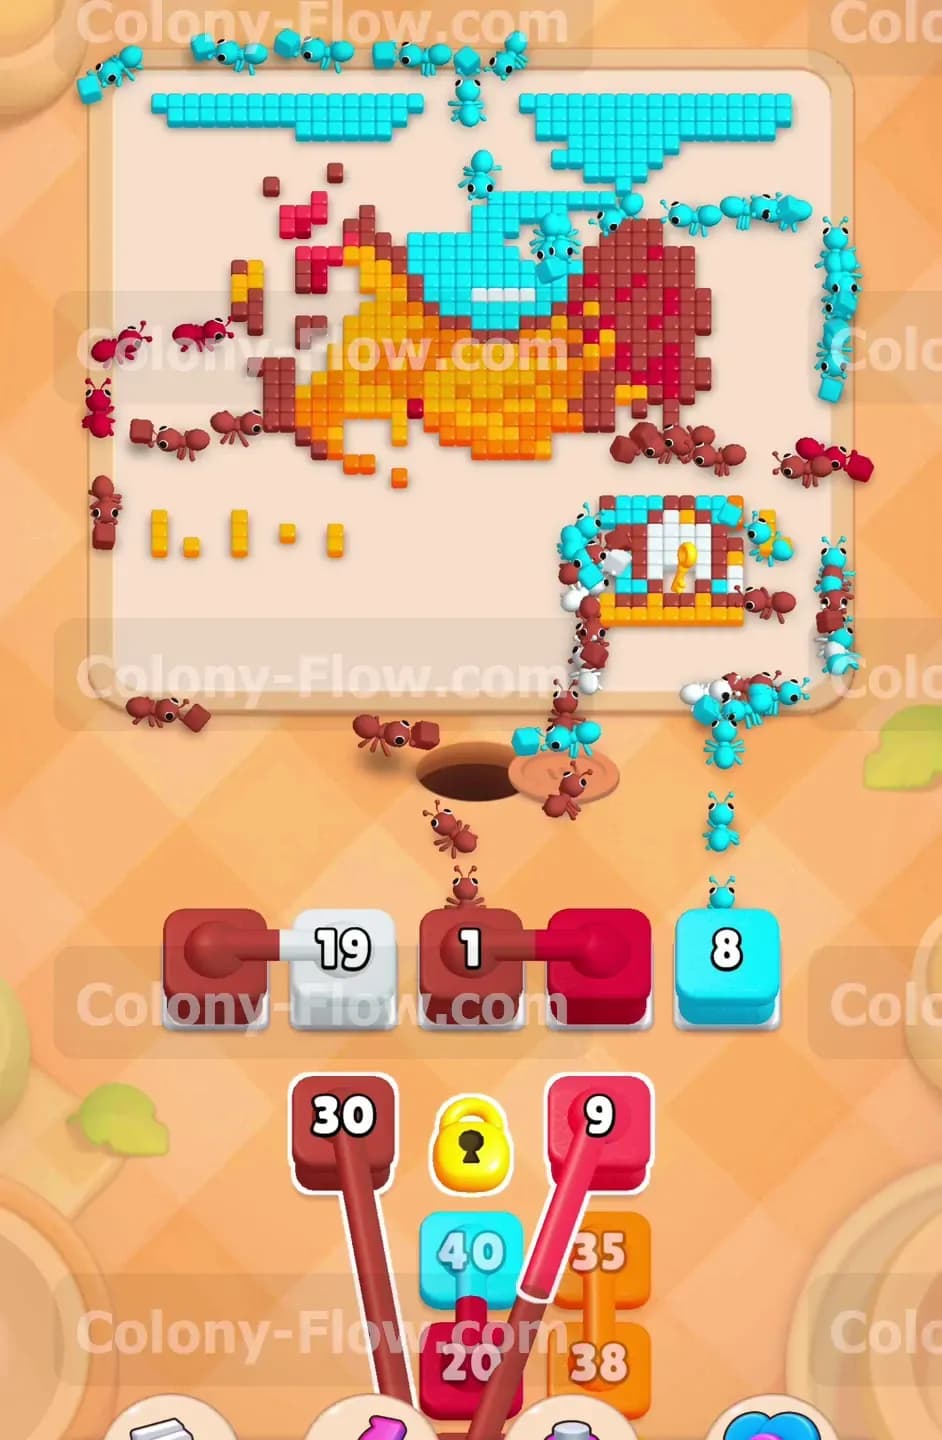
While part of your ant colony works on destroying the chocolate, direct the rest to the main body of the chicken. The body consists of brown, orange, and yellow tiles tightly packed together. Pull the brown blocks to remove the outline and the darker shaded areas of the bird first. Then bring in the orange and yellow blocks to hollow out the center of the body. You will encounter even more connected boxes in your tray during this phase of the level. Always verify that the ants have a direct and open path to the orange and yellow sections before pulling any connected boxes. If the path is blocked by brown tiles, you must pull a brown block first to clear the way. Sequencing your moves correctly right here prevents your waiting slots from jamming. You want a constant flow of ants marching directly into the center of the picture.
Step 6: Clear the key tile on the board to unlock the restricted tray block.
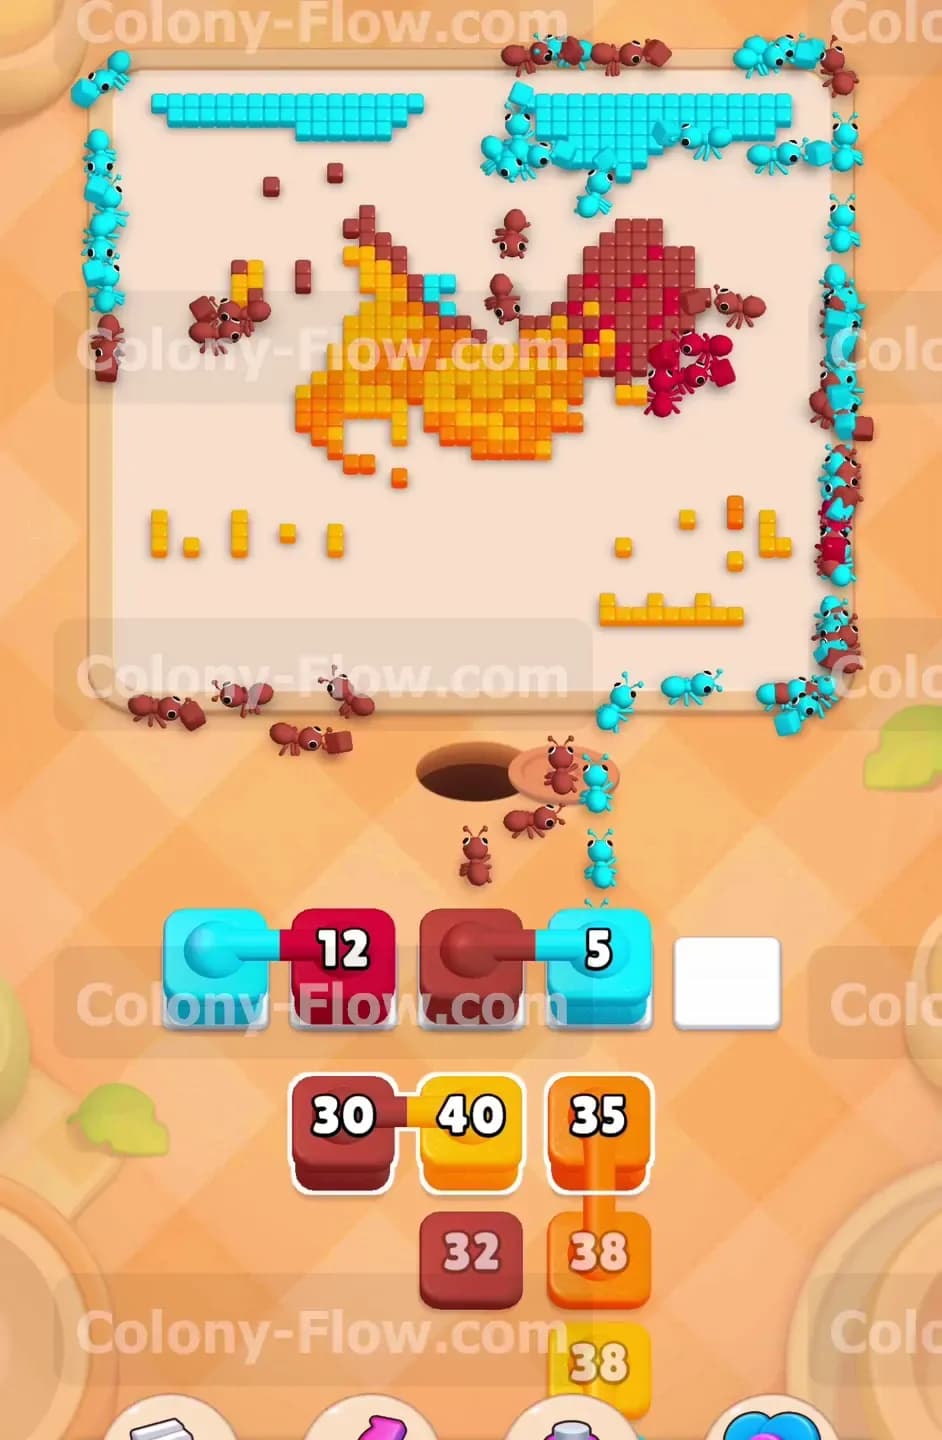
As you dig deeper into your tray, you will eventually reveal a block secured by a large lock. You cannot pull this locked block until you find and clear the key tile somewhere on the board. The key tile is hidden among the remaining field and chicken tiles that you are actively clearing. You must direct your ants to uncover and eat the key tile as soon as possible. Once the key is collected by the ants, the lock breaks instantly and the block becomes available for use. This locked block holds a color that is absolutely necessary for you to progress forward. Prioritize clearing the specific area where the key is located. If you pull too many other unrelated blocks while waiting for the key, you risk filling your slots completely and failing the level.
Step 7: Feed the required colors to the hungry door to clear the final path.
After the chocolate blocker finally falls apart and you clear the vast majority of the chicken, a hungry door appears right on the board. This hungry door blocks access to a final cluster of important tiles. To open the hungry door, you must satisfy its exact requirement by sending ants of specific matching colors. Look closely at the colors required by the door and pull those exact matching blocks from your tray. The ants will march directly into the door to feed it and reduce its counter. You must complete this task completely before you can touch the tiles hidden directly behind the gate. Keep your other waiting slots totally clear so you can pull exactly what the hungry door demands without any delay. Once the door opens, a brand new pathway clears for your colony to finish the job.
Step 8: Deploy your final blocks to clean up the remaining field and sky tiles.
You are now officially in the home stretch of the level. The board only has a few scattered light blue sky tiles, a couple of pink blocks, and the final bits of the yellow field remaining. Look at your remaining tray blocks very carefully. You should have some light blue, pink, and dark red blocks left to use. Pull them in the exact order that matches the closest available open tiles on the board. Ensure that the ants can reach every single remaining tile without getting blocked. The ants will swarm the board and eat the last few pieces of food in a rapid wave. The picture completely disappears and the victory screen pops up to celebrate your win. Your careful slot management and strategic block pulling pay off perfectly.
Final Thought
Colony Flow Level 1197 tests your ability to juggle multiple special mechanics at the exact same time. You have to actively balance breaking the massive chocolate blocker while dealing with dangerous hidden boxes and feeding a hungry door. Always prioritize keeping your paths wide open and never let your waiting slots fill up blindly. If you find any part of this written guide hard to visualize or if you get stuck on a specific tricky section, please watch the video above this article. Seeing the exact timing of when to pull the connected boxes and exactly how to manage the hidden boxes will make your own playthrough much smoother.