Colony Flow Level 79 Walkthrough Solution & Guides | How to solve Colony Flow 79

Guide By Liam Stone
Updated on July 11, 2026
If you want the fast route, watch the video above. It covers Level 79 from the first move to the last.
Video doesn't match your screen?
Game updates frequently scramble layouts! Try our AI Screenshot Solver first to find your exact board instantly, or report broken guides to our team.
Playing Colony Flow Level 79 requires careful slot management and a steady pace. You face a large pixel art shield picture that features several distinct color zones and intricate details. The ants must chew through the bottom edge before they can reach the interior sections of the design. You must pull the correct blocks at the exact right time to keep the board flowing smoothly. Managing the five waiting slots is your main goal. If you rush and pull colors that have no open path, you fill your slots and lose the level. You match your tray pulls to the exposed edges of the picture as they evolve.
Colony Flow Level 79 Overview
What You Are Working With
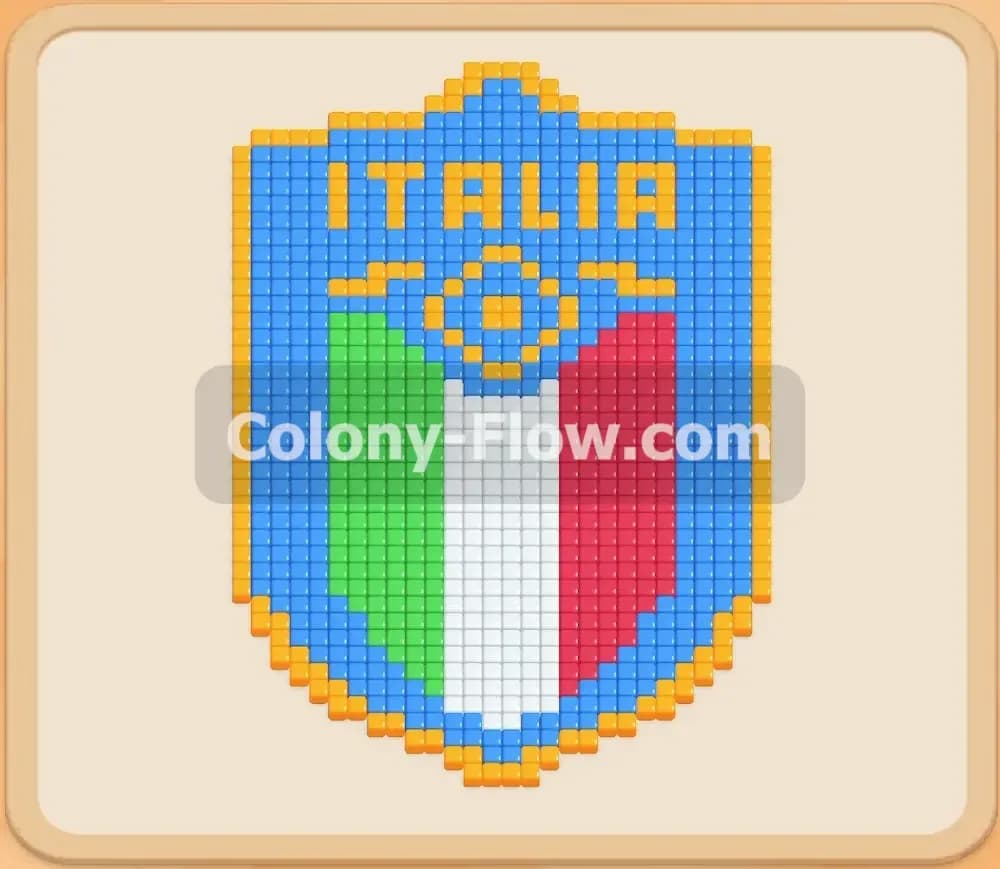
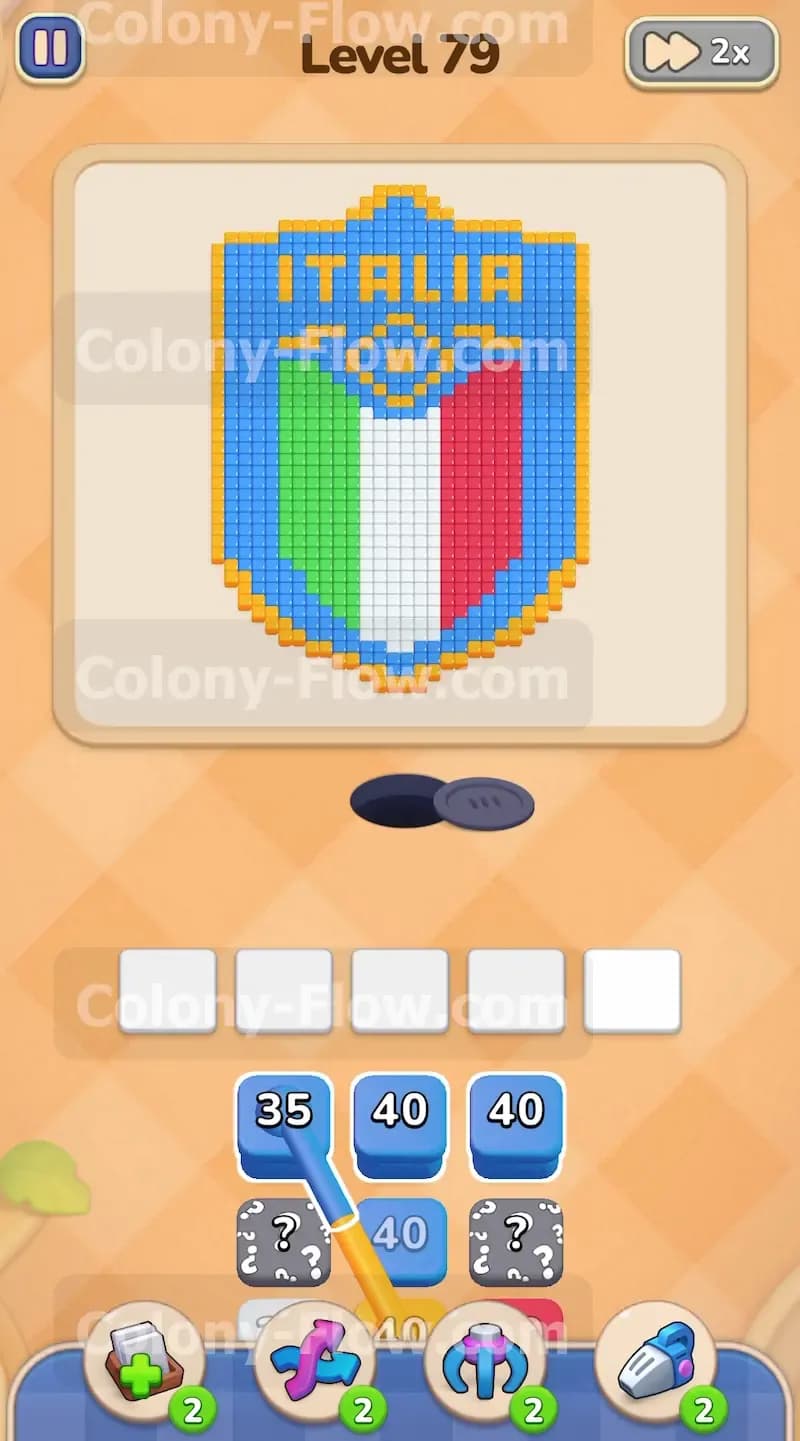
The main picture on this board is a large vibrant shield. The outer background of the shield is composed entirely of blue tiles. A bright yellow border surrounds the inner design to create a distinct barrier. Inside this yellow border, you will find vertical stripes of green, white, and red tiles that mimic a flag. The word ITALIA sits prominently at the top in yellow letters. A central emblem sits in the middle of the stripes and combines yellow and blue tiles in a circular pattern.
Your tray at the bottom of the screen holds a wide variety of numbered blocks. You will see blocks in blue, yellow, white, green, and red. Some of these blocks are hidden boxes marked with a question mark. These hidden boxes keep their colors and numbers a secret until you clear a valid path by removing the blocks positioned directly above them. You have five empty waiting slots near the nest hole to hold the blocks you pull from the tray.
What It Takes to Clear Level 79 Board
You win the level when your ants consume every single colored tile in the picture and clear the board completely. The main challenge of this level is the strict limit of the five waiting slots. If you fill all five slots with blocks that the ants cannot currently use, the slots jam and the game ends in an immediate loss. The ants enter from the nest hole at the bottom and can only eat tiles they can physically reach along open paths.
You must constantly read the board and only pull blocks that match the currently exposed tiles. You clear the picture from the bottom up. As the ants chew away the lower sections, new colors become exposed higher up in the design. You must plan your tray pulls to match this physical progression so you never block your own progress. Every move you make must serve the goal of keeping at least one path open so the blocks in your slots continue to count down and vanish.
Colony Flow Level 79 Step by Step Solution
Step 1: Open the bottom tip of the shield with a blue block
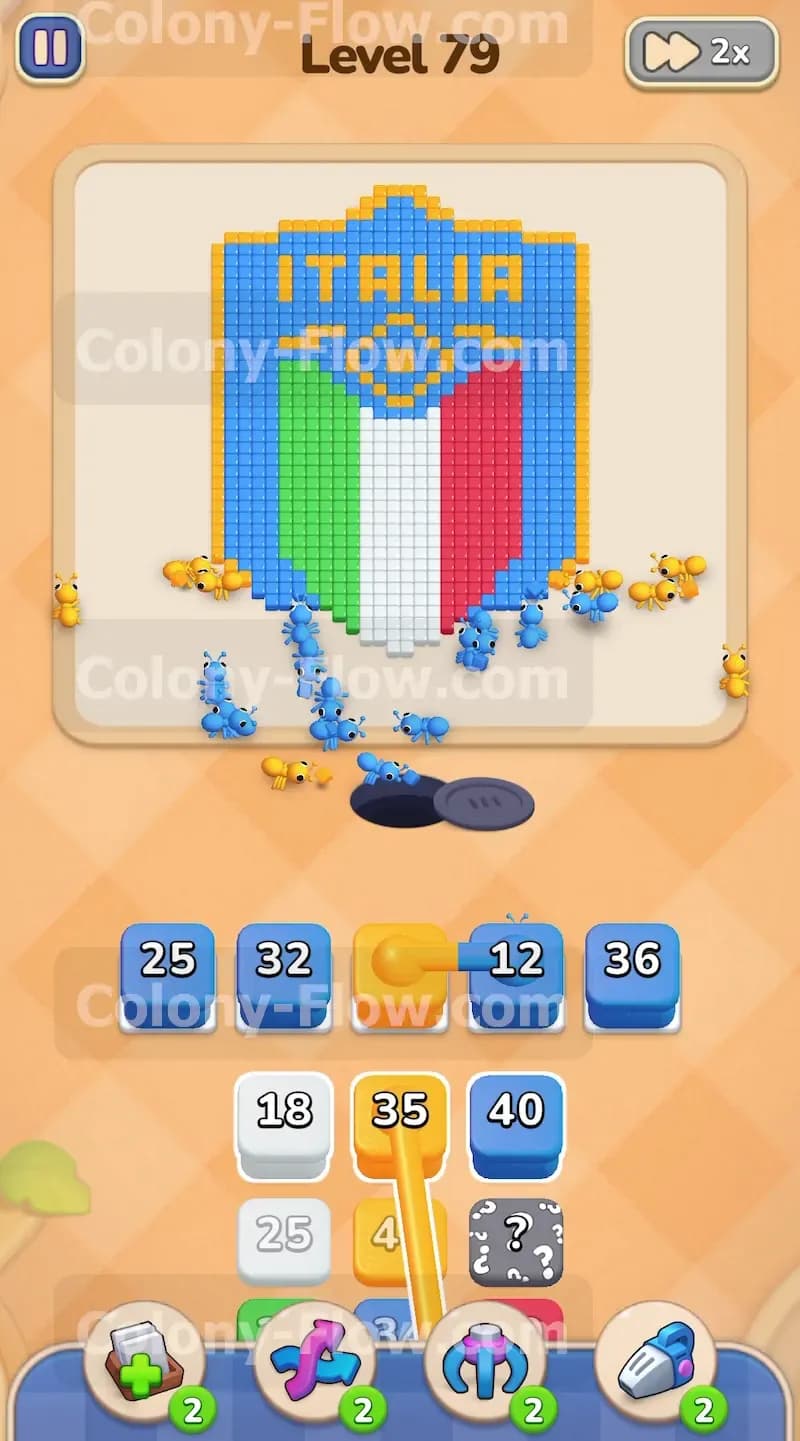
You start the level by looking closely at the very bottom point of the picture. The lowest exposed tiles on the entire board are blue. Look down at your tray and pull the first blue block with the number 35 on it. The blue block moves smoothly into one of your five waiting slots. Blue ants immediately stream out of the nest hole and march straight toward the bottom tip of the picture. They begin eating away the blue tiles one by one. This initial action clears the lowest section and exposes the yellow border tiles positioned just above the blue tip. You keep your other waiting slots completely empty during this first move to ensure you have maximum flexibility for the upcoming color changes.
Step 2: Clear the lower yellow border to open the middle
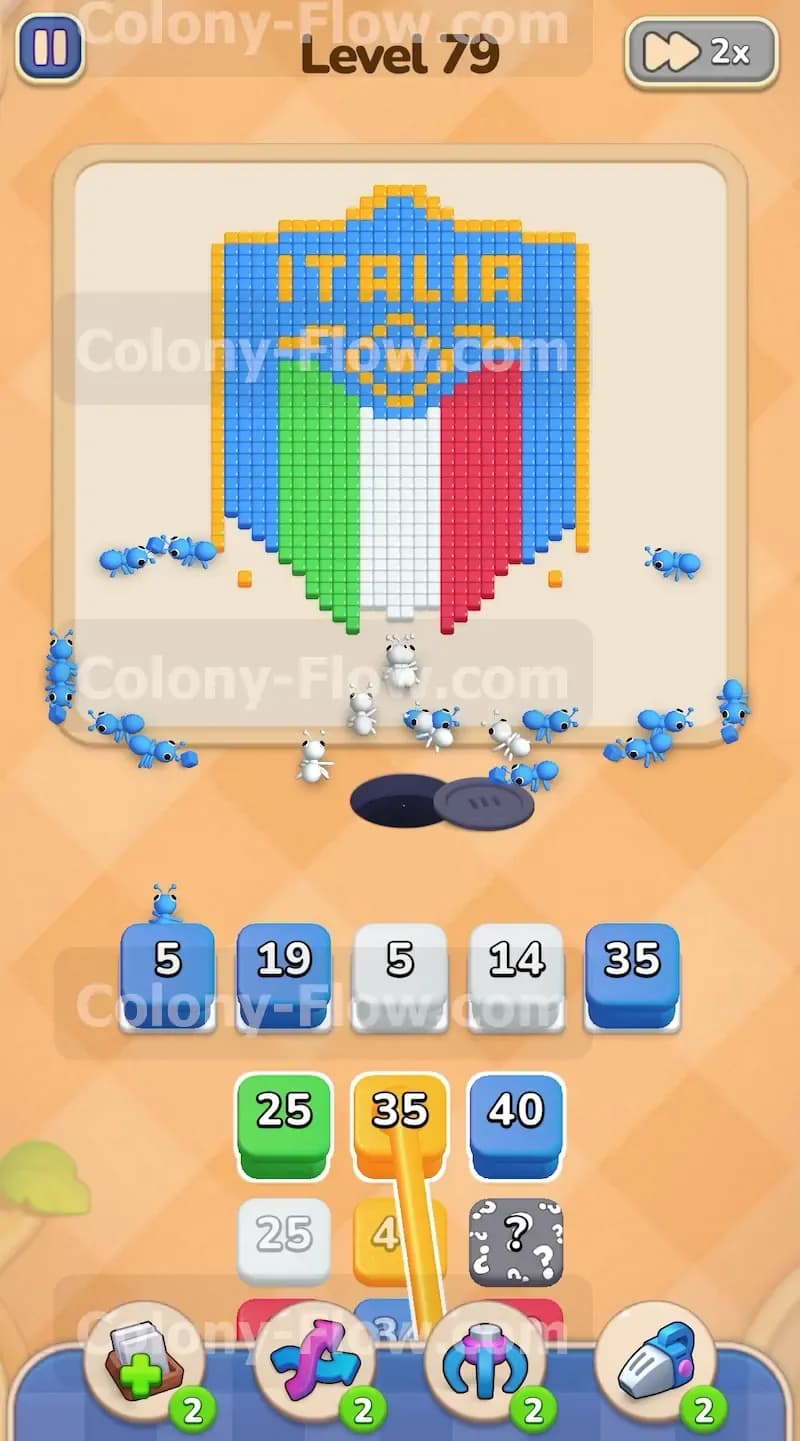
Once the blue ants remove the bottom blue tip, the yellow border becomes the next reachable target. You pull a yellow block from the tray to address this new edge. Yellow ants emerge from the nest hole and split into two distinct streams. They travel along the bottom edge of the shield and eat the yellow tiles on both the left side and the right side simultaneously. This action opens up access to the inner vertical stripes. The blue background tiles on the lower sides also become exposed as the yellow border recedes. You pull another blue block to keep the blue ants working on the outer edges while the yellow ants handle the border. Your waiting slots now hold a mix of blue and yellow blocks, but the numbers keep counting down rapidly because the ants have plenty of exposed tiles to consume. You avoid pulling any inner colors until the yellow ants clear a wide enough opening.
Step 3: Attack the central white stripe to split the board
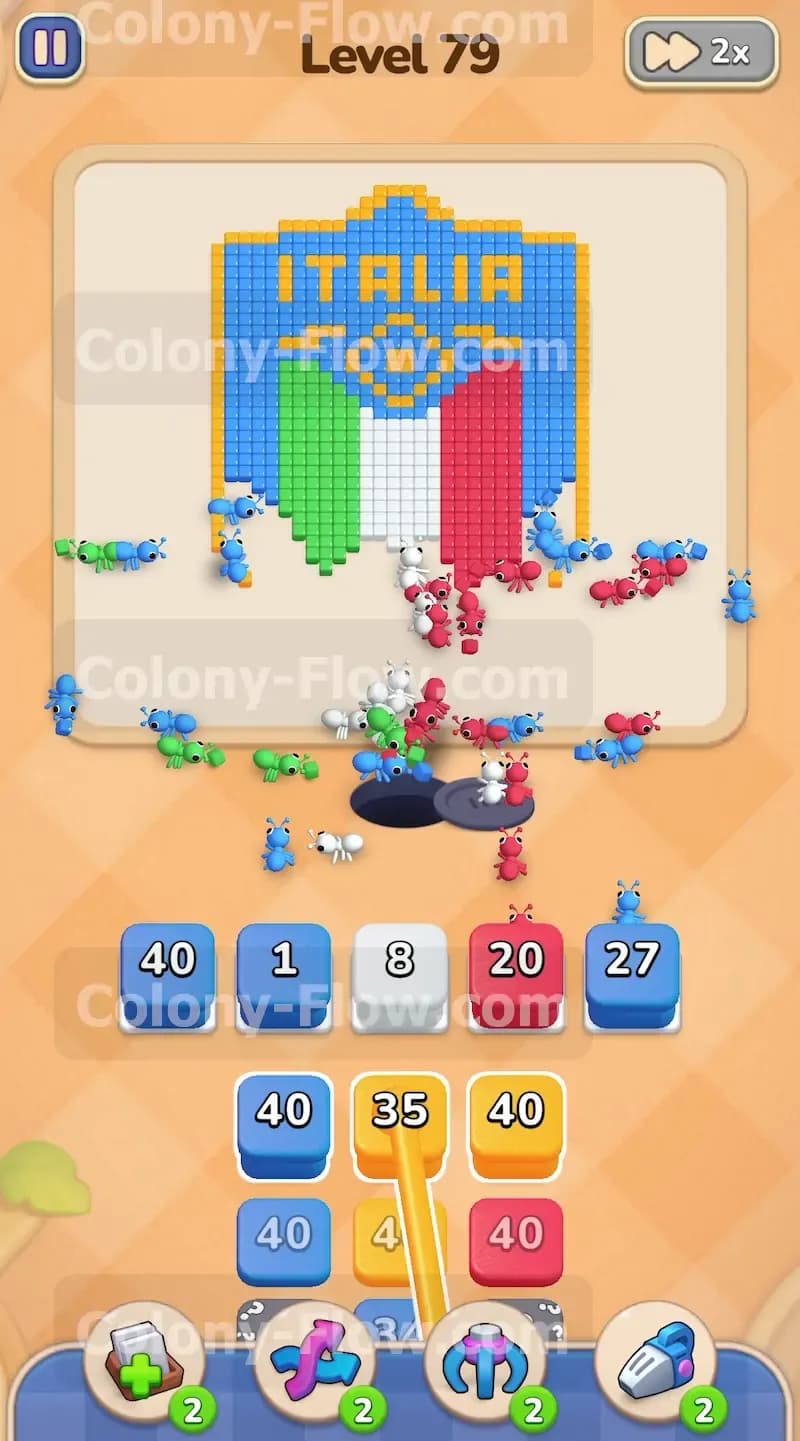
The yellow ants chewing through the bottom border soon open a wide path directly to the central white stripe. You pull a white block from the tray to send white ants straight up the middle of the board. The white ants start eating the lowest white tiles and quickly create a vertical gap in the very center of the shield. Pulling the white block also serves a secondary purpose. It helps you dig much deeper into the block tray. Removing blocks from the top layers of the tray moves you closer to the hidden boxes waiting underneath. You keep pulling colors that match the active edges so the numbers on your slot blocks continue to decrease without pausing. If a block sits in a slot without counting down, you pulled it too early and you risk a dead end.
Step 4: Access the green and red side stripes
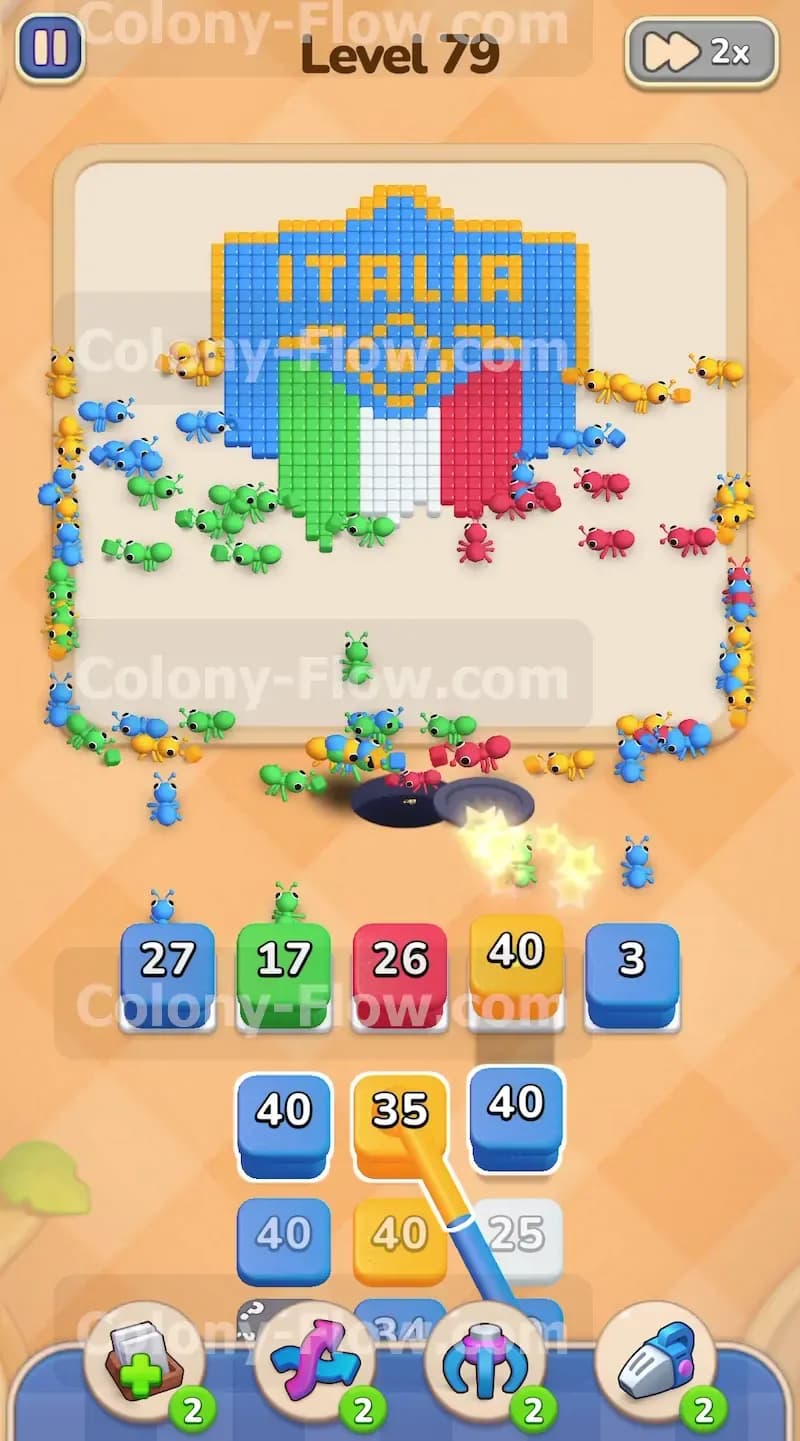
With the white stripe receding up the middle, the inner edges of the green and red stripes finally become exposed to the ants. You now pull a green block and a red block from the tray to engage these new sections. Green ants head to the left side of the white gap to eat the green stripe. Red ants head to the right side of the gap to eat the red stripe. The shield picture now has ants working aggressively on almost every available surface. Blue ants eat the outer background. Yellow ants eat the inner border. Green, white, and red ants eat the interior vertical stripes. You monitor your five slots very closely during this busy phase. You only pull a new color when you see an open path for those specific ants to reach their matching tiles. This discipline keeps your slots cycling and prevents jams.
Step 5: Reveal the hidden boxes in the tray to get more colors
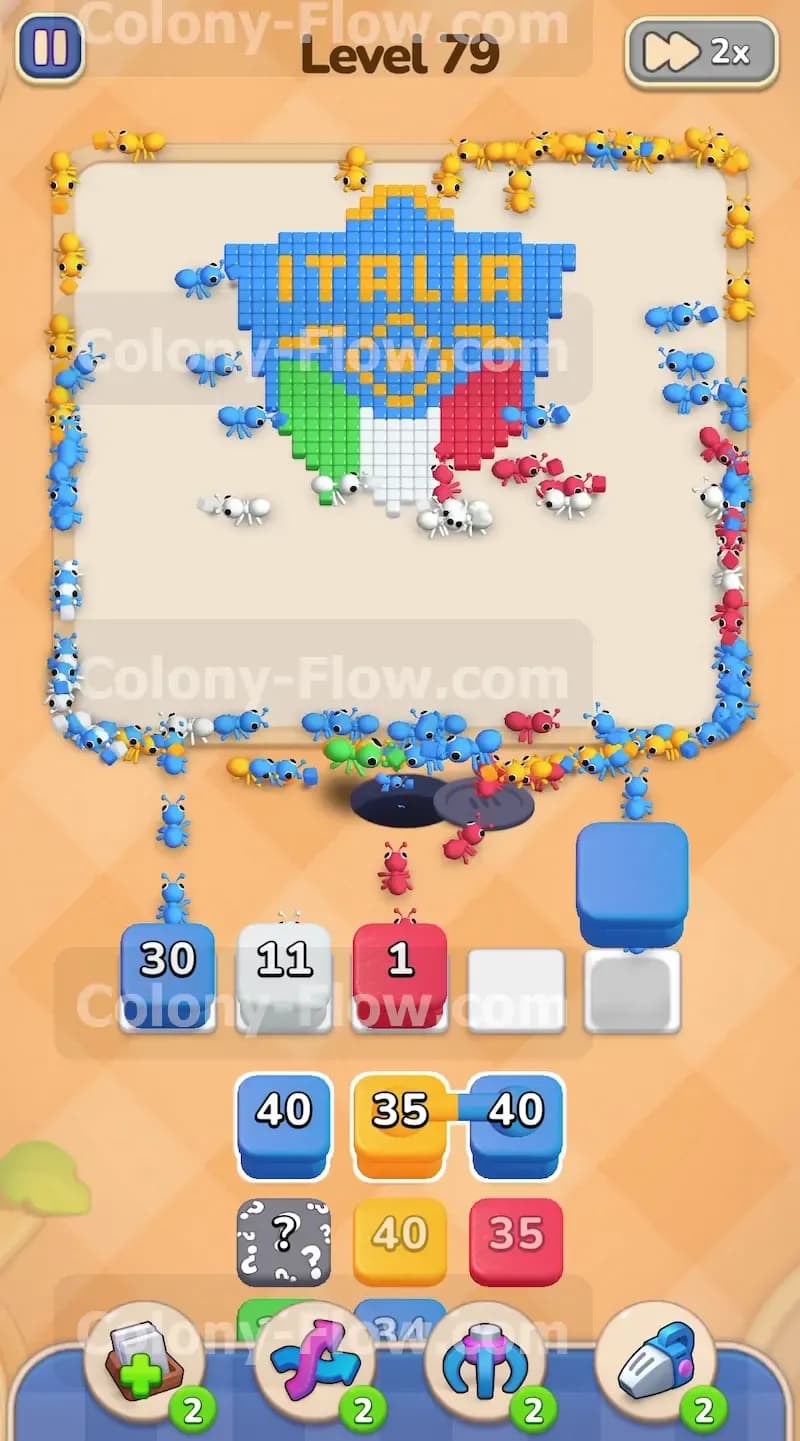
As you pull blocks to feed your working ants, you clear out the top layers of the tray completely. This action uncovers the hidden boxes marked with question marks that were previously inaccessible. Once the blocks above them are gone, the hidden boxes flip over and reveal their true colors and numbers. You need these newly revealed blocks to finish the upper halves of the stripes and the top border. You pull the newly revealed blue and yellow blocks to maintain the momentum on the outer edges of the shield. Exposing the hidden boxes early in the game gives you far more options and helps prevent a frustrating situation where you desperately need a specific color but cannot see it anywhere in the available tray. You always want to keep the tray moving.
Step 6: Push ants up the sides of the shield
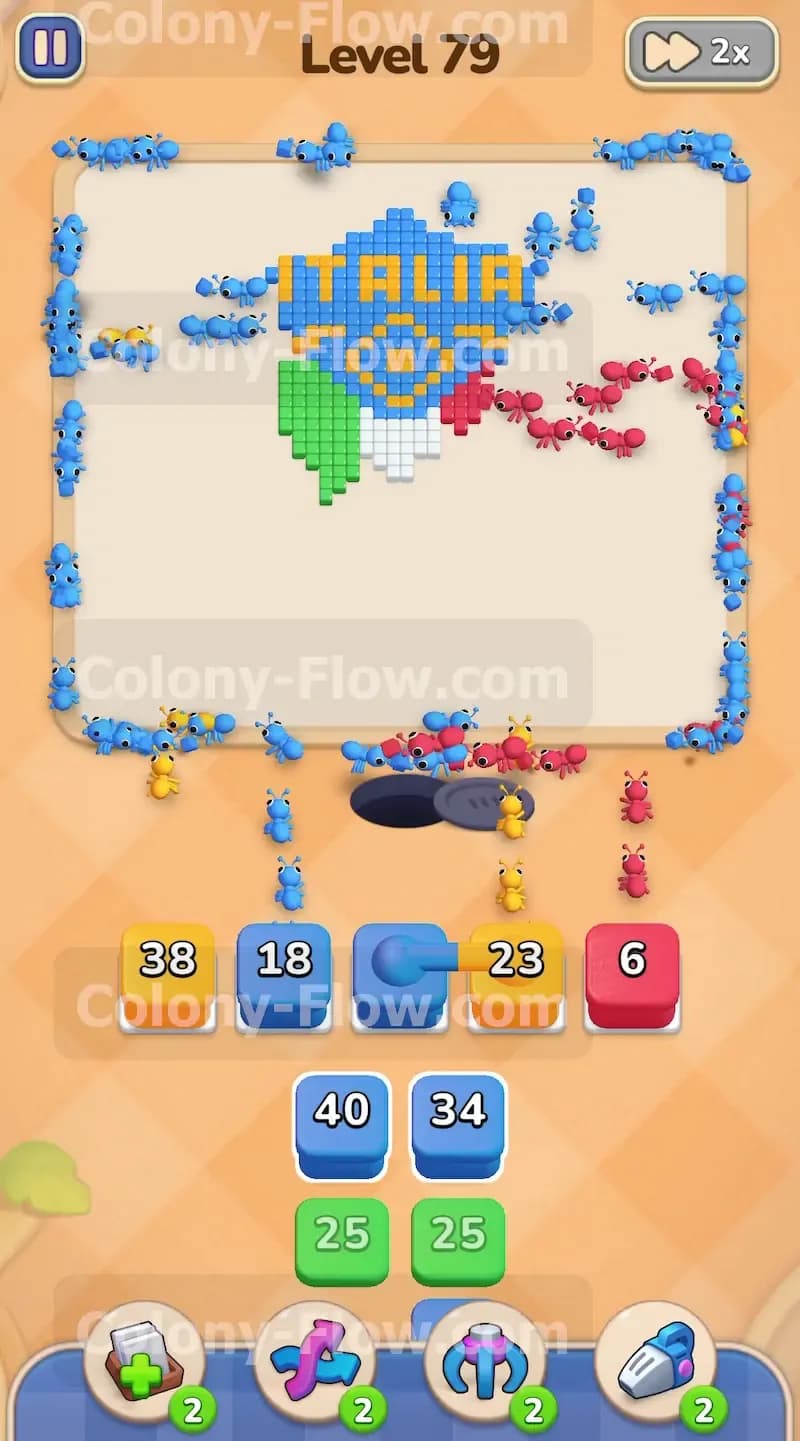
The entire lower half of the shield disappears completely as the ants do their work. The ants naturally redirect their paths toward the upper half of the board. Blue ants climb the left and right sides to eat the remaining blue background tiles. Yellow ants follow closely behind them to eat the upper sections of the yellow border. You pull large numbered blue and yellow blocks to supply enough ants for these long stretches of tiles. The numbers on your blocks drop very rapidly because the ants have multiple open paths to reach their targets on both sides of the board. This constant consumption keeps your waiting slots cycling quickly and entirely prevents dead ends. You watch the flow of ants and only add a new block when a current block approaches zero.
Step 7: Clear the top border and letters
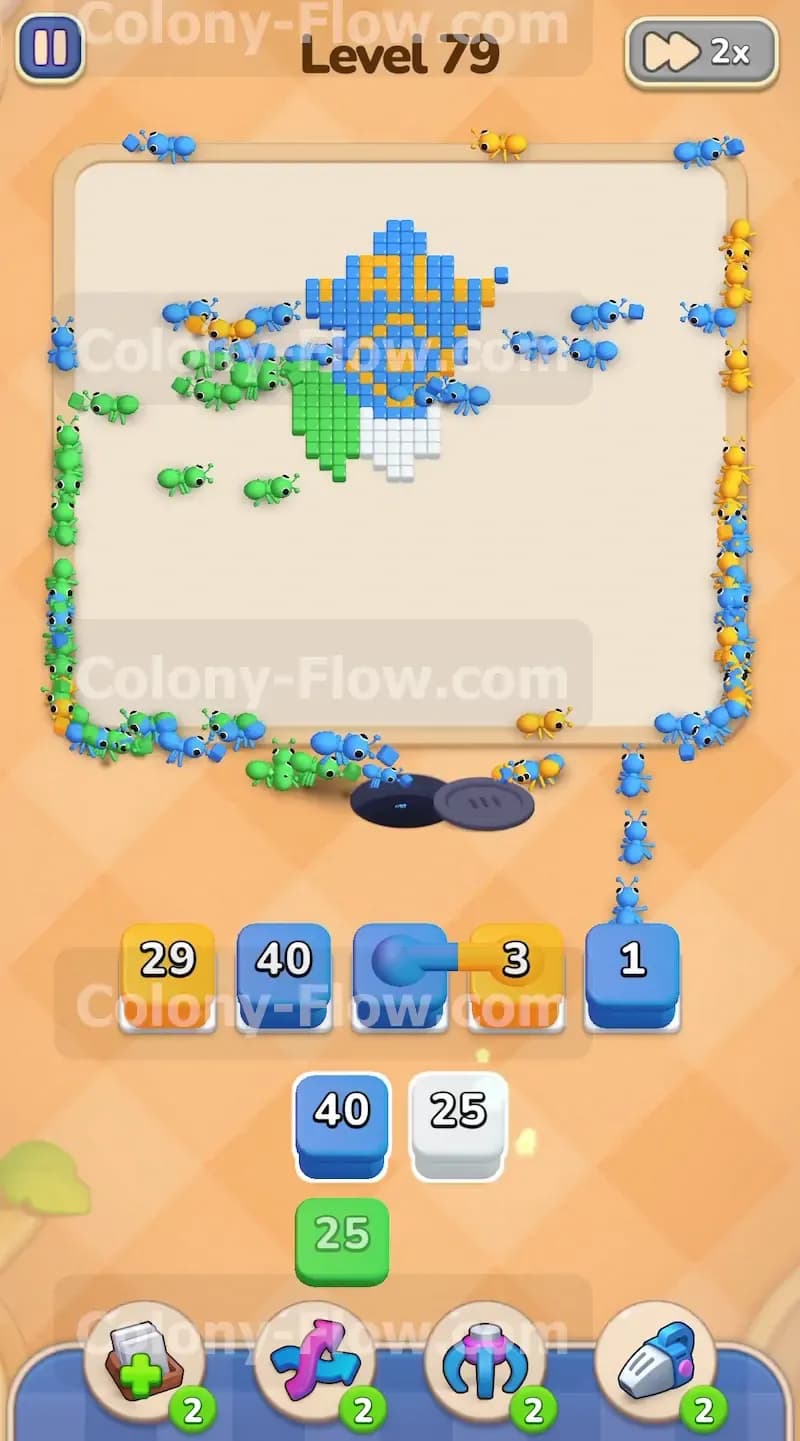
The side paths lead the ants all the way to the top edge of the shield. Yellow ants swarm across the top border and begin eating the bright yellow letters that spell ITALIA. You pull another yellow block to ensure the ants have enough numbers to clear the entire word completely. At the exact same time, you pull blue blocks to clear the final pieces of the blue background near the top left and top right corners. The board looks quite chaotic with ants crawling around the entire perimeter, but your slot management remains completely under control because every single block you pull serves an active and open path. You never pull a block just to see what happens. Every pull is deliberate.
Step 8: Finish the central emblem and remaining tiles
The only tiles left on the board are the central emblem and a few scattered pieces of the upper vertical stripes. You pull the final red, green, and white blocks to finish the remaining vertical sections. Then you focus your attention completely on the center emblem. The emblem contains a mix of blue and yellow tiles. You pull a blue block and a yellow block to send the final waves of ants straight into the center of the design. The ants eat the remaining tiles, and the picture clears completely. Your careful pacing ensures the waiting slots never jam during this final phase. The last few ants finish their routes, the board empties, and you win the level.
Final Thought
Level 79 heavily rewards patience and careful observation of the exposed tiles. You must resist the urge to pull blocks too quickly and focus on keeping open paths for your ants. Proper slot management wins the game. Take your time and plan every single pull from the tray. Watch the video above this article if any step is hard to follow in text.