Colony Flow Level 489 Walkthrough Solution & Guides | How to solve Colony Flow 489

Guide By Liam Stone
Updated on July 30, 2026
You can jump straight to the video above and watch the full Level 489 solution instead of reading on.
Video doesn't match your screen?
Game updates frequently scramble layouts! Try our AI Screenshot Solver first to find your exact board instantly, or report broken guides to our team.
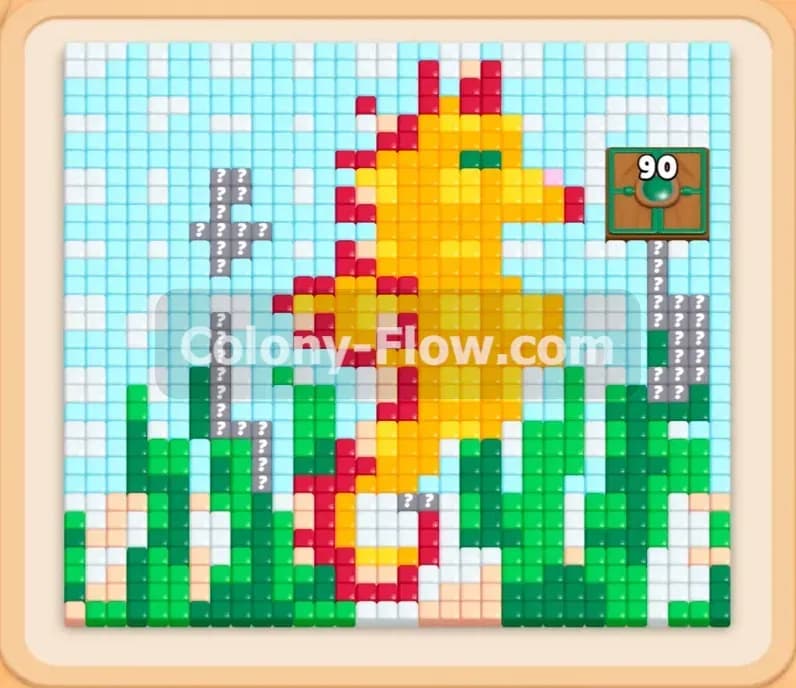
Welcome to Colony Flow Level 489 where you face a large pixel art seahorse puzzle. You have to feed your ant colony massive amounts of blue water and green seaweed while dealing with a demanding hungry door. This puzzle requires careful tray management to ensure your ants always have an open path to their next meal. Keep your wits about you and watch your waiting slots closely to keep the board flowing.
Colony Flow Level 489 Overview
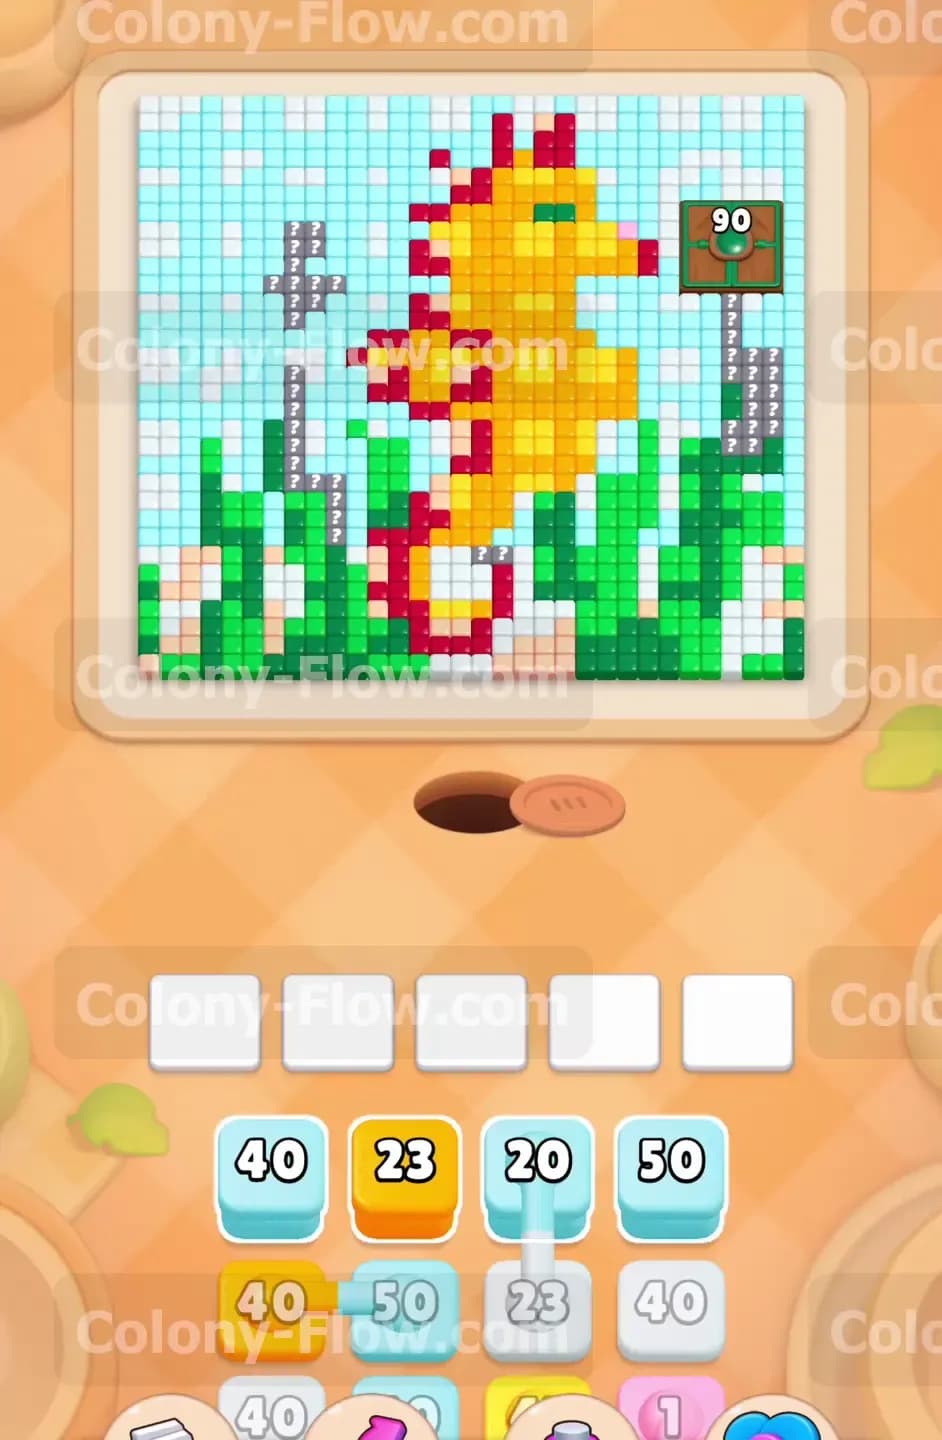
What You Are Working With
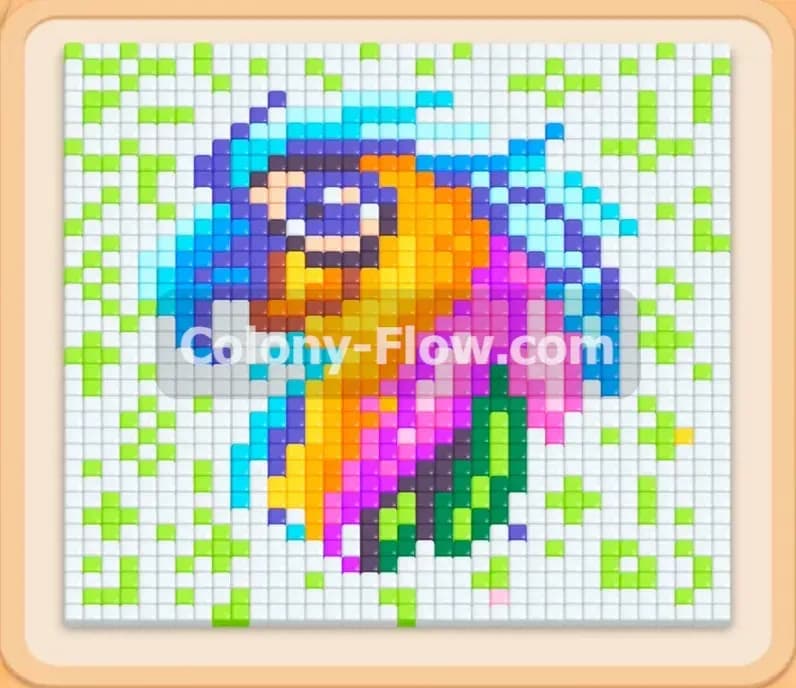
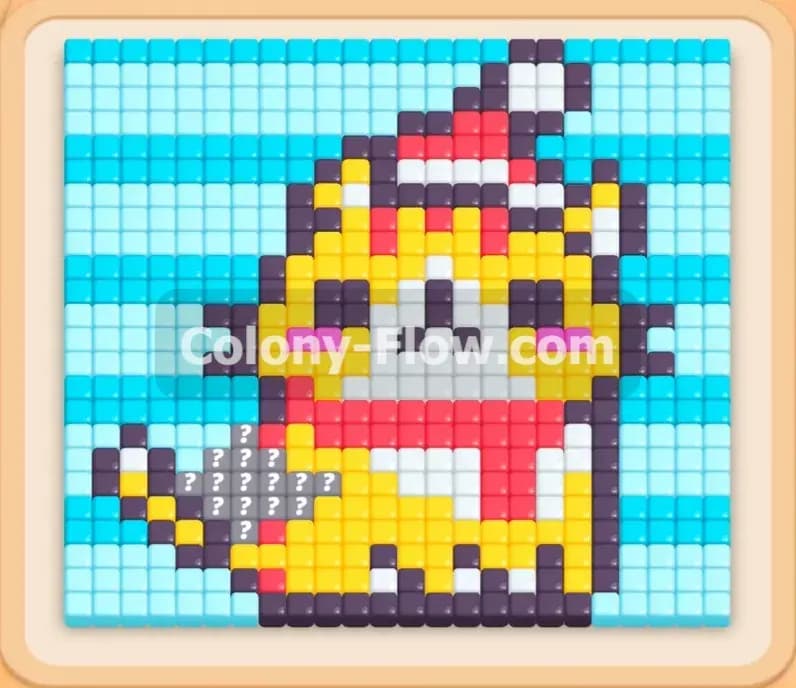
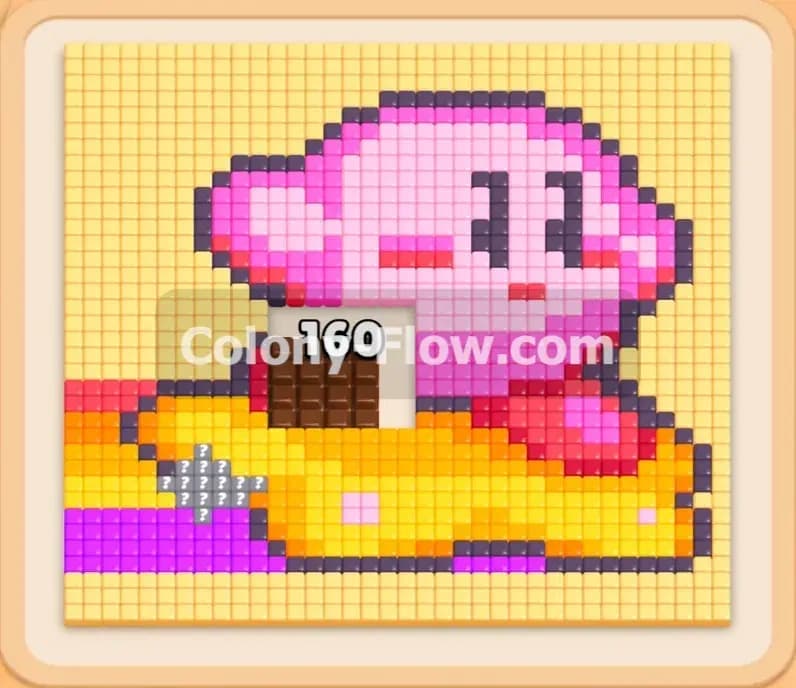
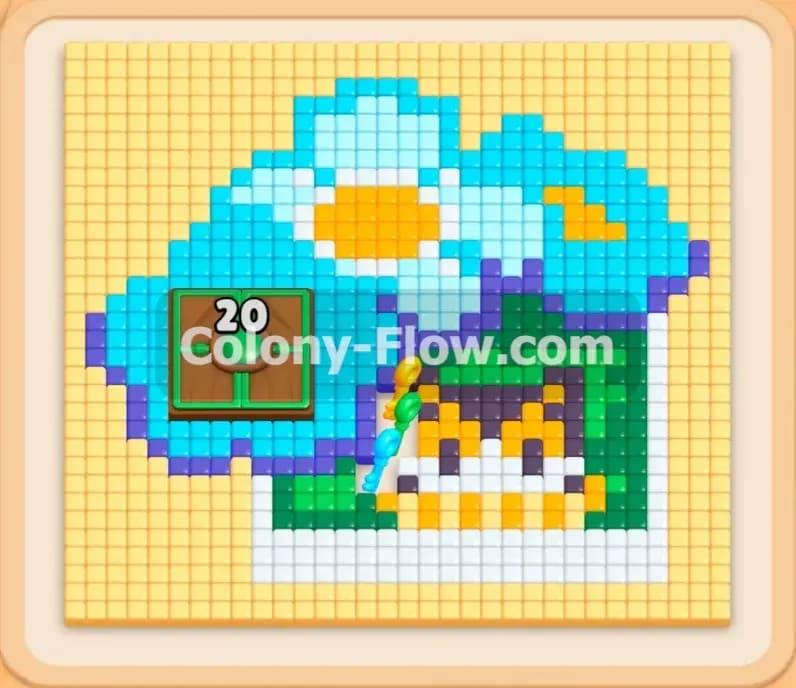
The puzzle board features a vibrant yellow seahorse with a red outline. The seahorse floats in a vast ocean of light blue water tiles. Tall stalks of green seaweed grow from the bottom of the board over a bed of white and grey sand tiles. On the right side of the screen sits a hungry door demanding 90 green tiles. Your block tray at the bottom holds a mix of standard numbered blocks and hidden boxes that conceal their color until they can move. You also encounter connected boxes that link multiple blocks together. These connected blocks take up valuable real estate in your five waiting slots until all connected parts have a clear path to the board.
What It Takes to Clear Level 489 Board
Winning this level means clearing every single pixel art tile from the screen and satisfying the hungry door. The main threat comes from the five waiting slots located above your block tray. If you pull too many blocks that cannot reach their matching food tiles and fill all five slots you lose the game immediately. Your primary goal is to clear the light blue water tiles first because they block access to the yellow seahorse and the green seaweed. Once the water recedes you can send ants to the green seaweed to lower the hungry door counter. You must balance pulling hidden boxes to reveal their colors while ensuring at least one block in your waiting slots always has an open path to the board.
Colony Flow Level 489 Step by Step Solution
Step 1: Clear the top left water section to create an opening
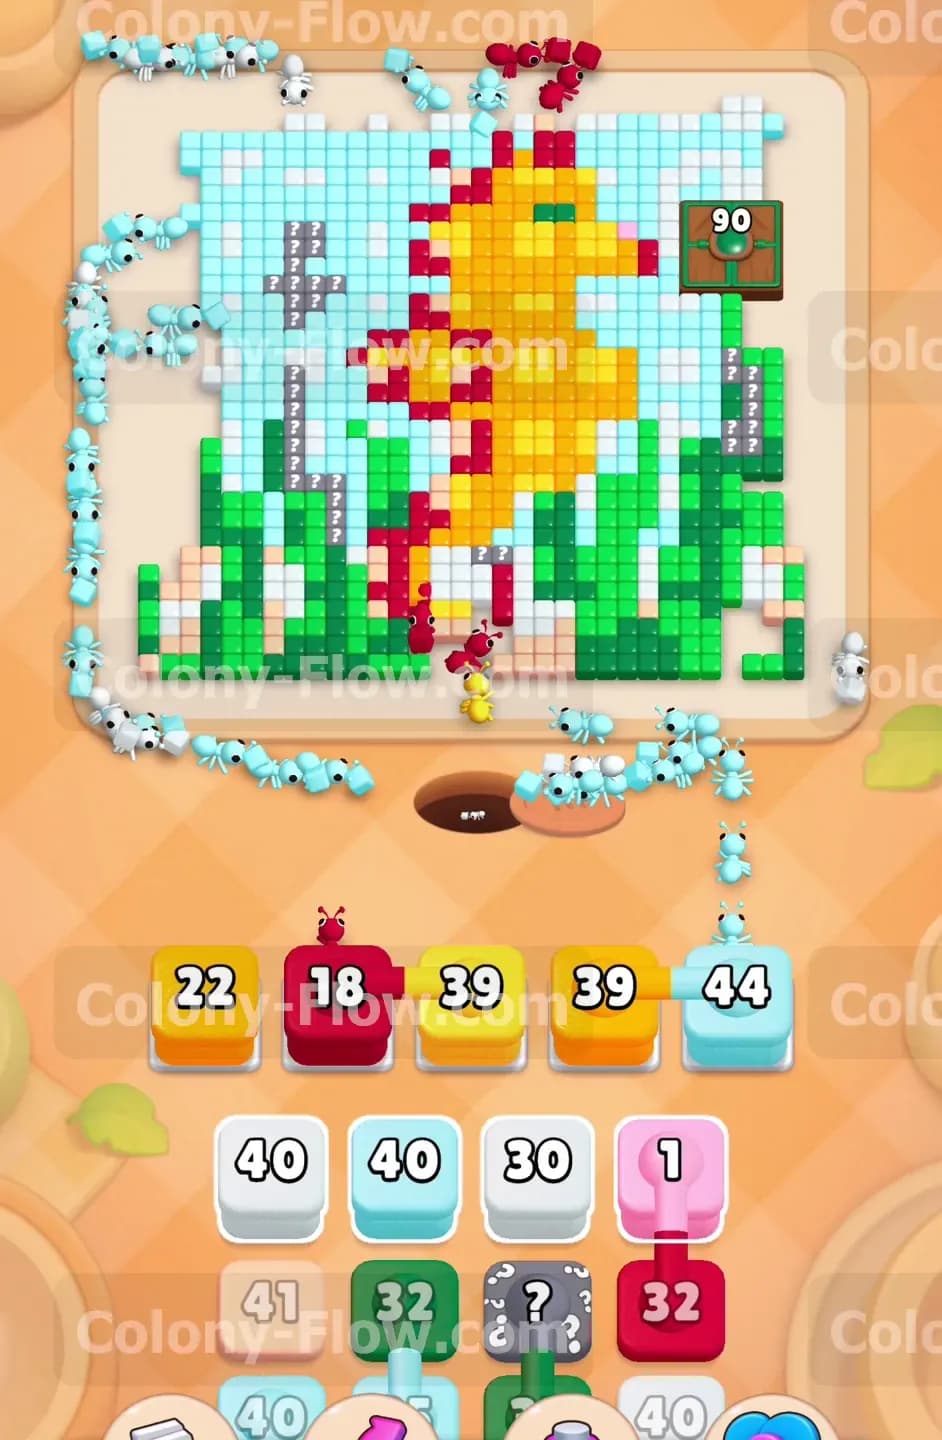
Start by pulling the large light blue 50 block and the light blue 20 block from the bottom tray. The light blue ants stream out of the central nest hole and rush toward the top left corner of the screen. They immediately begin eating away the thick wall of light blue water tiles surrounding the seahorse. This first move is essential because you must create an opening before you can touch the main picture. As you pull the light blue blocks you will unavoidably pull some yellow and red blocks up into your five waiting slots. Leave those yellow and red blocks alone for now. The light blue ants have a clear path to the water so they will not clog your waiting slots. Always ensure you have at least one active color flowing to the board to prevent a game ending jam.
Step 2: Feed the yellow seahorse head to free up tray space
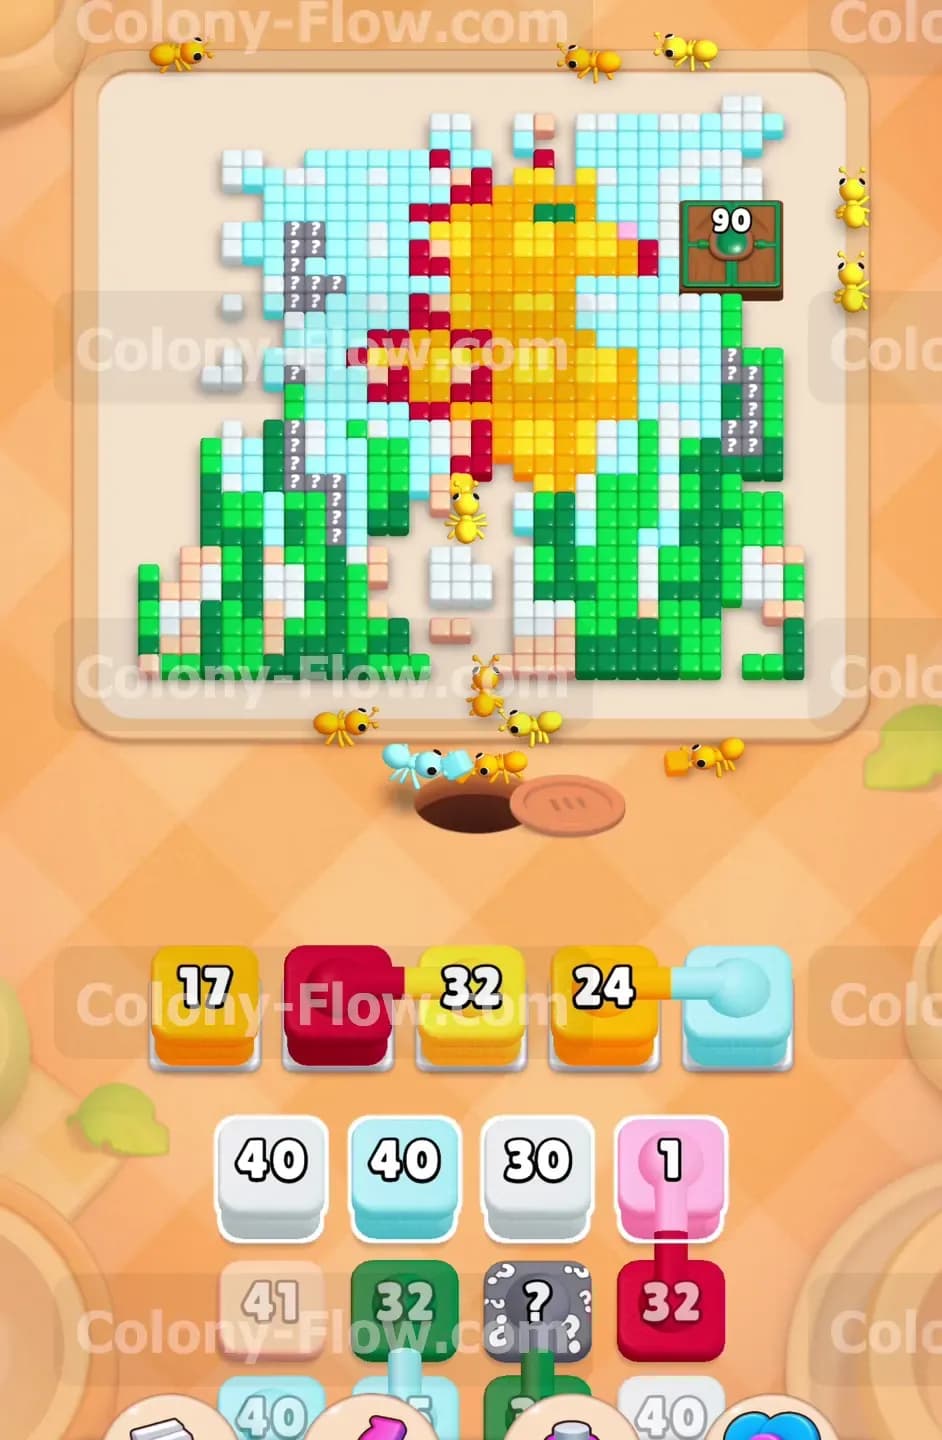
Once the light blue ants clear enough water from the top left area the path to the yellow seahorse head opens up completely. Now you can activate the yellow blocks that are sitting in your waiting slots. Pull the yellow 39 blocks and watch the yellow ants march up to devour the snout and the top crest of the seahorse. Clearing these yellow tiles frees up valuable space in your waiting slots. This constant rotation of clearing slots is exactly how you keep the board alive. You never want all five slots filled with idle blocks. Sending the yellow ants to work keeps the board flowing and lets you safely pull more blocks from the tray below.
Step 3: Reveal the hidden boxes carefully
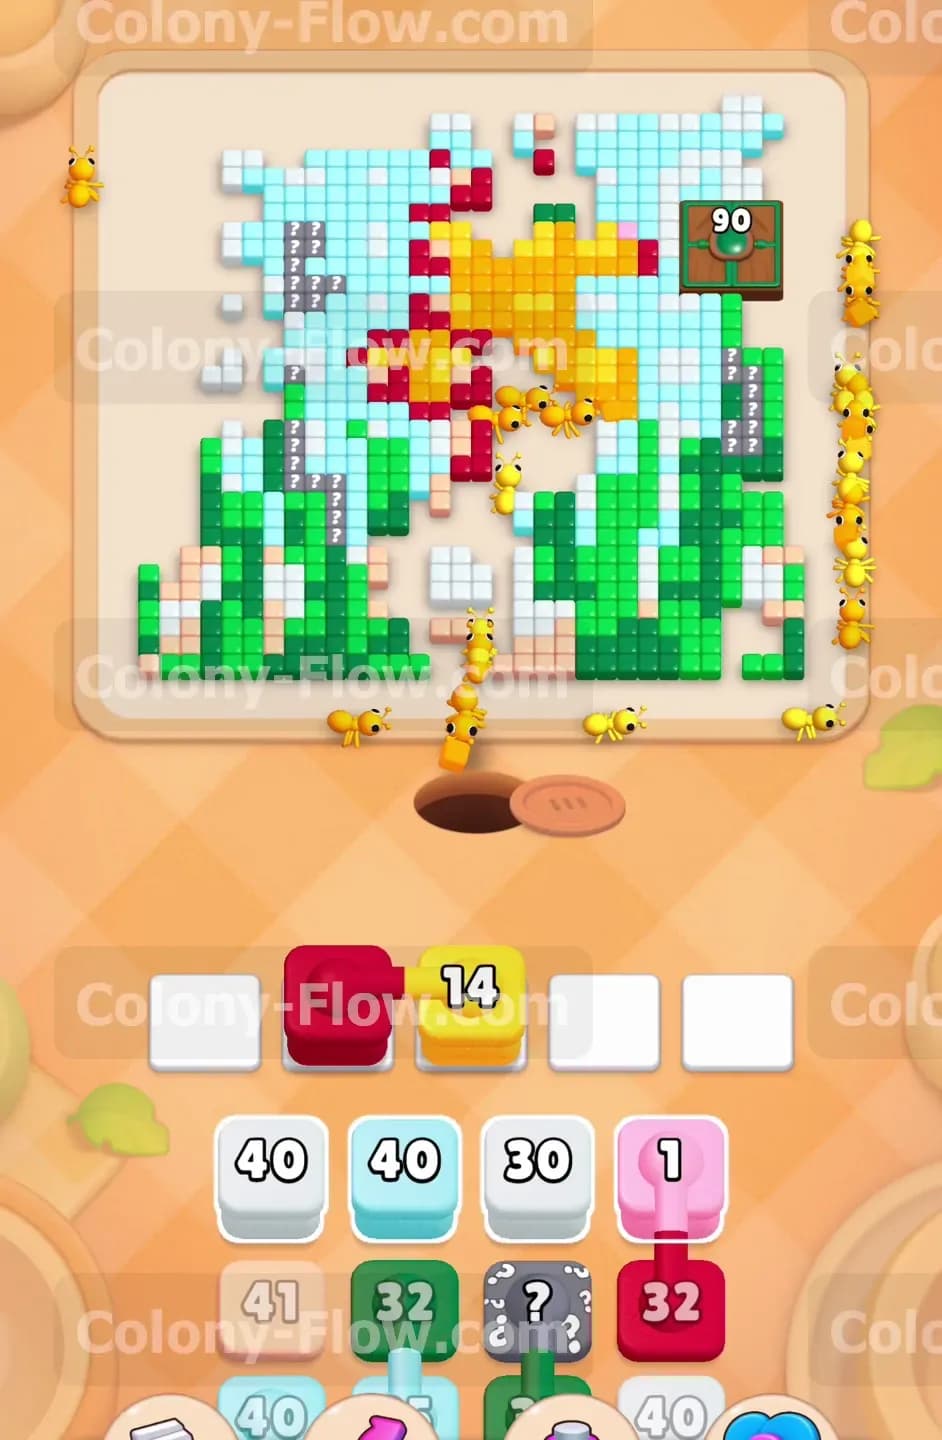
Your bottom tray contains several hidden boxes marked with question marks. These hidden boxes conceal their true color until you pull them up into the active waiting slots. You must handle them with extreme caution. Only pull a hidden box when you have at least three empty waiting slots available. If the hidden box reveals a light blue or yellow block the ants will immediately find a path and run out to the board. However if the box turns into a white block or a red block it will sit idle in the slot because those paths are not fully open yet. Maintain discipline and keep pulling regular light blue blocks to clear more water while you test the hidden boxes one by one.
Step 4: Manage the connected red blocks
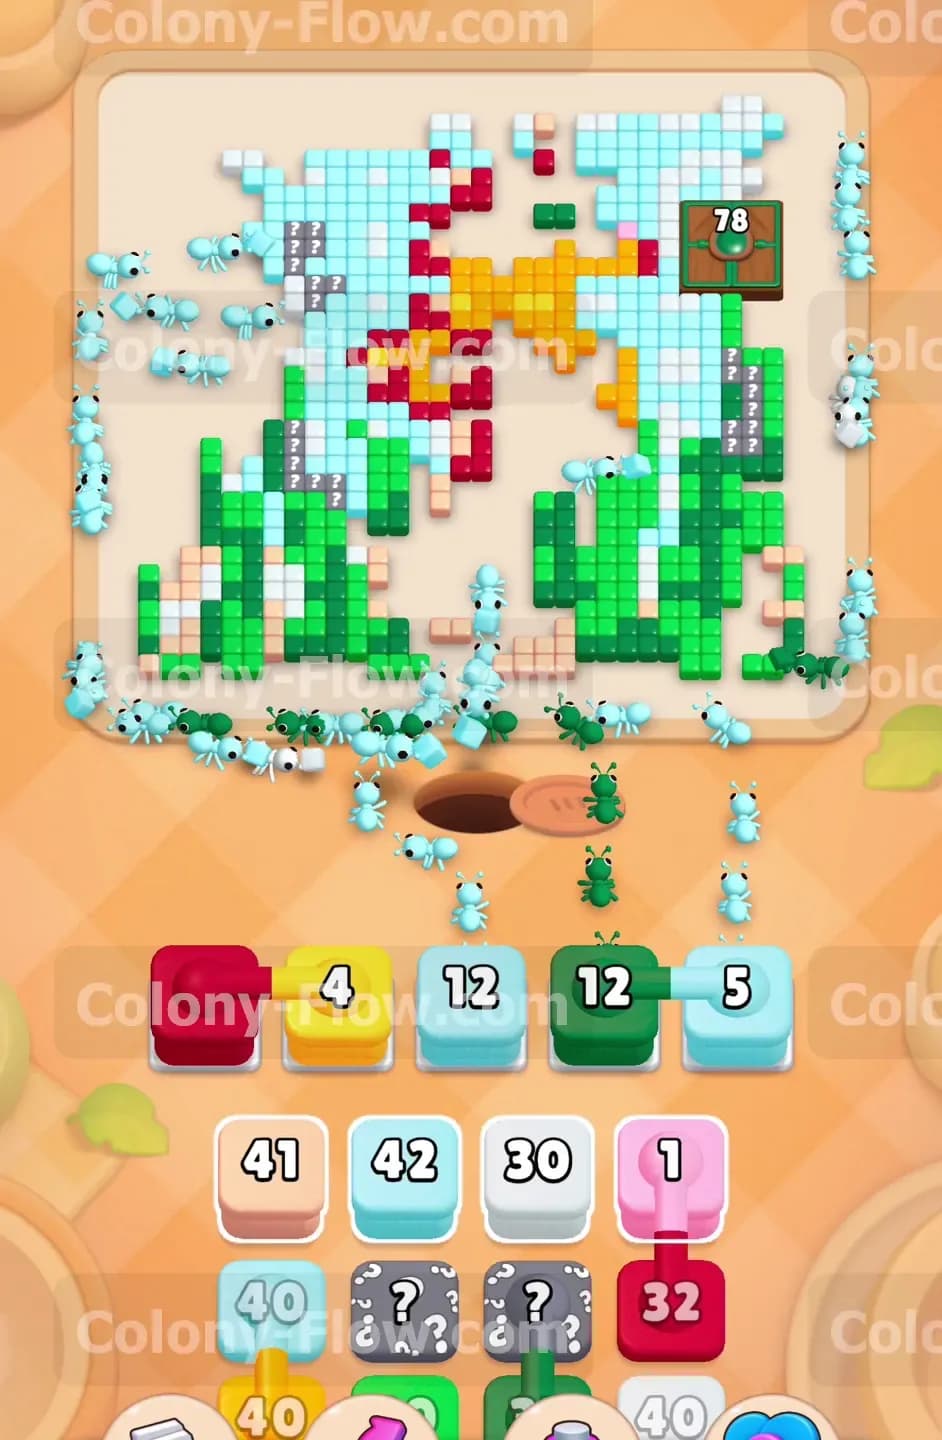
As you dig deeper into the block tray you will uncover connected red boxes. These connected blocks have a solid bar joining them together in the waiting area. They take up significant space and demand a very large open path to deploy their ants. The red outline of the seahorse is thin and blocked by water on the outside and yellow body tiles on the inside. Leave the connected red blocks resting in the waiting slots and do not pull any unnecessary blocks that might crowd them. Shift your focus back to clearing the yellow body tiles. Digging out the yellow center of the seahorse exposes the inner edge of the red outline. This exposure eventually creates enough surface area for the connected red blocks to activate safely without causing a dead end.
Step 5: Begin attacking the green seaweed
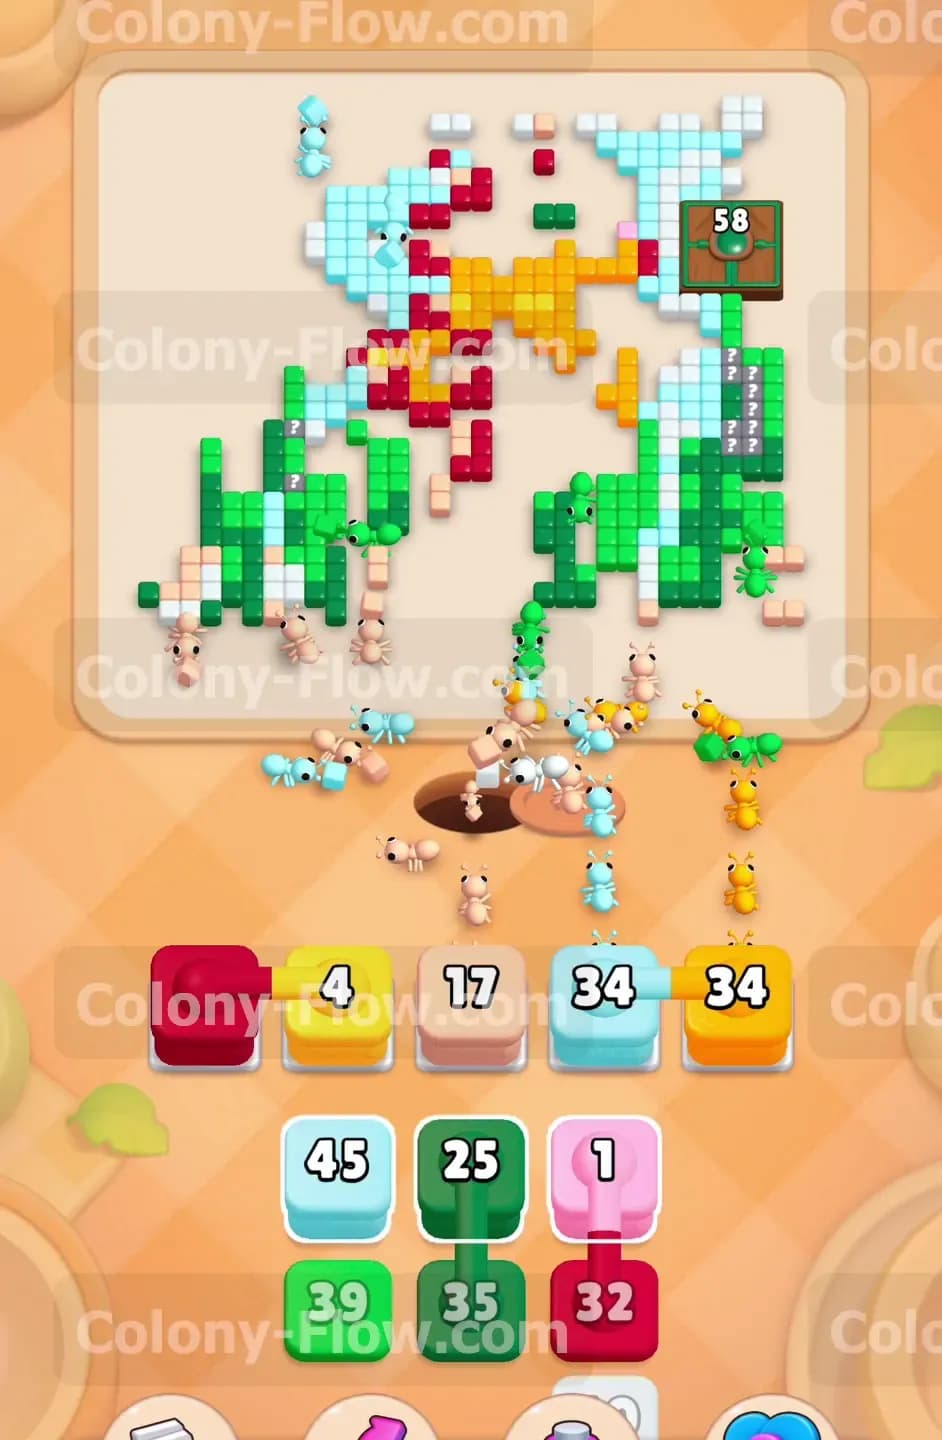
With the top half of the board mostly clear the ants can finally reach the tall stalks of green seaweed growing on the bottom left side. This is your opportunity to start feeding the hungry door located on the right edge of the screen. The hungry door requires exactly 90 green tiles to open. Pull the green blocks from the tray and watch the green ants chew through the seaweed. Every green tile they eat lowers the number on the door. You will see the requirement drop from 90 down to 78 as the ants clear the left side seaweed patches. Keep feeding green blocks into your slots whenever you see an open path to the seaweed. This parallel clearing of water and seaweed prevents your waiting slots from jamming.
Step 6: Clear the remaining blue water on the right side
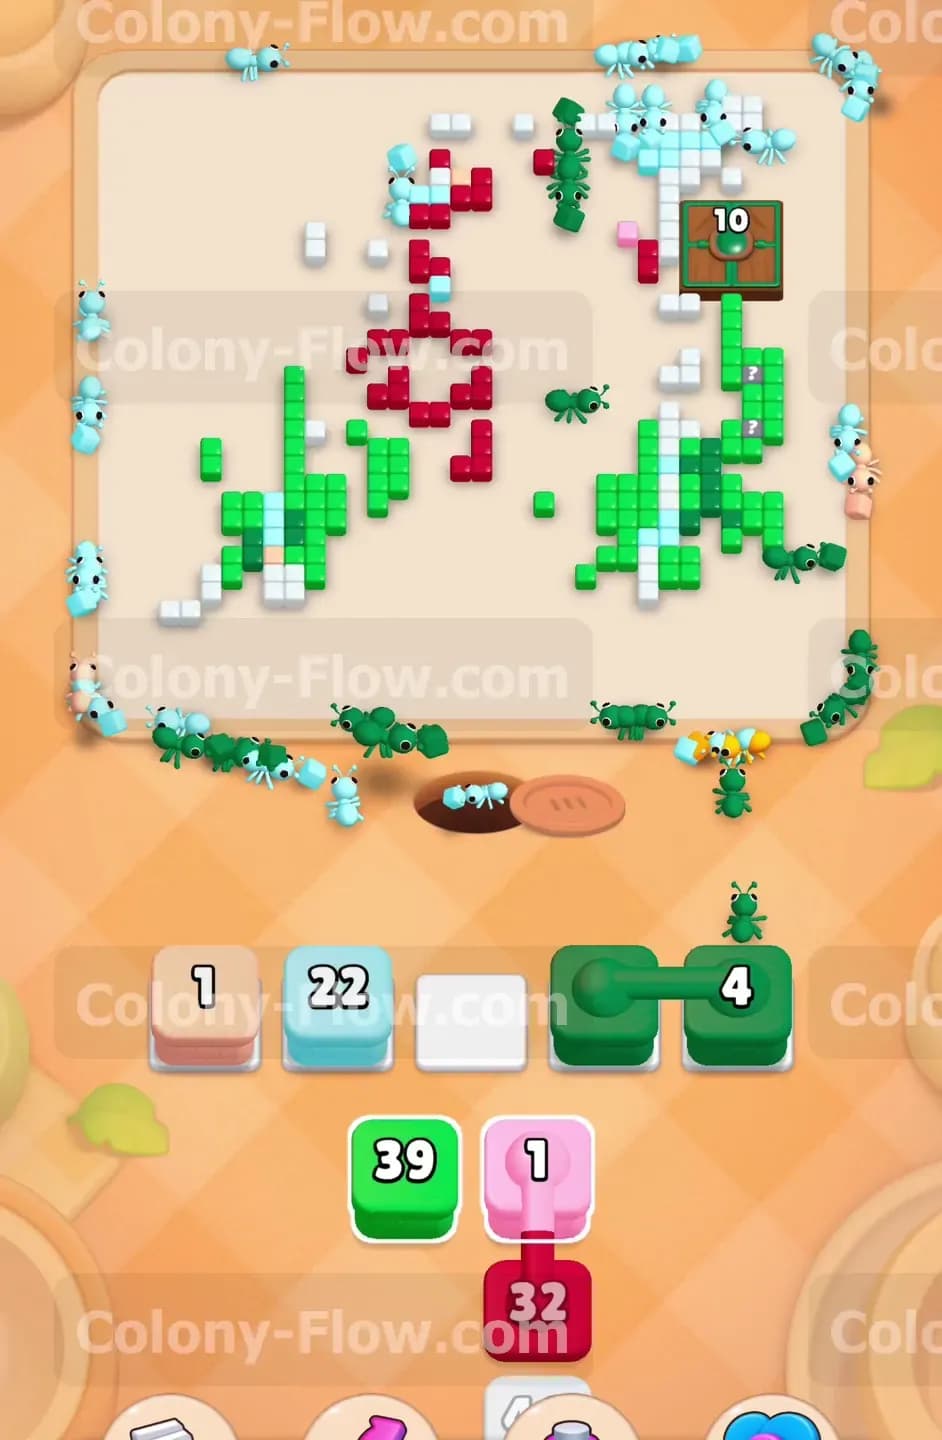
The right side of the board still holds a deep pocket of light blue water that blocks access to the remaining green seaweed. Pull the last large light blue blocks from your tray to send a massive swarm of ants to the right side. The ants will travel across the top and down the right edge to consume the water surrounding the hungry door. This action is absolutely required because you need every single piece of seaweed on the board to satisfy the hungry door requirement. Clearing this massive blue water section frees up the final tall stalks of green seaweed on the far right edge and gives your green ants their next target.
Step 7: Finish feeding the hungry door
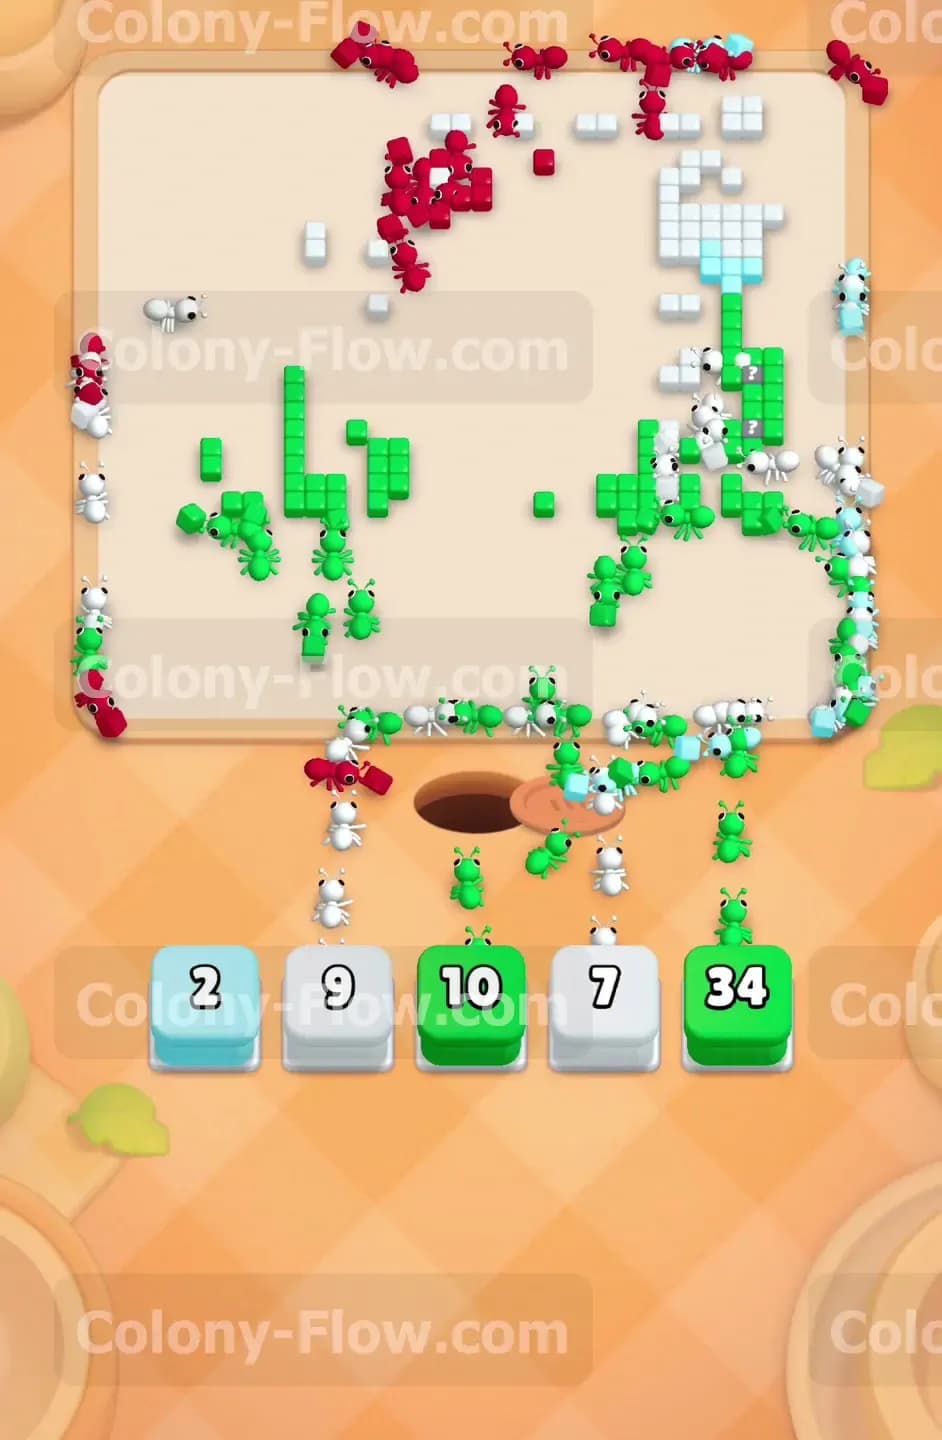
Now that the blue water is gone from the right side all the green seaweed is fully exposed. Pull the remaining green blocks from the tray and send your green ants to devour the last tall stalks. You will watch the hungry door counter drop from 58 down to 10 and then finally hit zero. Once you meet the requirement the hungry door swings wide open and completely disappears from the board. Opening the door reveals the final cluster of tiles trapped behind it. Getting rid of the door removes a massive obstacle and guarantees your paths will stay open for the remainder of the level.
Step 8: Clear the connected green blocks
You will encounter a set of connected green blocks in your tray near the final stages of the level. Just like the connected red blocks earlier these take up multiple waiting slots and require a large open path. Since the hungry door is open and the water is gone the connected green blocks deploy instantly. The green ants stream out and finish off the remaining stray pieces of seaweed scattered near the hungry door location. Make sure you do not pull these connected green blocks until the blue water is completely gone from the right side. Holding them back until the path is clear prevents a fatal slot jam at the very end of the puzzle.
Step 9: Mop up the red outline and white sand tiles
The board is now nearly empty with only fragments of the red seahorse outline and the white sand tiles at the bottom remaining. Pull the white 9 and white 7 blocks to send ants down to clean up the grey and white sand patches along the ocean floor. At the same time pull the remaining red blocks to finish off the tail and the back spine of the seahorse. Since there are no large obstacles left the ants will make incredibly quick work of these scattered tiles. Keep pulling the blocks from the tray as soon as the previous ones empty out. The final swarm of ants will consume the last red tiles and complete the level successfully.
Final Thought
Level 489 tests your ability to juggle multiple colors while managing a demanding hungry door and bulky connected blocks. Patience is your best tool when waiting for paths to open up for the red outline and the green seaweed. Keep your tray organized and never let those five waiting slots fill up completely without an active path. If you struggle with the timing of the hidden boxes or the hungry door please watch the video above this article to see the exact ant movements in action.