Colony Flow Level 318 Walkthrough Solution & Guides | How to solve Colony Flow 318

Guide By Liam Stone
Updated on July 17, 2026
You can watch the video above to see Level 318 solved from the very first move.
Video doesn't match your screen?
Game updates frequently scramble layouts! Try our AI Screenshot Solver first to find your exact board instantly, or report broken guides to our team.
Colony Flow Level 318 throws a massive central obstacle at you right away. You will need to balance feeding a hungry door while clearing out the edges so your waiting slots never lock up. The board design forces you to manage multiple colors at once but a steady approach will get you through it easily.
Colony Flow Level 318 Overview
What You Are Working With
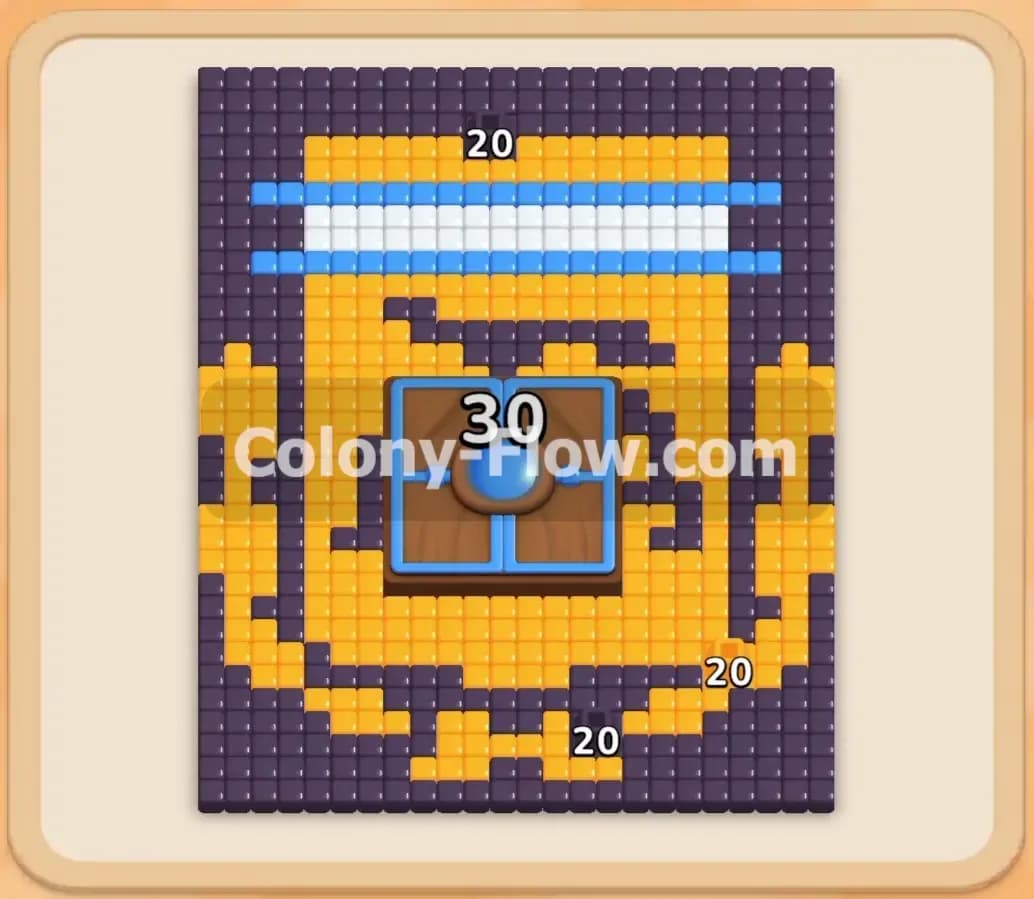
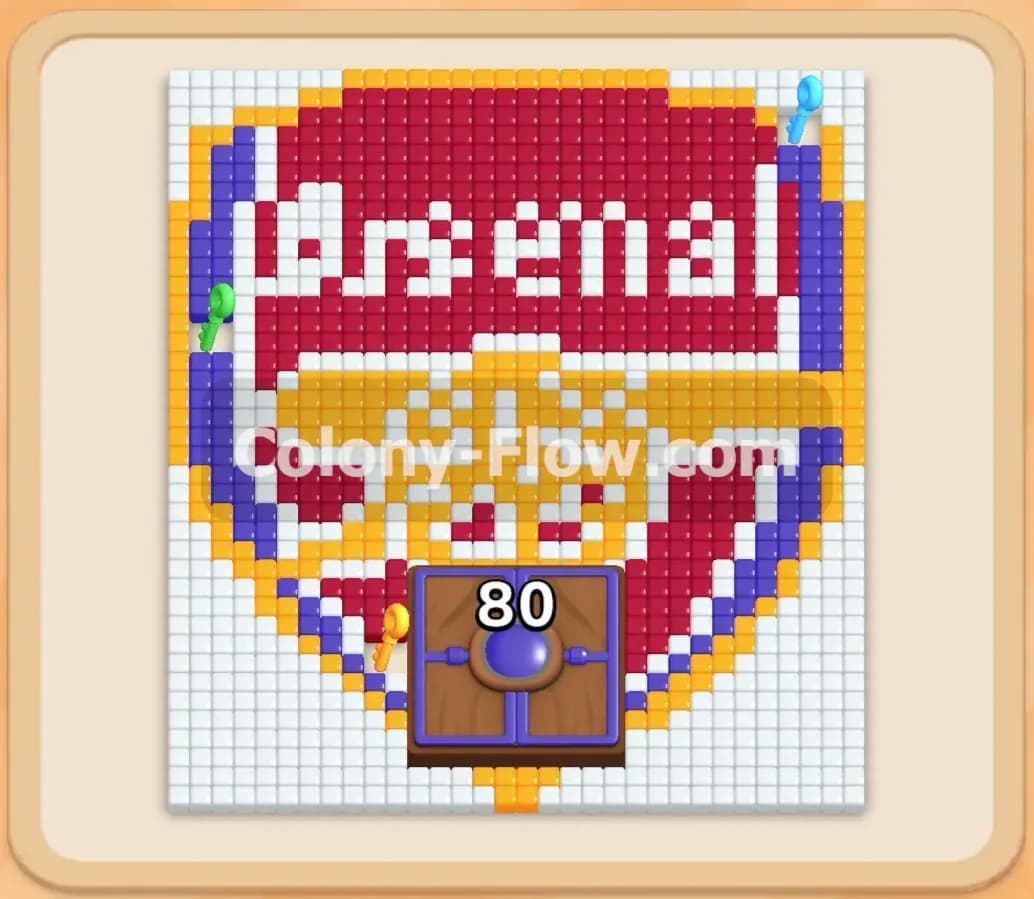
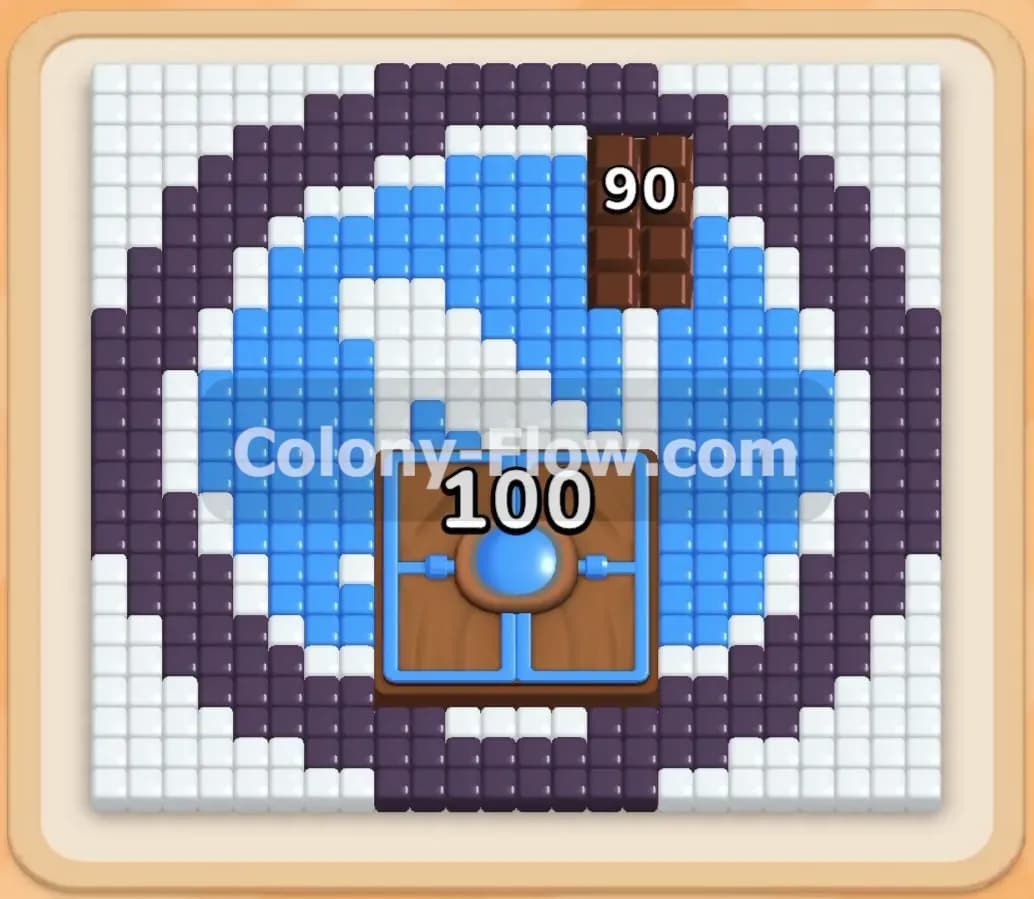
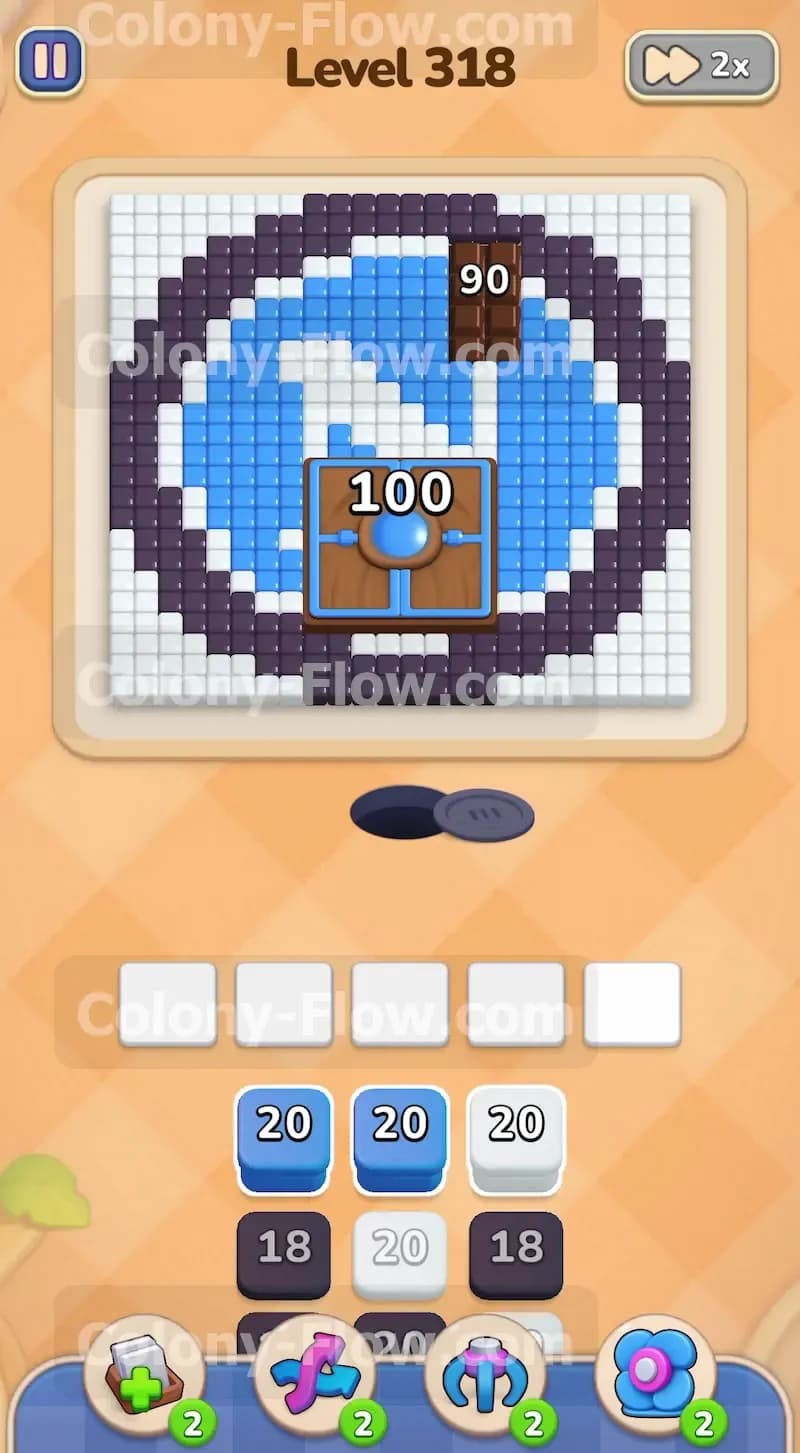
When you first look at the board you will see a large circular logo made of colored pixel art tiles. The very outer edges of the board consist of white background tiles. Inside that white border sits a thick dark grey or black outer ring. The interior of the circle features a bright light blue background with a white letter N shape in the middle. Two special obstacles stand in your way on this level. At the top right of the black ring you will notice a large brown chocolate block with the number ninety on it. This chocolate completely covers the food tiles underneath and prevents any ants from passing through until it is fully eaten. At the bottom center of the logo sits a massive hungry door with the number one hundred on it. This door blocks access to a hidden section of the board and you must feed it one hundred ants to force it open. Your tray at the bottom provides black blocks white blocks and blue blocks in various quantities usually starting around twenty or eighteen per block. You have five waiting slots to hold your active blocks.
What It Takes to Clear Level 318 Board
Winning this level requires you to completely clear every single food tile from the board and allow all your ants to return to the nest hole. Your primary goal is to keep at least one active path open for your ants at all times. If you fill all five waiting slots and none of the ants can reach a matching food tile or a valid target you will fail the level. You need to send black ants to chip away at the outer ring and break down the chocolate block at the top right. At the same time you must send a massive wave of blue ants to feed the hungry door in the center. Once the hungry door consumes one hundred ants it will vanish and reveal a hidden block of light blue and white food tiles. Your final task will be directing your remaining ants into that newly exposed area to consume the hidden tiles and clean up any leftover pieces of the main logo.
Colony Flow Level 318 Step by Step Solution
Step 1: Deploy black and white ants to clear the outer borders and attack the chocolate
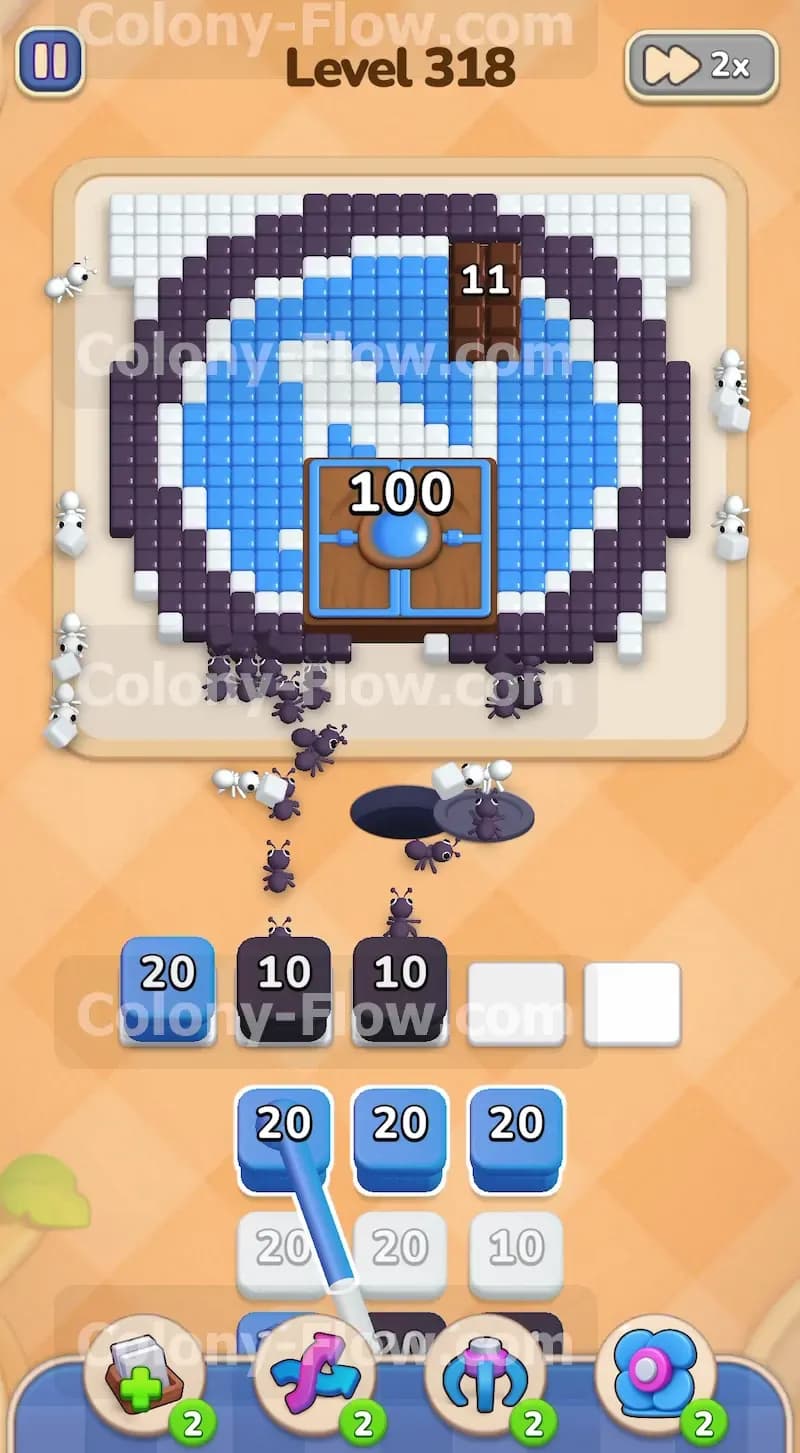
Your first move should focus on opening up the very edges of the board to give your ants plenty of space to work. Look at your tray and select a white block and a black block to start the flow. The white ants will stream out of the nest hole and begin eating the white background tiles that frame the circular logo. The black ants will follow their own path and target the dark outer ring of the circle. You will notice the black ants traveling up the right side of the board until they hit the massive brown chocolate block. This chocolate requires ninety ants to break down completely. Because this is a very high number you want to start this process immediately. The black ants will continuously feed into the chocolate and you will see its number drop rapidly from ninety down to eleven and eventually to zero. The chocolate block is stubborn but persistent feeding will break it open. Keep tapping black blocks from your tray whenever your active black block runs out so the pressure on the chocolate never stops. This steady flow ensures your waiting slots remain active and do not jam. Clearing this chocolate early also gives your black ants access to the top half of the dark ring which you will need to clear later.
Step 2: Begin feeding the hungry door with blue ants
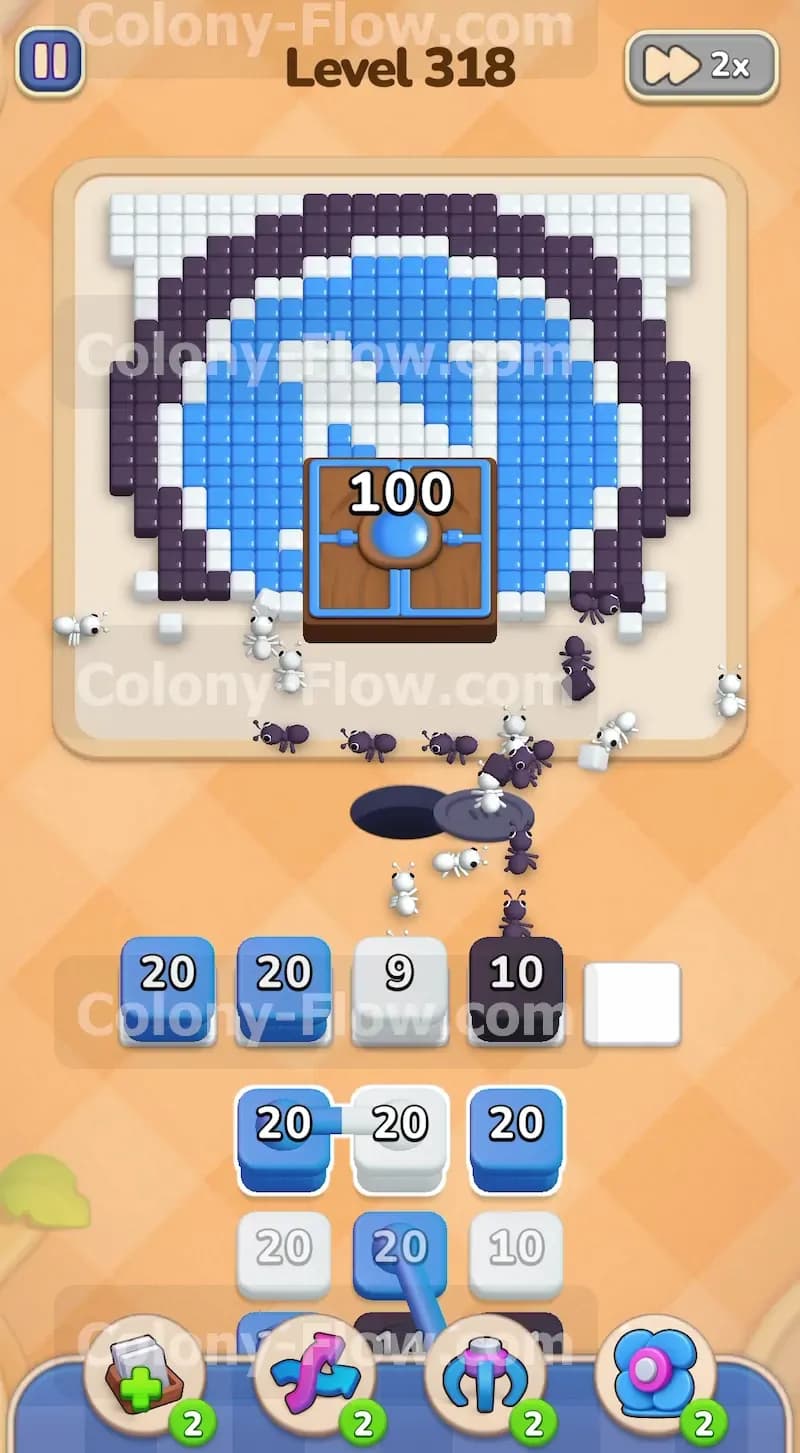
While your black and white ants are busy on the outer edges you must turn your attention to the center of the board. The large hungry door requires one hundred ants to open. Tap a blue block from your tray to send your blue ants directly toward the door. The blue ants will swarm around the door and begin reducing the count. You will see the door number drop from one hundred down to eighty two as the blue ants pour into it. It takes a significant amount of time to feed one hundred ants so you cannot wait until the end of the level to start this process. By sending blue ants early you create a dedicated path right up the middle of the board. This gives you a safe way to empty blue blocks from your tray without taking up permanent space in your waiting slots. The journey to the door is short so the blue ants will drain out of your slots rapidly. Whenever a blue block finishes draining tap another blue block from your tray to maintain a constant stream of blue ants hitting the hungry door. You will need to dedicate several full blue blocks purely to feeding this door before it finally gives way.
Step 3: Balance multiple colors to prevent waiting slot jams
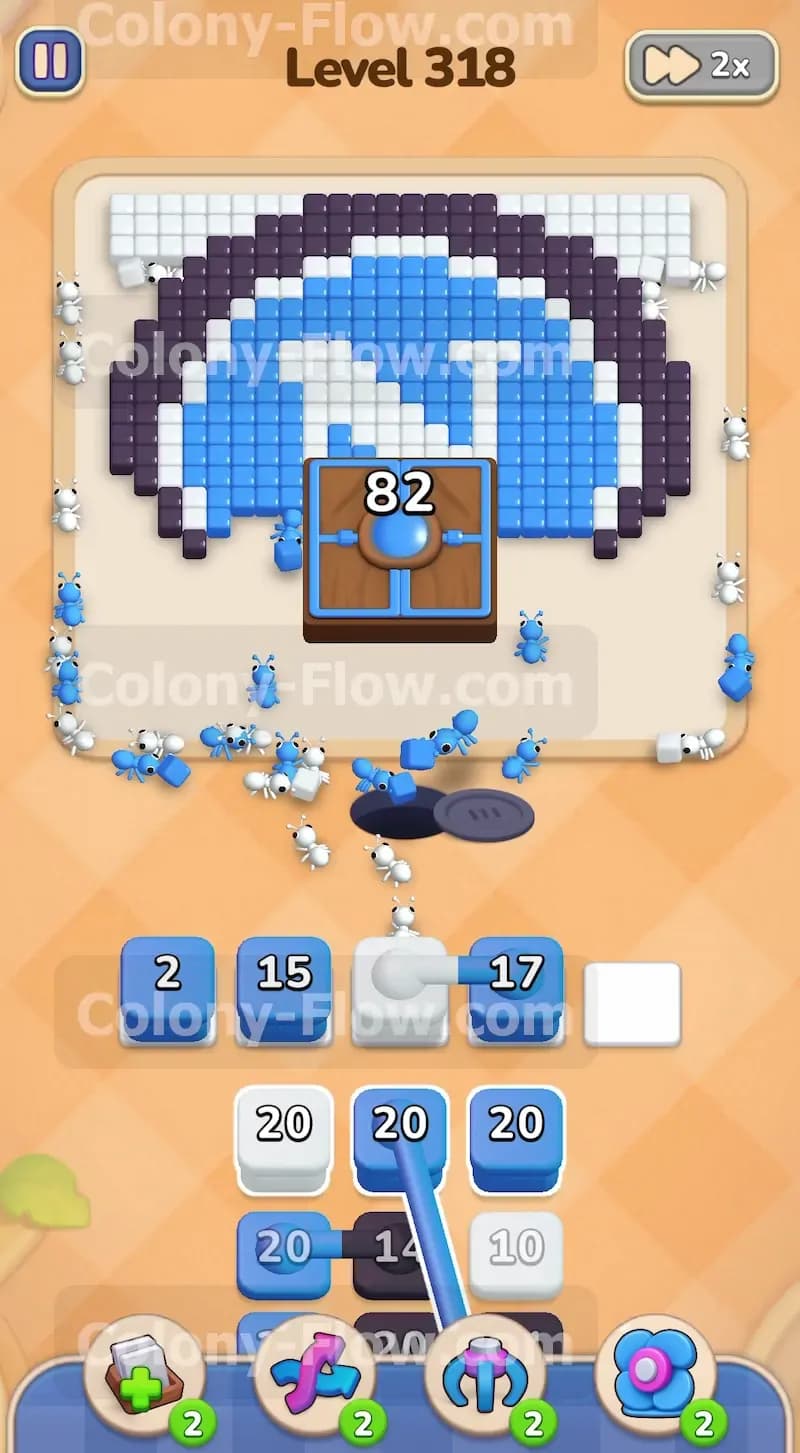
As the level progresses you will need to actively manage the five slots at the bottom of the screen. Your white ants will continue carving away the top and side borders of the board. Your black ants will finish off the chocolate and start eating the top half of the dark grey ring. Your blue ants will keep feeding the hungry door and dropping its number down to fifty five. At this stage you will find yourself needing to tap multiple blocks in quick succession to uncover the blocks trapped underneath them in the tray. You can safely fill three or four of your waiting slots as long as every color you pick has an open path on the board. For example you can have a blue block feeding the door a black block eating the top ring and a white block clearing the outer corners all at the same time. The numbers on your blocks will count down steadily as each color group handles their specific task. If you ever feel like the board is getting crowded pause for a second and let the current blocks drain completely before tapping a new one. Managing your pace is exactly how you keep the level under control and guarantee you never hit a dead end.
Step 4: Push the hungry door to its breaking point
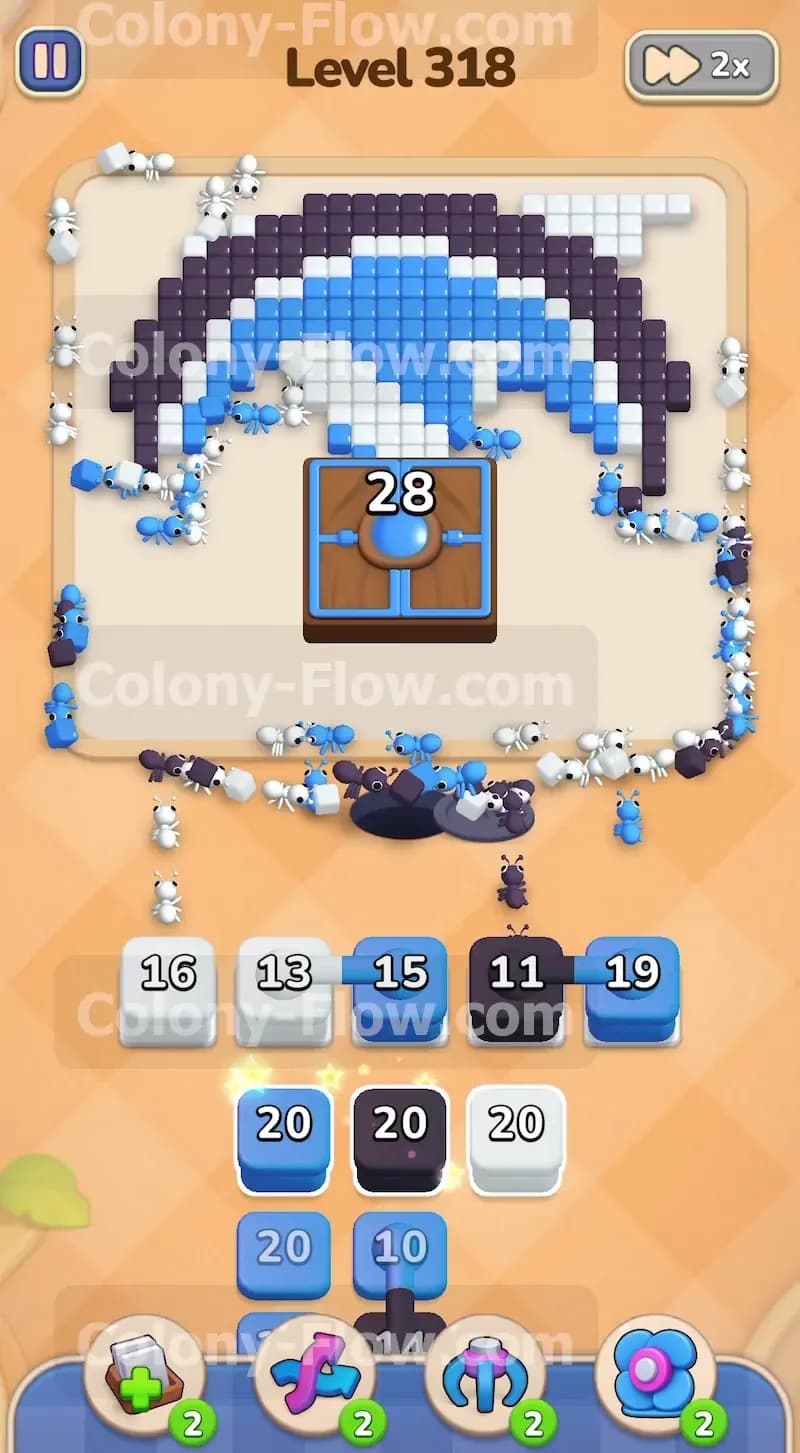
Your persistent feeding strategy will soon bring the hungry door close to zero. You will watch the number on the door fall to twenty eight. Around this same time your black and white ants will be working their way across the very top of the circular logo. The black ring will be almost entirely gone leaving only a few dark tiles at the peak of the circle. Your waiting slots will often look completely full right now with a mix of white black and blue blocks. Do not panic if all five slots are occupied. Because you kept the paths open the ants will continue to stream out of the nest hole and the block numbers will keep draining. The blue ants will deliver the final few numbers needed to satisfy the hungry door. Keep your eyes on the center of the board because the moment the door reaches zero the entire dynamic of the level will change. The heavy lifting of the early game is over and you will transition directly into a massive cleanup phase.
Step 5: Flood the newly revealed hidden tiles with blue and white ants
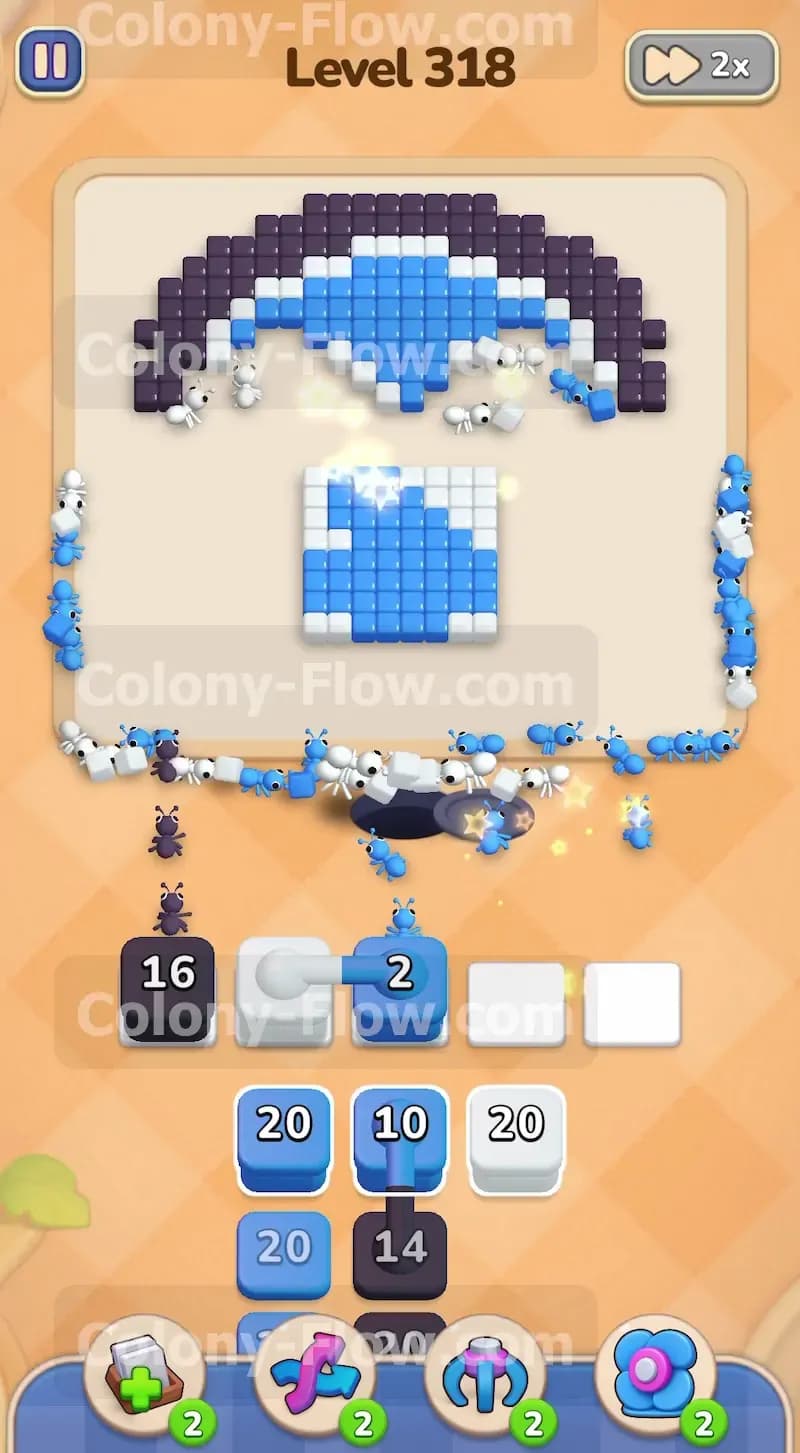
When the hungry door finally disappears it takes a large chunk of the center board with it. In its place you will discover a hidden square composed entirely of light blue and white food tiles. This is the moment you have been preparing for. The blue ants that were previously slamming into the door will now rush forward and begin devouring the light blue tiles in this new section. You should immediately tap another white block from your tray to send a fresh wave of white ants into the center to eat the newly exposed white tiles. This sudden influx of available food creates a massive drain on your waiting slots. Any blue or white blocks that were sitting in your slots will now empty out incredibly fast. This rapid clearing completely eliminates any risk of a slot jam and gives you total control over the remainder of the tray. Watch the ants swarm the center and clear out the hidden square in a matter of seconds. The speed at which this section clears is incredibly satisfying after spending so much time feeding the door.
Step 6: Clean up the final pieces of the logo
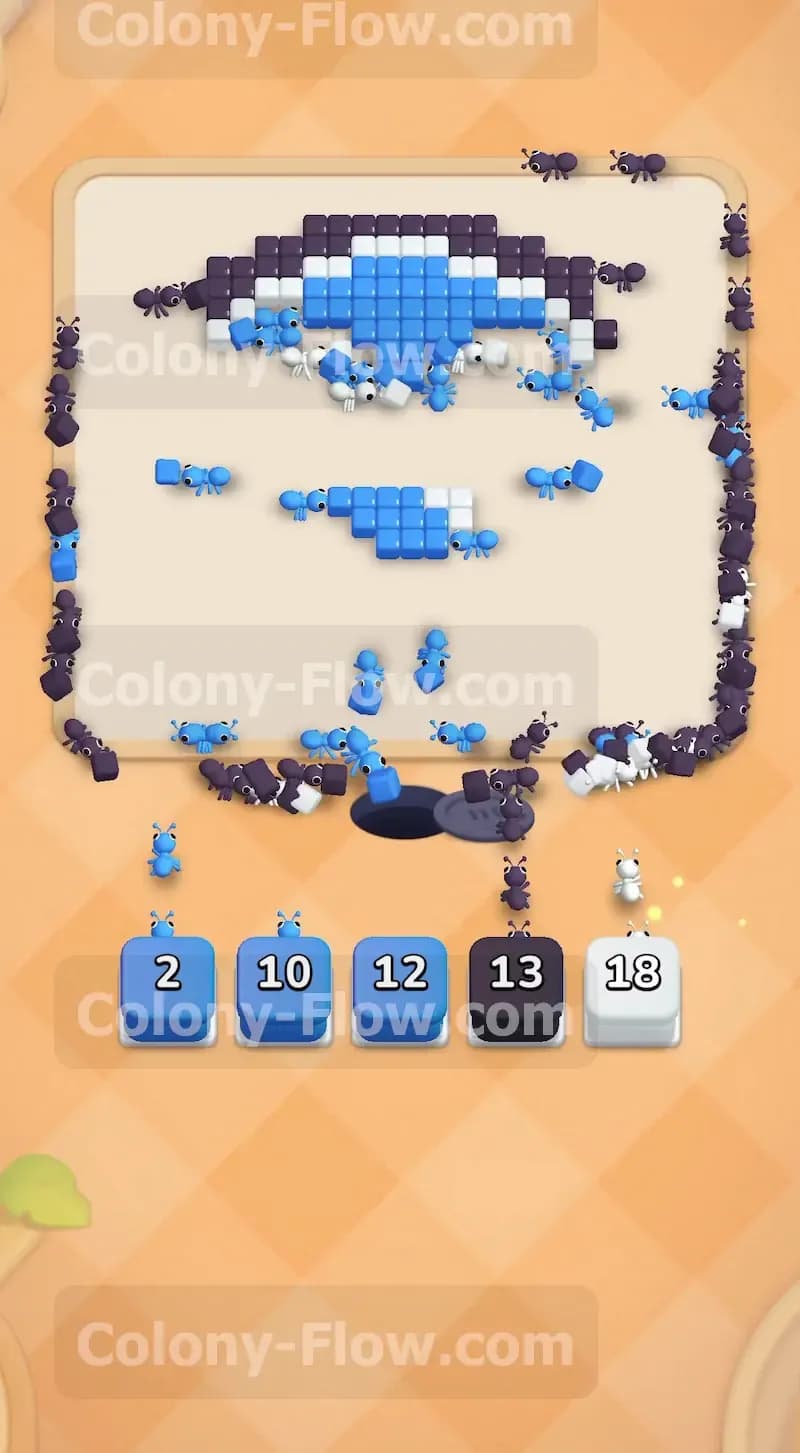
With the hidden section cleared and the outer borders gone you are left with just a few scattered tiles. The top of the board will still have a small section of the white letter N and a handful of dark grey tiles forming the peak of the outer ring. The bottom of the board will have a few stray light blue tiles remaining from the original circle design. Look at your tray and select the exact colors you need to finish the job. Tap a black block to send ants to the top edge. Tap a blue block to clean up the remaining light blue sections. Tap a white block to polish off the rest of the letter N. Your slots will hold the final few blocks as the ants complete their cleanup duty. Once the last food tile is eaten the remaining ants will scurry off the board and return to the nest hole marking your victory. You can watch the final animation play out knowing you perfectly balanced the board and avoided any slot jams.
Final Thought
Level 318 tests your ability to multitask and manage a heavy obstacle right from the start. By breaking down the chocolate early and maintaining a constant flow of ants into the hungry door you keep your board moving and avoid the dreaded slot jam. If you find yourself struggling to visualize the timing of the door opening or the pathing of the outer rings please watch the video above this article. Seeing the ants in motion will give you a perfect understanding of how to sequence your block taps and conquer the board.